To make things clear at the outset, I want you to know that I’m not a professional software engineer or developer. In fact, I’m quite far from it. However, in my spare time, I tend to spend more hours than is perhaps advisable within a command-line interface.
Besides being beneficial to acquire certain abilities and feel at ease within the terminal environment, I also discover it oddly calming, devoid of distractions. As someone who appreciates Linux, it’s certainly convenient to be well-versed in using a terminal.
Generally speaking, they tend to be rather simple in appearance. However, there’s no reason they should remain this way, especially if you’re going to be spending a considerable amount of time using the terminal. Why not make it aesthetically pleasing and potentially more functional as well?
In the context of Windows Terminal, whether you’re using PowerShell or WSL, I’d like to share three straightforward methods to enhance your command-line experience, making it more appealing for beginners:
1. Customizing the color scheme and font: You can change the text colors, background, and even adjust the typeface for a more personalized look.
2. Setting up custom profiles: Create multiple profiles tailored to specific tasks or projects to streamline your workflow and keep things organized.
3. Adding fun and practical shortcuts: Make your life easier by adding useful keyboard shortcuts or even customize the terminal with fun emojis, images, or other personal touches.
1. Starship prompt
Beginning with the original, I consistently choose Starship as my tool of choice. The reason is quite simple: it boasts an appealing design, offers great customization options, and its cross-shell functionality allows me to utilize it regardless of what project I’m working on each month.
To put it simply, one of the things I appreciate about PowerShell is that I can use the same configuration settings for both PowerShell and every distribution of Windows Subsystem for Linux (WSL) I’m working with because they are compatible. However, please note that you will need to install a NerdFont for Starship to work effectively.
The setup procedure for both PowerShell and WSL is straightforward. You can install PowerShell via the Windows Package Manager, while on WSL, installation can be done through various package managers, or by typing the following command into your terminal:
[For WSL]
sudo apt-get install
curl -sS https://starship.rs/install.sh | shThe Starship installer provides instructions on how to implement it within your shell. Alternatively, you can find these steps detailed in the documentation as well. This process entails appending a command to your shell’s profile file for it to automatically run.
If that’s Bash for WSL, you simply add this line to your .bashrc file at the bottom:
eval "$(starship init bash)"For PowerShell, add this to your profile:
Invoke-Expression (&starship init powershell)At the end of this post, I’ll briefly explain what the PowerShell profile is and how to locate it, in case you’re unfamiliar with it.
As a researcher, I’d like to share that for customization purposes, you’ll require a configuration file. Regardless of whether you’re working with PowerShell or WSL, you can utilize the following command to make necessary adjustments:
[Your Command Here]
mkdir -p ~/.config && touch ~/.config/starship.tomlFor Linux systems, this action will generate an empty config file within the existing .config directory. If you’re using PowerShell on Windows 11, a new .config directory will be created in your User folder specifically for this purpose.
Instead, you could start by diving right into some templates found in the Starship documentation, or better yet, explore on GitHub. You’ll find numerous examples that, combined with the documentation, can swiftly get you up and running.
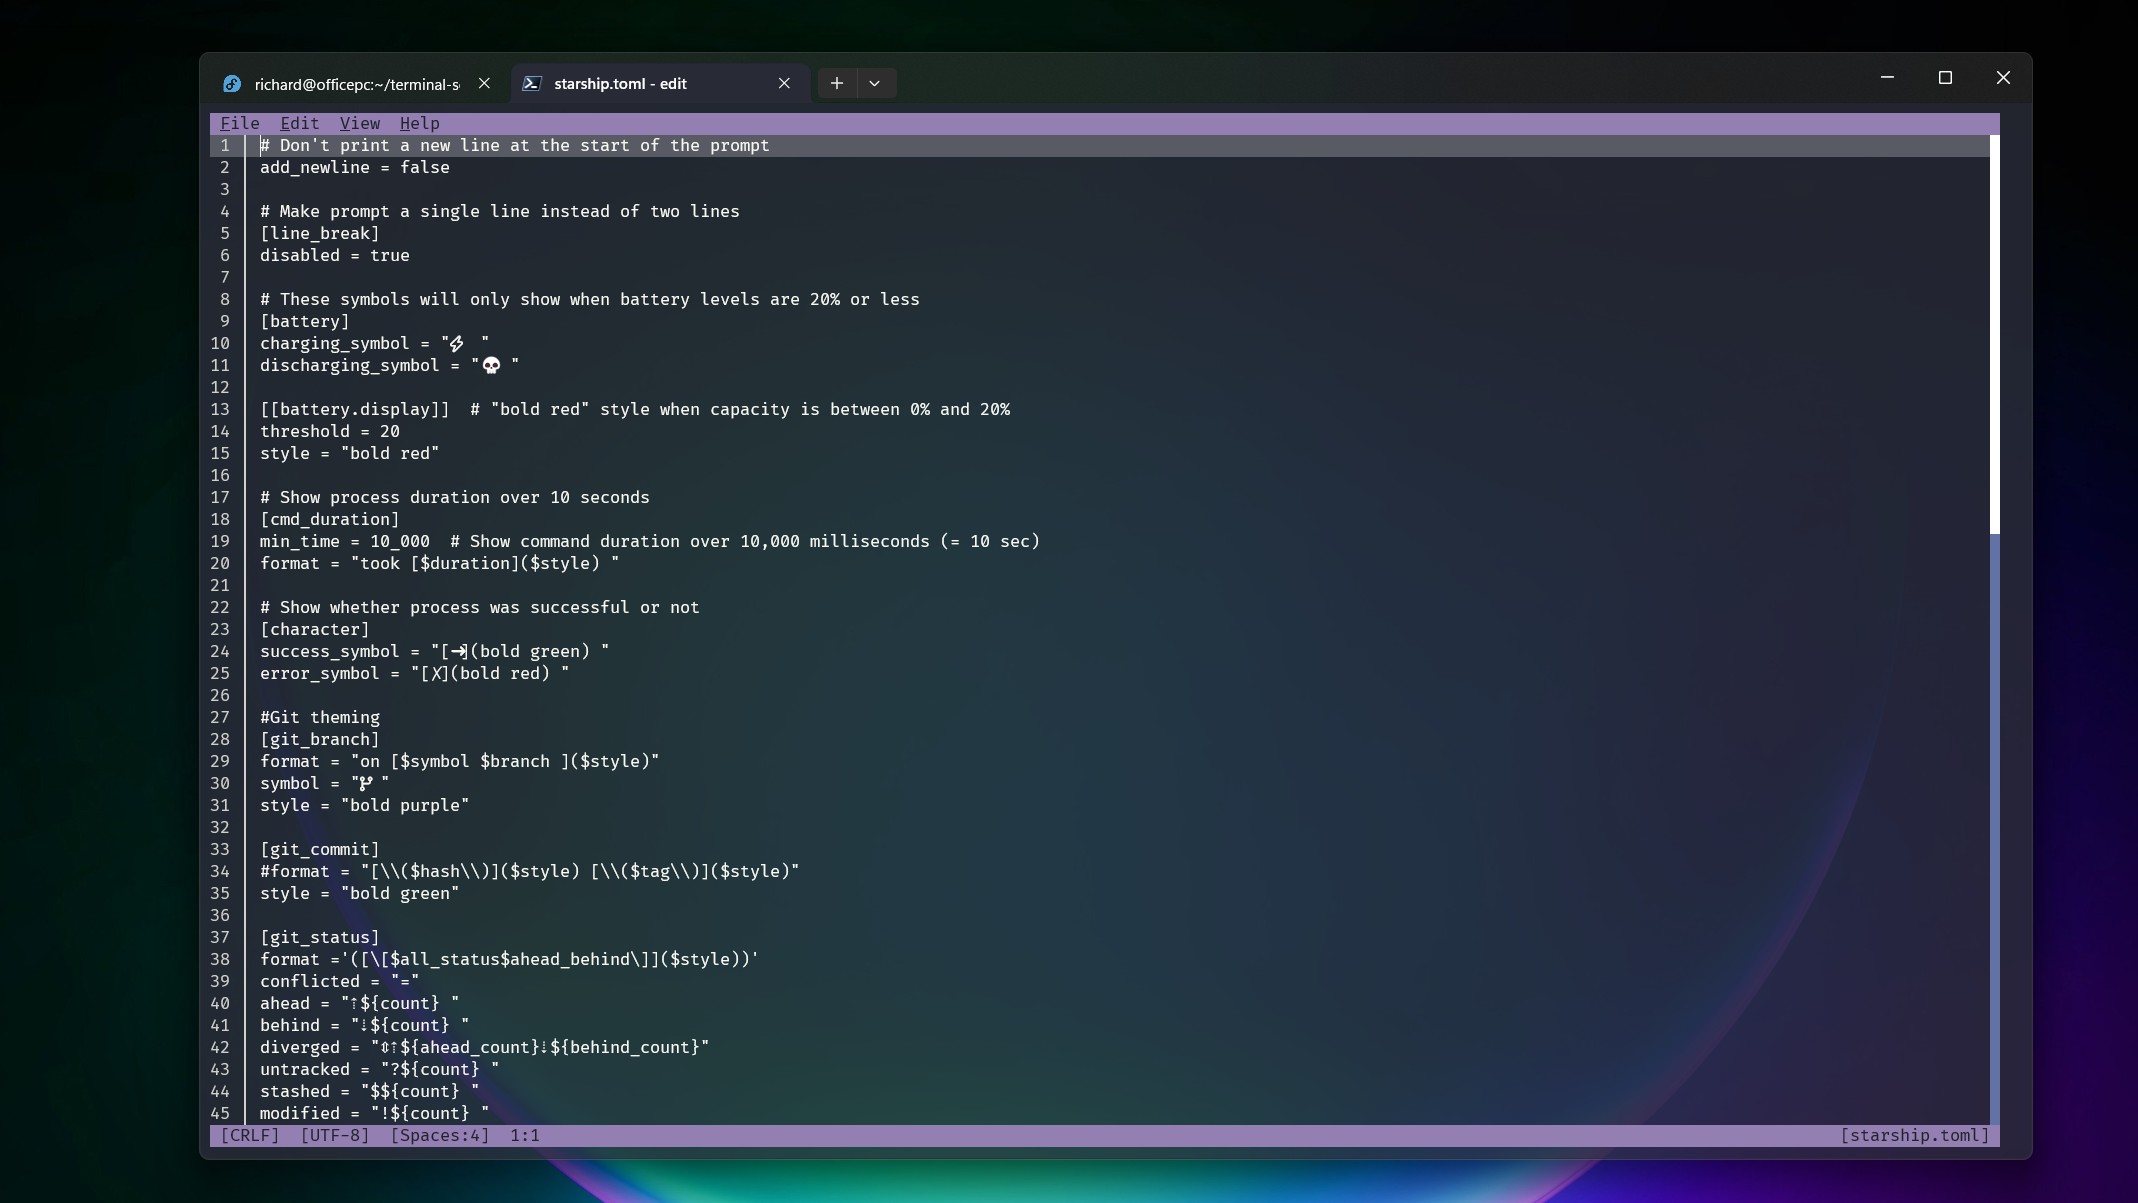
TOML is what you’ll be writing it in, but it’s nothing crazy or complicated.
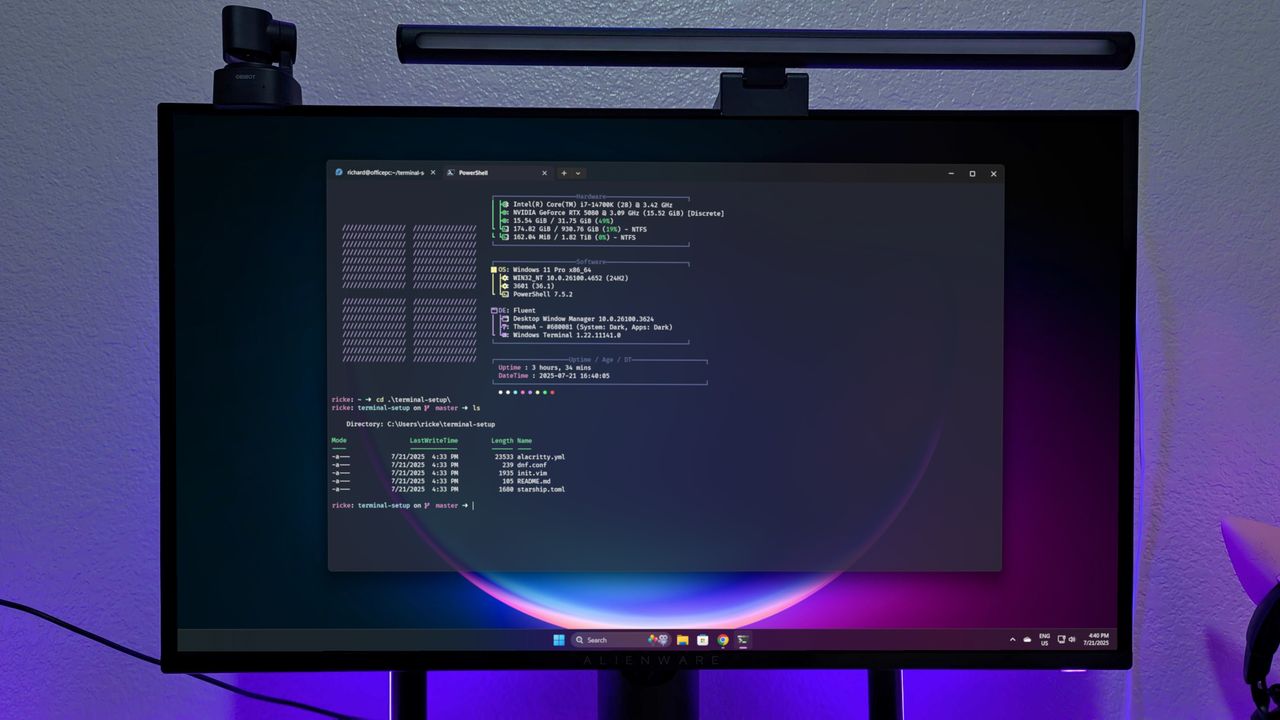
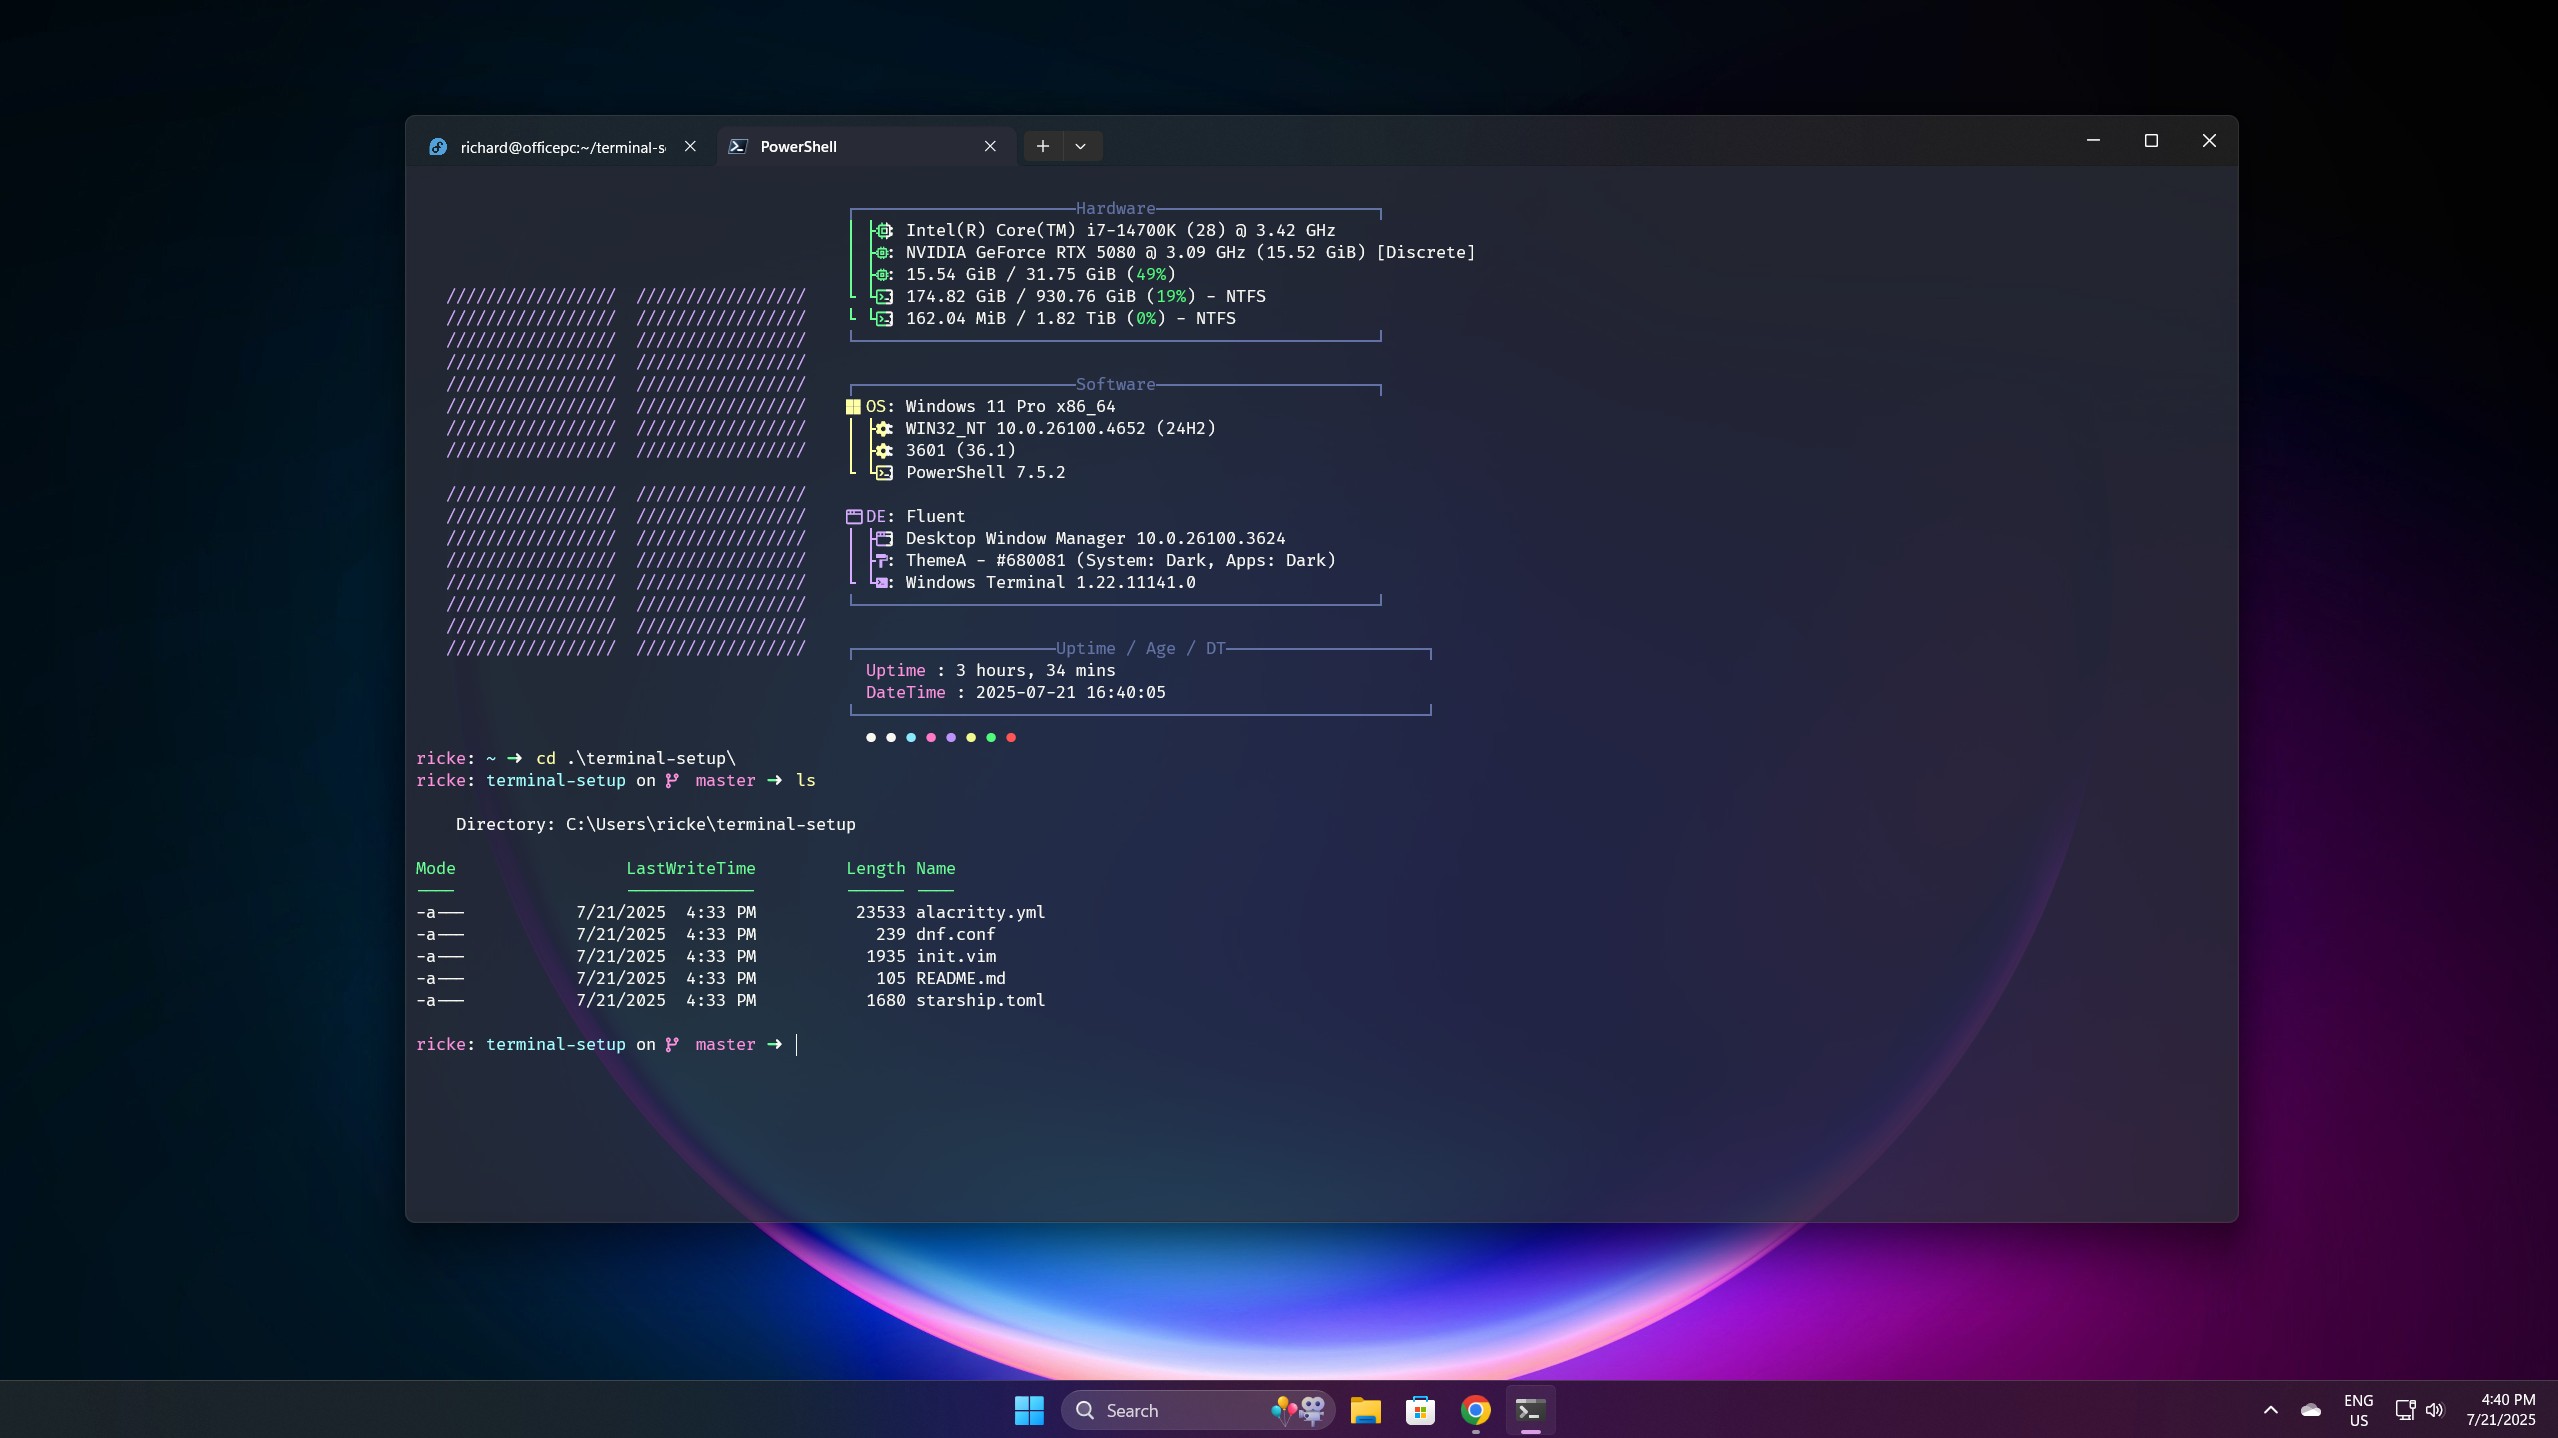
Here is where you can locate my personalized Starship configuration file. While it may not be flashy, it suits me well. This setup incorporates Git integration for branches, status, and commits; simplifies the prompt to a single line; and displays battery information when I’m working on a laptop. It’s simple, but it should provide a good starting point for you.
2. Fastfetch
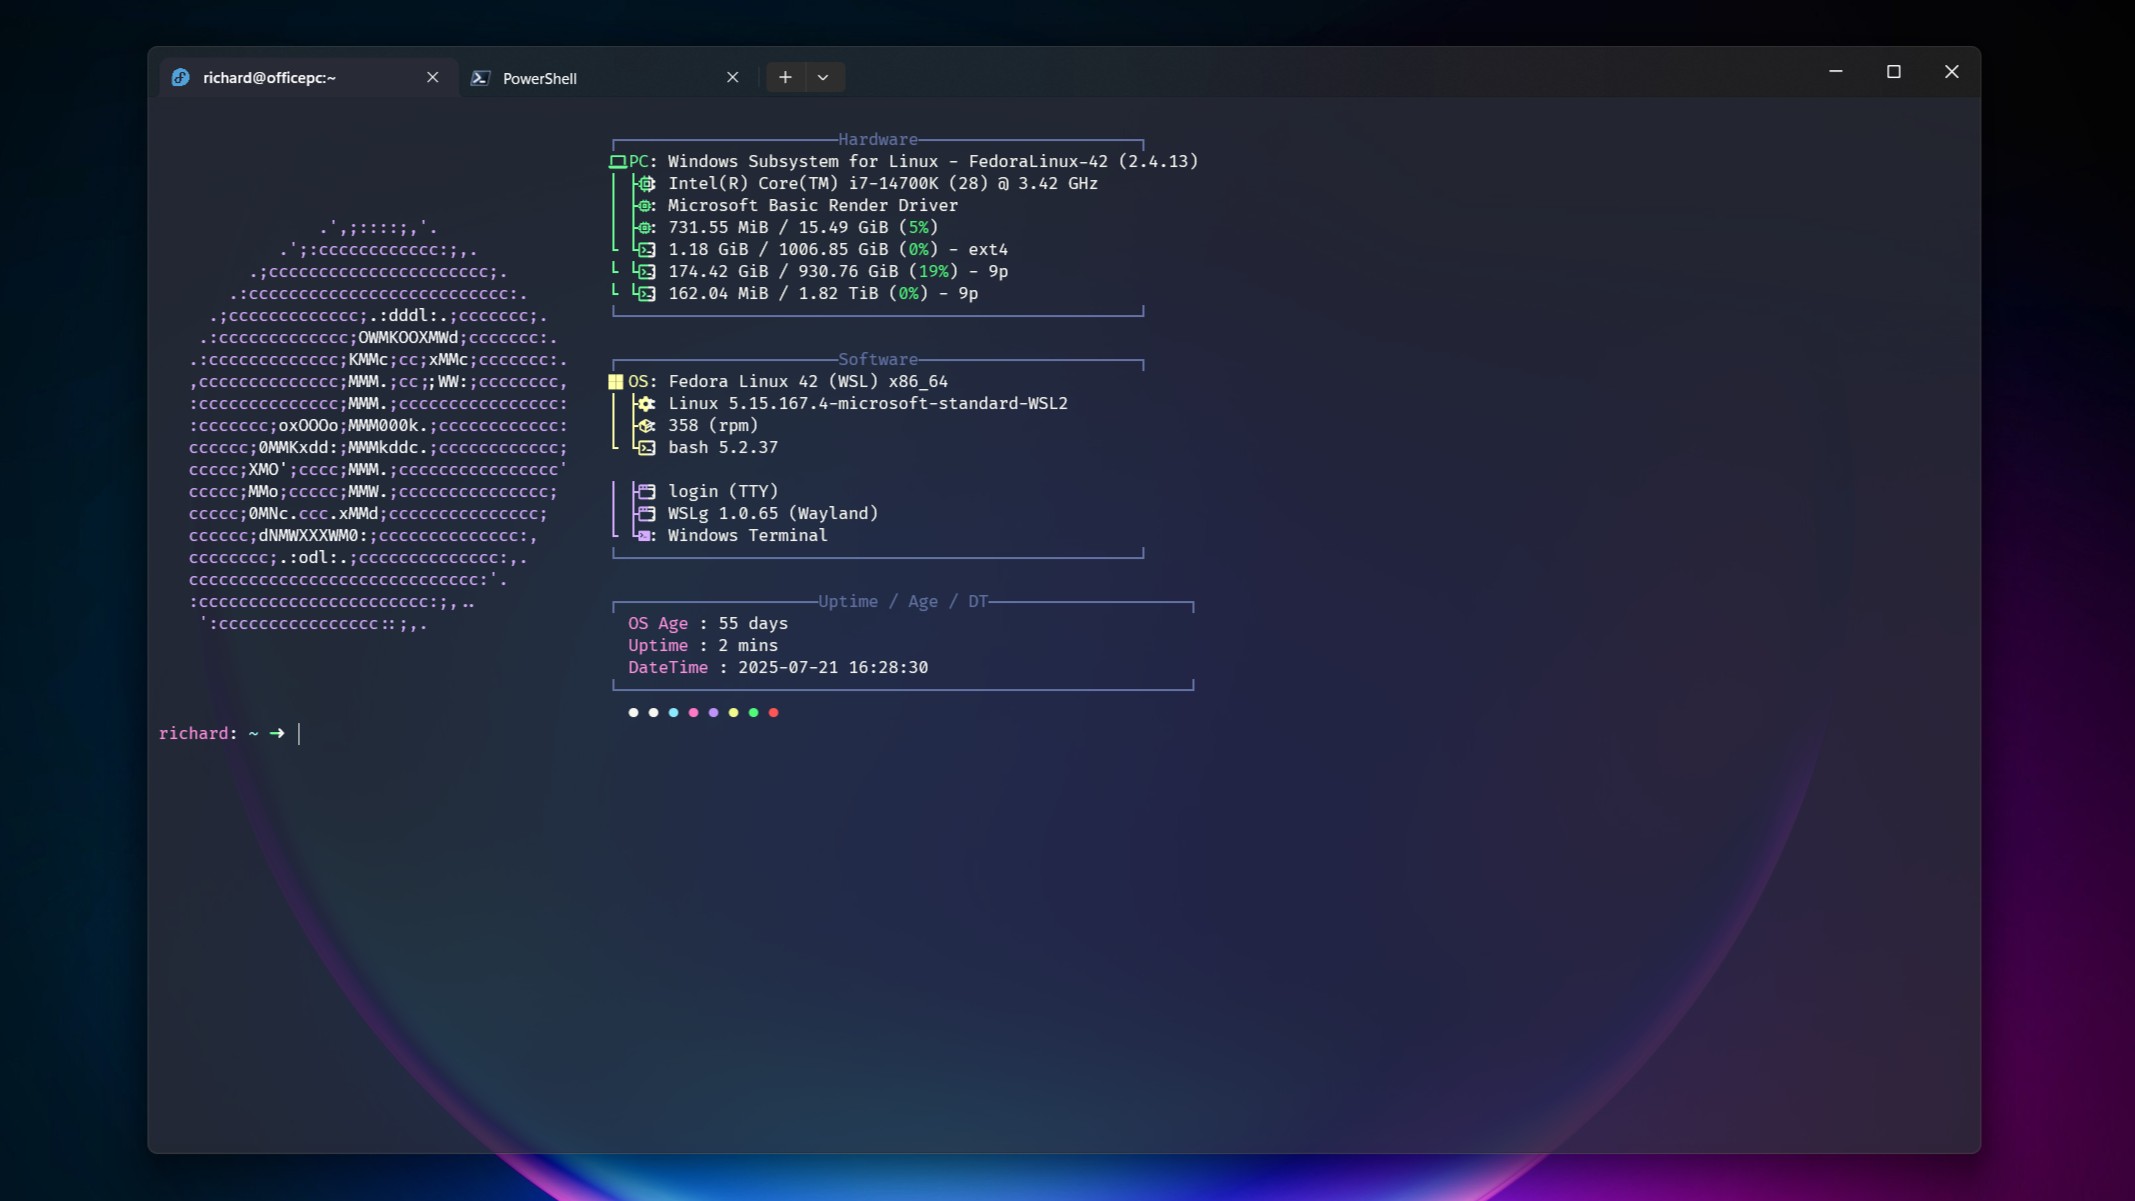
Is the terminal truly devoid of system details upon initial launch? In that case, Fastfetch is what you need. It’s a modern, ongoing alternative to Neofetch, which was outdated, cumbersome, and has since been withdrawn from development.
One advantage is that, much like SpaceX’s Starship, this tool works on both Windows and Linux systems. This means you can utilize it seamlessly in PowerShell and WSL, as you can maintain the same setup across both platforms for a uniform user experience.
It’s a breeze to install it using different package managers available in Linux, or tools like winget, Chocolatey, and Scoop on Windows 11. For comprehensive installation guidelines, refer to the GitHub repository.
I haven’t delved deeply into customization myself, but the image templates you see were sourced from Reddit.
First, create a config file using this command:
fastfetch --gen-configIt’ll go into your .config folder inside the Fastfetch directory. Same for both PowerShell and WSL.
Starting from now, feel free to explore resources like GitHub for pre-made templates created by others, or delve into the wiki and start exploring! There’s something about having these tools in our terminal windows that just feels essential, complete, even. I can’t exactly explain why, but it makes a noticeable difference.
Fastfetch also supports custom images, not just ASCII art, so you can really go to town on it.
3. Windows Terminal customizations
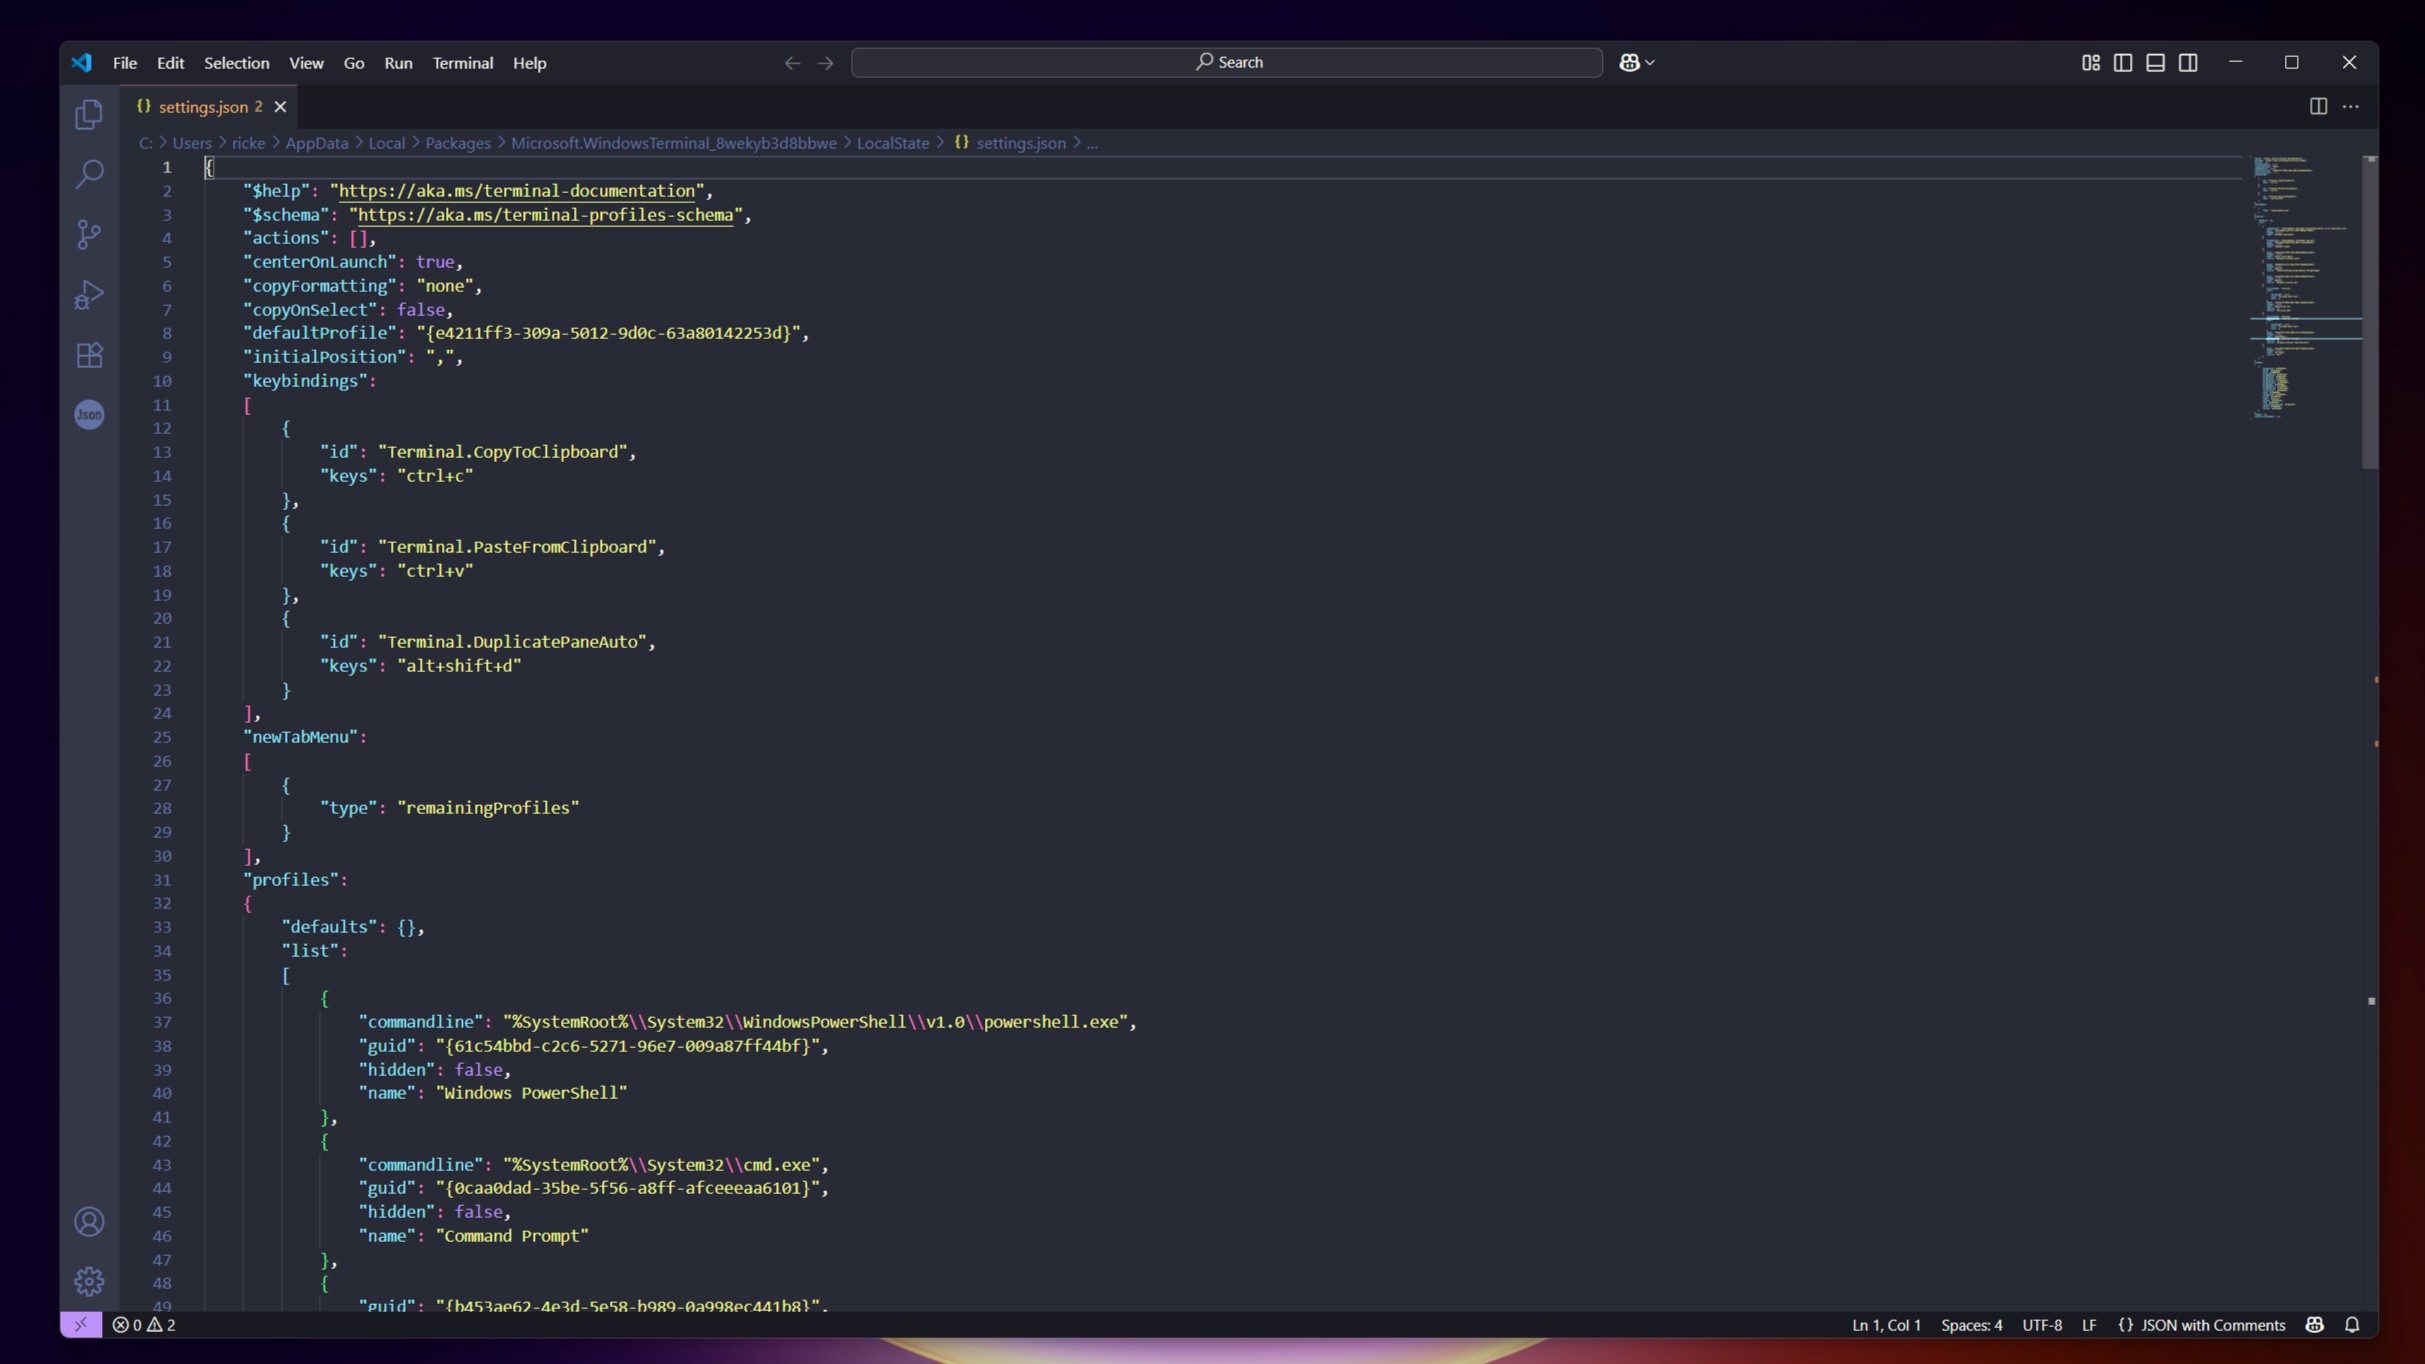
On Windows 11, it’s quite likely that you’re utilizing the Windows Terminal. Frankly, with its excellent features, it’s hard not to!
To give it a personalized touch, you can customize your Windows Terminal in various ways. For me, I’ve only made a few changes such as selecting the Dracula Theme, adjusting the font size and line spacing slightly, adding some transparency, and incorporating a unique PowerShell-specific feature.
Within the app, you have two options for adjusting settings:
1. Utilize the Graphical User Interface (GUI) to play around with the various settings.
2. For those who prefer a more hands-on approach, you can edit the JSON file directly.
Regardless of your choice, if you wish to add custom themes, you’ll need to access this area, either through the GUI or by editing the JSON file.
As a tech enthusiast, I found myself growing tired of the persistent reminder at the top of my PowerShell window displaying the latest version number. To my delight, I discovered a simple solution: by adding just one line to the associated JSON file, I can make that pesky line vanish, enhancing my overall user experience.
Put this into the PowerShell block, right after the “name” line:
"commandline": "pwsh.exe -nologo",From now on, your prompt will be neat and tidy, and if you’re employing Fastfetch, there won’t be any text line above it.
Using these three tools together, some small adjustments to Windows Terminal can make a significant difference.
A note on PowerShell profiles
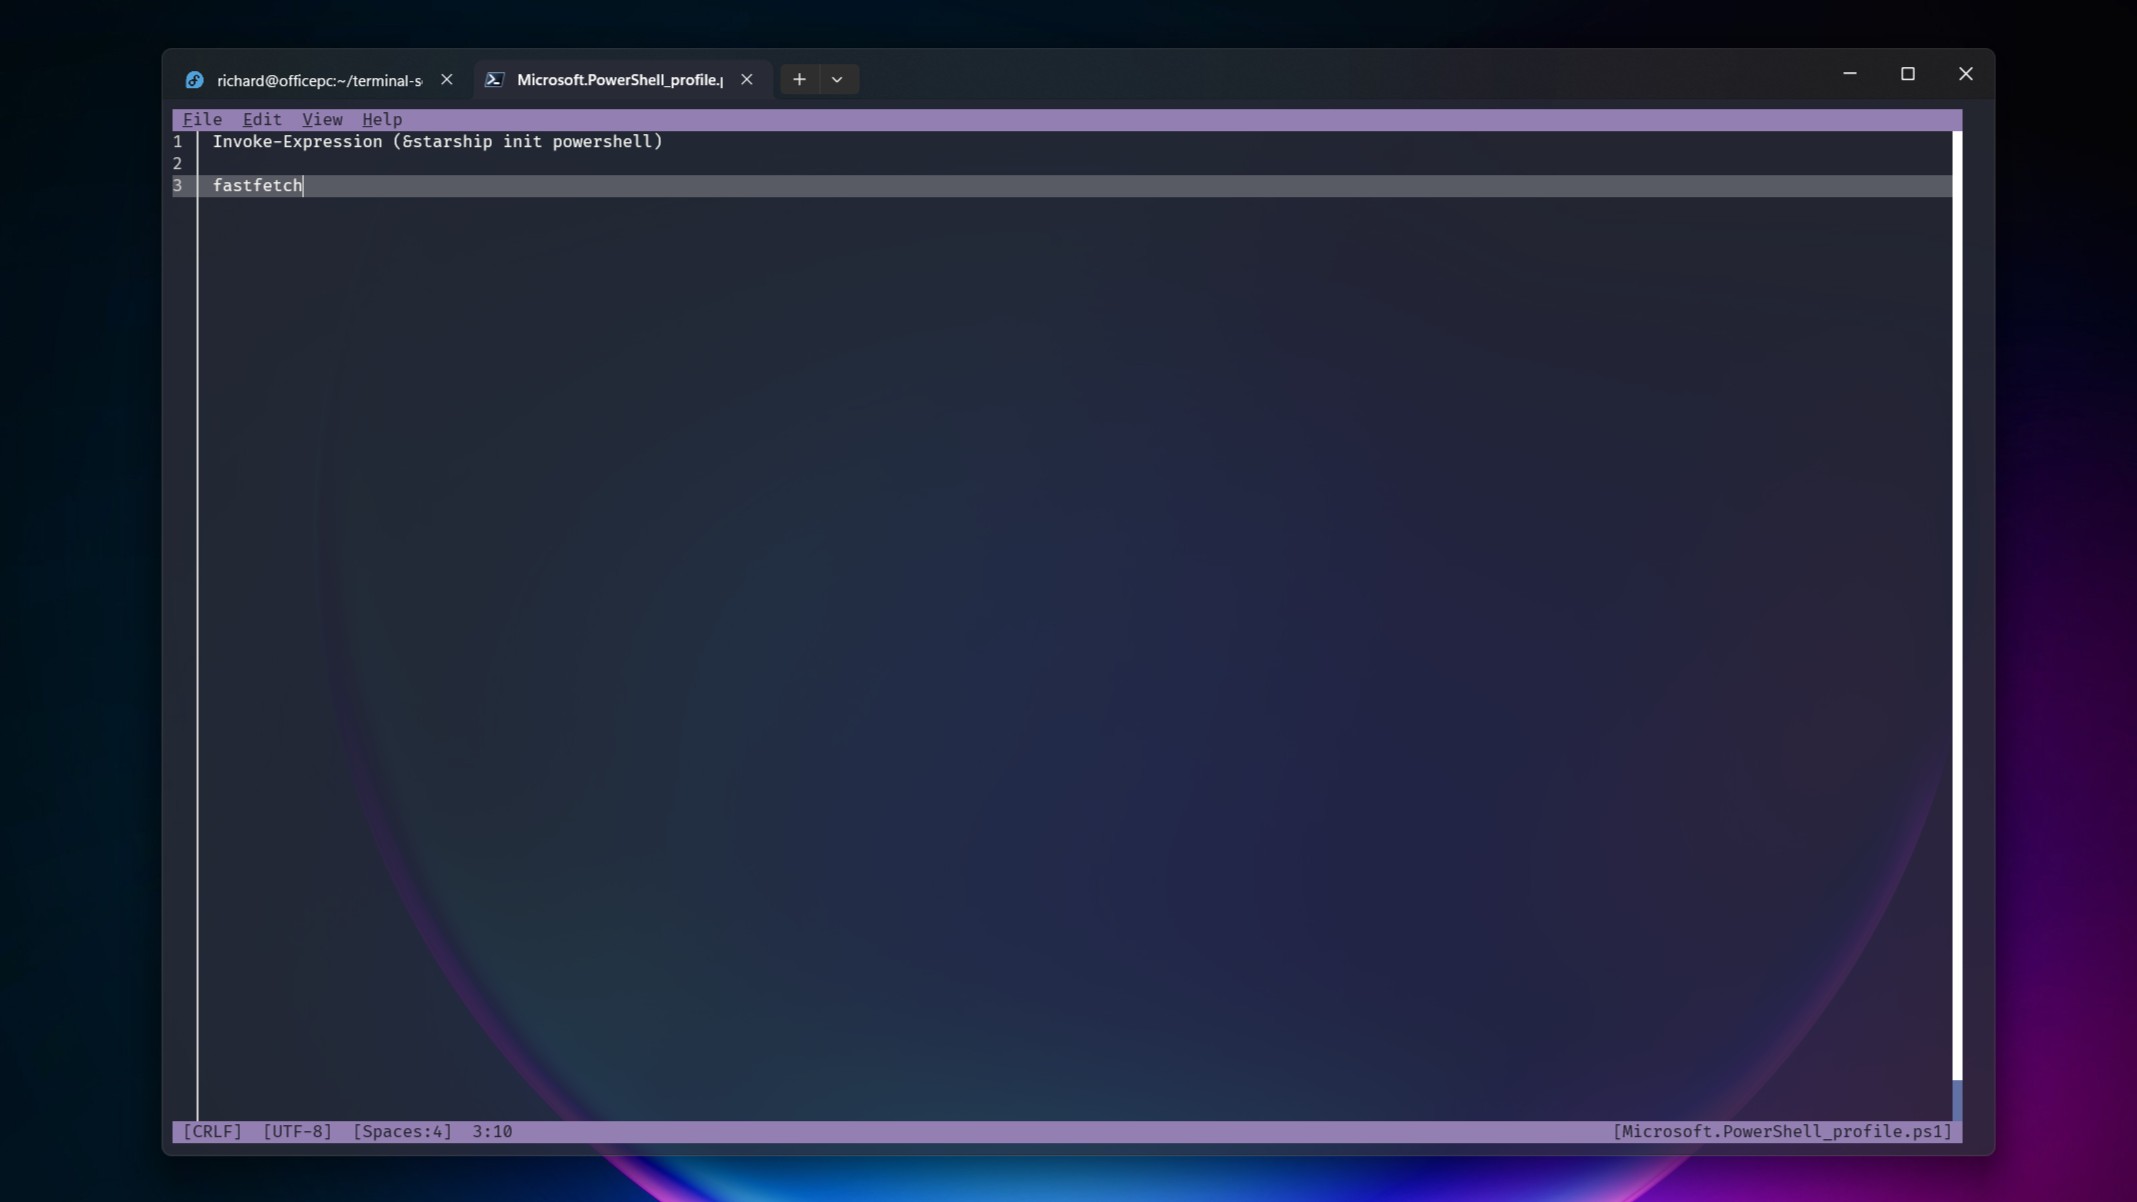
To be honest, while I’m not fluent in PowerShell, I managed to figure out something that could prove helpful. Initially, PowerShell may indicate the location of your profile, but upon checking, it turns out there’s no such thing present.
I mean, it is made by Microsoft, what can we expect?
To use Starship and Fastfetch when your system boots, you’ll have to incorporate them into your PowerShell profile. If you haven’t created it yet, start by executing the following command in PowerShell.
Or simply:
To run Starship and Fastfetch at startup, include them in your PowerShell profile. If you don’t already have one, create it using this PowerShell command.
if (!(Test-Path -Path $PROFILE)) { New-Item -ItemType File -Path $PROFILE -Force}Creating a new PowerShell directory within your User Documents folder will contain an empty PowerShell Profile file by default.
After creating them, simply input the instructions given for Fastfetch and Starship, followed by a save action, and finally a refresh of PowerShell. Once that’s done, you can start using them without delay.
Certainly, you have the flexibility to accomplish far more with your PowerShell profile, however, for our current objectives, just a couple of lines will suffice.
So, that wraps up how you can maintain a tidy yet appealing environment in PowerShell as well as your WSL distributions!
Read More
- Looks Like SEGA Is Reheating PS5, PS4 Fan Favourite Sonic Frontiers in Definitive Edition
- Pluribus Star Rhea Seehorn Weighs In On That First Kiss
- Kelly Osbourne Slams “Disgusting” Comments on Her Appearance
- Gold Rate Forecast
- Dune 3 Gets the Huge Update Fans Have Been Waiting For
- Arknights: Endfield – Everything You Need to Know Before You Jump In
- Tomodachi Life: Living the Dream ‘Welcome Version’ demo now available
- Ahsoka Season 2 Will Officially Include 3 Marvel Actors
- Paradise producer hints that series will end with third season as season 2 premieres
- Borderlands 4 – BEST Amon Leveling Build (1 – 50)
2025-07-22 16:10