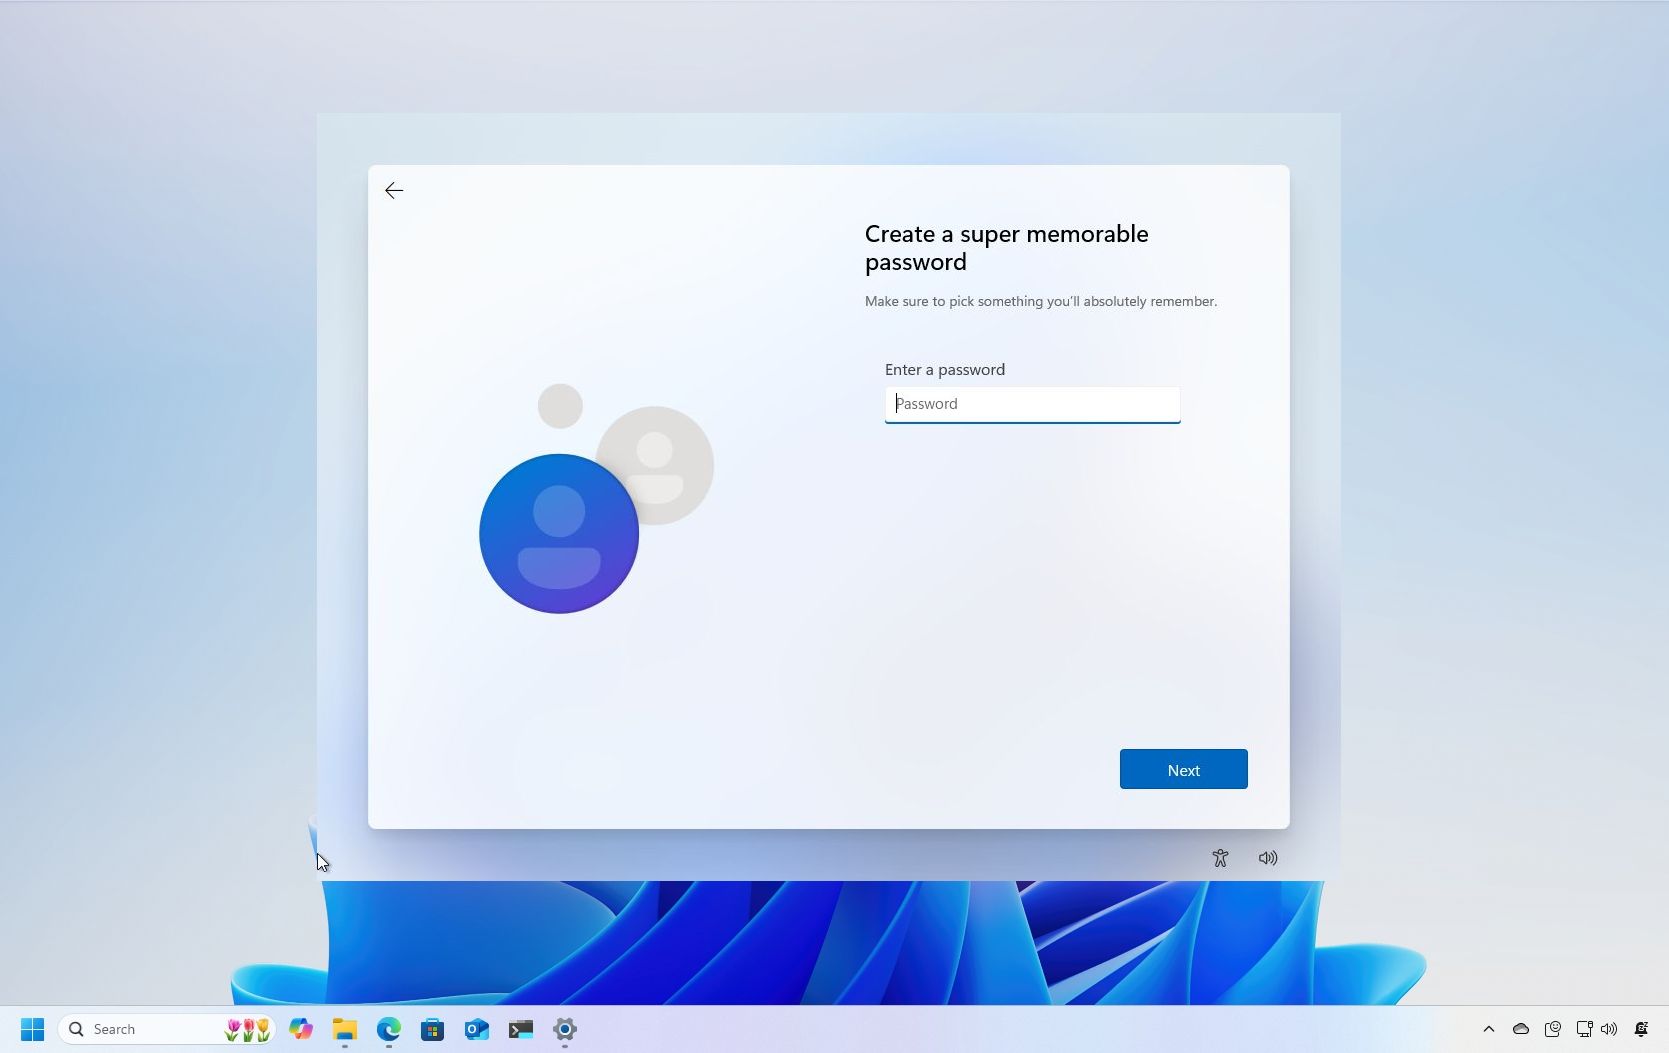
In the new Windows 11 operating system, Microsoft is enhancing the barriers to bypassing internet and Microsoft account registration during installation. This essentially means that users will find it harder to establish a standalone (local) account, in my viewpoint, a move that is misguided.
In the releases of Windows 11, namely builds 26120.3653 and 26200.5516, Microsoft has taken away the “BypassNRO.cmd” script, a tool that earlier enabled users to bypass certain prerequisites.
Microsoft’s move is intended to bolster security and elevate user satisfaction, but predictably, users have voiced their displeasure about the change.
To begin our discussion, it’s worth mentioning that it’s no surprise that Microsoft encourages users to configure their computers using a Microsoft account. This choice not only offers smooth compatibility with the firm’s digital services and applications but also opens up substantial revenue streams for the company.
Using a Microsoft account offers several essential functions such as syncing files and settings across different devices, managing parental controls, and locating your device if it gets misplaced or stolen. Moreover, since the release of Windows 11 version 24H2, the system now enables automatic device encryption during setup, storing the recovery key securely within your linked Microsoft account.
Although there are advantages to it, Microsoft ought to maintain the ability for users to establish a local account, particularly during setup. Limiting this option is moving in an unfavorable direction for several significant reasons.
Enhanced privacy
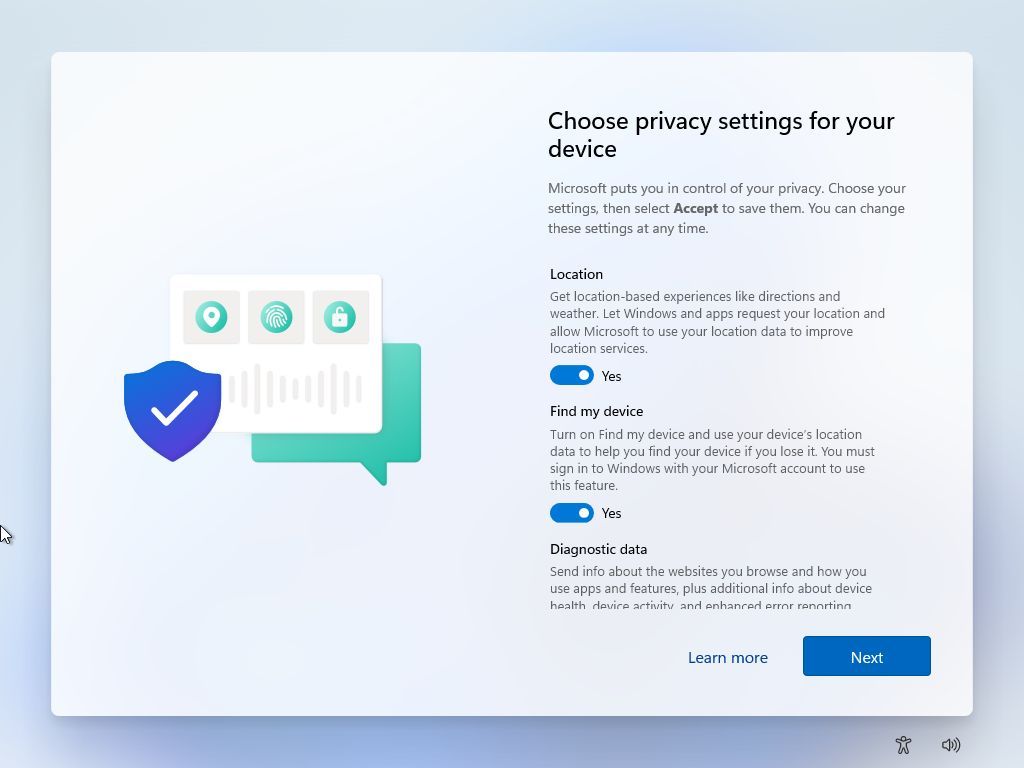
One reason for this setup is to prioritize privacy. With a local account, your information stays separate from Microsoft’s online services, keeping your personal data securely stored on your own device instead.
As a tech-savvy individual, I appreciate this method that significantly reduces the sharing of my data with offsite servers. This is crucial for maintaining privacy and minimizing worries about data collection and user monitoring. However, it’s essential to note that the company still gathers telemetry data, regardless of the account configuration on my device.
Easy setup
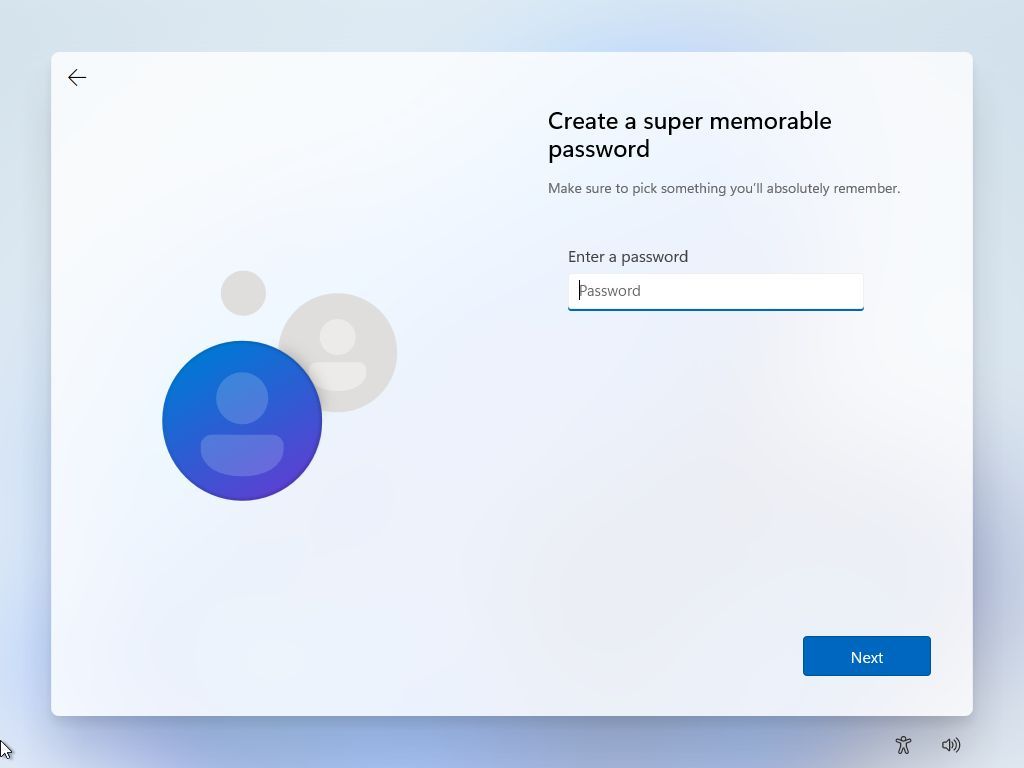
Utilizing a local account means that you can set it up without an internet connection initially, and the process is simplified with fewer steps required.
To set up Windows 11 Home or Pro, it is necessary that your computer is connected to the internet. If not, you won’t be able to finish the initial setup without resorting to workarounds, which would require you to go to another location with internet access and use a Microsoft account for completion.
Simple management
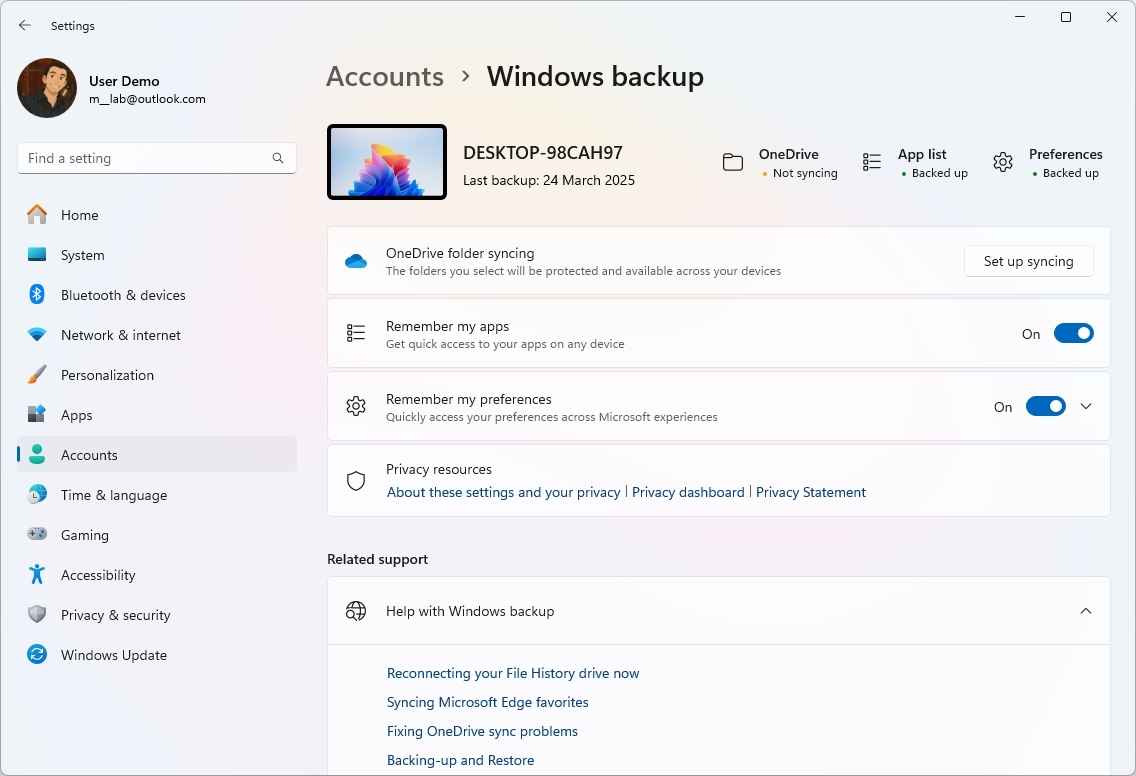
For systems without the need for coordination across several devices, a local account provides a simple, straightforward setup that doesn’t involve extra configuration steps often associated with online accounts.
Unrestricted account access
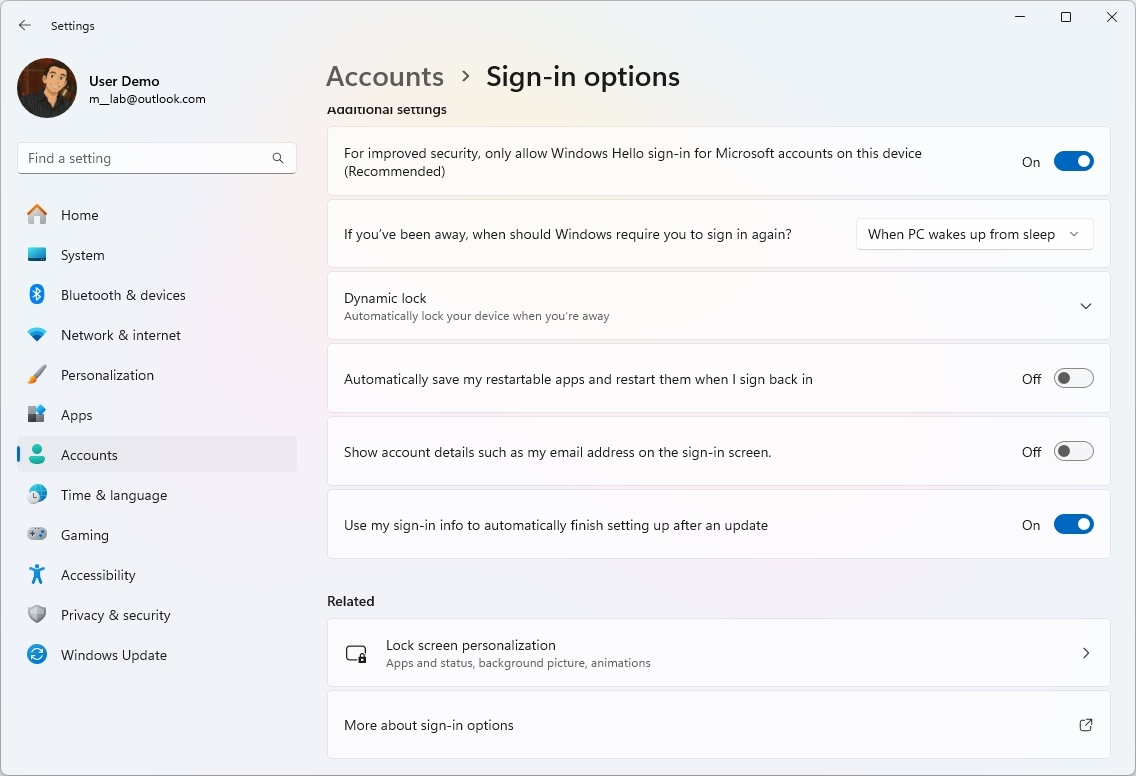
As a tech-savvy individual, I’d say, “I’m really into offline functionality! A local account lets me interact with a system and carry out tasks, all without the need for an internet connection. It’s a game-changer in places where internet access is scarce or non-existent.
To clarify, signing into a computer set up with a Microsoft account can indeed be done, but exclusively through the use of a PIN. In case the device isn’t connected to the internet, you won’t have the option to log in using your password instead.
Better profile configuration
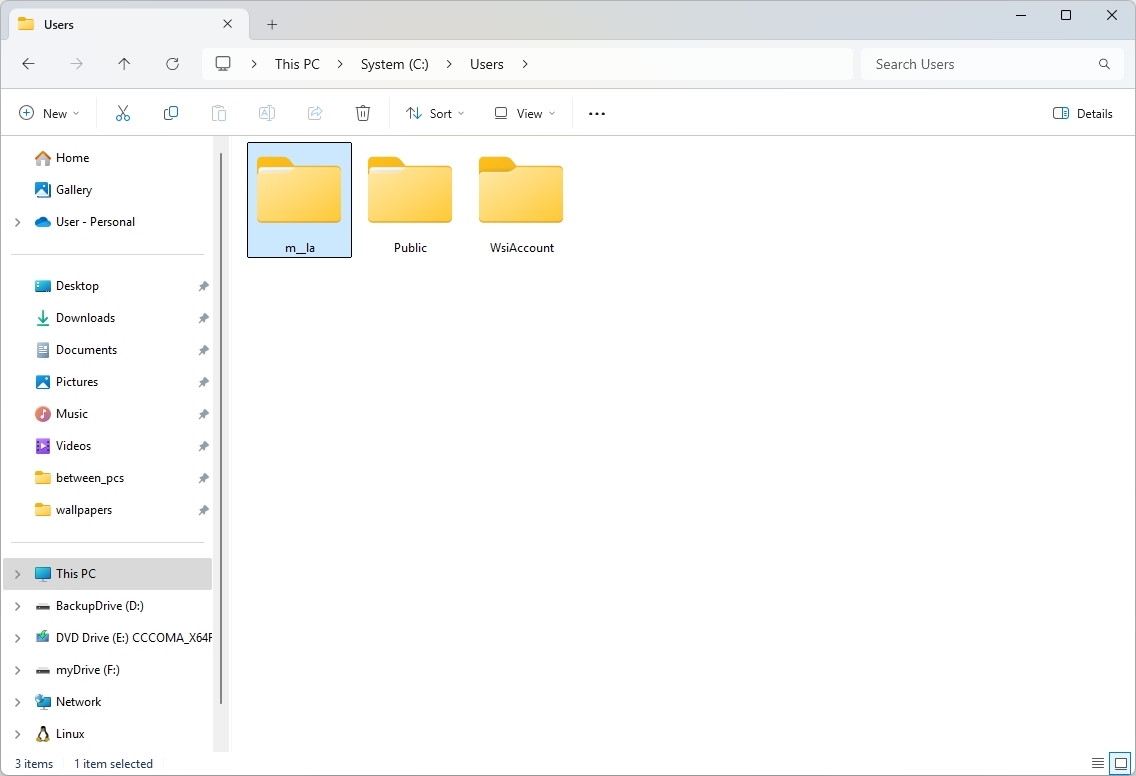
Initially, the system automatically generates your profile folder name based on the first five letters of your email address linked to your Microsoft account. This method is intended to add a layer of randomness and prevent naming conflicts when creating numerous accounts. However, it may lead to a folder name that seems confusing or unrelated to you.
On my primary system, I typically set up a local user account during initialization as it permits me to assign a more personalized folder name. Then, I connect this user account to my Microsoft account.
And I’m not the only one. Our own Zac Bowden also happens to have a similar opinion.
I often recommend connecting Windows 11 to a Microsoft Account following the Out-of-Box Experience (OOBE), as the method OOBE employs during setup to organize user directories can be rather unintuitive. Instead of using your first name, it uses the initial five letters from your email address for this purpose. [March 31, 2025]
Better Remote Desktop
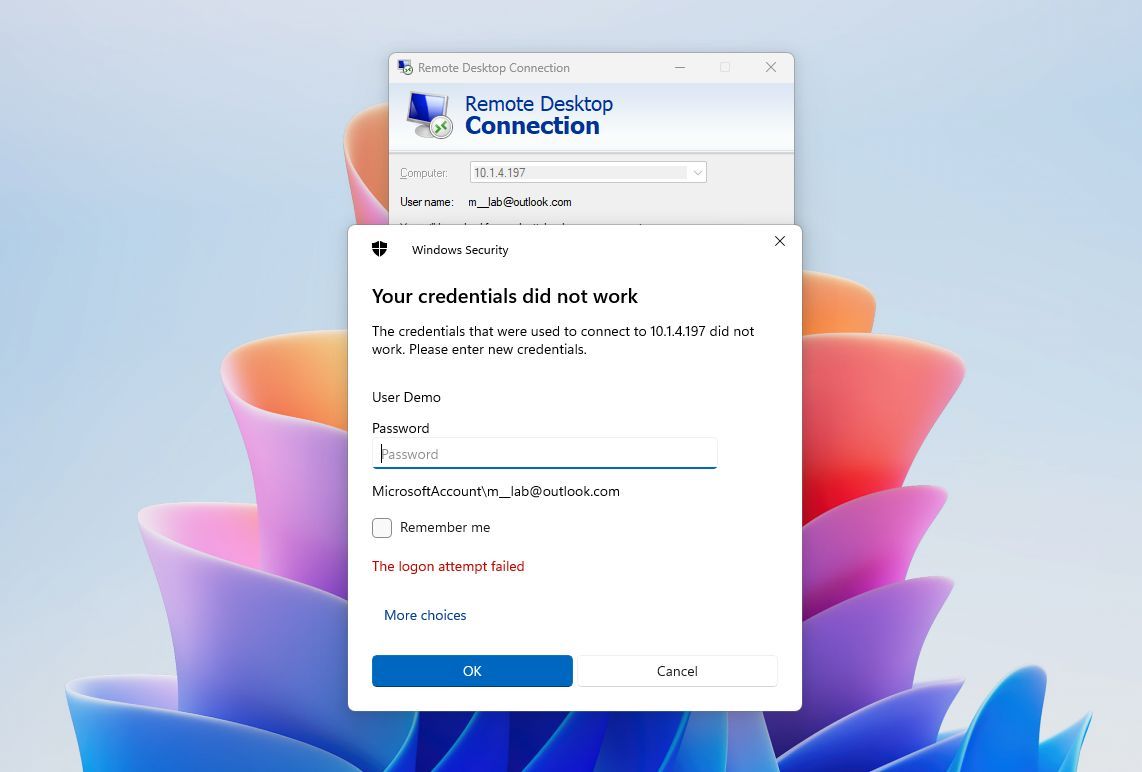
Lastly, another point worth considering is that retaining the ability to create a local account could help Microsoft prevent issues with Remote Desktop connections.
At present, when utilizing a Microsoft account for remote connection, although you can successfully establish the link, you won’t be capable of signing in. To resolve this issue, you should disable the Windows Hello feature first, followed by logging out and then logging back in with your password instead. It is only after these steps that you will be able to authenticate using Remote Desktop.
As a tech-savvy individual, here’s my way of saying it: When you’re managing things locally with your own account, setting up a Remote Desktop connection becomes a breeze, thanks to the security provided by your unique password.
Users should have the choice to decide
It seems more straightforward if we say, “I think it would be fairer for Microsoft to allow users to choose their preferred settings during the initial setup of the operating system directly, instead of relying on workarounds. Making such a choice without user input can come across as manipulative.
It’s worth mentioning that you can continue to make a local account on the desktop version. But keep in mind, it might not be there in future updates, especially for the Home edition.
1. Start by setting up your device with a Microsoft account during initial setup if possible.
2. If you don’t want to use a Microsoft account, proceed to create a local account once the device is set up.
3. To do this, go to the Settings app on your device.
4. Navigate to Accounts > Family & other users > Add an account > Add a user in Windows 10 or Users & accounts > Manage accounts > Add account > Create new account in earlier versions of Windows.
5. Select “Local account” and follow the prompts to create your new account.
6. Once the local account is created, switch to it by going back to Settings > Accounts > Family & other users > Your info, then click on your Microsoft account and select “Sign out.”
7. After signing out of the Microsoft account, you can delete its profile if desired by selecting it in Settings > Accounts > Family & other users > Manage family members or Manage other accounts, depending on your device’s operating system version.
If you prefer not to use an online account or bypass other requirements during installation, you can opt for a clean setup using a custom USB flash drive instead. This method is also useful in the Out-of-box Experience (OOBE). To create a local account without going through most of the additional steps in the OOBE, simply press the “Shift + F10” keyboard shortcut to open Command Prompt and then execute the “start ms-cxh:localonly” command. This will bring up the legacy account manager, allowing you to set up a local account directly.
How do you feel about Microsoft requiring users to create a Microsoft account during the setup process for their operating system? Share your opinions below.
More resources
Read More
- Gold Rate Forecast
- Masters Toronto 2025: Everything You Need to Know
- SteelSeries reveals new Arctis Nova 3 Wireless headset series for Xbox, PlayStation, Nintendo Switch, and PC
- Rick and Morty Season 8: Release Date SHOCK!
- Discover the New Psion Subclasses in D&D’s Latest Unearthed Arcana!
- We Loved Both of These Classic Sci-Fi Films (But They’re Pretty Much the Same Movie)
- Mission: Impossible 8 Reveals Shocking Truth But Leaves Fans with Unanswered Questions!
- Eddie Murphy Reveals the Role That Defines His Hollywood Career
- PI PREDICTION. PI cryptocurrency
- ‘The budget card to beat right now’ — Radeon RX 9060 XT reviews are in, and it looks like a win for AMD
2025-04-02 12:40