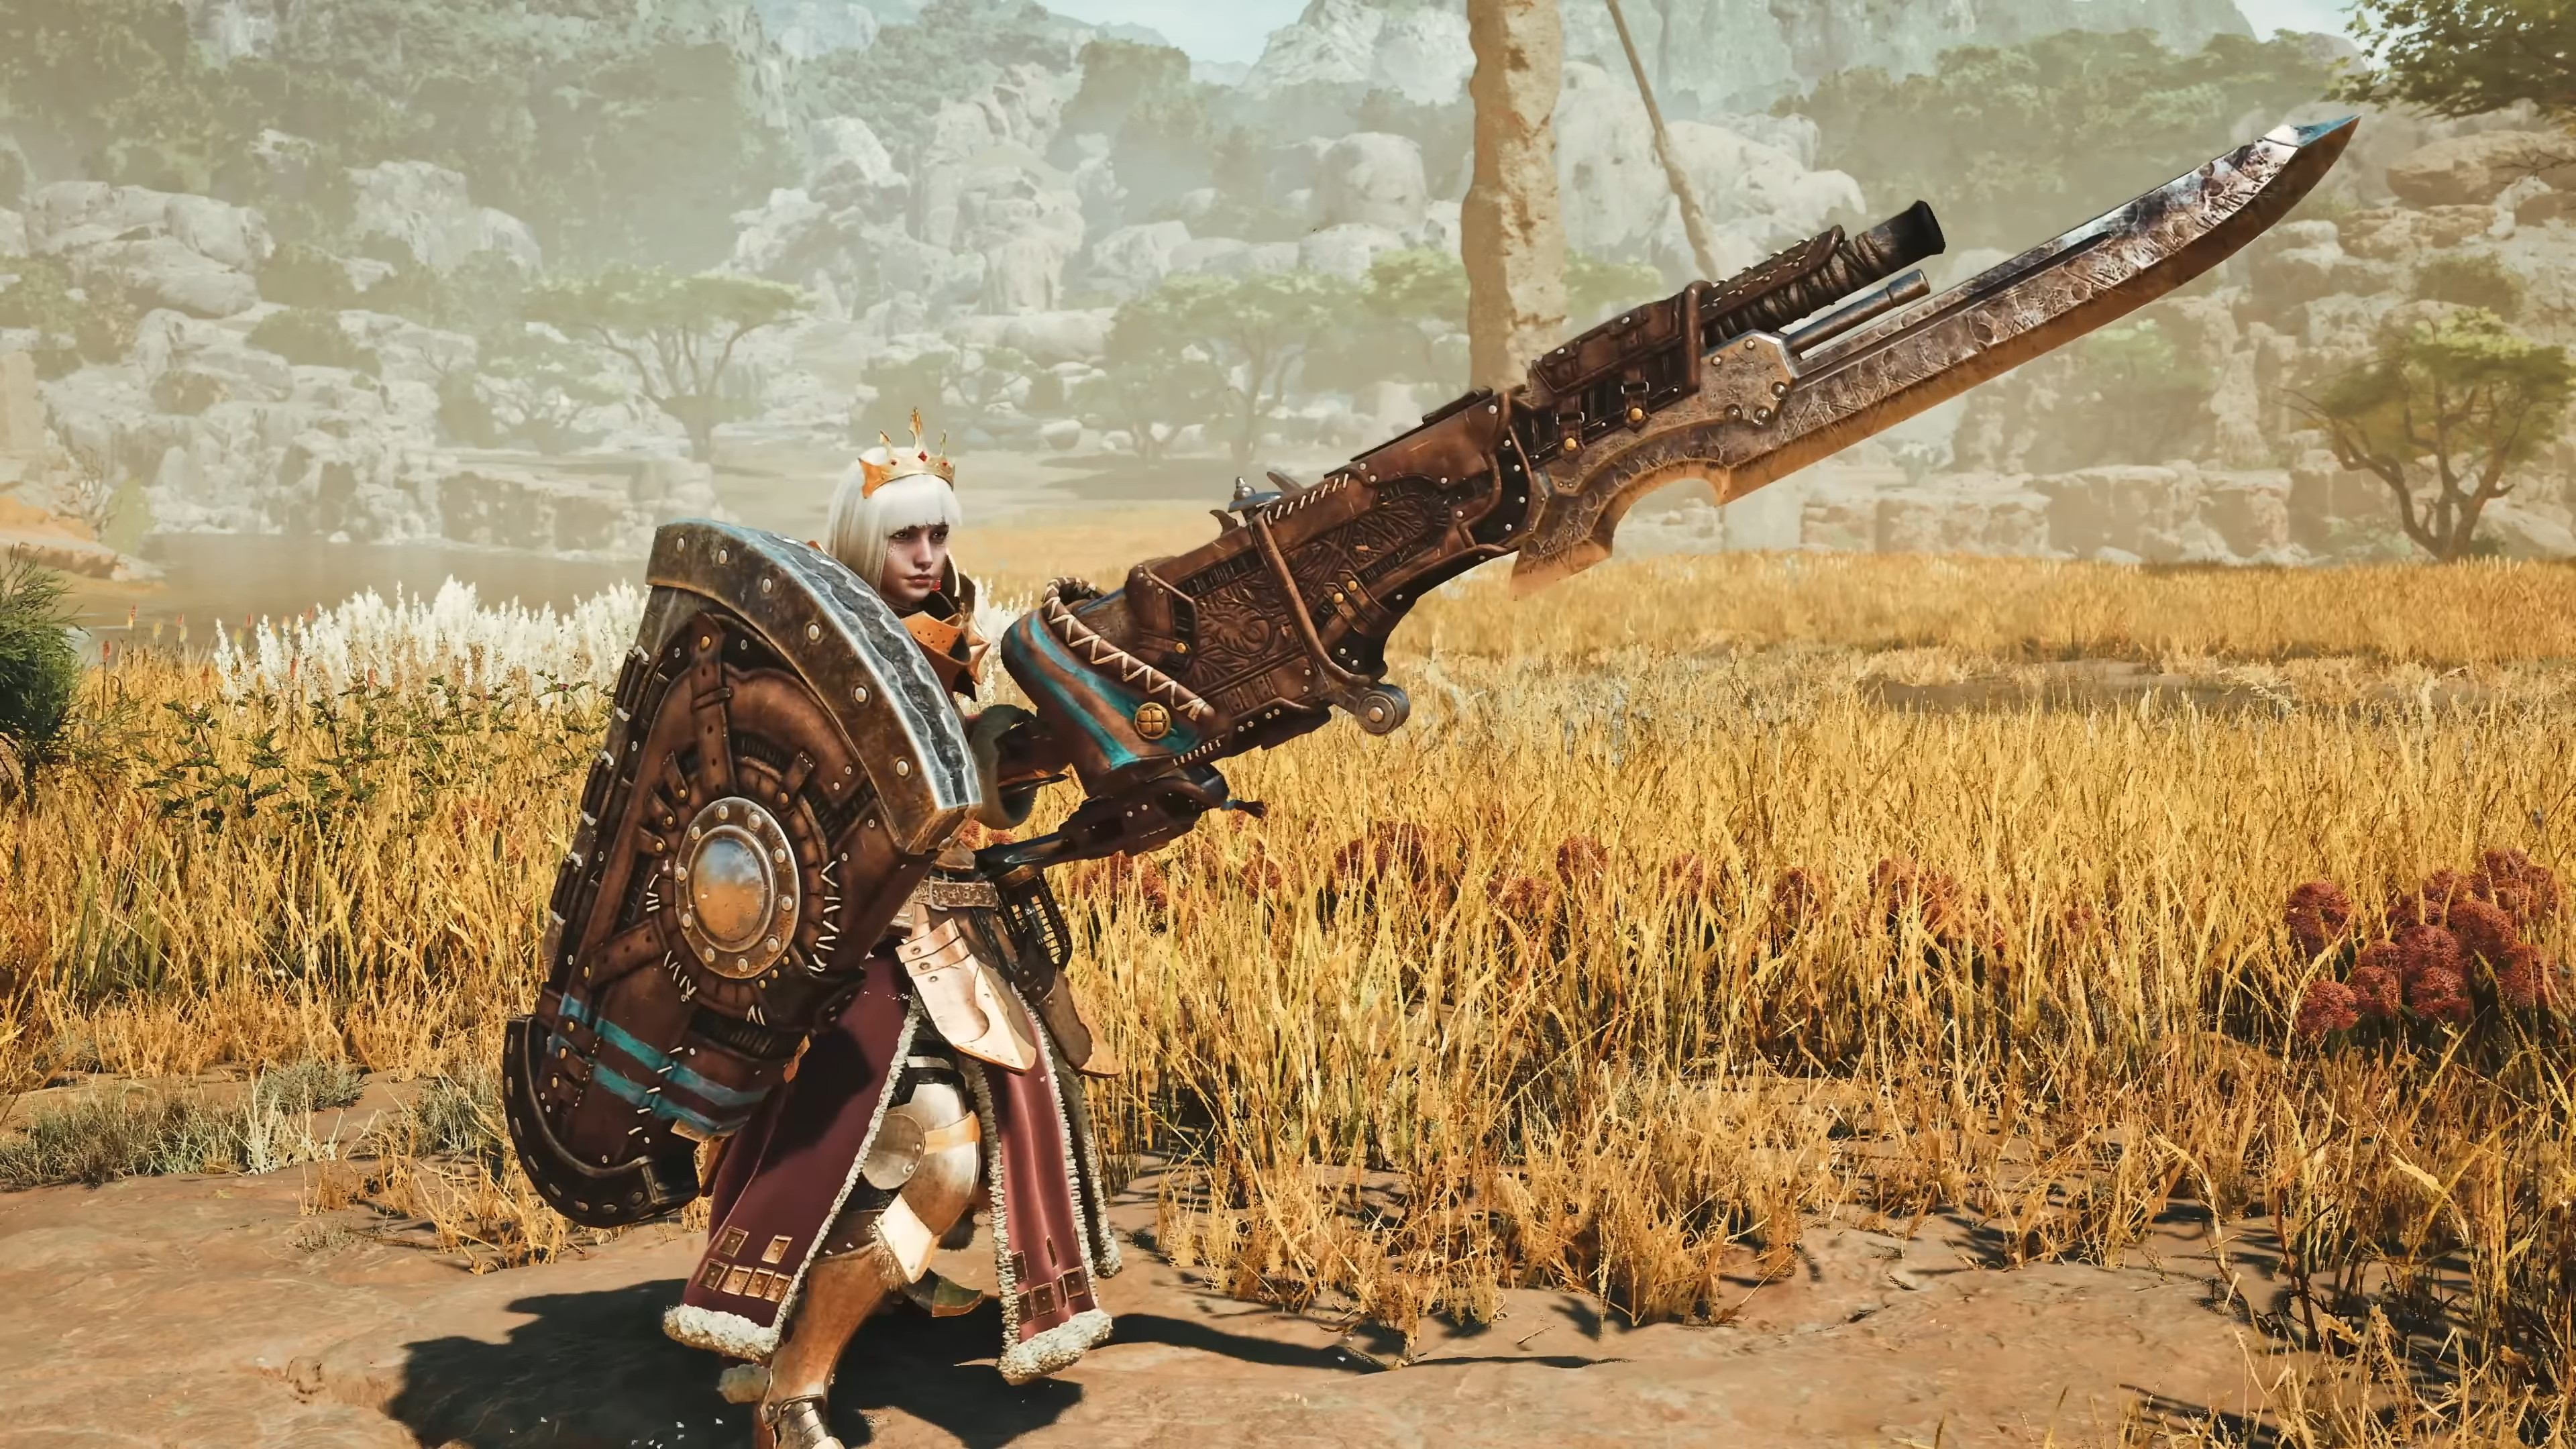
The optimal Gunlance build in Monster Hunter Wilds emphasizes my preferred weapon’s ideal blend of attack and defense. Using a Gunlance involves transforming into an indomitable force, with a guarded shield to repel minor attacks while jabbing at enormous monsters during lulls in their onslaught. The Lance, its closest relative, also shares this trait, but the Gunlance excels due to its shelling combos.
In simpler terms, the projectiles that come out of the Gunlance’s built-in gun barrel are referred to as “Shells”. These are similar to shotgun blasts and consistently damage monsters regardless of their tough skin. You can fire them individually or all at once in a powerful combo known as a full blast. Further details about this will be discussed later.
Initially, let’s delve into the ideal playstyle for novice Monster Hunter players using the Gunlance weapon, highlighting the significant modifications made to it for those venturing back in Monster Hunter: Wilds. Subsequently, we’ll discuss build recommendations – optimal armor and weapon sets that will support you throughout Monster Hunter Wilds’ Low Rank quest line from start to finish.
This way, newcomers can grasp the nuances of using the Gunlance effectively, while returning players can appreciate the enhancements made to their favorite weapon. Meanwhile, our discussion on builds will provide valuable insights into the best armor and weapons for a smooth journey through the Low Rank campaign in Monster Hunter: Wilds.
How to play Gunlance in Monster Hunter Wilds
Effective Gunlance gameplay involves mastering the use of your shield first, followed by learning essential attacks and combinations that can be executed when the monster creates an opportunity.
- Hold RT to block. The Gunlance shield covers a nearly 180 degree radius in front of the hunter and can block most attacks while dealing minimal chip damage.
- Hold RT and press Y to poke the monster with your lance. This is a quick, safe, and repeatable attack that immediately gets you back into a guarded position.
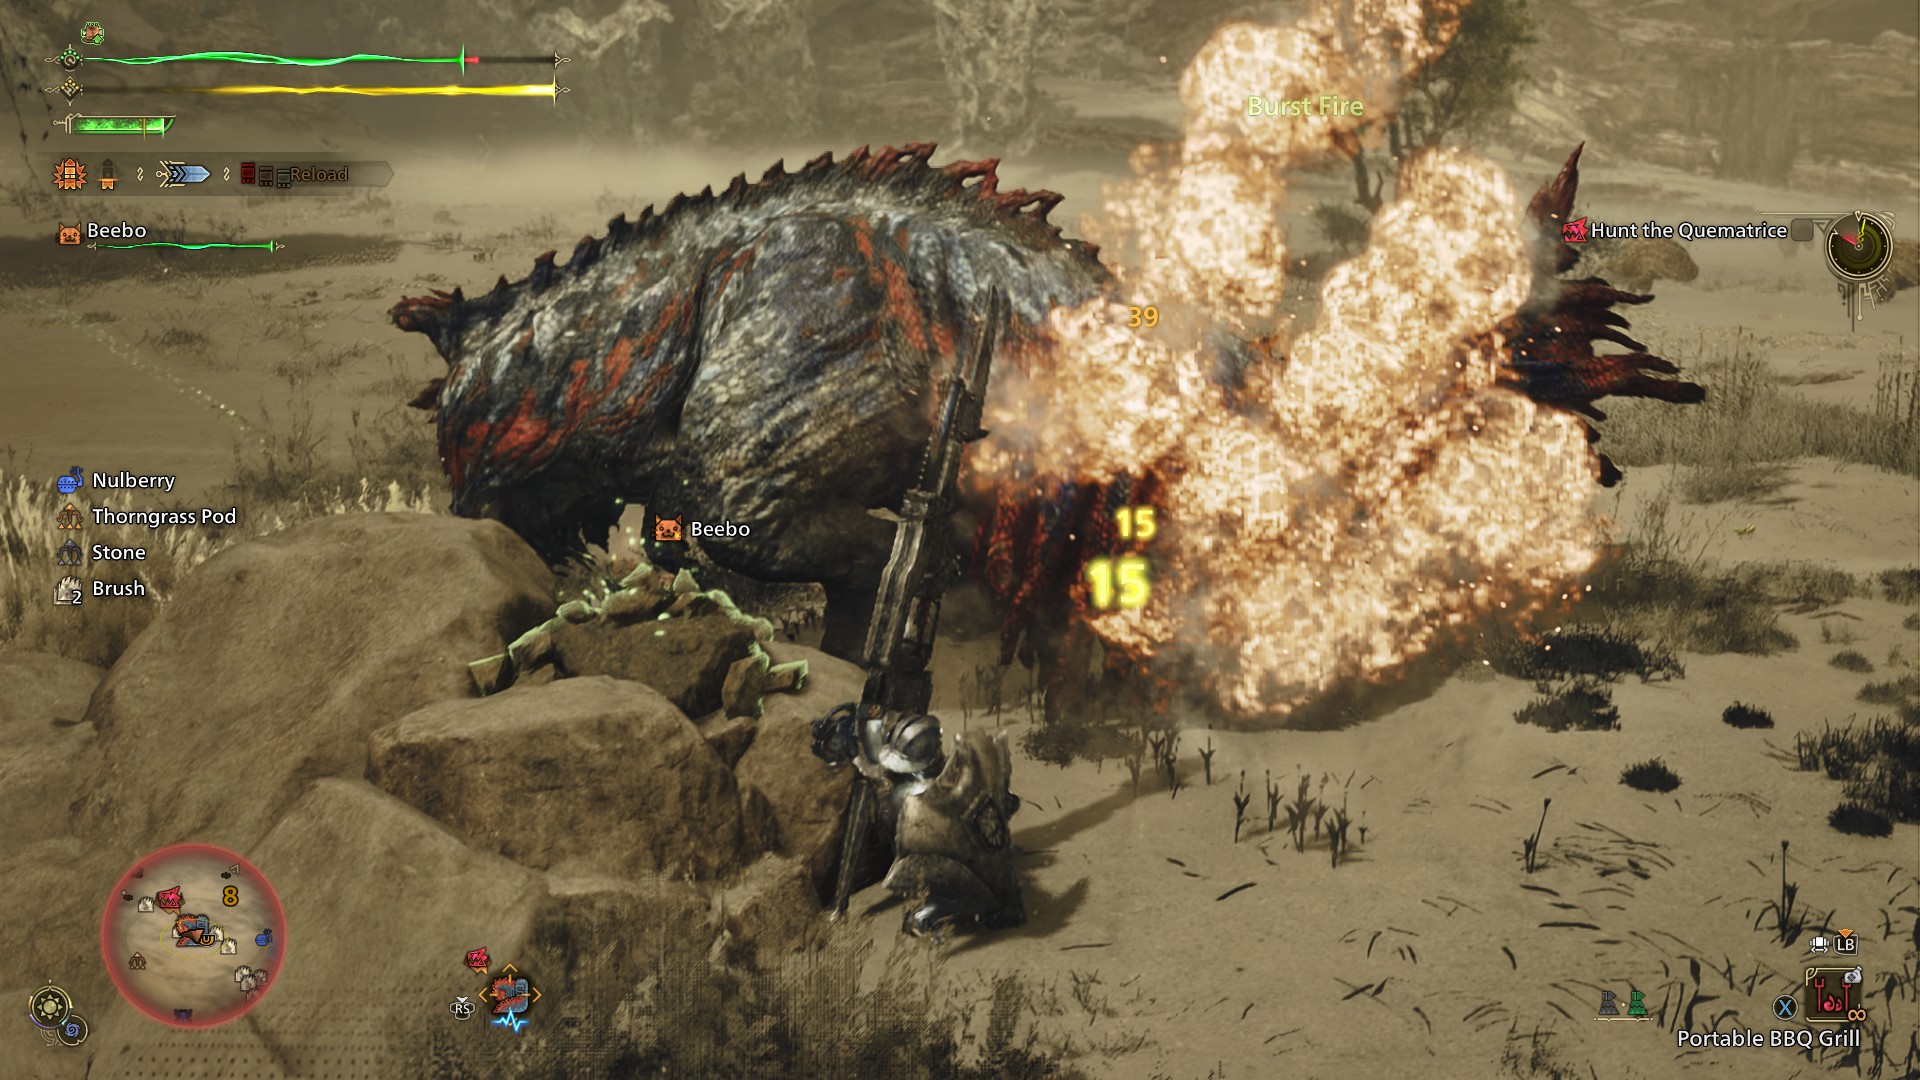
- Your best basic combo is the Full Blast: Press Forward + Y, Y+B, and then B to shoot all of your shells at once. From there, follow up with Y and Y to stick the monster with the Wyrmstake, a sticky explosive finishing move.
- There are two ways to reload: A full reload (RT + B neutral) reloads your shells and the Wyrmstake. A quick reload (RT + B after attack) is a shorter animation that will only reload shells but can be integrated into any combo.
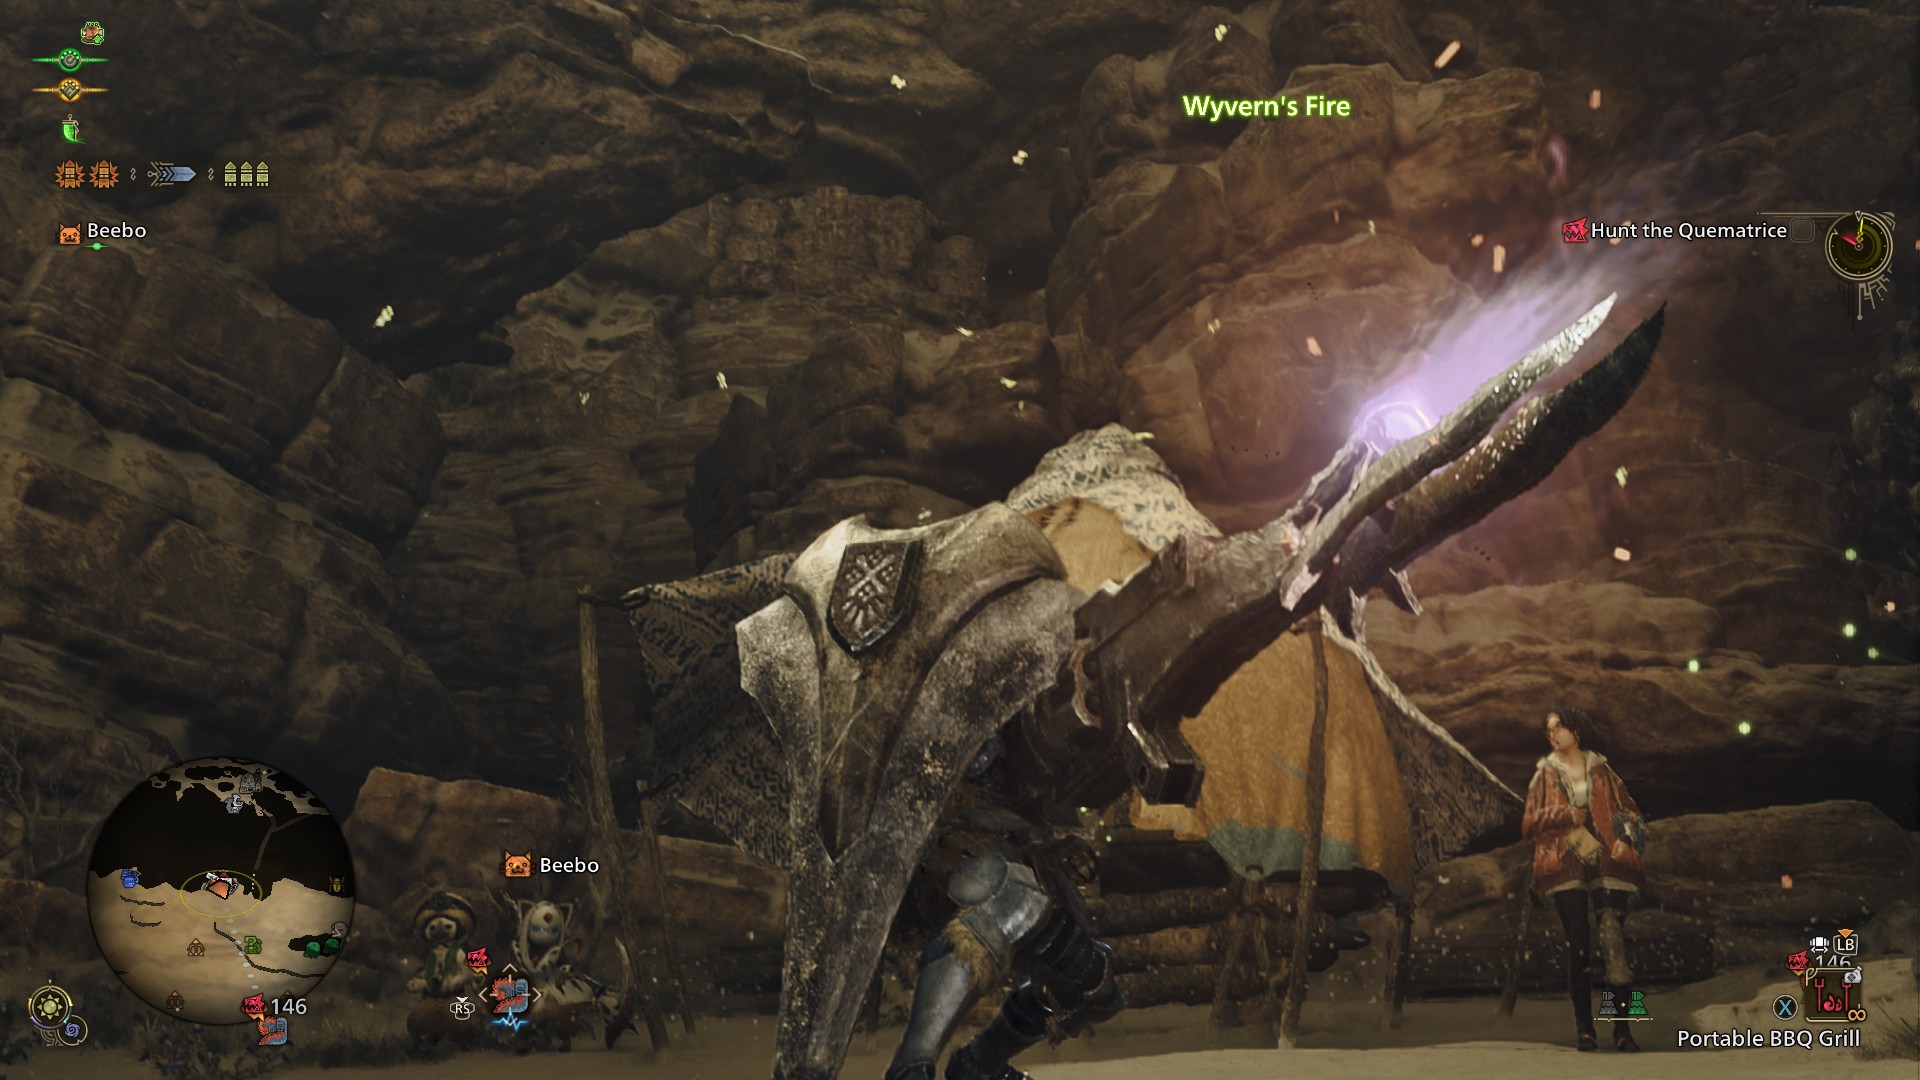
- Wyvern’s Fire: RT + Y + B is the Gunlances ultimate move, a huge stationary blast that takes a few seconds to charge and leaves the hunter vulnerable.
For decades, I’ve been a faithful Gunlance wielder, and I thought I knew all there was to know about this unique weapon. But with the arrival of Wilds, even old hands like me have to adapt to some exciting changes in our beloved gun-poker gameplay. Here are some advanced combat strategies new to Wilds that seasoned Gunlance players should consider mastering after they’ve got the basics down:
1. Wyrmstake Cannon: This powerful move unleashes a charged shot, dealing massive damage to weak points. It’s perfect for finishing off wounded monsters or disrupting their attacks.
2. Shelling: Don’t just stick to slamming your Gunlance into monsters; learn the art of shelling. Firing rounds at the right moments can help you keep a safe distance, deal damage, and stun enemies for easier follow-up attacks.
3. Slash Counters: Timing is everything in Wilds. Mastering slash counters lets you capitalize on monster openings, dealing extra damage while also reducing the chance they’ll retaliate with a powerful counterattack.
4. Evade Extender: This skill allows for quicker and more agile movement, making it easier to dodge attacks and reposition yourself for optimal offense or defense.
5. Wide-range Shelling: Don’t forget that the environment is your ally too! Certain Gunlances can now shoot shells that bounce off walls, allowing you to attack monsters from unexpected angles.
- The Multi-Wyrmstake Full Blast Combo is the Gunlance’s new longest and hardest-hitting combo. It begins the same way as the standard Full Blast combo, but shoots shells in an over-the-head arch before immediately firing the Wyrmstake, then it does it all again: Forward + Y, Y+B, Y, Y+B, Y, B or Y.
- Perfect guards: A well-timed guard right as a monster hit connects triggers a Perfect Guard, a guard that won’t knock you back and lets you shortcut into combos with Y.
- Shelling with B now lets you sidestep in any direction as you fire, giving the Gunlance more maneuverability to pivot around monsters while dishing out consistent damage.
- Gunlances have two Wyvern’s Fire charges now, and immediately following up the first with a second blast will decrease its charge time. This is really useful for getting two Wyvern’s Fire blasts off while a monster is stunned or sleeping.
Best Gunlance build for Low Rank
The first build is all about easing you into the Gunlance with some very complimentary perks.
- First weapon: Triple Bayonet 1
Indeed, it might seem a bit dull initially, but this fundamental Gunlance offers one of the most advantageous weapon advantages in the game right off the bat: Guard Up. This feature allows you to block attacks that normally cannot be blocked and decreases the damage taken as chip damage by 30% at level 1. This unique perk makes it stand out as an exceptional starter Gunlance in my opinion, given its ability to help you effortlessly withstand almost any attack a Low Rank monster can unleash simply by holding the block.
- Second weapon: Quematrice Culebrina 2
Instead of retaining Guard Up, this Gunlance enhances it by incorporating a Level 2 Guard skill. This enhancement reduces the recoil and stamina drain when blocking attacks by 30%. This feature becomes particularly valuable when confronting formidable foes in Mid Low Rank. Additionally, its fire shelling is more potent compared to beginner Gunlances, offering an extra advantage.
- Third weapon: Ajara Gunpike 1
This one works optimally when you’re proficient in block timing and evasive maneuvers, as it lacks Guard or Guard Up abilities. Instead, it boasts two offensive enhancements: Offensive Guard, which amplifies your attack following a strategic block, and Load Shells, which expands your shell capacity. These perks complement each other particularly well with the blast elemental buildup that causes massive damage explosions.

1. MH Wilds: Longsword strategies – Victory through slashing
2. MH Wilds: Greatsword strategies – Powerful sword maneuvers
3. MH Wilds: Bow strategies – Bullseye strikes
4. MH Wilds: Dual Blades strategies – Rapid and relentless
5. MH Wilds: Charge Blade strategies – Malevolent vial impacts
6. MH Wilds: Light Bowgun strategies – More lethal, less stationary
- First armor set: Alloy Helm, Alloy Mail, Alloy Vambraces, Alloy Coil, Alloy Greaves
It appears as though the fundamental Alloy armor set has been specifically designed for Gunlance enthusiasts, as its features perfectly align with our preferences for a beginner’s set. The level 3 Tremor Resistance and level 2 Quick Sheathe are fantastic enhancements to the user experience, reducing the irritation of early hunts by making you relatively invulnerable to ground tremors that would typically breach the Gunlance’s shield, and expediting the Gunlance’s somewhat slow sheathing animation in stressful situations.
- Second armor set: Quematrice Culebrina 2, Quematrice Helm, Ingot Mail, Quematrice Braces, Ingot Coil, Quematrice Greaves
In the early stages of crafting, you can access this second build which provides a timely defense enhancement for your Gunlance. As you begin to crave more robust defense, take a moment to consider this combination of Quematrice and Ingot gear. This setup also offers several desirable bonus features for Gunlance: Flinch Free 3 reduces the frequency that light monster attacks interrupt your slower combos (although some damage will still be taken), while Windproof allows you to disregard those pesky howls when you fail to block them in time.
- Third armor set: Ajarakan Helm, Ajarakan Mail, Alloy Vambraces, Alloy Coil, Ajarakan Greaves
In this build, a Blast Gunlance that breaks monster parts every six seconds works exceptionally well with Partbreaker, which is the standout feature of three Ajarakan armor pieces. The main draw of this set is primarily due to Partbreaker and the substantial defense boost provided by Rarity 3 armor. I’ve been using it for the final stages of Low Rank, but transitioning into High Rank might make you want to switch away from this armor eventually, as its offensive power is quite enticing for a while.
Read More
- Gold Rate Forecast
- PI PREDICTION. PI cryptocurrency
- Masters Toronto 2025: Everything You Need to Know
- We Loved Both of These Classic Sci-Fi Films (But They’re Pretty Much the Same Movie)
- Mission: Impossible 8 Reveals Shocking Truth But Leaves Fans with Unanswered Questions!
- SteelSeries reveals new Arctis Nova 3 Wireless headset series for Xbox, PlayStation, Nintendo Switch, and PC
- Eddie Murphy Reveals the Role That Defines His Hollywood Career
- LPT PREDICTION. LPT cryptocurrency
- Rick and Morty Season 8: Release Date SHOCK!
- WCT PREDICTION. WCT cryptocurrency
2025-02-27 14:38