In the game “Stalker 2“, survival is taken very seriously and the developers ensure this by scattering supply caches throughout the entire game world, which players can use to help them endure the radiation-ridden environment of Chernobyl.
Finding them isn’t always easy since they blend seamlessly with their surroundings. But if you love adventure, the game does offer these hidden treasures. However, navigating such a perilous environment can be tricky for some and it might take a lot of time. To help you avoid the risks and save precious time, we’ve put together this guide.
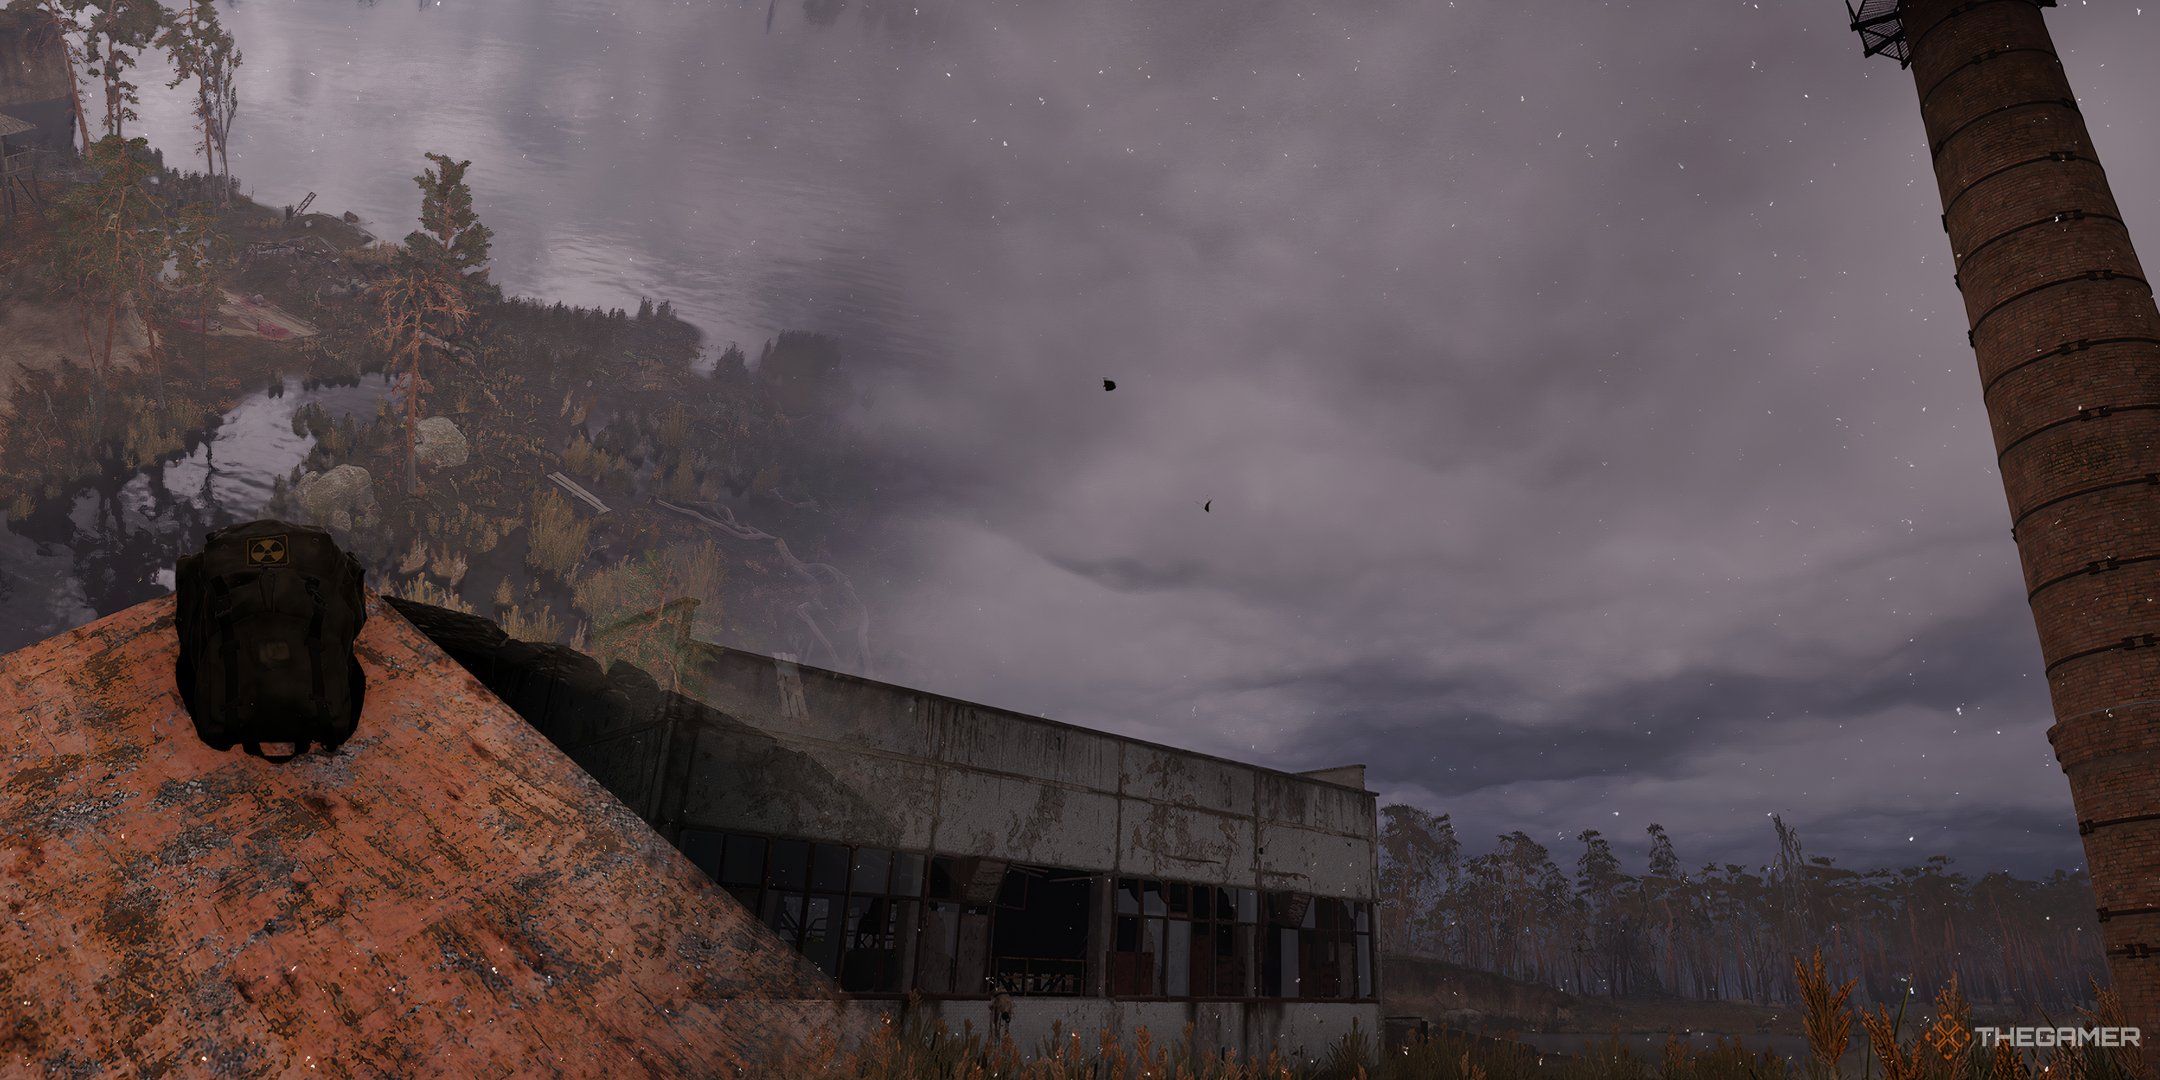
All Stashes In Wild Island Location
In the game Stalker 2, there are numerous secret caches scattered throughout Wild Island. Below, I’ve listed the spots where you can uncover additional resources.
Or:
In the video game Stalker 2, you’ll discover lots of hidden stashes on Wild Island. Here are all the places where you can locate some extra gear.
Or:
Stalker 2 features many secret storage spots on Wild Island. Below, you can find a list of locations for some additional supplies.
Or:
When playing Stalker 2, keep an eye out for hidden caches scattered across Wild Island. Here’s where to find extra resources at each location.
Or:
In the world of Stalker 2, there are numerous secret stashes on Wild Island. Check out the following locations to uncover some additional supplies.
Pontoon Depot Warehouse Stash
In the northwestern part of Wild Island lies an old, deserted warehouse. This building houses a mischievous spirit, so be prepared to deal with it before continuing your exploration. As you venture further into the warehouse, you’ll encounter a cement truck. Across from this truck, there is a shelf upon which a metal safe deposit box can be found.
Pontoon Depot Broken Shed Stash
To the west of Pontoon Depot Warehouse, there’s a rather large and damaged shed. You can get to its rooftop by leaping over some green metal obstacles located nearby. During your ascent, you may encounter an unusual occurrence; in such a case, hurl a bolt at it and carry on. Once you’re on the roof, head south, and you’ll discover a hidden cache on the right side.
Mineshaft Stash
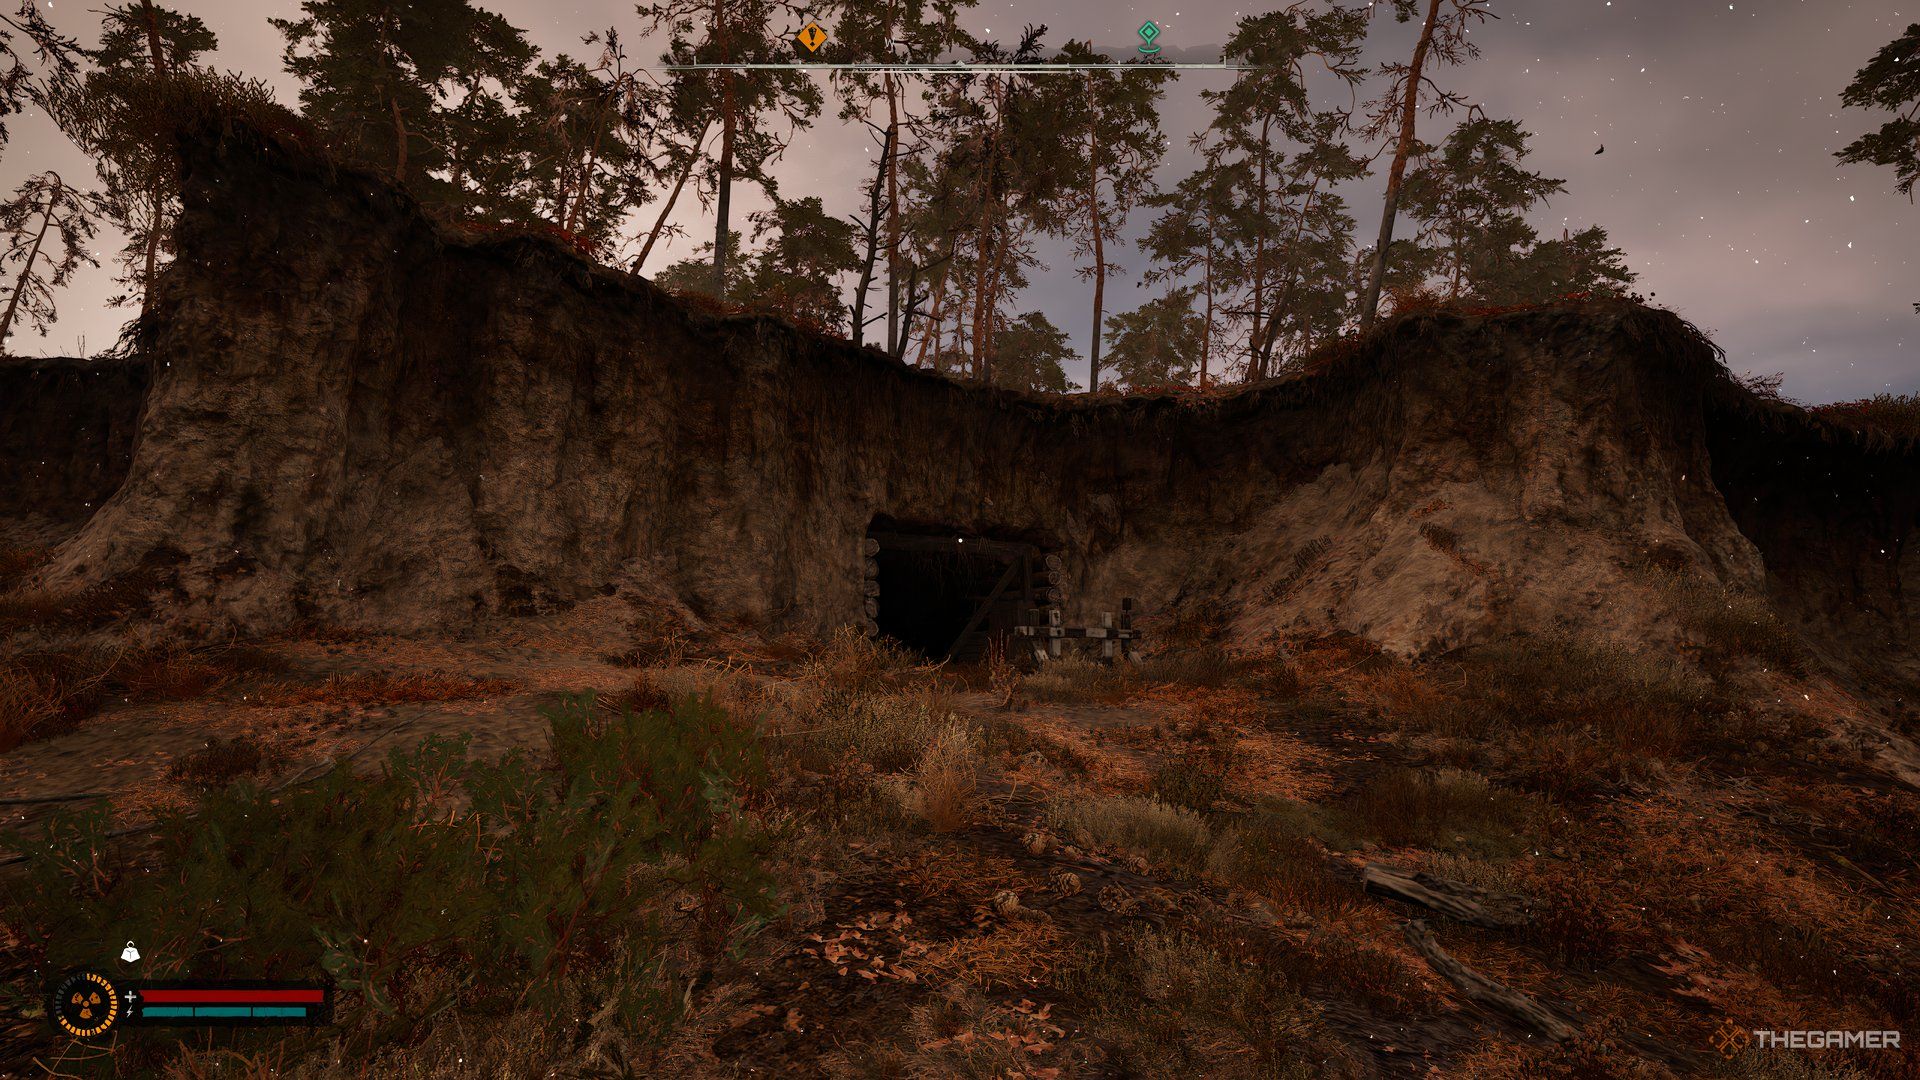
You’ll come across a mineshaft situated to the north of Pontoon Depot. Once you enter the mineshaft, you will discover a mine cart at its end. Behind this mine cart is where you’ll uncover a hidden cache.
Once you find the stash, you’ll be attacked by a swarm of rats, be ready for combat.
Broken Bridge Stash (North)
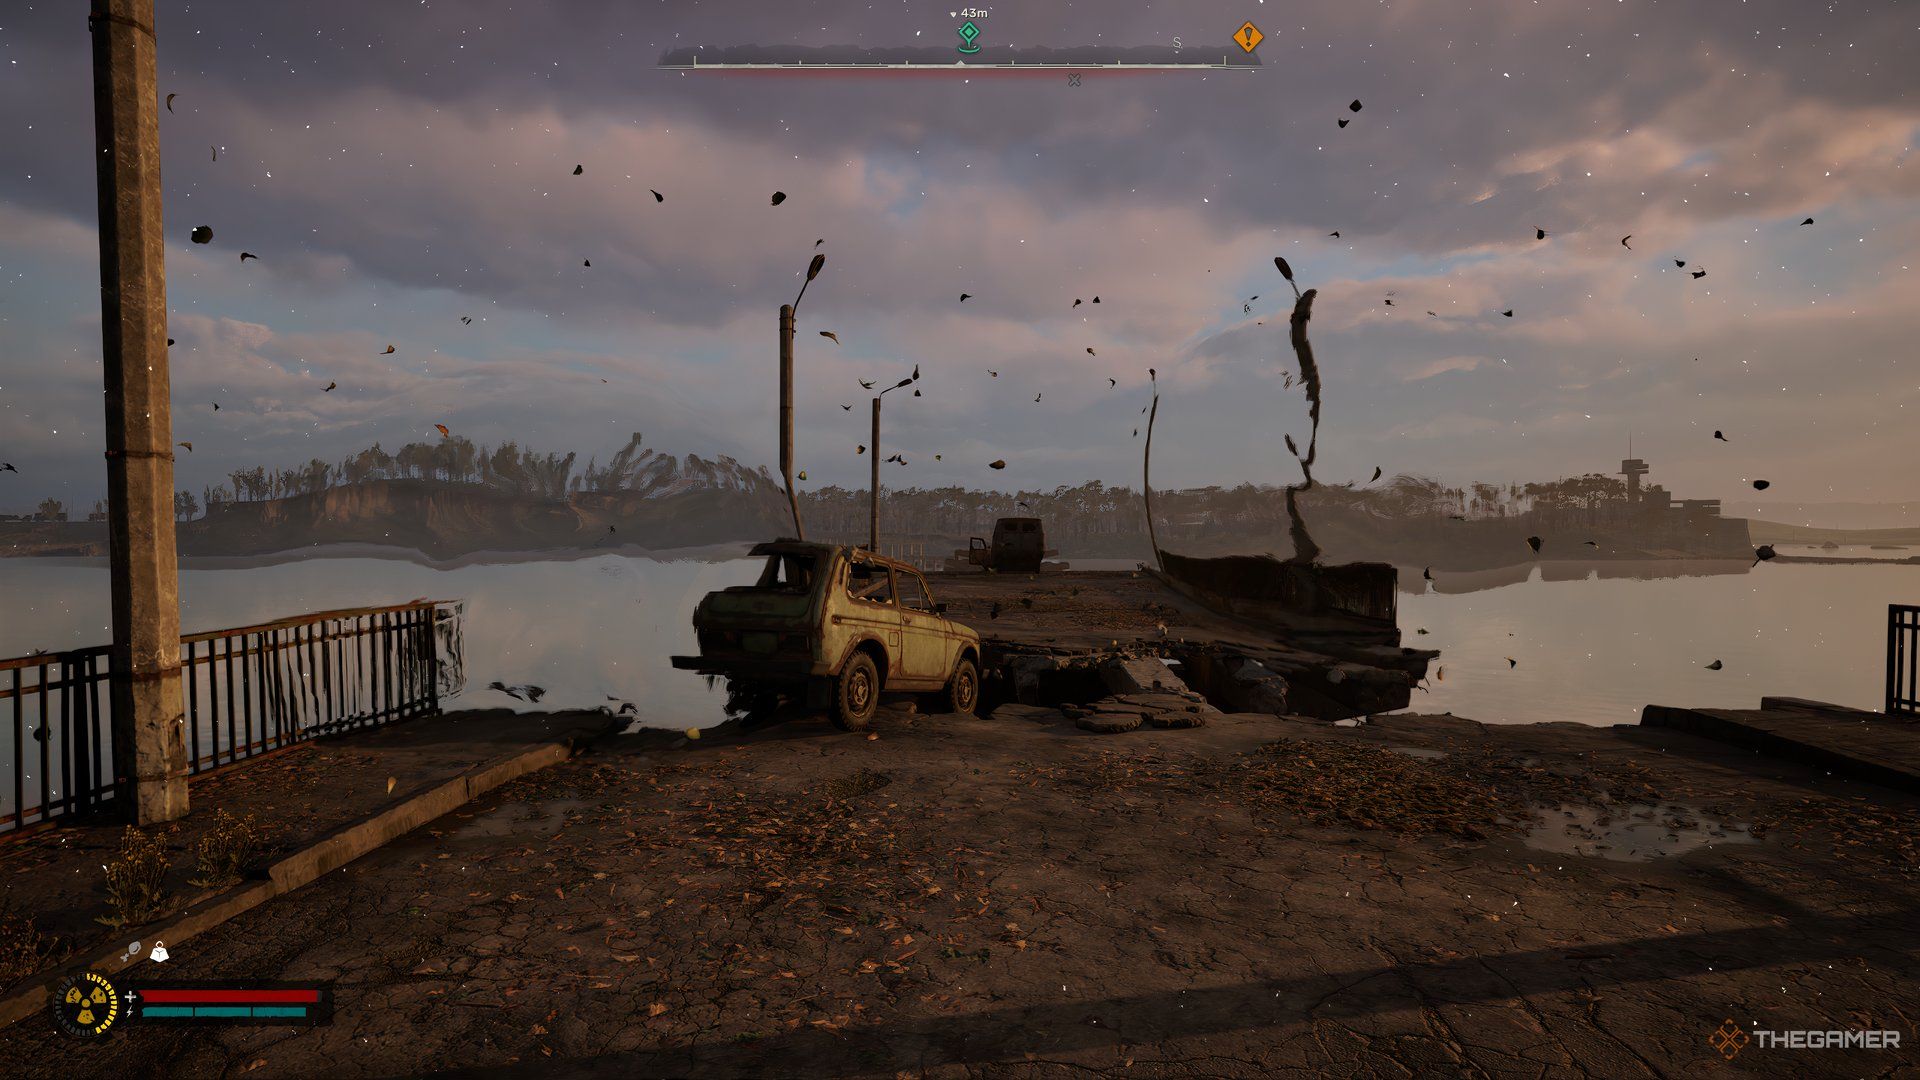
In the northwestern part of the Wild Island region, there’s a partially damaged automobile crossing. You’ll encounter some irregularities here. To get to the other side, walk along the narrow path linking them.
At the very end, you’ll come across a van precariously parked by the roadside. On the left side of this van, an open door reveals a bag or container, which seems to be our stash, sitting on the vehicle’s seat. Furthermore, there’s a M860 Cracker Shotgun stored alongside the stash.
Broken Bridge Stash (South)
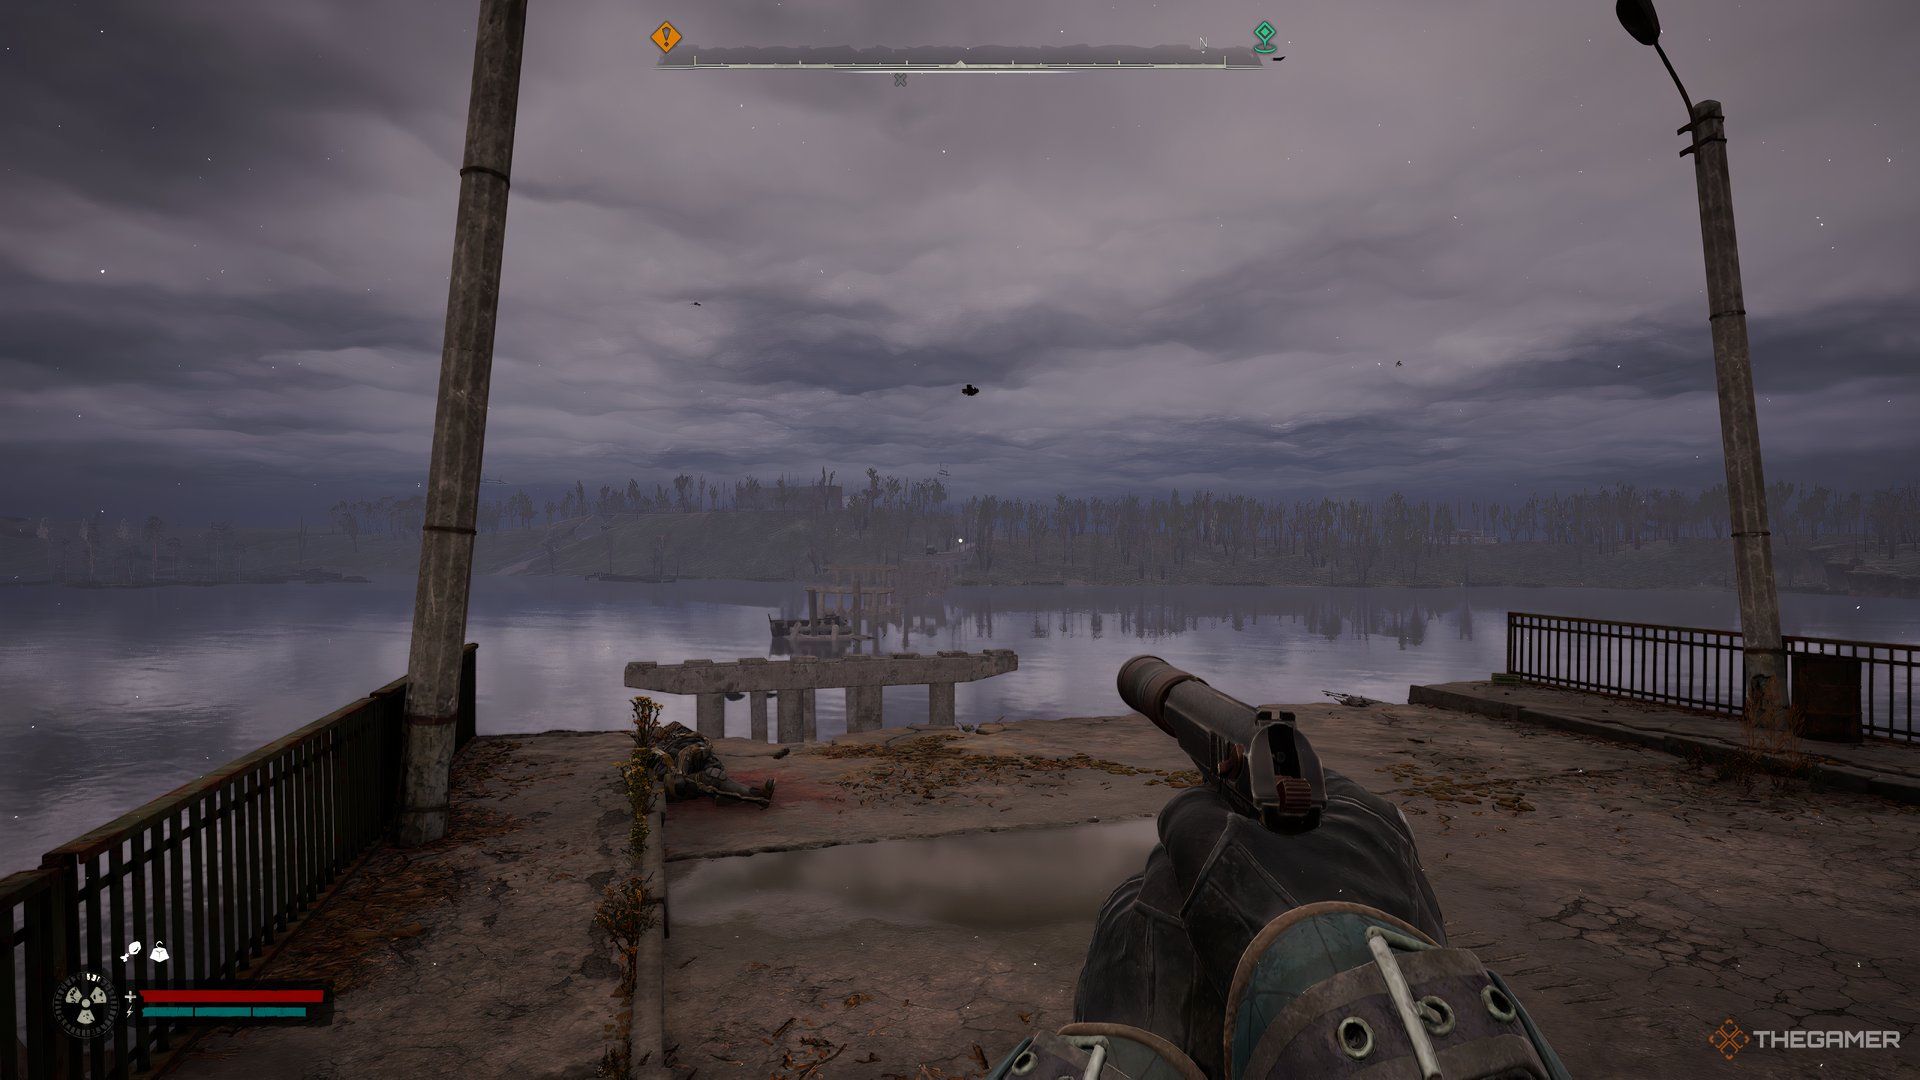
On the other side of the shattered bridge, there’s a hidden cache. Traverse through the Wild Island and make your way to the far end of the damaged suspension bridge. However, before you get there, you’ll need to eliminate the ferocious dogs and retrieve the Old Key from the deceased body on its left side.
Once you’ve obtained the key, make your way down from the bridge’s end and find yourself on the ship below. There, you will notice two distinctly blue storage containers. Walk between them to reach the one on your left that has been opened. Inside this container, you’ll discover a safe painted in blue. Use the key you previously found to unlock it, revealing the hidden stash within.
South Bridge Shore Stash
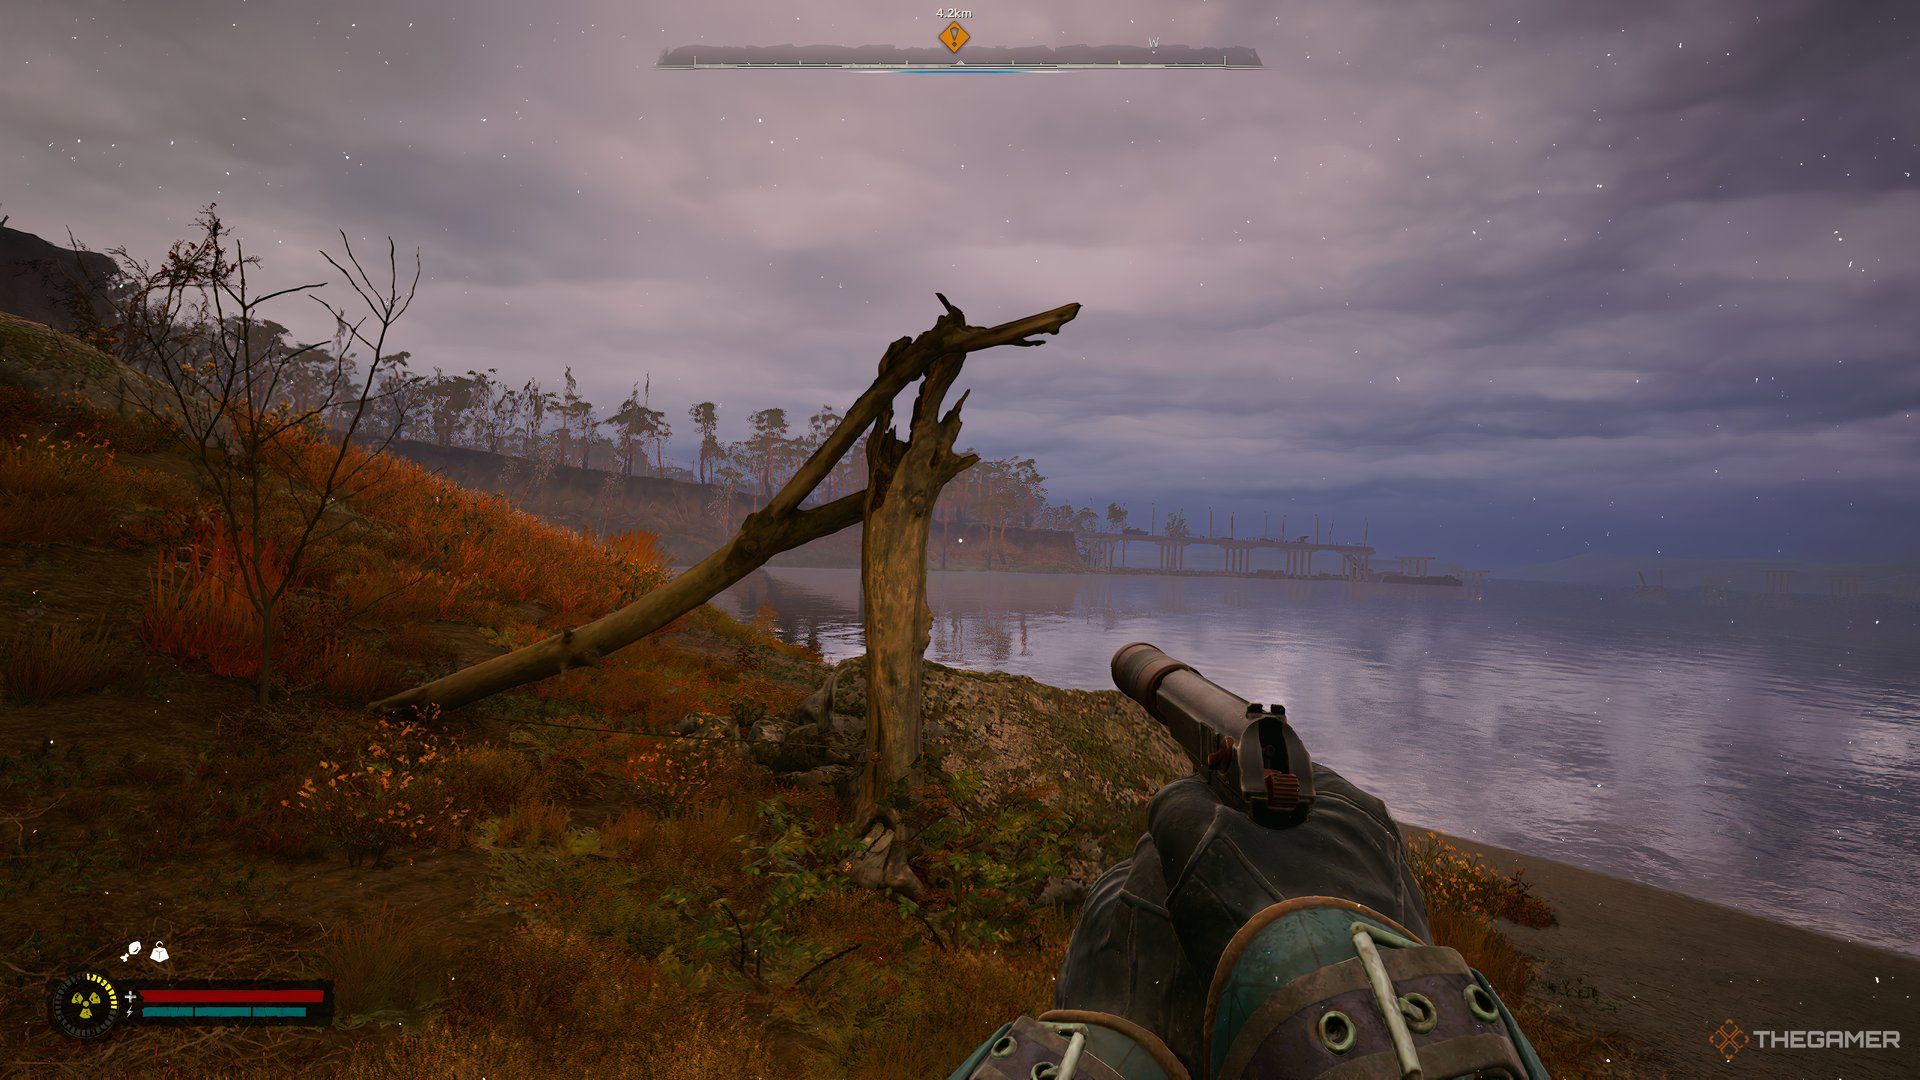
On the western side of South Bridge, there’s a coastline. At the very end of this coastline, you’ll discover a secret cache that’s concealed behind two tree trunks. You can reach the coast by heading directly northeast from Sand Mine on Wild Island as your starting point, or alternatively, you can start walking due north from Izumrudne in Zaton.
Polissya Collective Farm

On the northwest side of the damaged bridge lies the Polissya Collective Farm. Here, you’ll come across a T-shaped house where you’ll encounter some enemies, both human and zombie. Defeat them and locate the lever opposite the cage to open the doors. Once opened, you’ll discover the stash and a Mercenary Suit within.
To the northwest of the fallen bridge, you’ll find the Polissya Collective Farm. Inside this location, you’ll run into some enemies (both humans and zombies) in a T-shaped house. Overpower them and search for a lever near a cage to unlock the doors. Once the doors are open, you’ll uncover the stash and a Mercenary Suit inside.
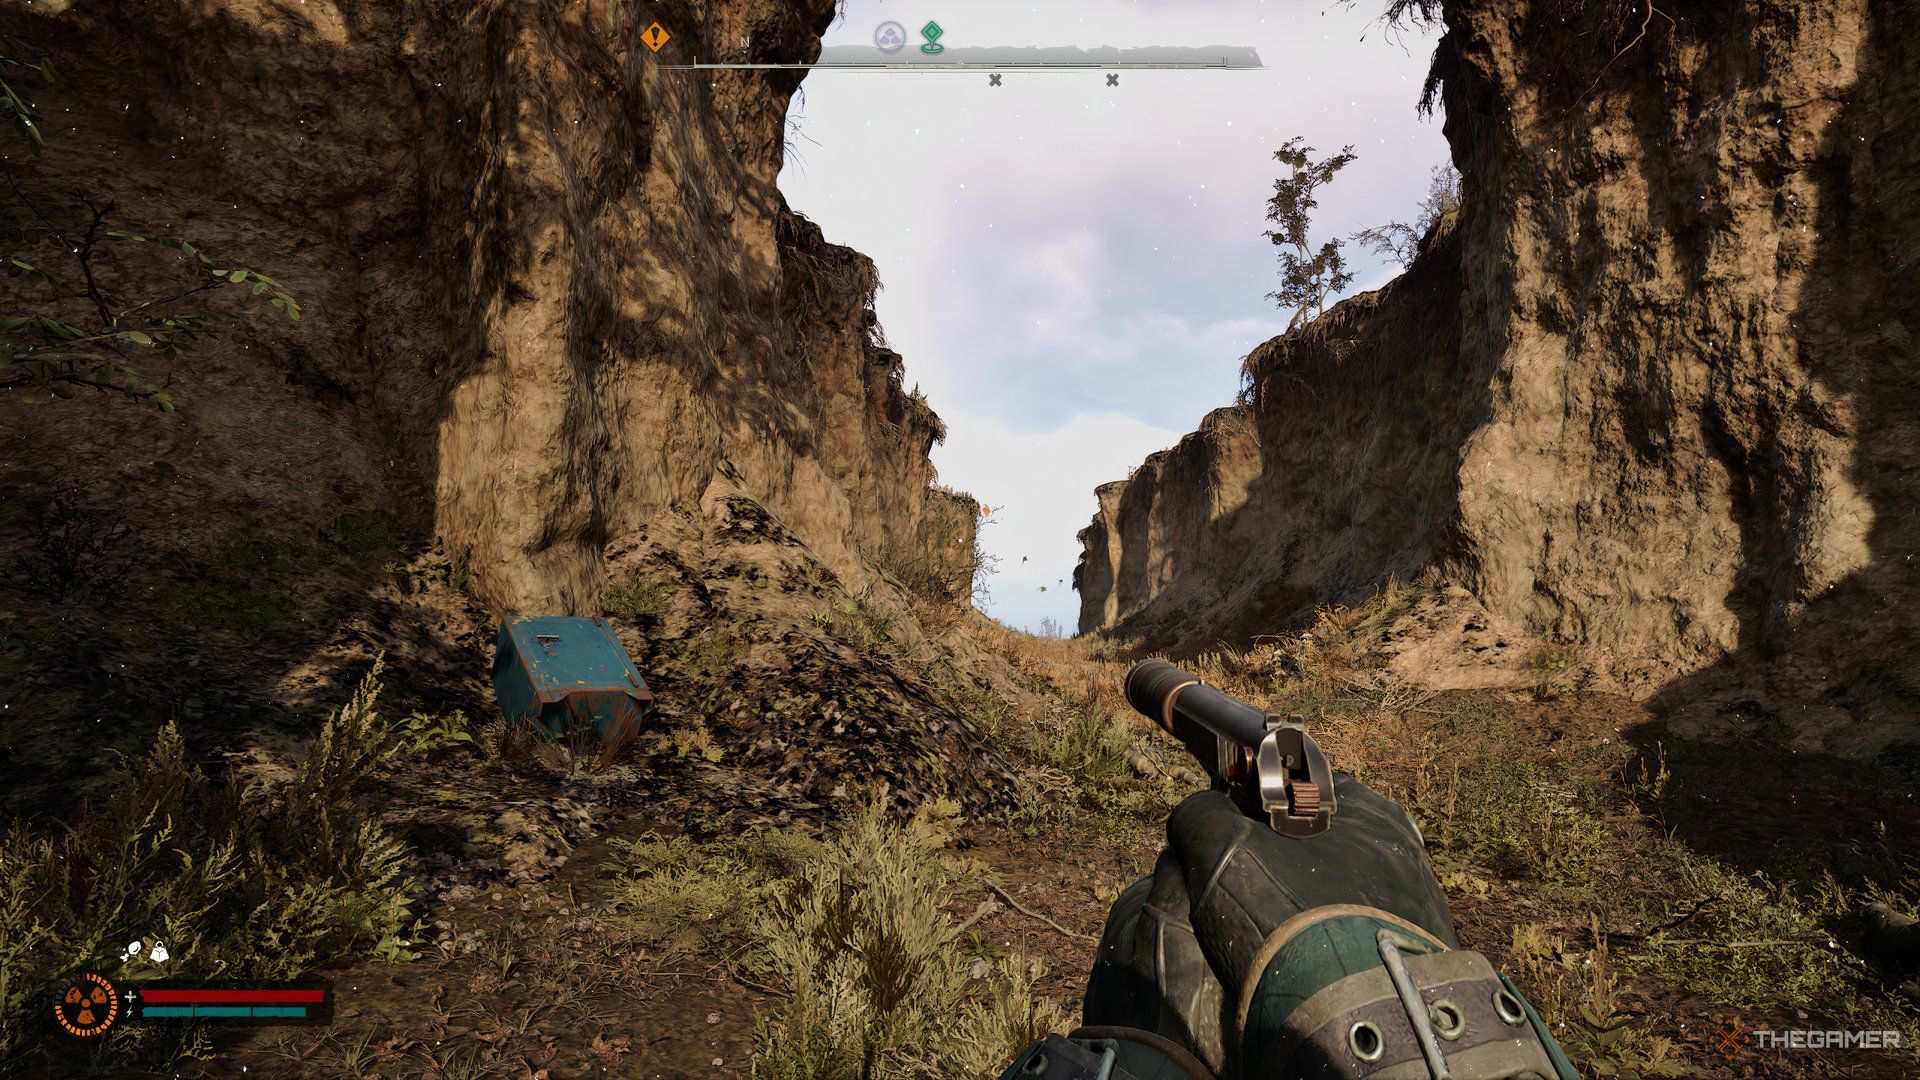
Scar Stash
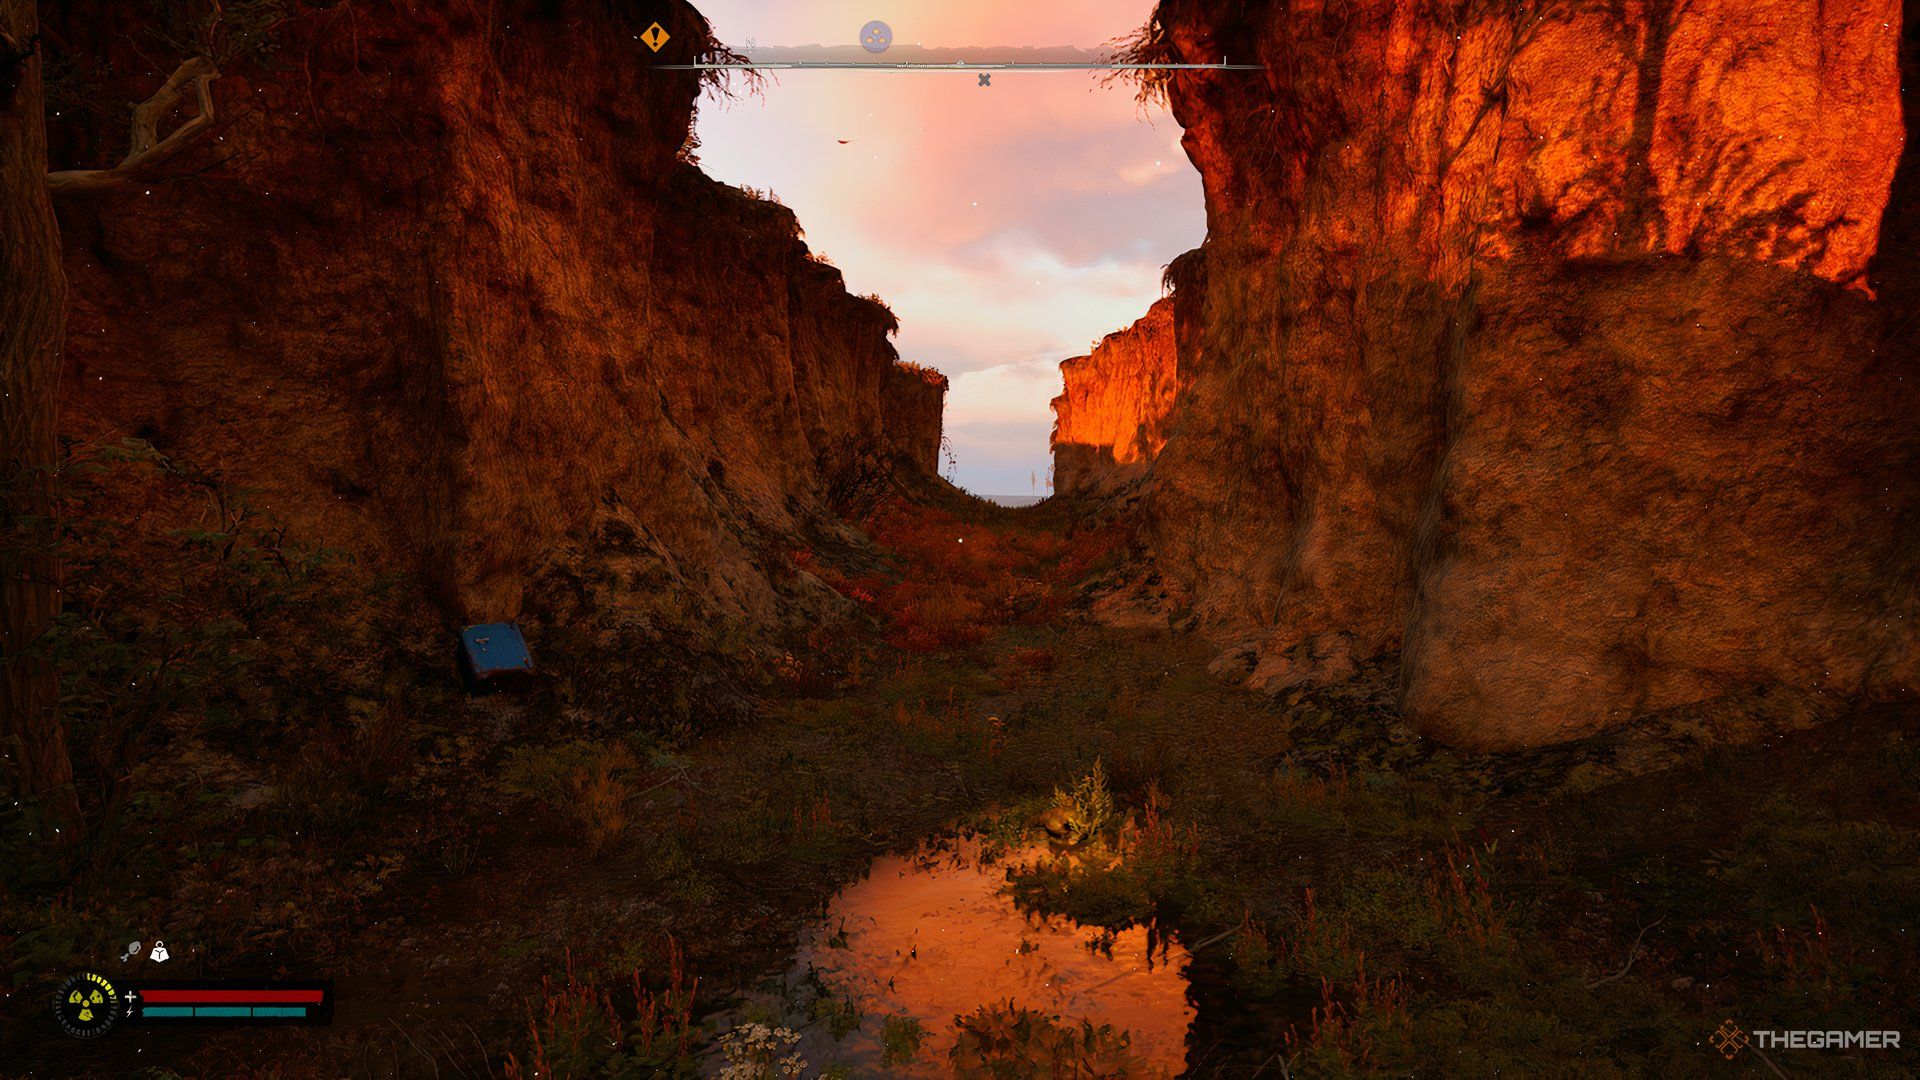
To the west of Polissya Collective Farm lies a canyon known as Scar. In the heart of this canyon, there’s a safe perched on the northwest cliff. If you can’t find a way to descend, simply walk to the end of the canyon and you’ll discover a gently sloping path that leads down.
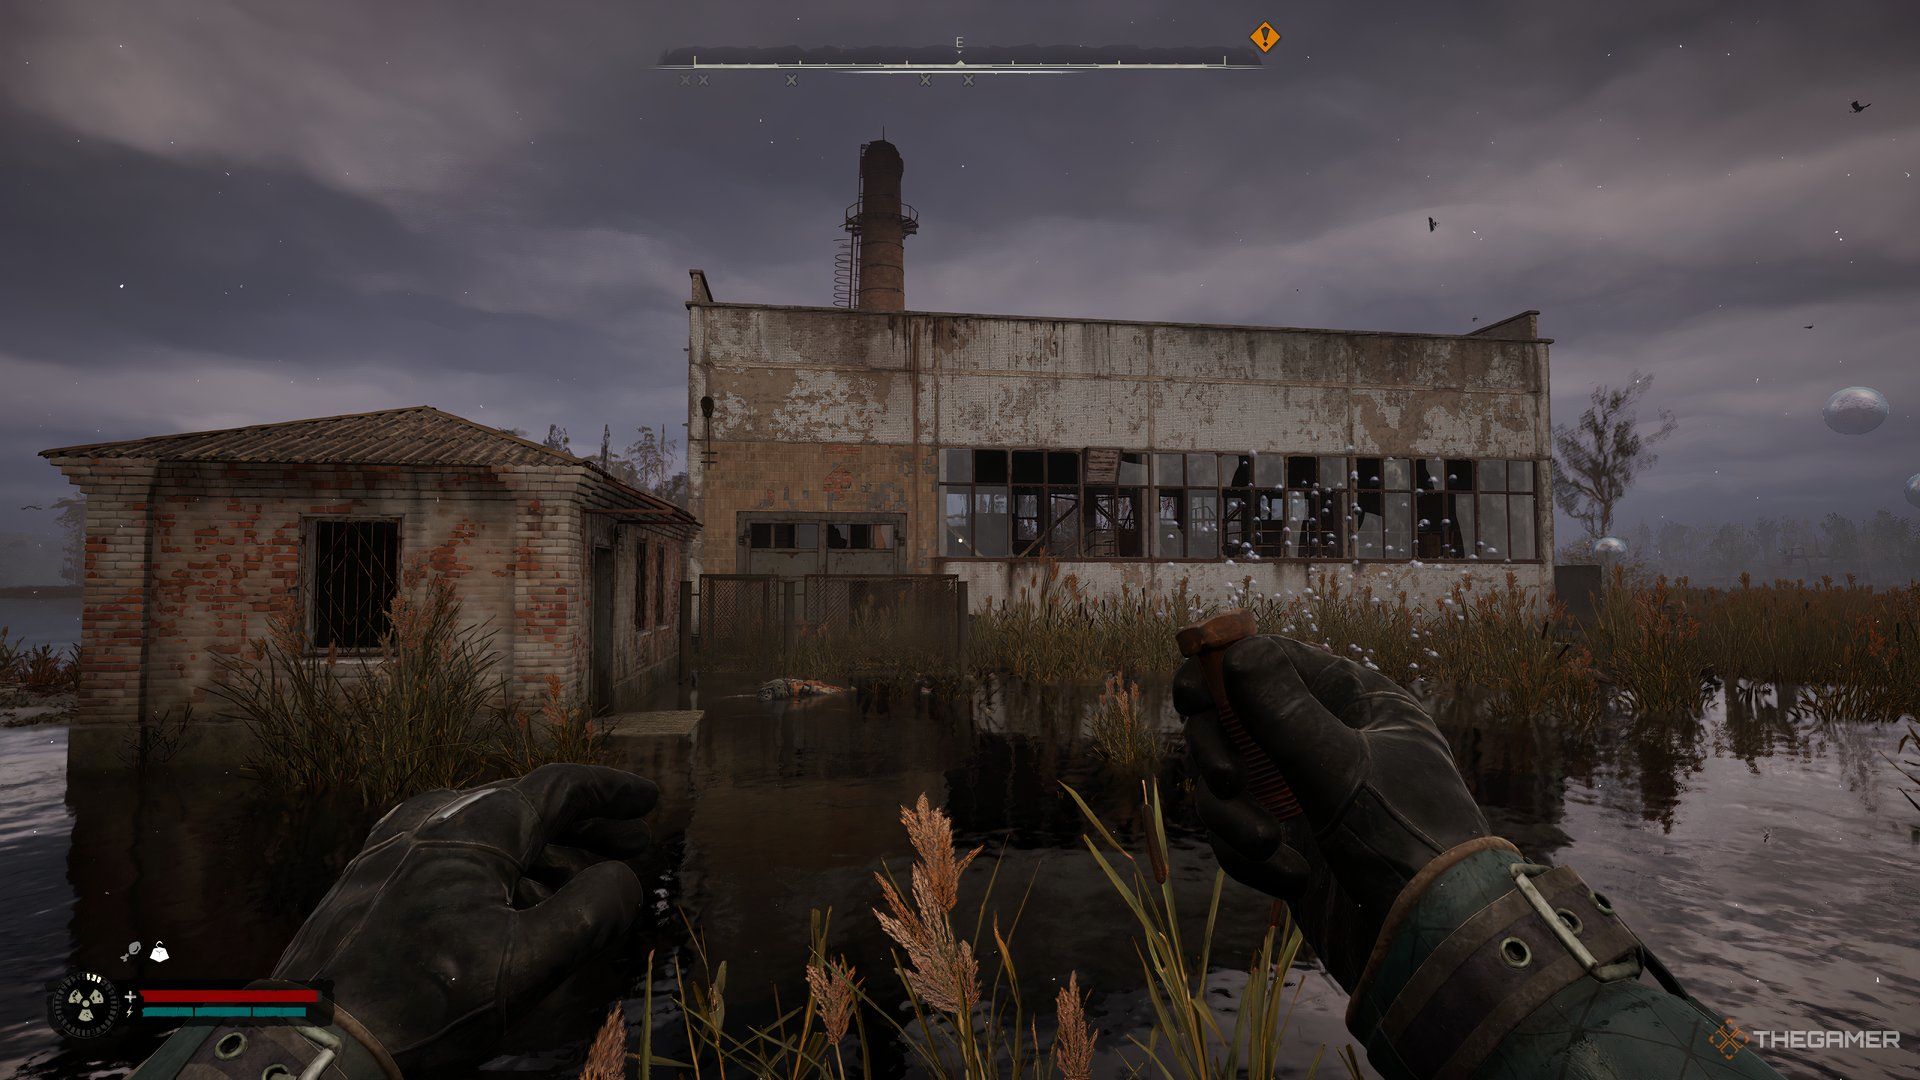
Sawmill Water Tank Stash
The Saw Mill is situated in the northwestern part of Wild Island, where you’ll discover two hidden caches. The initial one is concealed within a two-storied brick structure. To access it, venture inside the building and ascend the stairs to get to the first rooftop.
You’ll come across a yellow ladder that leads up to a higher roof. After ascending, you’ll encounter an unusual situation which you can handle by tossing a bolt. Leap over the corroded water tank on the western side, then hop to the other tank where you’ll discover your stash located therein.
Sawmill Attic Stash
In the upper region of the Sawmill, there’s a house with a loft. Enter the house through the shattered window in the northern wall. Beyond the door, you’ll discover a ladder ascending to the loft. Ascend the ladder and look ahead, you’ll come across a hidden stash concealed behind boxes on the left side.
Boathouse Building Stash

As a fan, I’d share that The Boathouse is nestled to the south of Sawmill, and it’s here where an exciting side quest unfolds. Delving into the southern part of this picturesque location, you’ll stumble upon a long, inviting house. Stepping inside through the main entrance, veer right to discover a cozy room. Once inside this snug space, the treasure-laden stash can be found nestled on the right side of the room, waiting for eager adventurers like us!
If you head to the room situated on the left upon entering, you’ll discover another cache. Once inside that room, take a peek to your right where there should be a locker containing another stash atop it.
Boathouse Pier Stash
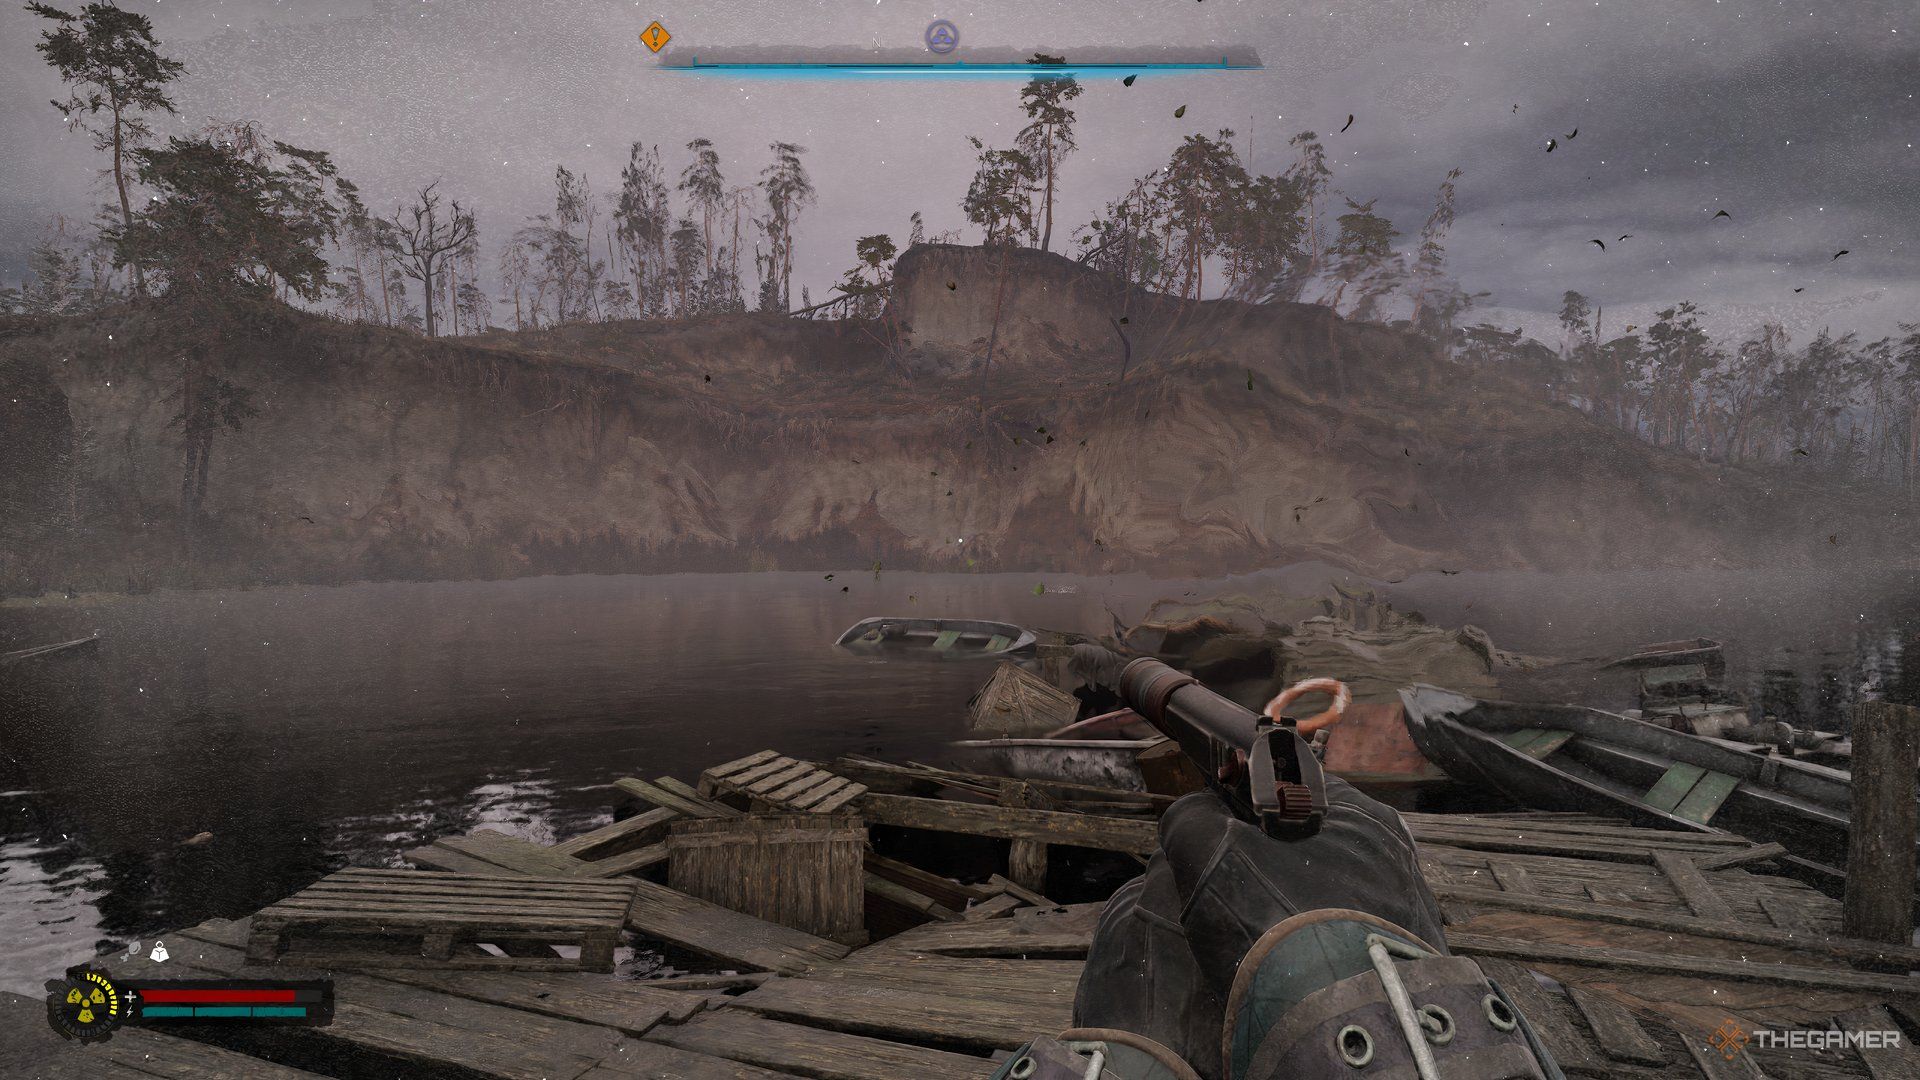
In the north sector of the Boathouse, there’s a pier brimming with oddities. Aim your bolts at them and proceed along the pier’s walkway. On the left side, you’ll discover a dilapidated green boat. Inside this boat, the treasure is hidden.
West Of Shelter Tower Stash
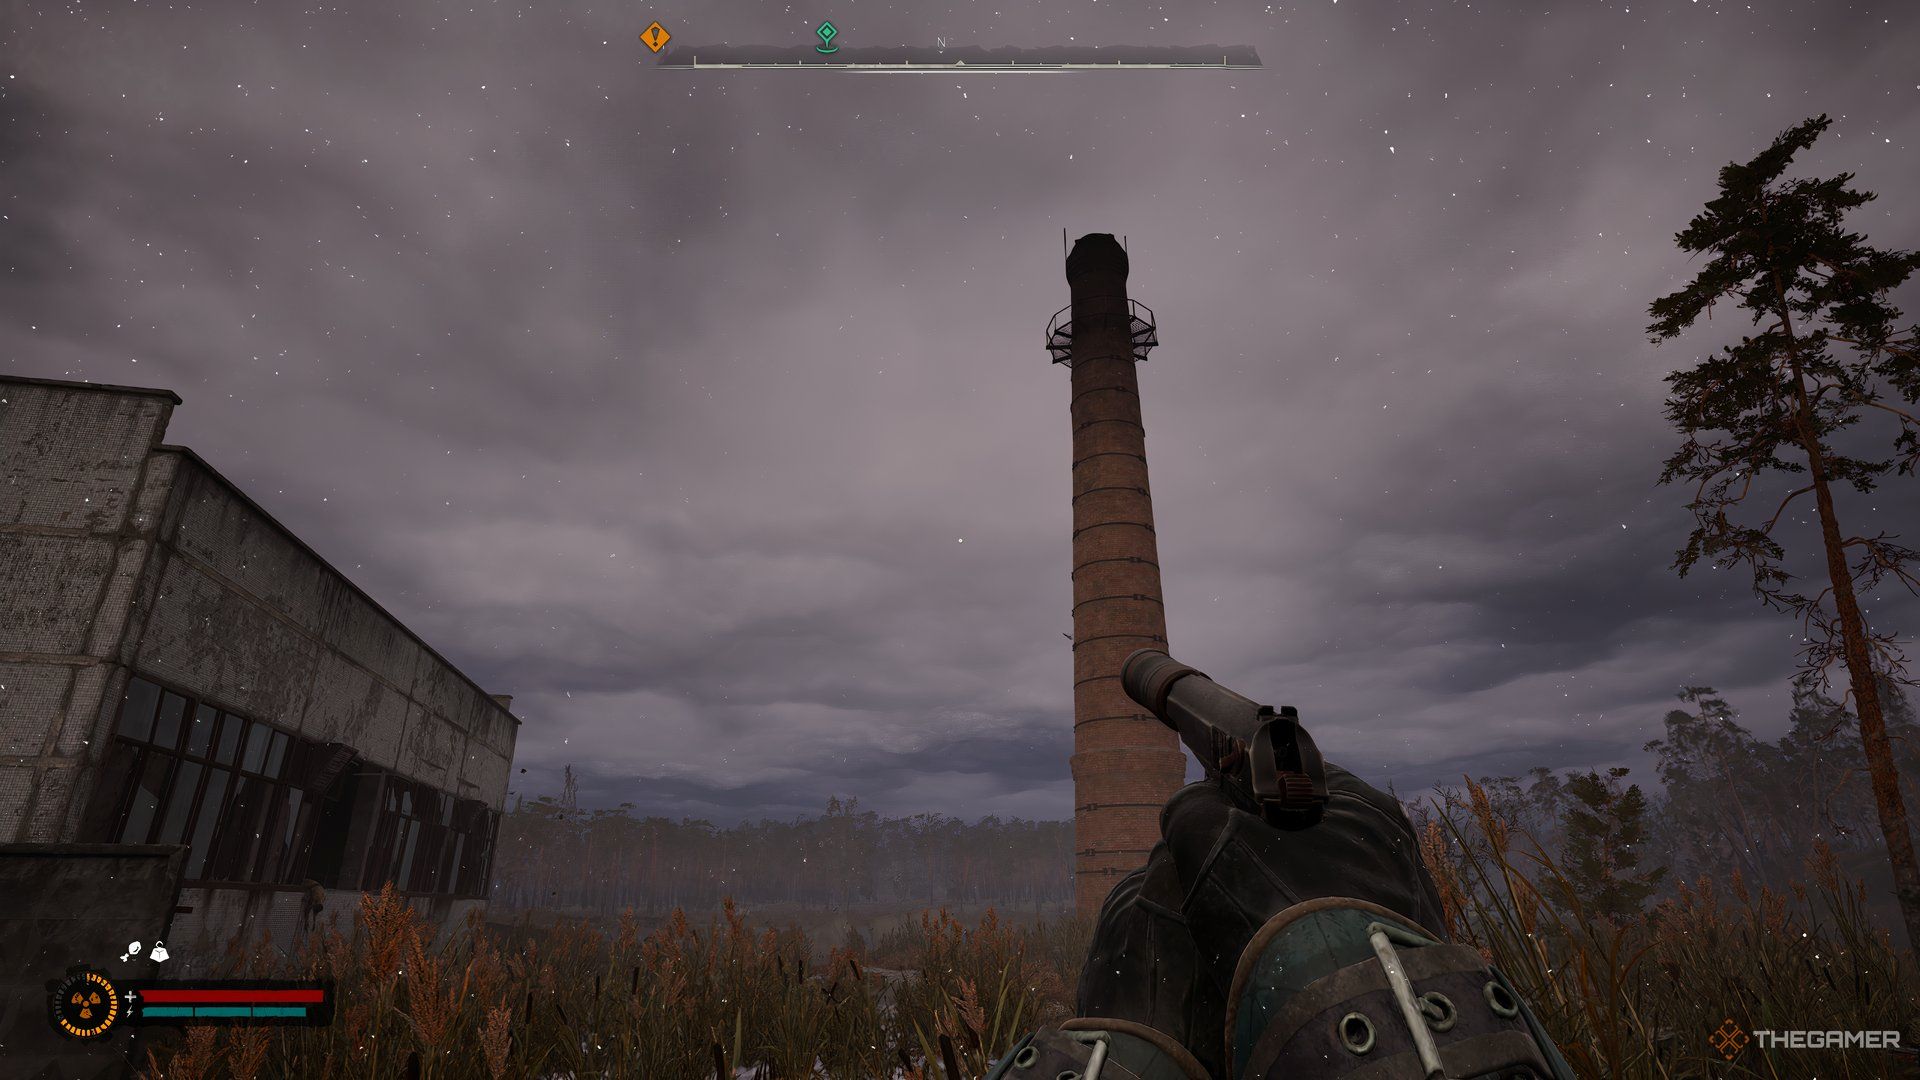
Heading west from Shelter, you’ll come across a modest island featuring a brick tower. Ascend the tower using the provided ladder to uncover the concealed hoard at its peak.
It seems there’s an unseen threat, often referred to as a Bloodsucker, lurking around here. It would be wise to search and cleanse the surroundings using these supplies or any others available nearby.
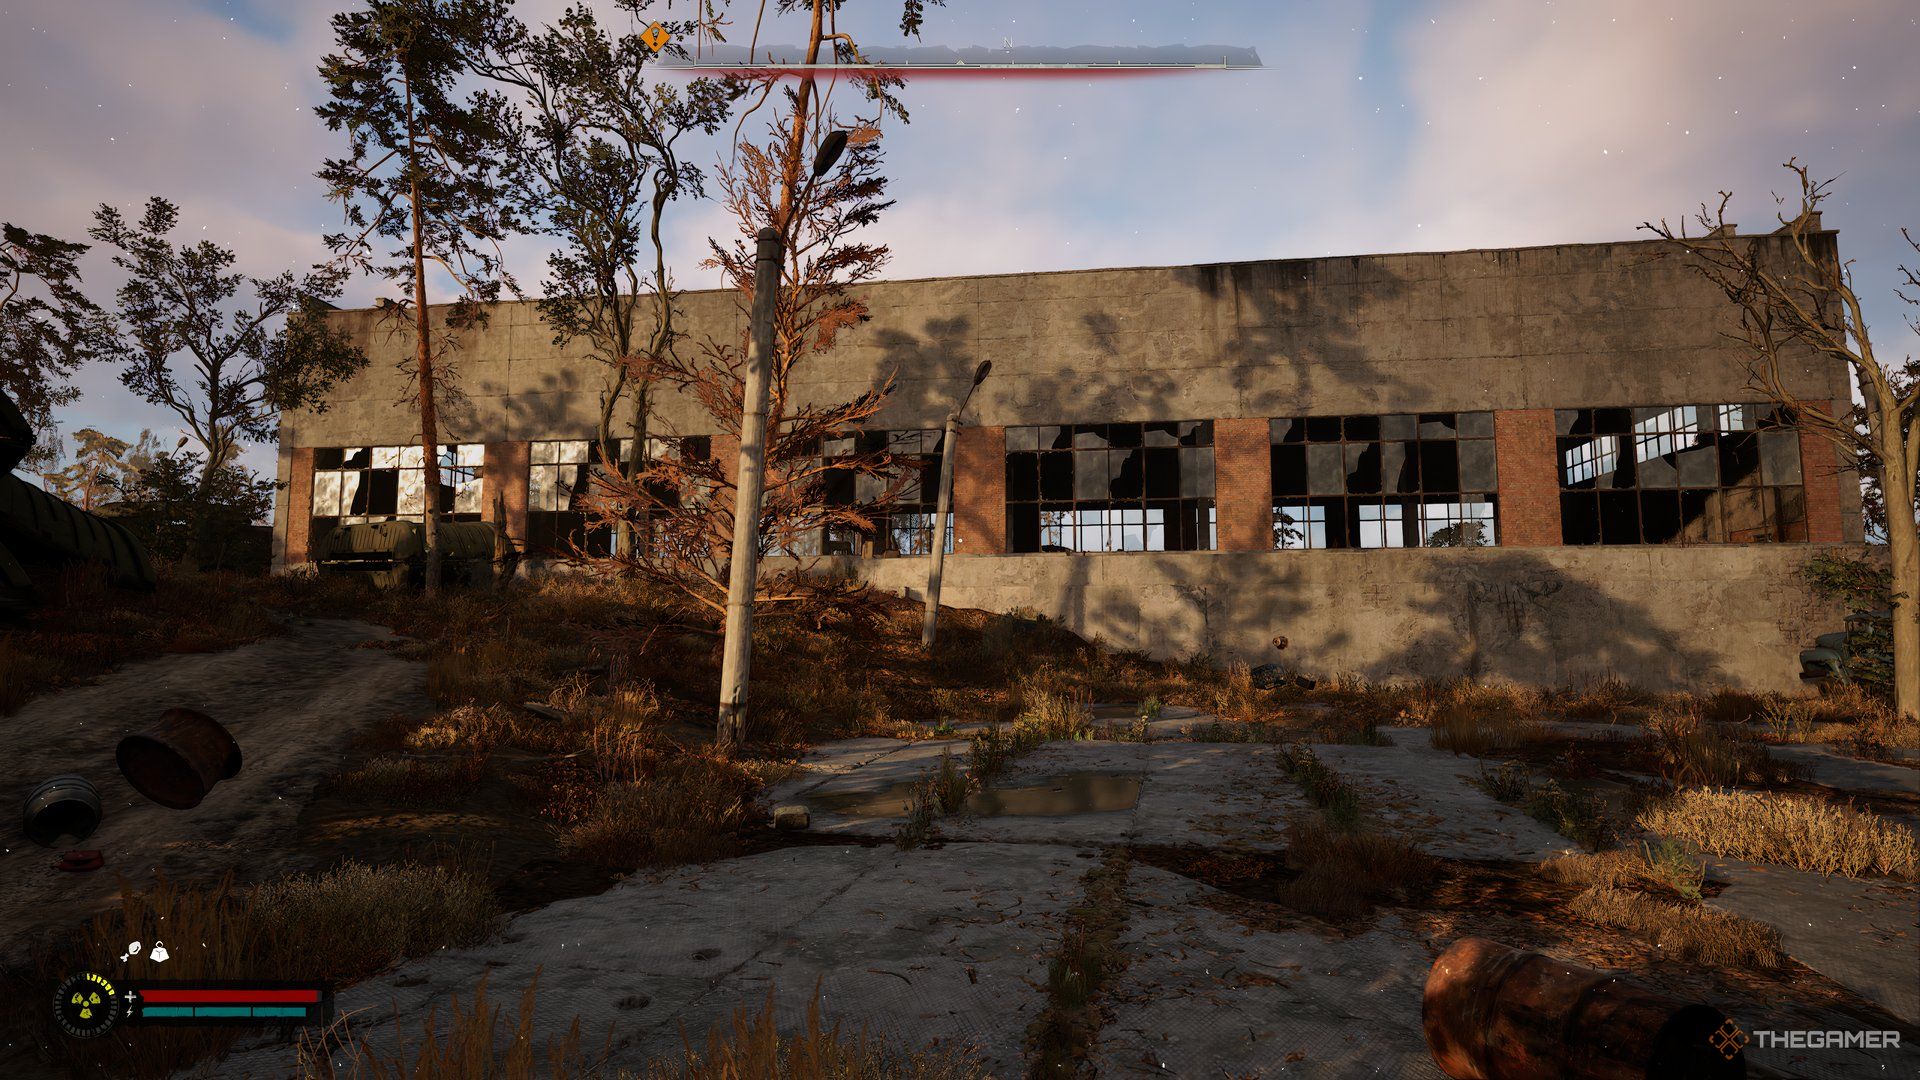
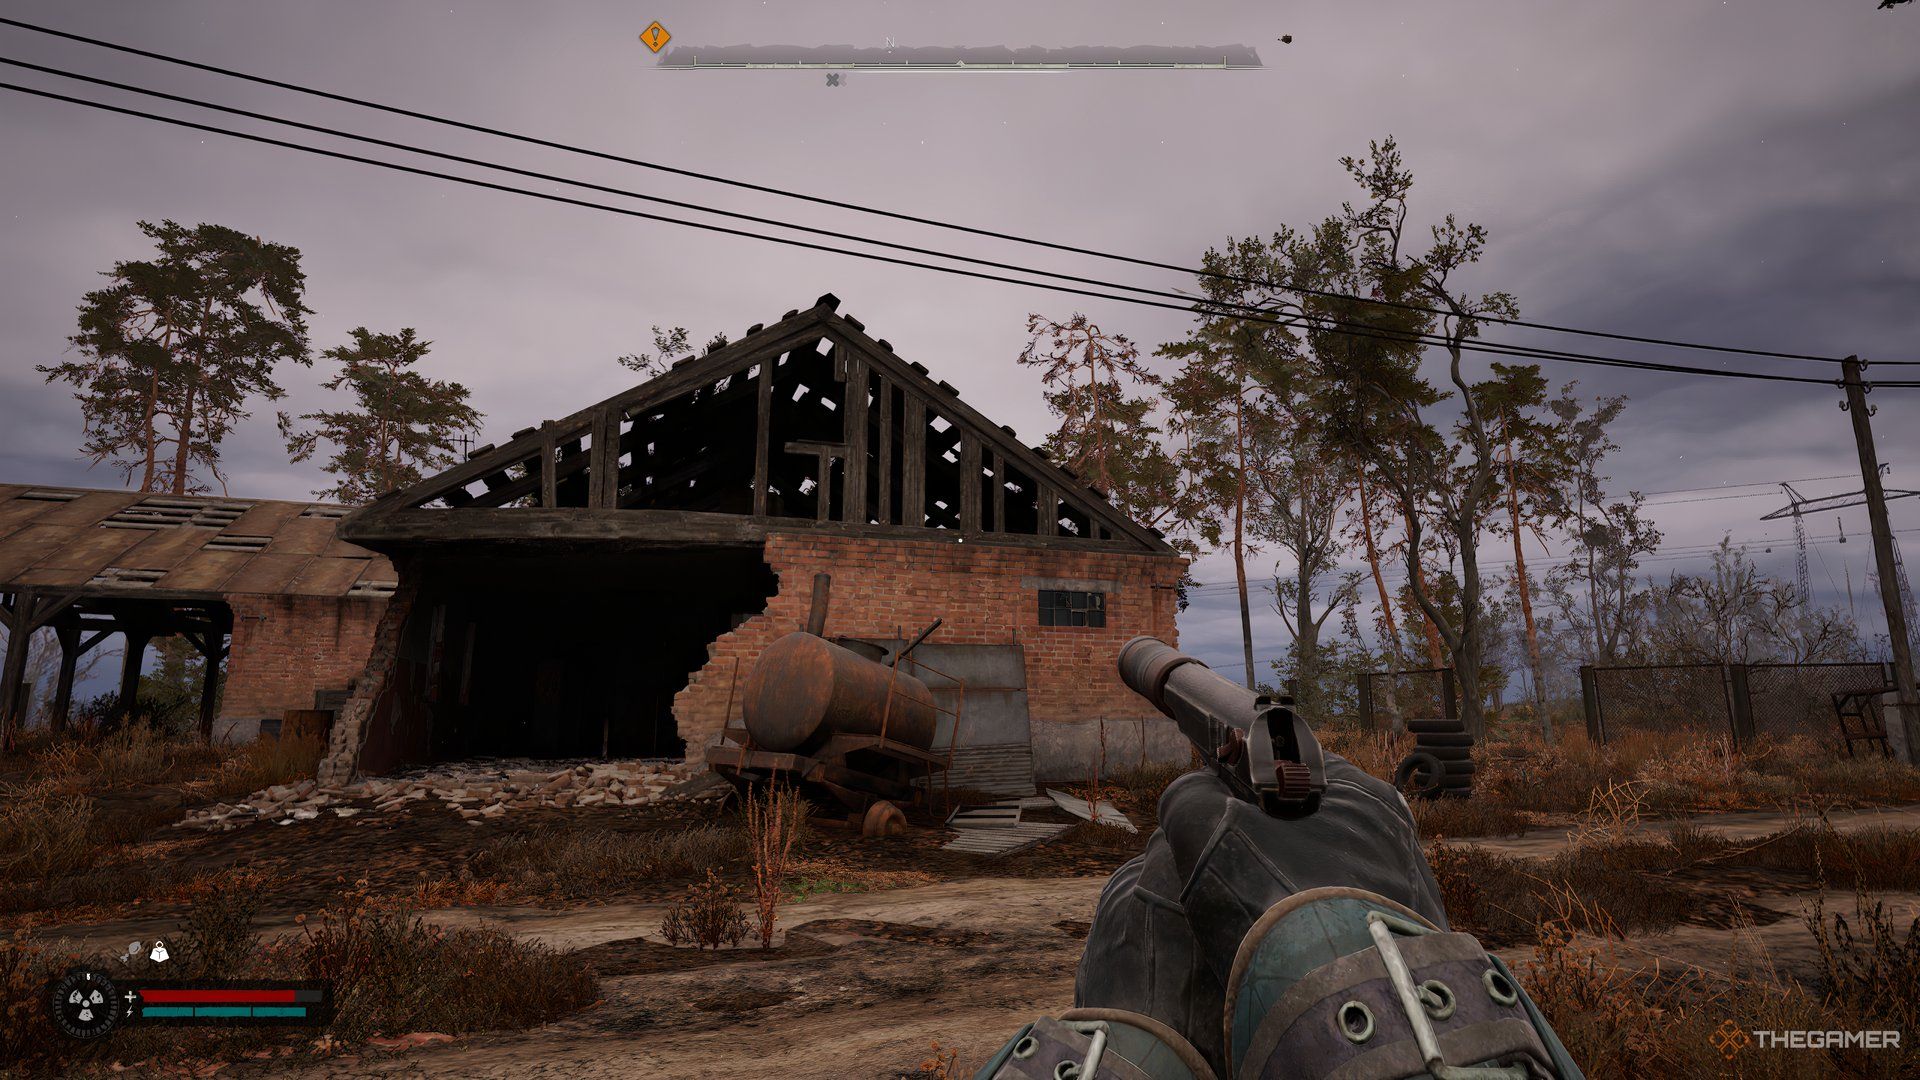
West Of Shelter Buildings Stash
In my exploration, I came across the secret hideout situated right across from the western factory building, beyond Shelter. The entrance to this place is through the main door. Once inside, venture towards the room at the end of the house. In the corner on your right, you’ll spot a hidden metal safe.
There’s another hidden cache located inside a large industrial building. Enter through the north-facing broken wall, then climb the stairs on your right. Once you reach the top, turn left and make your way onto the catwalk. Here, you’ll discover some peculiarities. Toss a bolt to access the stash at the end of the catwalk.
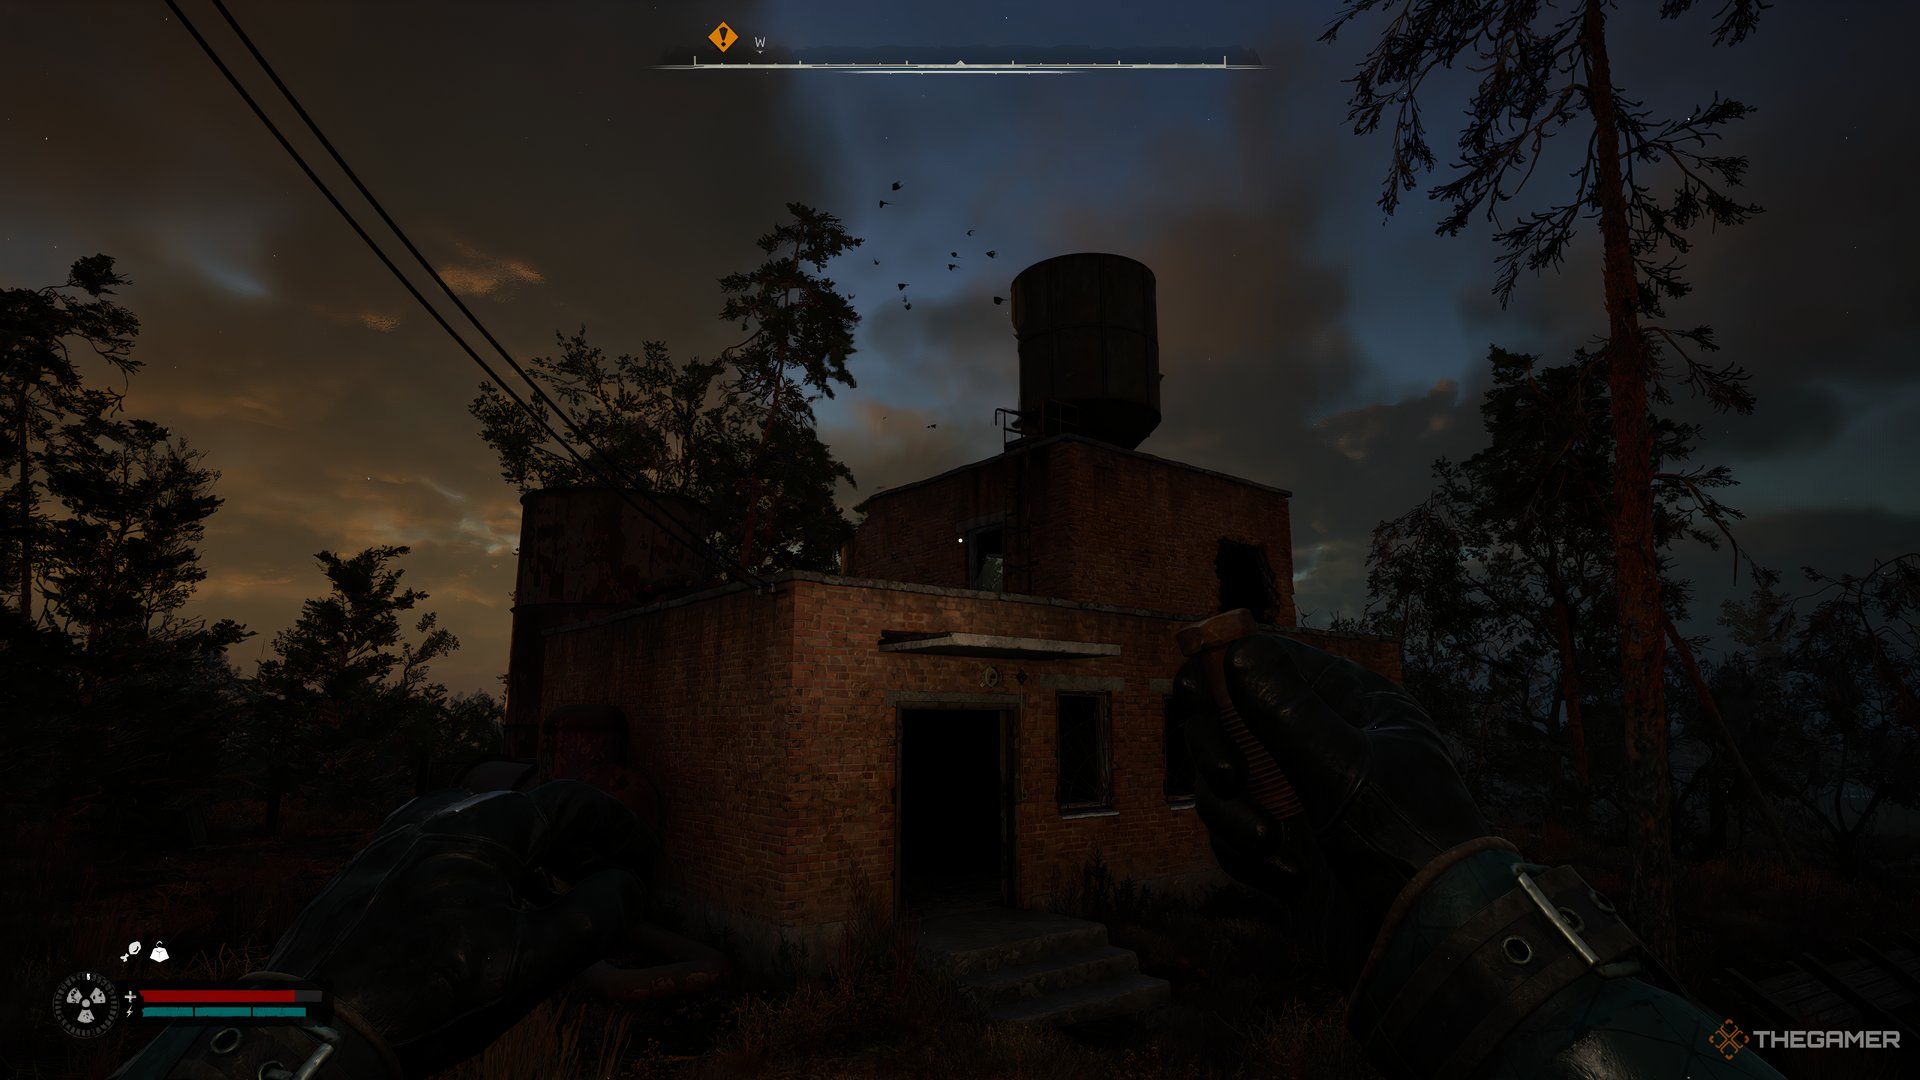
North Of Shelter Bunker Stash
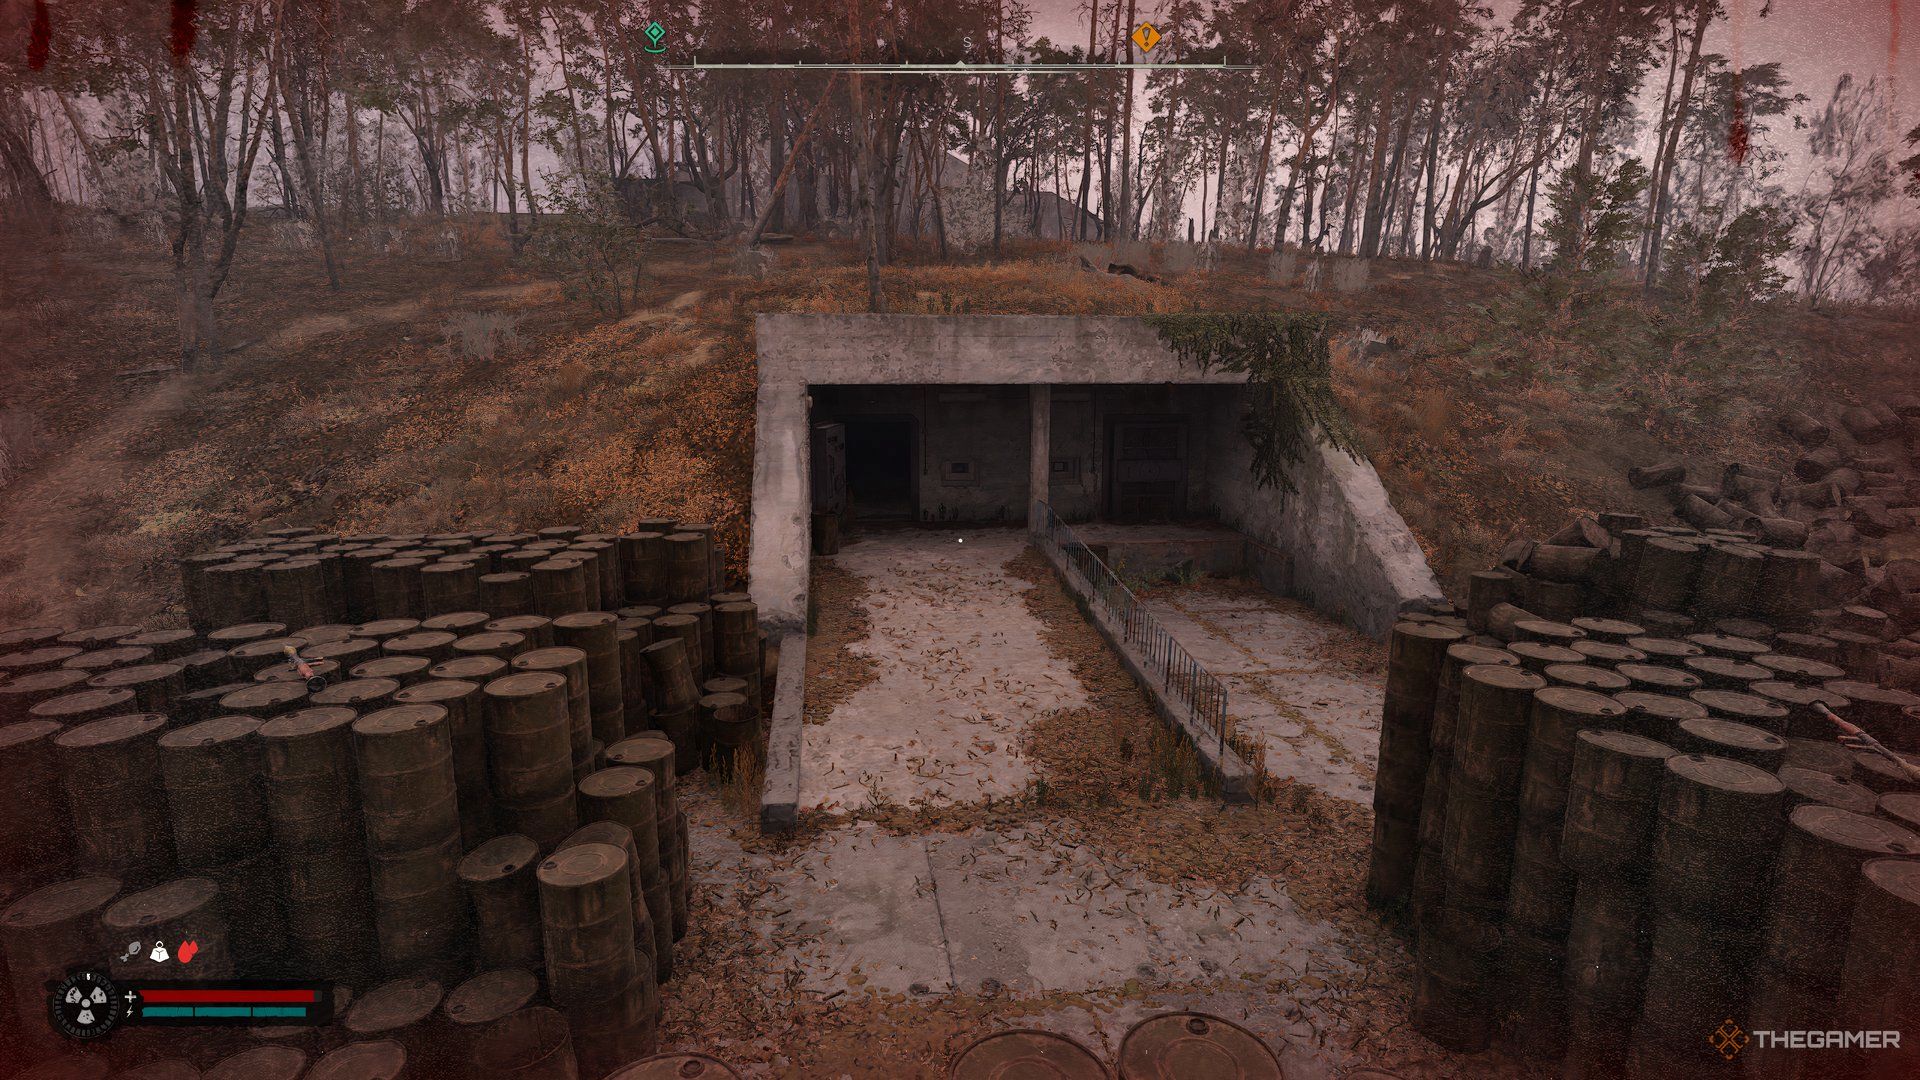
Heading north from Shelter, you’ll come across a sunken boat and an entrance to what appears to be a bunker, with multiple barrels stacked before it. Be cautious, as there are two Burer (enemies with telekinetic abilities) lurking inside – make sure to eliminate them before venturing in. Once they’re taken care of, step into the building, where you’ll find a survivor who has met their end on the right side, along with a stash nearby.
As a fervent admirer, I’d advise waiting for their shields to deplete since it’ll make it easier for me to deal damage more swiftly. Moreover, when in close quarters, opt for a Sniper rifle or Assault Rifle to dispatch them efficiently.
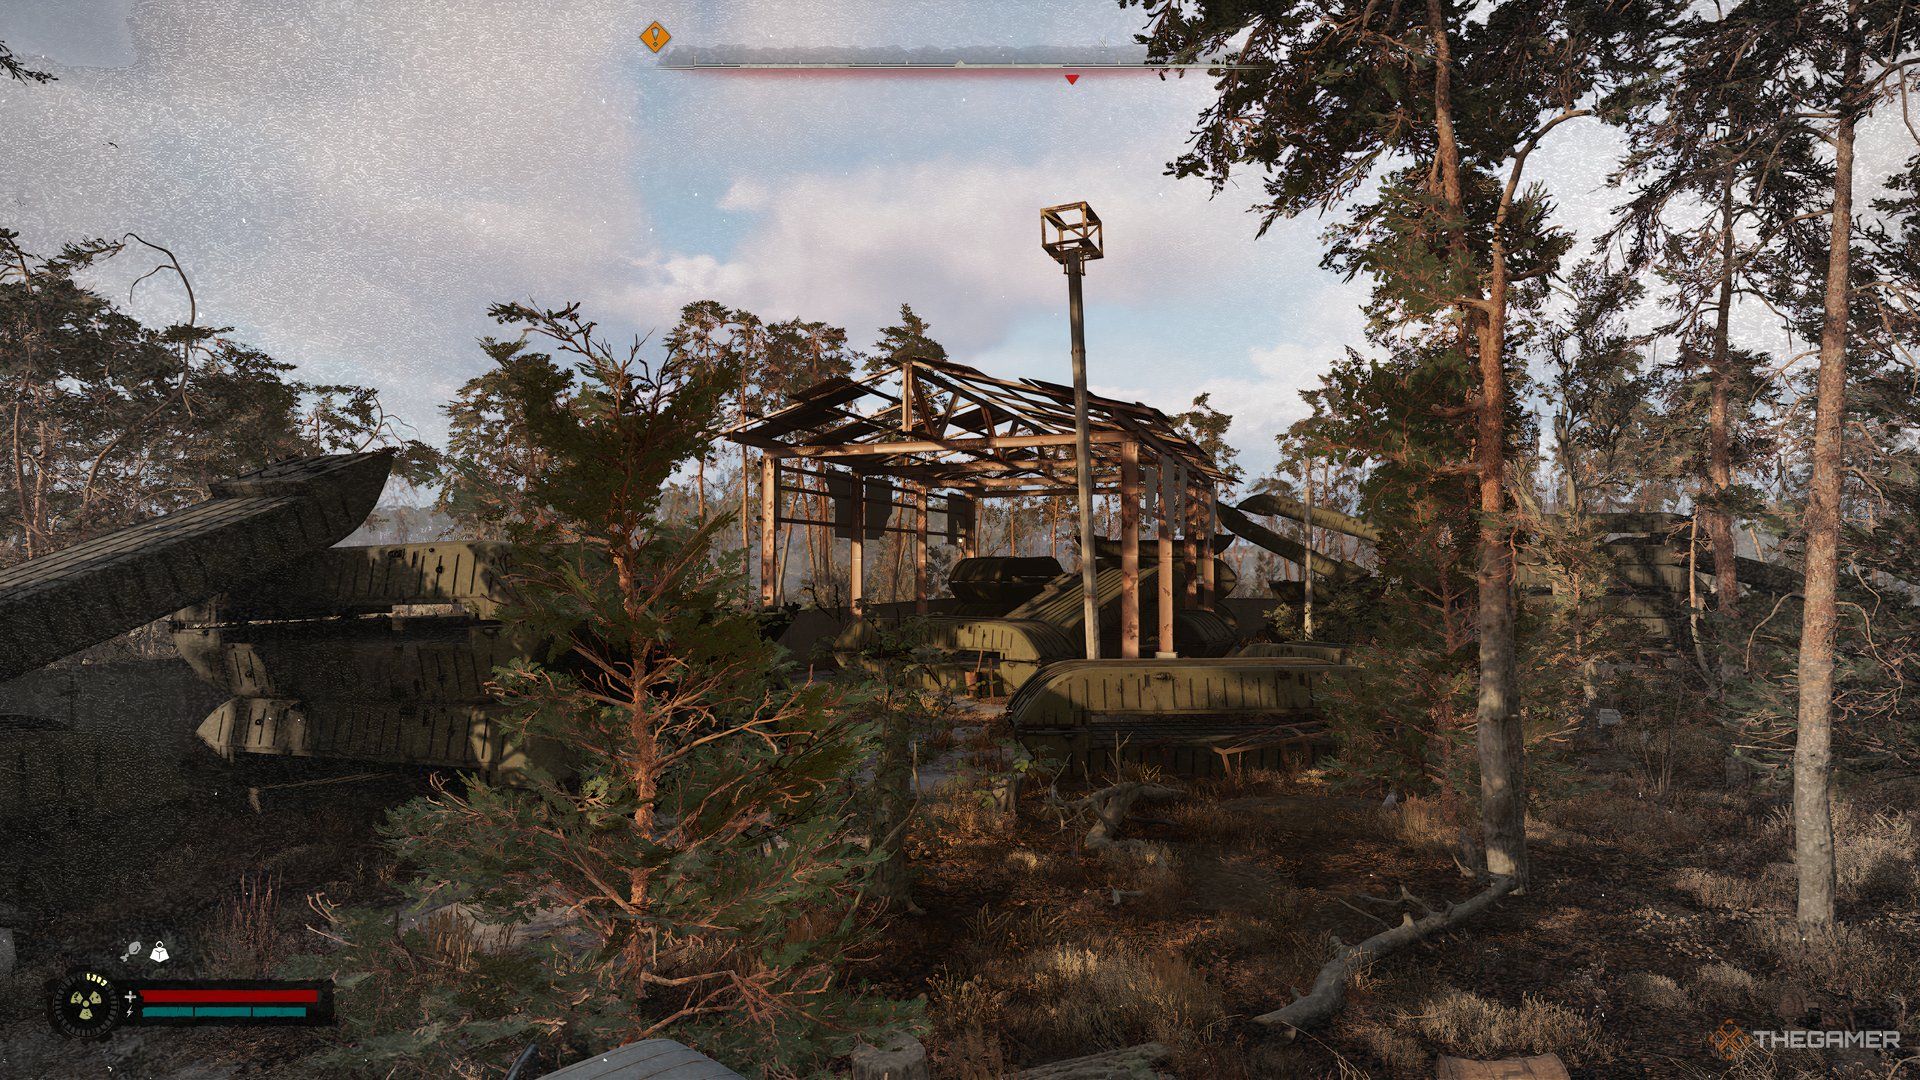
Quiet’s Camp Stash
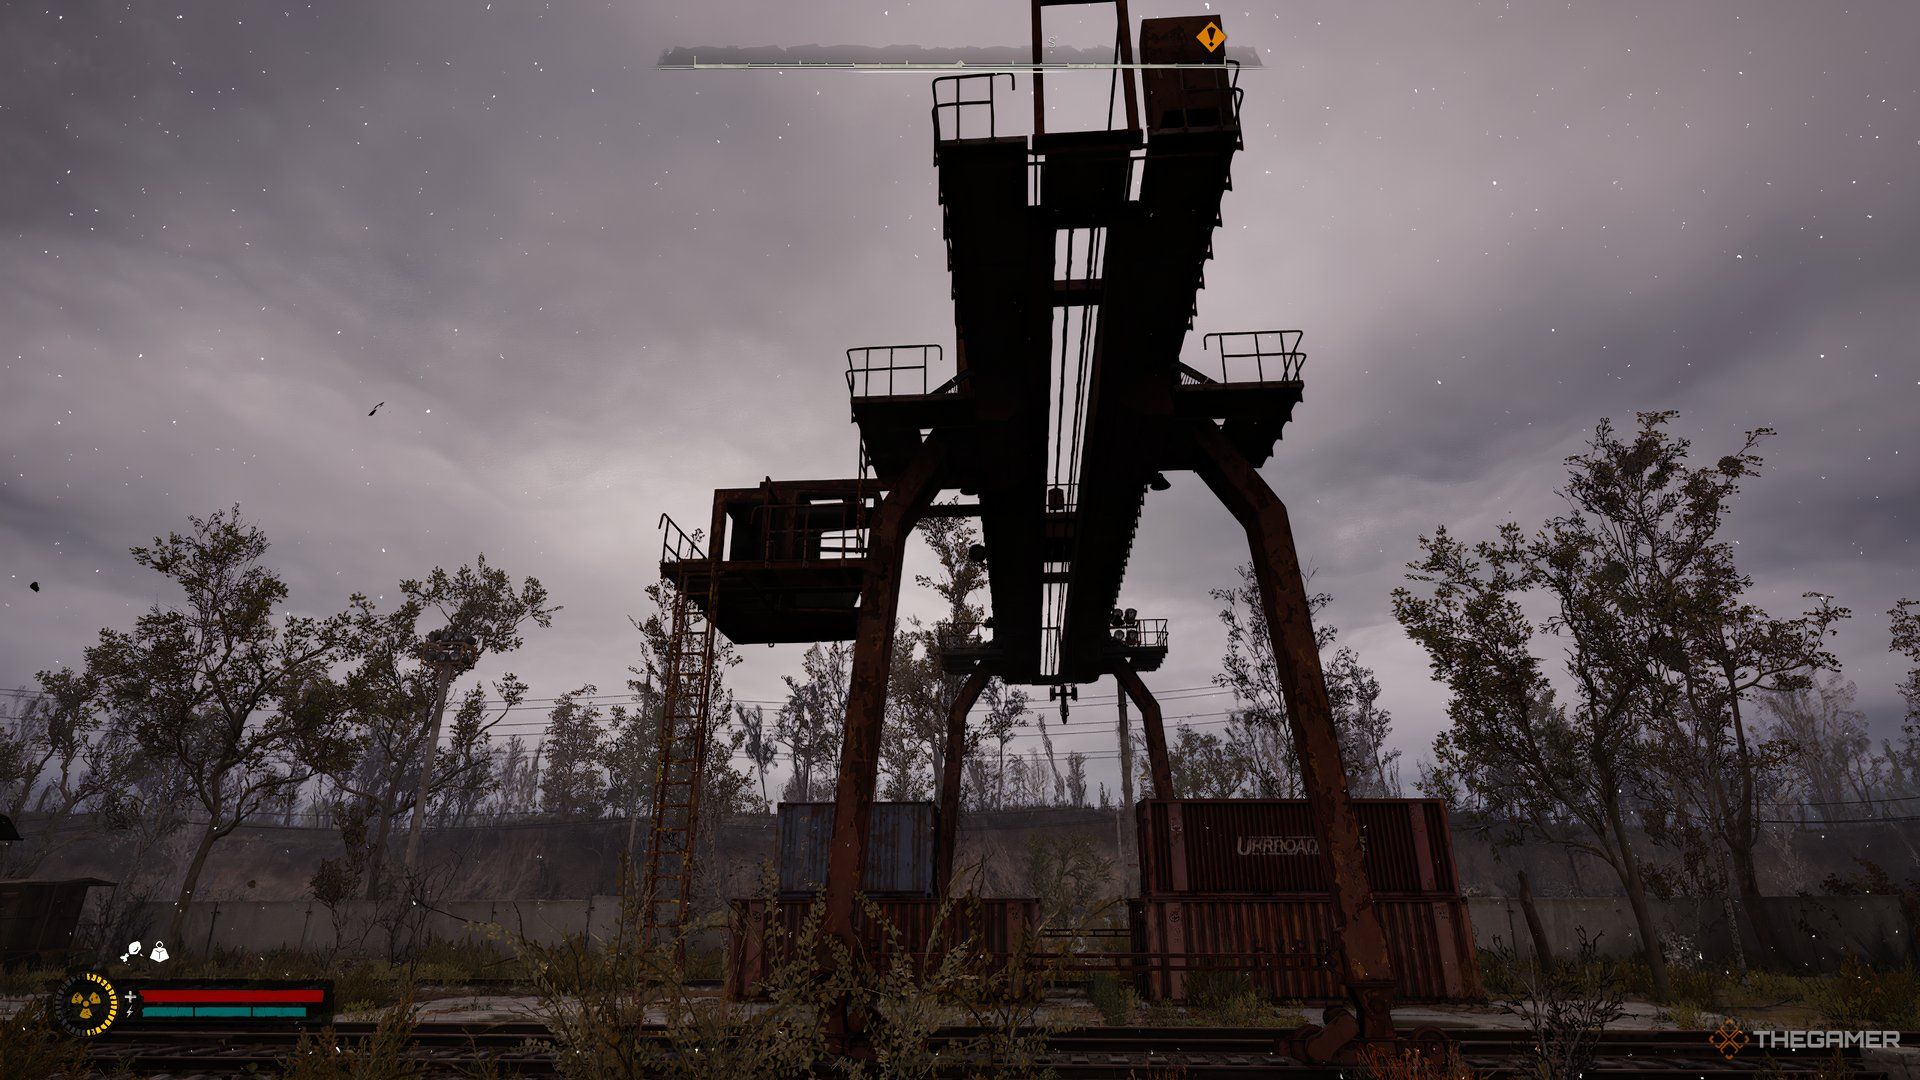
In the southern part of the Wild Island region, you’ll come across Quiet’s Camp. Here, there’s a large container crane equipped with ladders for climbing. Once you reach the top, on the south side of the crane, you’ll discover a hidden stash located on the right side.
Read More
- Best Race Tier List In Elder Scrolls Oblivion
- Elder Scrolls Oblivion: Best Pilgrim Build
- Gold Rate Forecast
- Elder Scrolls Oblivion: Best Thief Build
- OM PREDICTION. OM cryptocurrency
- Netflix’s New Harlan Coben Series Features Star-Studded Cast You Won’t Believe!
- Where Teen Mom’s Catelynn Stands With Daughter’s Adoptive Parents Revealed
- Attack on Titan Stars Bryce Papenbrook & Trina Nishimura Reveal Secrets of the Saga’s End
- Top 5 Hilarious Modern Comedies Streaming on Prime Video Now!
- Yvette Nicole Brown Confirms She’s Returning For the Community Movie
2025-03-02 07:35