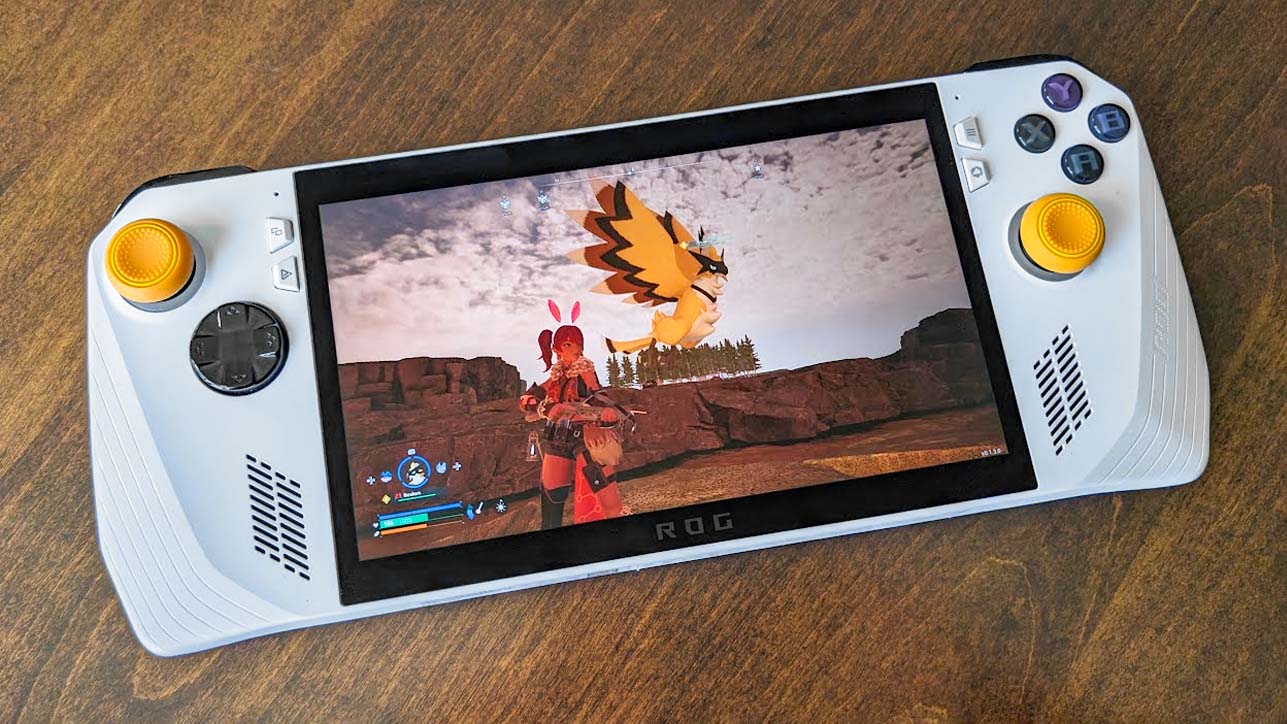
Among the top-tier gaming handhelds, the ASUS ROG Ally stands out. Yet, there’s a potential issue that might dissuade some users.
The battery life of the ROG Ally is not as long as one might hope, with its 40Wh battery and large screen being contributing factors.
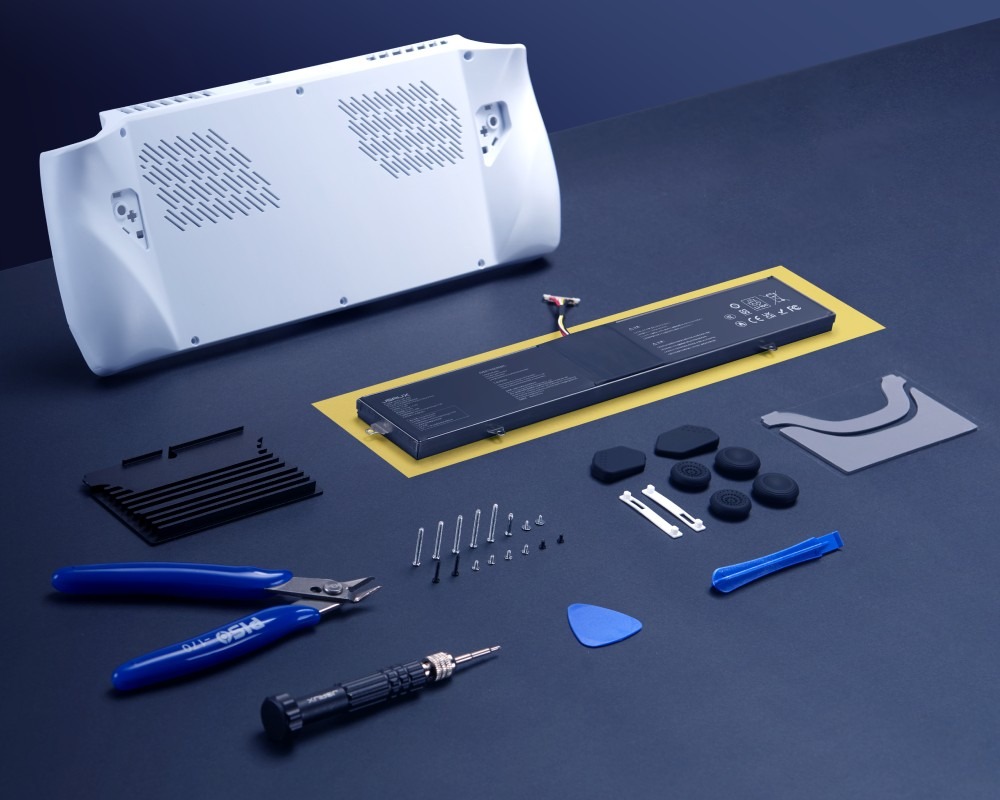
I’ve just observed that JSAUX has unveiled an update package specifically tailored to boost the battery endurance of the ROG Ally. This new kit, titled “Battery & Thermal Upgrade Kit with Back Cover for ROG Ally“, incorporates a 65Wh battery, significantly larger than the stock 40Wh battery found in the ROG Ally, offering over half more power capacity.
Additionally, it comes with a fresh backplate and an aluminum heat barrier, as JSAUX claims, for improved heat management.
JSAUX comes equipped with necessary installation accessories including a screwdriver, lever, wire cutter, static-resistant gloves, and extra screws.
ASUS ROG Ally battery life
As I observed the recent ASUS ROG Ally review, it was evident that our esteemed Gaming and News Editor, Rebecca Spear, had bestowed a remarkable score of 4.5 out of 5 upon this gaming handheld. The device garnered top marks for its impressive performance, ergonomic design, and exceptional display quality.
One of the few negatives Spear shared about the ROG Ally was its battery life.
In summary, Spear stated that overall, the Ally is a remarkable small gadget, however, it has a significant drawback: its battery life remains less than satisfactory.
She added that the ROG Ally is “a rather expensive device that doesn’t offer much battery life.”
During her tests, Spear typically lasted for an hour and a half (1 hour 38 minutes) on average. For Spear to exceed the three-hour playtime mark, she needed to adjust her settings quite substantially.
Although a more substantial 65Wh battery might potentially prolong gaming durations, it’s hard to predict exactly how much longer the enhanced ROG Ally will run before actual user testing is performed.
ASUS ROG Ally vs. ASUS ROG Ally X

If you’re fond of the ROG Ally and crave a bigger battery life, there’s no need to replace your current battery. Instead, opt for the ROG Ally X, which sports an 80Wh battery – that’s twice as large as the standard 40Wh battery in the ROG Ally and even outdoes the 65Wh battery offered by the JSAUX kit.
The ROG Ally X sports the same Z1 Extreme processor and a 7-inch touchscreen as the ROG Ally, but it boasts increased memory and storage compared to its counterpart.
The ROG Ally X also has upgrade joysticks, back buttons, and a better D-Pad than the ROG Ally.
In their comparison article, Rebecca Spear from our team provides an in-depth analysis between the ASUS ROG Ally X and the ASUS ROG Ally. This post encompasses specification tables, thermal visuals, and personal insights gleaned from hands-on experience with both devices.
The ROG Ally X sports an 80Whr battery, offering double the battery life compared to the initial model. In my personal battery life tests, the Ally X ran for approximately two hours and ten minutes while running demanding games at maximum TDP, which represents a significant 50% boost over the original device’s limited 51-minute runtime under the same conditions.
As a researcher, I find that choosing between the ROG Ally and ROG Ally X comes down to personal preference and whether you currently own an ROG Ally. If you don’t already possess one, investing in a brand-new console might not be financially sound. However, if you’re an existing ROG Ally owner with the technical prowess to replace its battery, there may be no need to upgrade.
How to replace ASUS ROG Ally battery
Changing the battery on the ROG Ally can be done quite easily, however having previous experience with hardware repair is advisable for a smoother process. JSAUX provides a step-by-step guide in their video.
While JSAUX provides a detailed guide complete with images and video instructions, this explanation aims to offer you a sense of the process’ complexity level.
Although JSAUX has provided comprehensive step-by-step instructions with pictures and videos, this description intends to provide you an understanding of how complex the procedure might be.
Prior to swapping out the battery of your ROG Ally, ensure you have all necessary tools at hand and familiarize yourself with the instructions before you start the process.
To avoid any potential damage when changing the battery for the ROG Ally, make sure the device is turned off first and that you’re using the necessary Electrostatic Discharge (ESD) safety measures.
You should also be aware that disassembling the ROG Ally may affect its warranty.
To begin changing the battery on your ROG Ally device, first, unscrew the screws that hold the back panel in place. Next, carefully detach the back panel. Lastly, take off the console’s triggers before you can access the battery compartment.
To proceed, you should detach the back button from your ROG Ally’s initial back cover, attach it along with the triggers onto the replacement back cover instead.
When putting together your project, make sure to position the springs and screws properly, and don’t forget to detach specific wires along the way. To help with this process, I recommend checking out the video provided for guidance throughout.
One of the processes includes carefully reducing excess plastic extensions; be sure to double-check your measurements before making a cut.
In simple terms, the last part is about attaching the heat sink, connecting the wires again, and securing everything with screws. Don’t forget to apply an adhesive pad for better support of the new back panel as well.
Read More
- OM PREDICTION. OM cryptocurrency
- The Elder Scrolls IV: Oblivion Remastered – How to Complete Canvas the Castle Quest
- Oblivion Remastered – Ring of Namira Quest Guide
- Oblivion Remastered: The Ultimate Race Guide & Tier List
- Poppy Playtime Chapter 4: Release date, launch time and what to expect
- Ian McDiarmid Reveals How He Almost Went Too Far in Palpatine’s Iconic ‘Unlimited Power’ Moment
- Quick Guide: Finding Garlic in Oblivion Remastered
- Sophia Grace’s Baby Name Reveal: Meet Her Adorable Daughter Athena Rose!
- Ryan Reynolds Calls Justin Baldoni a ‘Predator’ in Explosive Legal Feud!
- Jay-Z and Diddy Celebrate as Rape Lawsuit is Shockingly Dismissed!
2025-03-06 23:56