The hit open-world medieval RPG Kingdom Come: Deliverance 2 is filled with unique side quests that favor player exploration over map indicators.
An exceptional Role-Playing Game (RPG) is often recognized by the caliber of its side missions, which can blend seamlessly with the main plot, demonstrating richness and quality in content beyond the primary narrative.
The game encourages you to seek out these quests by exploring towns and forests, asking tavern keepers and grave tenders for clues to suspicious happenings, and opportunities for you to show your cunning and valor.
In your search for people seeking help in a sea of side questing opportunities, the quest Yackers ‘n’ Fash can be initiated as the first part of a series of quests, starting with speaking with Foreman Vlach in Kuttenburg.
This guide will serve you step-by-step in your quest to complete Yackers ‘n’ Fash in Kingdom Come: Deliverance 2.
Kingdom Come: Deliverance 2 Walkthrough of Side Quest – Yackers ‘n’ Fash
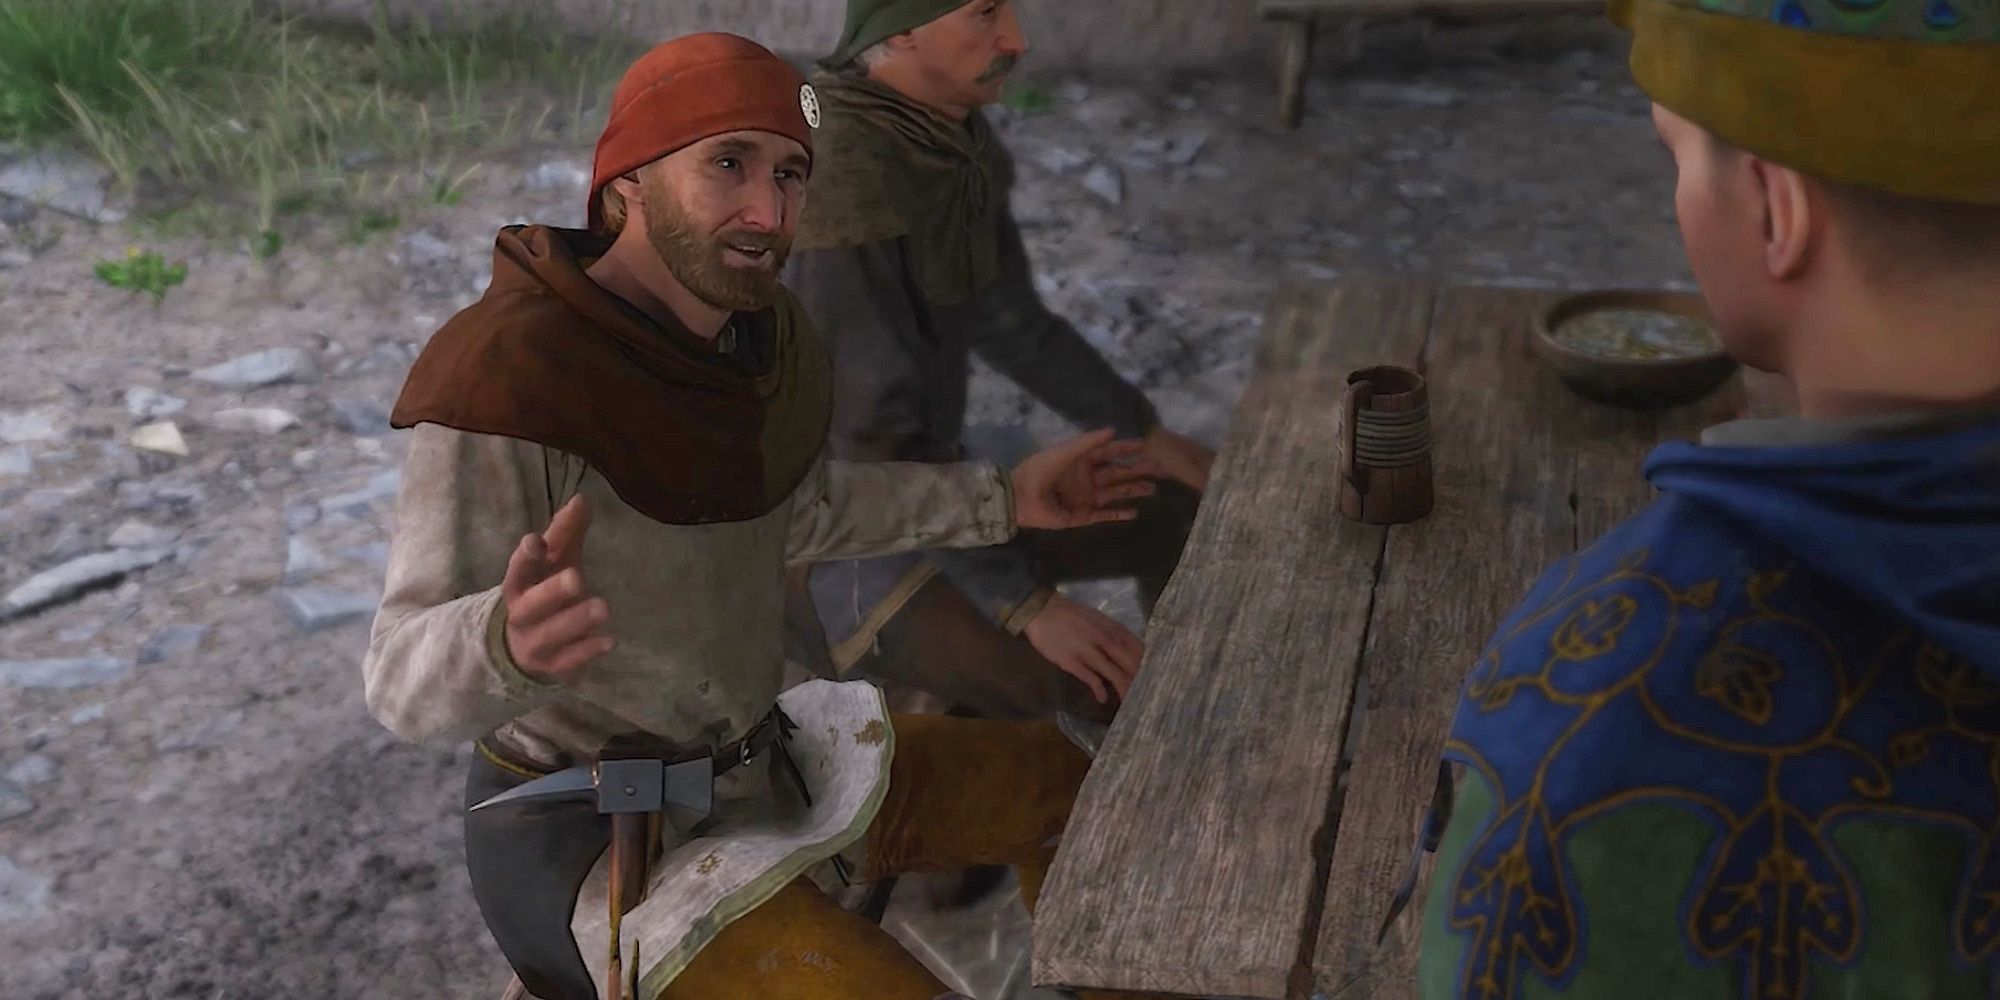
To begin this quest, you must first have completed Main Quest 14: Speak with of the Devil before you speak with Foreman Vlach. His location can be pointed out by a quest tipster, or you can run into him during the day.
As Vlach’s job requires him to be around the mining area, you can find him in the southwestern area of Kuttenberg city beyond the walls, though he won’t speak with you while he’s working.
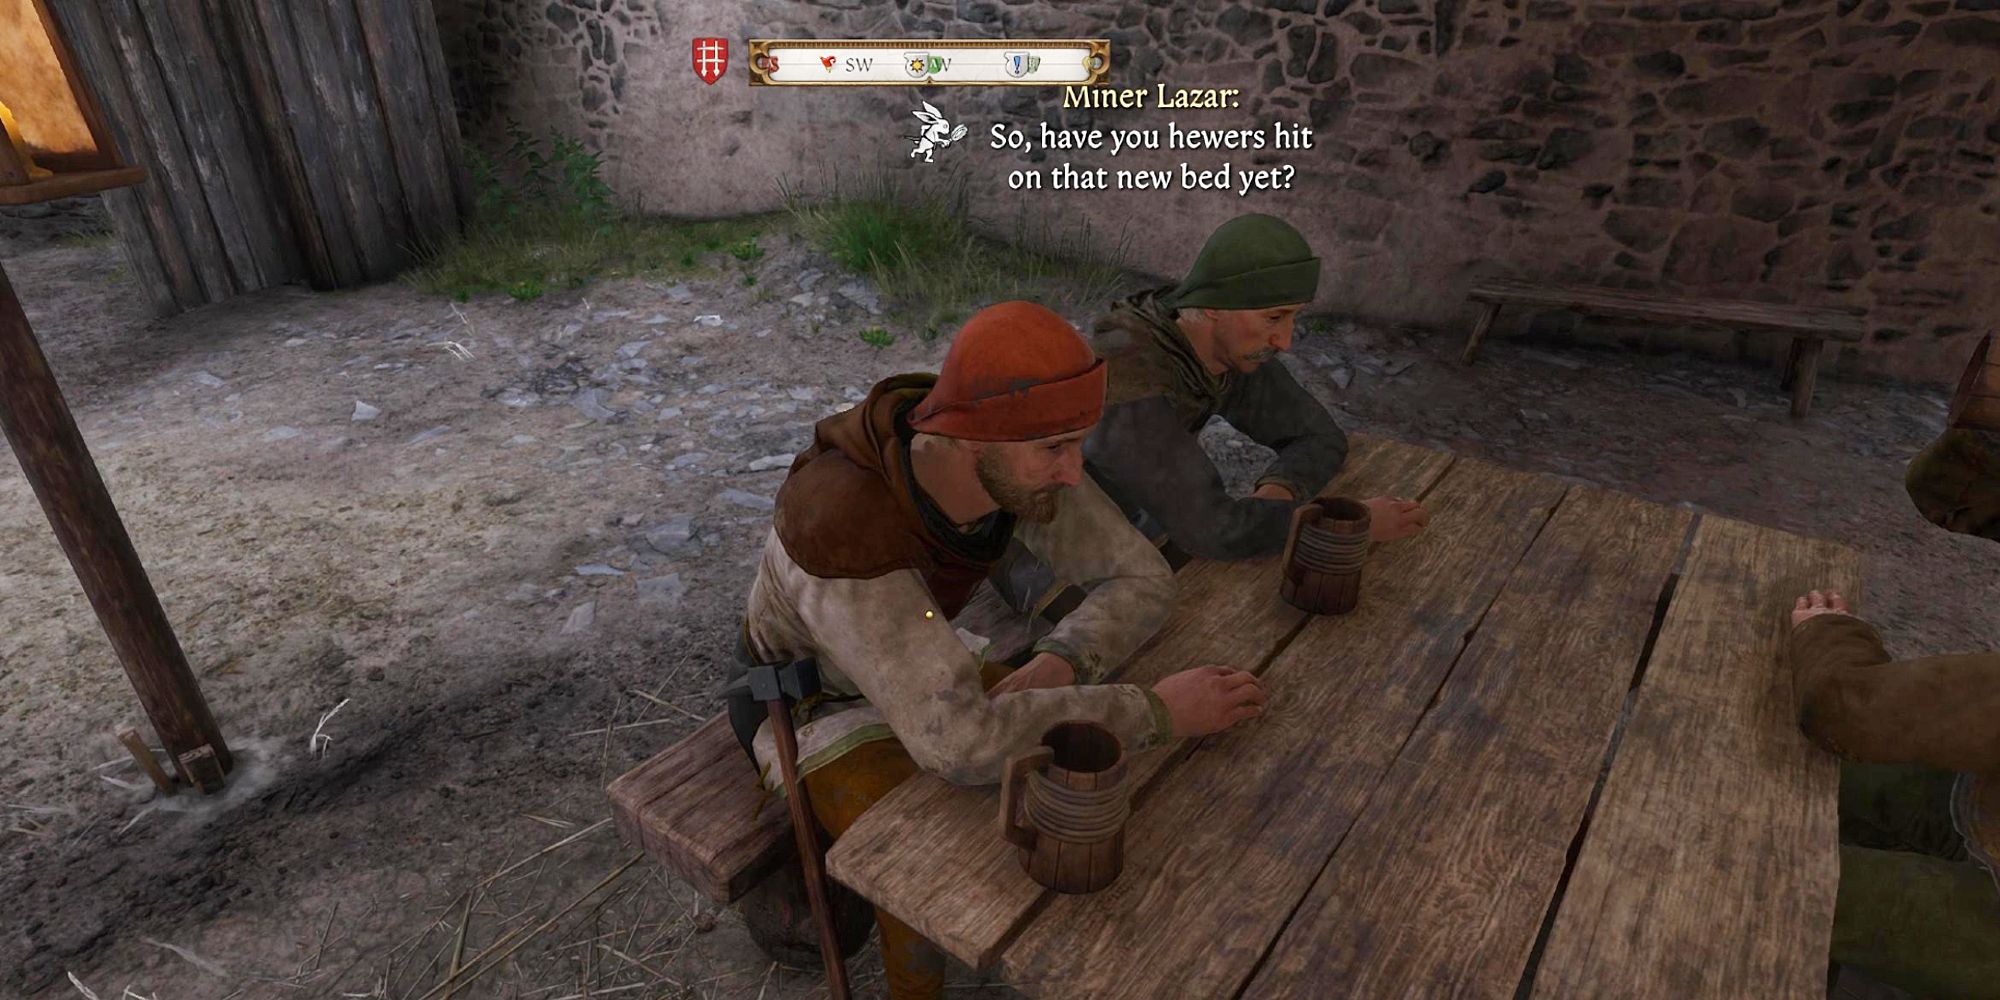
The simplest manner to approach him in order to start the quest is to wait around the Black Horse Tavern between 18:00–24:00 in the evening, where you can catch him at the end of his work day.
If you are able to meet at the same time in the tavern, Vlach will prompt you to come over and have a chat with him. He explains his problem involving a missing standard which he believes has been stolen by his rivals, so he tasks you with tracking it down.
The problem lies in the fact that their headquarters are secretly buried in a location where it’s simple to violate the law.
Finding Saints’ Den
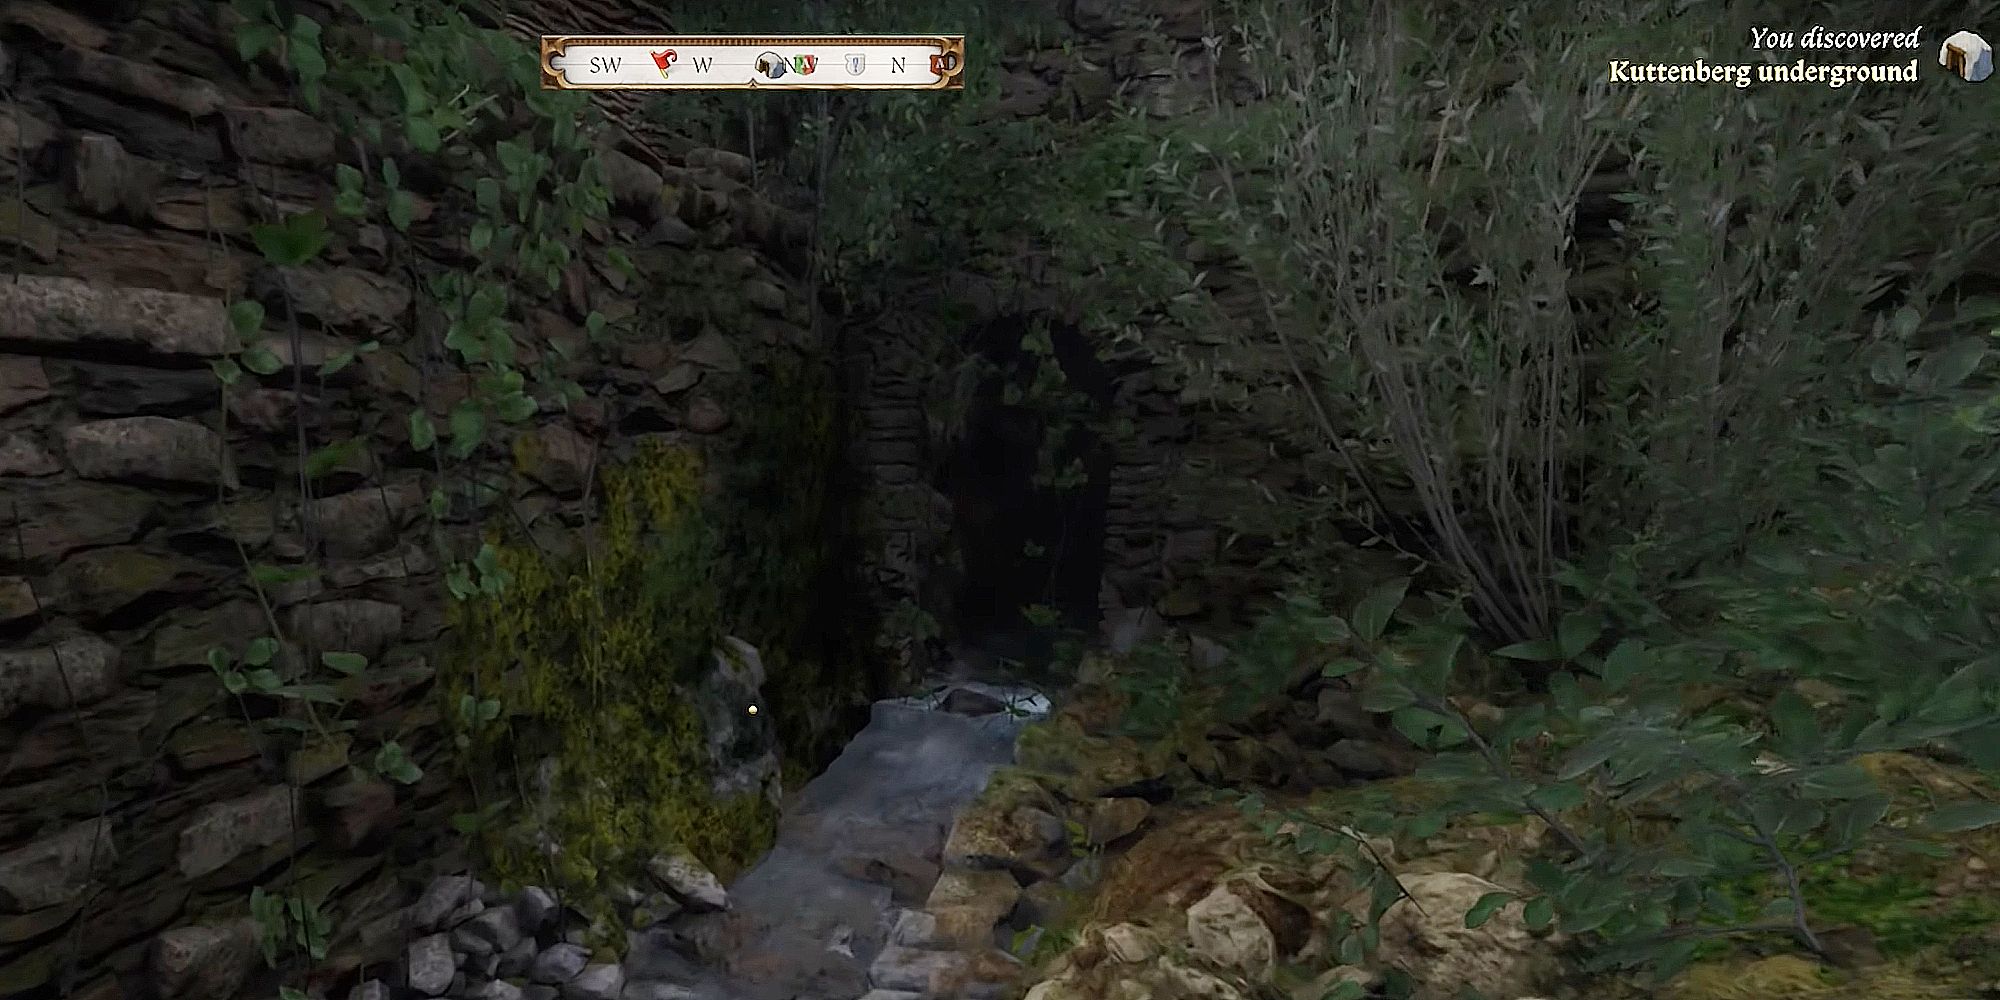
To avoid legal consequences when entering your rivals’ hideout, take the path through the Kuttenberg Underground entrance located south of the city walls, near the river. This will lead you to one of the secret underground tunnels that run beneath Kuttenberg.
If you possess a high skill in lock picking, you can try your hand at breaking into the many shops, though the hard-level locks combined with the risk of getting caught may not be worth it depending on your build.
Enter the tunnel when ready and follow the path to the first fork along the right side.
As you pass beneath the archway, Henry will provide some comments about a place of interest known as Wasteyard. Continue along the path to reach your destination.
In these subterranean passages, you’re essentially free to take whatever catches your eye since nothing here is owned by anyone specifically.
Once you reach the ladder, climb it and take the path on the right to get to a locked door. You should be able to lock-pick it and enter to find the Saints’ den.
Meeting with Joerg Preng
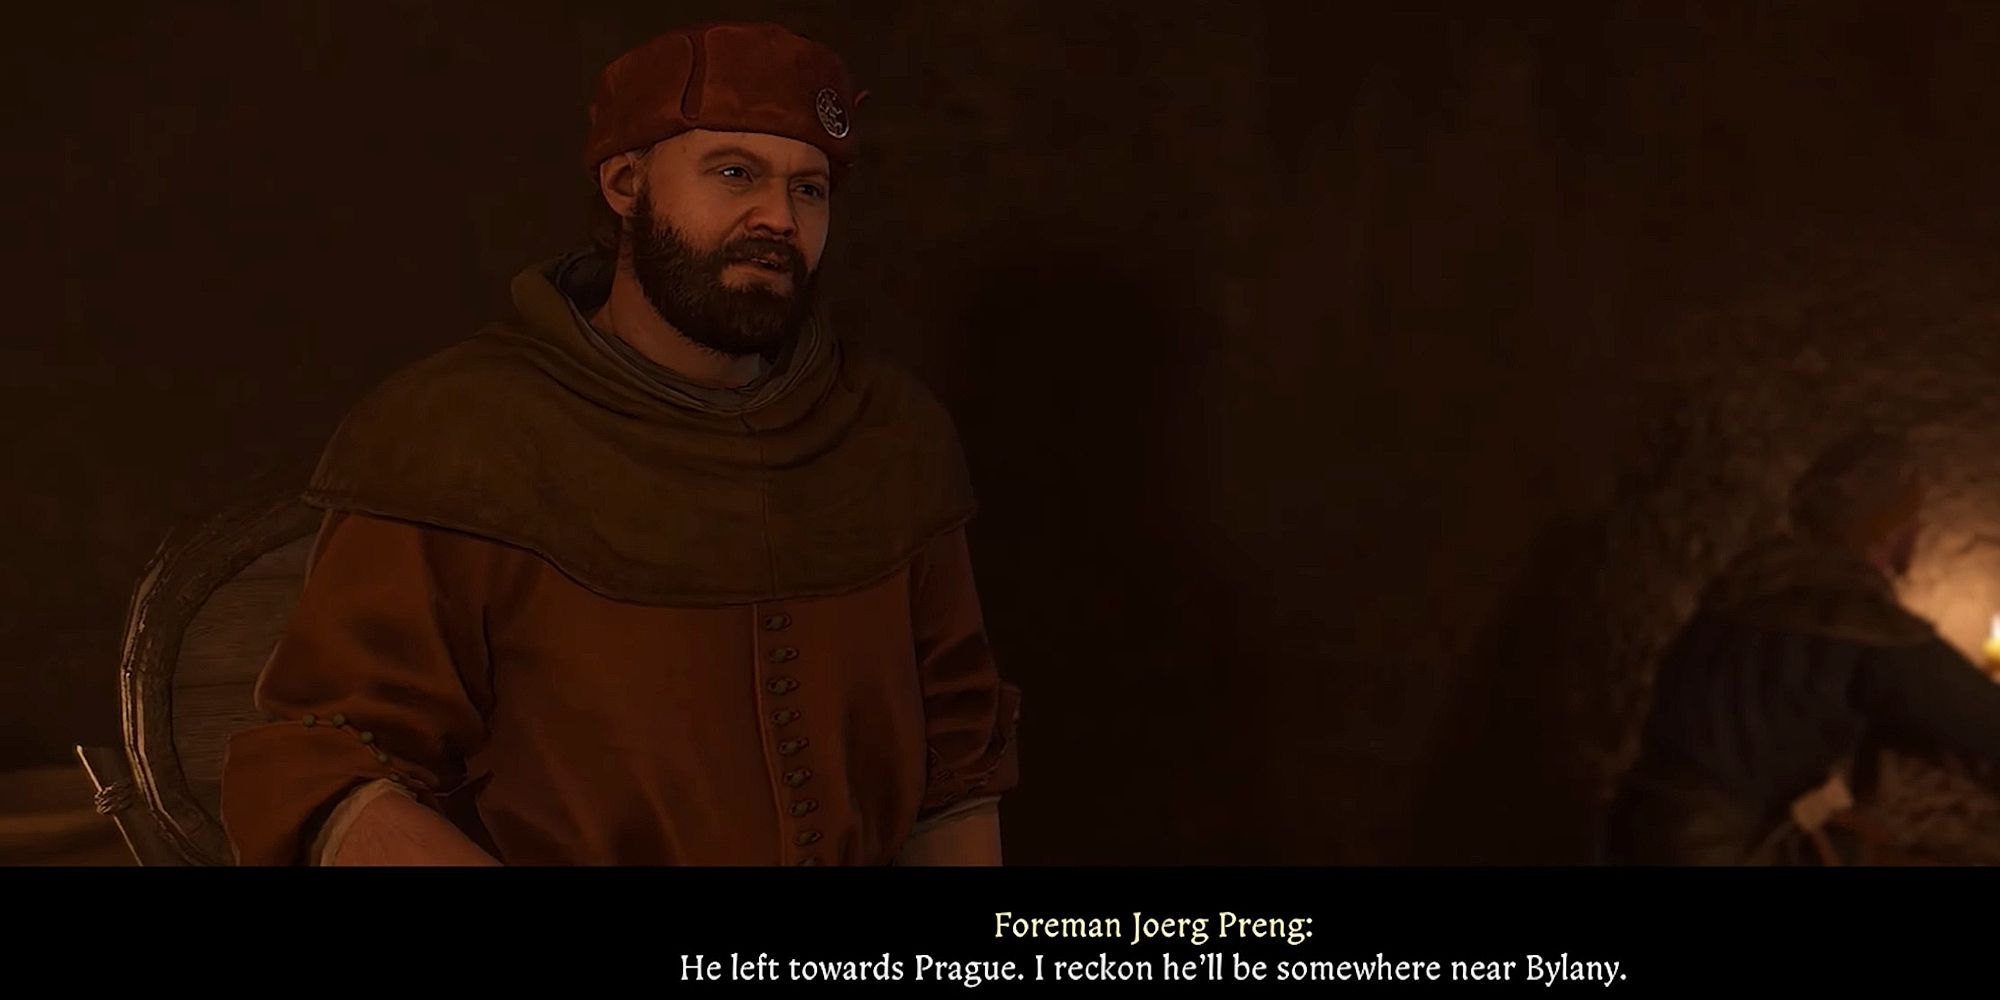
Although it’s considered a private space, feel free to come in promptly since your mission involves speaking with Jörg Preng.
When you interact with Joerg Preng, you will be presented with multiple options: speak with him and pass two dialogue options that require a skill check, challenge him to a game of dice, or fist-fight him.
Whichever option you choose, Joerg will divulge the information you’re here for.
If you find delight in rolling dice within Kingdom Come: Deliverance 2, then that method of advancing the quest offers a notably entertaining experience.
Once you are successful in whichever method you choose, Joerg tells you that he no longer possesses the standard Foreman Vlach wants back.
Searching for Hensel
Make your way to the exit of the tunnel by retracing your steps or heading through one of the several other exits. Go south of Kuttenberg, making note of the objective area highlighted on your map.
As you arrive at that location, make your way towards the intersection situated on the western edge of the target zone. There, you’ll encounter a bag filled with blood, an event that will advance your quest objective.
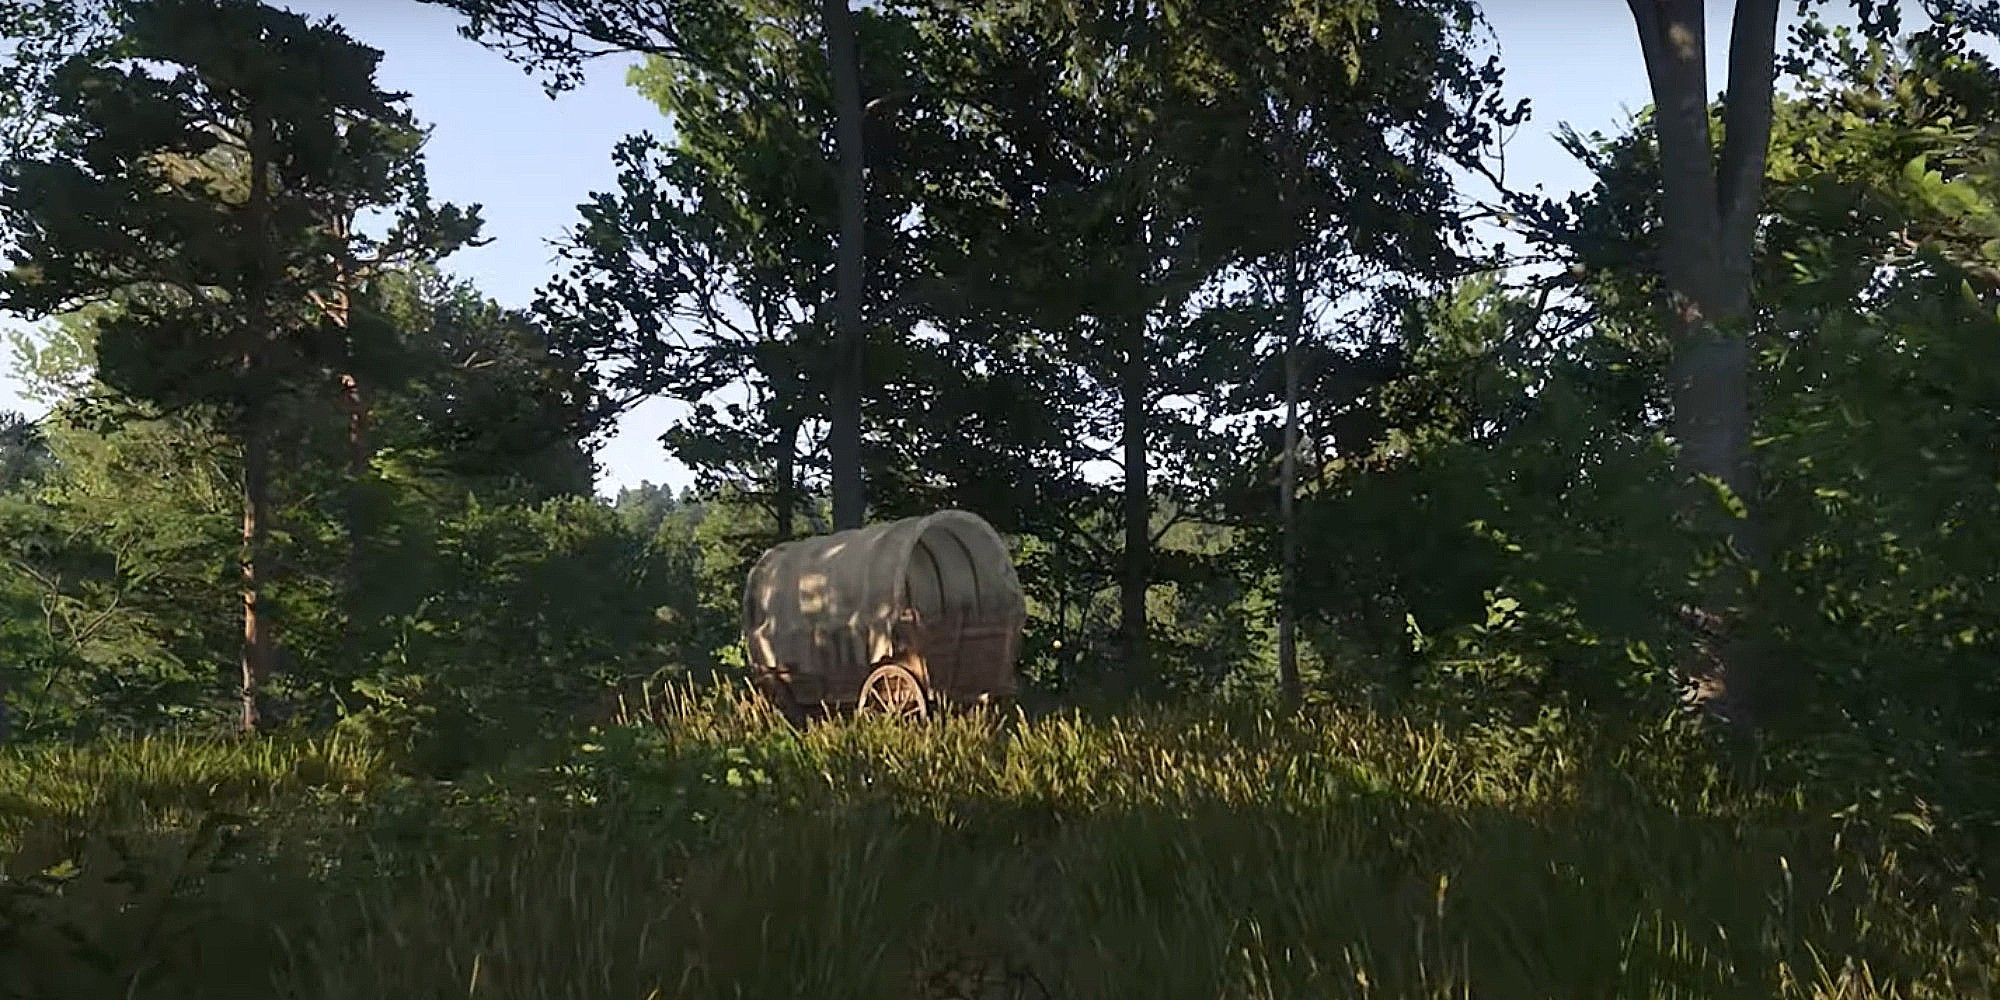
Proceed ahead by following the clues given. You’ll notice a set of tracks along the way. Scan your environment and you will come across an abandoned cart.
1. Firstly, take a look at the cart that’s nearby.
2. Next to it, you’ll see a trail of blood.
3. To find the wolves, head in a direction slightly south from where the cart is located.
4. Upon reaching this new location, you will discover some wolves gnawing on a body.
If you are attempting the Lent trophy/achievement, don’t kill the wolves using your weapons. You can punch them in order to knock them out and chase them away.
Once the wolves are taken care of, you can approach and inspect the body on the ground.
You will find that this is in fact Hensel, the merchant who you have been searching for. You won’t be getting any information out of him, unfortunately for you both.
Finding The Lost Standard
You need to head towards the milling area located in the small town of Denmark, as this new development in the quest line broadens your search scope further south. So, make your way there to continue your investigation.
In the center of the space lies a band of outlaws, relaxing near a blaze. Be prepared as they’ll turn aggressive towards you upon sight, requiring you to confront them simultaneously in whatever manner you deem appropriate.
At this stage in the game, they should be weaker than your strength, so battling against them all together shouldn’t give you too much trouble.
An easily missable task can be found at this location called Tragedy in Danemark. If you don’t start this quest before leaving the area, it will be completely unavailable for the rest of the game. Be sure to find the miller family located in the attic space of the northern building.
1. First, eliminate your enemies.
2. Then, locate the southern building and enter it. Inside the room, you will find a chest on the right side.
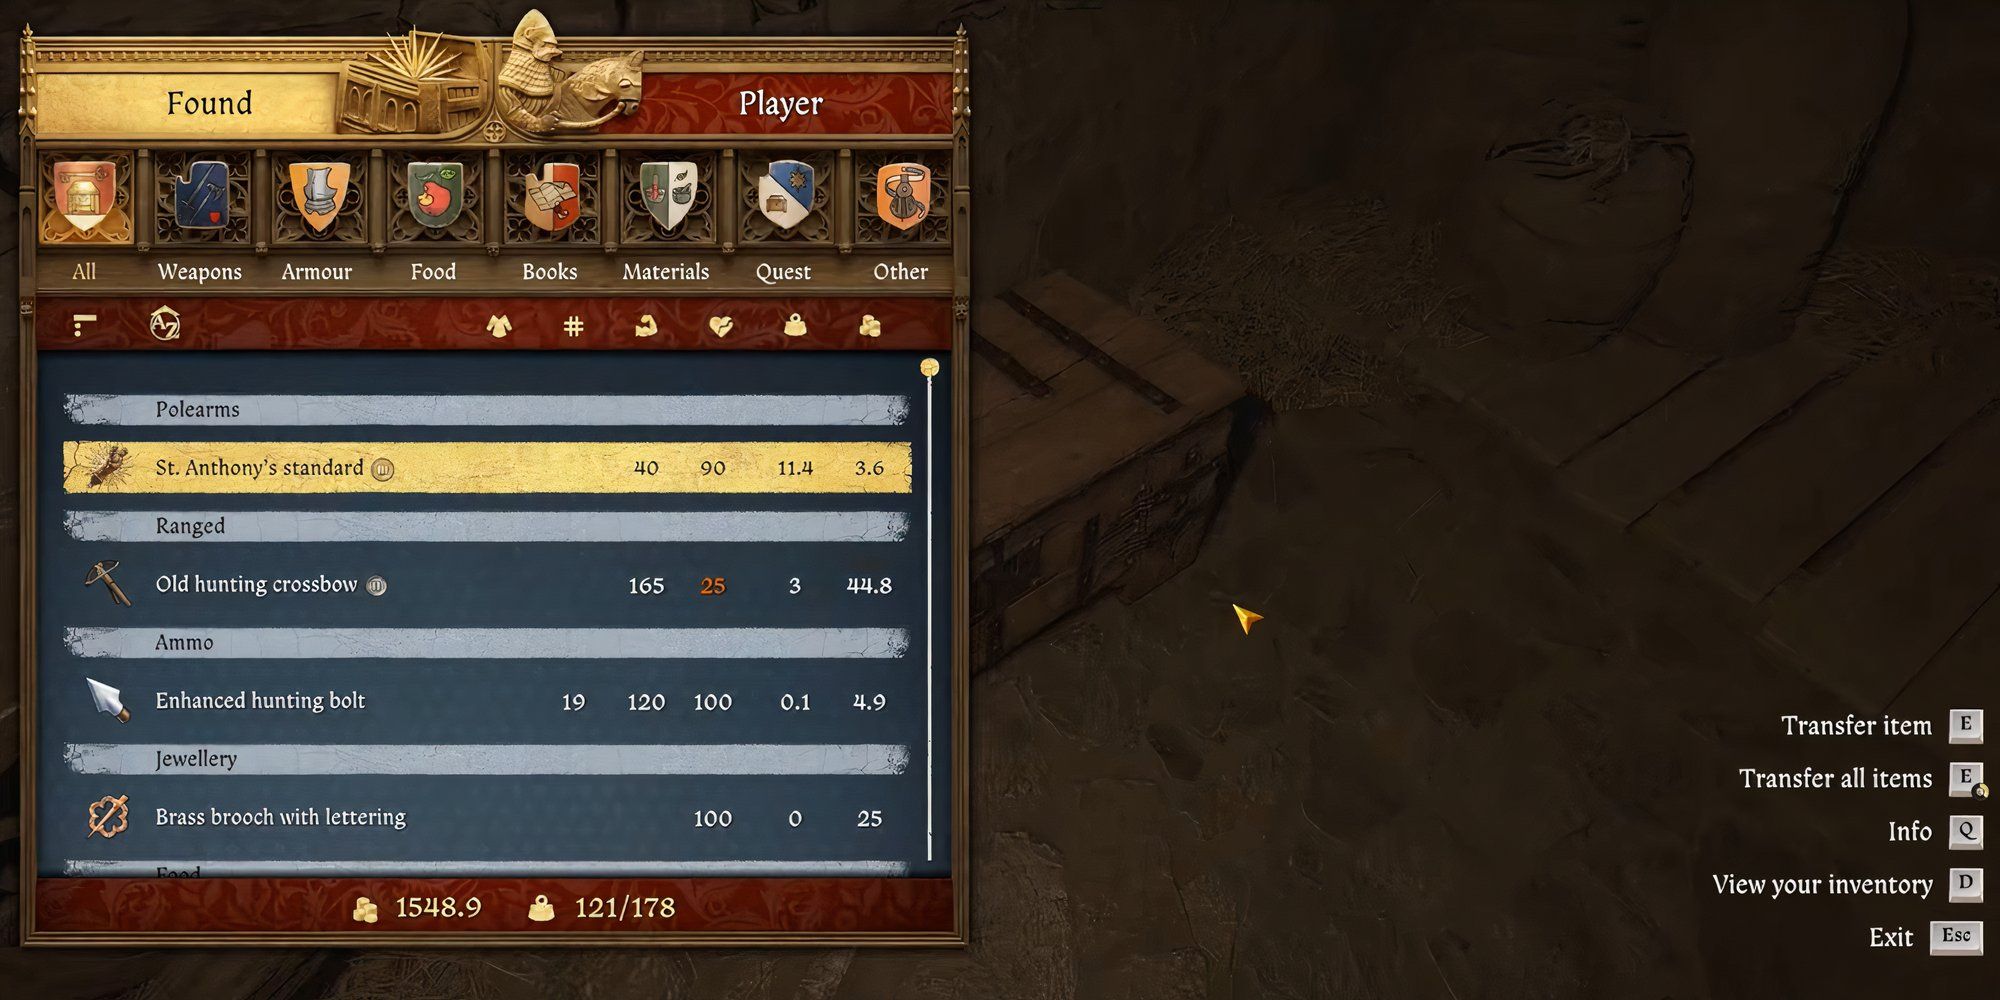
3. Open the chest to receive the St. Anthony’s Standard as a reward.
Finally, make your return to Vlach and deposit the Saint Anthony’s Standard to him.
Somewhat hilariously, you can lie to Vlach when he asks you to turn it in and keep the standard for yourself, as it is a blunt pole-arm weapon. However, this fails the quest, so I recommend you give it to him.
After finishing the side quest “Yackers ‘n’ Fash”, you will get 250 Groschen, Thievery experience points, Scholarship experience points, and Craftsmanship experience points.
Read More
- Solo Leveling Season 3: What You NEED to Know!
- OM PREDICTION. OM cryptocurrency
- Rachel Zegler Claps Back at Critics While Ignoring Snow White Controversies!
- Oblivion Remastered: The Ultimate Race Guide & Tier List
- Captain America: Brave New World’s Shocking Leader Design Change Explained!
- How to Get to Frostcrag Spire in Oblivion Remastered
- Oshi no Ko Season 3: Release Date, Cast, and What to Expect!
- Moana 3: Release Date, Plot, and What to Expect
- Fantastic Four: First Steps Cast’s Surprising Best Roles and Streaming Guides!
- Why Tina Fey’s Netflix Show The Four Seasons Is a Must-Watch Remake of a Classic Romcom
2025-03-18 15:54