In the penultimate primary mission of “The First Berserker: Khazan,” you encounter “The Bloodied Sanctuary.” This expansive level leads you to explore heights, circumnavigate, and delve deep within a colossal temple. You’ll search for clues in the garden below, navigate precariously across upper rafters, and engage in intense battles against hordes of menacing demonic beings.
This manual will assist you in navigating various challenging situations, alert you to all hidden dangers, and provide tips for overcoming mini-bosses of high rank that are dispersed throughout. Of course, I’ll also demonstrate where to locate every treasure, Soulstone, and Jarling during your journey.
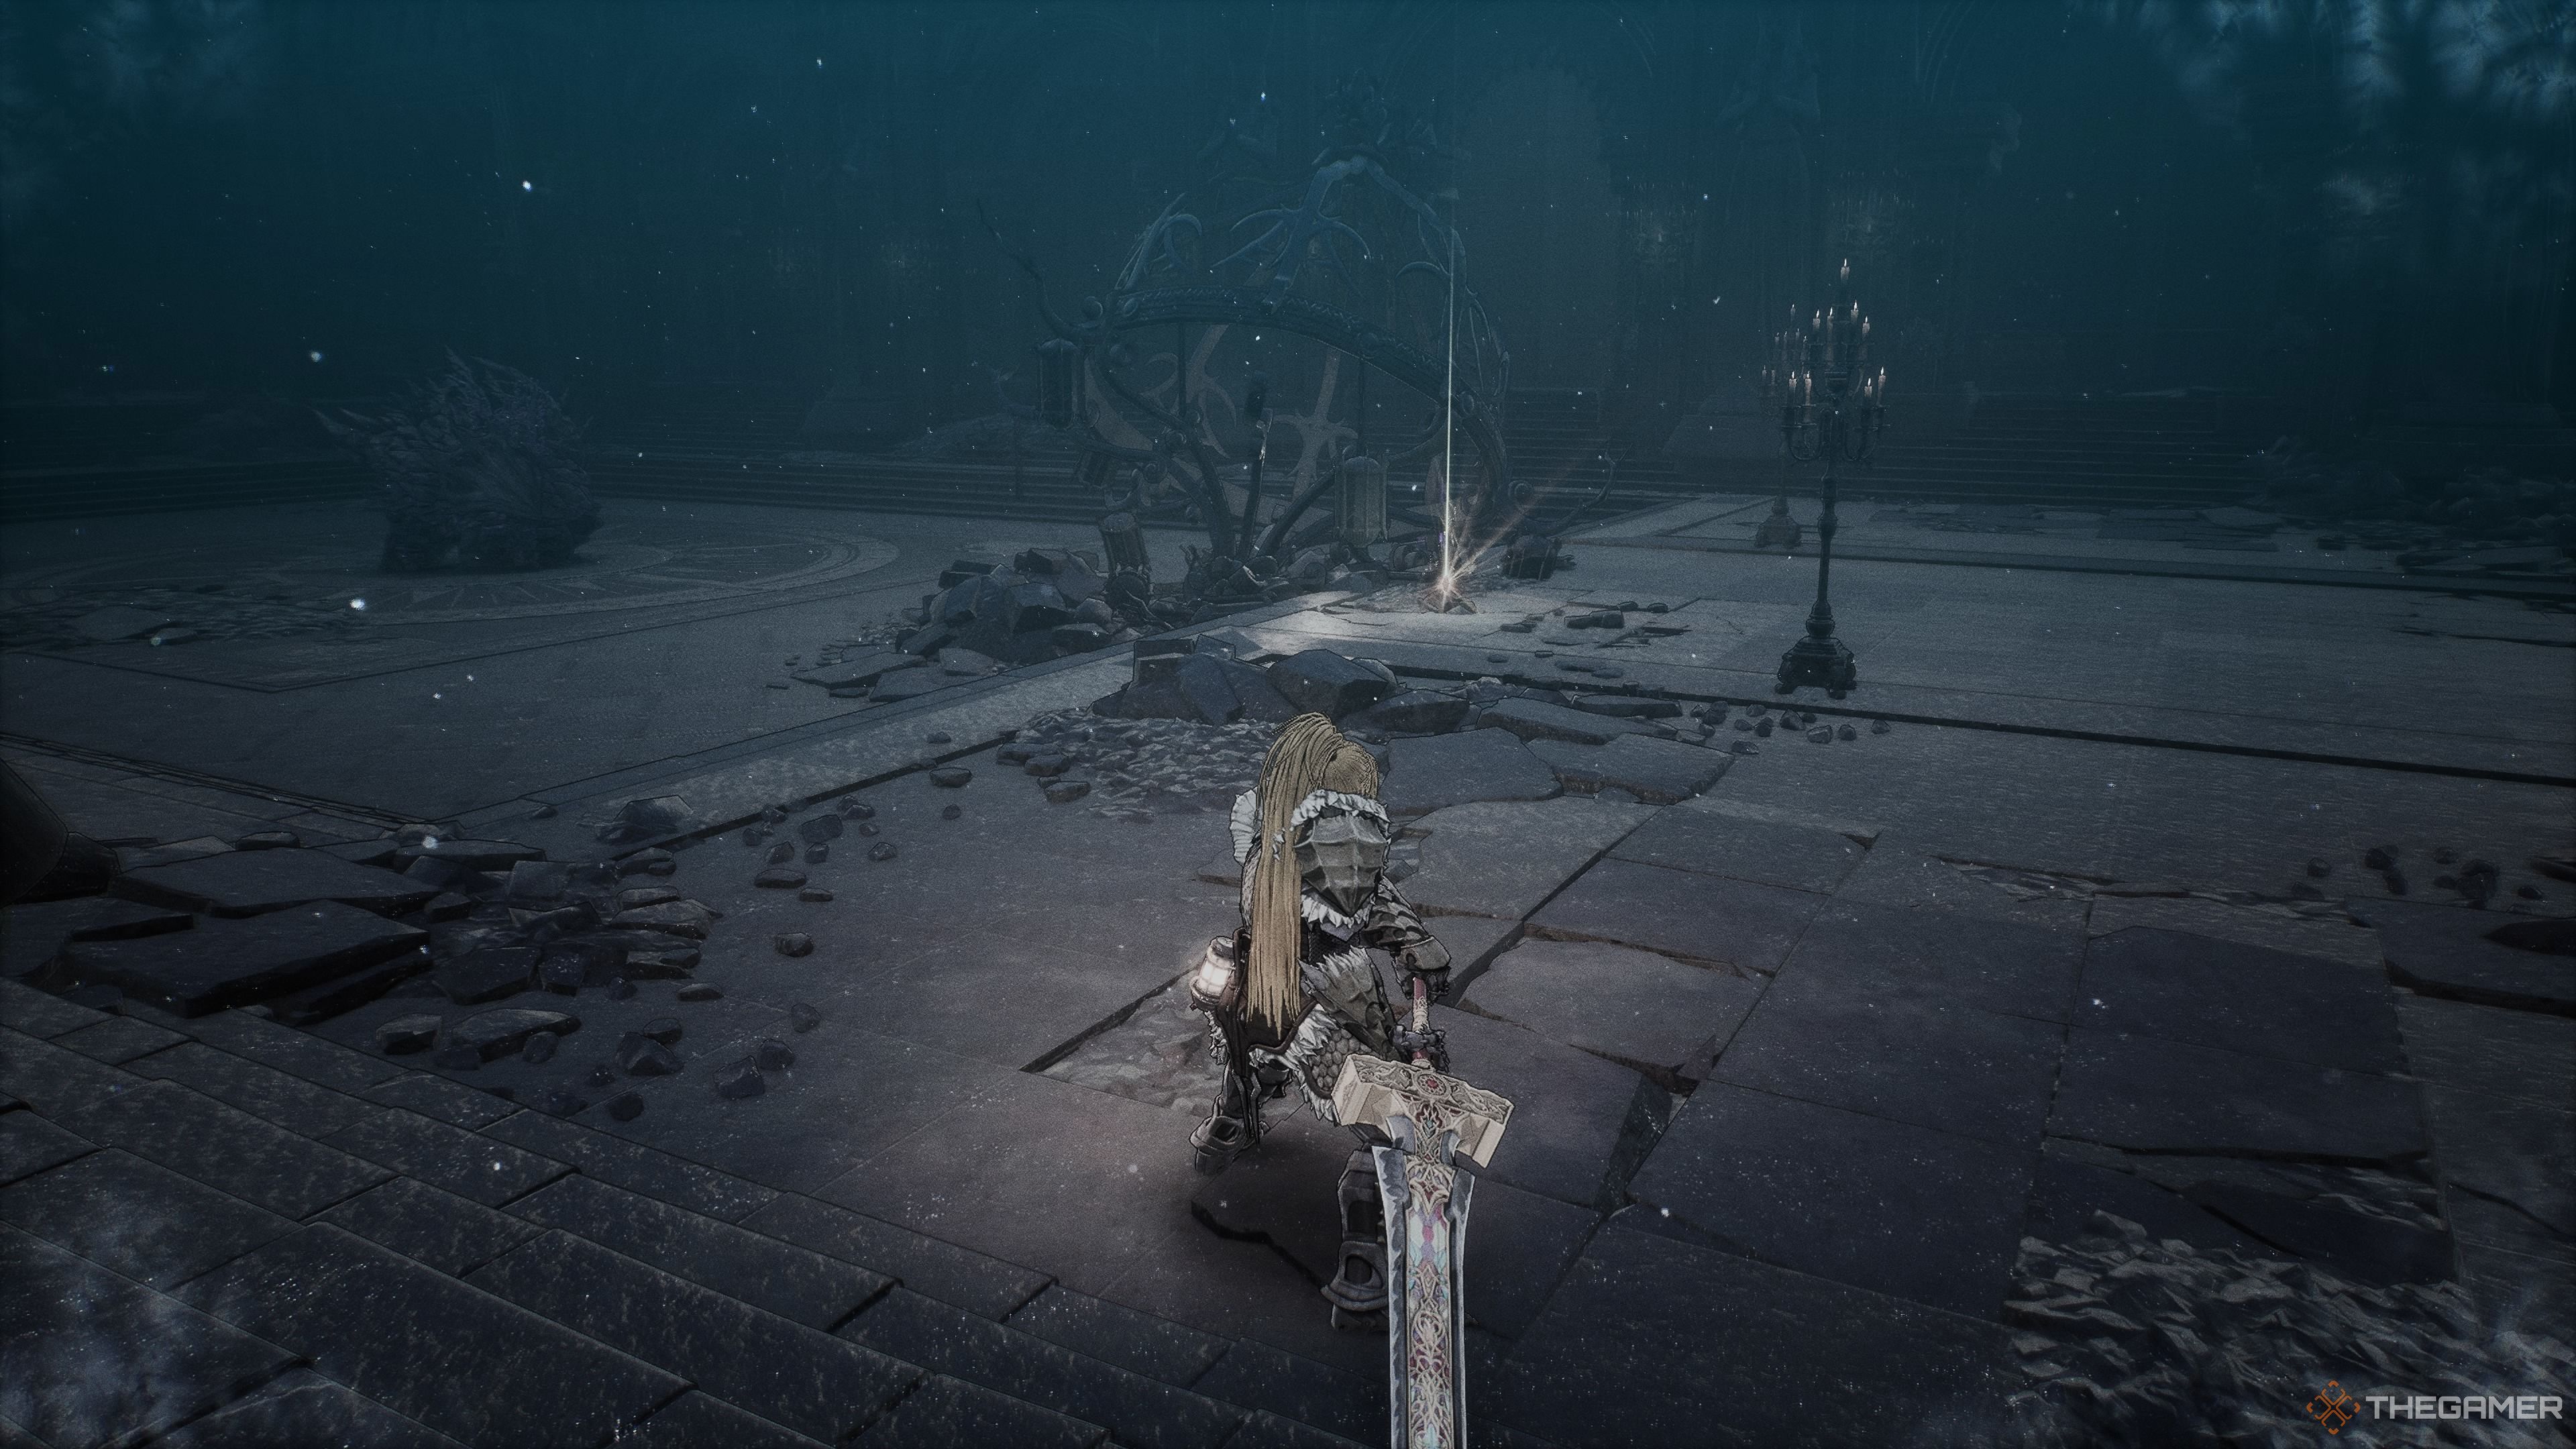
The Great Temple
| Enemies | Beast of Rampage, Corrupter, Frightened Citizen, Observer, Yoma Pursuer, Devotee, Elite Corrupted High Cleric, Yoma Shamen, Saint of Sin |
|---|---|
| Notable Items |
2x Unstable Soul Tearstone, Large Spirit Ore, Radiant Guardian’s Scroll
Reese 2 |
| Soulstones? | 2 |
| Jarling? | No |
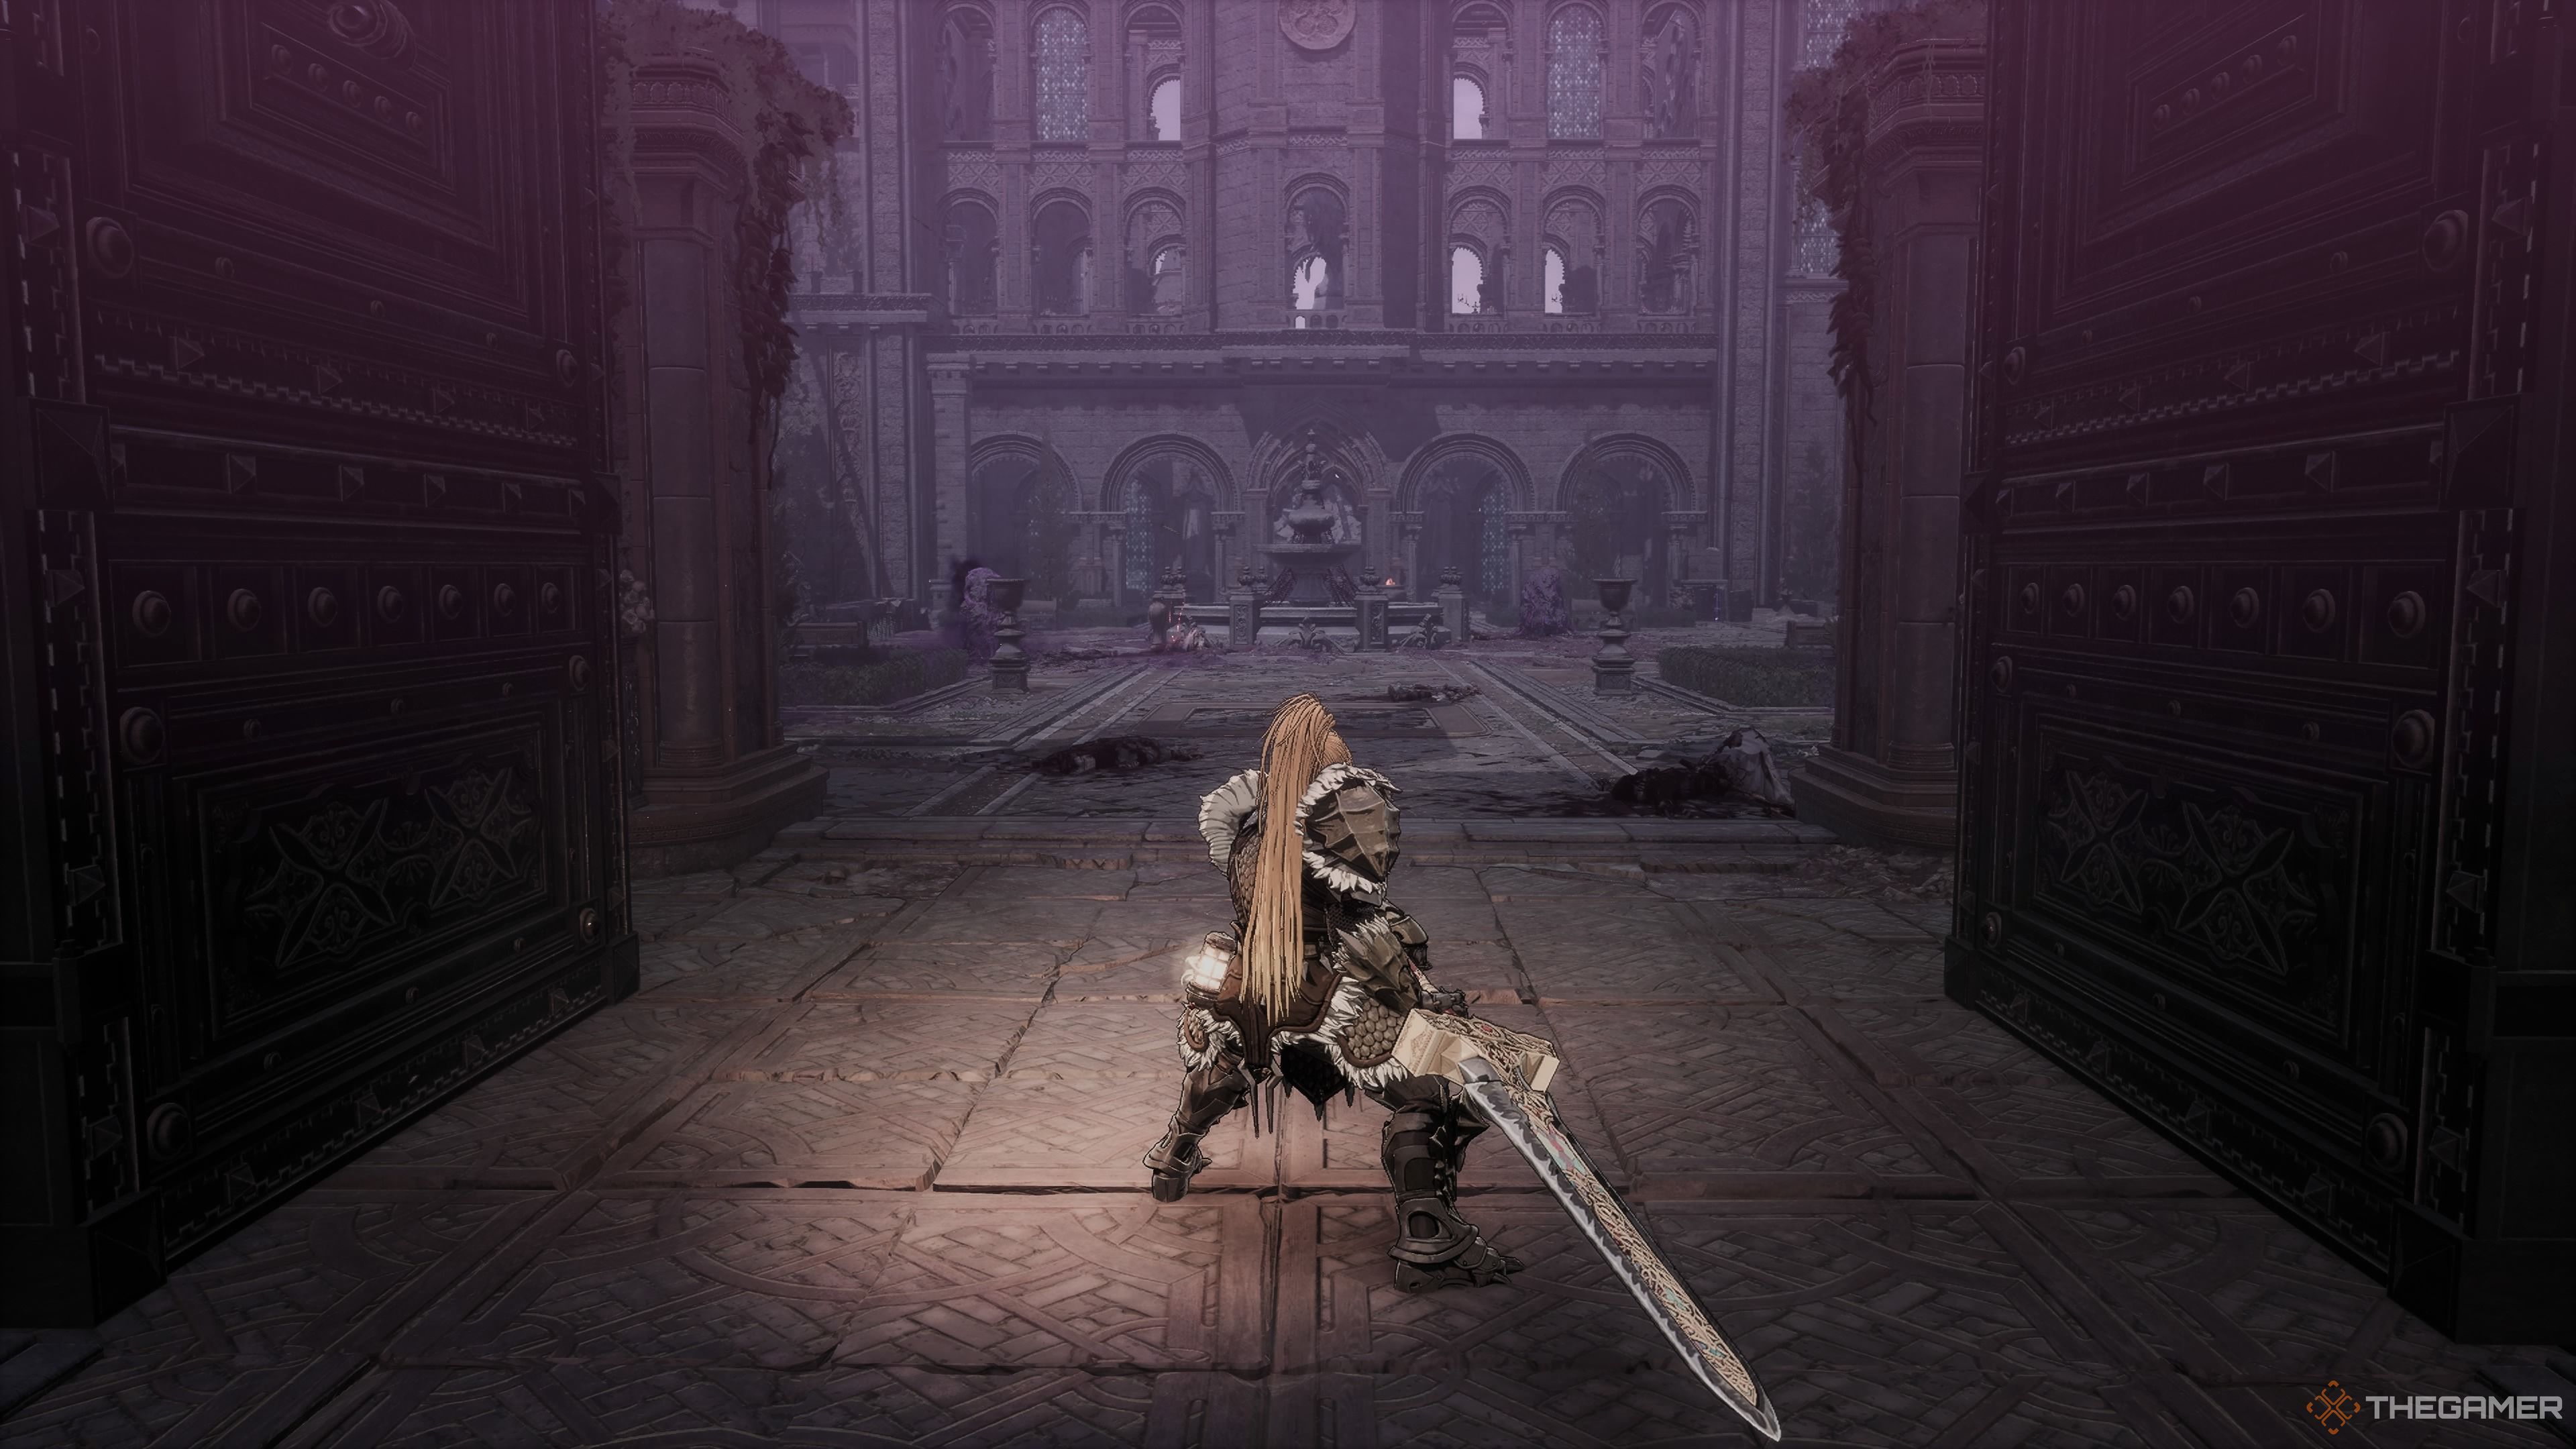
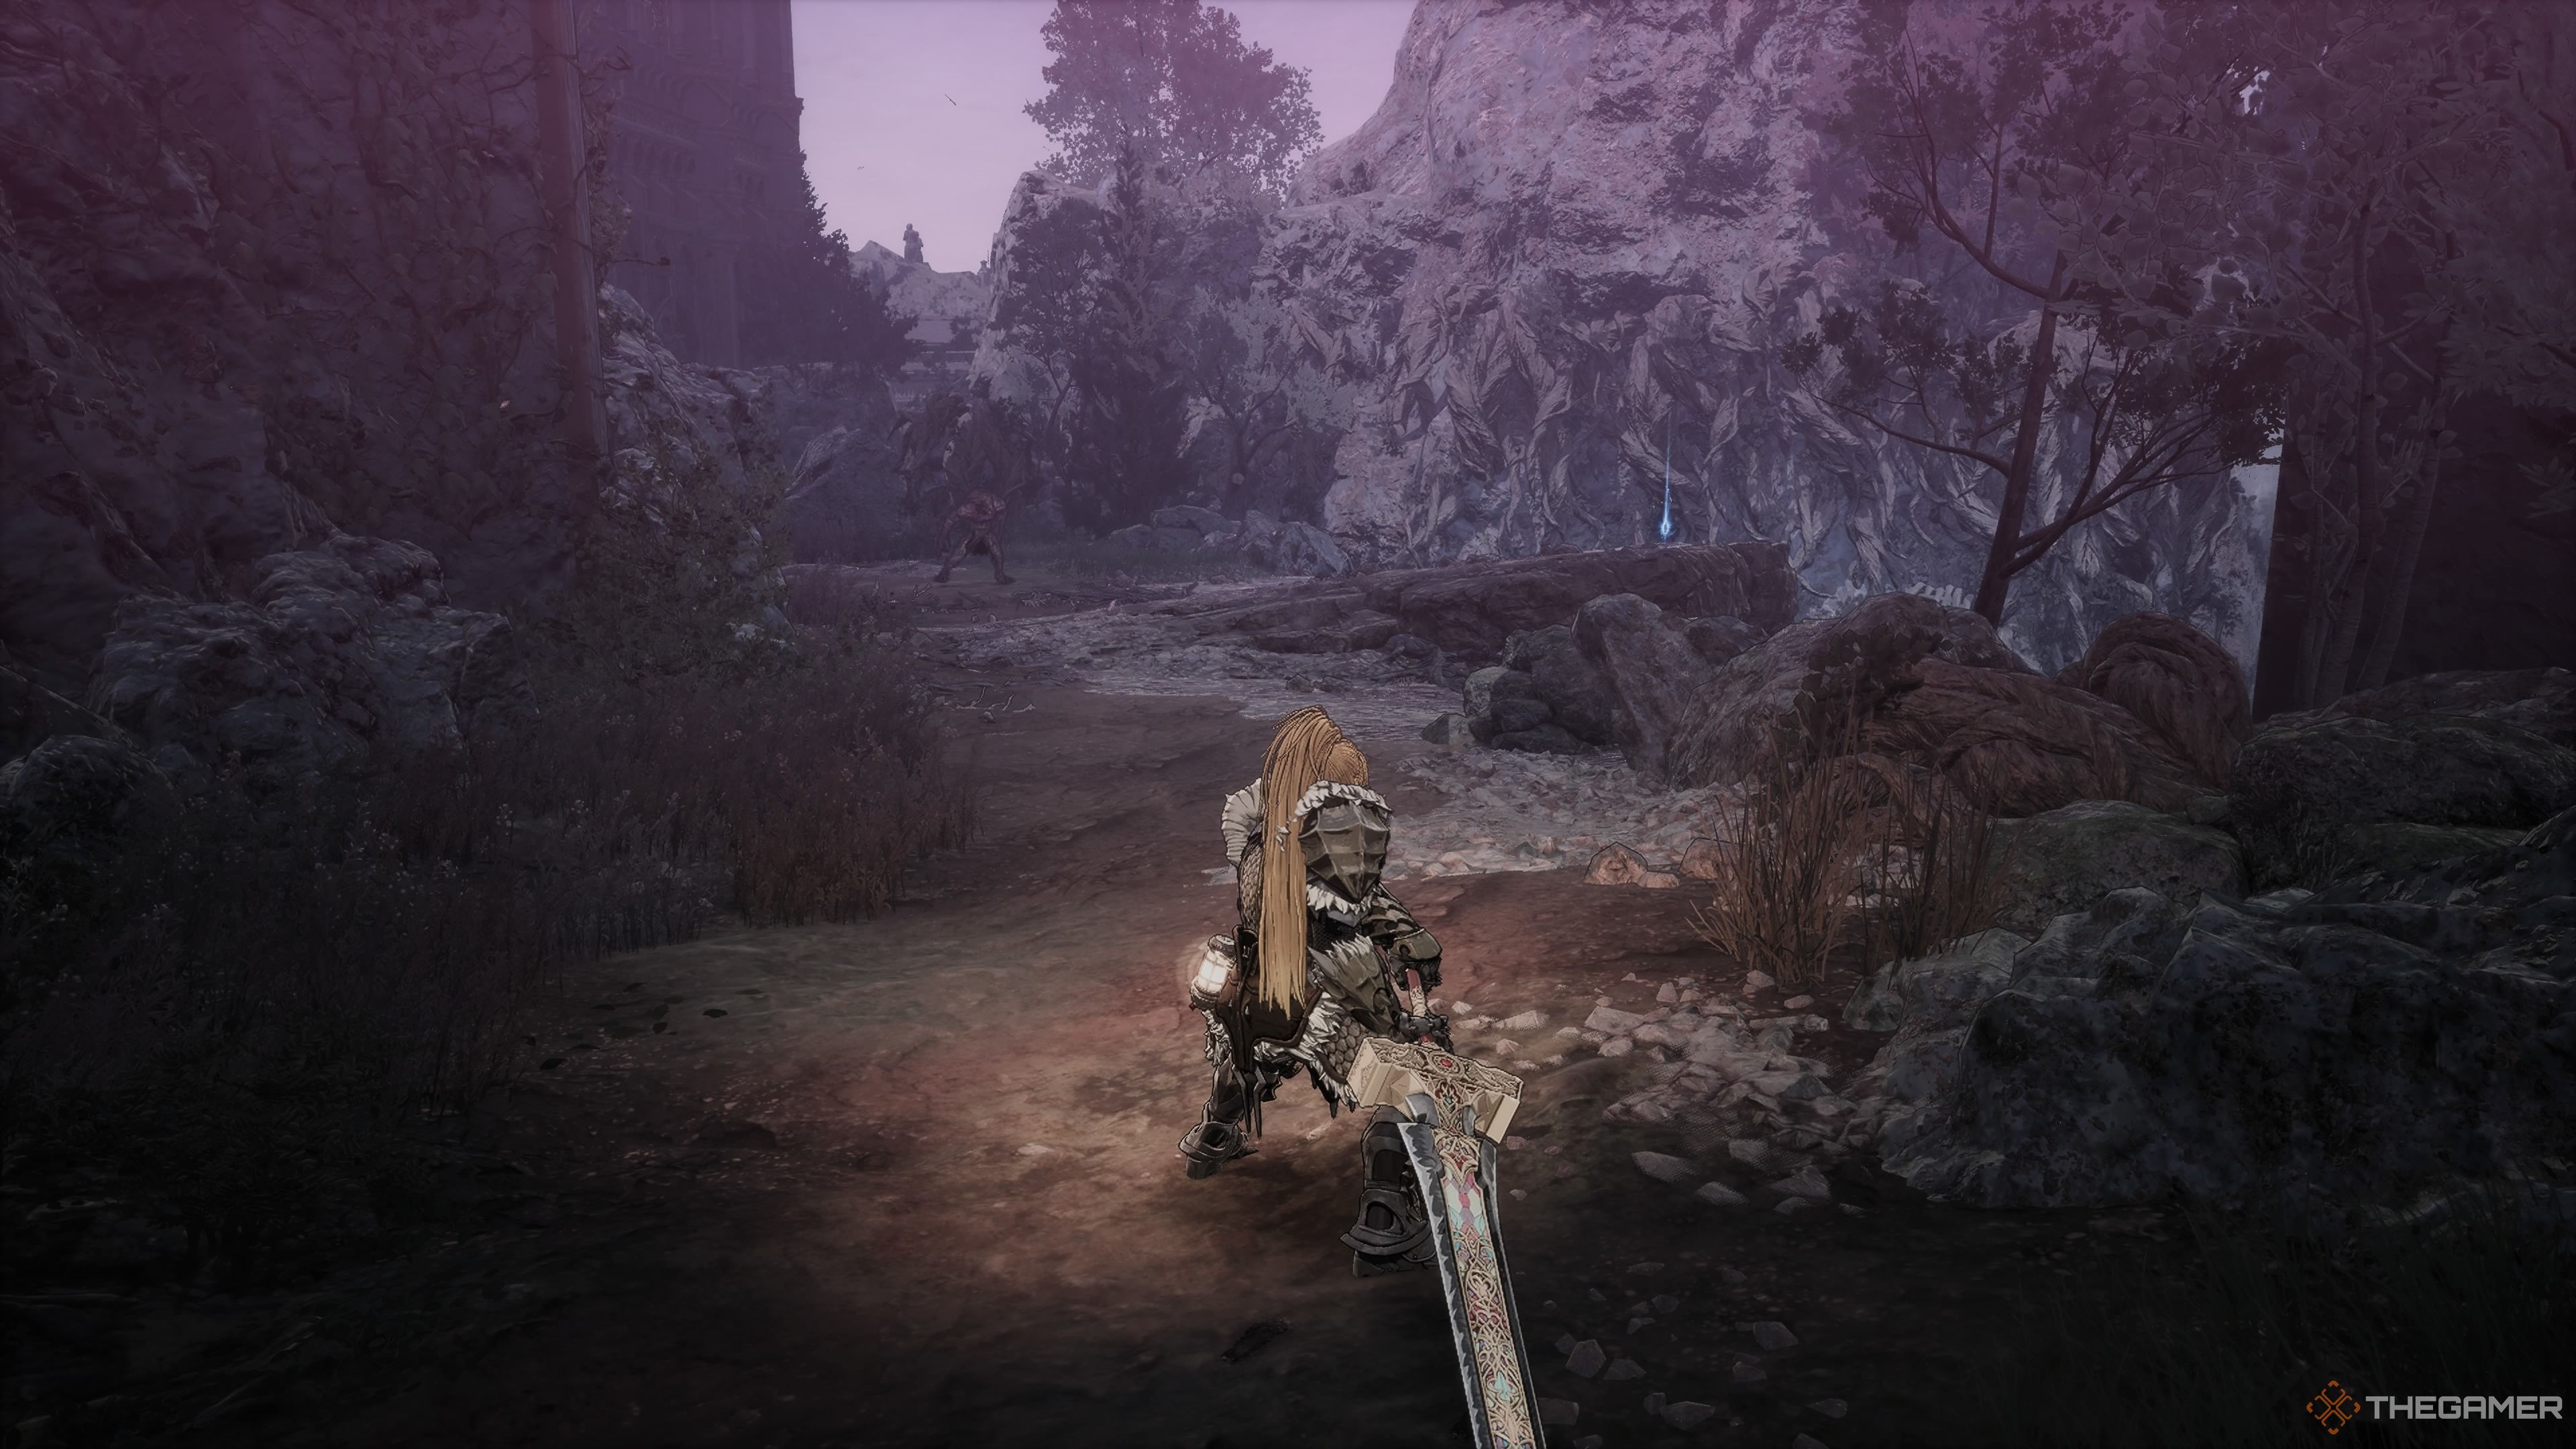
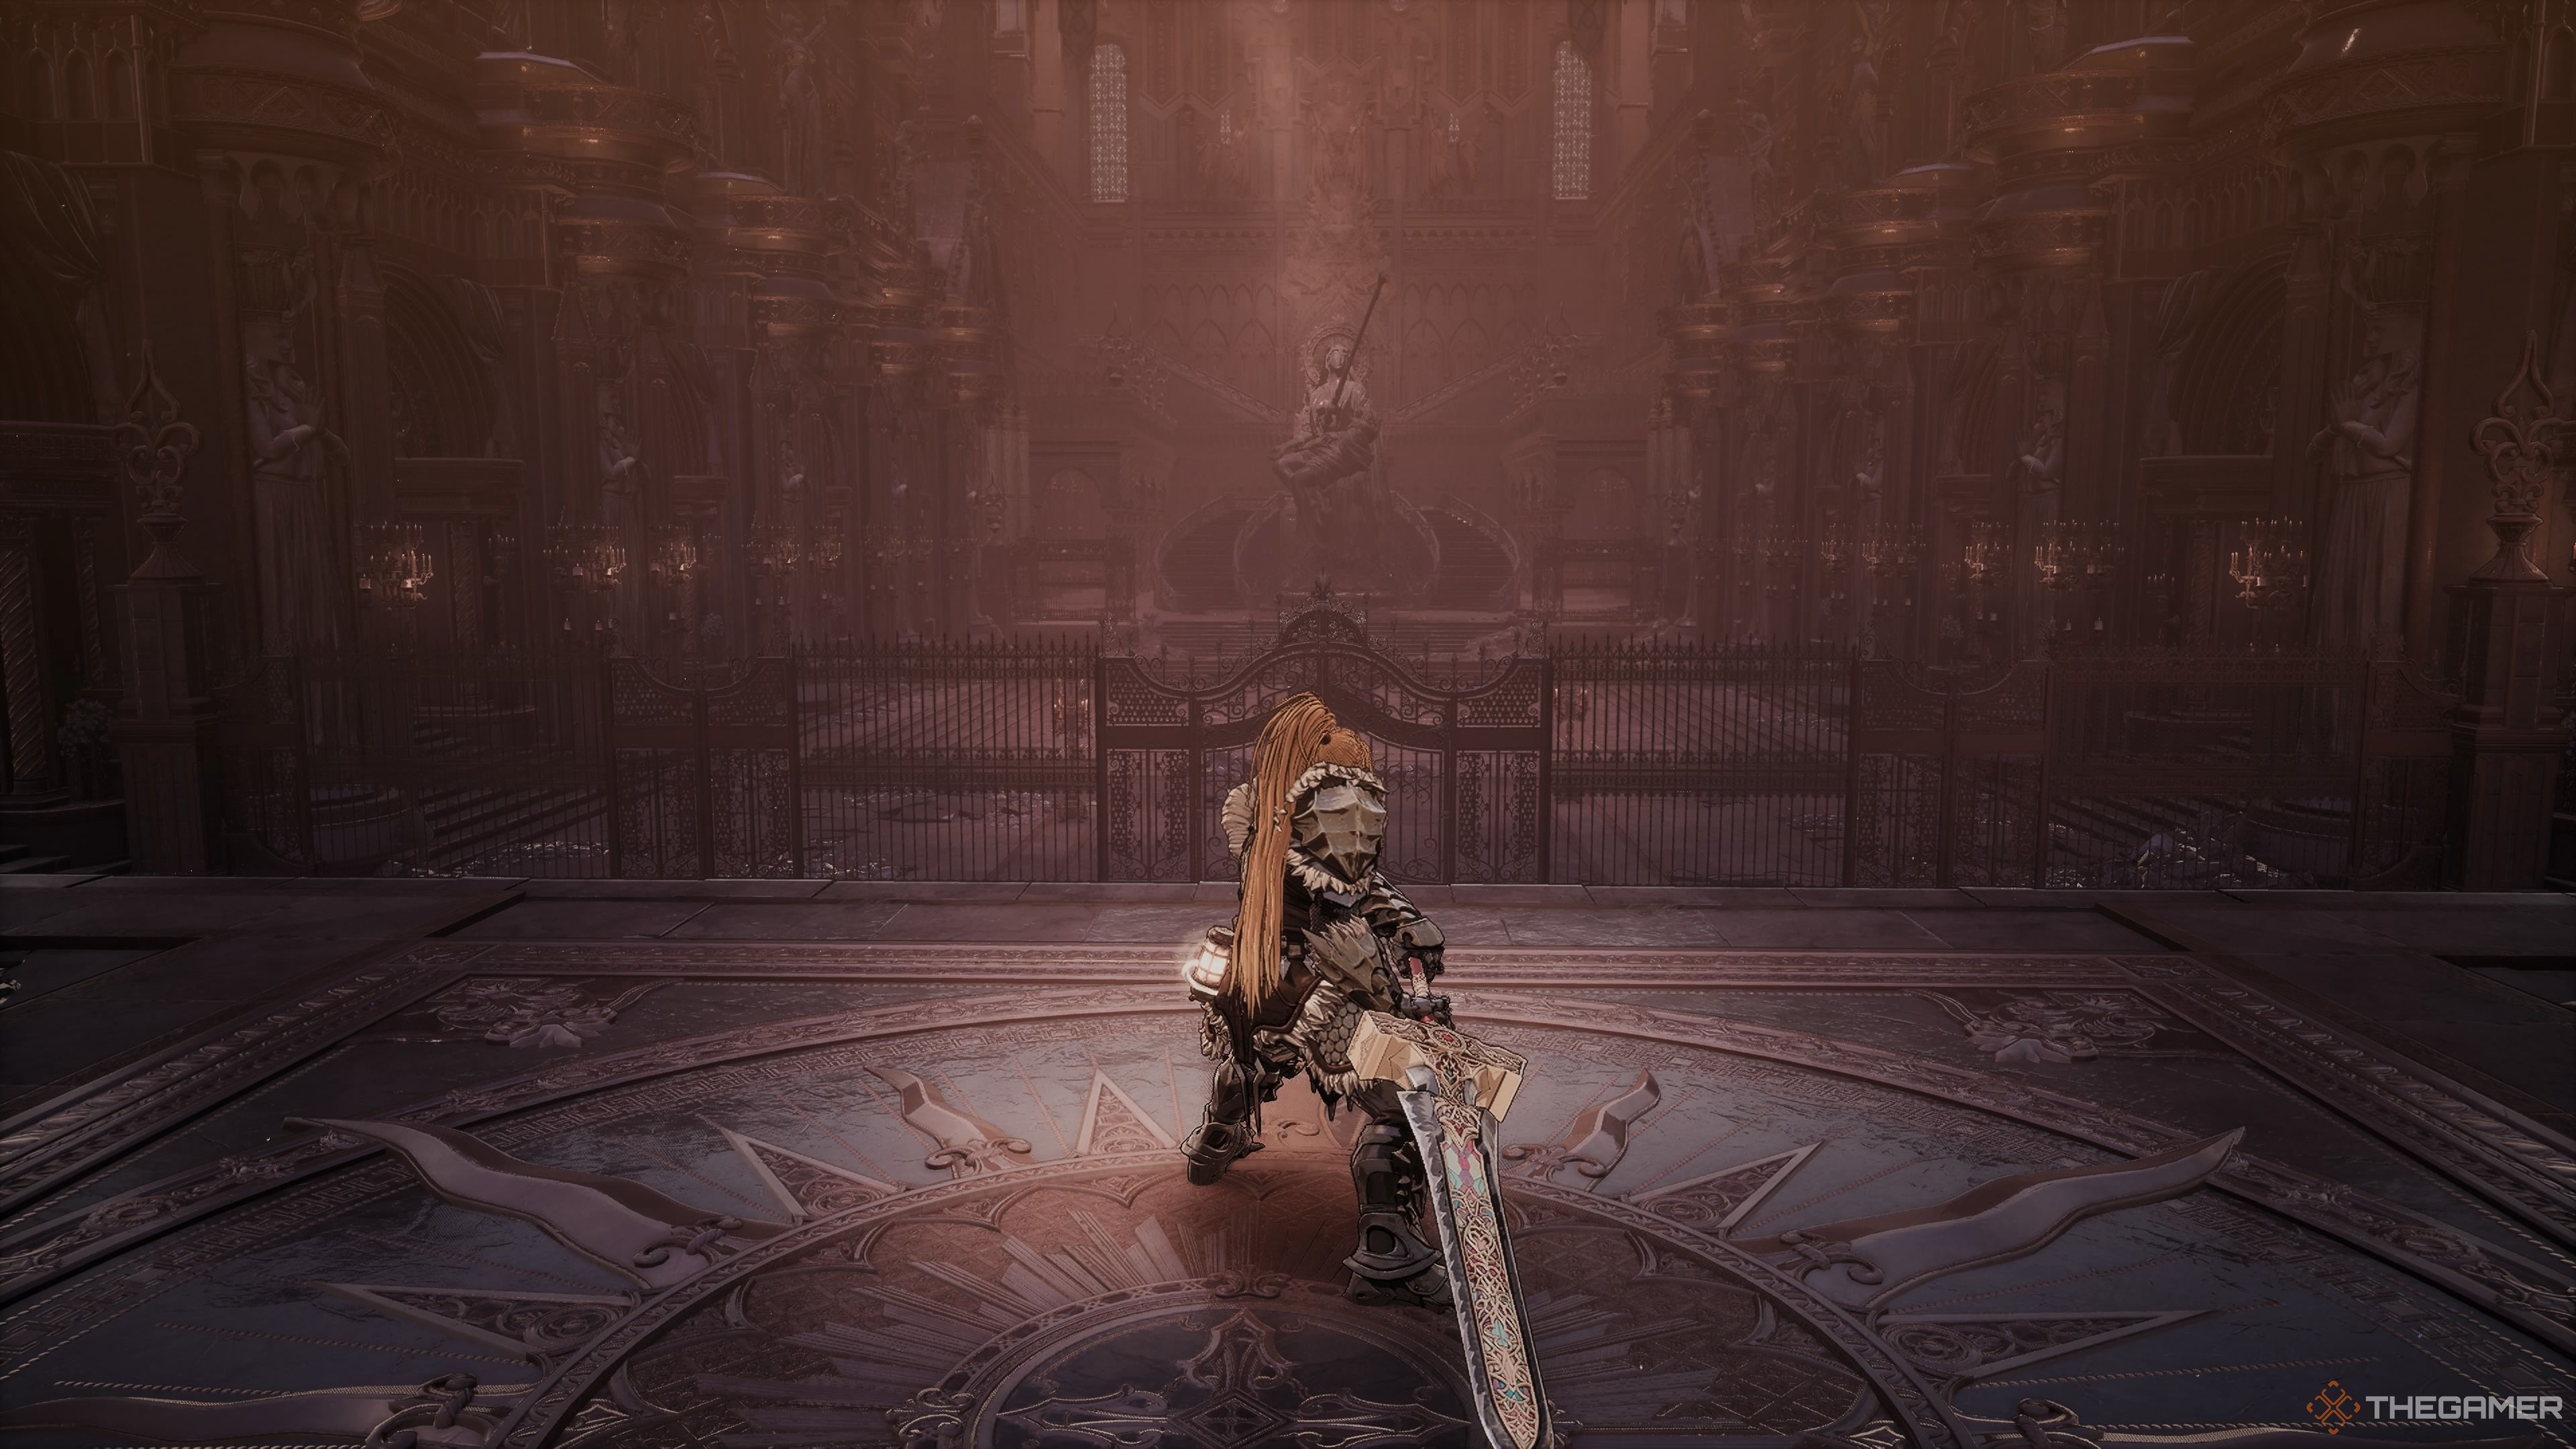
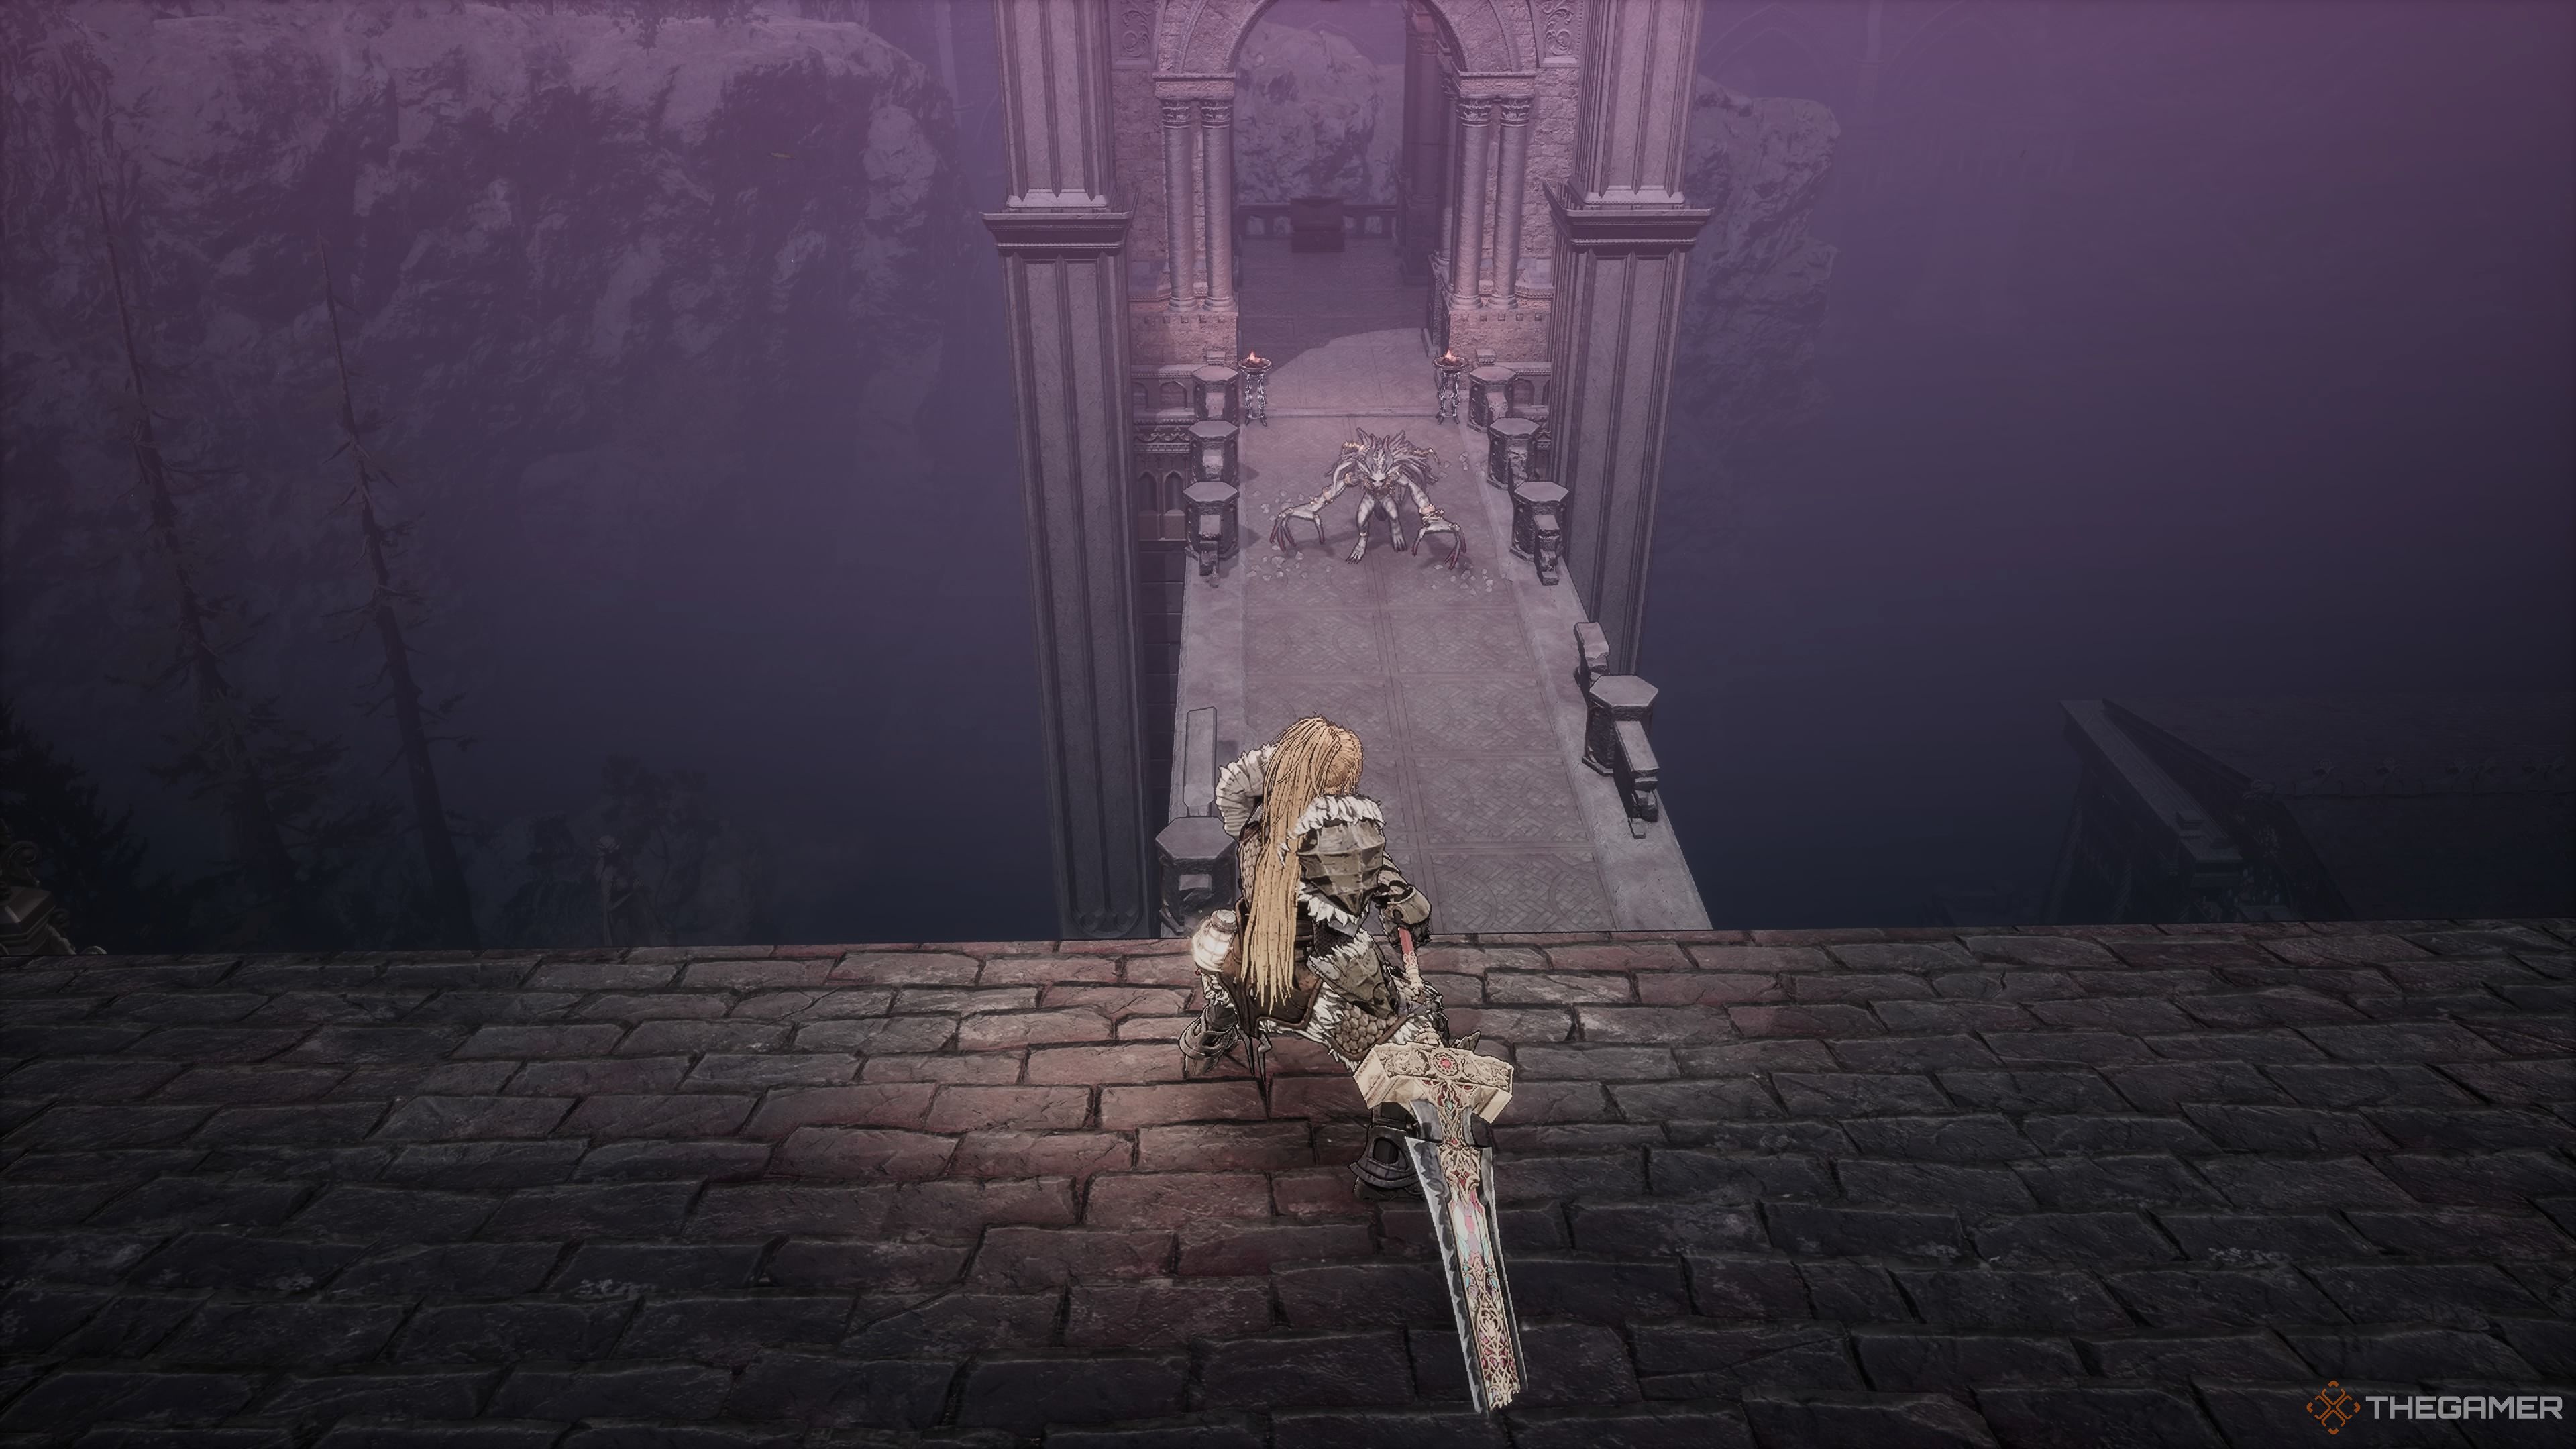
Make your way towards the temple, and attach yourself to the Route to the Temple Sanctum Hub. Upon unlocking the entrance, you will find yourself within the grand open space of the temple’s expansive plaza.
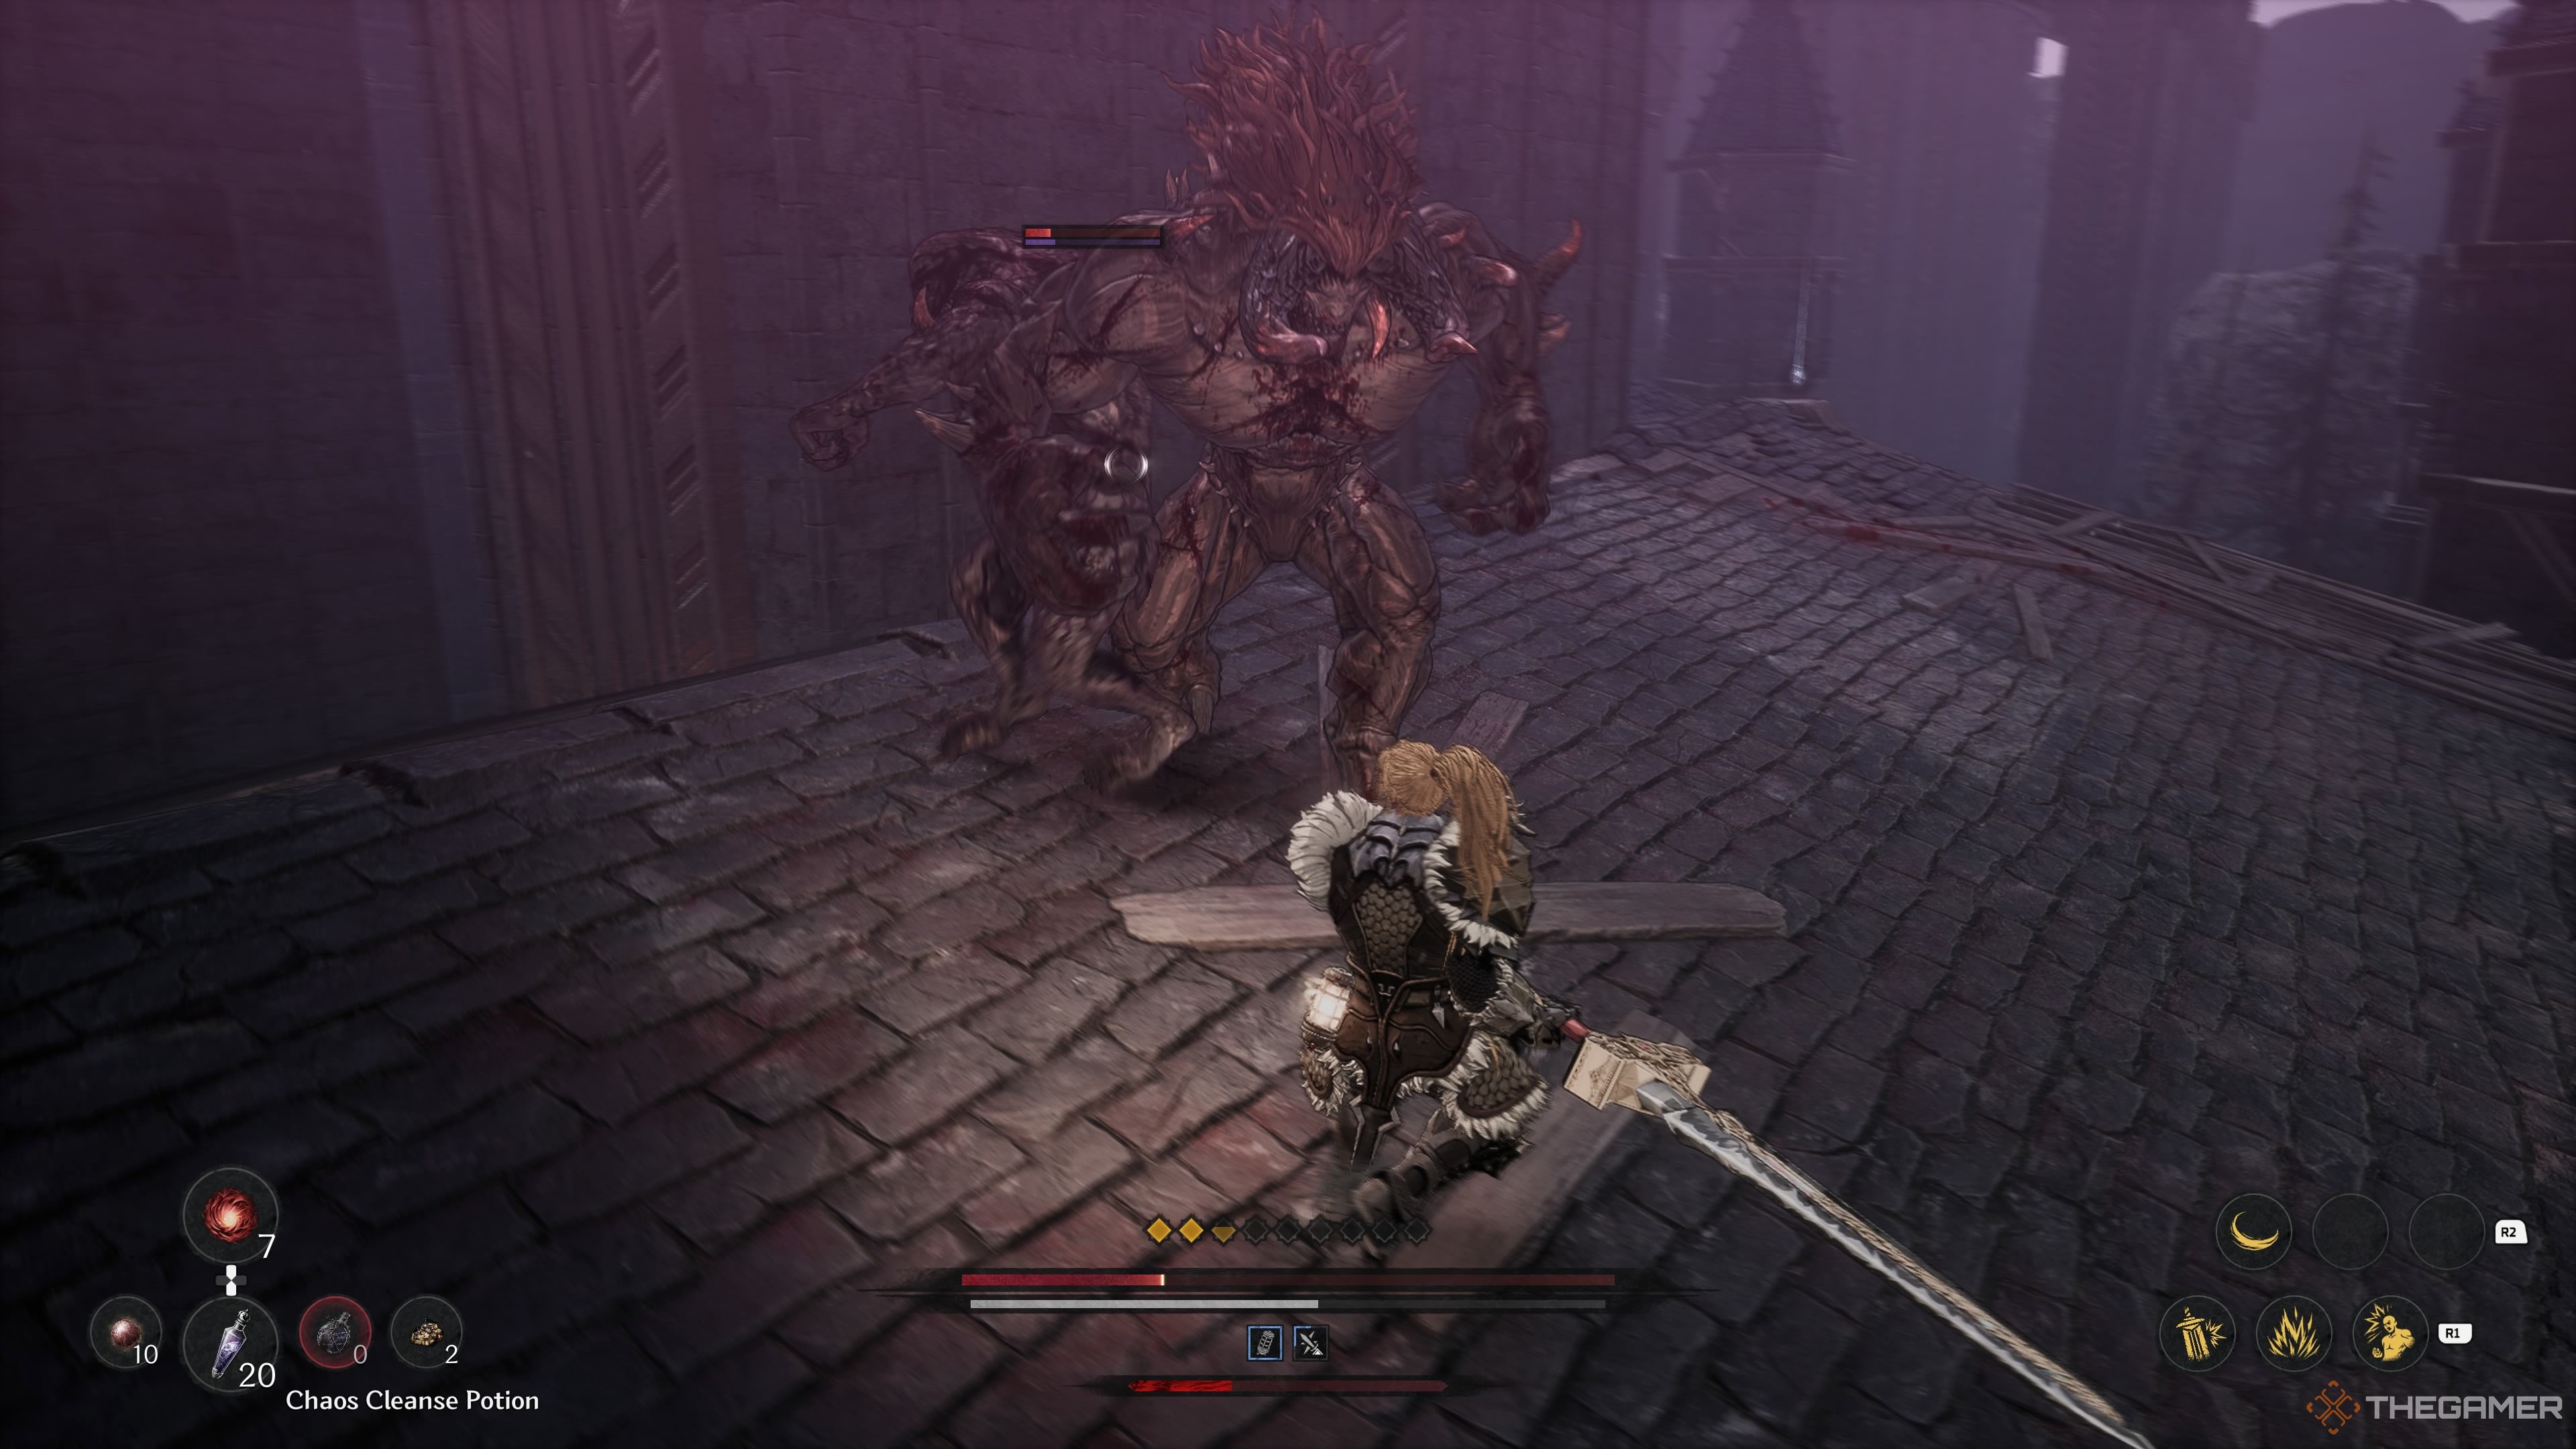
In this region, two rampaging beasts are on duty. Fortunately, chaos clusters have been set up for you to momentarily stun enemies and execute a powerful, uncharged attack. Be cautious, there are Corrupters and scared citizens dispersed throughout the area too.
Simply, target the Chaos Clusters until they begin emitting light, then lure the creatures towards the illuminated zone to ensnare them.
Take a right, and turn the corner to find 15 Transmutation Shards.
Exiting through the entrance, ascend the stairs, and you’ll find yourself in a compact space featuring two Observers and a Rampaging Beast (it’s concealed nearby). Eliminate them, then grab the substantial amount of Spirit Ore.
Near the fountain, you’ll come across an “Unsteady Soul Tearstone.” Moving to the right side of the map will lead you to an “Earth Spirit’s Fuel.” Climbing the stairs on the left side of this area reveals a locked gate and a “Water Purification Potion.” In the corner of the arena, towards the left, you’ll discover the “Earth Booster.” Additionally, there’s another “Rampaging Beast” lurking in this region.
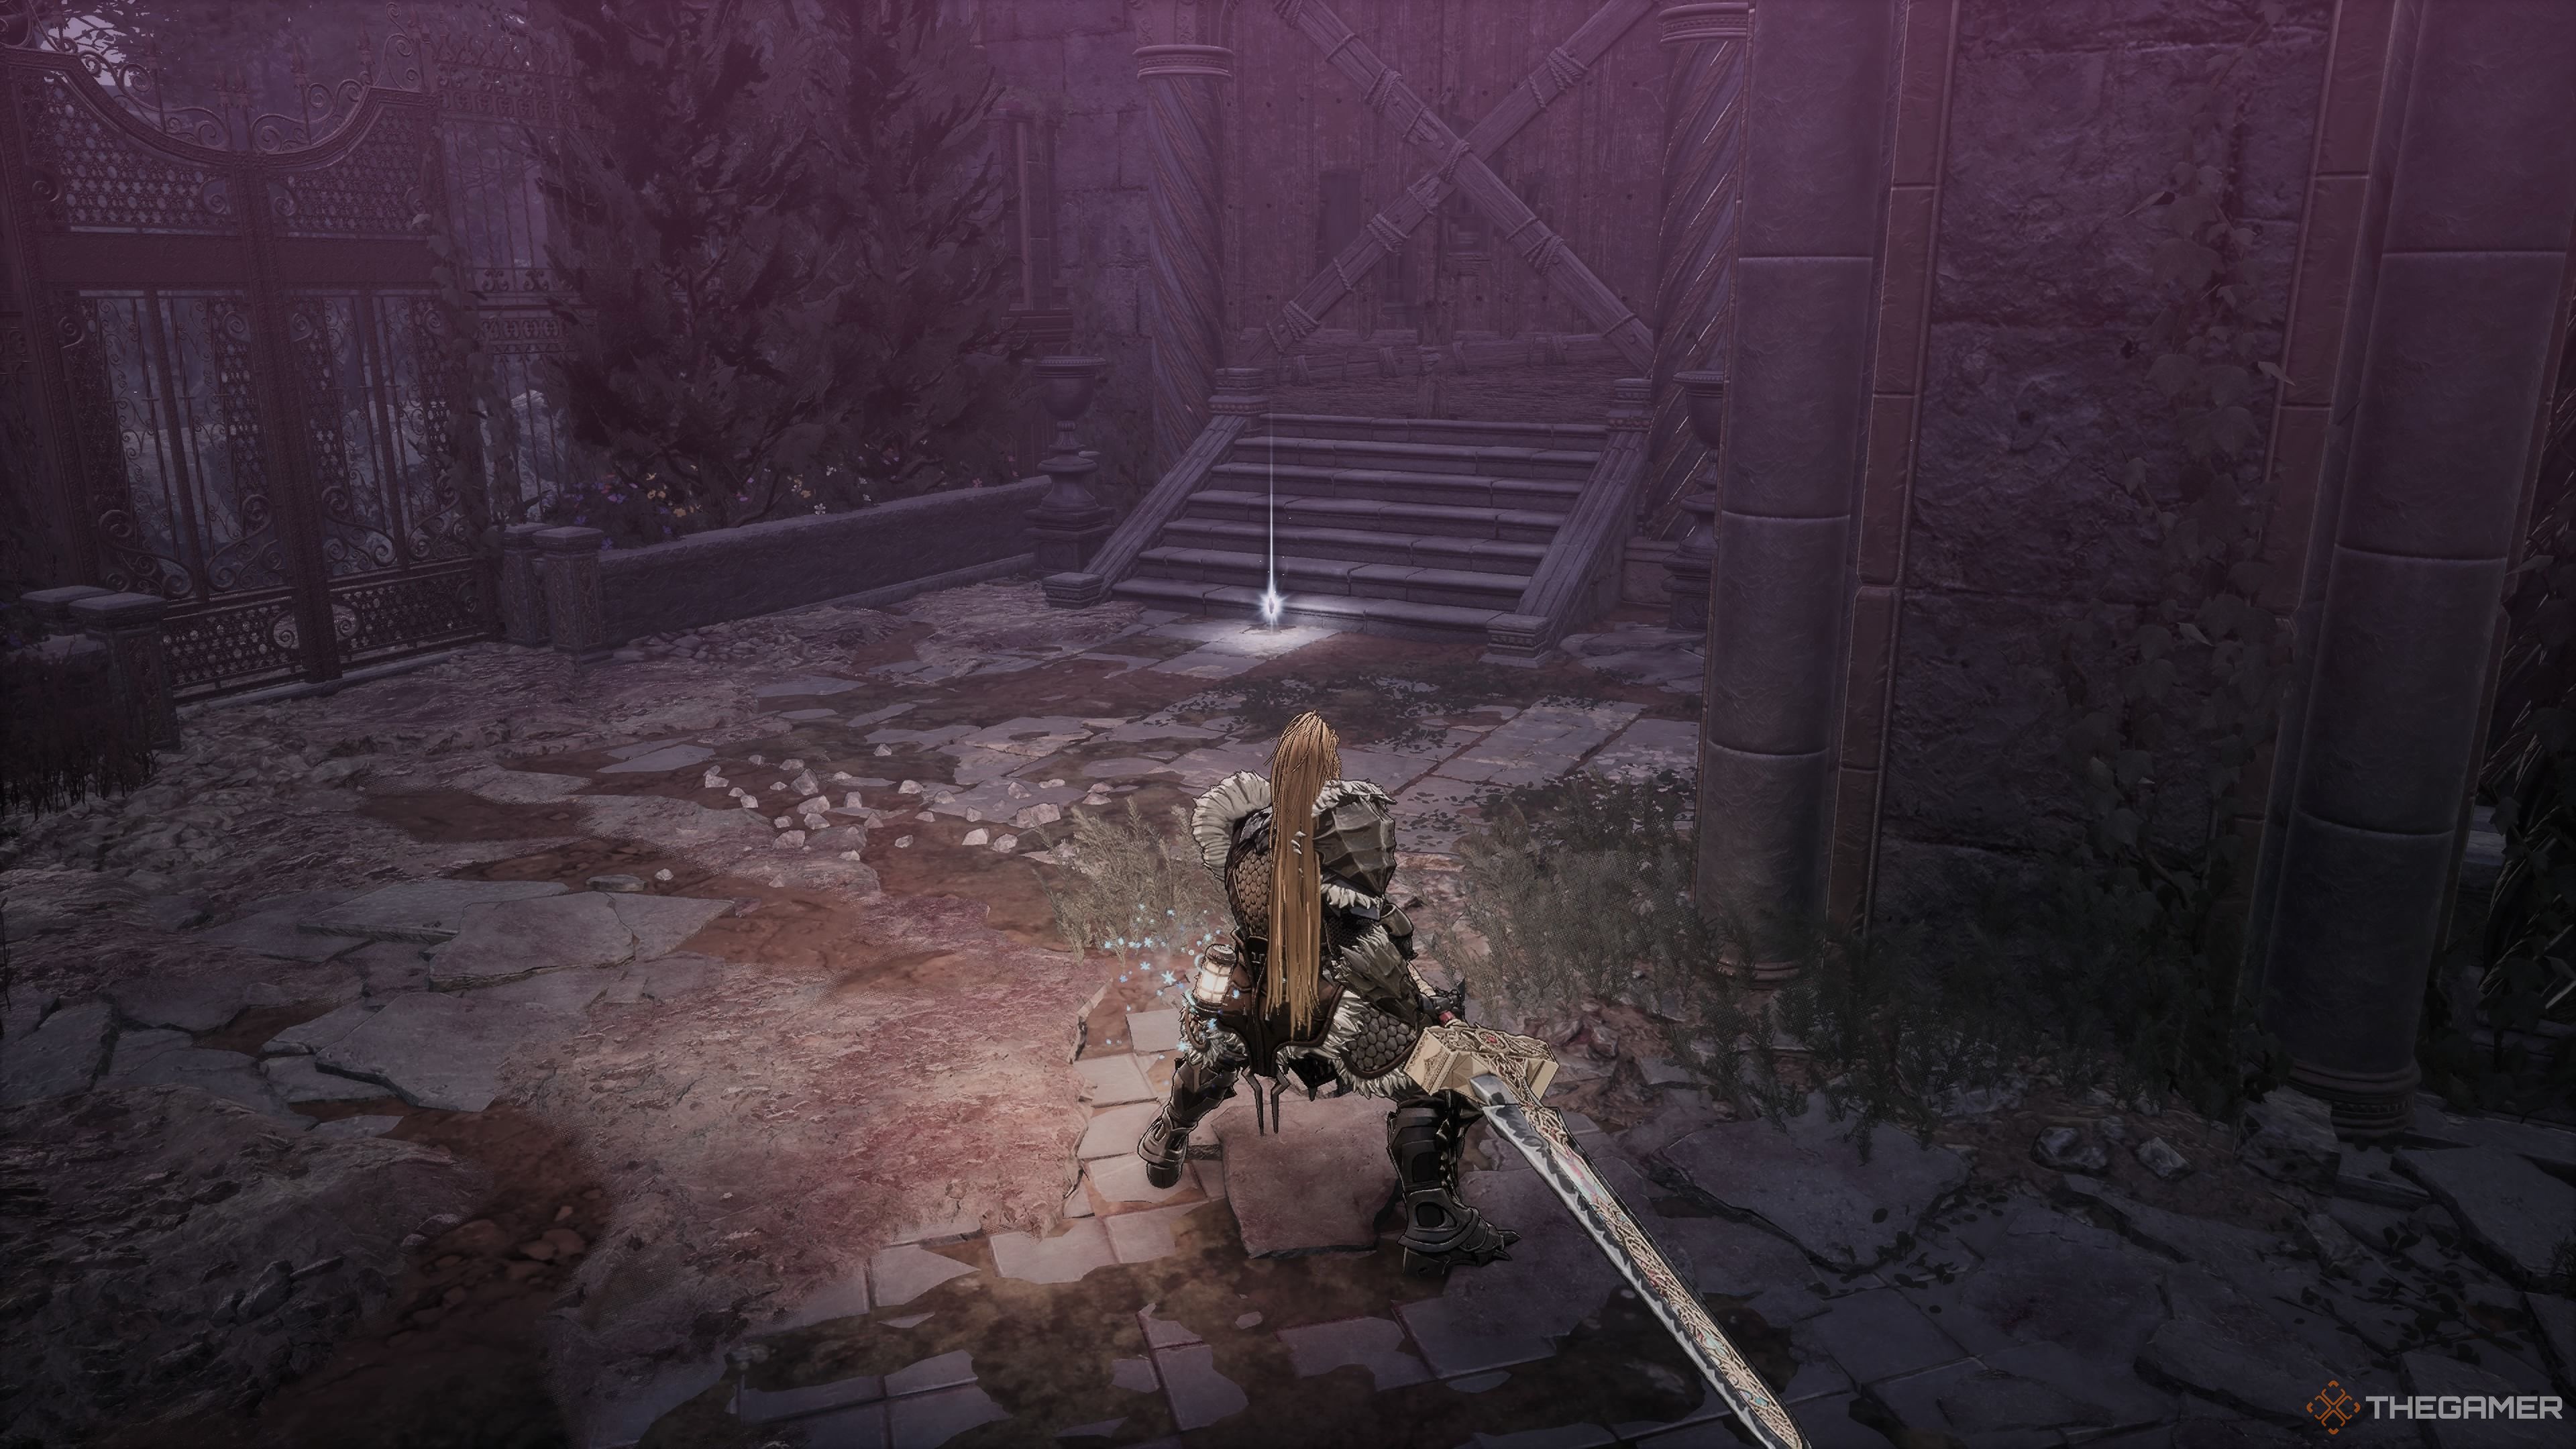
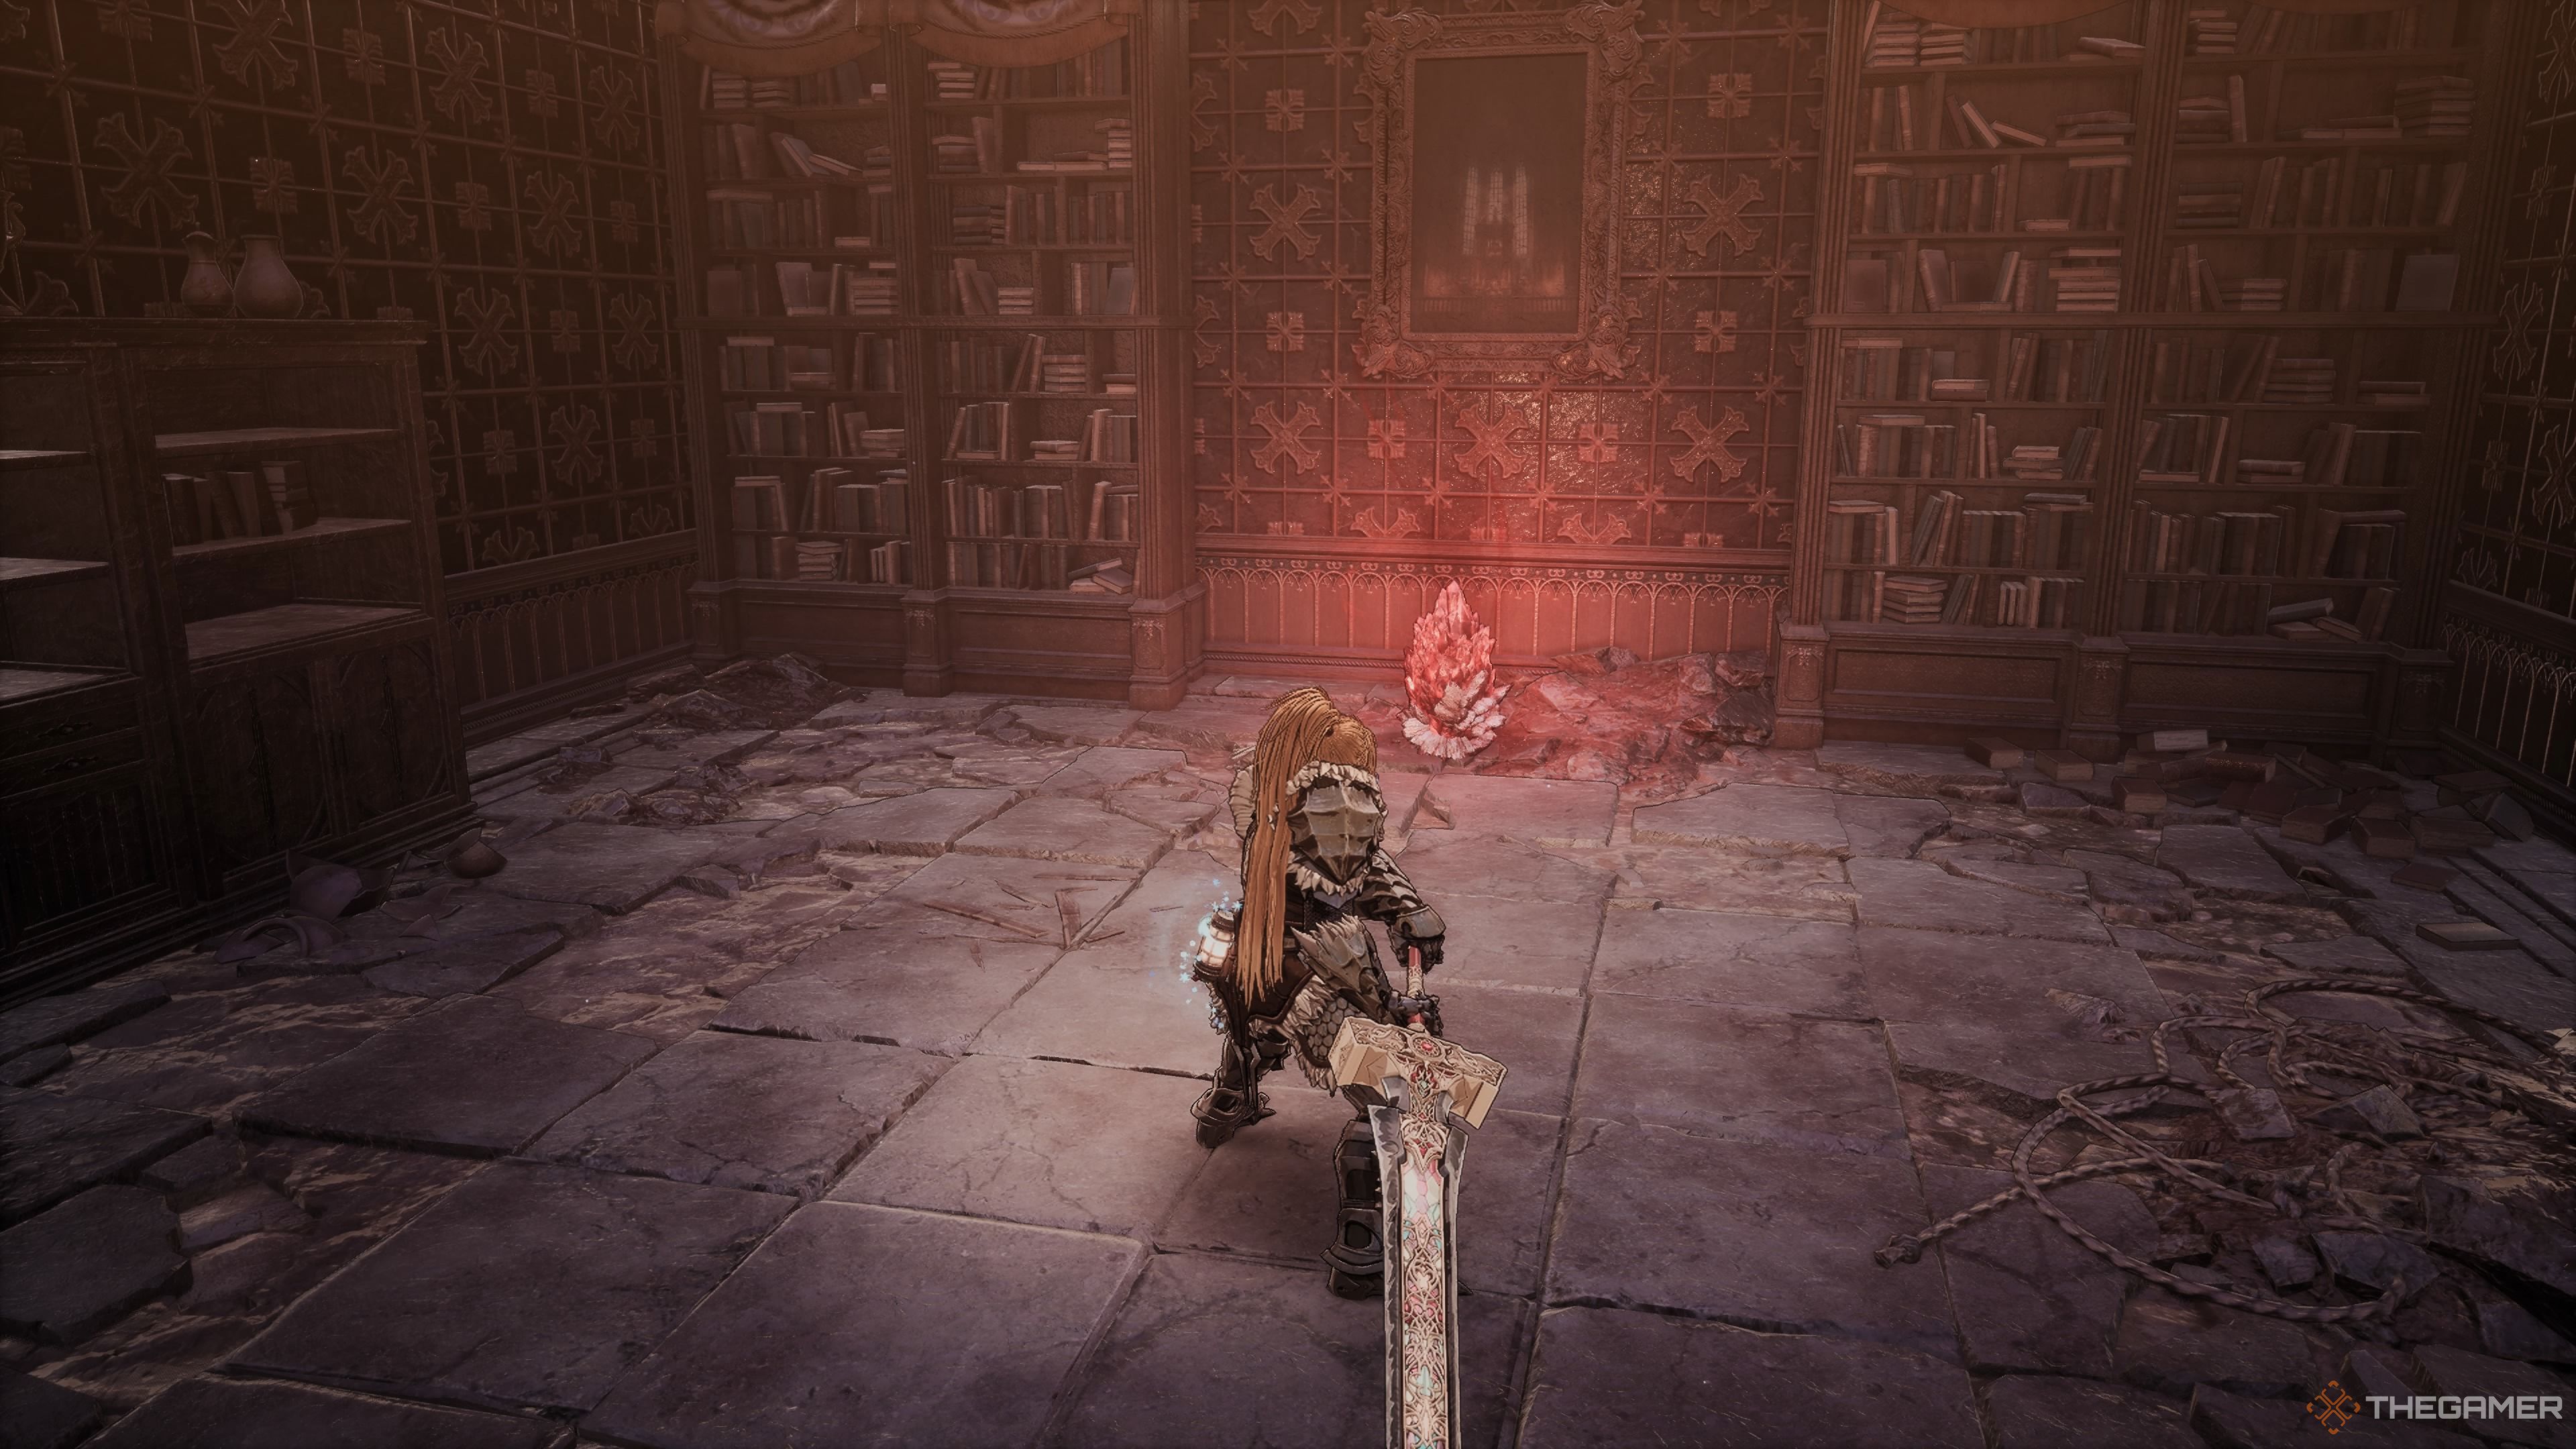
The First Soulstone
Right next to the courtyard entrance, on your left, you’ll come across the initial Soulstone (1/5) tucked away in a chamber. In the very same chamber housing the Soulstone, you’ll spot a door leading to another room with an elevator and a staircase. Ascend the staircase.
Elite Corrupted High Cleric
At the peak of the ladder, you’ll encounter an Elite Corrupted High Cleric in a battle. Defeating them rewards you with the Radiant Guardian’s Scroll. Continue forward, past the ladder, and you’ll stumble upon another Unstable Soul Tearstone. After that, descend the ladder and find yourself in a room containing a chest. Open it to obtain a Temple Knight’s Spear, Temple Knight’s Ring, Necklace of Gratitude, and two Chaos Cleanse Potions.
First, retrace your steps to the elevator. Descend in it, and you’ll encounter a Yoma Pursuer. Be cautious as a Devotee lurks above, ready to pounce. You’ll notice three Vitality Spheres sitting on a stone overlooking the lake if you follow the path. Continuing down this path, you’ll come across two more Yoma Pursuers and an Observer. If you keep going straight, turn right when you reach a fork, and you’ll discover a Lightning Cleanse Potion in front of a statue. Keep your guard up, as a Yoma Shamen lies in wait to the left.
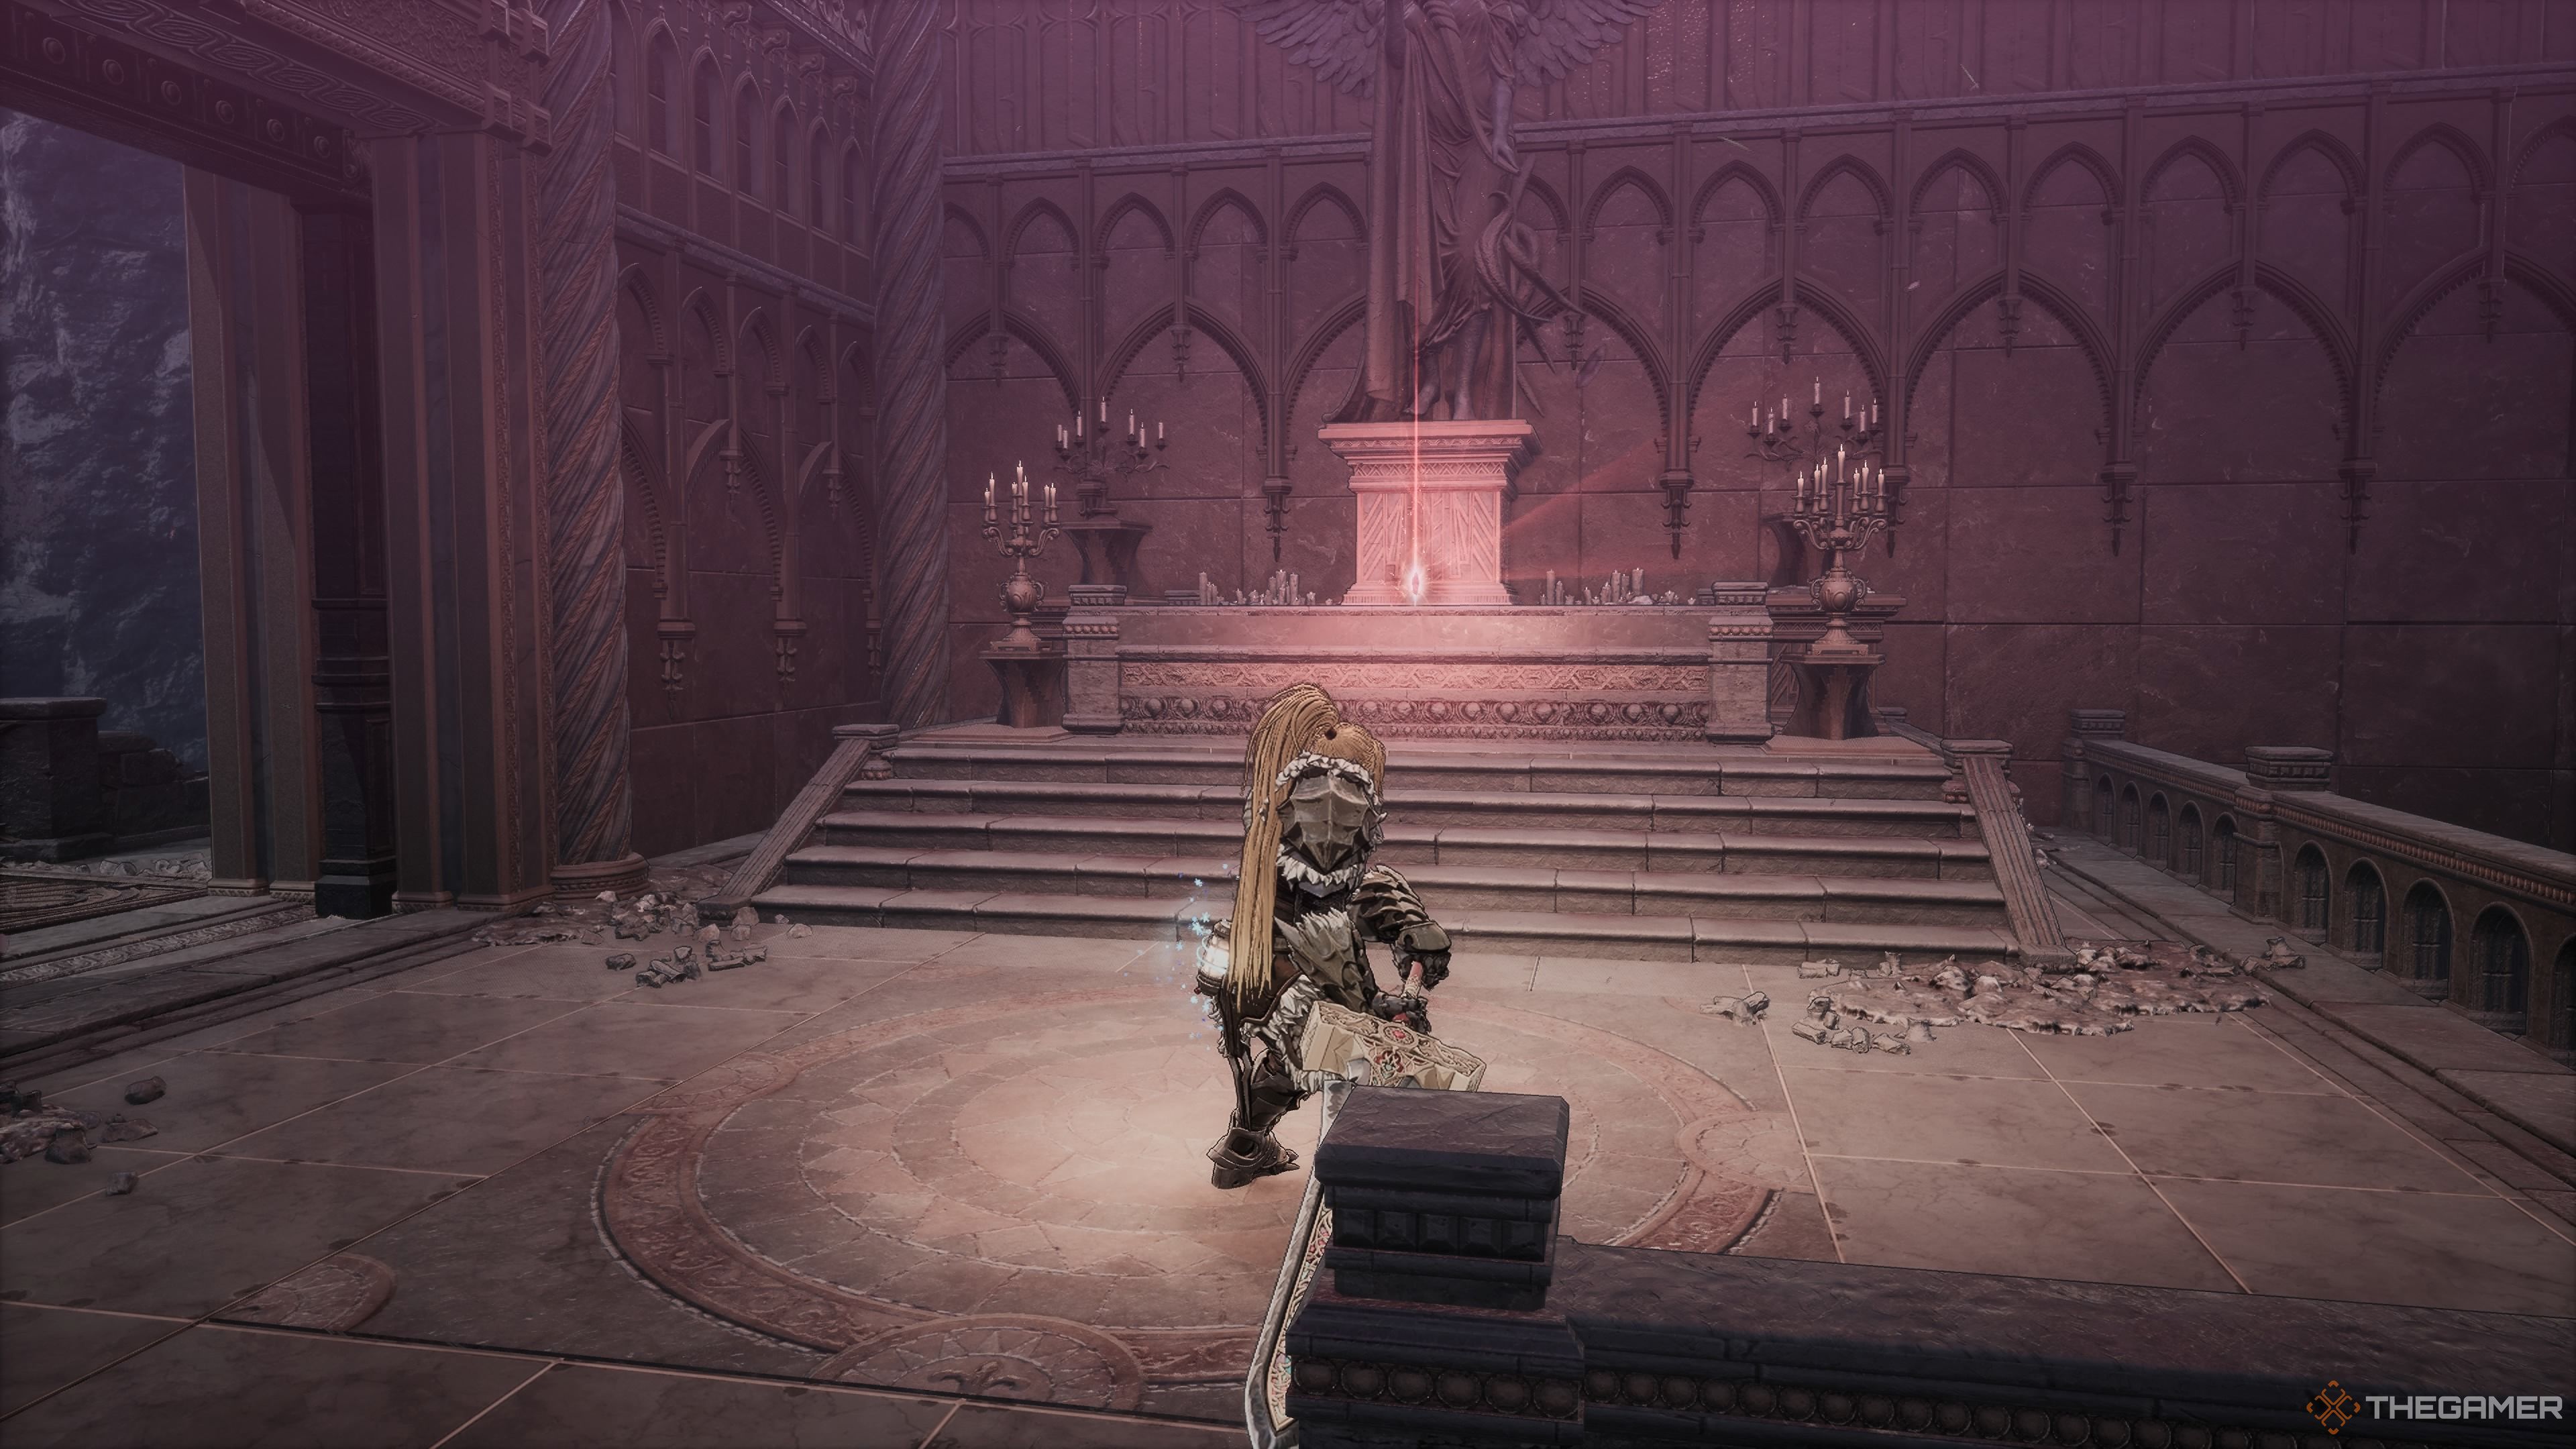
Alright, I’m off on my journey again, following the trail that leads me right up to a door. Beyond that door lies a battle with the Saint of Sin. From afar, hurl a javelin to weaken her, then dash forward for a chance to strike before she can retaliate. Up the stairs ahead, you’ll discover the elusive Reese 2 document resting at the foot of a statue.
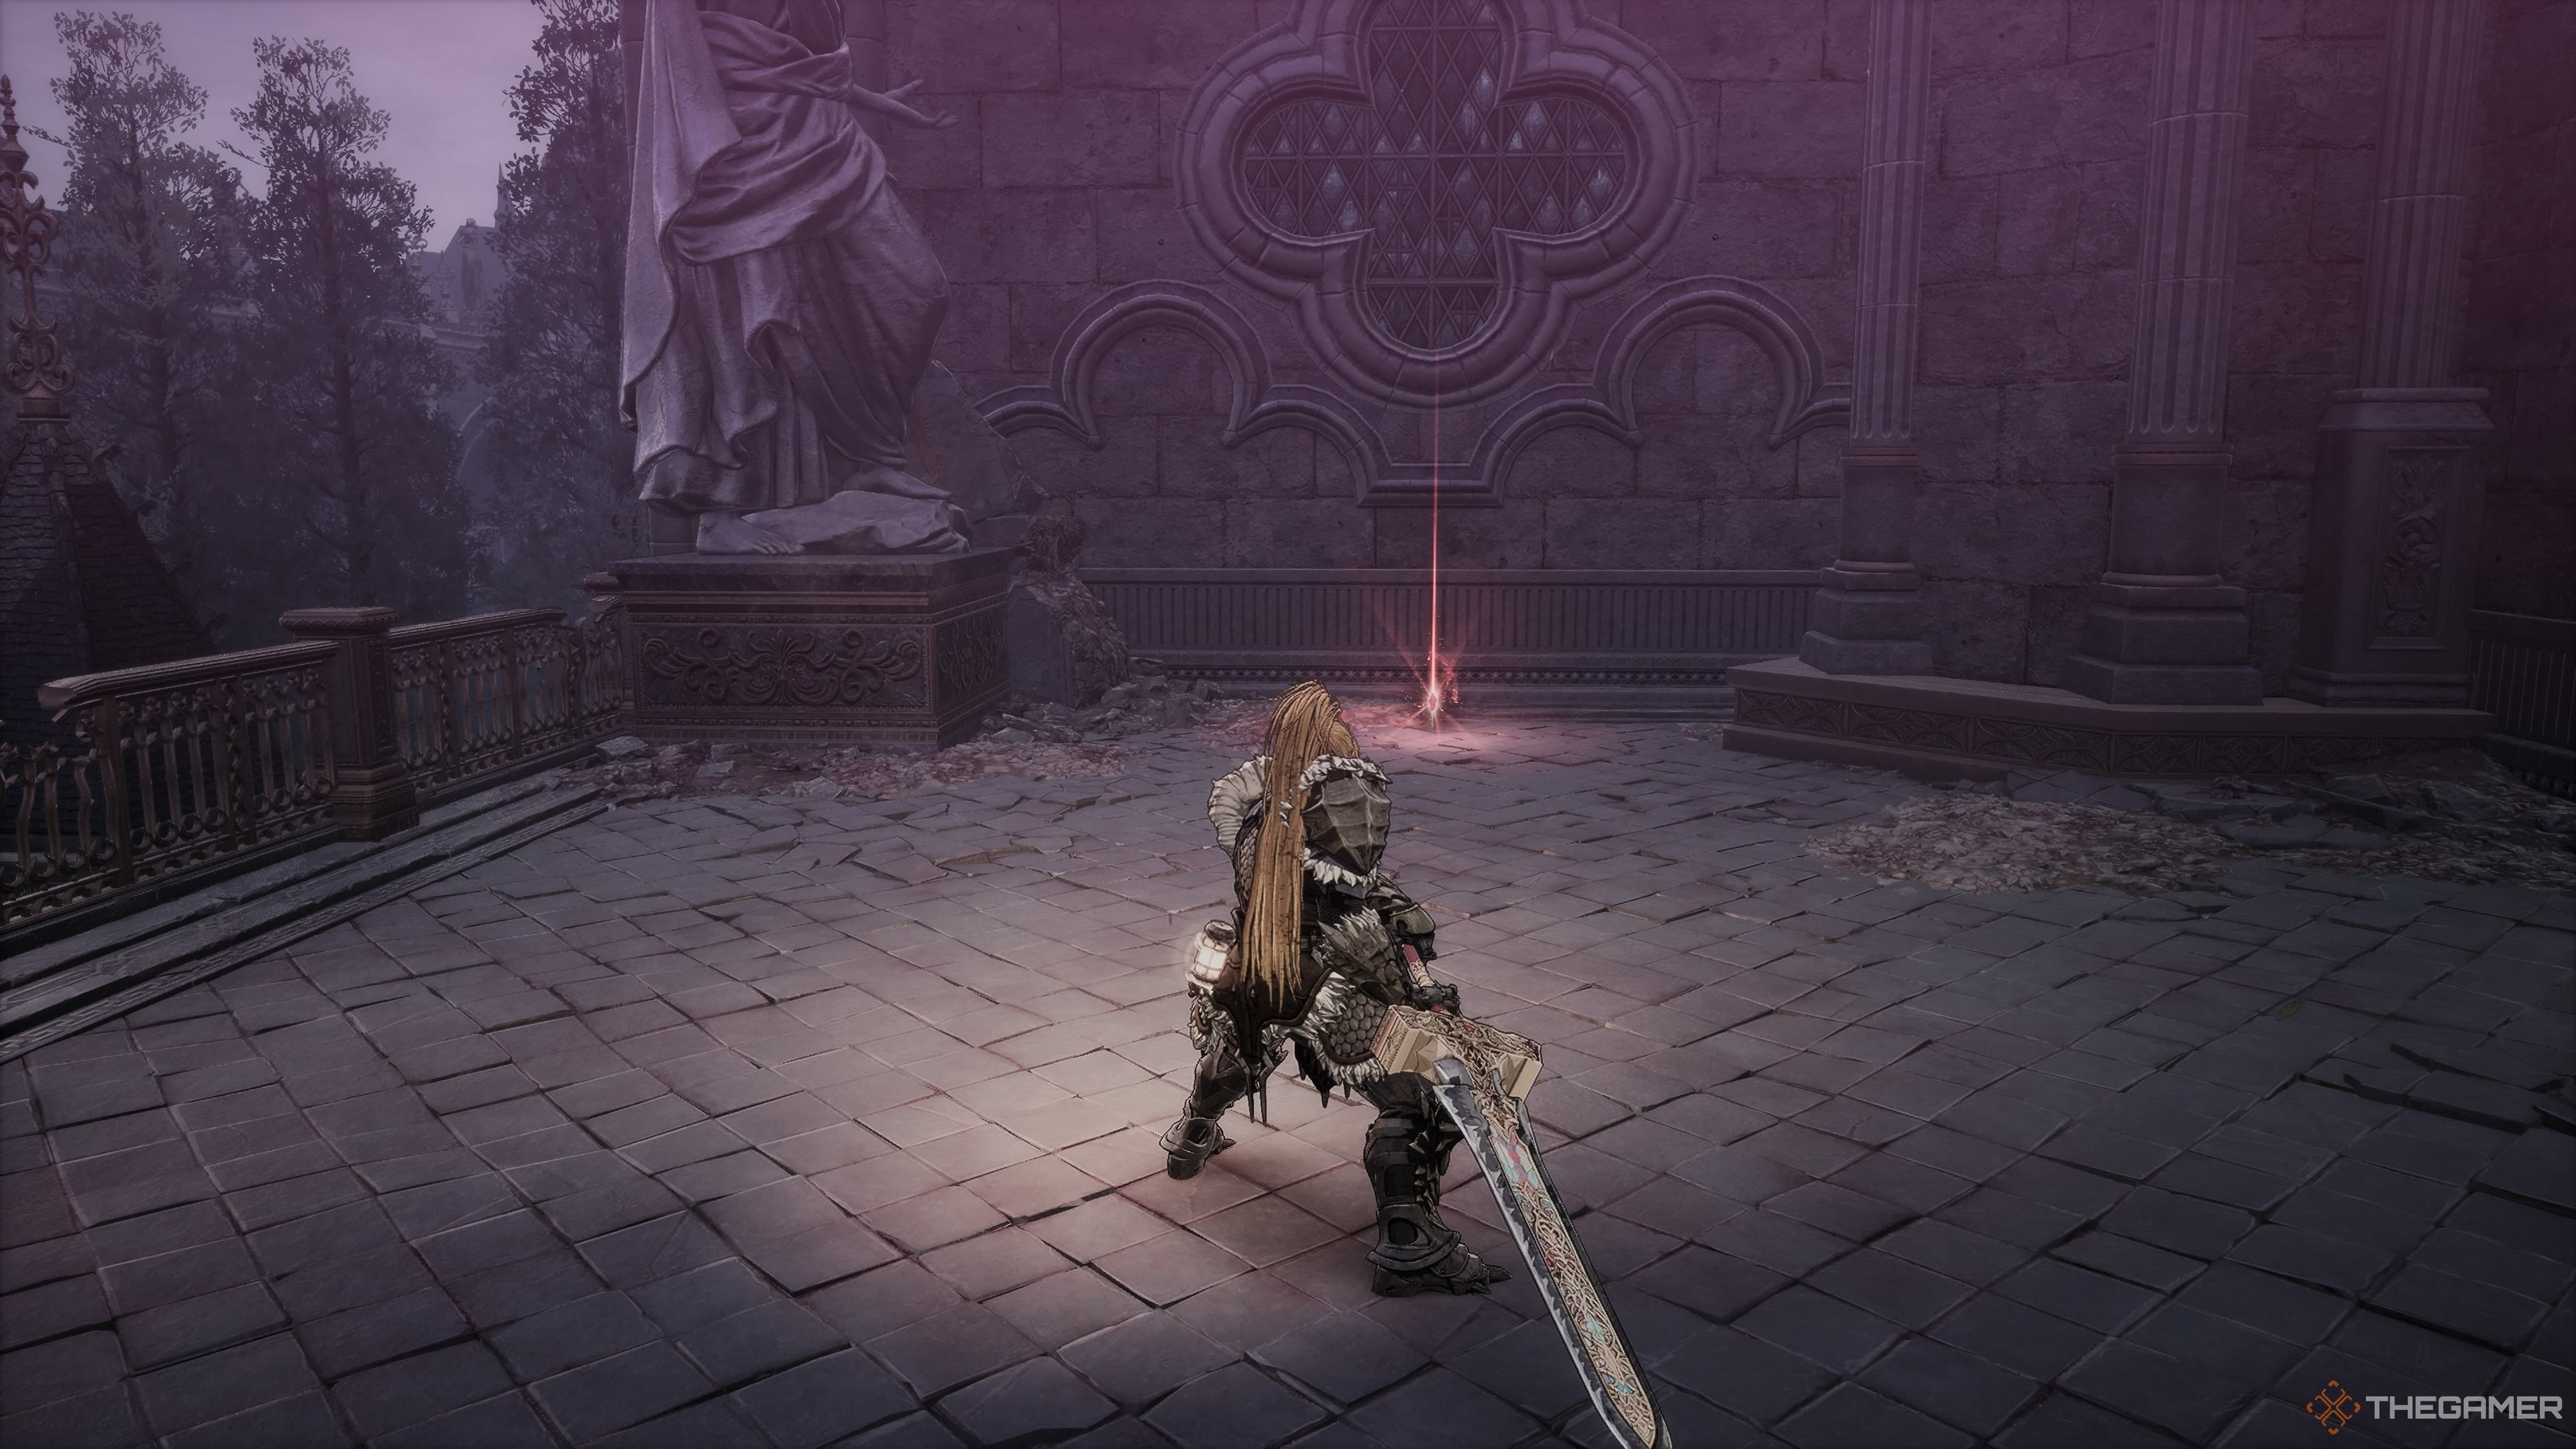
The Second Soulstone
After exiting the room containing the Reese 2 document, make an immediate left turn and proceed along the path. You’ll come across the second Soulstone (2/5) in this direction. Next, cross the bridge, and you’ll run into the Path of the Chapel Blade Nexus.
Path To The Chapel

| Enemies | Yoma Pursuer, Yoma Shamen, Yoma Jester, Elite Soulbound Knight, Corrupter, Frightened Citizen |
|---|---|
| Notable Items |
Unstable Soul Tearstone
Confessions of Viladus |
| Soulstones? | |
| Jarling? | Yes! |
As a gamer, I find myself diving into the thick of it with this mission segment. Two Yoma Shamens hurl their magic my way from the left flank, and a relentless Yoma Pursuer charges straight towards me. Before engaging in hand-to-hand combat with the Pursuer, I’ll need to swiftly dispatch those Shamens using my trusty javelins first.
In the ensuing area, there are a handful of playful Yoma Jesters feasting on a deceased foe. Nestled among them lies a valuable Concentrated Earth Essence. Just beyond this scene, there’s a mausoleum that houses an Unstable Soul Tearstone.
The Elite Soulbound Knight And The Statue Puzzle
Step through the opened doors, and there stands an Elite Soulbound Knight. Overcoming this knight grants you the “Confessions of Viladus” along with assorted gear. Upon defeating the Soulbound Knight, rotate the statues so they stand side by side. This action will unveil a new pathway. Along this pathway, encounter Corrupters and Infected Townspeople – neither group are frightened civilians, they’ll all attack you relentlessly. So, feel free to fight back fiercely!
The Jarling’s Location
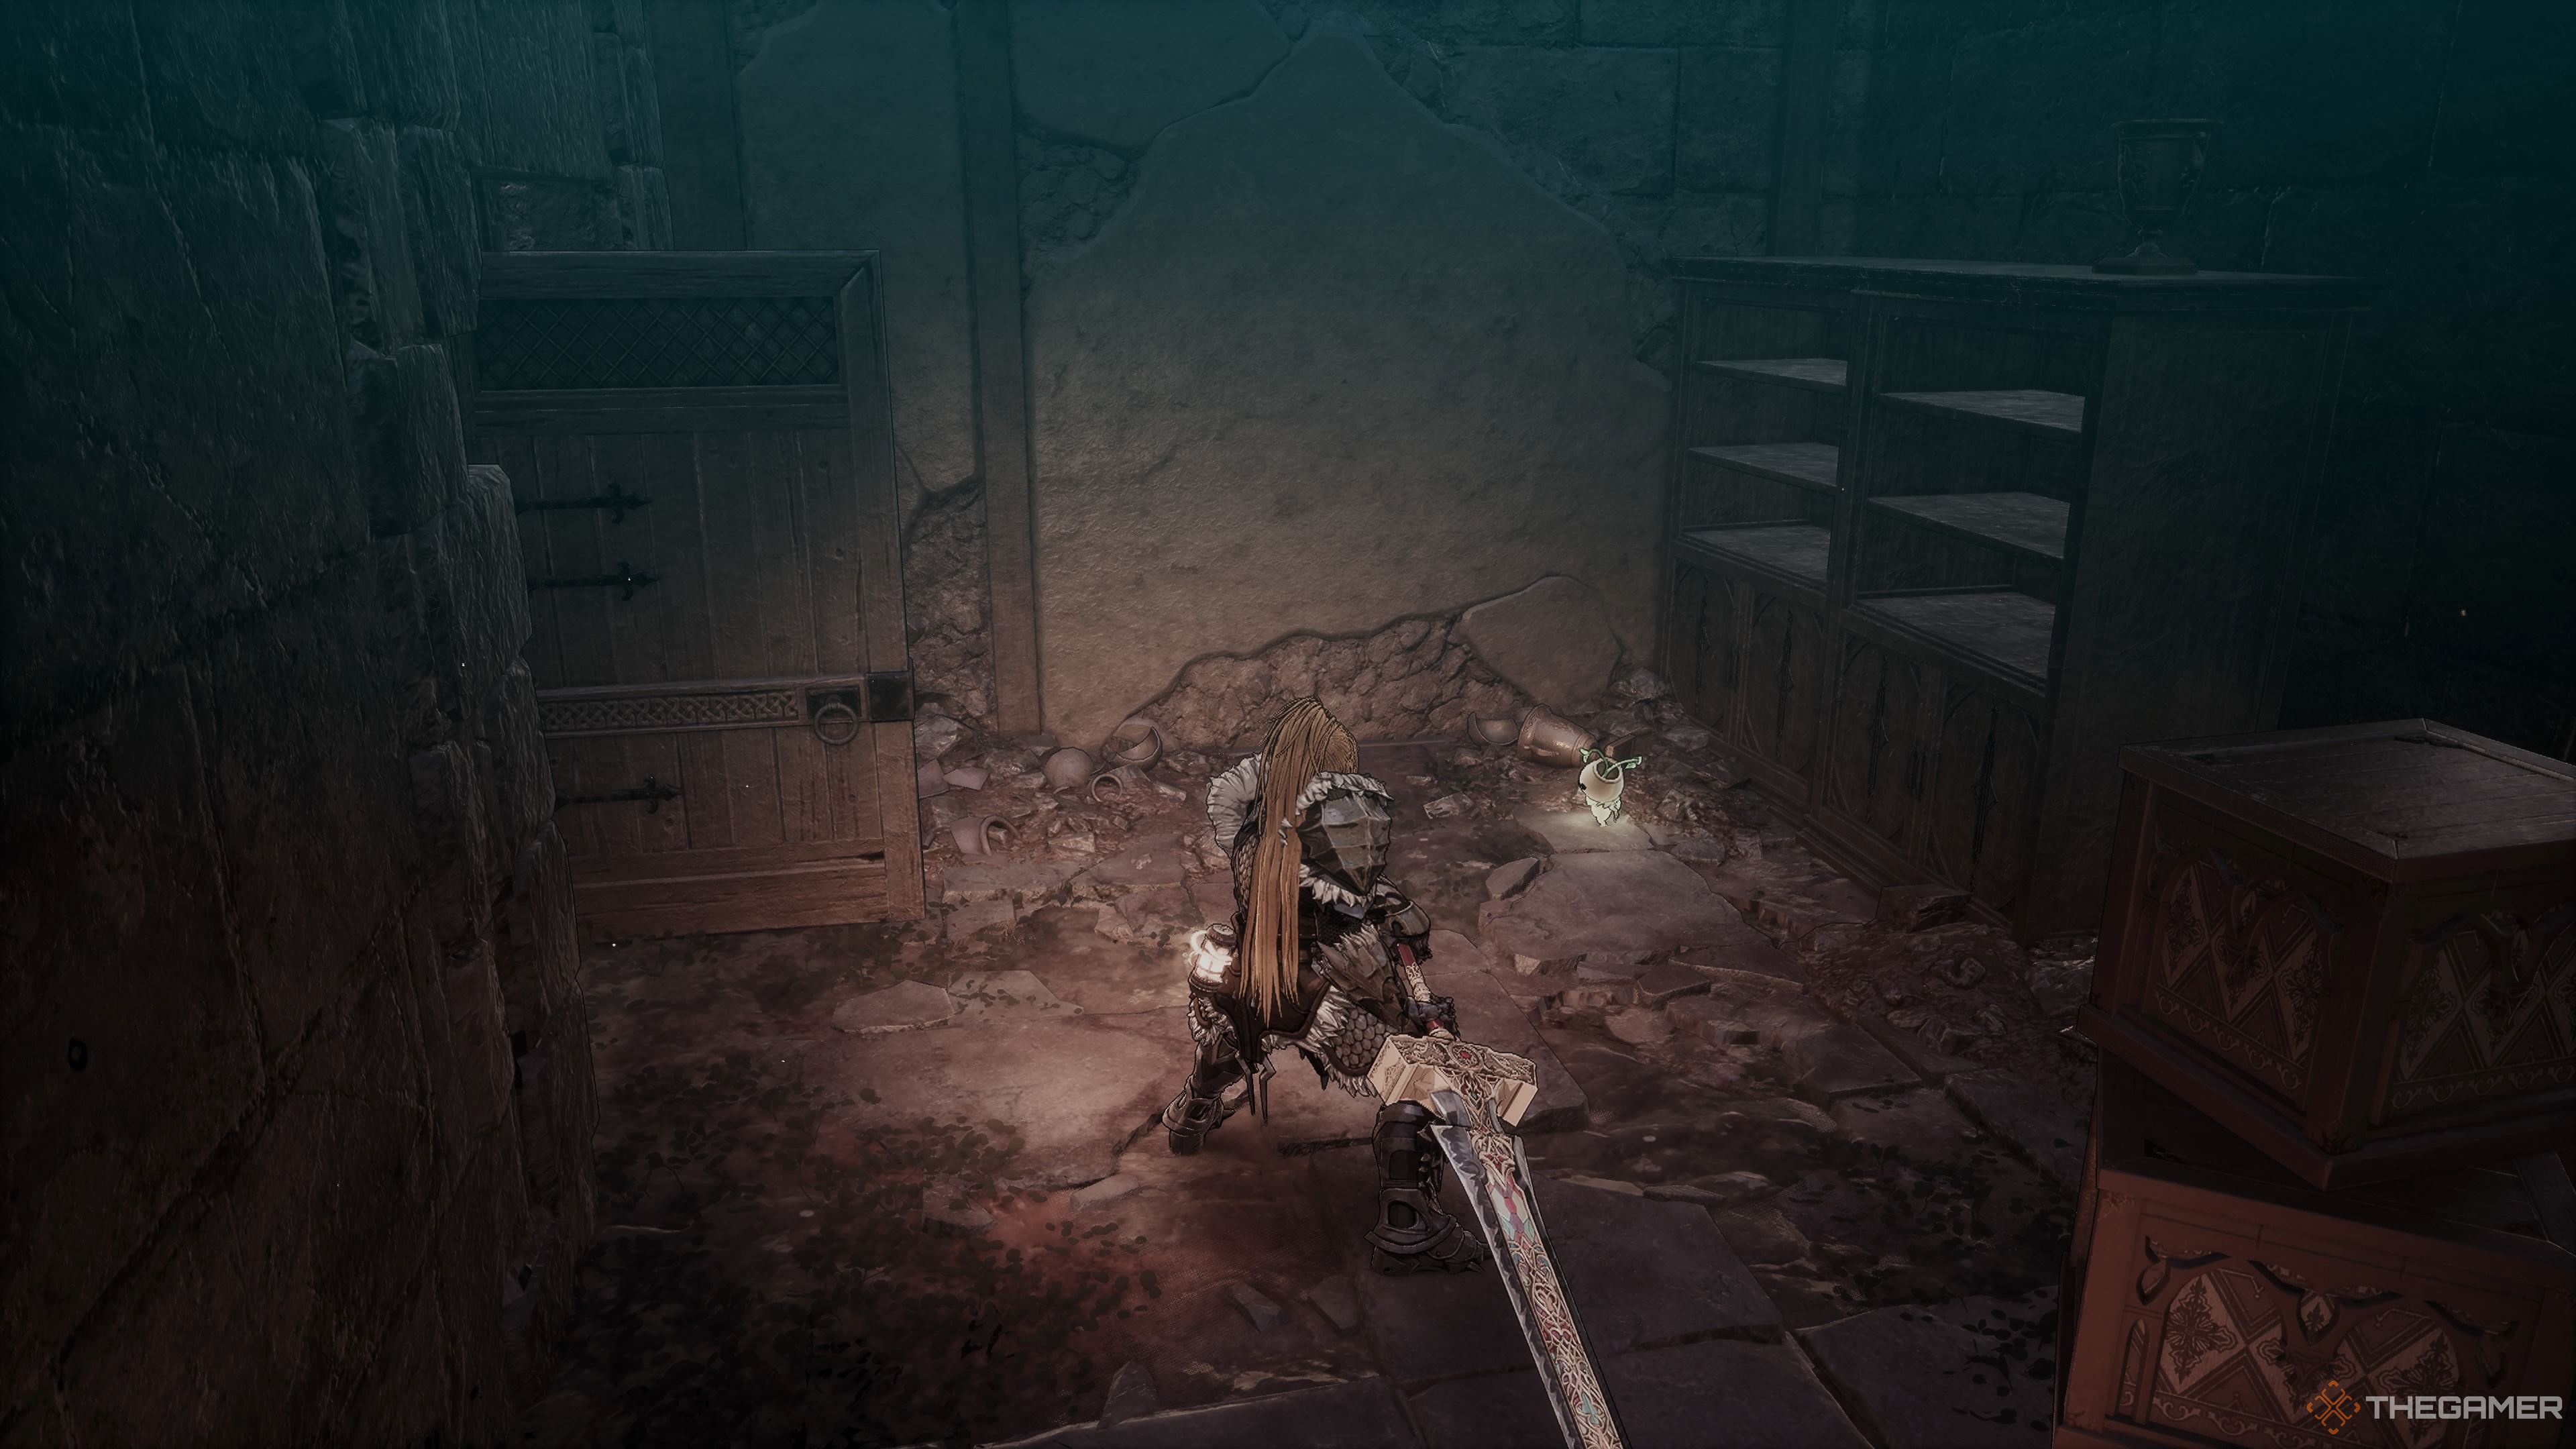
In the upcoming section, you’ll come across a Twisted Mage and some more Inhabitants Gone Astray. The first door to your left hides three Elixirs of the Assassin. As you progress, a room on your right holds another Inhabitant Gone Astray and a Jarling.
Make your way up the stairs, after that, spin around and proceed towards the region hidden behind the staircase. There, you’ll discover a chest holding a Golden Dual Wield, Crusader’s Pants, Veteran’s Ring, and Lightning Spirit’s Fuel. Now, advance to the elevator, step on the button, and ascend to the upper level. Leave from there into the next area, turn right, and you can grab the Plague Cleanse Potion. Lastly, mark the Main Entrance of the Temple Blade Nexus as your binding location.
Main Entrance Of The Temple
| Enemies | Yoma Shamen, Corrupted High Cleric, Yoma Jesters, Yoma Pursuer, Yoma Jester, Devotee, Beast of Rampage, Observer, Elite Soulbound Knight, Corrupter, Frightened Citizen |
|---|---|
| Notable Items |
2x Unstable Soul Tearstone, Temple Knight’s Scroll, Earth Disruption Parchment, Wild Ghost Necklace,
Reese 3 |
| Soulstones? | 3 |
| Jarling? | No |
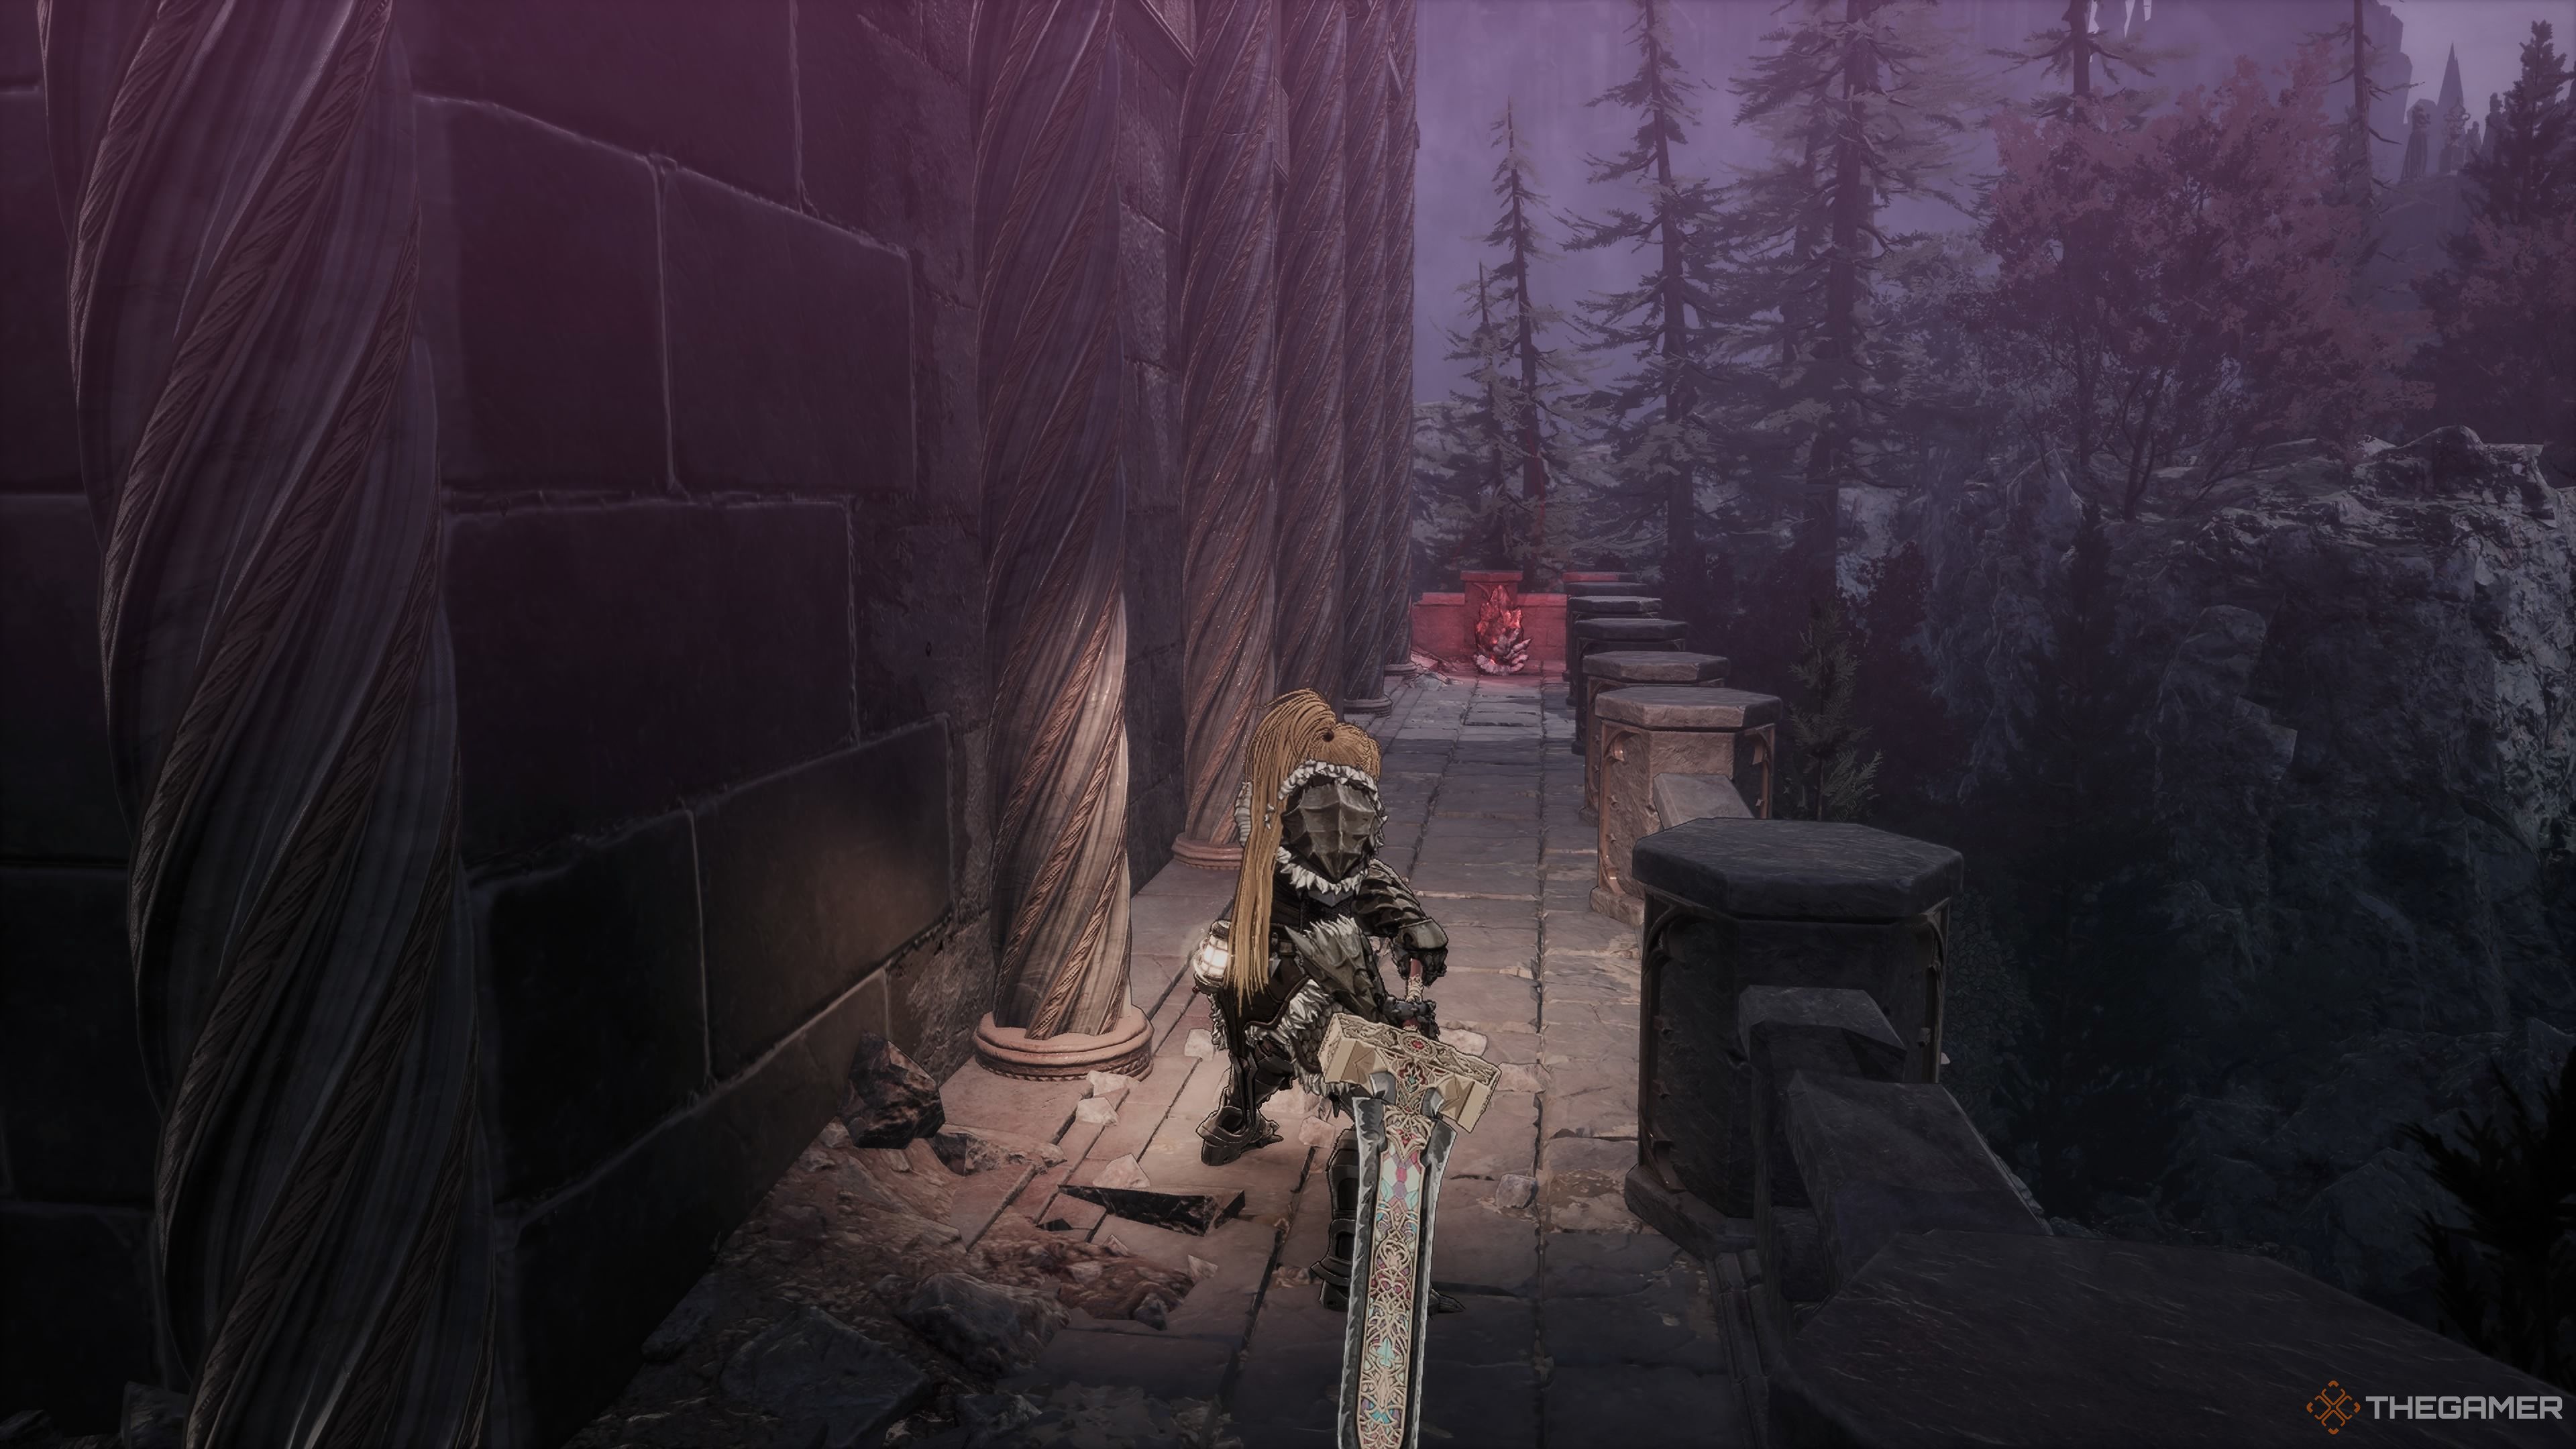
After passing through the temple’s entrance, turn right, proceed straight, and then turn right again. This will lead you towards what appears to be a wall, but it is actually an entrance.
The Third Soulstone
Beyond a deceptive barrier lies a pair of Yoma Shamans and the third Soulstone (3/5). Ascend the stairs, and you’ll come across another Corrupted High Cleric accompanied by two Yoma Jesters. After defeating them, you can seize the Temple Knight’s Scroll from in front of the statue. Moving down the corridor, you’ll eventually discover a Yoma Pursuer concealed to your right side. Proceed onto the balcony, and you’ll confront yet another Jester as well as another Pursuer.
Descend and peer towards the left; there’s a Fire Booster located at the edge. Be cautious, as there’s an assailant lurking above, planning to attack you. Make your way down using the ladder, then proceed downstairs (avoid the elevator for now). Pull the handle to create a path to the Sword Hub via a shortcut. Now, approach the elevator, but instead of pressing the button, go down the ladder and battle a Chaotic Beast on the roof. Engage him close to the ladder, since there’s a Surveiller to your left.
This version aims to maintain the original’s information while providing a more conversational tone.
After defeating the Rampaging Beast, move towards the Observer hiding on your left side first. Next, aim and throw a javelin at the Observer perched on the roof directly opposite you. Now, make your way over to that rooftop where you’ll find a Yoma Pursuer squatting in front of 15 Transmutation Orbs – beware, it’s a trap! To the left of him lies another Rampaging Beast ready to attack when you least expect it.
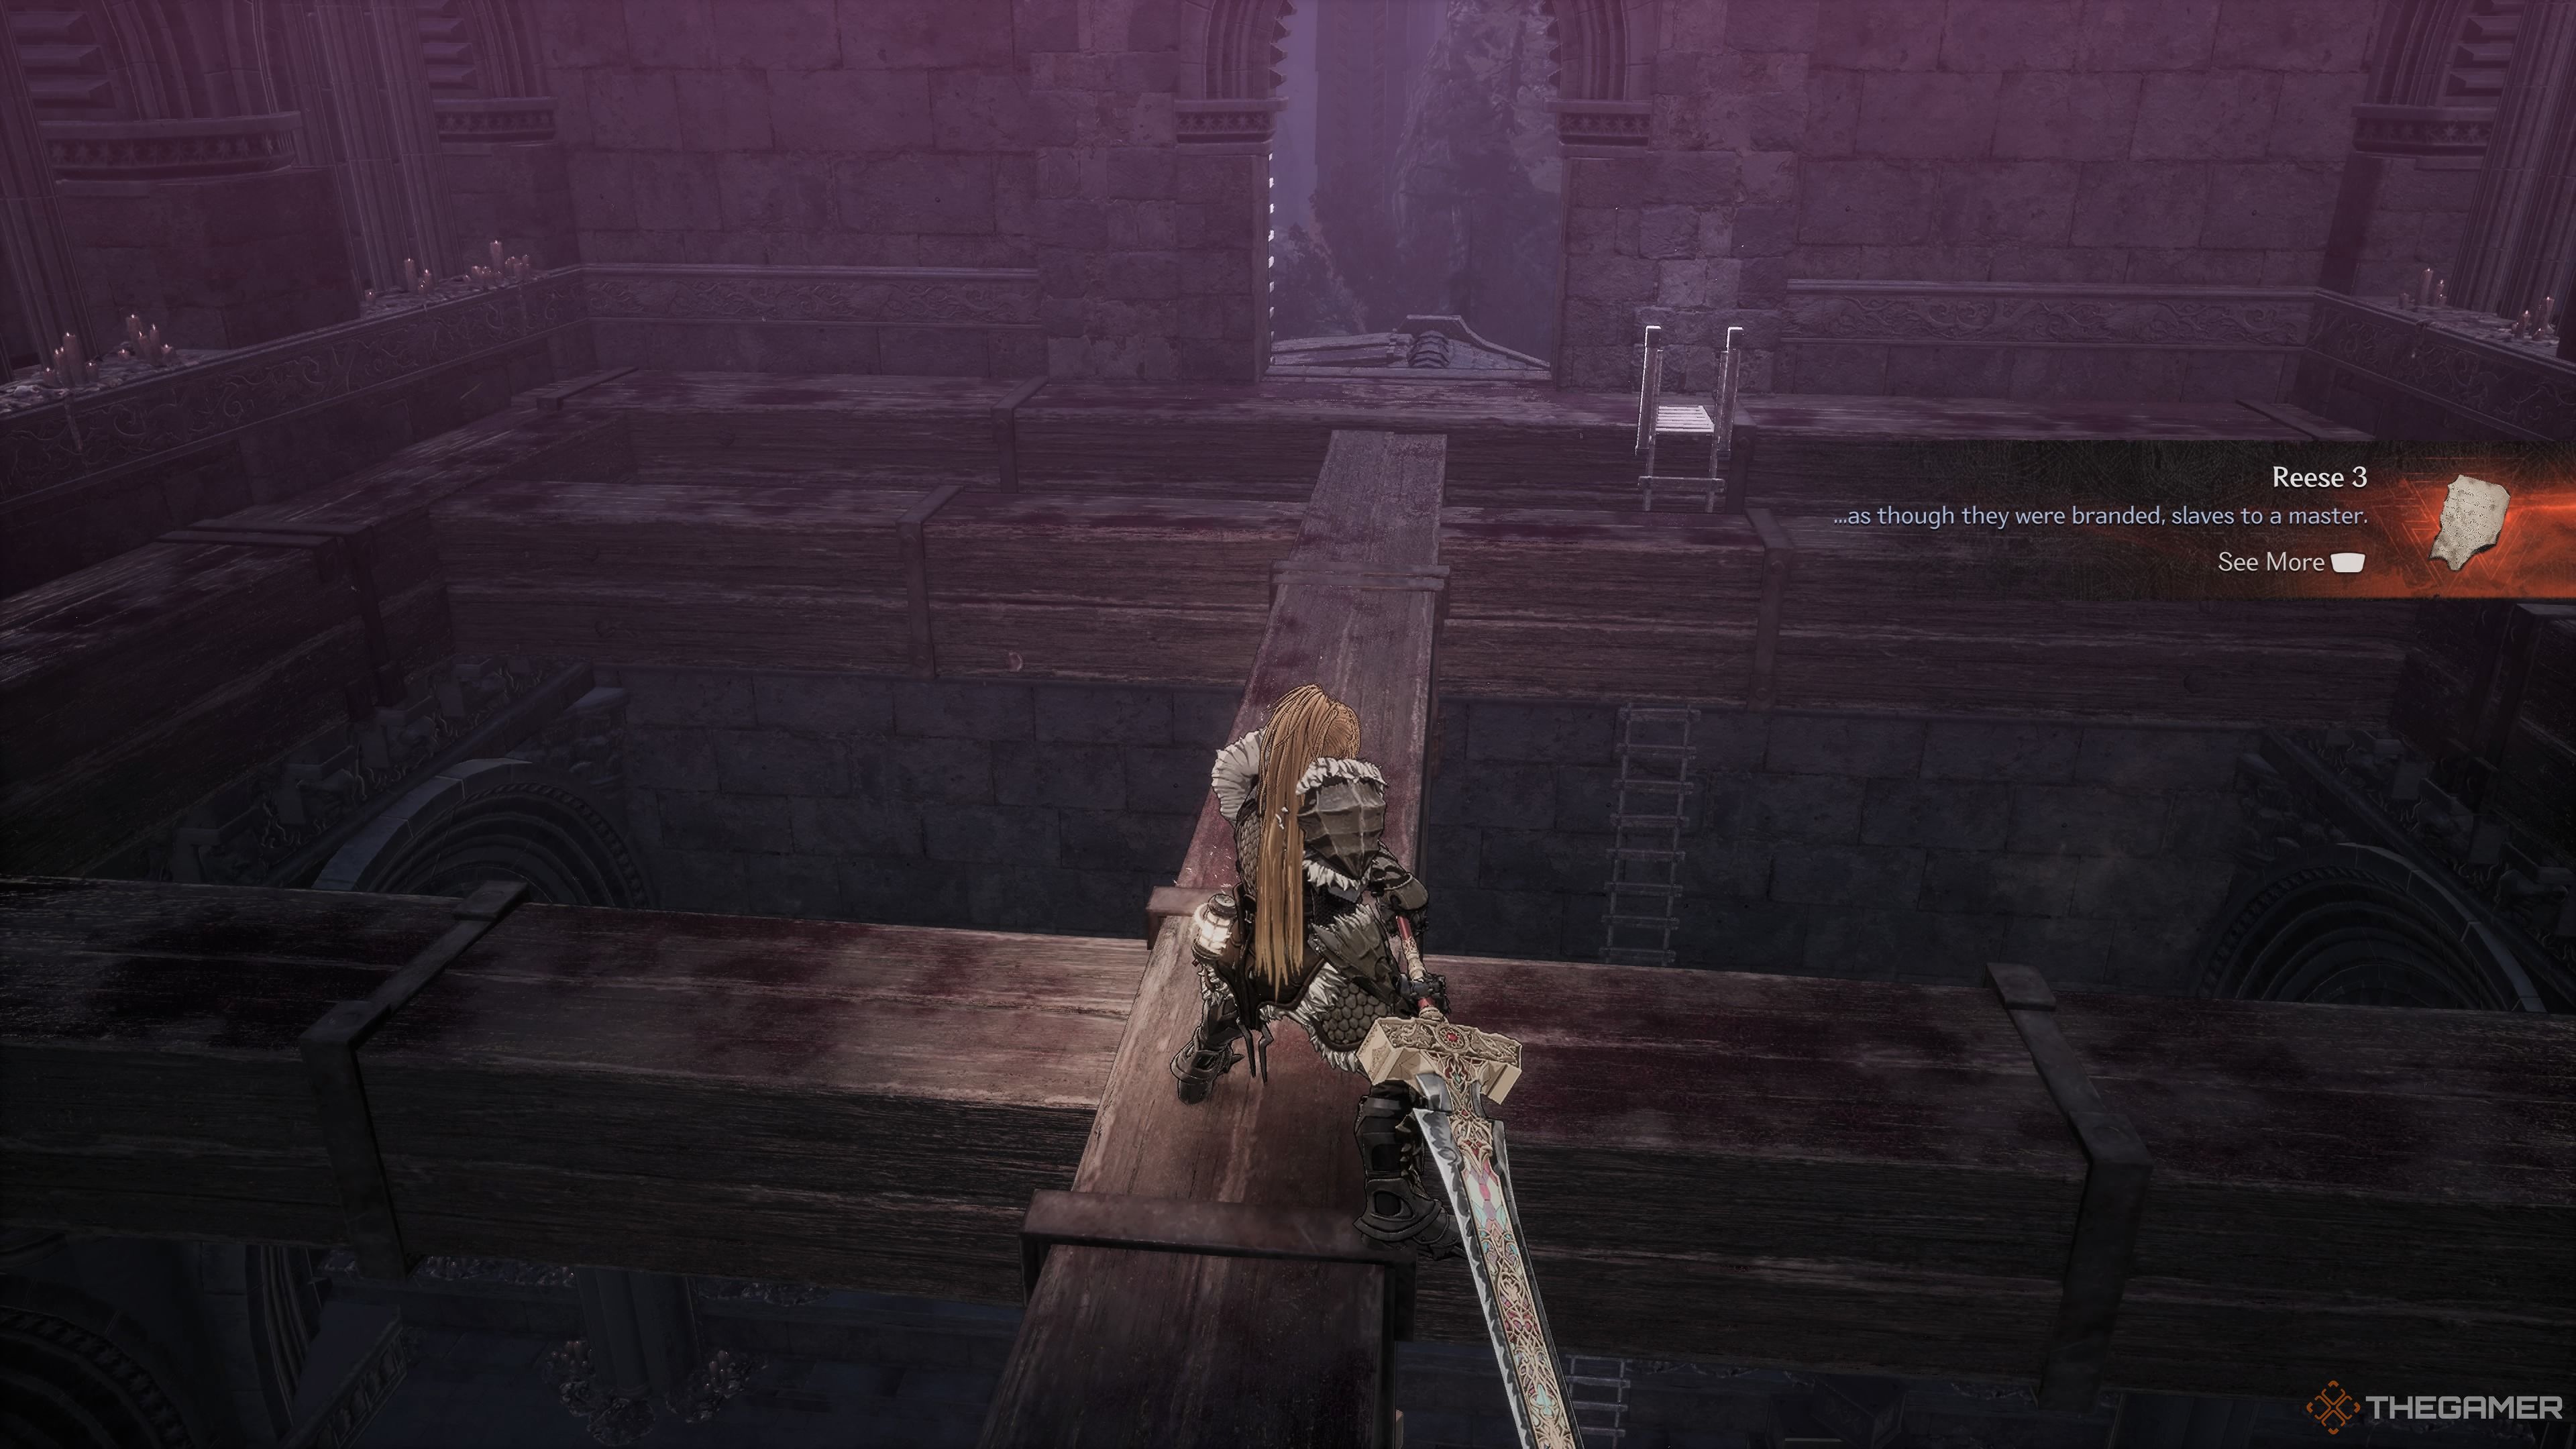
After removing them, make your way to the rooftop beneath and discover the “Earth Disturbance Scroll” shining brightly. Ascend to the rafters and seize the “Reese 3” document. Descend using the ladder, engage in combat with the Yoma Shaman and the two Yoma Foolish Men. Retrieve the “Unstable Soul Tearstone”. If you fall down, you’ll end up in the room where you fought the Elite Soulbound Knight, so instead, climb back up the ladder, then leap onto the rooftop with the ladder still there.
The Fourth Soulstone
Upon reaching the roof while carrying the ladder, you’ll find directions that take you back to where the Beast of Rampage and Yoma Pursuer were. Opt instead for following the bend on that path, and you’ll encounter the fourth Soulstone (4/5).
As a gamer, I navigated my way towards the guarded bridge, scaled the terrain, and leapt down to it. The Devotee patrolling there proved to be no match for me, I swiftly dealt with them. With a sense of triumph, I unlocked a treasure chest that rewarded me with a Wild Ghost Necklace, Crimson Fiend Mask, Top, Wristguards, Pants, and Shackles. Lastly, I ascended the ladder once more, hopped onto the elevator, and rode it upwards.
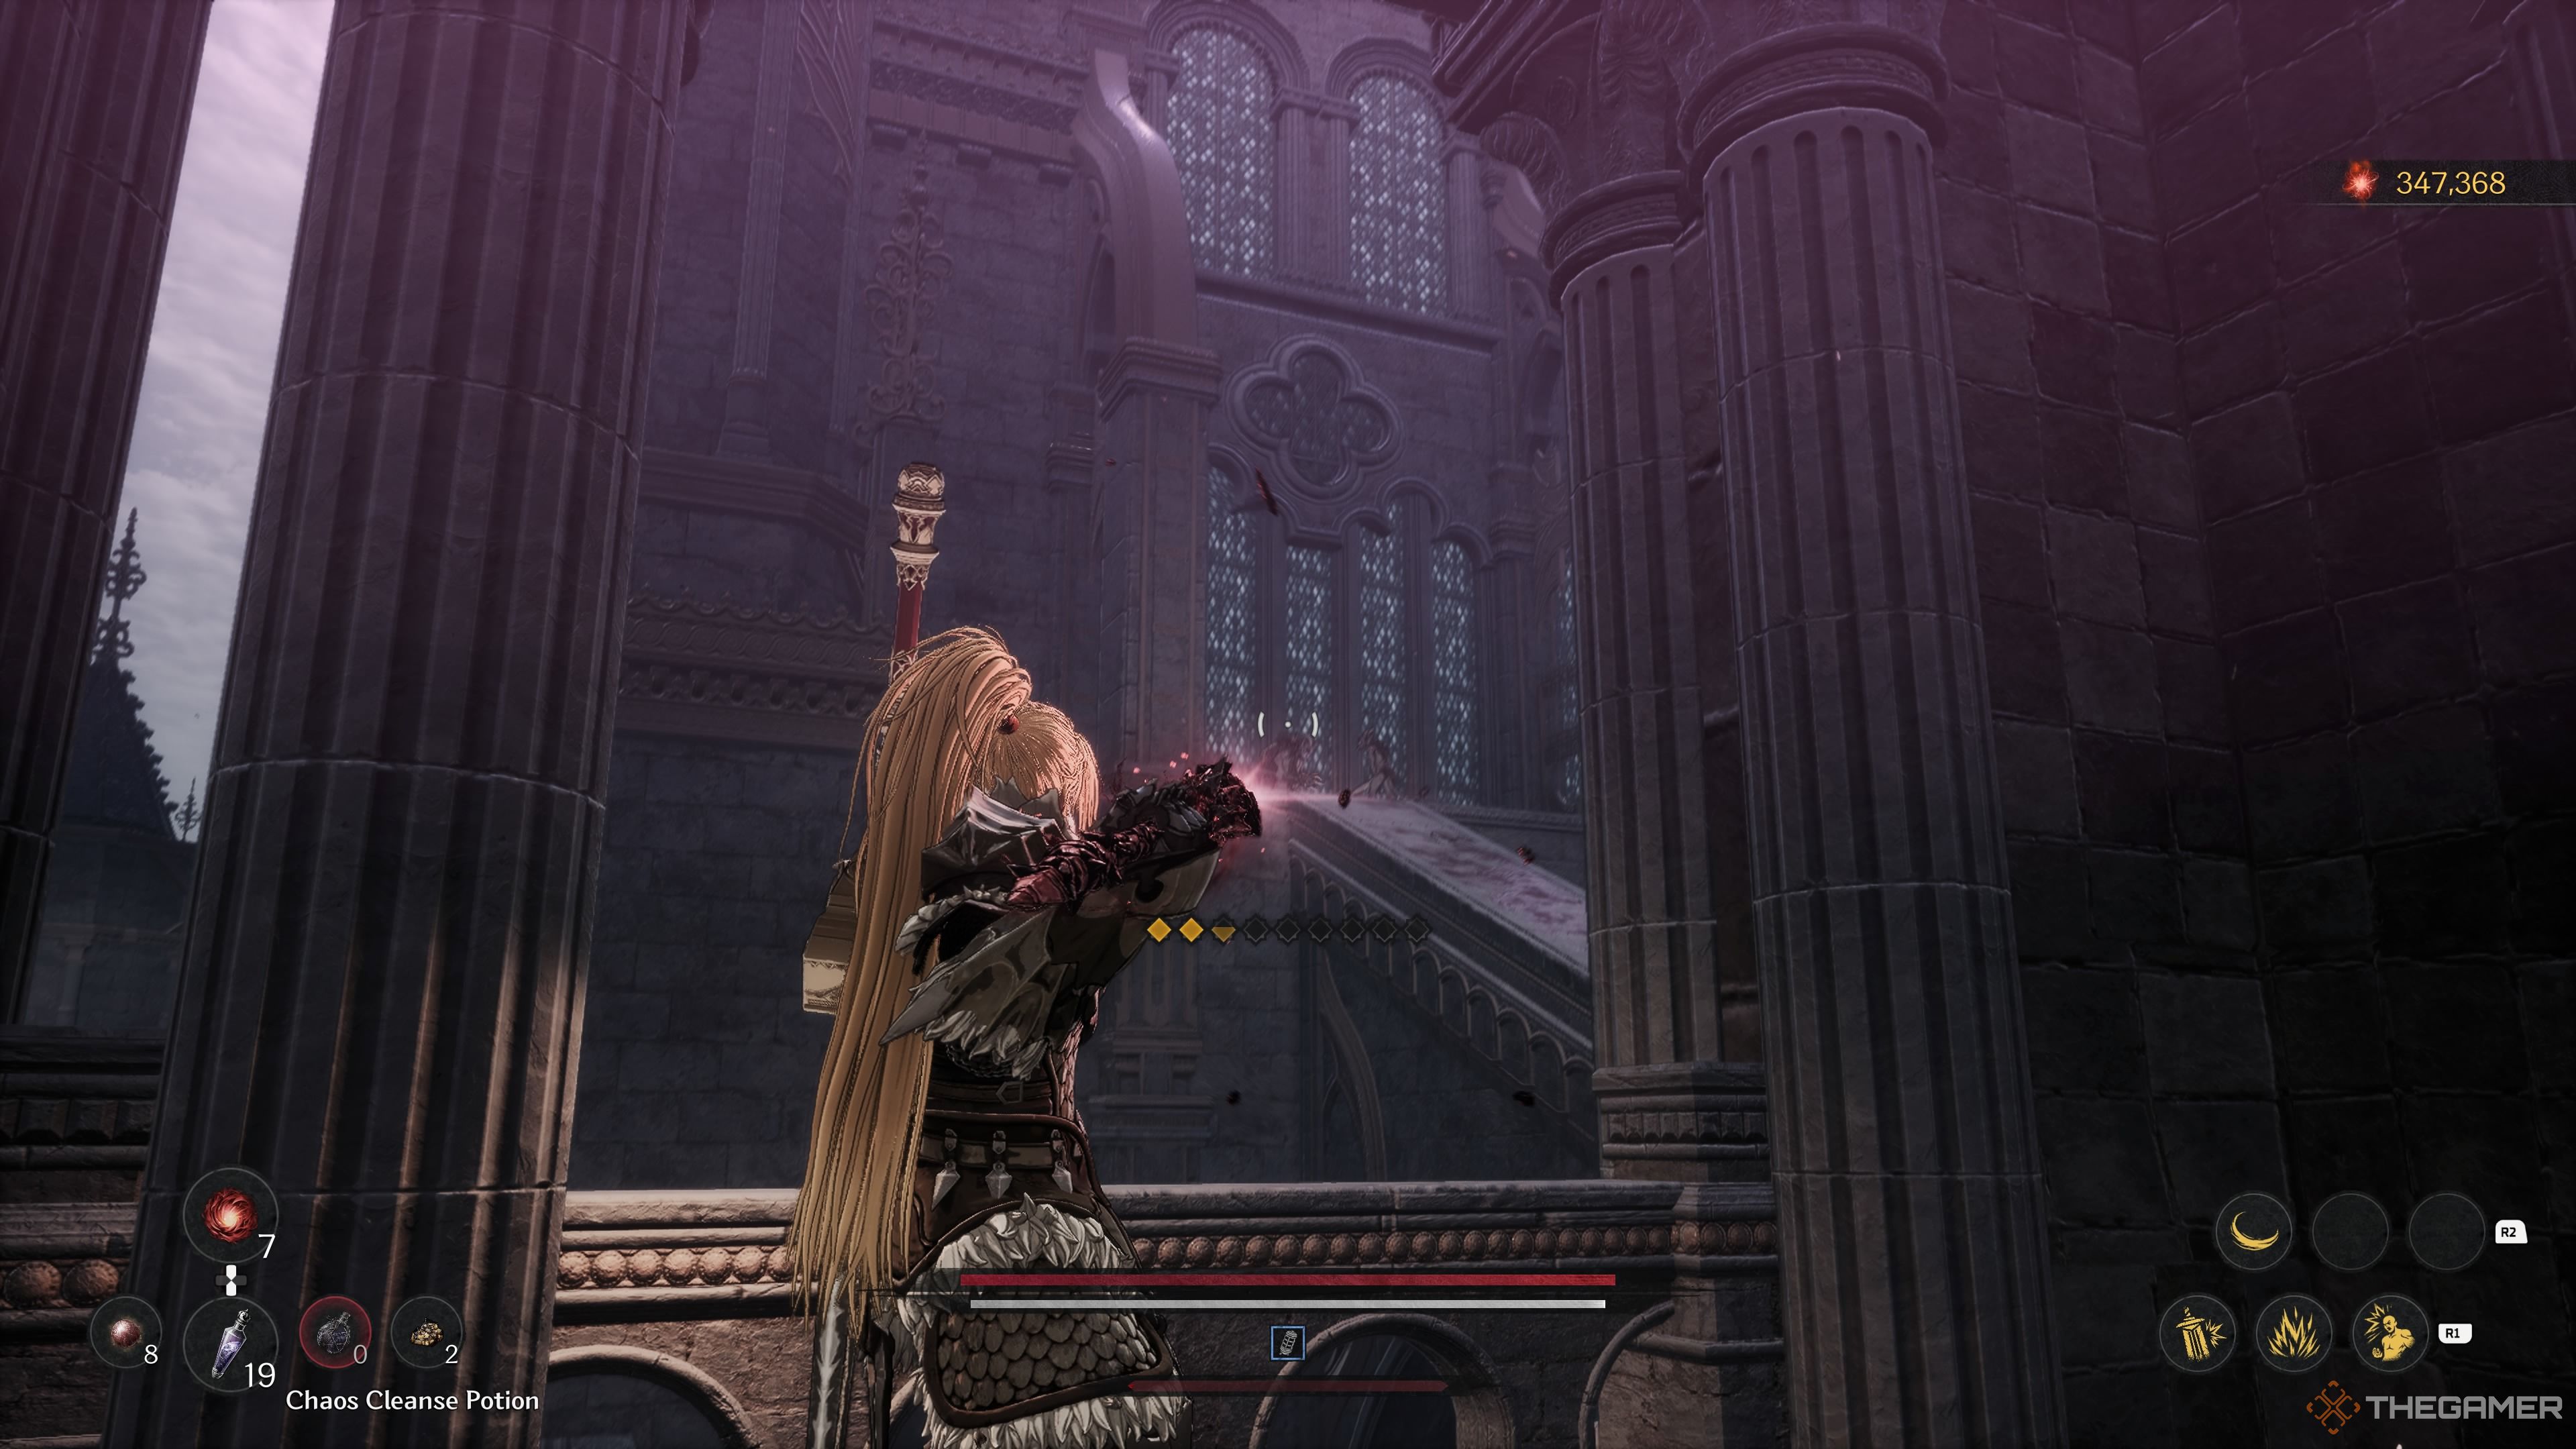
As I step into the next zone, I’ll be navigating a maze of narrow stone platforms high above. A horde of Yoma Shamans will be firing projectiles at me, and Yoma Pursuers will be hot on my tail. To deal with the Shamans effectively, I’ll need to take advantage of the elevator and use Javelins to take them out from a safe distance. Once I’ve hopped down, I should immediately veer left and follow that path until I reach seven Spirit Orbs. After that, I’ll have to make my way down, then circle around, only to climb back up again to reach the other corner of this area. Finally, I’ll enter a room where a frenzied Yoma Pursuer awaits me.
Since it’s quite straightforward for the Pursuers to knock you off the ledge, it might be wise to arm yourself with javelins as a backup plan. Alternatively, you could utilize the pillars for concealment and sneak past them. Or, if you prefer a more direct approach, you could always nudge them over the edge first.
The Fifth Soulstone
After removing them, proceed along the way ahead and you’ll find a ladder. Ascend the ladder, and you’ll spot a Shaman, Devotee, some Chasers, and a distant Soulstone (of full power). Aim your spear at the Soulstone first, then hurl spears at the Shaman and the Devotee. The agitated Pursuer is positioned above an Unstable Soul Tearstone. Once you’ve cleared this area, you’ll notice a grand chandelier adorned with numerous shiny objects hanging up. Cut the chain supporting it.
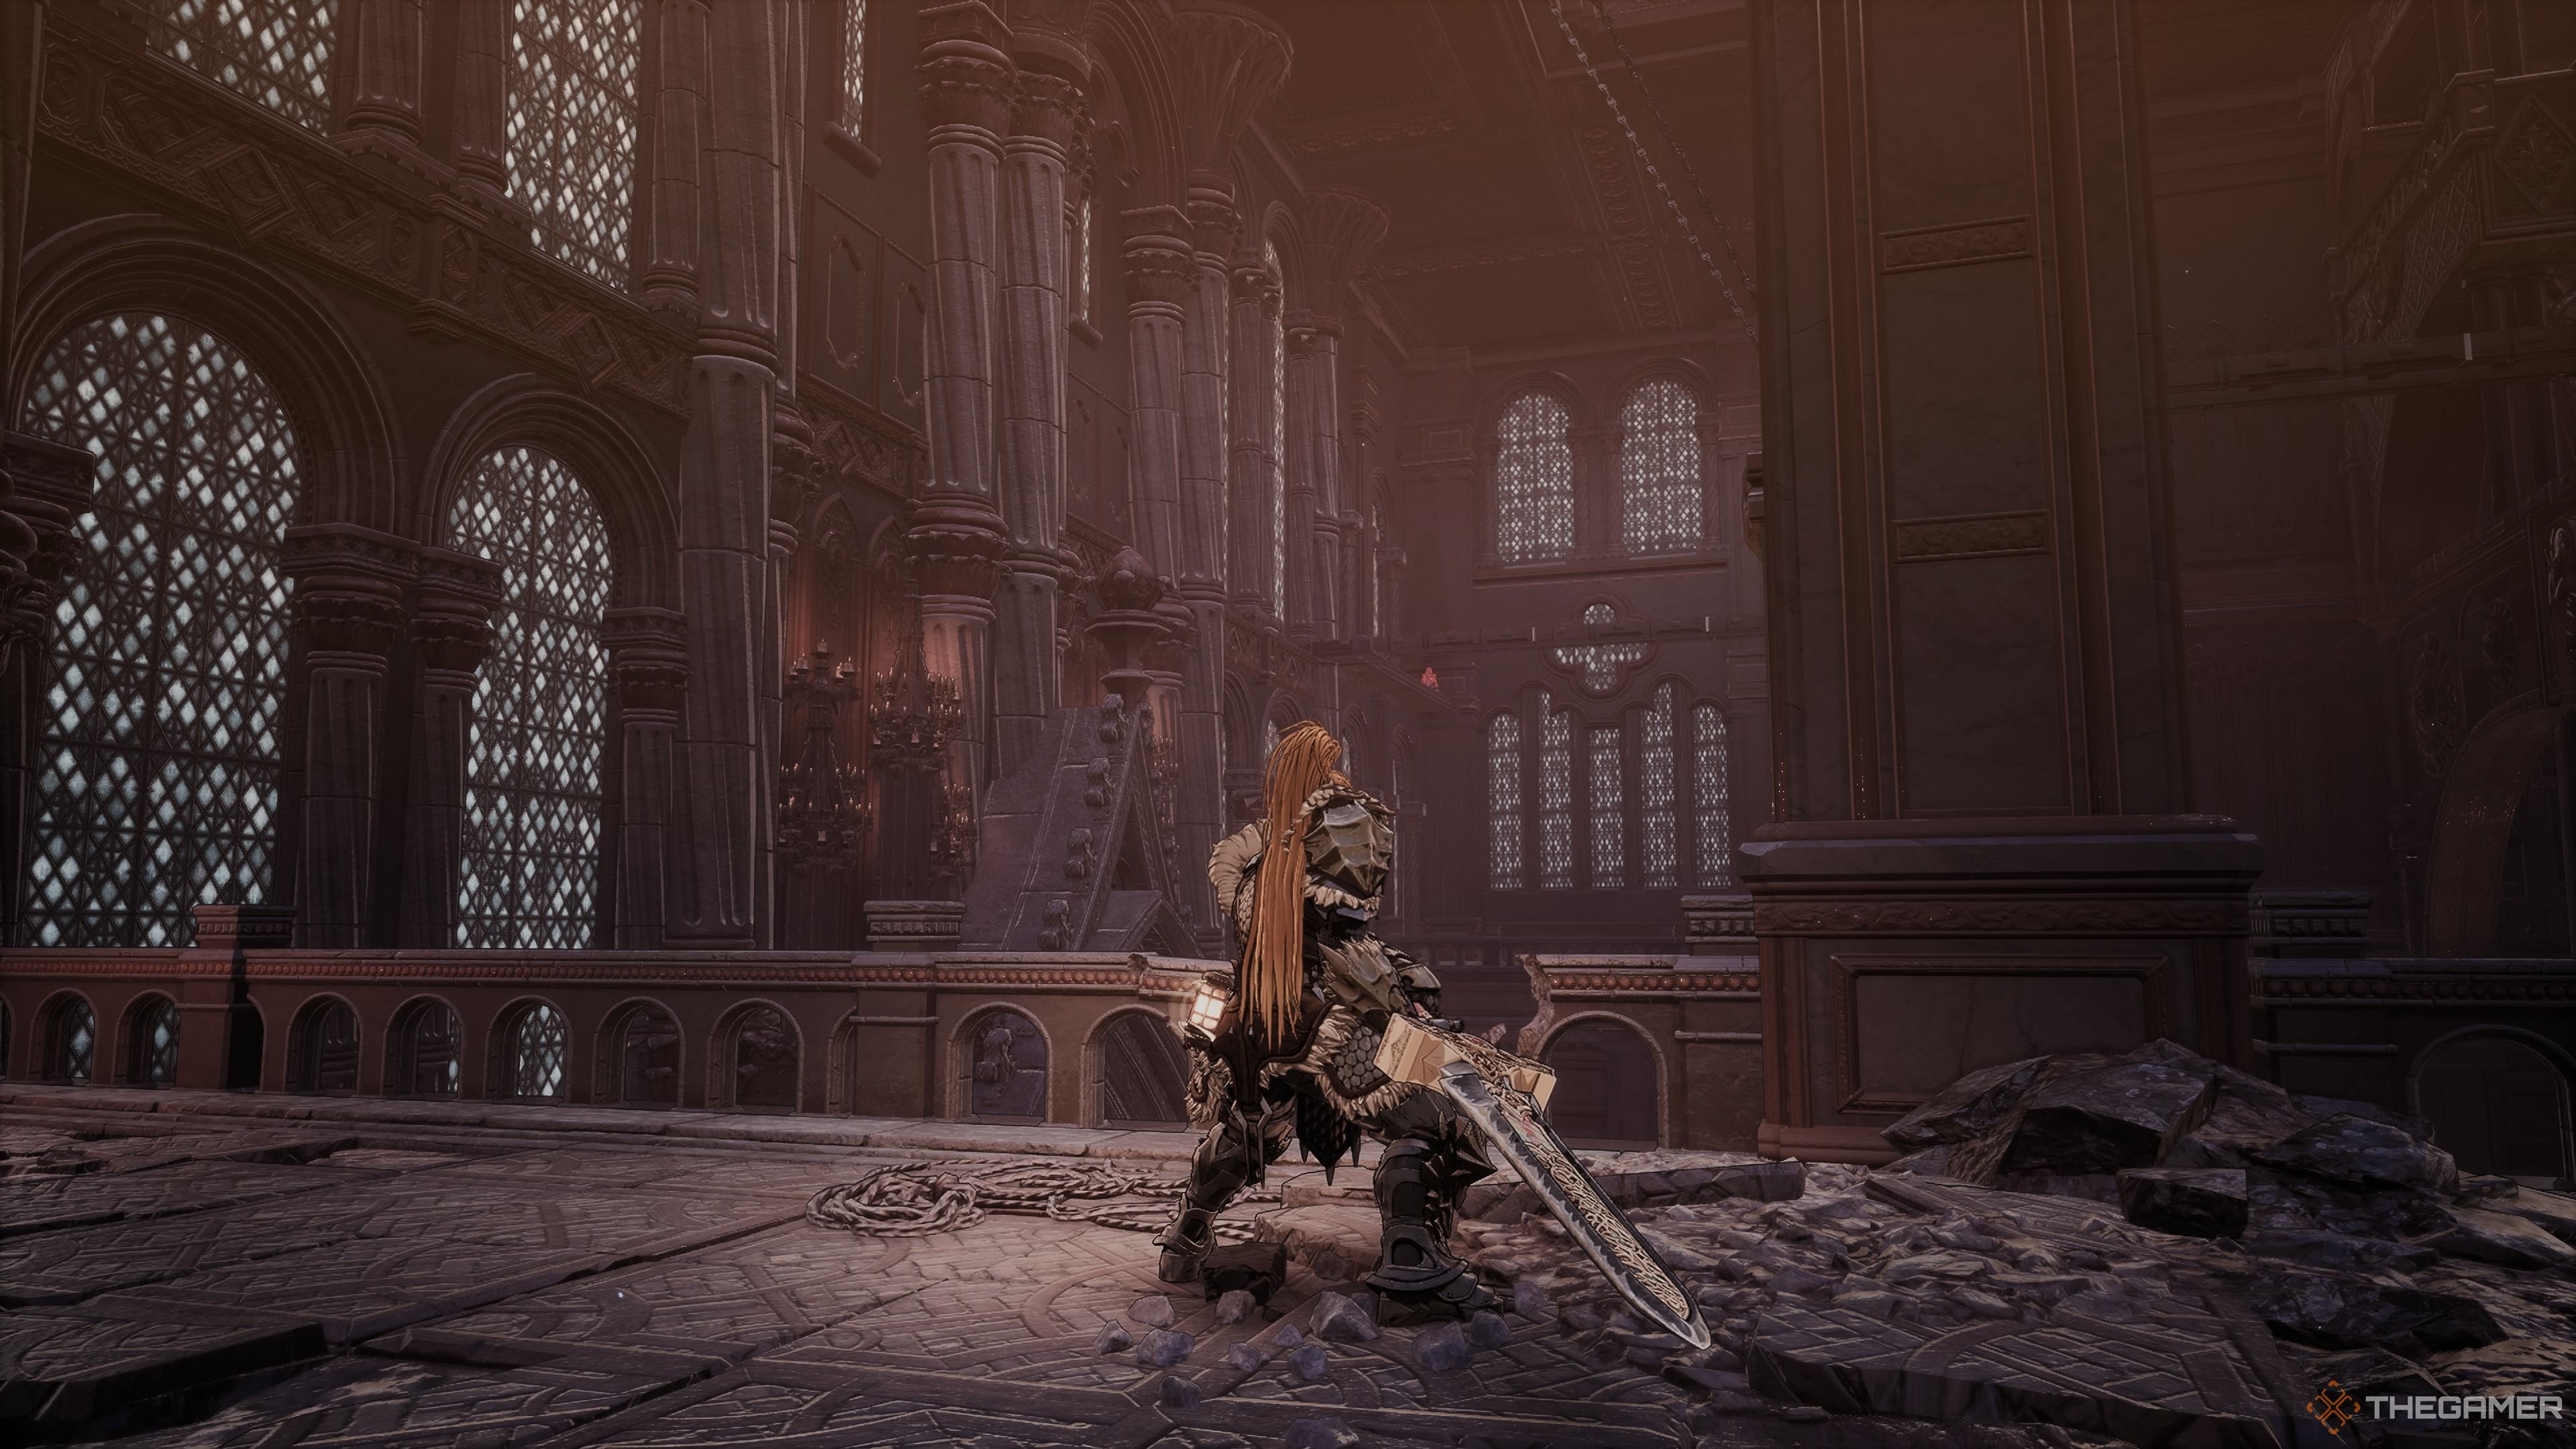
After navigating to the end of the rafters, you can leap into a secure spot below. Continue on the path where you’ll encounter one more Pursuer. Defeat him, then descend a ladder. You’ll find an expansive square hole ahead. Jump down, aiming for the intersecting rafters below. Upon reaching the bottom, a chest is nearby in a cell. Open it to obtain the Sacred Greatsword, Radiant Guardian’s Gauntlet, Necklace of Resolve, and a Chaos Cleanse Potion. Now, connect with the Great Garden Blade Nexus.
Great Garden
| Enemies | Servant of Chaos, Yoma Shamen, Yoma Pursuer, Yoma Jester, Soulbound Knight, Revenant Devourer |
|---|---|
| Notable Items | Unstable Soul Tearstone, Large Spirit Ore, 2x Crimson Meteorites, Spirit Ore |
| Soulstones? | |
| Jarling? | No |
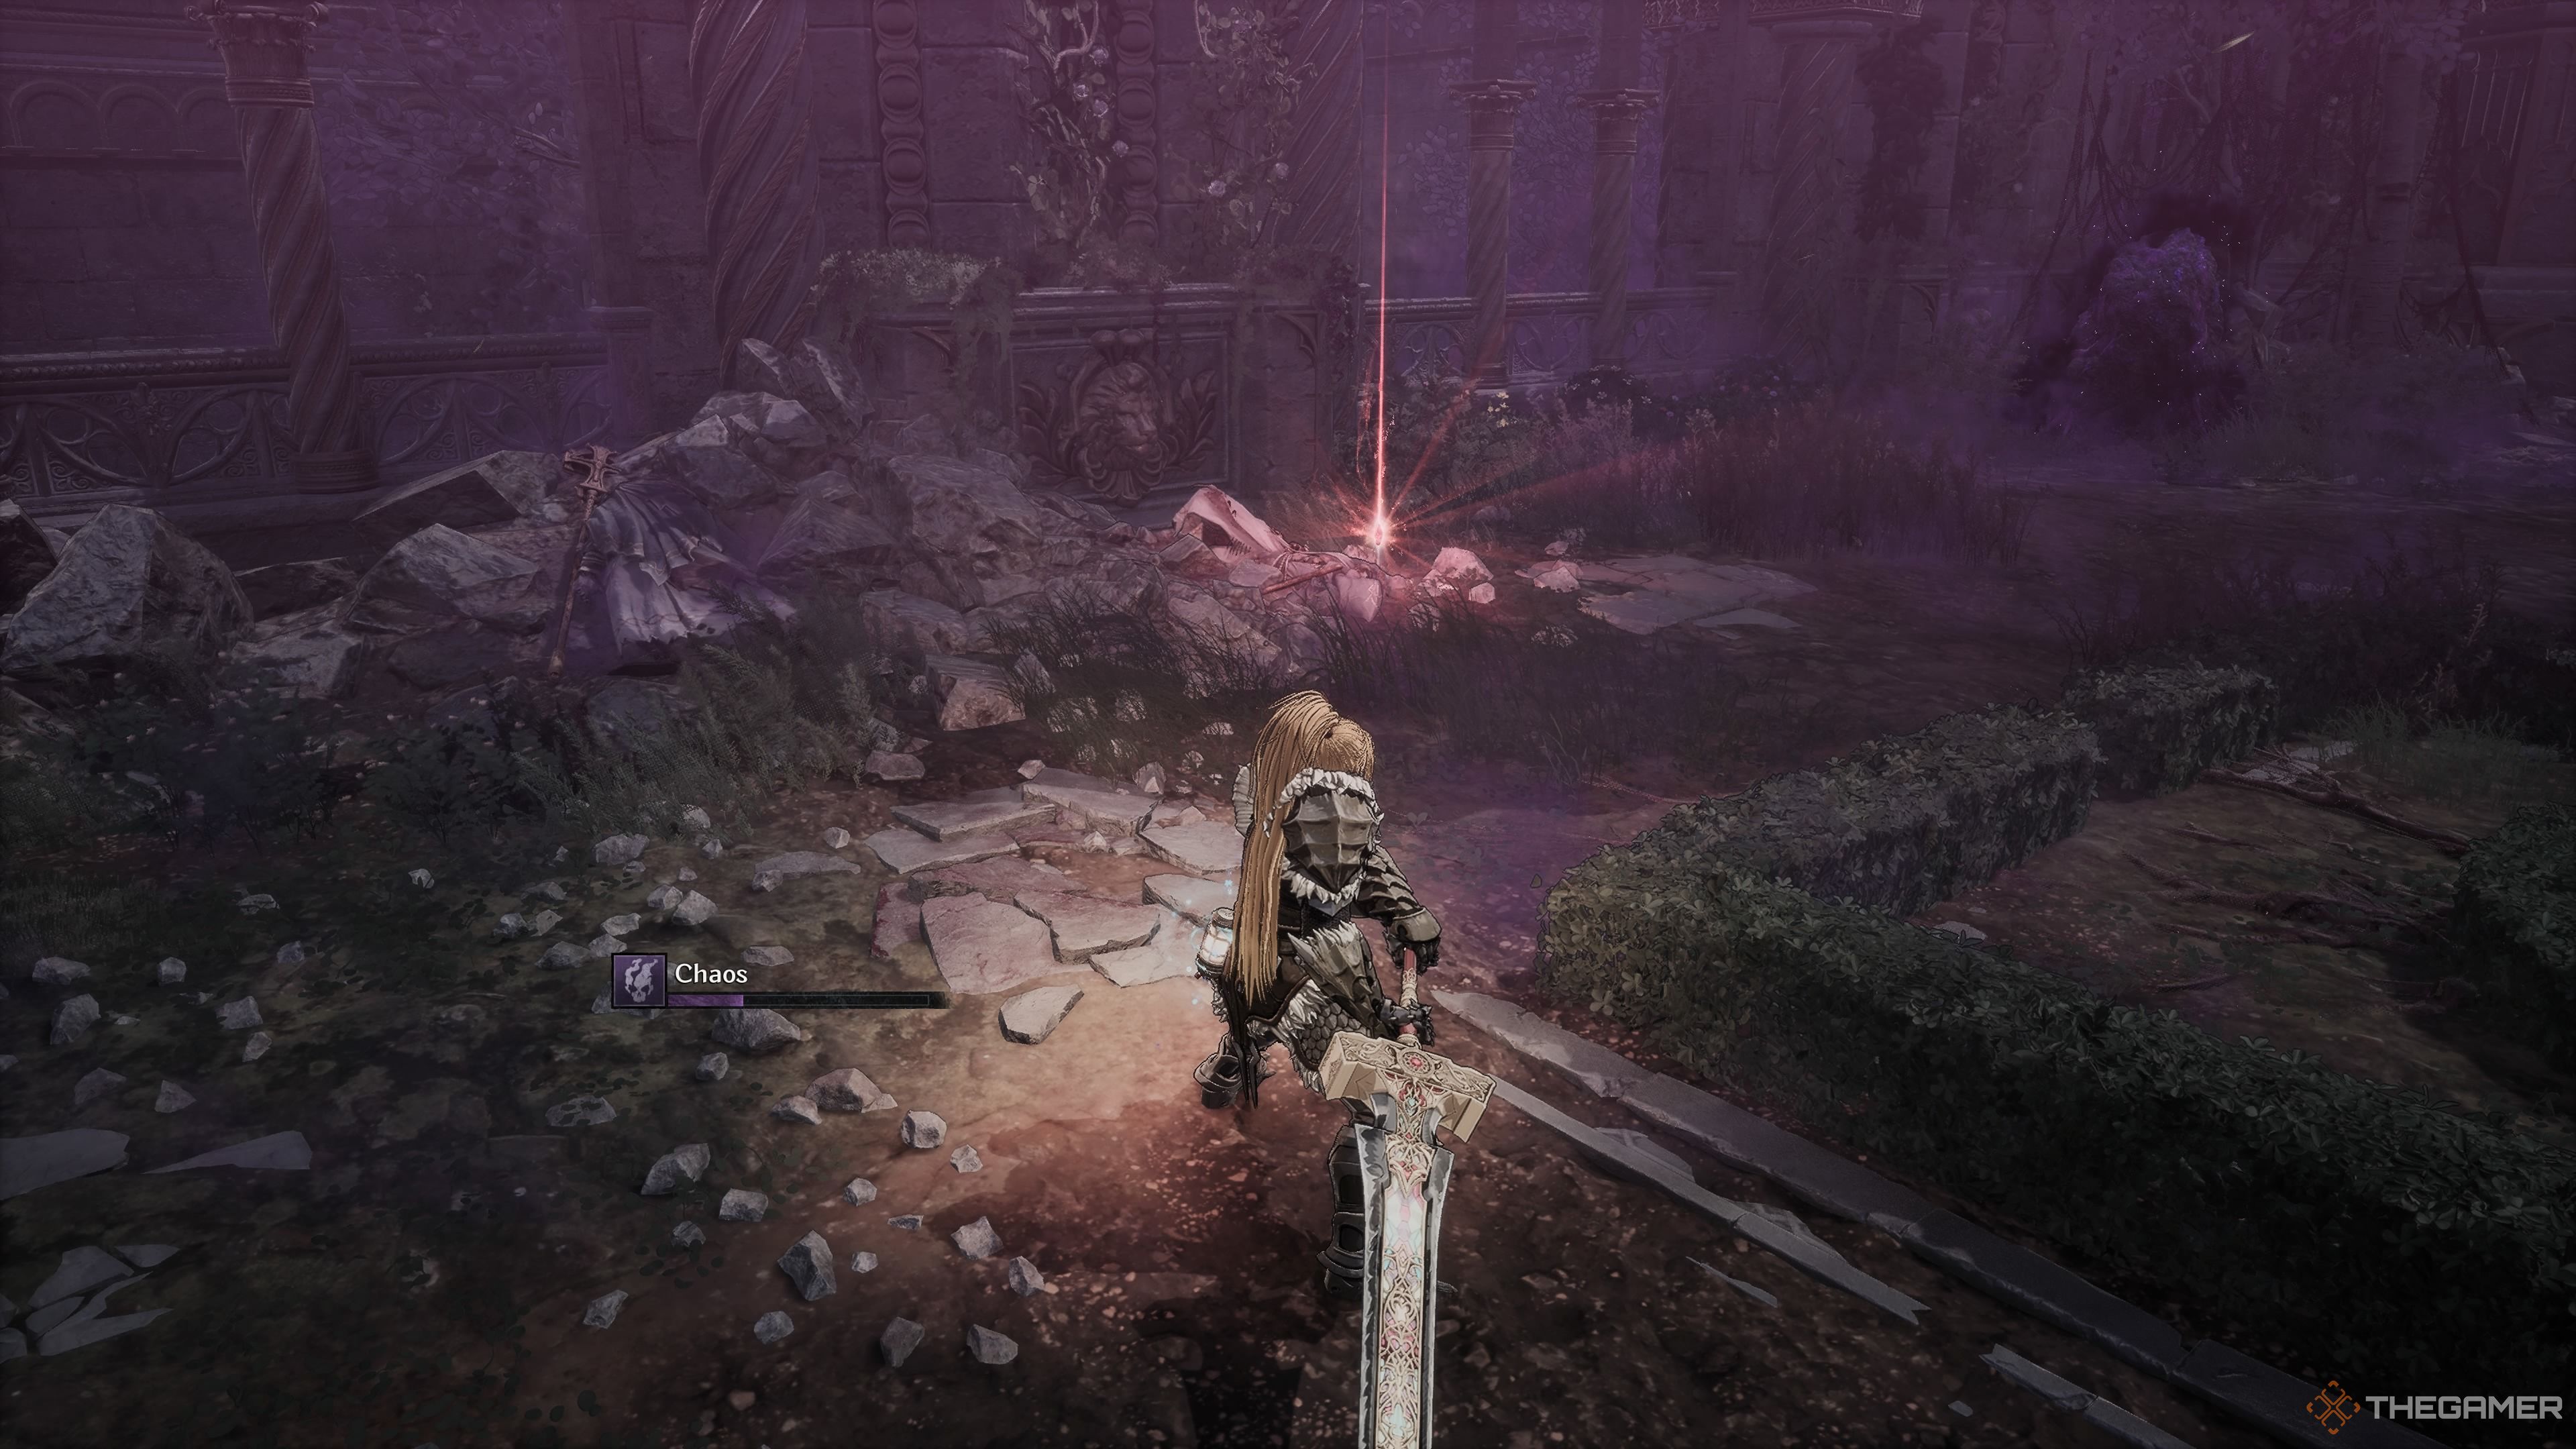
Upon stepping into the garden, you’ll encounter two minions of chaos, the Servant of Chaos golems. Luckily, these creatures are within range of chaos cluster stones. Just as we handled the Beast of Rampages earlier in this mission, you can lure these servitors towards the clusters, destroy them, and they will be stunned temporarily. Since it takes only a couple of execution attacks to eliminate these golems, make sure to make full use of the chaos clusters at your disposal.
After you’ve emptied the area, proceed towards the entrance and turn left. You’ll spot a “Special Cleanse Potion” on a staircase to your left. Close by, there’s a “Hallucination Cleanse Potion” resting beside a statue. An “Unstable Soul Tearstone” can be found in the gazebo, while two “Transmutation Mists” are nestled next to a tree with distinctive square-shaped foliage. Lastly, a “Large Spirit Ore” is located around the border of this arena.
As you step into the garden through the entrance, veer to your left. You’ll come across a secluded section with some steps leading upwards; there’s a cluttered pile obstructing them initially. Ascend the stairs and you’ll find yourself facing a treasure chest. Inside, you’ll discover a Golden Dual Wield, Radiant Guardian’s Pauldrons, a Necklace of Good Fortune, and a Chaos Cleanse Potion.
Approach slowly, and I find myself staring at the back of a Yoma Shaman. Below this, there’s a pair of Yoma Jesters. Ahead lies a trio: two Shamans and a Pursuer, hiding behind a statue. Near them, you can spot three Assassin Elixirs. In the following area, two more Pursuers are on high alert.
Elite Servant Of Chaos
After removing them, you’ll gain access to the previously barricaded section of the temple where you initially entered. Here, you encounter an Elite Servant of Chaos. Prior to engaging them, veer right, navigate the area, and open the gate for a swift escape route via the Main Entrance of The Temple Blade Nexus. Near the collapsed chandelier, you’ll find two Crimson Meteorites and a Poison Enhancer. This is the one you previously defeated.
Turning your back on the chandelier, you’ll find a room to your left, housing two Yoma Jesters and a Soulbound Knight. Defeat them, then open the nearby chest to receive a Spear of Glory, Saint’s Helm, Necklace of Resolve, and Spirit Ore. Afterward, retrace your steps across the boss arena. You’ll encounter two more Yoma Jesters guarding a chest in front of them. Be cautious, as this is a trap. Defeating the jesters will trigger a Revenant Devourer to rise from the ground. Once you’ve dispatched it, open the chest, but be prepared for it to explode. Salvage the debris to retrieve a Fugitive Mage’s Greatsword and 20 Keen Blades.
I tried to maintain the original meaning while making it easier to read and understand by breaking down the instructions into smaller steps and using more descriptive language.
First, ascend the winding staircase until you reach the Boss Gate. Once you’re prepared, trigger the Blade Nexus. When you feel ready, engage in combat with the potent lightning-wielding cleric: Reese.
Go up the circular staircase and find yourself at the Boss Gate. Ready yourself, then initiate the Blade Nexus. When you feel confident, confront the powerful lightning-wielding cleric: Reese.
Read More
- OM/USD
- Jellyrolls Exits Disney’s Boardwalk: Another Icon Bites the Dust?
- Carmen Baldwin: My Parents? Just Folks in Z and Y
- Solo Leveling Season 3: What You NEED to Know!
- Jelly Roll’s 120-Lb. Weight Loss Leads to Unexpected Body Changes
- Despite Strong Criticism, Days Gone PS5 Is Climbing Up the PS Store Pre-Order Charts
- Moo Deng’s Adorable Encounter with White Lotus Stars Will Melt Your Heart!
- The Perfect Couple season 2 is in the works at Netflix – but the cast will be different
- Joan Vassos Reveals Shocking Truth Behind Her NYC Apartment Hunt with Chock Chapple!
- Lisa Rinna’s RHOBH Return: What She Really Said About Coming Back
2025-04-07 03:42