
Summary
- Early game players can benefit from using the Balahara starter set for Insect Glaive, focusing on evasion and mounting skills.
- Moving into mid-game, the G. Arkveld set provides a strong flayer build that maximizes wound damage and healing.
- Endgame players should consider the Zoh Shia/Gore Magala mix for a powerful frenzy and recovery build with survivability and damage bonuses.
In the gaming world, Capcom’s latest addition to the popular Monster Hunter series, titled Monster Hunter Wilds, has been around for some time now. This has given skilled veterans the chance to discover the optimal armor sets and weapons suitable for various scenarios. A recent first title update introduced fresh weapons and equipment, offering new strategies for the endgame.
For beginners just starting with Monster Hunter, figuring out the ideal armor and skills for their chosen weapons can seem unclear at first. Mastering a weapon’s playstyle and finding the skills that work best with it is crucial in a player’s progression towards the endgame. Insect Glaive users typically concentrate on using the weapon’s agility to climb monsters, while maximizing wound generation and break synergies for optimal Kinsect extract refreshment.
For those using Insect Glaives, there’s a wealth of effective armor sets in the endgame. However, novice players might be curious about which sets are ideal for progressing through the campaign and mid-game. To address this, here are some top-tier armor sets for Insect Glaive builds that will aid you during the Monster Hunter Wilds‘ campaign and beyond.
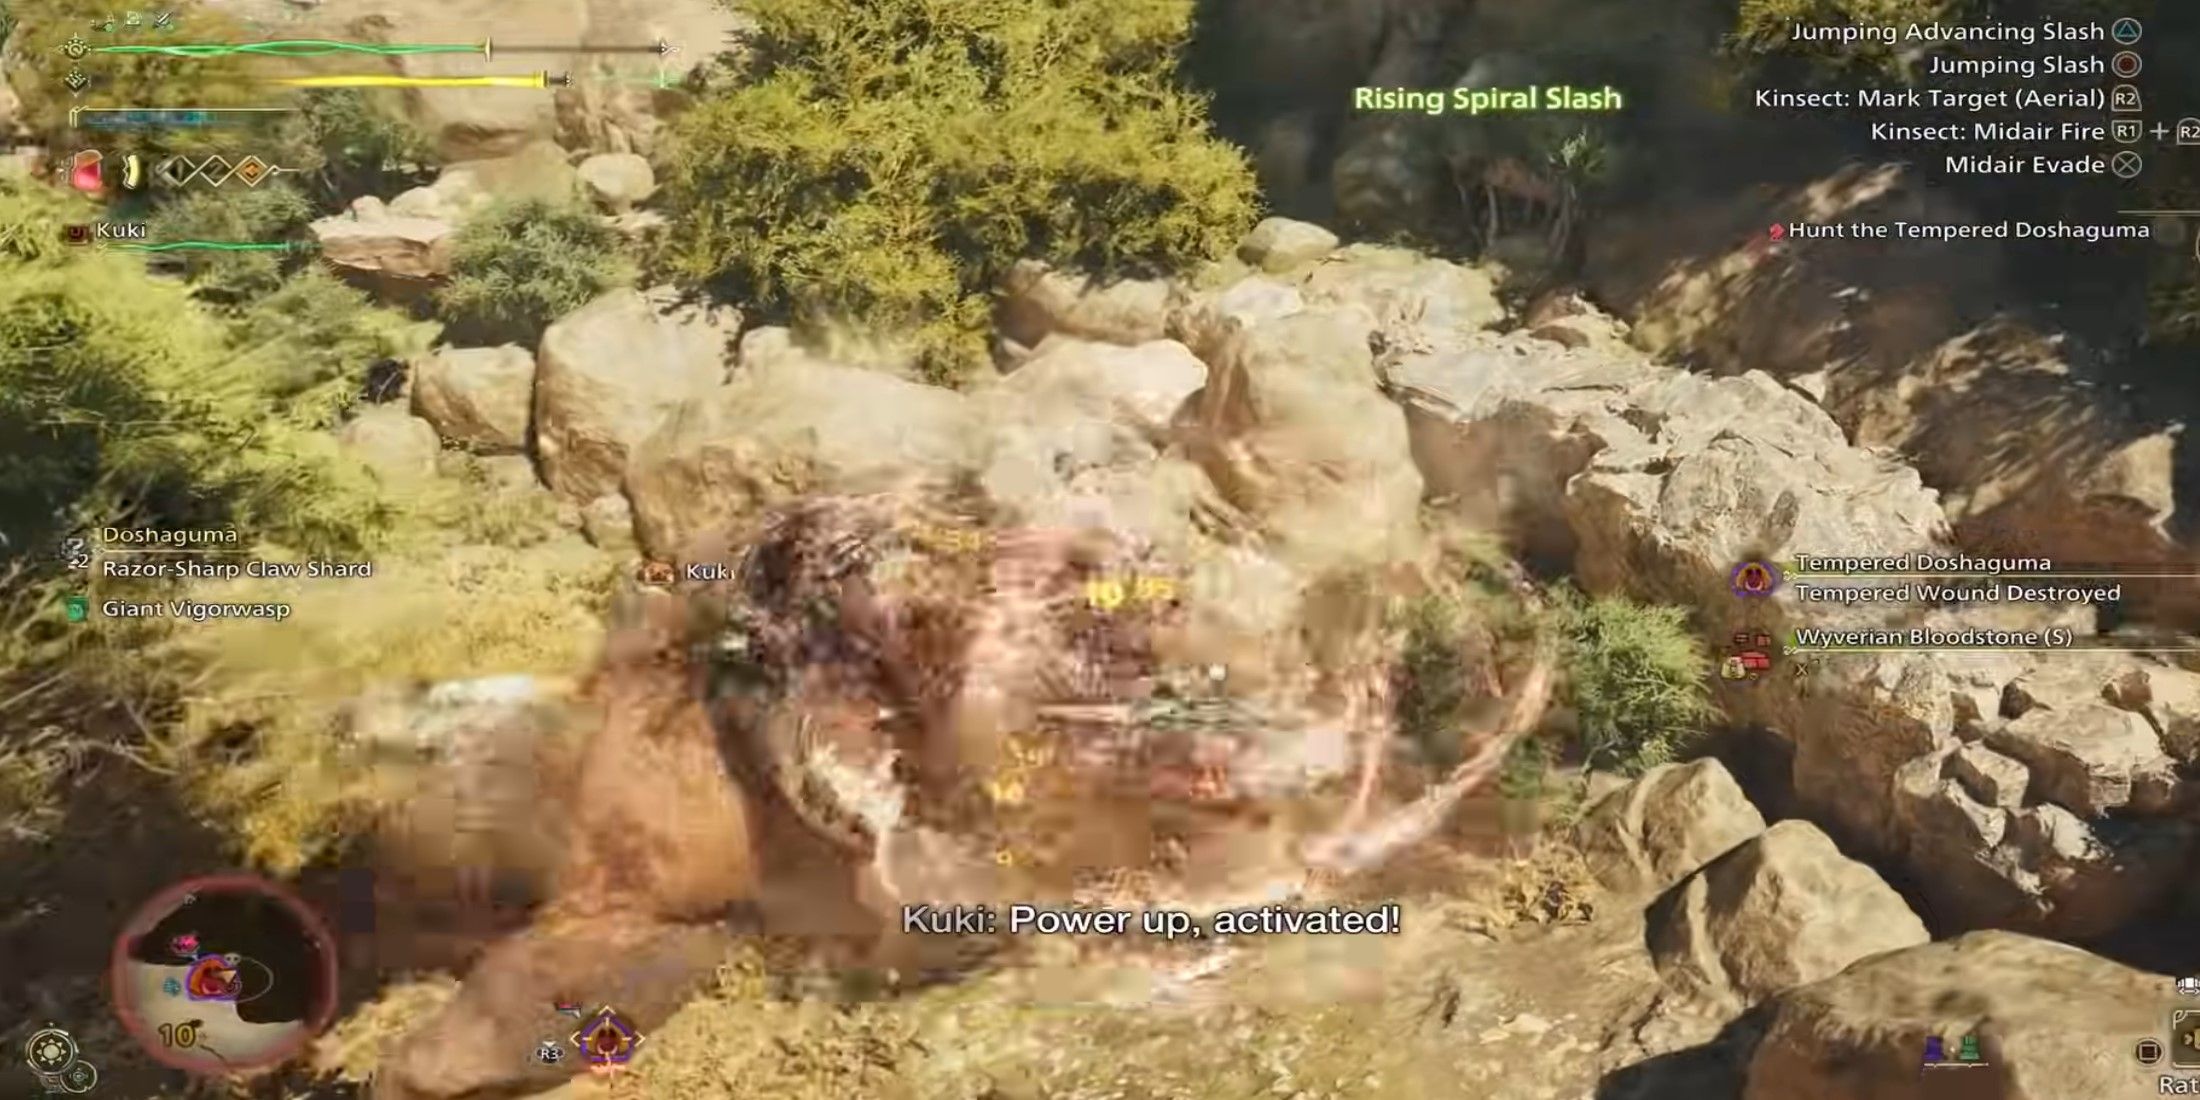
7. Balahara Starter Set
Early Game Evasion Build
Armor Pieces:
- Vespoid Helm
- Vespoid Mail
- Balahara Vambraces
- Balahara Coil
- Balahara Greaves
Set Bonus Skills:
- Master Mounter
The Balahara gear collection is beneficial for Insect Glaive players in their early game, offering two key advantages. Initially, the three pieces of this set provide a total of three levels in Evade Extender, enhancing the power of dodges and extending the reach of glaive vaults. Secondly, the Balahara set’s special bonus, Master Mounter, is another significant advantage. This skill simplifies the process of climbing onto monsters and inflicting damage while mounted on them.
Insect Glaives are perfect for riding monsters due to their agility and flying capabilities, making it beneficial to have this added feature. While Vespoid parts aren’t absolutely necessary, they can be quickly acquired early in the game and enhance healing from environmental sources such as Vigorwasps.
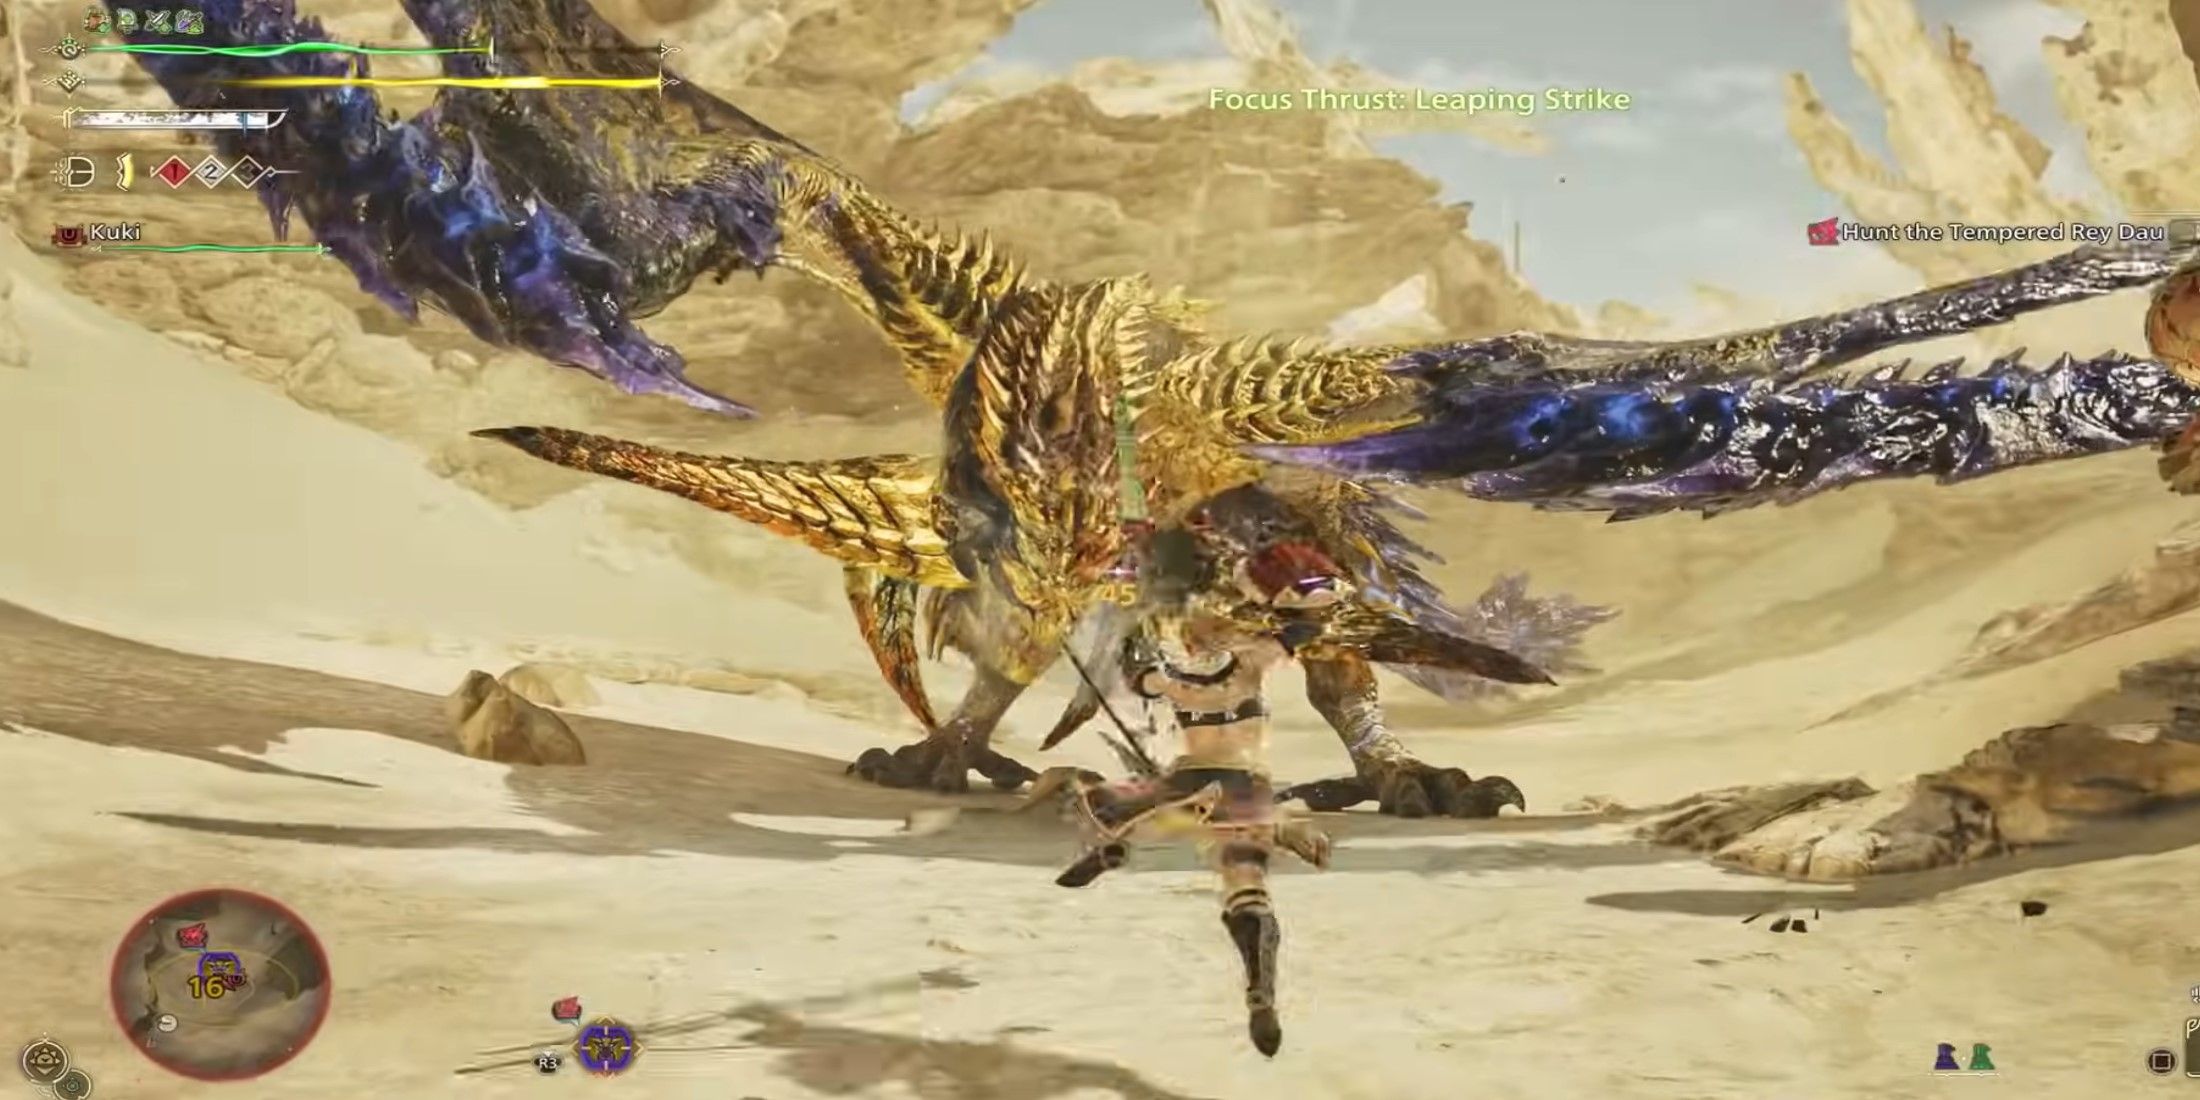
6. Rey Dau / Hirabami Mix
Early Game Evasion/Mounter Build
Armor Pieces:
- Rey Sandhelm
- Rey Sandmail
- Hirabami Vambraces
- Hirabami Coil
- Hirabami Greaves
Set Bonus Skills:
- Master Mounter
- Thunderous Roar I
In the early stages of the game, players can maintain the benefit of the Master Mounter set bonus – a group skill – by swapping out three items for pieces from the Hirabami set. Additionally, they should consider using the Rey Dau helm and mail. This equipment choice is advantageous for two reasons: firstly, it provides the Thunderous Roar bonus; secondly, it boosts ranks in Latent Power and Constitution.
This collection additionally earns three ratings in the Evade Window from Hirabami armor components, a valuable talent that boosts the invincibility frames (i-frames) players enjoy while evading. This provides versatile benefits for both offensive and defensive strategies in the early stages of the game.
5. G. Arkveld Set
Mid-Game Flayer Build

Armor Pieces:
- G. Arkveld Helm
- G. Arkveld Mail
- G. Arkveld Vambraces
- G. Arkveld Coil
- Rey Sandgreaves
Set Bonus Skills:
- Decimator II
In this mid-game strategy, we emphasize utilizing the Insect Glaive’s unique capabilities of causing and shattering wounds. We enhance these skills by leveling up in Flayer, which makes it simpler to inflict wounds and deals more base damage to them. Additionally, as you reach rank 2 with the Decimator set, your character will receive substantial healing when a wound is broken.
The Insect Glaive works wonderfully well because it allows players to fill all their extracts, heal themselves, and inflict extra damage simultaneously upon breaking multiple injuries. To maximize this, it’s beneficial to have three ranks in Flayer and the bonus from the Arkveld armor’s set. This provides room for adding skills that manage stamina or ones that offer preferred utilities.
4. Rathian / Kut Ku Mix
Mid-Game to High Rank Poison / Foray Build

Armor Pieces:
- Barina Headgear (beta)
- Rathian Mail (alpha)
- Kut-Ku Vambraces (alpha)
- Kut-Ku Coil (beta)
- Rathian Greaves (alpha)
Set Bonus Skills:
- Master Mounter
This initial, top-tier armor set serves as a bridge for players transitioning from mid-game to high rank, emphasizing the use of status damage and the Foray armor skill. To maximize this setup, players should opt for a weapon with status effects. A viable choice at this level is the Princess Regalia, which can be obtained from the Rathian tree and provides decent poison damage.
With a blend of Kut-Ku, Rathian, and Lala Barina equipment, players will secure four levels in Foray and two ranks in Agitator. Additionally, this set provides the beneficial Master Mounter group bonus, as the skill is shared between the Rathian and Kut-Ku items. This straightforward setup primarily emphasizes maximizing status damage.
3. Blango Mixed Set
Early High Rank Agitator Build
Armor Pieces:
- G. Fulgur Helm (beta)
- Blango Mail (beta)
- Rathalos Vambraces (beta)
- Ajarakan Coil (beta)
- Blango Greaves (beta)
Set Bonus Skills:
- War Cry I
For Insect Glaive players advancing into higher ranks, a gear setup that amplifies the weapon’s built-in advantages will be crucial. This set combines Agitator and Partbreaker to boost damage on weakened foes, while offering ample spaces for additional utility skills such as Evade Extender or Stamina Surge with customizable slots. Additionally, players can benefit from the two-piece Blango set bonus, War Cry, which increases attack power when the To Victory gesture is performed.
In essence, this setup might be somewhat clumsy to employ and offers only moderate enhancement, but additional attack potency is always beneficial. To maximize its potential, gamers can arm themselves with a weapon boasting high compatibility and focus on landing critical blows at weak points, thereby making the most of this strategy.
2. Gore Magala / Nu Udra Mix
High Rank Burst / Frenzy Build

Armor Pieces:
- Gore Helm (beta)
- Udra Miremail (alpha)
- Gore Vambraces (alpha)
- Gore Coil (beta)
- Udra Miregreaves (beta)
Set Bonus Skills:
- Black Eclipse I
- Bad Blood I
Under optimal circumstances, this top-tier setup incorporates Burst, Frenzy, Partbreaker, and Resentment for substantial sequential damage. To utilize the Black Eclipse set bonus effectively, players must employ a Sanity Charm to reach the necessary Antivirus levels. This allows for an increase in attack and affinity upon recovering from Frenzy. The armor provides two ranks of Burst, but it’s advisable to boost this to maximum rank using decorations, as the skill can be effortlessly triggered with the Insect Glaive’s aerial combinations.
Players might want to consider adding decorations for their rankings in Partbreaker, as this will amplify wound damage and further enhance the bonus effect of Bad Blood. Bad Blood is triggered when Resentment is active (when there’s red health visible on the health bar), providing a substantial attack boost that becomes even more potent when attacking wounds. The harmonious interaction among these bonuses can result in exceptionally high damage for Insect Glaives.
1. Zoh Shia / Gore Magala Mix
Endgame Frenzy / Recovery Build
Armor Pieces:
- Numinous Crown (beta)
- Numinous Shroud (beta)
- G. Arkveld Vambraces (beta)
- Gore Coil (beta)
- Gore Greaves (beta)
Set Bonus Skills:
- Black Eclipse I
- Super Recovery I
- Ward of Wyveria
As a devoted player, I’ve found myself rethinking my endgame strategy lately, all thanks to the introduction of the top-tier Zoh Shia armor. The Super Recovery set bonus it offers is simply exceptional – one of the finest healing abilities in the game. To add icing to the cake, sporting two pieces of the Zoh Shia set grants players an extra three ranks in Agitator. Pairing this with the G. Arkveld gloves not only bestows two ranks in Weakness Exploit but also triggers the Group Skill Ward of Wyveria. This marvelous skill reduces both elemental and unique (guardian) damage taken, making gameplay even more enjoyable!
As a gamer, I can’t help but notice this gear set is a lifesaver in endgame battles. It provides fantastic survivability boosts without compromising on damage output. With a bit of clever decoration work, you can easily pump up Agitator, Weakness Exploit, and Critical Boost, making for some serious firepower. To top it off, the Frenzy/Antivirus combo from Gore Magala pieces ensures I’m landing critical hits like a pro, dealing some massive damage whenever I do!
Read More
- Best Race Tier List In Elder Scrolls Oblivion
- Gold Rate Forecast
- Elder Scrolls Oblivion: Best Pilgrim Build
- Becky G Shares Game-Changing Tips for Tyla’s Coachella Debut!
- Yvette Nicole Brown Confirms She’s Returning For the Community Movie
- Jelly Roll’s 120-Lb. Weight Loss Leads to Unexpected Body Changes
- Carmen Baldwin: My Parents? Just Folks in Z and Y
- Meet Tayme Thapthimthong: The Rising Star of The White Lotus!
- Schedule 1 – Best Automatic Bungalow Setup
- `Tokyo Revengers Season 4 Release Date Speculation`
2025-04-23 18:18