
Exploring Elden Ring Nightreign can be quite immersive and challenging due to its open-ended design. In contrast to the original game, waypoints are scarce, so your intuition guides where you venture next based on what catches your eye. However, with darkness approaching faster in this edition, it’s essential to adopt a more strategic approach when deciding on your destination.
Nightreign offers a solution by incorporating distinct landmarks and a general idea of the contents in each zone ahead of time, enhancing exploration. However, understanding each area’s unique characteristics is valuable as well, allowing you to uncover all its hidden mysteries. To conquer the Nightlord during your journey, every edge will be beneficial.
What Are Landmarks?
In Elden Ring Nightreign, landmarks play a significant role during your gameplay. Instead of aimlessly wandering and engaging in battles with any enemies you encounter, it’s crucial to strategize your day. The time in Nightreign is restricted, so it’s essential to make the best use of it if you wish to endure. To do this effectively, it’s important to familiarize yourself with landmarks and their functions.
On the map, you’ll discover numerous regions marked out. Usually, these regions are accompanied by a smaller box next to them, which signifies the main component or item you can expect within that region. This could include items and upgrades that you can get from defeating the boss of this landmark, making it a priority for you to focus on first.
Whenever I’m venturing out with my gaming crew, always make sure to mark significant spots on our map using the right stick. That way, everyone knows where we’re heading!
Initially, some notable locations might exceed your capabilities, particularly on the first night. It’s advisable to tackle less challenging ones initially, such as Great Churches and Encampments. After overcoming a landmark’s boss, an orb will drop, with its color indicating the highest rarity of weapons and upgrades it contains. Additionally, a Site of Grace will materialize, offering you the opportunity to increase your level, replenish HP, FP, and Flasks.
Apart from Townships, Churches, and Sorcerer’s Sanctums, every Landmark will house a dominant figure, and following the defeat of this boss, a Site of Respite (or Healing) will manifest within it, with the exception of tunnels. Be sure to utilize these opportunities for recovery and leveling before venturing forth again. A mere increase in a single level can significantly impact your journey.
Each Landmark And What They Do
In Nightreign, there are 11 main landmarks that you’ll encounter during every exploration. These landmarks are always present, but their exact number and placement may change. For instance, castles are always located in the center of the map, and only one castle exists per map. On the other hand, churches can appear in varying numbers and sometimes can be found either close together or at opposite ends of the map.
Instead of just remembering the structure of a specific landmark, make sure to consult the map every time to determine its current location. In this game, here’s an overview of each landmark and what you might discover there.
| Area | Descriptions | Unique Effect |
|---|---|---|
| Fort | Filled with soldiers and interiors. | Typically have staves, and a room containing a map that reveals nearby Talismans and hidden treasure. |
| Great Church | Large crumbled buildings that often have underground passages. | Often have upper areas with rare items, and Sacred Seals. |
| Main Encampment | A layered camp filled most often with humanoid soldiers. | Have tall towers with bows and the like. |
| Ruins | Destroyed ruins that can be filled with many different types of enemies. | Have many small underground passages with plenty of chests and treasure. |
| Tunnels | Underground mines that typically have multiple underground entrance. | Contain many Smithing Stone [1]’s, and a boss enemy that will drop a Smithing Stone [2]. |
| Castle | A large complex layered with difficult enemies that can be approached from multiple angles. | Can contain multiple bosses, and have a high chance of dropping Talismans and Stonesword Keys from chests. |
| Field Boss | These are bosses that appear in the world regardless of being at a specific landmark. | They are typically much stronger than the average boss, so only challenge them on Day Two. |
| Evergaol | Areas that hold a random boss inside that is not revealed until opened. Requires a Stonesword Key to open. | Have more guaranteed drops, such as a large number of Runes of the ability to gain more Runes from enemies. |
| Township | Rare areas that contain no enemies, only merchants that you can buy from. | The merchants here will have unique items that other merchants in Limveld will not have. |
| Church | Churches around the map that are typically accompanied by a Site of Grace and no enemies. | The altar inside a Church will give you an additional Sacred Flask during this match. |
| Sorcerer’s Rise | A tower locked by magic that must first be unlocked before entering. | Will always contain some form of magical item, making them ideal for characters like Recluse and Revenant. |
Additionally, you might want to remember some lesser-known landmarks as well. Unlike the others, they do not pose any threat from enemies, but instead serve as significant symbols worth noting. Among them are:
- Scarabs – Revealed by maps in Forts, they are guaranteed to drop a Talisman.
- Buried Treasure – These will often give rare-quality items, and are revealed by maps in Forts.
- Mission Objective – This shows you the personal objective during a Nightfarer’s Remembrance, and where to complete the unique objective of Shifting Earth events.
Utilizing the map is even more beneficial as you can discover additional features by pressing the Triangle/Y key on your controller. These highlighted items will indicate landmarks where merchants, smithing tables, weapon racks with bows or staves might be located. Keep this in mind when strategizing your trip.
Which Landmarks Should You Prioritise?

In Nightreign, each journey is slightly different each time, as there’s no set path to follow. Since your time is limited, it’s essential not to squander it by traversing large parts of the map unnecessarily. Instead, you should strategize which Landmarks you focus on, so you can maximize your daylight hours before darkness sets in.
Upon reaching Limveld, promptly consult your map and navigate towards the nearby notable location that houses a boss. Generally, areas surrounding this spot are less challenging for characters at low levels, making it an ideal starting point. Once you’ve conquered this landmark, begin strategizing your journey on the map. Identify the closest landmark next, and consider where you might proceed after that as well. Aim to plan out two landmarks ahead in your route.
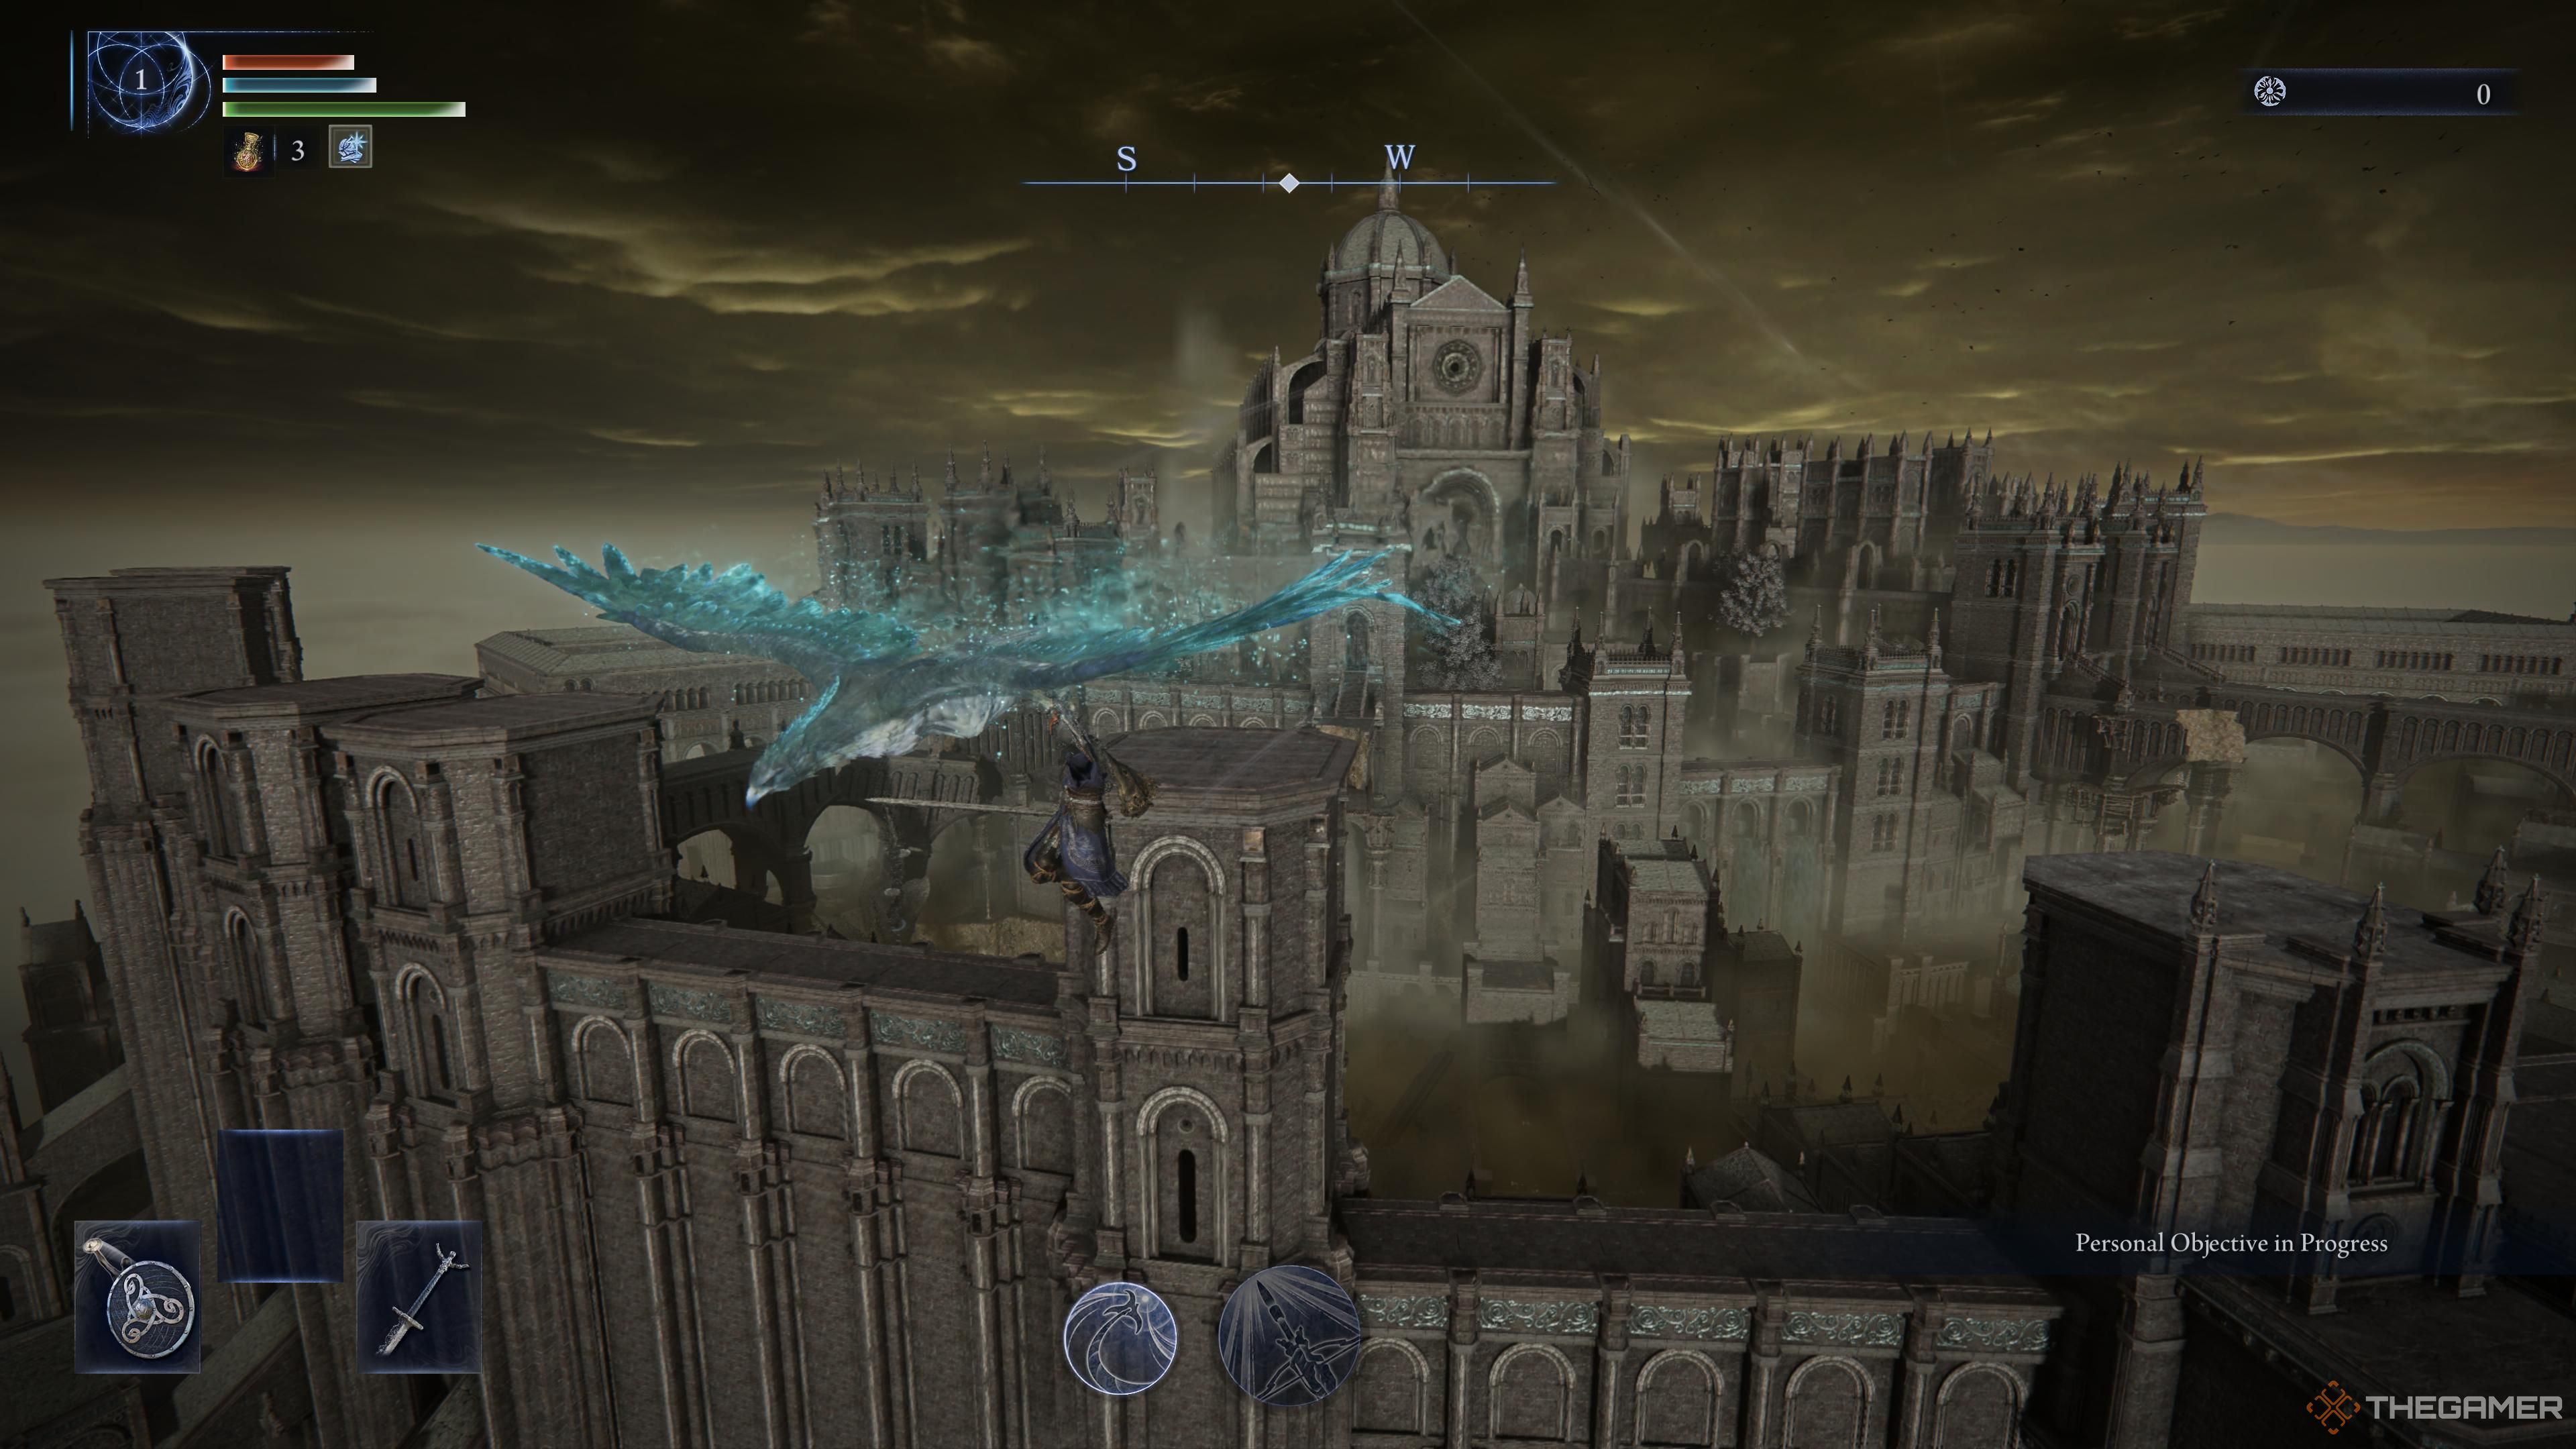
On the first day, aim to be around levels six or seven on average. This means focusing on encountering many Landmarks with bosses. Yet, remember that Sacred Flasks are equally crucial, so don’t hesitate to take a small detour if you come across a Church along your way. Spectral Hawks can swiftly transport you to specific locations on the map, but use them sparingly as they only move in one direction. It’s usually not wise to veer significantly off course for just one Landmark.
Keep in mind that regions don’t restart at the start of the next day. If there are areas you didn’t explore, you have the chance to reach them on the second day. Moreover, any harm you inflicted upon unbeaten bosses will still be effective.
Following your victory over the second night’s boss, you’ll receive an additional Sacred Flask free of charge, alleviating concerns about reaching every Church during your gameplay. However, remember to engage with each Landmark as you come across it for optimal efficiency in time management. Don’t hesitate to retreat if a challenge is proving too difficult or time-consuming. It’s not worth spending five minutes on one boss when you could have tackled two or three at another Landmark within the same duration.
Read More
- Gold Rate Forecast
- PI PREDICTION. PI cryptocurrency
- Rick and Morty Season 8: Release Date SHOCK!
- Discover the New Psion Subclasses in D&D’s Latest Unearthed Arcana!
- Linkin Park Albums in Order: Full Tracklists and Secrets Revealed
- Masters Toronto 2025: Everything You Need to Know
- We Loved Both of These Classic Sci-Fi Films (But They’re Pretty Much the Same Movie)
- Mission: Impossible 8 Reveals Shocking Truth But Leaves Fans with Unanswered Questions!
- SteelSeries reveals new Arctis Nova 3 Wireless headset series for Xbox, PlayStation, Nintendo Switch, and PC
- Eddie Murphy Reveals the Role That Defines His Hollywood Career
2025-06-01 14:42