Quick Links
-
How to Start the Equilibrious Beast Raid in Elden Ring Nightreign
-
Equilibrious Beast Raid Explained
-
Equilibrious Beast Raid Rewards
As an ardent enthusiast of Elden Ring Nightreign, I’ve come across some thrilling instances where, during my exploratory journeys, a formidable boss suddenly materializes, turning the adventure on its head. Victory over this formidable foe can bestow our band of adventurers with a significant Power boost.
Among the many raids in Elden Ring Nightreign, the Equilibrious Beast Raid stands out as one of the most recurring. If not tackled promptly, this raid is particularly lethal for players.
In this walkthrough, we delve into all the essential details regarding the Equilibrious Beast Raid within Elden Ring: Nightreign. We’ll cover strategies for completion, prizes earned, and potential penalties should you fail to conquer the raid.
How to Start the Equilibrious Beast Raid in Elden Ring Nightreign
Just like every other raid in Elden Ring Nightreign, there’s no guaranteed method to initiate the Equilibrious Beast Raid. It occurs spontaneously, relying heavily on the unpredictability of the classic Random Number Generation (RNG).
Instead, let me share that the Equilibrious Beast Raid seemed to pop up quite often while embarking on the Gaping Jaw and Sentient Pest adventures. In fact, I managed to trigger this raid approximately twice for every five tries in each of those quests.
To maximize your chances of triggering the Equilibrious Beast Raid and earning the trophy, it’s advisable to keep attempting these two expeditions multiple times. This method is likely the quickest route to achieving your goal.
Equilibrious Beast Raid Explained
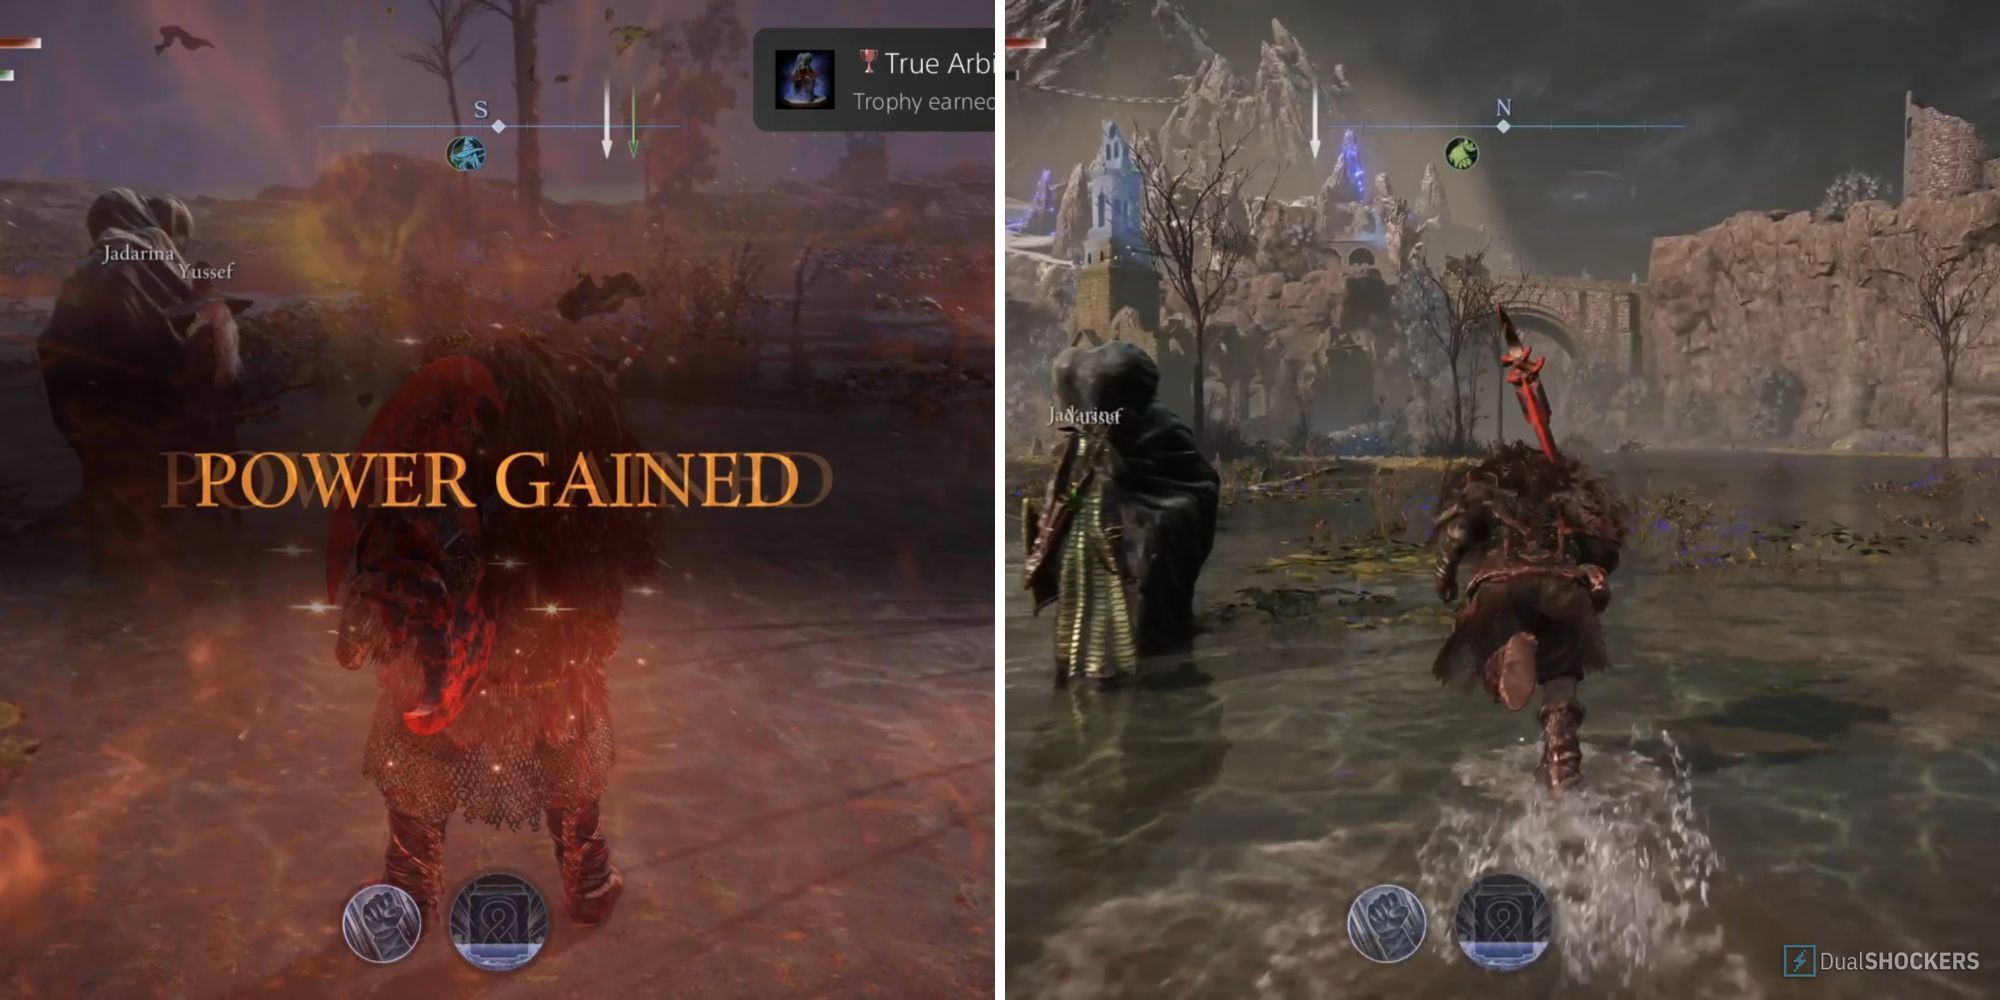
As a gamer, I’d put it this way: “When the ominous visage of the Equilibrious Beast flickers across my screen and a warning pops up in the top right corner, ‘A demon has been unleashed’, the game world seems to grow dim and foreboding.
This affliction will tint a substantial portion of your health gauge a grayish hue, indicating permanent, non-regenerative health loss. Essentially, this section of your health meter is no longer under your control until you successfully conclude the raid.
In contrast to other raids in Elden Ring, Nightreign included, this curse feels uniquely debilitating and could potentially spoil any adventure. Losing a significant portion of my health bar is like being handed a challenge tenfold when facing the final boss.
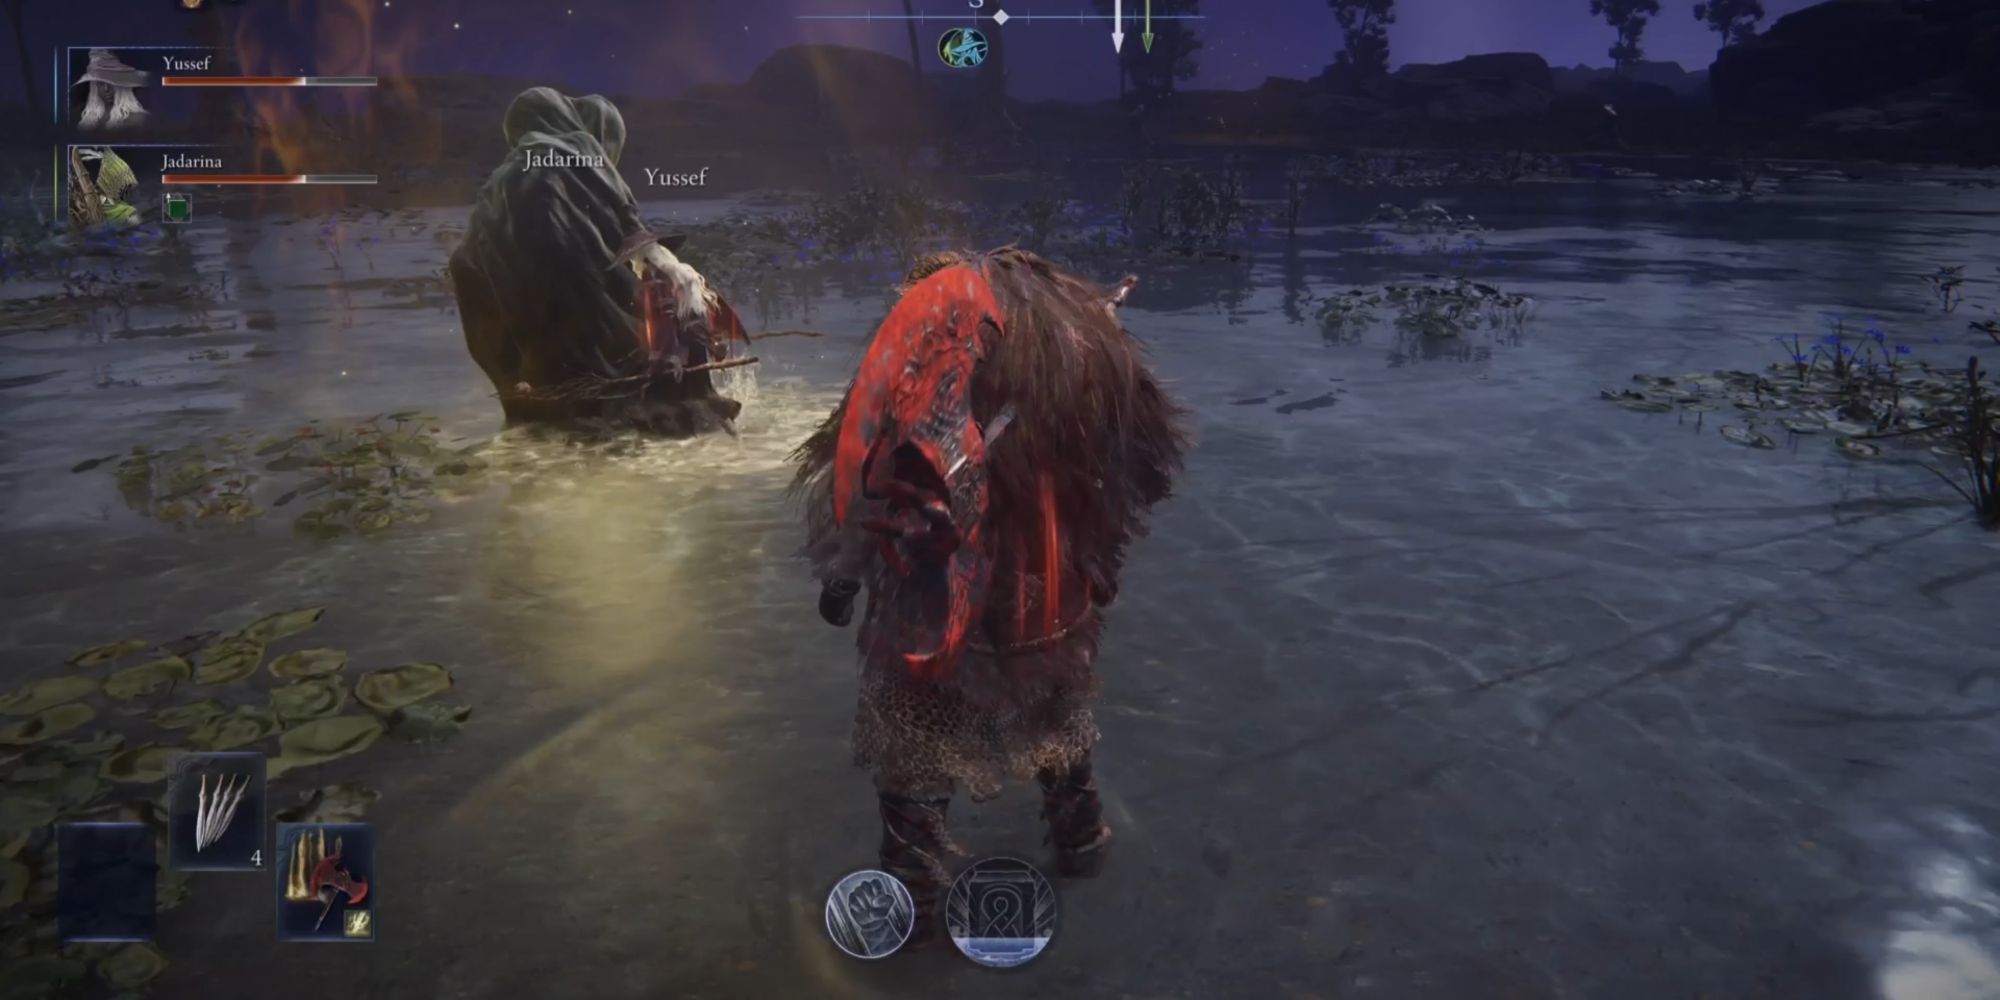
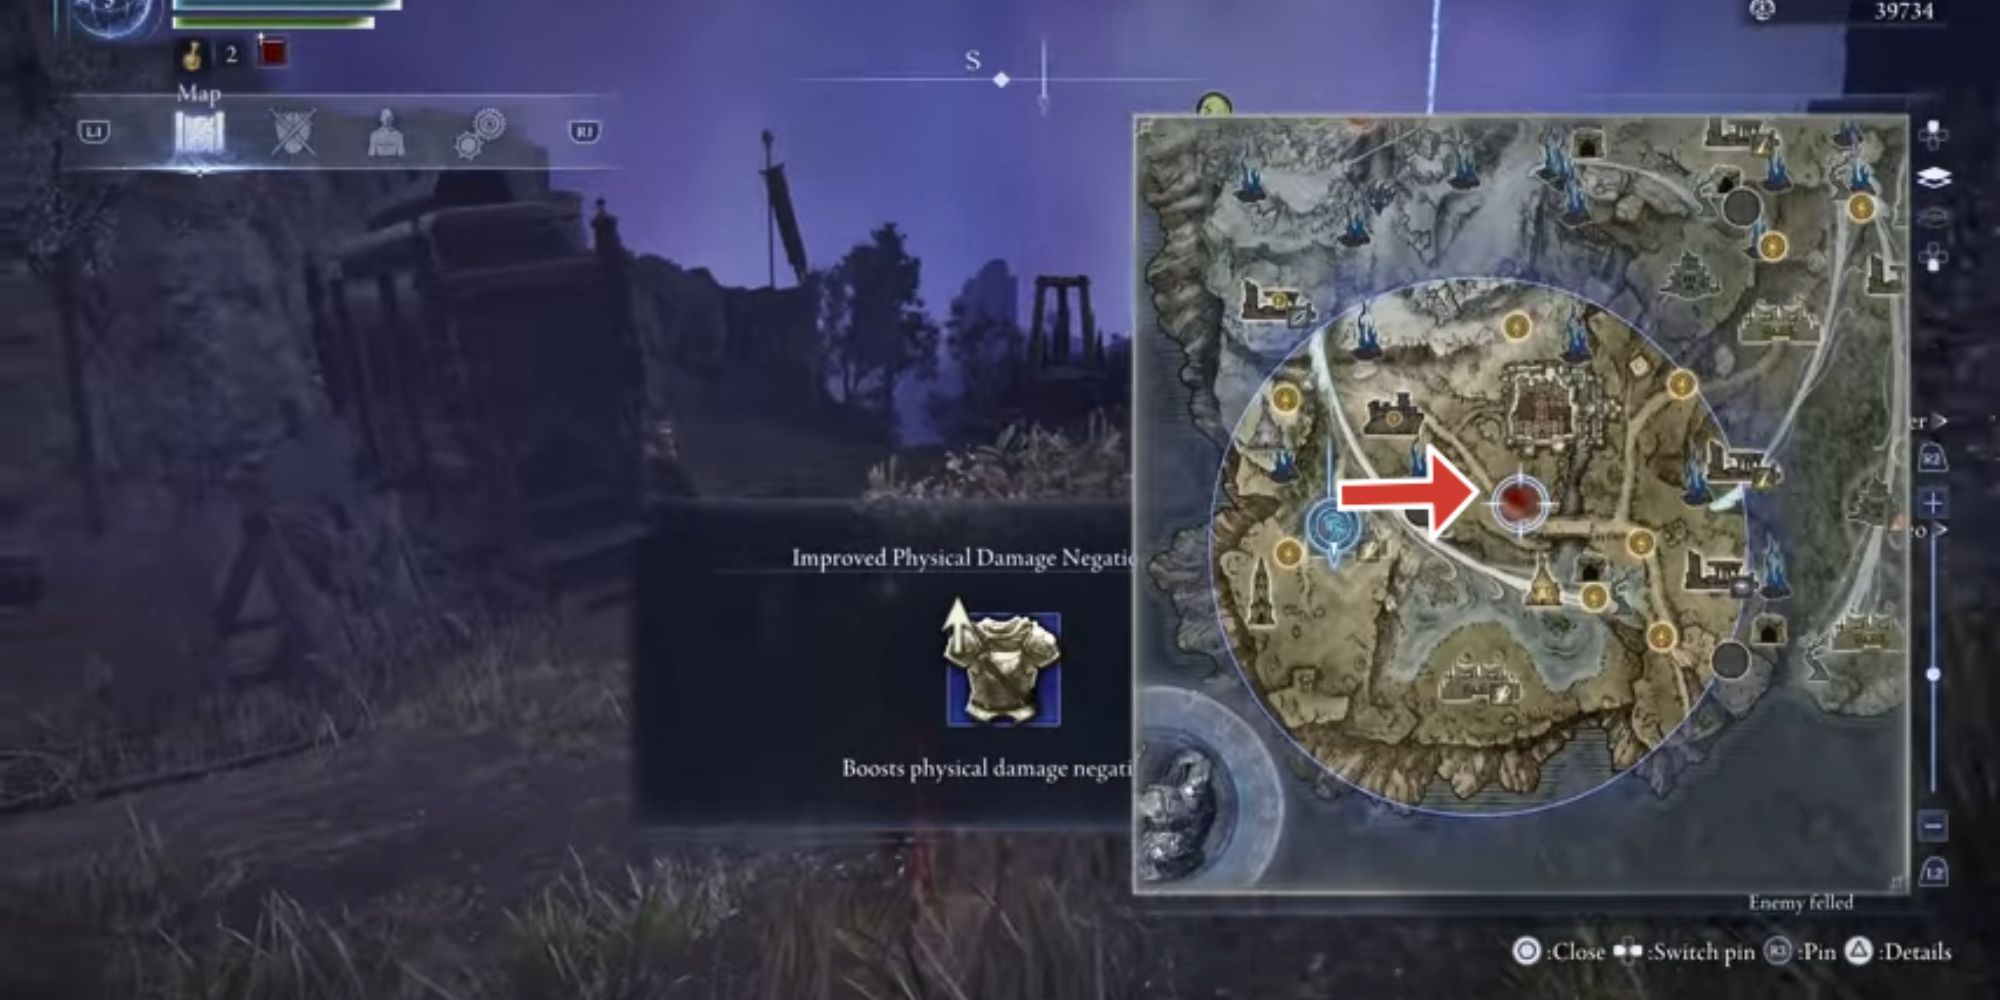
Fortunately, in the game, a red dot appears on the mini-map (visible in the image provided), indicating the position of the Equilibrious Beast. To lift the curse, simply make your way to this spot, engage with the Equilibrious Beast, and then hand over 15,000 Runes.
Hurry up and make your way to the Equilibrious Beast right away to lift the curse. If you don’t, there’s a chance that the beast might wander off in the rain, making it unreachable, and the curse would persist for the remainder of our journey.
Any team member can settle the 15,000 Runes penalty to lift the spell and heal the entire group. Above all, refrain from assaulting the Balanced Beast, as doing so will require you to overcome it in a boss battle to break the curse.
Equilibrious Beast Raid Rewards
After meeting the Merchant of Equilibrious Beast and parting with 15,000 units to lift the curse, your health bar will return to its original level, granting an additional Power to your entire squad. Moreover, players will receive the prestigious True Arbiter trophy.
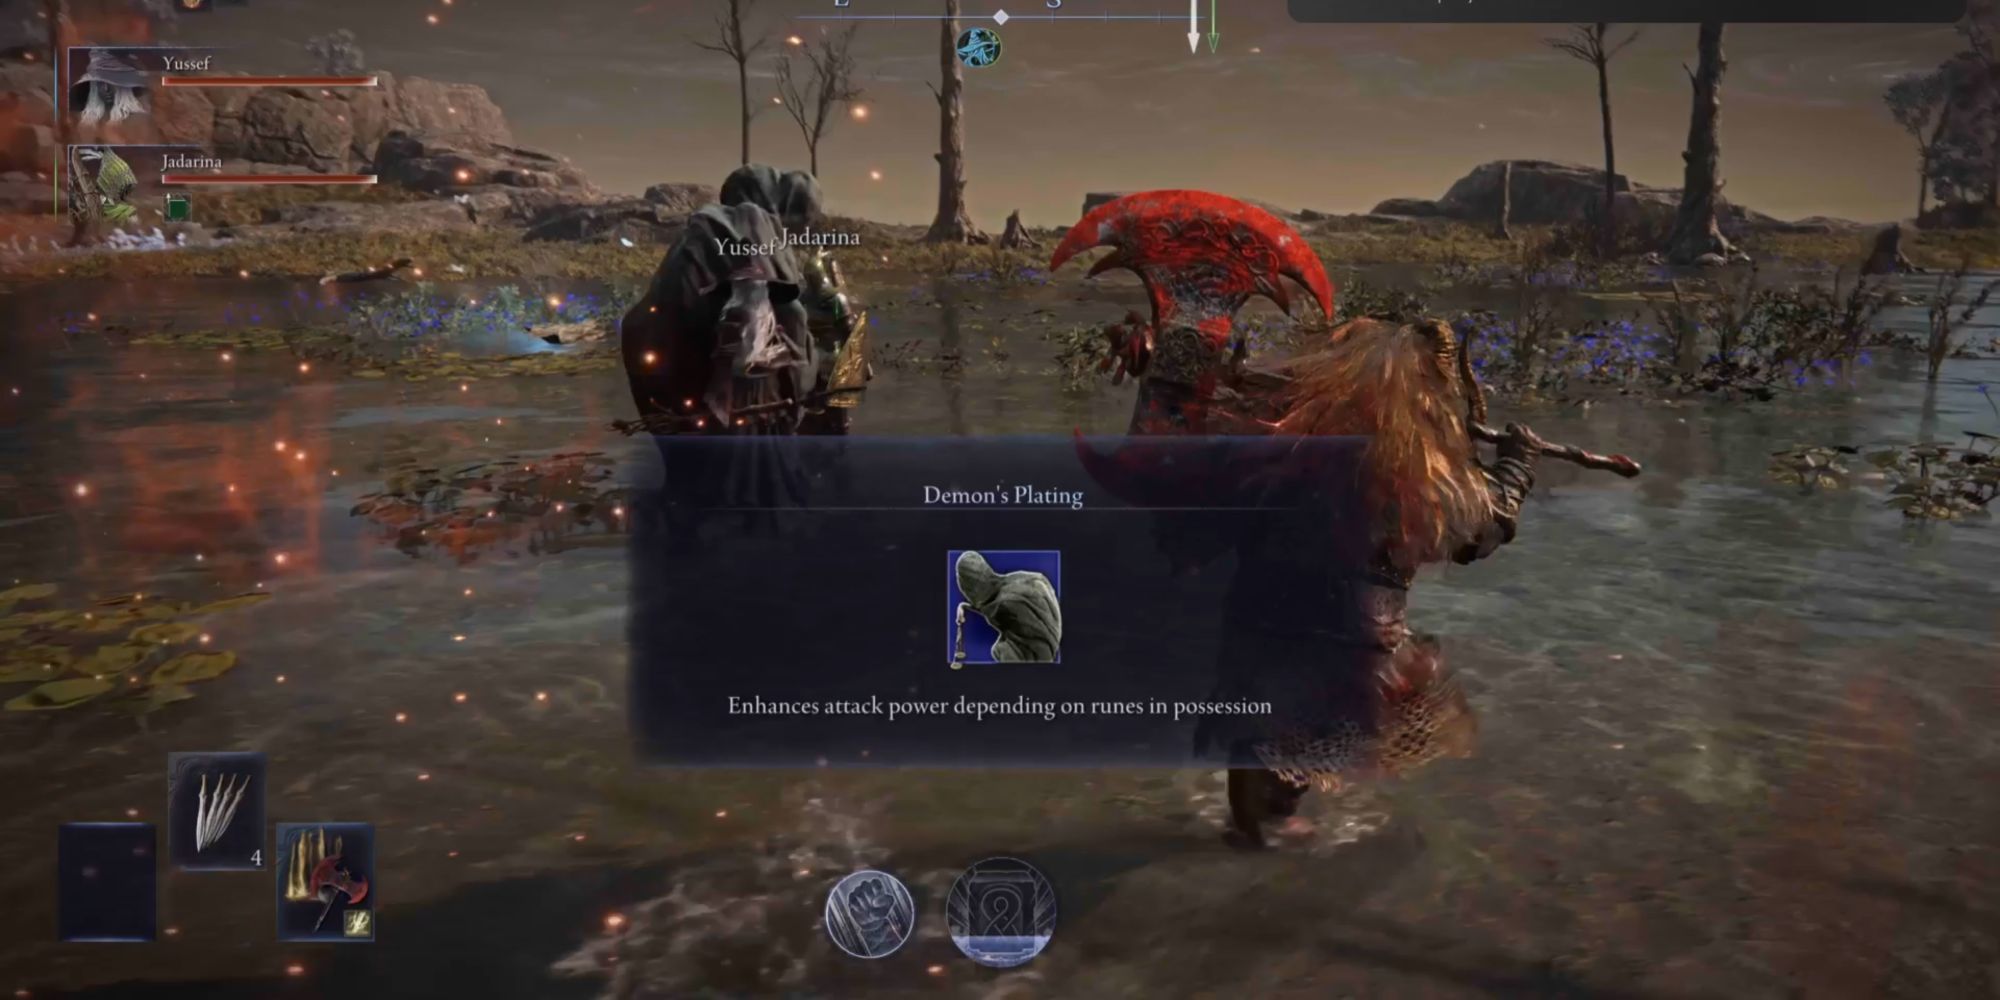
The more runes you acquire, the stronger your attacking ability becomes. For instance, if you have many runes, your attack power significantly increases.
After acquiring this Power, it would be wiser to hoard Runes rather than continually upgrading, in order to unleash immense damage on the game’s bosses.
Read More
- PI PREDICTION. PI cryptocurrency
- Gold Rate Forecast
- WCT PREDICTION. WCT cryptocurrency
- Guide: 18 PS5, PS4 Games You Should Buy in PS Store’s Extended Play Sale
- LPT PREDICTION. LPT cryptocurrency
- Elden Ring Nightreign Recluse guide and abilities explained
- Despite Bitcoin’s $64K surprise, some major concerns persist
- Solo Leveling Arise Tawata Kanae Guide
- ETH Mega Pump: Will Ether Soar or Sink Like a Stone? 🚀💸
- Shrek Fans Have Mixed Feelings About New Shrek 5 Character Designs (And There’s A Good Reason)
2025-06-04 22:09