The recently unveiled “Donkey Kong Bananza” is the newest addition to the Donkey Kong series, sparking excitement among longtime fans since its debut during the unveiling of the Nintendo Switch 2. Players are enjoying navigating through its various stages. If you’re finding it difficult to conquer the “Spiked-Tide Slope” level, this guide will walk you through the necessary steps!
Spiked-Tide Slope Guide in Donkey Kong Bananza
In simpler terms, navigating the Spiked-Tide Slope may seem easy technically, but it can be quite challenging due to the necessary steps to ensure a safe route to the finish. Luckily, there’s an effective method for collecting all bananas in this level!
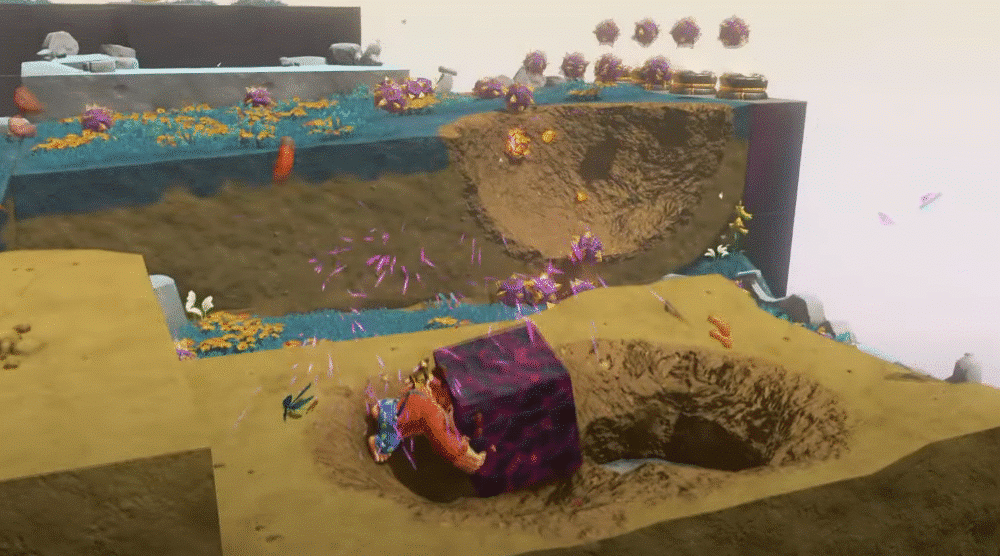
As I kick off the level, I can grab the initial banana gem in one of two ways: either by nimbly dodging those pesky spiked balls or, more adventurously, by giving the ground a good whack at the highlighted spots. This clever trick causes the floor to rise, creating a safe haven for me to pause and strategize my next move.
The true annoyance arises in the second part, as you find yourself navigating a route that’s repeatedly blocked by prickly orbs. To overcome this, you should aim to tug at the carrots perched on the elevated platforms. After each pull, you’ll receive a boom rock.
These large, projectile-like rocks can be placed in your path to generate shallow pits, which can either deflect or obstruct the spiked balls, enabling you to move past them more safely by veering aside or minimizing the number you need to evade or leap over.

When you get to the bridge, don’t move forward to the banana gem just yet! Instead, go under the bridge first, as there’s a hidden spot here where you can find another banana gem.
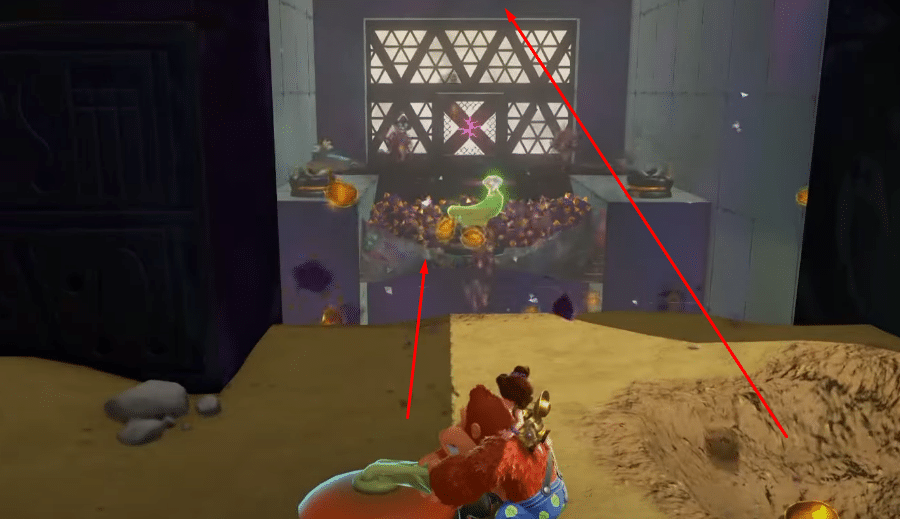
Here, you’ll find a horde of spawners and a pair of carrots to activate. Use the ‘explosive stones’ hidden within those carrots to blast open the fragile structures lying across the chasm.
Below lies a mechanism that creates space for the spiked balls to drop into an abyss. Above, a fragile cover will lift, providing an opening in the roof which you can utilize as a means to traverse to the opposite side.
Switch to the other edge to snatch the second banana gem situated there. After that, locate and destroy the wooden obstruction at the rear, which has faintly glowing purple fissures. This action will open a pathway to a barrel, enabling you to fire yourself back up to the location where the initial banana gem was previously positioned.
To move forward in this stage of the game, simply make your way to the third ‘banana gem’ and shatter it. That should cover everything for this part of the game. Good luck with the rest!
You just need to reach the 3rd banana gem, break it, and that’s it for this level. Here’s wishing you luck!
If you’re looking for help with other aspects of the game, why not check out our tutorial on “utilizing gray cubes in Donkey Kong Bananza”? This guide will provide you with valuable insights about additional game mechanics that you should remember as you progress through the game.
Read More
- What Song Is In The New Supergirl Trailer (& What It Means For The DC Movie)
- Why is Tech Jacket gender-swapped in Invincible season 4 and who voices her?
- Dune 3 Gets the Huge Update Fans Have Been Waiting For
- Highly Anticipated Strategy RPG Finally Sets Release Date (And It’s Soon)
- TV legend Carol Kirkwood reveals the reasons why she decided to retire after 28 years with BBC
- After 13 Years, Someone Earned One of the Hardest Achievement Trophies in Gaming
- Jaleco Sports: Bases Loaded II announced for PS5, Switch; now available
- Digimon Is Getting a New RPG in 2026 (And You Probably Missed It)
- Kanye West’s Wife Bianca Censori Details New Marriage Milestone
- Butcher’s Transformation Into A “Ruthless Killer” In The Boys Season 5 Explained By Karl Urban
2025-07-19 08:06