As a seasoned gamer, I’ve been eagerly waiting for the full release of “Abiotic Factor” after it spent quite some time in early access. Now that it has finally emerged as version 1.0, I can’t wait to see an influx of new players jumping into the game! In this guide, I’ll share a few survival tips for your first night in the world of “Abiotic Factor.”
First things first: scavenge for resources. Your immediate priority should be finding food and shelter. Look for anything edible, such as berries or small animals, to keep hunger at bay. For shelter, try to find a sturdy tree or rock formation that will provide some protection from the elements and potential threats.
Next, focus on gathering materials to craft tools and weapons. Gather stones, wood, and other resources you come across to help you defend yourself and improve your chances of survival. Keep in mind that making a fire is essential for cooking food, keeping warm, and warding off predators.
Throughout the night, stay vigilant and listen carefully for any suspicious noises. The world of “Abiotic Factor” is filled with danger, so it’s crucial to keep your wits about you. If you hear something strange, move cautiously and be prepared to defend yourself if necessary.
Lastly, make use of the map provided in-game. It can help guide you to safe zones, valuable resources, and other important locations. Remember that exploration is key to survival, but always prioritize safety over curiosity.
With these tips in mind, I wish you luck on your journey through “Abiotic Factor.” Happy gaming!
Abiotic Factor – How to Survive the First Night
Before embarking on your initial run, remember that most elements displayed during character creation are entirely based on your personal preferences. No option is inherently correct or incorrect, so feel free to select the profession or attributes that catch your eye the most.
To begin your game, some players suggest using the fanny pack trait for extra slots, but be aware that it comes at a high cost of 10 points. If you prefer a more cautious approach, aim for minimizing negative traits, and consider playing with one or more companions!
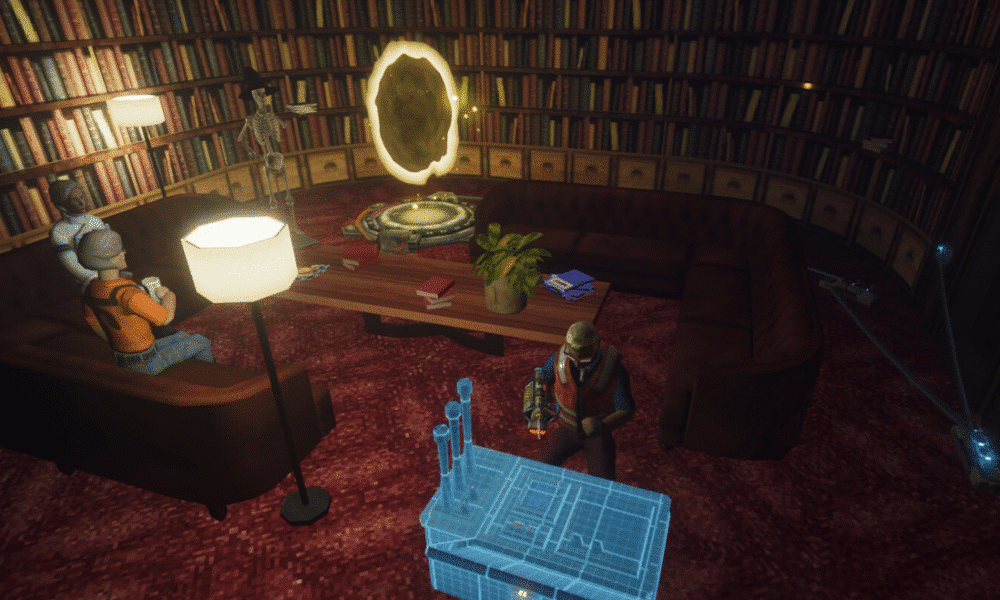
Prior to departing from the initial zone, feel free to casually investigate your environment and acquaint yourself with certain controls and fundamental gameplay aspects. Spend a moment here and avoid rushing out too quickly.
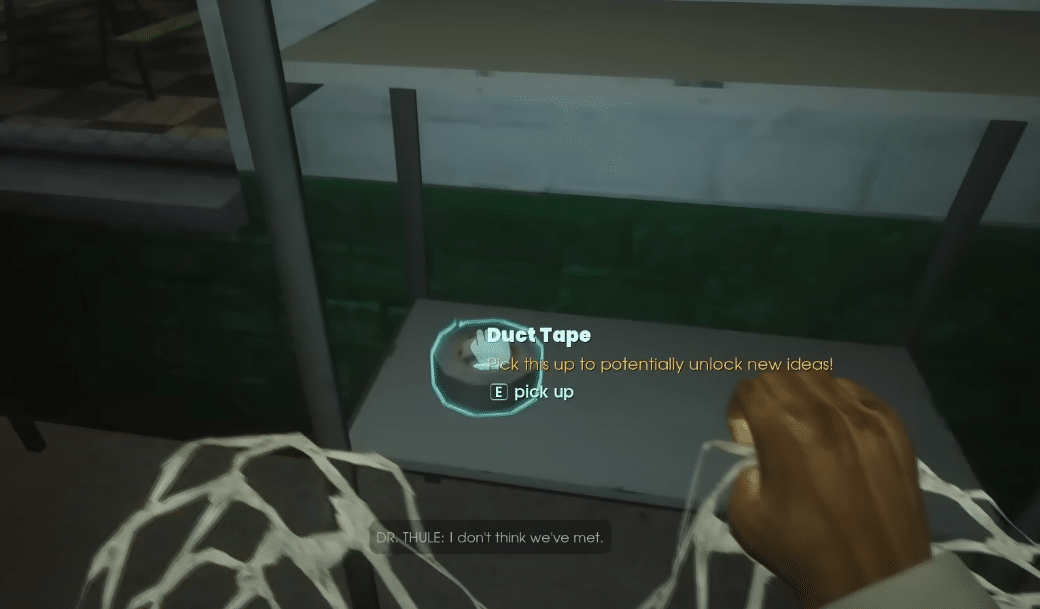
Gather all items that aren’t securely fastened to the ground, and discard some if your inventory gets too full. You can always retrieve these items at a later time if necessary. Make sure to find at least four rolls of duct tape and two metal pipes, as you’ll need them to build a crafting station later on.
Keep in mind that having a workstation for creating items will deter enemies from appearing around it, turning it into a “secure” area and an essential part of your base. However, be aware that this doesn’t make it completely immune to random occurrences, so you won’t be entirely safe from danger.
In order to provide sustenance, consider preparing the meat of deceased animals instead. You can begin by utilizing a knife to slice up these carcasses for their edible portions. Subsequently, you may cook these on a stove using a suitable pan, and if necessary, improvise a cooking pot or frying pan by fashioning one out of available materials should standard ones not be accessible.
Once you’ve completed your preparations, feel free to depart from the starting zone and embark on the main part of the game, which in turn will activate the countdown leading towards evening.
You’ve got approximately until 9 PM in-game to set up during daylight hours, so pick a comfortable location for your camp and begin placing your essentials such as storage containers and the crafting station.
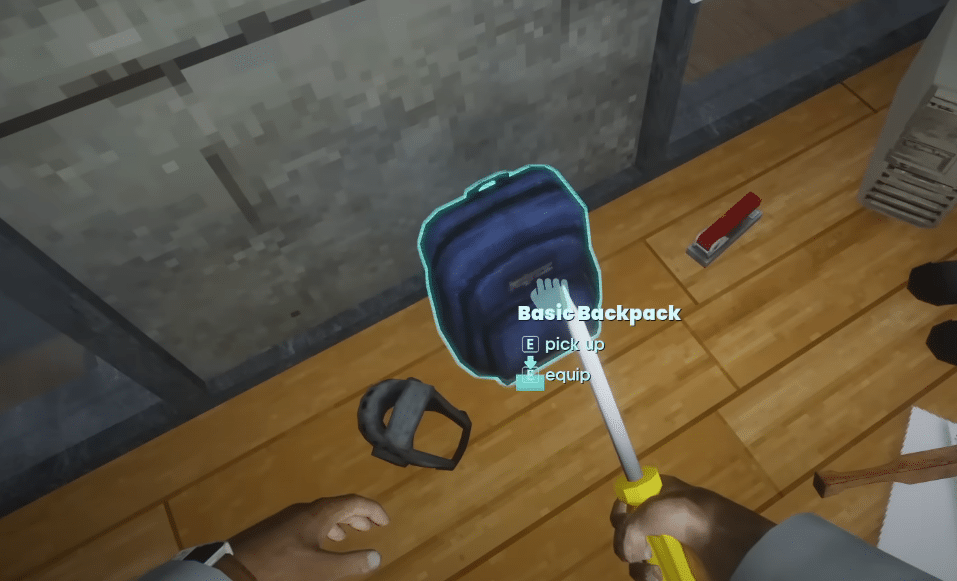
In the general work area lies a ladder that descends into a dimly lit room. Here, you’ll discover a ‘security pack’, which boasts ample storage capacity for your items. Should you prefer to avoid the dark room, there’s a simpler version available at the gym section, tucked away in an office where a Non-Player Character (NPC) can be found.
Scour the area for any stationary lamps you come across, as they serve as a continuous light source. Remember to enhance your workbench too, ideally with an upgrade like the Dioxohealer, so it provides healing effects when you’re in close proximity.
As a gamer, I’m thrilled about the addition of the item transporter. This game-changer for the crafting bench means my station can now effortlessly reach nearby storage containers whenever I need materials for crafting. No more lugging around unnecessary items every time I want to make something! What a relief!
It’s expected that these improvements may require more than one night to complete. Nevertheless, consider them as objectives to strive for, as they will significantly extend your survival duration.
Ultimately, make your way towards establishing a fixing and recovery outpost. To achieve this, you’ll require an anvil, and it would be beneficial to scout at night. Make your way back to the initial zone, break through the vents since with the power off, you can now move beneath the ventilation fans there.
In one of the rooms you can enter via these ducts, you’ll find a useful item called an anvil. Be mindful of creatures moving about during the night. Feel free to delve into exploration whenever you’re ready, learning the game mechanics as you go at your own speed! Don’t stress if you meet your end, as death in this setup won’t be final.
Read More
- What Song Is In The New Supergirl Trailer (& What It Means For The DC Movie)
- One of Hulu’s Best New Shows Lands on Disney+ Ahead of Season 2
- Gold Rate Forecast
- Eurogamer Gives ARC Raiders 2/5 Over AI Voices, Dropping Metacritic Score from 94 to 84
- Demon Slayer Star Reacts to Infinity Castle Movie Return for Surprising Role
- One of the Best PS3 Games Released Today 17 Years Ago, but Sony Pulled the Plug
- Beyond Space and Time: Reconciling Relativity with Quantum Interference
- How Whitney Leavitt Made Ticket Sale History in Broadway Debut
- Steve Rogers’ Return Means the MCU Can Finally Solve Avengers: Endgame’s Last Mystery
- Miss Super Sentai After Cancellation? Watch These 5 Anime to Fill the Void
2025-07-24 05:36