
In the game The Elder Scrolls Online, the Templar class stands out as a versatile powerhouse with impressive capabilities. It excels at both single-target damage and area-of-effect (AoE) attacks. Additionally, it offers robust healing abilities, valuable group utility, and high DPS (Damage Per Second), making it highly suitable for solo play and competitive in endgame scenarios.
Today, we’ll delve into top PvE builds for the Templar, suitable for both seasoned veterans and newcomers alike. We’ve got you covered on equipment, champion points, abilities, and bonuses, all designed to let you breeze through dungeons, trials, and everything in between with ease.
Magplar Meta (DPS)

Among top choices for collaborative PvE, this Magicka Templar stands out due to its potent area-of-effect and single-target damage, which makes it ideal for dungeons and trials. It maintains competitiveness with other leading DPS builds from various classes. Abilities such as Puncturing Sweeps, Blazing Spear, and Radiant Oppression deliver substantial damage while ensuring your health is maintained. The class has remained robust in the current meta, thanks to recent enhancements. To maximize its potential, invest all attribute points into Magicka. If you aim for high group content damage, the Magplar is a reliable option. It’s user-friendly with a fundamental rotation, but offers ample room for improvement if you’re after impressive results.
To obtain the Harpooner’s Wading Kilt, a formidable Mythic artifact, you’ll first need to acquire the Blackwood DLC and gain access to the Antiquities system. As a prerequisite, ensure your Scrying skill level is at least 7 and that you possess Antiquarian Insight level IV. Additionally, gather five master-level leads scattered across Blackwood, Shadowfen, Murkmire, and Bal Foyen. Brace yourself for some persistent effort, but the critical bonus it provides makes it all worthwhile.
Gear
| Gear | Set | Weight | Trait | Enchantment | Where/How to Get |
| Chest | Perfected Whorl of Depths | Light | Divine | Magicka | Dreadsail Reef (Veteran Trial) |
| Belt | Perfected Whorl of Depths | Light | Divine | Magicka | Dreadsail Reef (Veteran Trial) |
| Shoes | Perfected Whorl of Depths | Light | Divine | Magicka | Dreadsail Reef (Veteran Trial) |
| Pants | Harpooner’s Wading Kilt | Medium | Divine | Magicka | Antiquities System |
| Hands | Perfected Whorl of Depths | Light | Divine | Magicka | Dreadsail Reef (Veteran Trial) |
| Head | Kjalnar’s Nightmare | Light | Divine | Magicka | Unhallowed Grave (Veteran Dungeon) |
| Shoulder | Kjalnar’s Nightmare | Light | Divine | Magicka | Unhallowed Grave (Veteran Dungeon) |
| Necklace | Pillar of Nirn | Jewelry | Bloodthirsty | Spell Damage | Falkreath Hold (Dungeon) |
| Ring | Pillar of Nirn | Jewelry | Bloodthirsty | Spell Damage | Falkreath Hold (Dungeon) |
| Ring | Pillar of Nirn | Jewelry | Bloodthirsty | Spell Damage | Falkreath Hold (Dungeon) |
| Weapon 1 | Perfected Whorl of Depths | Fire Staff | Precise | Fire Enchant | Dreadsail Reef (Veteran Trial) |
| Weapon 2 | Pillar of Nirn | Fire Staff | Infused | Weapon Damage Enchant | Falkreath Hold (Dungeon |
Beginner Set
| Gear | Set | Weight | Trait | Enchantment | Where/How to Get |
| Head | Claw of the Forest Wraith | Light | Divines | Magicka | Crafted at the Oaken Forge |
| Shoulder | Claw of the Forest Wraith | Light | Divines | Magicka | Crafted at the Oaken Forge |
| Chest | Order’s Wrath | Heavy | Reinforced | Magicka | Crafted at the Steadfast Hammer and Saw |
| Belt | Order’s Wrath | Light | Divines | Magicka | Crafted at the Steadfast Hammer and Saw |
| Shoes | Order’s Wrath | Light | Divines | Magicka | Crafted at the Steadfast Hammer and Saw |
| Hands | Order’s Wrath | Medium | Divines | Magicka | Crafted at the Steadfast Hammer and Saw |
| Pants | Order’s Wrath | Light | Divines | Magicka | Crafted at the Steadfast Hammer and Saw |
| Necklace | Claw of the Forest Wraith | Jewelry | Bloodthirsty | Increase Magical Harm | Crafted at the Oaken Forge |
| Ring 1 | Claw of the Forest Wraith | Jewelry | Bloodthirsty | Increase Magical Harm | Crafted at the Oaken Forge |
| Ring 2 | Claw of the Forest Wraith | Jewelry | Bloodthirsty | Increase Magical Harm | Crafted at the Oaken Forge |
| Weapon Set 1 | Assassin’s Guile | Fire Staff | Nirnhoned | Shock | Crafted in Vvardenfell |
| Weapon Set 2 | Assassin’s Guile | Fire Staff | Charged | Flame | Crafted in Vvardenfell |
Abilities
You’ll primarily use Puncturing Sweep for both damage and healing. Blazing Spear, Solar Barrage, and Mystic Orb will provide powerful Area of Effect (AoE) abilities. Skills such as Purifying Light, Barbed Trap, and Unstable Wall help to position enemies for big hits, while Inner Light enhances your critical potential and Harness Magicka maintains a strong defense.
Radiant Oppression carries out tasks, and Channeled Acceleration maintains Major Force. When it’s time to act decisively, Shooting Star strikes forcefully and produces Maximum energy. Ensure you activate all class passive abilities, as well as the Medicinal Use passive in Alchemy. Don’t overlook key guild passives—particularly Undaunted and Fighters Guild. Select armor and weapon passives based on what you are wearing and using.
| Bar 1 | Bar 2 | Optional Skills |
| Blazing Spear | Unstable Wall of Elements | Barbed Trap |
| Purifying Light | Mystic Orb | Elemental Explosion |
| Puncturing Sweep | Solar Barrage | Force Pulse |
| Inner Light | Harness Magicka | |
| Radiant Oppression | Channeled Acceleration | |
| Shooting Star | Shooting Star |
You can buy many custom-made weapon and armor collections from guild merchants, even if you lack the required crafting ability yourself or know someone who can create one for you.
Buffs
| Buff | Buff Name | Benefit |
| Mundus Stone | Thief | Increases the Critical Strike rating by 1333 |
| Food/Drink | Ghastly Eye bowl | Increase Max Health by 5395 and Max Magicka by 4936 for 1 hour. |
Champion Point Distribution
| Warfare | CP | Fitness | CP | Craft | CP |
| Precision | 20 | Boundless Vitality (slot) | 50 | Steed’s Blessing (slot) | 50 |
| Fighting Finesse (slot) | 50 | Rejuvenation (slot) | 50 | Breakfall | 50 |
| Piercing | 20 | Tumbling | 15 | Wanderer | 60 |
| Deadly Aim (slot) | 50 | Mystic Tenacity | 40 | Steadfast Enchantment | 40 |
| Master at Arms (slot) | 50 | Hero’s Vigor | 20 | Rationer (slot) | 30 |
| Wrathful Strikes (slot) | 50 | Siphoning Spells (slot) | 50 | Liquid Efficiency (slot) | 75 |
| Eldritch Insight | 20 | Fortified (slot) | 50 | Fortune’s Favor | 50 |
| Quick Recovery | 10 | Tumbling | 15 | Gilded Fingers | 50 |
| Preparation | 20 | Defiance | 20 | Out of Sight | 30 |
| Flawless Ritual | 20 | Fortification | 30 | Fleet Phantom | 40 |
| War Mage | 30 | Tireless Guardian | 20 | Soul Reservoir | 33 |
| Flawless Ritual | 20 | Fortification | 30 | Treasure Hunter (slot) | 50 |
| Elemental Aegis | 20 | Hasty | 8 | Inspiration Boost | 45 |
| Hardy | 20 | Sprinter | 20 | Meticulous Disassembly | 50 |
| Quick Recovery | 10 | Savage Defense | 30 | Master Gatherer | 75 |
| Blessed | 20 | Nimble Protector | 6 | ||
| Tireless Discipline | 20 | Piercing Gaze | 10 | ||
| Battle Mastery | 20 | Tempered Soul | 50 | ||
| Mighty | 30 |
Stabby Stamplar (DPS)
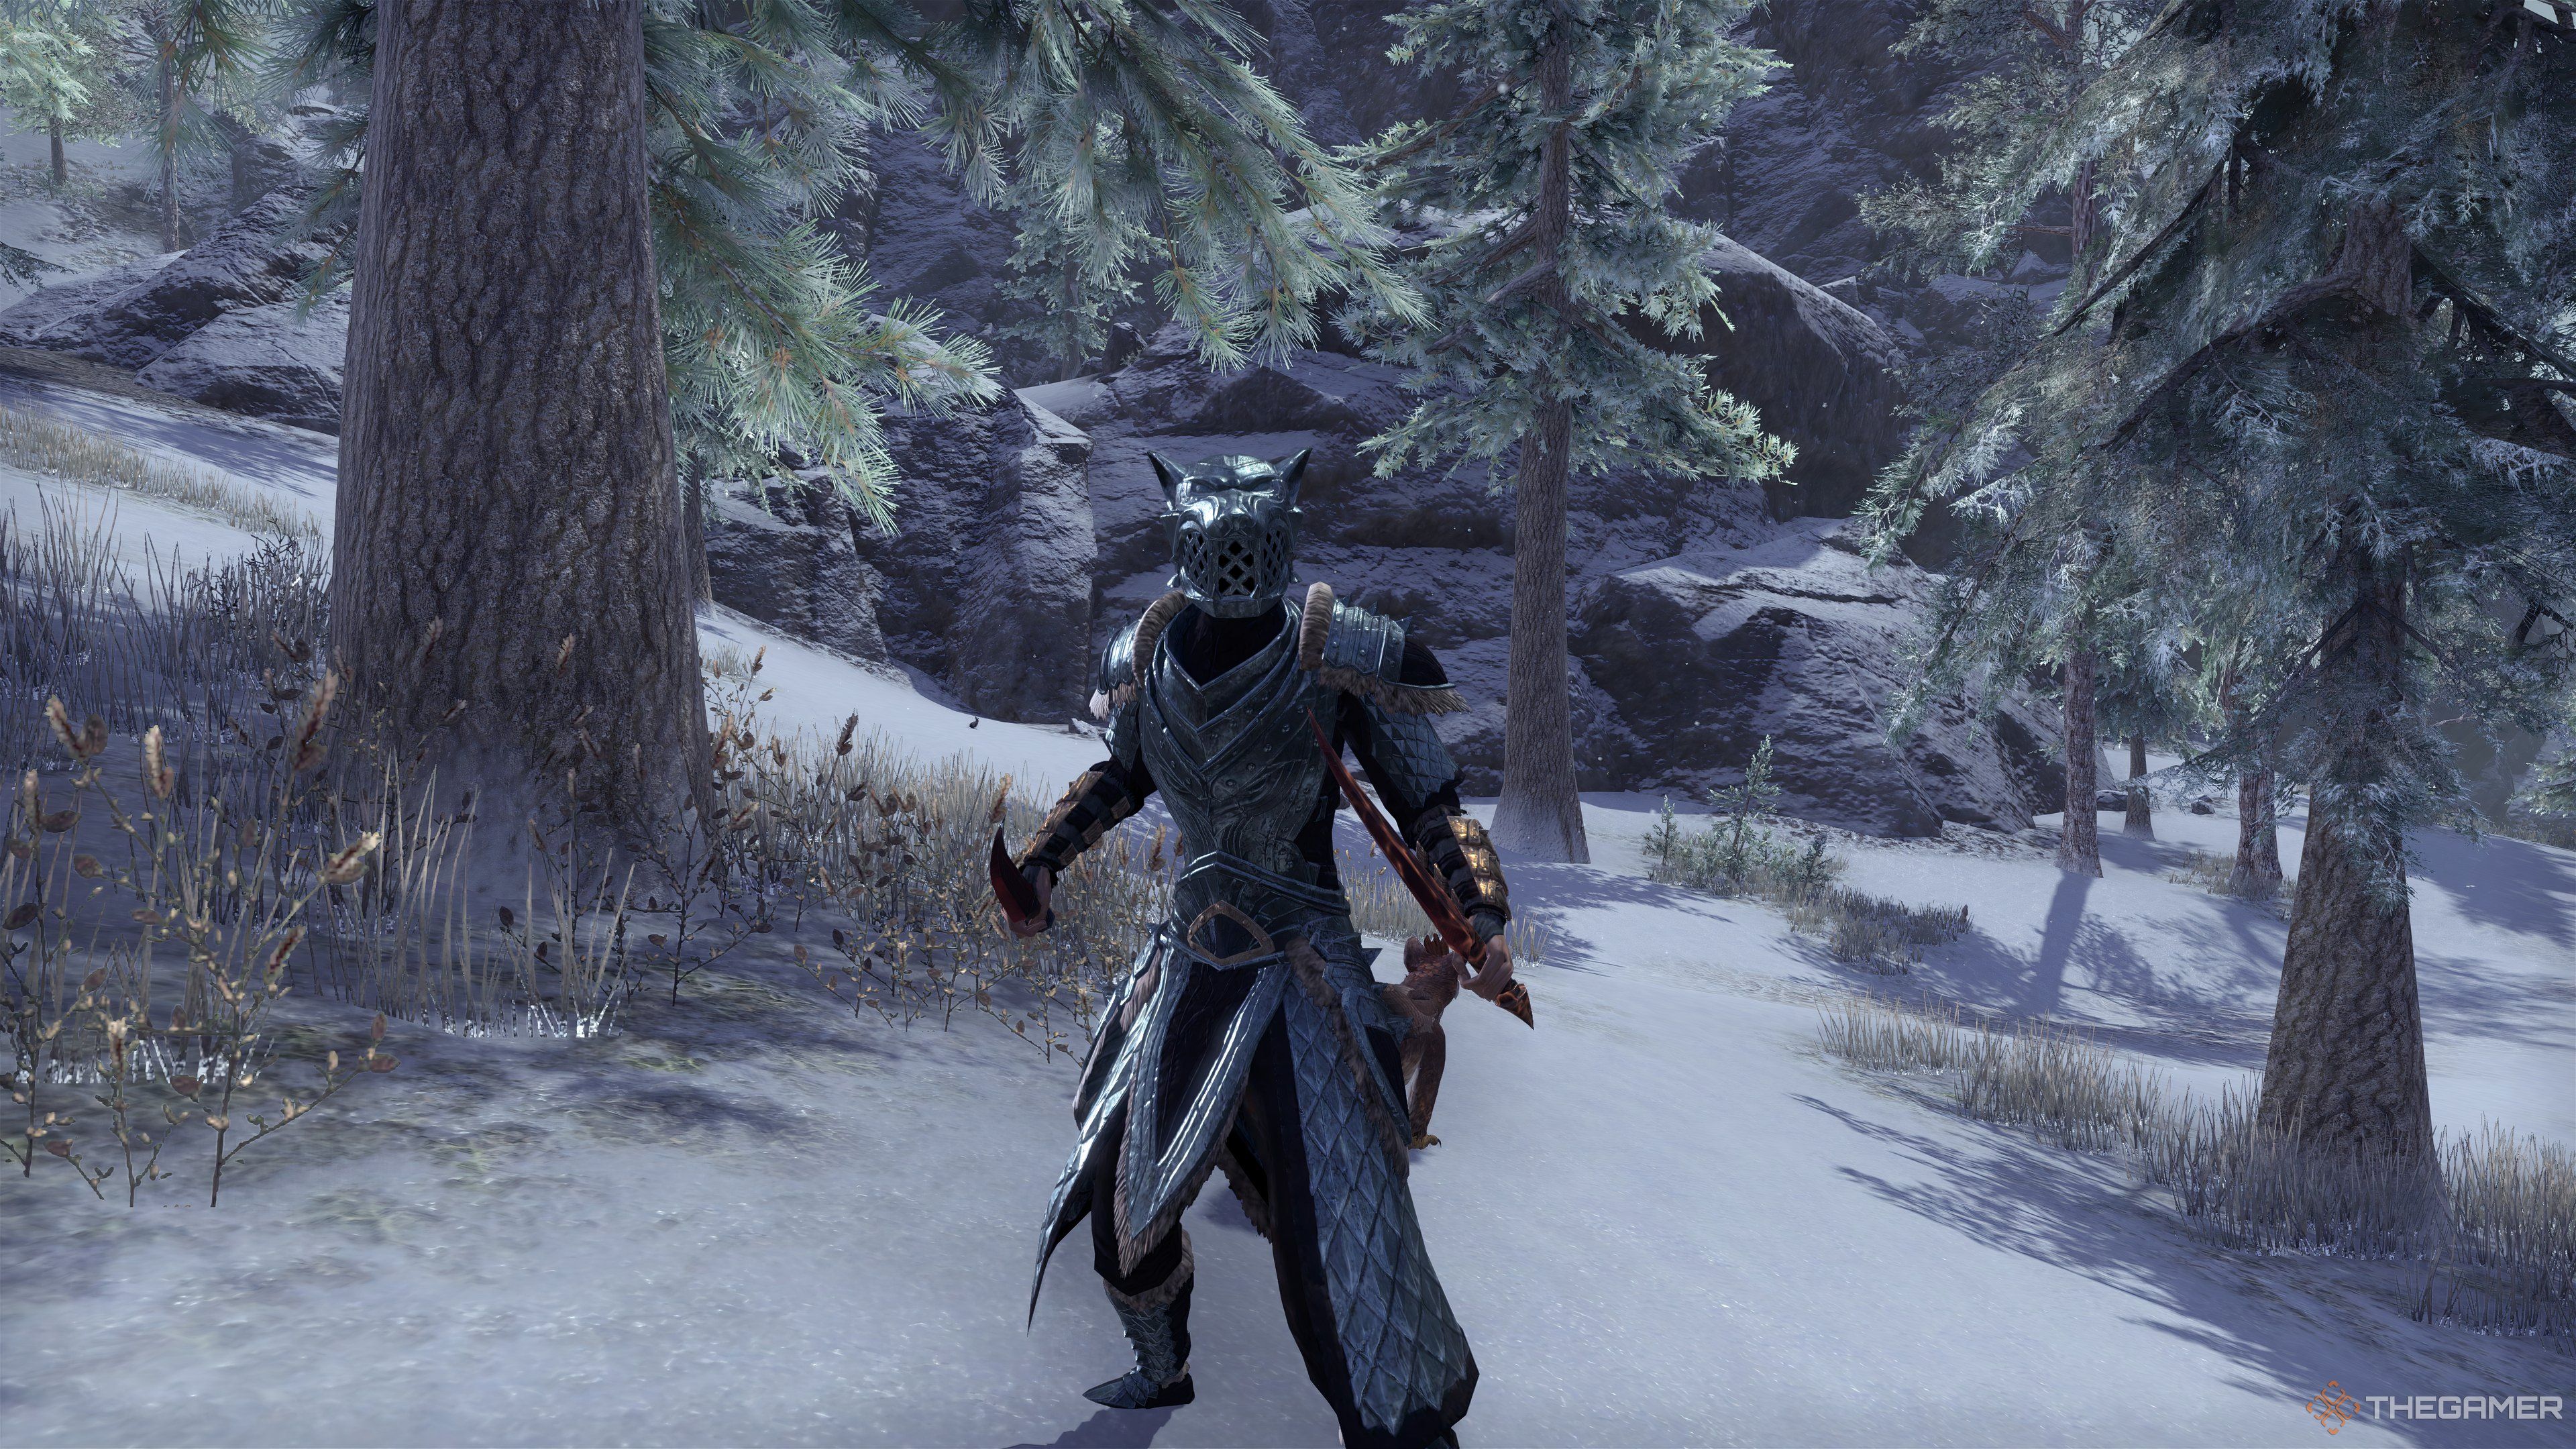
The Stamplar, referred to as “The Stamina Templar,” is a top-tier Damage Per Second (DPS) build that’s both accessible for beginners and effective in high-level content. Its rotation is straightforward, and it boasts robust self-healing capabilities. Skills such as Biting Jabs and Power of the Light deliver powerful single-target damage and healing, while Deadly Cloak and Ritual of Retribution offer Area of Effect (AoE) damage and survivability. To achieve optimal results, invest all attribute points in Stamina and wear medium armor to deal maximum damage.
Gear
| Gear | Set | Weight | Trait | Enchantment | Where/How to Get |
| Chest | Perfected Arms of Relequen | Medium | Divines | Stamina | Cloudrest (Trials) |
| Belt | Perfected Arms of Relequen | Medium | Divines | Stamina | Cloudrest (Trials) |
| Shoes | Perfected Arms of Relequen | Medium | Divines | Stamina | Cloudrest (Trials) |
| Pants | Harpooner’s Wading Kilt (Mythic) | Medium | Divines | Stamina | Antiquities System |
| Hands | Perfected Arms of Relequen | Medium | Divines | Stamina | Cloudrest (Trials) |
| Head | Perfected Arms of Relequen | Medium | Divines | Stamina | Cloudrest (Trials) |
| Shoulder | Slimecraw | Medium | Divines | Stamina | Wayrest Sewers 1 (Dungeon), Undaunted Enclave |
| Necklace | Pillar of Nirn | Jewelry | Bloodthirsty | Weapon Damage | Falkreath Hold (Dungeon) |
| Ring | Pillar of Nirn | Jewelry | Bloodthirsty | Weapon Damage | Falkreath Hold (Dungeon) |
| Ring | Pillar of Nirn | Jewelry | Bloodthirsty | Weapon Damage | Falkreath Hold (Dungeon) |
| Weapon 1 | Pillar of Nirn | Dagger | Nirnhoned | Poison Damage Enchant | Falkreath Hold (Dungeon) |
| Weapon 1 | Pillar of Nirn | Dagger | Charged | Fire Damage Enchant | Falkreath Hold (Dungeon) |
| Weapon 2 | Perfected Merciless Charge | 2H Sword | Infused | Weapon Damage Enchant | Maelstrom Arena |
Beginner Set
| Gear | Set | Weight | Trait | Enchantment | Where/How to Get |
| Chest | Hunding’s Rage | Medium | Divine | Health | Crafted in Bangkorai, Reaper’s March, The Rift |
| Belt | Night Mother’s Gaze | Medium | Divine | Stamina | Crafted in Bangkorai, Reaper’s March, The Rift |
| Shoes | Night Mother’s Gaze | Medium | Divine | Stamina | Crafted in Bangkorai, Reaper’s March, The Rift |
| Pants | Hunding’s Rage | Medium | Divine | Stamina | Crafted in Bangkorai, Reaper’s March, The Rift |
| Hands | Hunding’s Rage | Medium | Divine | Stamina | Crafted in Bangkorai, Reaper’s March, The Rift |
| Head | Night Mother’s Gaze | Medium | Divine | Stamina | Crafted in Bangkorai, Reaper’s March, The Rift |
| Shoulder | Night Mother’s Gaze | Medium | Divine | Stamina | Crafted in Bangkorai, Reaper’s March, The Rift |
| Necklace | Agility | Jewelry | Robust | Weapon Damage | Jewlery Crafting |
| Ring | Agility | Jewelry | Robust | Weapon Damage | Jewlery Crafting |
| Ring | Agility | Jewelry | Robust | Weapon Damage | Jewlery Crafting |
| Weapon 1 | Hunding’s Rage | Dagger | Nirnhoned | Poison Damage Enchant | Crafted in Bangkorai, Reaper’s March, The Rift |
| Weapon 1 | Hunding’s Rage | Dagger | Charged | Fire Damage Enchant | Crafted in Bangkorai, Reaper’s March, The Rift |
| Weapon 2 | Hunding’s Rage | 2H Sword | Infused | Weapon Damage Enchant | Crafted in Bangkorai, Reaper’s March, The Rift |
Abilities
Your primary spammable skill is the “Biting Jabs,” which quickly delivers an area-of-effect attack with a chance to trigger crit buffs. The abilities “Power of the Light” and “Barbed Trap” boost your burst damage, while both “Stampede” and “Carve” provide AoE effects and bleed respectively. The skill “Venomous Knife” enhances execute capabilities, and “Blazing Spear” aids in supporting group performance.
Defensively speaking, Deadly Cloak lessens the damage received, and Resilient Vigor helps sustain life across various content types. Regarding ultimate abilities, Shimmering Dawnbreaker enhances your weapon power passively, while Frosty Comet serves as a high-damage area-of-effect attack.
| Bar 1 | Bar 2 | Optional Skills |
| Barbed Trap | Stampede | Venomous Knife |
| Power of the Light | Ritual of Retribution | Bloody Smash |
| Biting Jabs | Carve | |
| Camouflaged Hunter | Blazing Spear | |
| Deadly Cloak | Resolving Vigor | |
| Flawless Dawnbreaker | Ice Comet |
For passive abilities, select all class, weapon, and racial skills that are available to you. Remember to obtain Undaunted Mettle and Undaunted Command from the Undaunted skill line for added bonuses. Consider purchasing Psijic passives if you’re utilizing the Channeled Acceleration setup for area-of-effect gameplay. Lastly, don’t forget to acquire Medicinal Use from the Alchemy skill line.
Buffs
| Buff | Buff Name | Benefit |
| Mundus Stone | Thief | Increases the Critical Strike rating by 1333 |
| Food/Drink | Lava Foot Soup and Saltrice | Increase Max Stamina by 4575 and Stamina Recovery by 457 for 2 hours. These effects are scaled based on your level. |
Champion Point Distribution
| Warfare | CP | Fitness | CP | Craft | CP |
| Precision | 20 | Boundless Vitality (slot) | 50 | Steed’s Blessing (slot) | 50 |
| Wrathful Strikes (slot) | 50 | Fortified (slot) | 50 | Breakfall | 50 |
| Piercing | 20 | Tumbling | 30 | Wanderer | 75 |
| Thaumaturge (slot) | 50 | Mystic Tenacity | 10 | Steadfast Enchantment | 50 |
| Biting Aura (slot) | 50 | Hero’s Vigor | 20 | Rationer | 30 |
| Backstabber (slot) | 50 | Shield Master | 10 | Liquid Efficiency | 75 |
| Tireless Discipline | 20 | Bastion (slot) | 50 | Fortune’s Favor | 50 |
| Battle Mastery | 40 | Bloody Renewal (slot) | 50 | Gilded Fingers | 50 |
| Mighty | 30 | Defiance | 20 | Treasure Hunter | 50 |
| Quick Recovery | 20 | Hasty | 16 | Inspiration Boost | 45 |
| Preparation | 20 | Tireless Guardian | 20 | ||
| Elemental Aegis | 20 | Fortification | 30 | ||
| Hardy | 20 | Sprinter | 20 | ||
| Blessed | 20 | Nimble Protector | 6 | ||
| Eldritch Insight | 20 | Savage Defense | 30 | ||
| Flawless Ritual | 40 | Bashing Brutality | 20 | ||
| War Mage | 30 | Piercing Gaze | 30 | ||
| Tempered Soul | 50 |
Oracle (Healer)
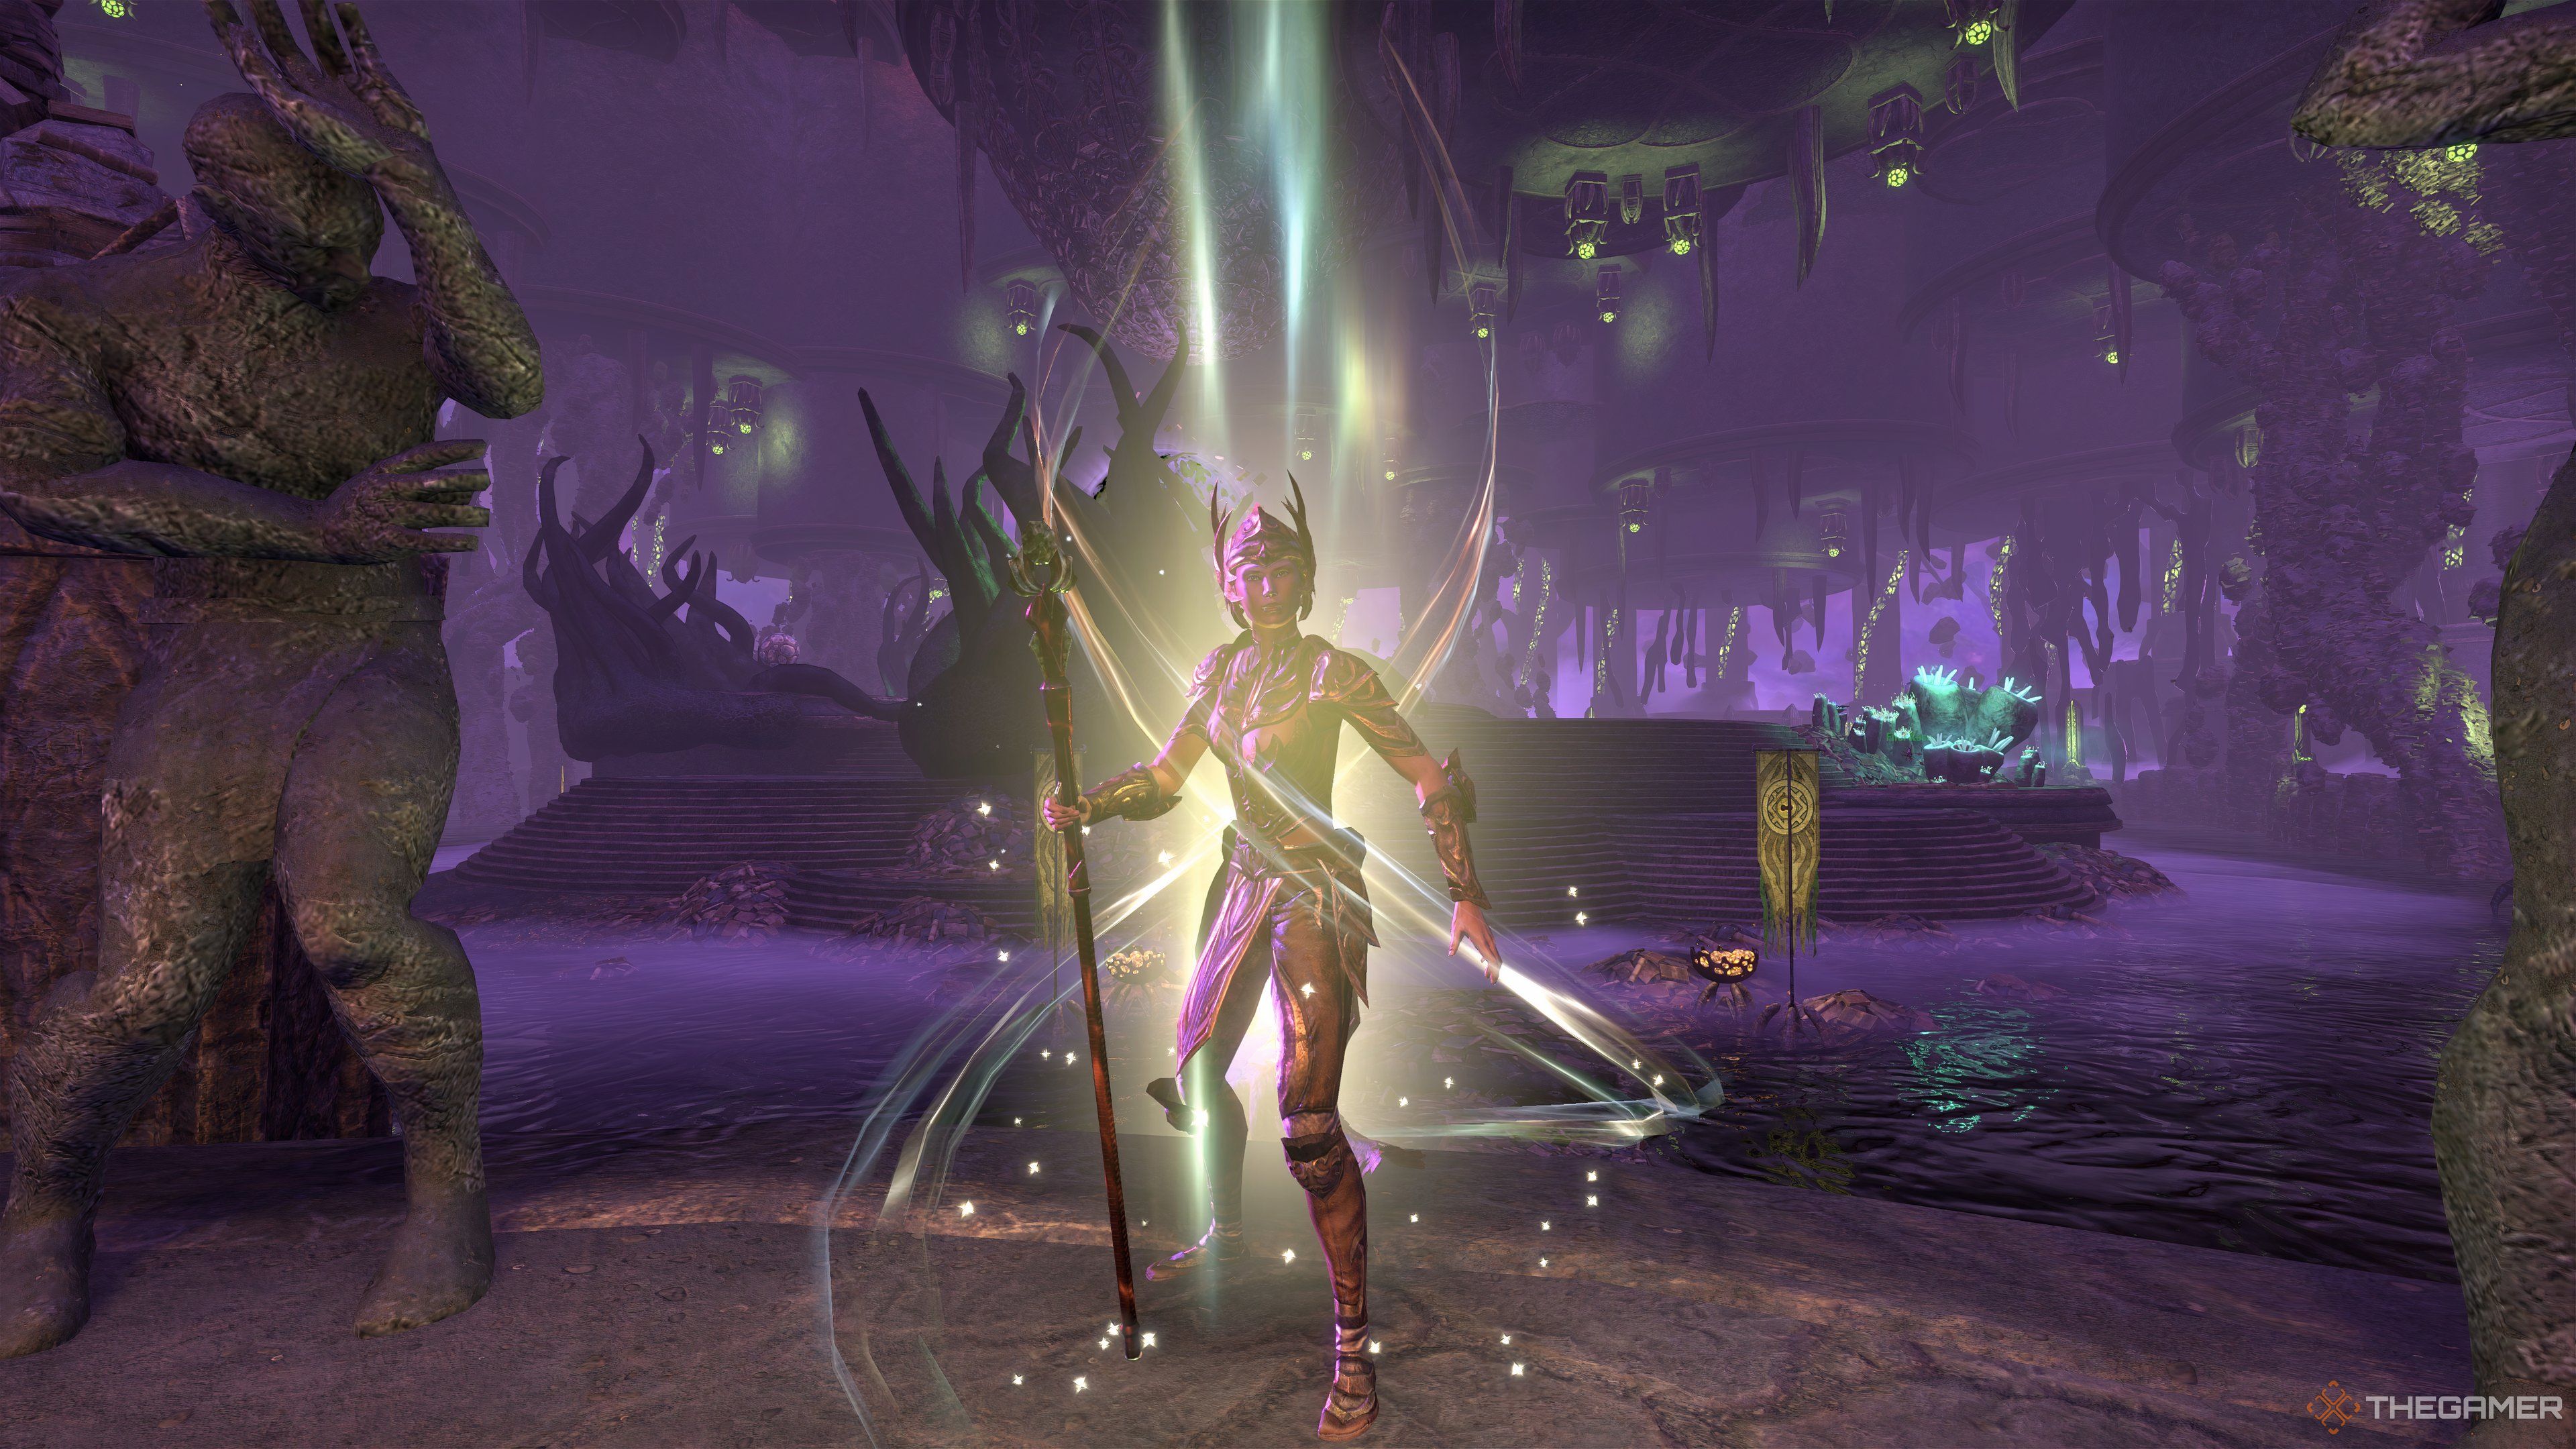
The Magicka Templar healer, frequently referred to as a “Healplar”, is crucial in Elder Scrolls Online’s group Player vs Environment (PvE) gameplay. It’s renowned for its powerful healing spikes, group buffs, and purifications. This class can tackle trials and dungeons effortlessly due to skills such as Breath of Life, Radiating Regeneration, Extended Ritual, Luminous Shards, and Combat Prayer. For maximum effectiveness, invest all attribute points into Magicka for the best healing and resource management.
The Healplar, a type of Magicka Templar healer in Elder Scrolls Online, is vital for group PvE gameplay. Known for its potent healing spikes, group buffs, and cleanses, it handles trials and dungeons with ease. Key skills like Breath of Life, Radiating Regeneration, Extended Ritual provide strong healing and support, while Luminous Shards and Combat Prayer boost your group. To be most effective, concentrate all attribute points into Magicka for top-notch healing and resource management.
Regardless of the character build you select, elixirs prove extremely beneficial. Make sure to keep your supply of Mana Enhancement Elixirs replenished to enhance your stats during fights.
Gear
| Gear | Set | Weight | Trait | Enchantment | Where/How to Get |
| Chest | Armor of the Trainee | Light | Divines | Magicka | Overland starting zone drop |
| Belt | Nazaray | Light | Divines | Magicka | Shipwright’s Regret, Ascending Tide DLC |
| Shoes | Spell Power Cure | Light | Divines | Magicka | White Gold Tower (Dungeon) |
| Pants | Spell Power Cure | Light | Divines | Magicka | White Gold Tower (Dungeon) |
| Hands | Spell Power Cure | Light | Divines | Magicka | White Gold Tower (Dungeon) |
| Head | Nazaray | Light | Divines | Magicka | Shipwright’s Regret, Ascending Tide DLC |
| Shoulder | Nazaray | Light | Divines | Magicka | Shipwright’s Regret, Ascending Tide DLC |
| Necklace | Pearl of Ehlnofey | Jewelry | Infused | Spell Damage | Dreadsail Reef (Trial) |
| Ring | Perfected Pillager’s Profit | Jewelry | Infused | Reduce Spell Cost | Dreadsail Reef (Trial) |
| Ring | Perfected Pillager’s Profit | Jewelry | Infused | Reduce Spell Cost | Dreadsail Reef (Trial) |
| Weapon 1 | Spell Power Cure | Restoration Staff | Powered | Absorb Magicka | Dreadsail Reef (Trial) |
| Weapon 2 | Perfected Pillager’s Profit | Lightning Staff | Charged | Shock | Dreadsail Reef (Trial) |
Beginner Set
| Gear | Set | Weight | Trait | Enchantment | Where/How to Get |
| Chest | Armor of the Seducer | Heavy | Infused | Magicka | Crafted in Deshaan, Grahtwood, Stormhaven |
| Belt | Armor of the Seducer | Light | Divines | Magicka | Crafted in Deshaan, Grahtwood, Stormhaven |
| Shoes | Armor of the Seducer | Light | Divines | Magicka | Crafted in Deshaan, Grahtwood, Stormhaven |
| Pants | Armor of the Seducer | Medium | Infused | Magicka | Crafted in Deshaan, Grahtwood, Stormhaven |
| Hands | Armor of the Seducer | Light | Divines | Magicka | Crafted in Deshaan, Grahtwood, Stormhaven |
| Head | Winter’s Respite | Light | Infused | Magicka | Overland in Greymoor |
| Shoulder | Winter’s Respite | Light | Divines | Magicka | Overland in Greymoor |
| Necklace | Winter’s Respite | Jewelry | Arcane | Magicka Recovery | Overland in Greymoor |
| Ring | Winter’s Respite | Jewelry | Arcane | Magicka Recovery | Overland in Greymoor |
| Ring | Winter’s Respite | Jewelry | Arcane | Magicka Recovery | Overland in Greymoor |
| Weapon 1 | Willpower | Restoration Staff | Powered | Absorb Magicka | Imperial City or daily dungeon rewards |
| Weapon 2 | Willpower | Lightning Staff | Charged | Shock | Imperial City or daily dungeon rewards |
Abilities
This healing build focuses primarily on rapid healing, maintaining resources, and enhancing the team through buffs. The Breath of Life serves as an emergency tool, while Radiating Regeneration, Illustrious Healing, and Echoing Vigor offer ongoing healing. Luminous Shards and Energy Orb help replenish allies’ resources, and Combat Prayer increases the team’s damage output. Extended Ritual removes detrimental effects, Channeled Focus offers durability and resistances, while Reviving Barrier or Aggressive Horn provide strong ultimate choices according to your group’s requirements.
| Bar 1 | Bar 2 | Optional Skills |
|---|---|---|
|
Illustrious Healing |
Channeled Focus | Mender’s Bond |
|
Power of the Light |
Extended Ritual | Torchbearer |
|
Breath of Life |
Blockade of Storms | Luminous Shards |
|
Combat Prayer |
Energy Orb | |
|
Radiating Regeneration |
Echoing Vigor | |
|
Reviving Barrier |
Aggressive Horn |
Ensure to collect all passive abilities from your weapon sets, race choices, light and heavy armor, as well as the Dawn’s Wrath and Restoring Light skill lines. Don’t overlook the Balanced Warrior ability from Aedric Spear, Undaunted Command and Undaunted Mettle from the Undaunted, and Medicinal Use from Alchemy to enhance your potion effectiveness.
Buffs
| Buff | Buff Name | Benefit |
| Mundus Stone | Atronach | Increases Magicka recovery by 310. |
| Food/Drink | Clockwork Citrus Filet
Witchmother’s Potent Brew |
Increase Max Health by 3724, Health Recovery by 351, Max Magicka by 3458 and Magicka Recovery by 319 for 2 hours.
Increase Max Magicka by 2856 and Max Health by 3094 and Magicka Recovery by 315 for 2 hours. |
Champion Point Distribution
| Warfare | CP | Fitness | CP | Craft | CP |
| Precision | 20 | Bondless Vitality (slot) | 50 | Steed’s Blessing (slot) | 50 |
| Wrathful Strikes (slot) | 50 | Fortified (slot) | 50 | Rationer (slot) | 30 |
| Piercing | 20 | Rejuvenation (slot) | 50 | Liquid Efficiency (slot) | 75 |
| Thaumaturge (slot) | 50 | Spirit Mastery (slot) | 50 | Treasure Hunter (slot) | 50 |
| Biting Aura (slot) | 50 | Sprinter | 10 | Steadfast Enchantment | 40 |
| Backstabber (slot) | 50 | Hero’s Vigor | 10 | Breakfall | 40 |
| Tireless Discipline | 20 | Tumbling | 30 | Wanderer | 60 |
| Battle Mastery | 40 | Defiance | 20 | Fortune’s Favor | 50 |
| Mighty | 30 | Hasty | 8 | Friends in Low Places | 25 |
| Quick Recovery | 20 | Tireless Guardian | 10 | Out of Sight | 30 |
| Preparation | 20 | Fortification | 30 | Fleet of Phantom | 40 |
| Elemental Aegis | 20 | Nimble Protector | 6 | Soul’s Reservoir | 33 |
| Hardy | 20 | Mystic Tenacity | 50 | Gilded Fingers | 50 |
| Blessed | 20 | Tempered Soul | 25 | Fortune’s Favor | 40 |
| Eldritch Insight | 20 | Piercing Gaze | 20 | Inspiration Boost | 45 |
| Flawless Ritual | 40 | Savage Defense | 30 | ||
| War Mage | 30 | Bashing Brutality | 20 |
Paladin (Tank)
As a gamer, I’d say this Templar tank is a go-to choice when it comes to durability, crowd control, self-sustain, and top-notch utility for any group. With an arsenal of potent buffs and purges at my disposal, I excel in demanding endgame content such as trials and veteran dungeons. Skills like Pierce Armor, Extended Ritual, and Radiant Ward give me the edge on the battlefield, ensuring both my team’s safety and support. For an optimal gaming experience, I’d recommend distributing my attribute points to 40 Health, 14 Magicka, and 10 Stamina.
Gear
| Gear | Set | Weight | Trait | Enchantment | Where/How to Get |
| Chest | (Perfected) Pearlescent Ward | Heavy | Reinforced | Prismatic Defense | Dreadsail Reef (Veteran Trial) |
| Belt | (Perfected) Pearlescent Ward | Heavy | Divines | Prismatic Defense | Dreadsail Reef (Veteran Trial) |
| Shoes | (Perfected) Pearlescent Ward | Heavy | Divines | Prismatic Defense | Dreadsail Reef (Veteran Trial) |
| Pants | (Perfected) Pearlescent Ward | Heavy | Reinforced | Prismatic Defense | Dreadsail Reef (Veteran Trial) |
| Hands | (Perfected) Pearlescent Ward | Heavy | Divines | Prismatic Defense | Dreadsail Reef (Veteran Trial) |
| Head | Nazaray | Medium | Divines | Prismatic Defense | Shipwright’s Regret (Veteran), Ascending Tide DLC |
| Shoulder | Nazaray | Light | Divines | Prismatic Defense | Undaunted Enclave |
| Necklace | Turning Tide | Jewelry | Harmony | Magicka Recovery | Shipwright’s Regret, Ascending Tide DLC |
| Ring | Turning Tide | Jewelry | Harmony | Magicka Recovery | Shipwright’s Regret, Ascending Tide DLC |
| Ring | Turning Tide | Jewelry | Harmony | Magicka Recovery | Shipwright’s Regret, Ascending Tide DLC |
| Weapon 1 | (Perfected) Puncturing Remedy | One-handed | Decisive | Absorb Stamina | (Veteran) Dragonstar Arena |
| Weapon 1 | (Perfected) Puncturing Remedy | Shield | Reinforced | Maximum Health | (Veteran) Dragonstar Arena |
| Weapon 2 | Turning Tide | Ice Staff | Infused | Crusher | Shipwright’s Regret, Ascending Tide DLC |
Beginner Set
| Gear | Set | Weight | Trait | Enchantment | Where/How to Get |
| Chest | Drake’s Rush | Heavy | Reinforced | Maximum Health | Black Drake Villa |
| Belt | Drake’s Rush | Heavy | Sturdy | Maximum Magicka | Black Drake Villa |
| Shoes | Drake’s Rush | Heavy | Divines | Maximum Magicka | Black Drake Villa |
| Pants | Drake’s Rush | Heavy | Reinforced | Maximum Health | Black Drake Villa |
| Hands | Drake’s Rush | Heavy | Sturdy | Maximum Magicka | Black Drake Villa |
| Head | Druid’s Braid | Medium | Sturdy | Maximum Health | Black Drake Villa |
| Shoulder | Druid’s Braid | Light | Sturdy | Maximum Magicka | Black Drake Villa |
| Necklace | Akaviri Dragonguard | Jewelry | Healthy | Magicka Recovery | Eastmarch Overland |
| Ring | Akaviri Dragonguard | Jewelry | Healthy | Magicka Recovery | Eastmarch Overland |
| Ring | Akaviri Dragonguard | Jewelry | Healthy | Magicka Recovery | Eastmarch Overland |
| Weapon 1 | Akaviri Dragonguard | One-handed | Decisive | Absorb Stamina | Eastmarch Overland |
| Akaviri Dragonguard | Shield | Reinforced | Maximum Magicka | Eastmarch Overland | |
| Weapon 2 | Akaviri Dragonguard | Ice Staff | Crusher | Infused | Eastmarch Overland |
Abilities
For a Paladin, Pierce Armor serves as the primary tool for taunting enemies and inflicting debuffs. Silver Leash and Heroic Slash aid in managing enemy positions and generating Ultimate abilities. Meanwhile, Living Dark and Restoring Focus bolster your survivability with potent healing effects and damage-resistance boosts.
Radiant Ward and Extended Ritual provide area-of-effect protection and cleansing, while Repentance aids in survival. For support purposes, Inner Rage provides a ranged taunt, and Spell Wall is valuable against burst damage. Replenishing Barrier and Aggressive Horn are your ultimate skills, one for defense and the other for offense, allowing you to adapt according to your needs.
| Bar 1 | Bar 2 | Optional Skills |
| Pierce Armor | Silver Leash | Soul Burst |
| Living Dark | Elemental Blockade | Torchbearer |
| Repentance | Inner Rage | Spell Wall |
| Radiant Ward | Restoring Focus | |
| Heroic Slash | Extended Ritual | |
| Replenishing Barrier | Aggressive Horn |
Ensure you select all passive abilities related to classes, races, weapons, Light, Medium, and Heavy Armor. For Heavy Armor, focus on acquiring Resolve, Constitution, Juggernaut, Revitalize, and Rapid Mending. From the Mages Guild, obtain Mage Adept, Everlasting Magic, and Magicka Controller. Additionally, gather Undaunted Command, Undaunted Mettle, and Medicinal Use from Undaunted and Alchemy.
Instead of actively using the Tri Focus passive, leave it on your skillbar. Activating it causes blocking to consume Magicka rather than Stamina and also halts Magicka regeneration during blocking.
Buffs
| Buff | Buff Name | Benefit |
| Mundus Stone | Atronach
The Lord |
Increases Magicka recovery by 310.
Increases Maximum Health by 2225 |
| Food/Drink | Capon Tomato-Beet Casserole
Witchmother’s Potent Brew |
Increase Max Health by 4462, Magicka by 4105 and Stamina by 4105 for 2 hours.
Increase Max Magicka by 2856 and Max Health by 3094 and Magicka Recovery by 315 for 2 hours. |
Champion Point Distribution
| Warfare | CP | Fitness | CP | Craft | CP |
| Eldritch Insight | 10 | Rejuvenation (slot) | 50 | Steed’s Blessing (slot) | 50 |
| Quick Recovery | 10 | Tumbling | 15 | Gilded Fingers | 10 |
| Preparation | 20 | Mystic Tenacity | 10 | Fortune’s Favor | 10 |
| Ironclad (slot) | 50 | Hero’s Vigor | 10 | Wanderer | 15 |
| Duelist’s Rebuff (slot) | 50 | Shield Master (slot) | 50 | Steadfast Enchantment | 20 |
| Blessed | 10 | Bastion (slot) | 50 | Rationer (slot) | 10 |
| Focused Mending (slot) | 50 | Hasty | 8 | Liquid Efficiency (slot) | 75 |
| Unassailable (slot) | 25 | Celerity (slot) | 50 | Rationer | 20 |
| Bulwark (slot) | 50 | Hero’s Vigor | 10 | Treasure Hunter (slot) | 50 |
| Elemental Aegis | 20 | Tireless Guardian | 10 | Master Gatherer | 15 |
| Hardy | 20 | Nimble Protector | 6 | Gifted Rider (slot) | 100 |
| Piercing | 10 | Fortification | 30 | Gilded Fingers | 40 |
| Flawless Ritual | 40 | Defiance | 20 | Breakfall | 50 |
| Battle Mastery | 40 | Tumbling | 15 | Steadfast Enchantment | 40 |
| Tireless Discipline | 20 | Hasty | 8 | Soul Reservoir | 33 |
Solo Magplar
In The Elder Scrolls Online, the self-reliant Magicka Templar is an excellent and dependable choice. It excels in dishing out high damage and maintaining health, making it particularly effective for tackling challenging veteran dungeons and tough overland content. Key skills such as Puncturing Sweeps, Blazing Spear, and Shining Light deal substantial damage while keeping you in good health, ensuring both lethal potency and sturdiness. To maximize this build’s potential, it is recommended to allocate all attribute points into Magicka. With recent updates, the Solo Magplar remains a solid contender in the current game meta.
If you find yourself having trouble maintaining durability in any of these constructions, the skill “Nova Shield” offers potent protective barriers that can both absorb and deal damage.
Gear
| Gear | Set | Weight | Trait | Enchantment | Where/How to Get |
| Chest | Whorl of the Depths | Light | Divines | Magicka | Dreadsail Reef (Trial) |
| Belt | Whorl of the Depths | Light | Divines | Magicka | Dreadsail Reef (Trial) |
| Shoes | Whorl of the Depths | Light | Divines | Magicka | Dreadsail Reef (Trial) |
| Hands | Whorl of the Depths | Light | Divines | Magicka | Dreadsail Reef (Trial) |
| Pants | Whorl of the Depths | Medium | Divines | Magicka | Dreadsail Reef (Trial) |
| Head | Pillar of Nirn | Medium | Divines | Magicka | Falkreath Hold (Dungeon) |
| Shoulder | Magma Incarnate | Light or Medium | Divines | Magicka | Undaunted Enclave |
| Necklace | Pillar of Nirn | Jewelry | Bloodthirsty | Spell Damage | Falkreath Hold (Dungeon) |
| Ring 1 | Pillar of Nirn | Jewelry | Bloodthirsty | Spell Damage | Falkreath Hold (Dungeon) |
| Ring 2 | Ring of the Pale order | Jewelry | Bloodthirsty | Spell Damage | Antiquities System |
| Weapon 1 | Pillar of Nirn | Dagger | Nirnhoned | Poison Damage Enchant | Falkreath Hold (Dungeon) |
| Weapon 1 | Pillar of Nirn | Dagger | Charged | Fire Damage Enchant | Falkreath Hold (Dungeon) |
| Weapon 2 | Maelstrom Staff | Fire Staff | Infused | Infused | Maelstrom Arena |
Beginner Set
| Gear | Set | Weight | Trait | Enchantment | Where/How to Get |
| Head | Iceheart | Light | Divines | Magicka | Direfrost Keep (Dungeon) |
| Shoulder | Iceheart | Light | Divines | Magicka | Direfrost Keep (Dungeon) |
| Chest | Orders Wrath | Light | Divines | Magicka | Crafted at High Isle and Amenos |
| Belt | Orders Wrath | Light | Divines | Magicka | Crafted at High Isle and Amenos |
| Shoes | Orders Wrath | Light | Divines | Magicka | Crafted at High Isle and Amenos |
| Hands | Orders Wrath | Light | Divines | Magicka | Crafted at High Isle and Amenos |
| Pants | Orders Wrath | Light | Divines | Magicka | Crafted in Bangkorai, Reaper’s March, The Rift |
| Head | Iceheart | Light | Divines | Magicka | Direfrost Keep (Dungeon) |
| Shoulder | Iceheart | Light | Divines | Magicka | Direfrost Keep (Dungeon) |
| Necklace | Briarheart | Jewelry | Bloodthirsty | Spell Damage | Wrothgar Overland |
| Ring 1 | Briarheart | Jewelry | Bloodthirsty | Spell Damage | Wrothgar Overland |
| Ring 2 | Briarheart | Jewelry | Bloodthirsty | Spell Damage | Wrothgar Overland |
| Weapon 1 | Briarheart | Dagger | Nirnhoned | Fire Enchant Absorb Magicka |
Wrothgar Overland |
| Weapon 1 | Briarheart | Dagger | Charged | Absorb Magicka | Wrothgar Overland |
| Weapon 2 | Briarheart | Fire Staff | Infused | Weapon Damage Enchantment | Wrothgar Overland |
Abilities
Abilities such as Puncturing Sweeps function as your main attack that you can repeatedly use, causing harm to enemies in front of you simultaneously healing you by a small amount based on the damage inflicted. On the other hand, Purifying Light and Barbed Trap aid in setting up burst damage, enhancing your critical hit power. Lastly, Solar Barrage and Blazing Spear offer significant area-of-effect pressure and usefulness for groups, providing additional group utility.
The practice of Retribution and Decay ensures your health stays replenished, while the Inner Light amplifies your maximum magical energy and provides a passive critical hit bonus. Radiant Glory swiftly dispatches weak enemies, making it ideal for executions. Ultimate abilities such as Flawless Dawnbreaker and Shooting Star complement the toolkit. Use Dawnbreaker for its passive perks and quick damage bursts, and opt for Shooting Star when a wide-area magical explosion is required.
| Bar 1 | Bar 2 | Optional Skills |
| Barbed Trap | Wall of Elements | Inner Light |
| Purifying Light | Ritual of Retribution | Caltrops |
| Puncturing Sweep | Degeneration | |
| Solar Barrage | Blazing Spear | |
| Radiant Glory | Dampen Magic | |
| Flawless Dawnbreaker | Shooting Star |
Ensure you collect all class and weapon bonuses (from your active weapons). Allocate all skill points into the armor set you’re currently wearing. Obtain the initial four Fighters Guild abilities, all Undaunted abilities, and a point in the Assault line for the first passive. Don’t forget to claim your Racial abilities, and don’t miss out on Medicinal Use in Alchemy.
Buffs
| Buff | Buff Name | Benefit |
| Mundus Stone | Thief | Increases the Critical Strike rating by 1333 |
| Food/Drink | Lava Foot Soup and Saltrice | Increase Max Stamina by 4575 and Stamina Recovery by 457 for 2 hours. These effects are scaled based on your level. |
Champion Point Distribution
| Warfare | CP | Fitness | CP | Craft | CP |
| Battle Mastery | 20 | Bashing Brutality | 20 | Breakfall | 50 |
| Blessed | 20 | Bastion (slot) | 50 | Fleet Phantom | 40 |
| Deadly Aim (slot) | 50 | Boundless Vitality (slot) | 50 | Fortune’s Favor | 50 |
| Eldritch Insight | 20 | Defiance | 20 | Gilded Fingers | 50 |
| Elemental Aegis | 20 | Fortification | 30 | Inspiration Boost | 45 |
| Flawless Ritual | 20 | Fortified (slot) | 50 | Liquid Efficiency (slot) | 75 |
| Hardy | 20 | Hasty | 8 | Master Gatherer | 75 |
| Master at Arms (slot) | 50 | Hero’s Vigor | 20 | Meticulous Disassembly | 50 |
| Mighty | 30 | Mystic Tenacity | 40 | Out of Sight | 30 |
| Piercing | 20 | Nimble Protector | 6 | Rationer (slot) | 30 |
| Precision | 20 | Piercing Gaze | 20 | Soul Reservoir | 33 |
| Preparation | 20 | Rejuvenation (slot) | 50 | Steadfast Enchantment | 40 |
| Quick Recovery | 10 | Savage Defense | 30 | Steed’s Blessing (slot) | 50 |
| Thaumaturge (slot) | 50 | Siphoning Spells (slot) | 50 | Treasure Hunter (slot) | 50 |
| Tireless Discipline | 20 | Sprinter | 20 | Wanderer | 60 |
Read More
- PI PREDICTION. PI cryptocurrency
- Gold Rate Forecast
- WCT PREDICTION. WCT cryptocurrency
- LPT PREDICTION. LPT cryptocurrency
- Guide: 18 PS5, PS4 Games You Should Buy in PS Store’s Extended Play Sale
- Shrek Fans Have Mixed Feelings About New Shrek 5 Character Designs (And There’s A Good Reason)
- SOL PREDICTION. SOL cryptocurrency
- FANTASY LIFE i: The Girl Who Steals Time digital pre-orders now available for PS5, PS4, Xbox Series, and PC
- Playmates’ Power Rangers Toyline Teaser Reveals First Lineup of Figures
- Solo Leveling Arise Tawata Kanae Guide
2025-04-19 20:20