As a seasoned adventurer with years of exploring the mystical realms under my belt, I can confidently guide you through the labyrinthine world of Black Myth: Wukong. The path to the elusive Mad Tiger is one such challenge that awaits the intrepid traveler.
Title Story Reveal: Monkey King Wukong – Hidden Depths Unlocked
Venom Daoist (Round 2)
In Chapter 4, you’ll spot the twin-sword-carrying Venom Daoist once more, but he can be tricky to find if you’re not sure where to search. Make your way to the Court of Illumination within the Temple of the Yellow Flowers. From the shrine, proceed through the archway at its back. Follow the path to the left and keep going up the winding stairs. After climbing two sets, the path forks. Take the leftmost route, ascend more stairs, and then immediately veer left again. A large cave will eventually appear – enter it to find the Venom Daoist and prepare for another battle.
Purple Cloud Mountain
Once proclaiming triumph, the manager discusses the Purple Cloud Peak and points towards a wall adorned with a painting. To explore – as I suspected! – the secret area of Chapter 4’s Purple Cloud Mountain, examine the artwork carefully. Enjoy the scenery while you’re there, for lurking within lies one of the deadliest hidden opponents.
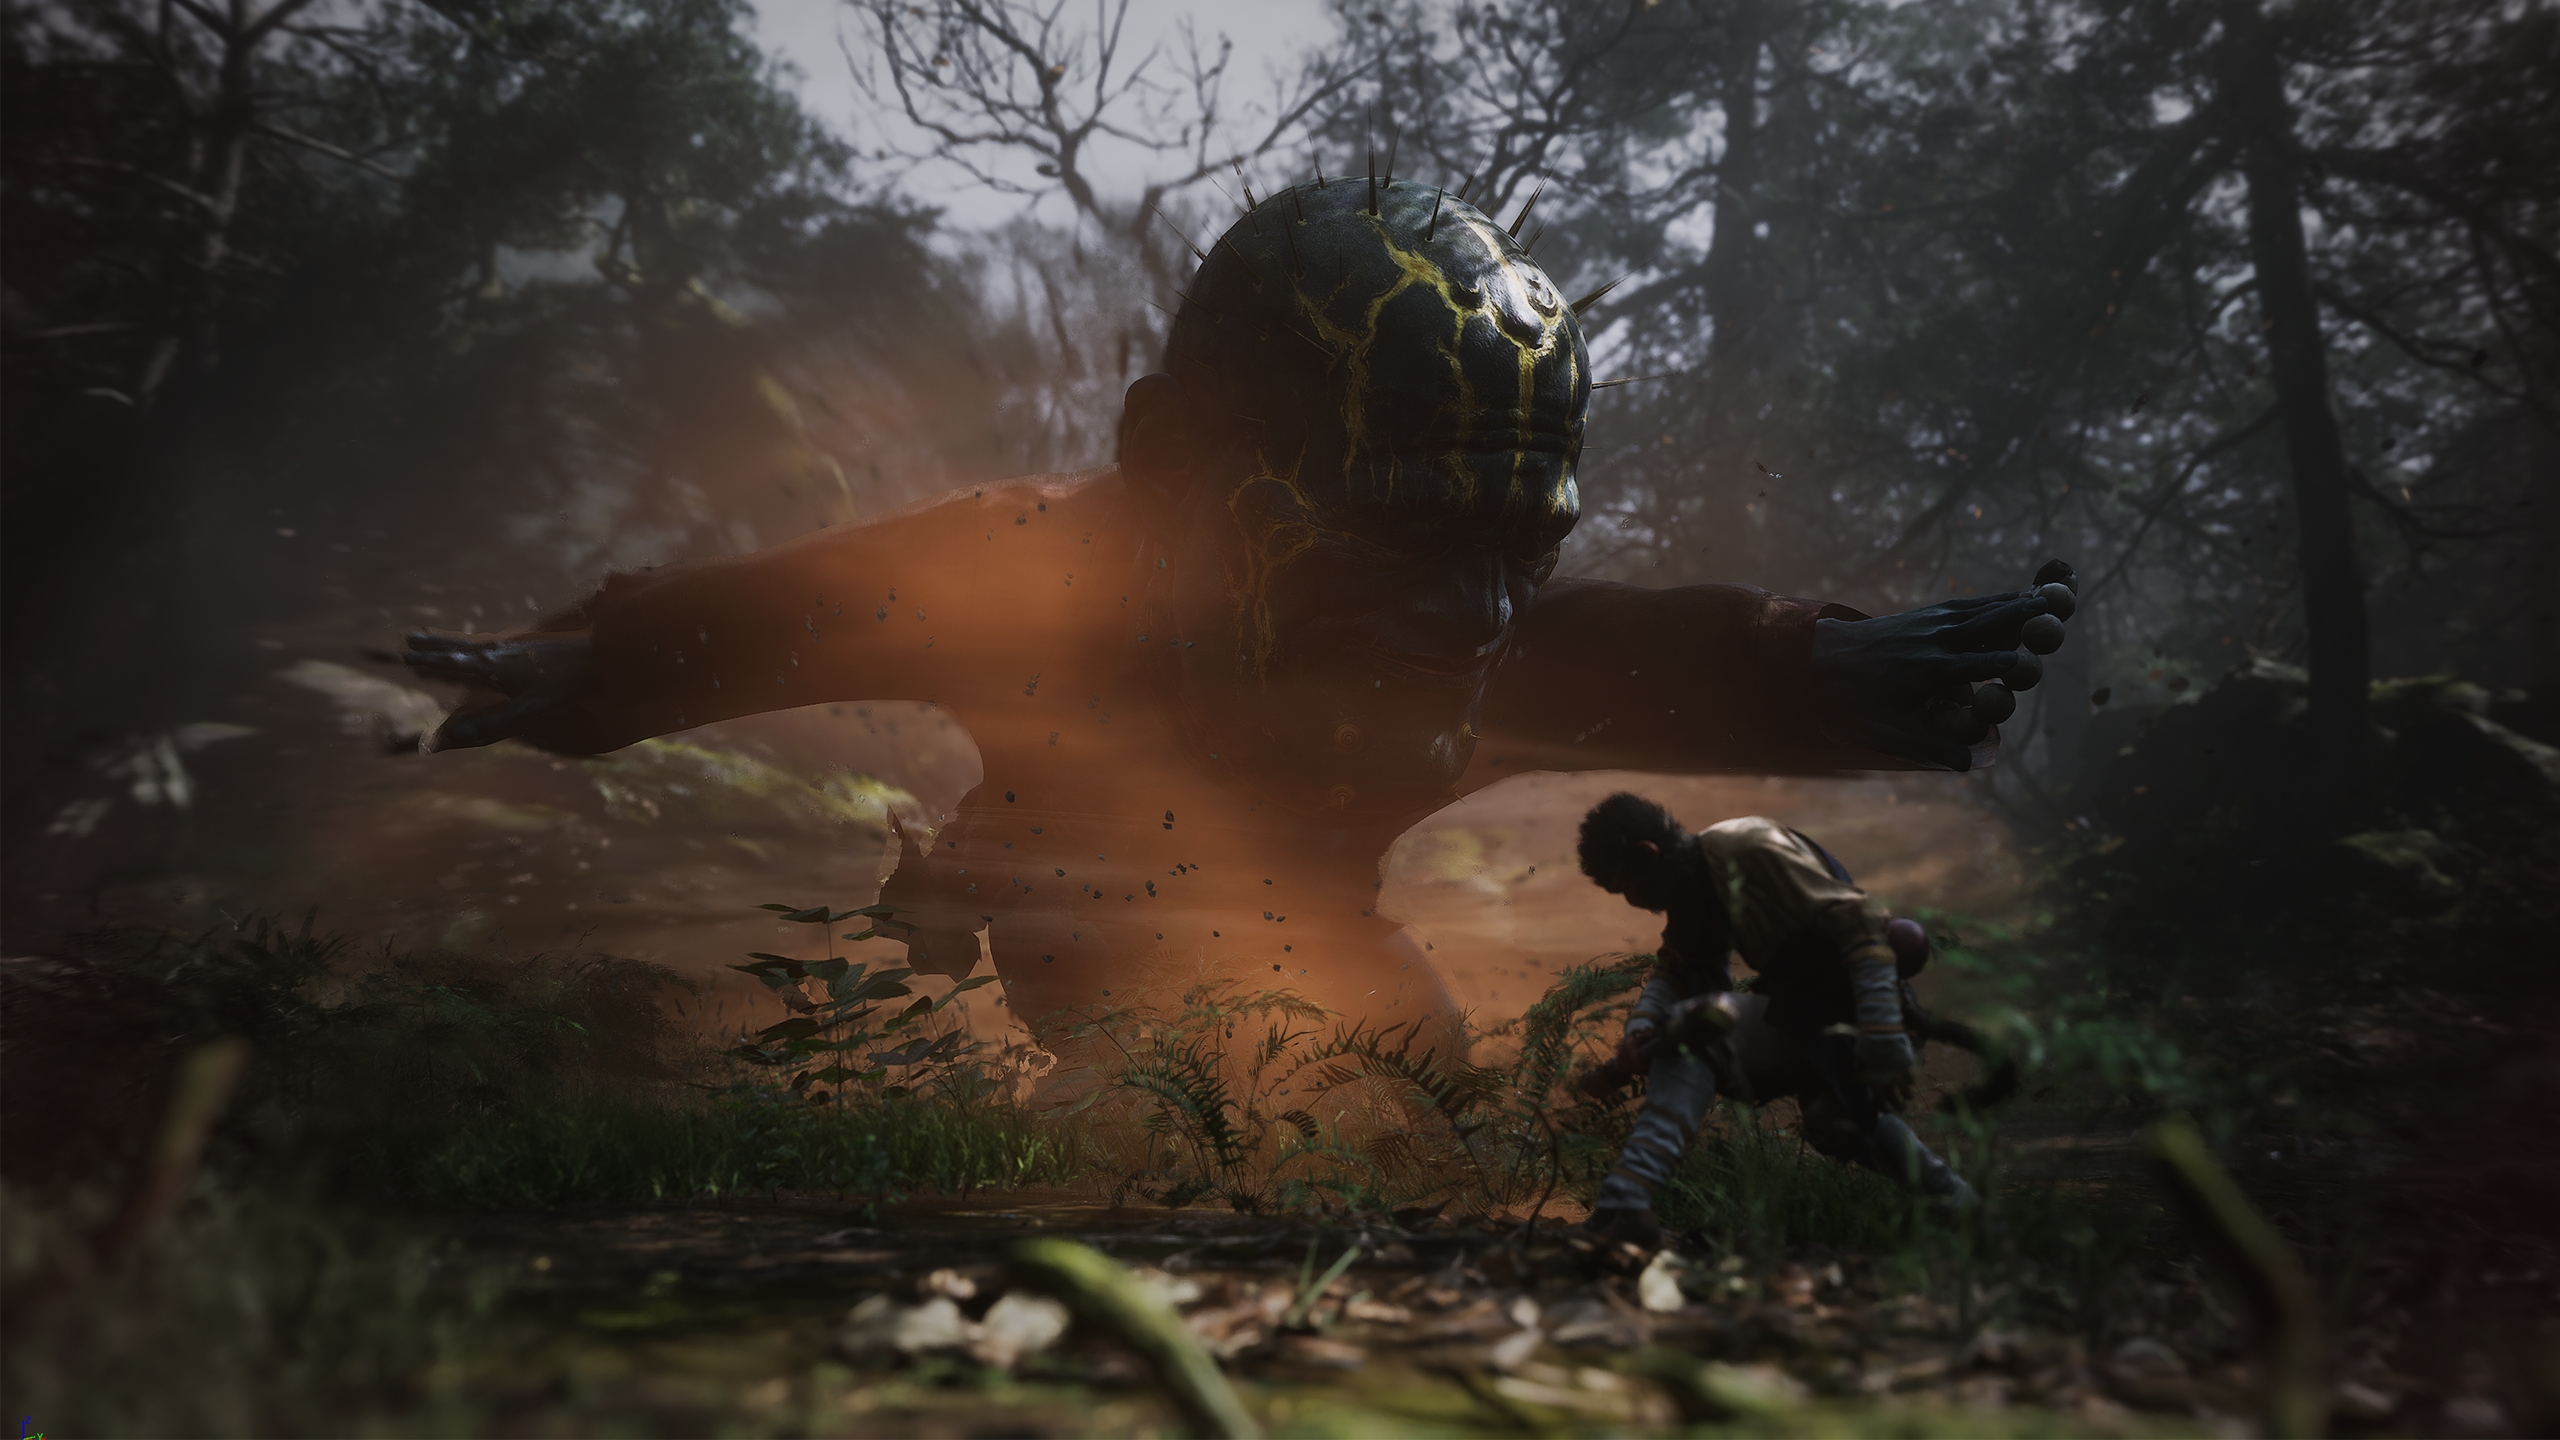
The Scorpionlord
When playing Black Myth: Wukong, take extra care with the Scorpionlord, as he deals potent poison damage. You’ll come across this boss beyond the Bounds of Deity’s Abode shrine, lounging nearby. To initiate a battle, knock over the barrels beneath him first.
Duskveil
Should you find the Scorpionlord overpowering, here’s some wonderful news – a slightly less formidable yet challenging boss, known as the Duskveil, lies atop Purple Cloud Mountain. Reach its final stage to encounter this foe. Overcoming it grants multiple rewards, including the Double-combed Rooster Blood Soak. This valuable item removes any poison effects when used with the Gourd and boosts your movement speed and critical hit chance.
Yellow Robed Squire
In Chapter 2, located on Fright Cliff, you’ll discover the Drunken Boar side mission from an NPC. To advance this quest, search for the Sobering Stone at Windrest Bridge, deliver it to the boar, and then proceed to the Crouching Tiger Temple where he will reappear. Following this, present him with a Jade Lotus. Subsequently, travel to the Valley of Despair in Sandgate Valley to find and vanquish the First Prince of Flowing Sands.
After completing your task, head back to Fright Cliff – the place where you initially encountered the boar. There, you’ll find the Yellow-Robed Squire. If you haven’t defeated the First Prince yet, he won’t attack you. Make sure you’ve bested him before returning so you can defeat him.
Tiger Vanguard (Alternate)
Why unnecessarily antagonize the Yellow-Robe Knight? After all, that’s not the end of the side mission. Once you’ve vanquished him, head towards the grand entrance and enter it to explore the Hidden Kingdom of Sahi, a hidden region. It is here where you’ll encounter an altered form of the Tiger Elite Force. Following the actions of our hero, continue to overwhelm this adversary.
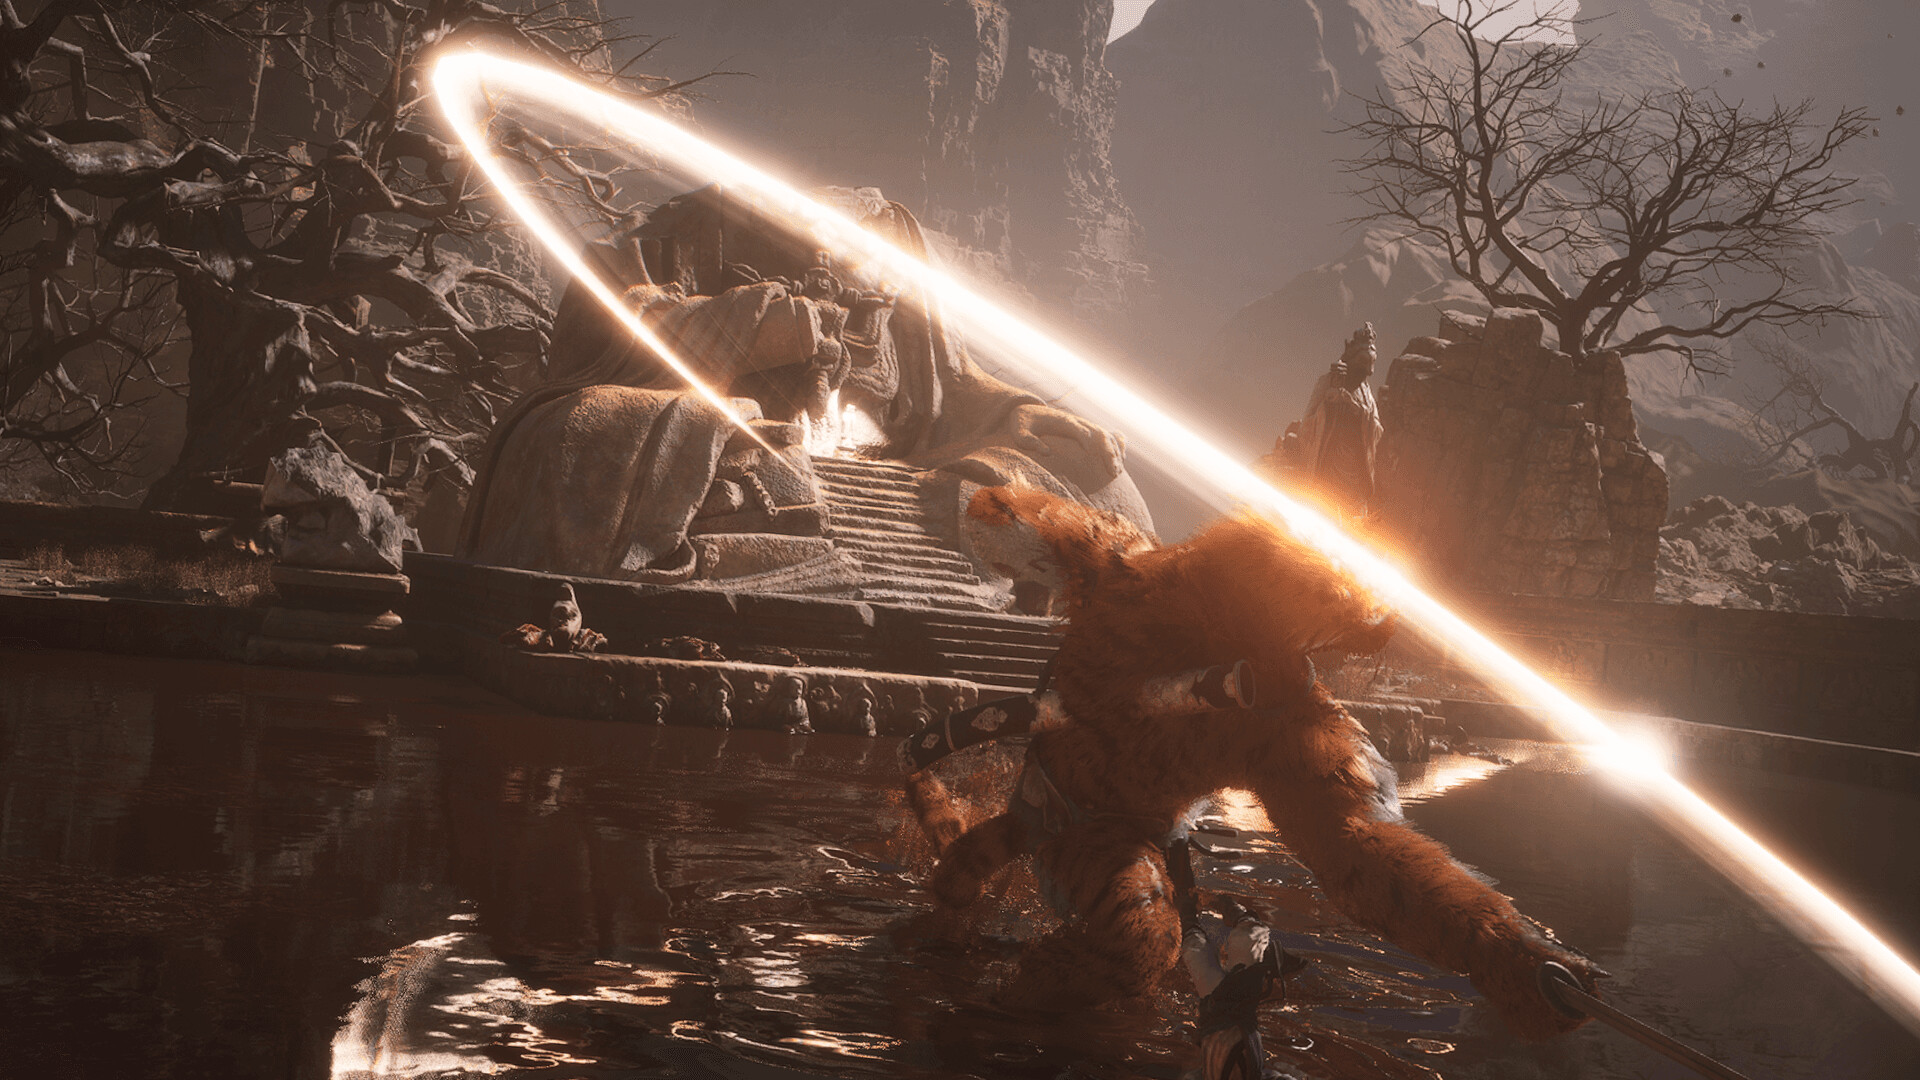
Fuban
Hold on, there’s still something else! If you manage to advance beyond the Tiger Vanguard, you’ll eventually come across an NPC standing on a cliff near a colossal drum. Upon striking this drum, the third and concluding boss of this side mission, Fuban, will appear from the heart of the desert. Overcome it, and you’ll obtain the Wind Tamer vessel and the Sky-Reaching Horn crafting material.
Red Loong and Black Loong
Two additional hidden bosses in the game, Red Loong and Black Loong (who are among the earliest displayed), can be found outside of the easily accessible areas. Luckily, they’re not hard to locate. Head back to the Valley of Despair, revisit the arena where you previously battled the First Prince of Flowing Sands.
1. Position yourself at the wall where you leaped over earlier, then activate the Wandering White Spirit ability to break through that barrier and uncover the Loong Scales. Venture outside of the Wolf Forest, seek a waterfall to interact with – it serves as a portal leading to the Red Loong battle. Overcoming him rewards the Boshan Censer Curio, an item offering damage reduction when your Gourd is devoid of contents.
For Black Loong, head to the Fright Cliff in Rockrest Flat and seek out a series of stairs that lead to a sand waterfall. Interact with it again to uncover a fresh area where the boss is found. After overcoming it, you’ll obtain the Tridacna Pendant, which decreases the cooldown time for all Spirit Skills. Don’t forget to craft the Loongwreathe Staff using materials from both dragons. Be prepared for its high cost of 21,000 Will, but remember its unique effect boosts the damage of all Pillar Stance abilities.
Elder Jinchi
In case you recall, the character from trailers who has a metallic coat and unleashes hordes of exploding minions against you? That’s Elder Jinchi, surprisingly enough, a hidden boss. He can be discovered in Chapter 1, specifically at the Grand Chamber within Ancient Guanyin Temple. However, accessing this area is not immediately obvious.
To reach him, you need to ring three bells that are positioned in the boss arenas – one each in Guangzhi within the Forest of Wolves, another in Guangmou situated in the Bamboo Grove, and the third one is with Whiteclad Noble in the Snake Trail and Marsh of White Mist. Ringing all three will transport you to confront Elder Jinchi. Defeat him, and the Fireproof Mantle will be yours as your reward.
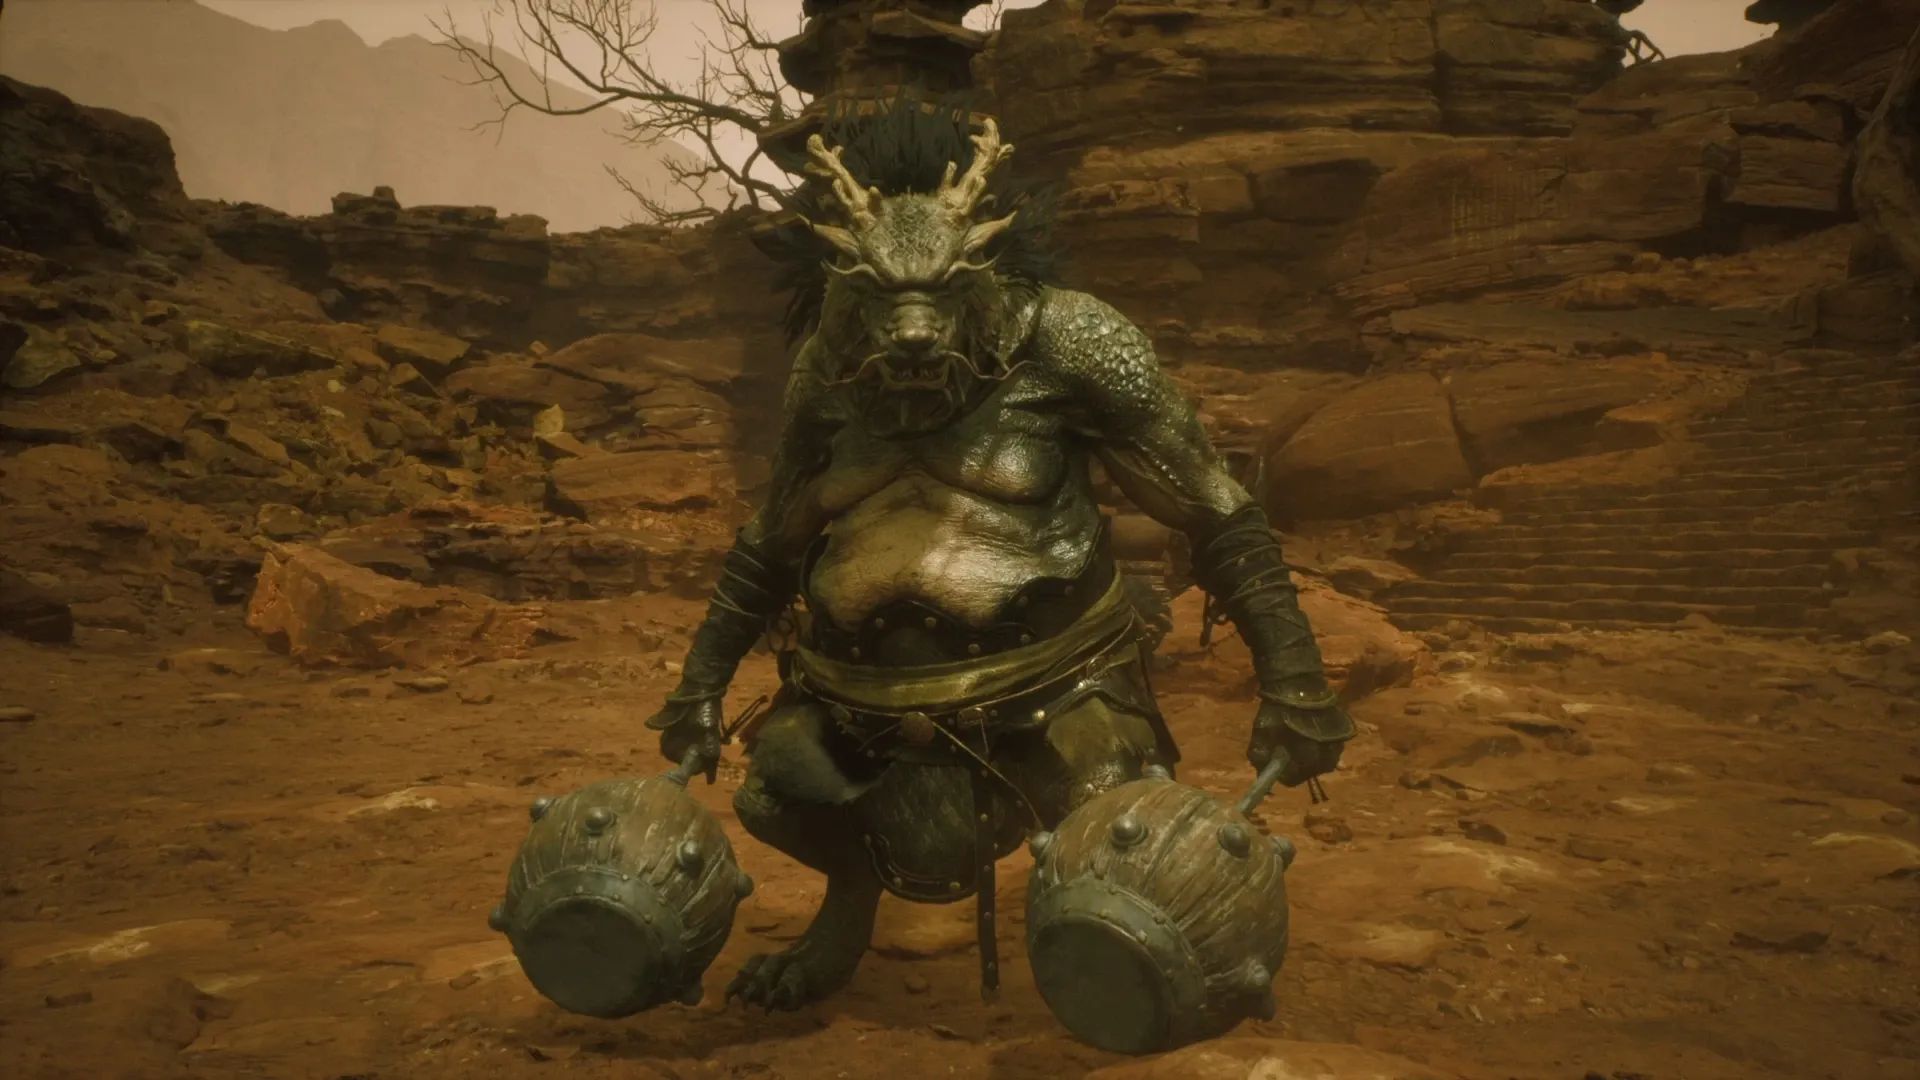
Shigandang
Following your victory against the Stone Vanguard in Chapter 2’s Rockrest Cliff, another formidable opponent awaits within the same location. But before you can face this new adversary, you must gather six Buddha’s Eyeballs. Four of these are hidden within the Squall Hideout in Rockrest Cliff, while the last two can be found in Rockrest Flat. Once all six have been collected, make your way back to the Stone Vanguard’s arena and give them to the rock adorned with human faces. This action will summon Shigandang, eager for battle. Overcome it to acquire a Mind Core and the Skandha of Feeling.
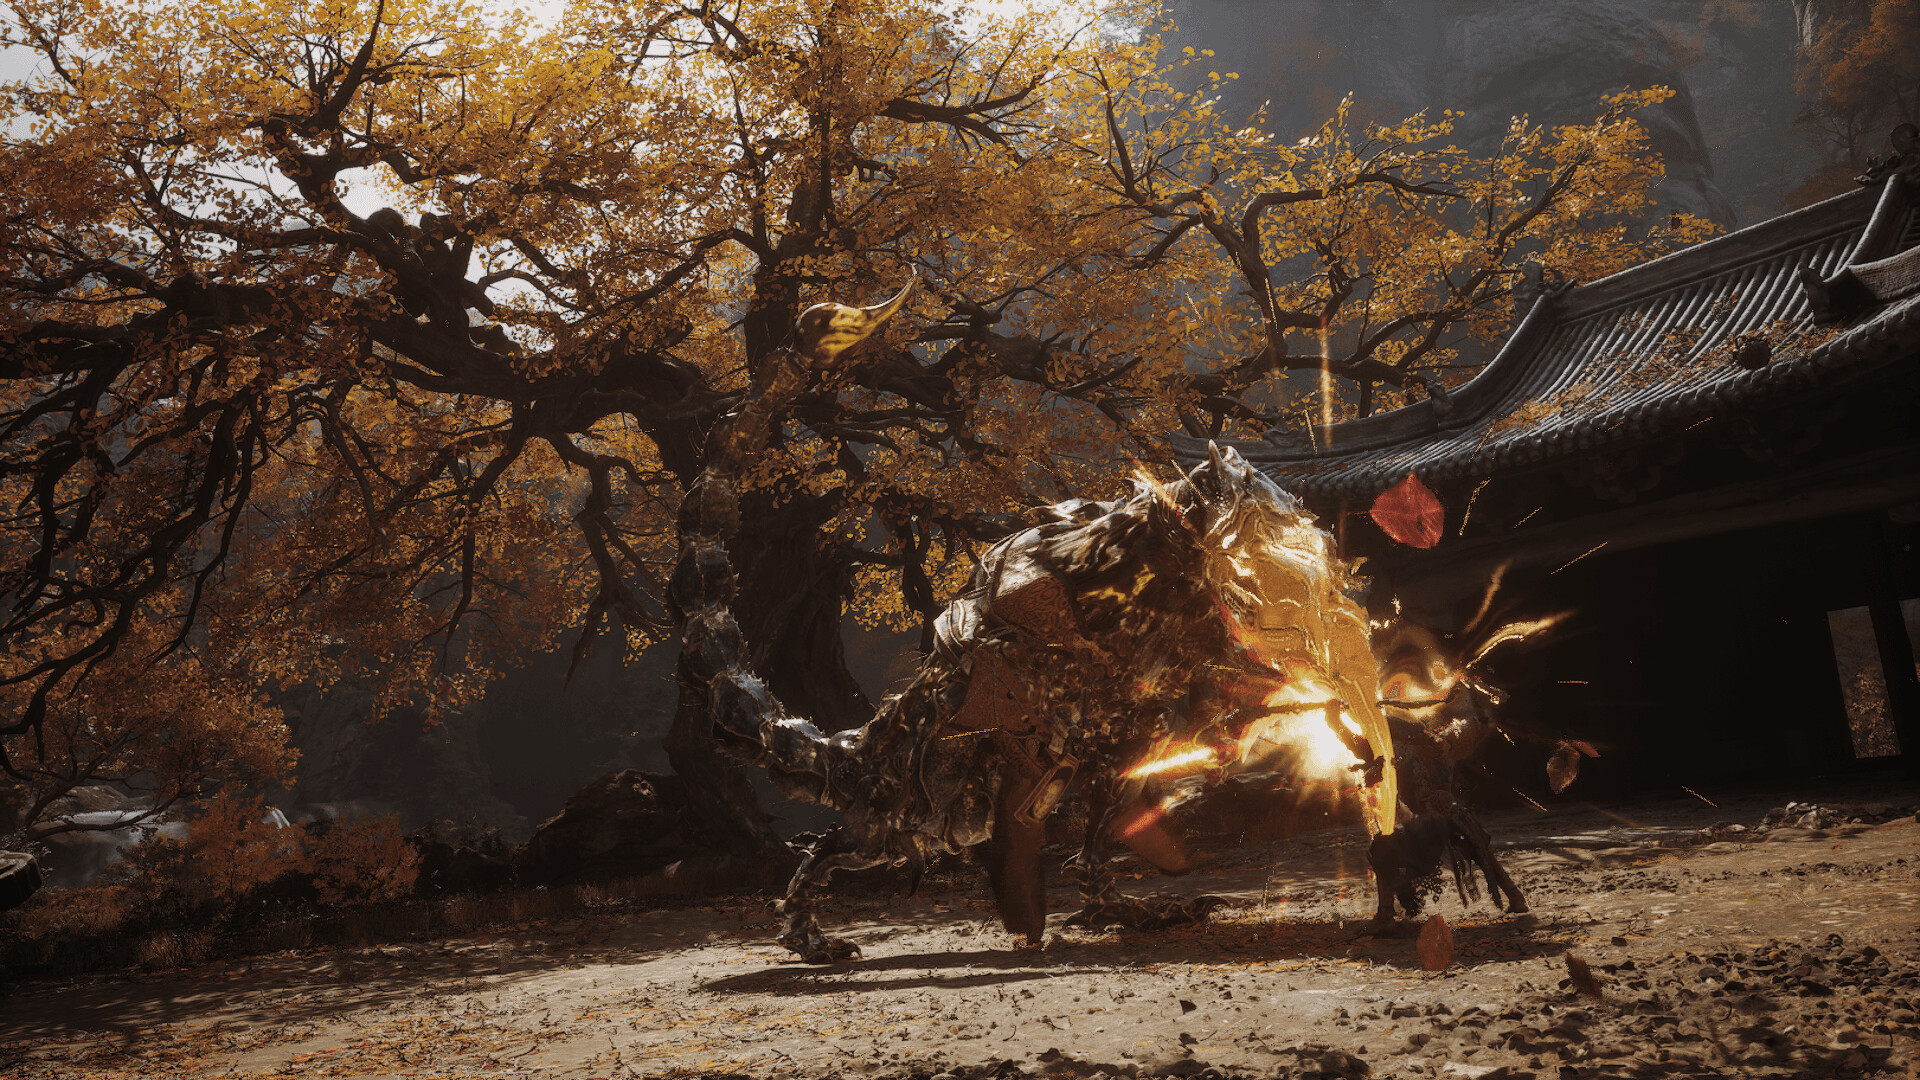
Mad Tiger
To access this boss, you must first have defeated the Tiger’s Acolyte at Windrest Hamlet in Chapter 2. It grants the Old-Rattle Drum, which must be used in three locations at Yellow Wind Formation – Windseal Gate, Windrest Hamlet and the entrance to Sandgate Village. A cutscene will trigger at the village, indicating a well – jump into it to find the Mad Tiger, ready and willing to fight.
Green-Capped Martialist
In Chapter 3, you’ll come across a character known as the Freezing Fortune-finder on the Northern Coast of Bitter Lake. He might also show up in the Forest of Bliss within the Valley of Ecstasy during this chapter. Remember to have your Fire Ring spell at hand because he’s frozen solid when you meet him. Cast the spell and talk to him again. After that, proceed to the Forest of Felicity shrine and move right upon appearing. At the foot of the slope, take the stairs on the left and descend until you reach a small lake with a monument.
1. Leap off the cliff on your right, veer left towards the colossal tree stump, and descend until you get to the Melon Field shrine. Right beyond it lies a huge cave where the Green-Capped Martialist boss resides. Overcoming it initiates a cutscene, and subsequently, you’ll acquire the Spell Binder.
Non-Void
1. Head back to the Forest of Bliss sanctuary; this time engage the person by the gateway. Reach a conversational milestone, and you’ll morph into a fox, earning the Snowy Fox Artifact that allows for future transformations. Proceed through the narrative until you unlock the New Thunderbolt Temple. Inside, notice a radiant red artifact; approach it to instigate a battle with Captain Kalpa-Wave, then enter the temple.
Follow the main path until you spot a smaller temple; go in through the rear entrance. Once inside, locate the steps on the left, then turn right and left again, descending more stairs. Enter the structure that lies ahead, keeping to the right side before ascending the staircase. Exit onto the balcony and proceed towards another set of doors. Use the stairs on the left and employ the Snow Fox Brush to alter your form. Enter the enclosed area to instigate the Non-Void battle. Upon returning to the Forest of Felicity, deposit the brush, receiving it as a Curio that increases Transformation duration when carried.
Mother of Flamlings

In my adventure through the Flaming Mountains, I’ve discovered that the Field of Fire isn’t just home to the Flint Vanguard. Instead, make a detour to the Fallen Furnace Crater. There, keep an eye out for the ground-bursting magma worms – they can be quite a nuisance! Defeat them to gather precious Flame Ore. Gather four of these, then retrace your steps with the colossal ball in tow.
A new route to the Flint Vanguard will have opened up, but move past his location, and eventually, a glowing red area will be visible. If you hold R2 and deliver the Flame Ores, a secret boss, the Mother of Flamelings, emerges. She drops a Samadhi Fire Crystal, the Knot of Voidness and a decent chunk of Will.
Zodiac Village, 3rd Curios Slot and A Powerful Transformation
There is a hidden location in Chapter 3 that acts as home base, and it houses every merchant type NPC that you will encounter in the game. In short, you would want to find this place to save time and multiple fast travel instances. How do you find it? Well, you have to complete a quest for it. In Chapter 3, defeat Chen Loong near the shores.
1. Following its defeat, explore all its conversation possibilities and then make your way to Xu Dog. After chatting with him, he’ll provide you with the Fortifying Medicament and Bone-Strengthening Pouch. Return to talk to Chen and he will escort you to Zodiac Village. Upon arrival, meet the Blacksmith who will offer a third Curios storage space. Defeat him if you can, and you’ll earn the Ebon Flow Transformation as a reward.
Read More
- PI PREDICTION. PI cryptocurrency
- Gold Rate Forecast
- WCT PREDICTION. WCT cryptocurrency
- LPT PREDICTION. LPT cryptocurrency
- Guide: 18 PS5, PS4 Games You Should Buy in PS Store’s Extended Play Sale
- Solo Leveling Arise Tawata Kanae Guide
- Despite Bitcoin’s $64K surprise, some major concerns persist
- Clarkson’s Farm Season 5: What We Know About the Release Date and More!
- Jack Dorsey’s Block to use 10% of Bitcoin profit to buy BTC every month
- You Won’t Believe Today’s Tricky NYT Wordle Answer and Tips for April 30th!
2024-08-28 15:12