
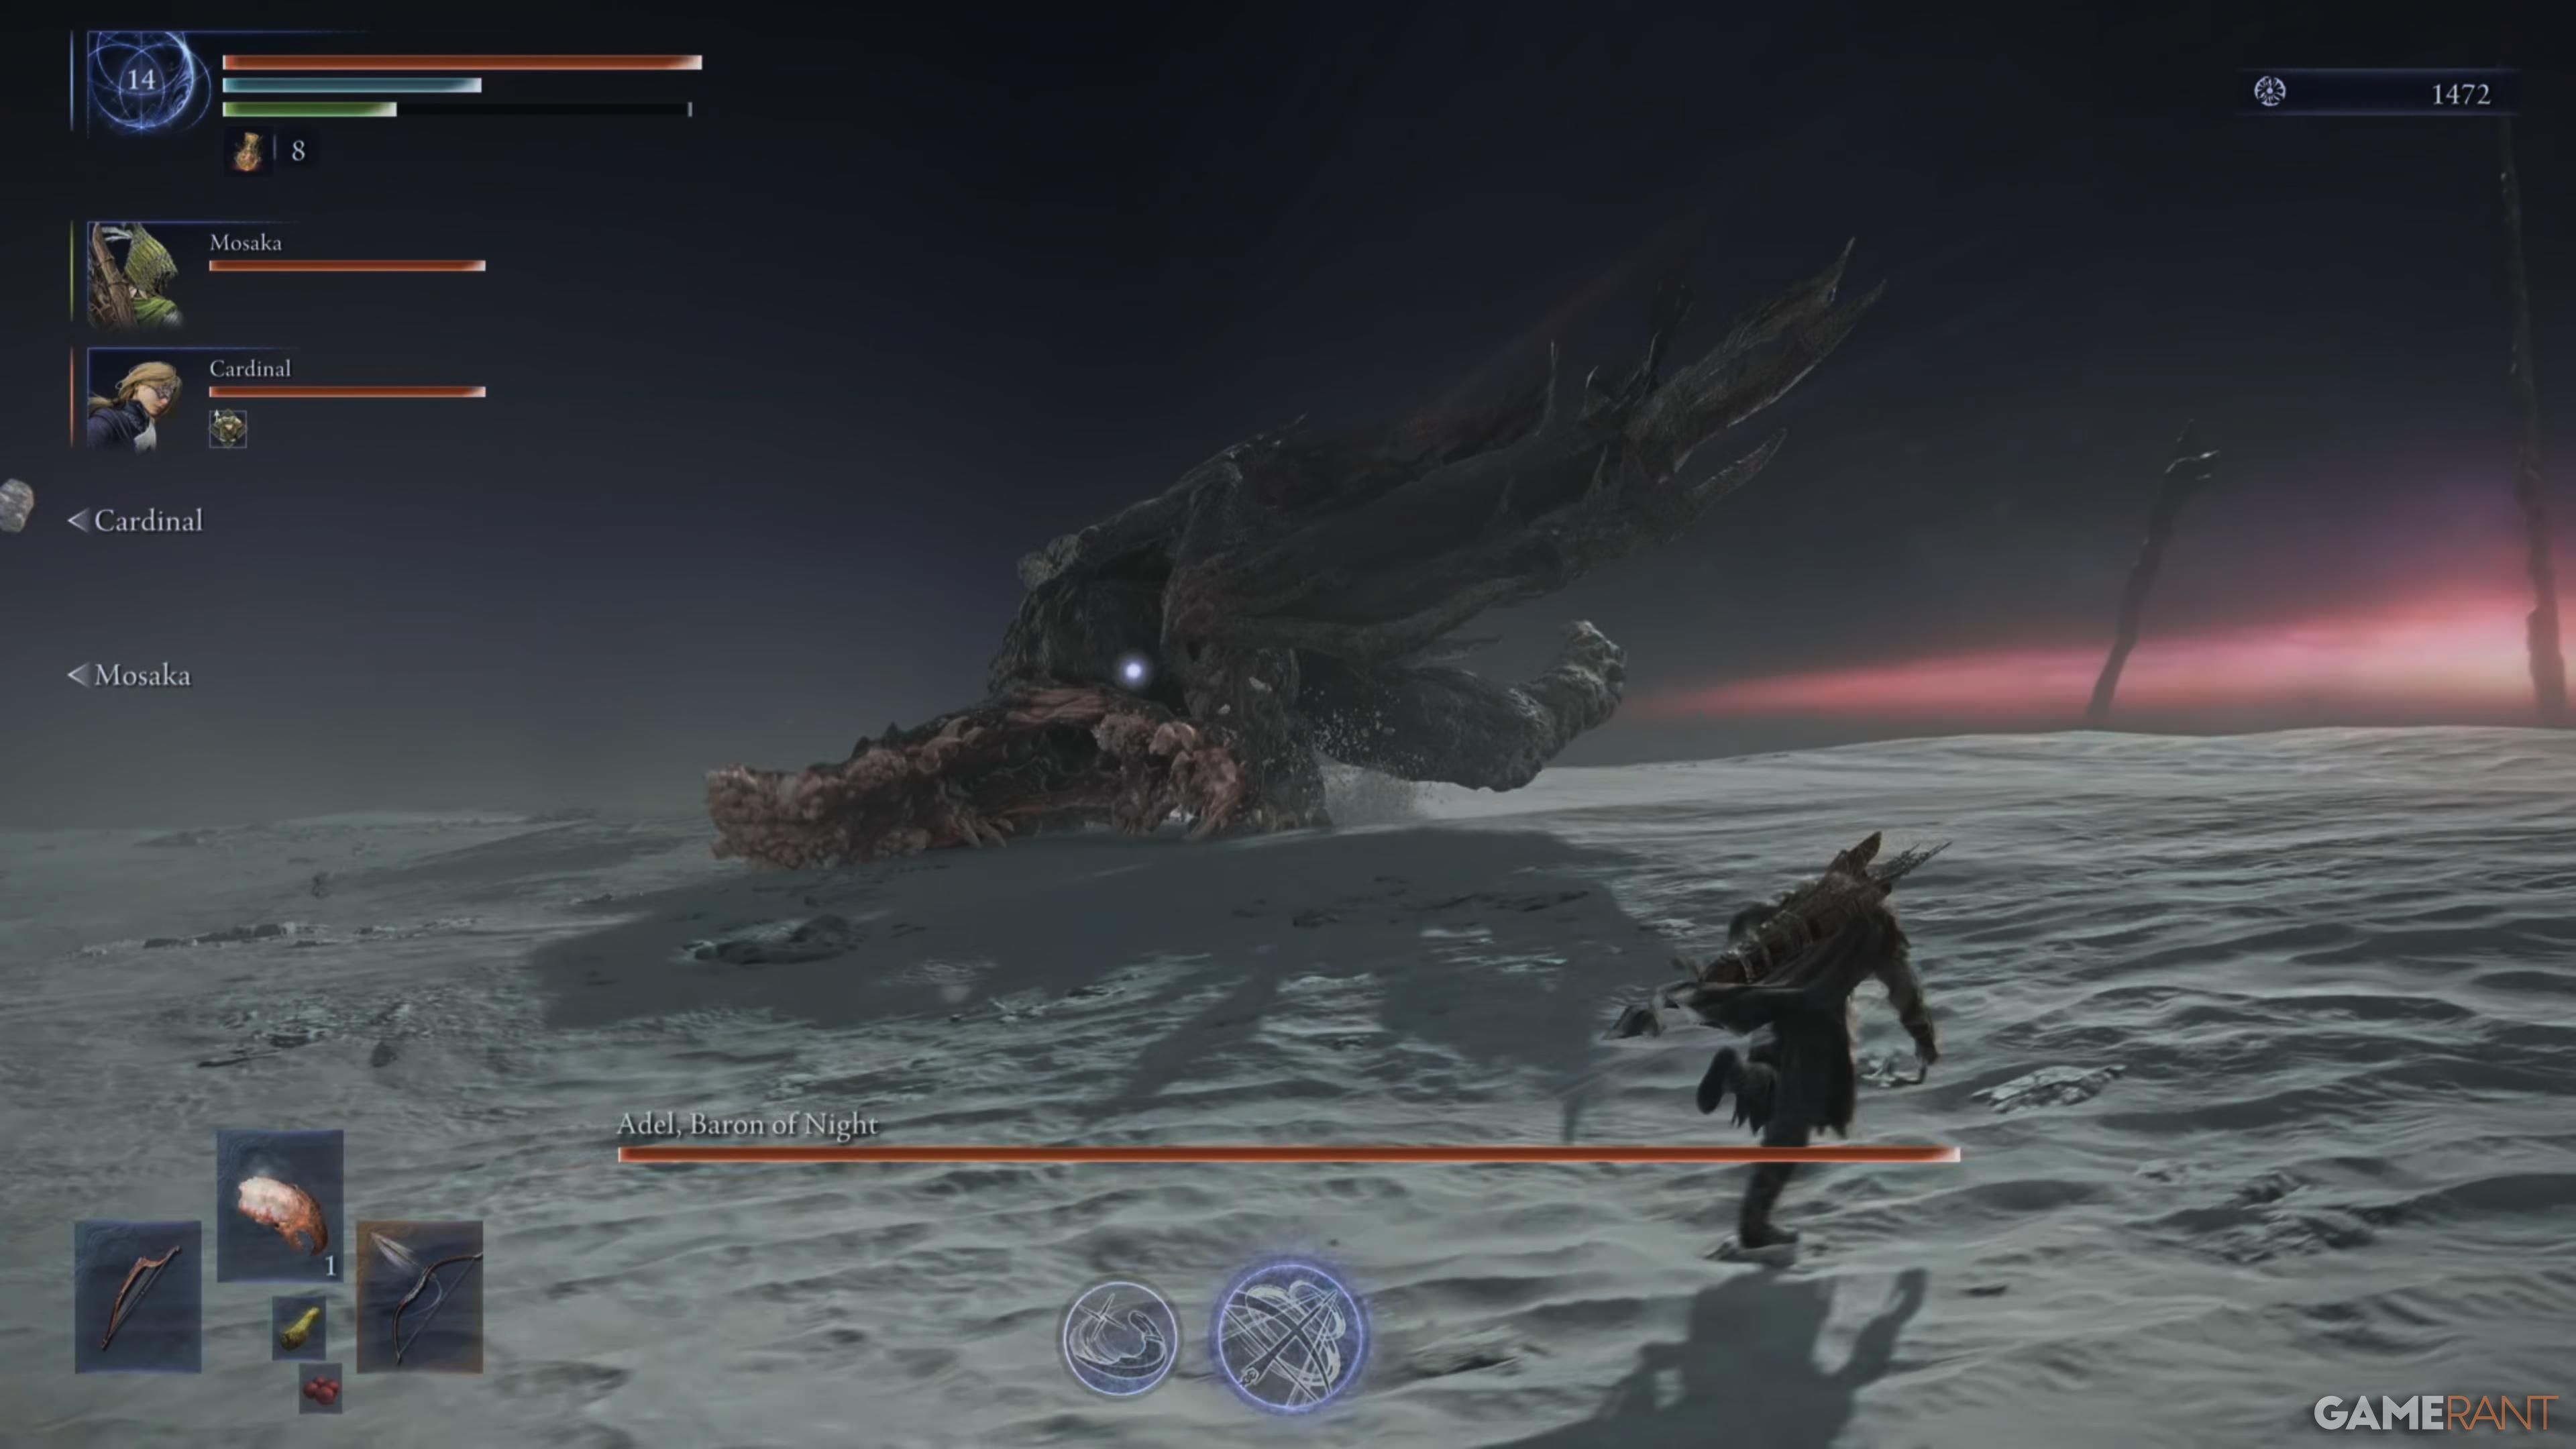
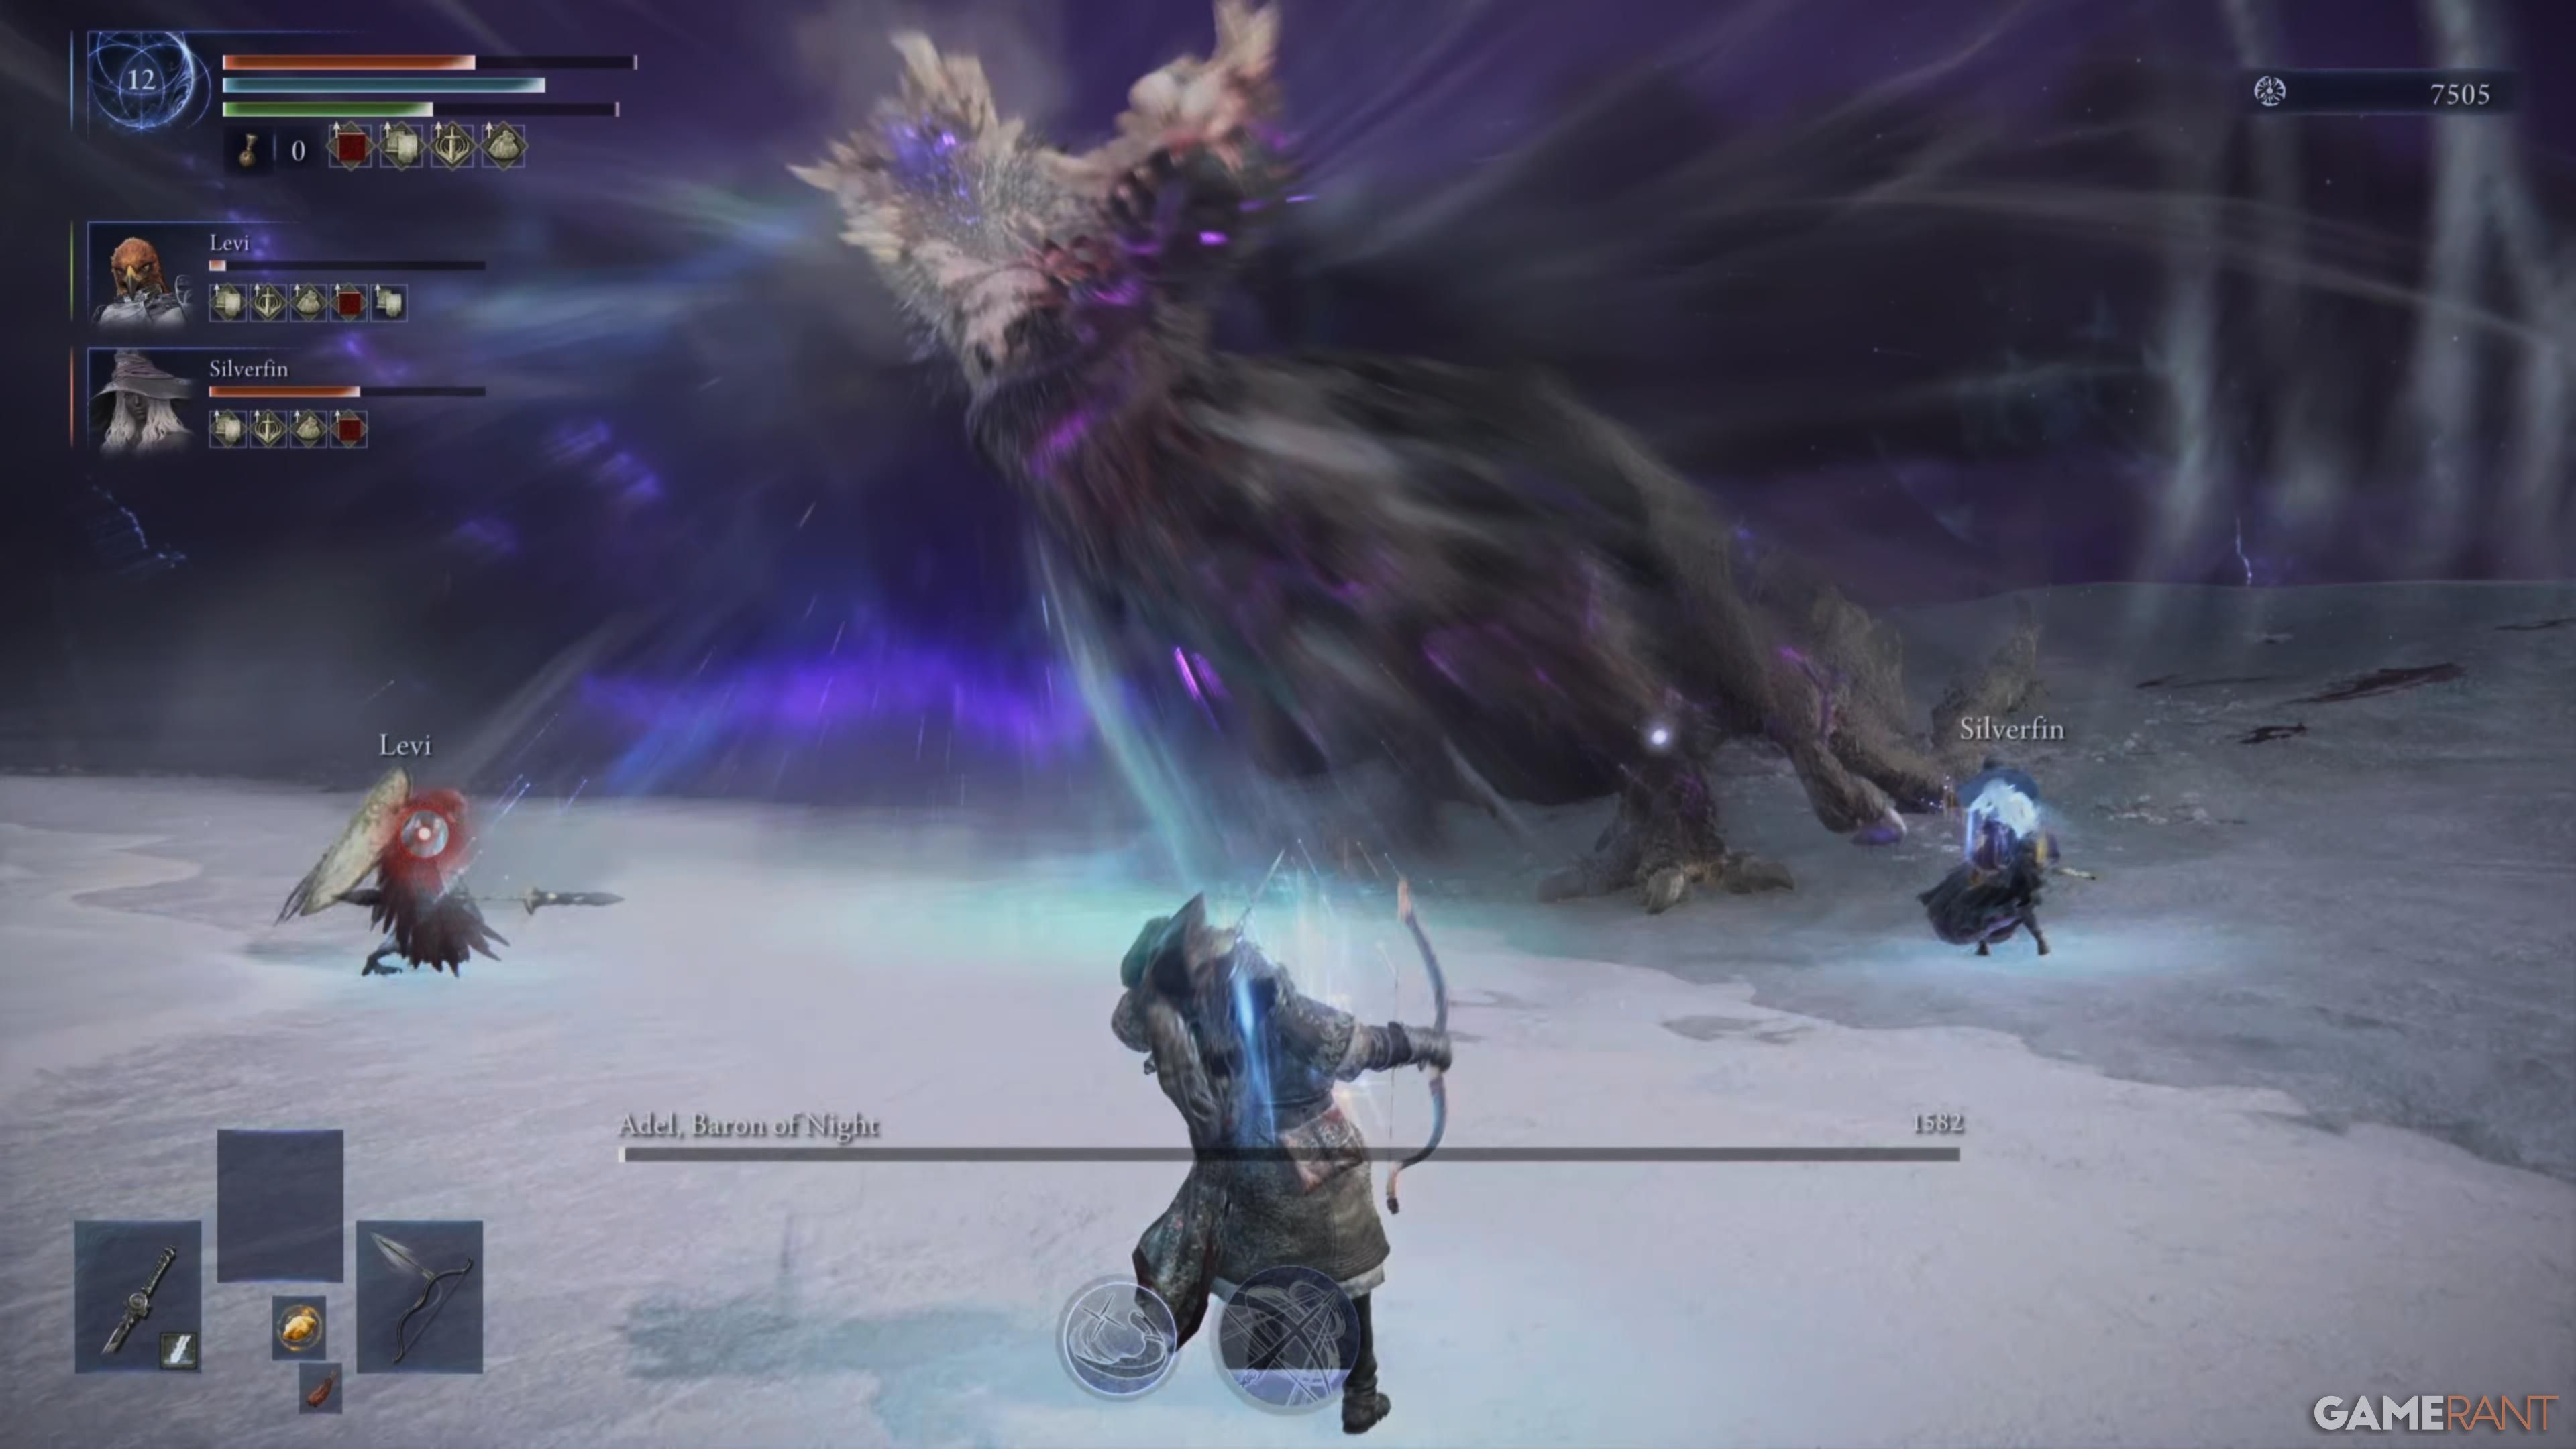
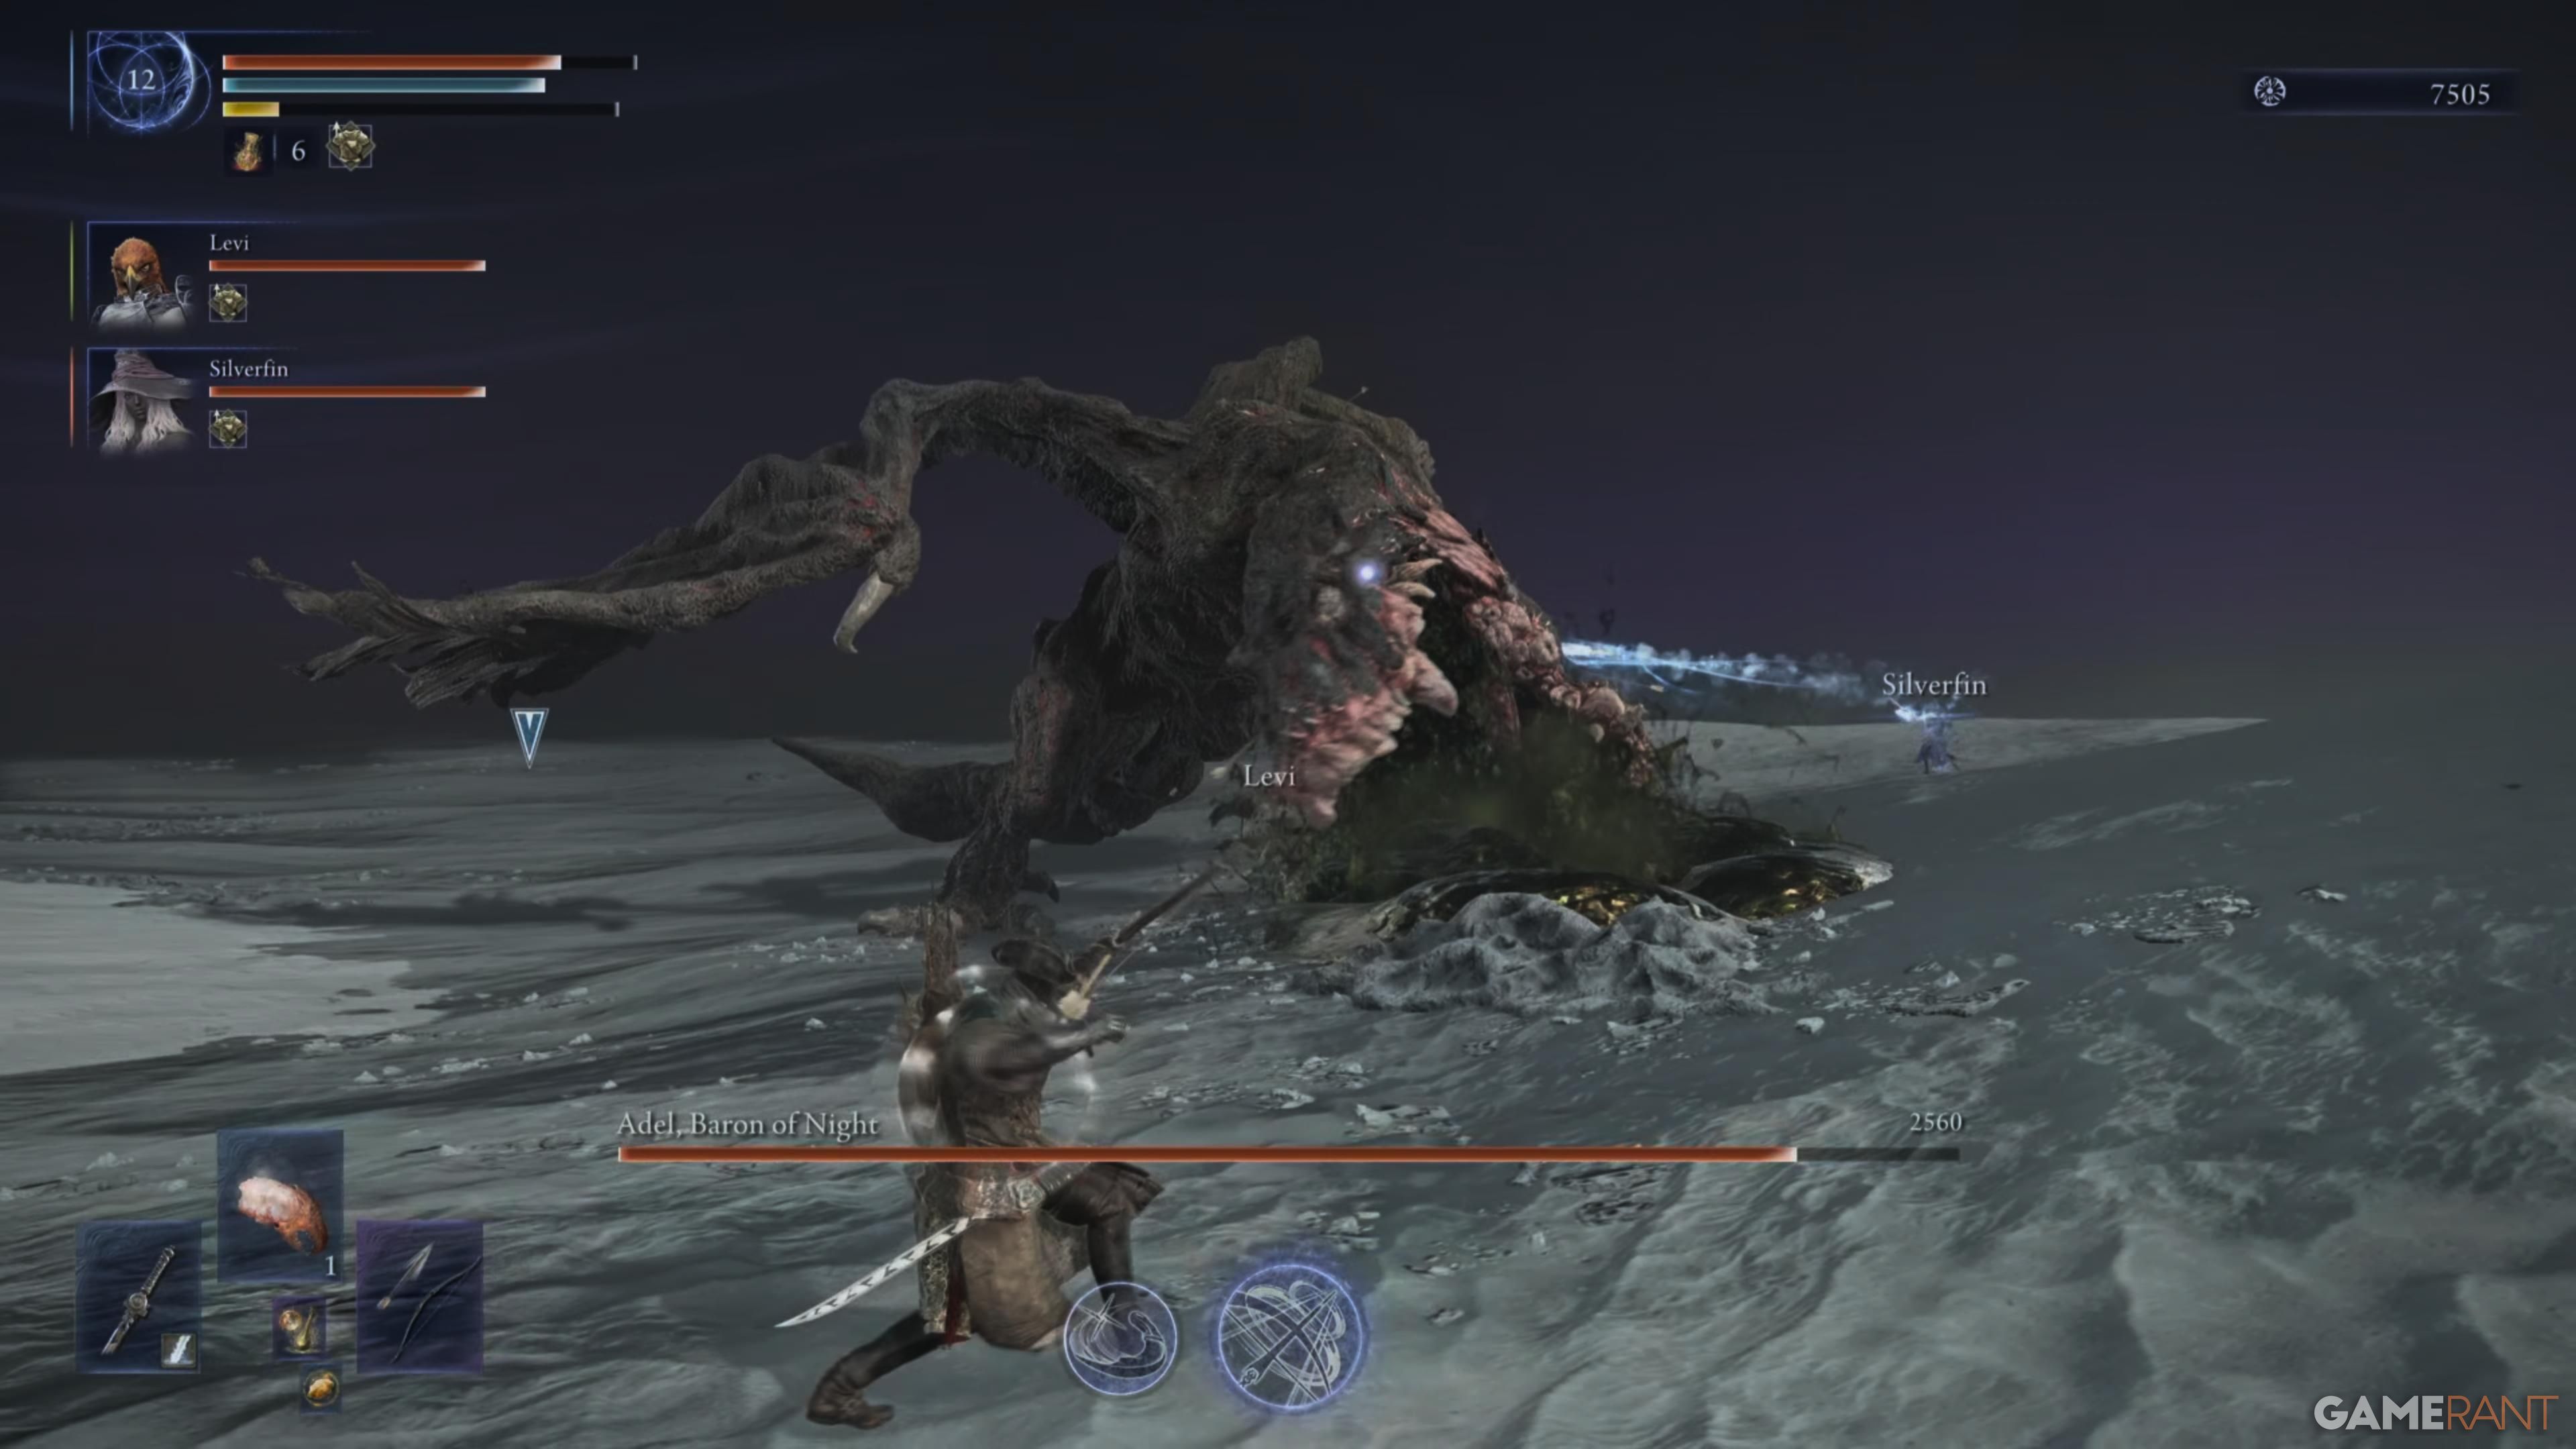
In the sequence of expeditions, the second one, titled “Elden Ring Nightreign,” features one of its most fearsome dragons, the “Gaping Jaw.” This monster’s twisted jaw gives it a grotesque appearance and allows it to swiftly close the gap when attempting to bite or grab the player for a meal. Known as “Adel, Baron of Night,” this creature is particularly challenging among the Nightlords, with reckless moves potentially leading to your demise. A well-thought-out strategy and an effective team composition are crucial for success in this battle.
In Elden Ring Nightreign, you’ll discover details about Adel’s attack routines and the boss’ vulnerabilities that players can exploit. Knowing how to respond to its attacks, when to retreat, and how to counter its deadliest moves will significantly improve your ability to handle this Nightlord encounter.
Adel, Baron of Night Overview In Elden Ring Nightreign
| Attack | Image | Attack Description |
|---|---|---|
| Phase 1 | ||
| Crushing Maw |
 |
Adel plants its jaws into the ground and charges at you. |
| Shattering Slam |
 |
The boss slams its face into the ground, causing a small area around it to erupt. |
| Purple Grab |
 |
Adel raises its head, followed by an audio cue and a purple animation that indicates an incoming jaw grab. |
| Roaring Tantrum |
 |
The boss roars twice, stunning Nightfarers. This does not deal any damage. |
| Phase 2 | ||
| Lightning Discharge |
 |
Adel starts to vibrate with lightning around itself, then causes a large AOE that rapidly deals damage to any player inside the area. |
| Lightning Burrow Slam |
 |
The boss slams its head into the ground, causing lightning to spread out in multiple directions. |
| Diving Storm |
 |
Adel leaps up into the air, crashes down onto the ground, and unleashes a lightning blast all around it. |
Adel, Baron of Night Weaknesses
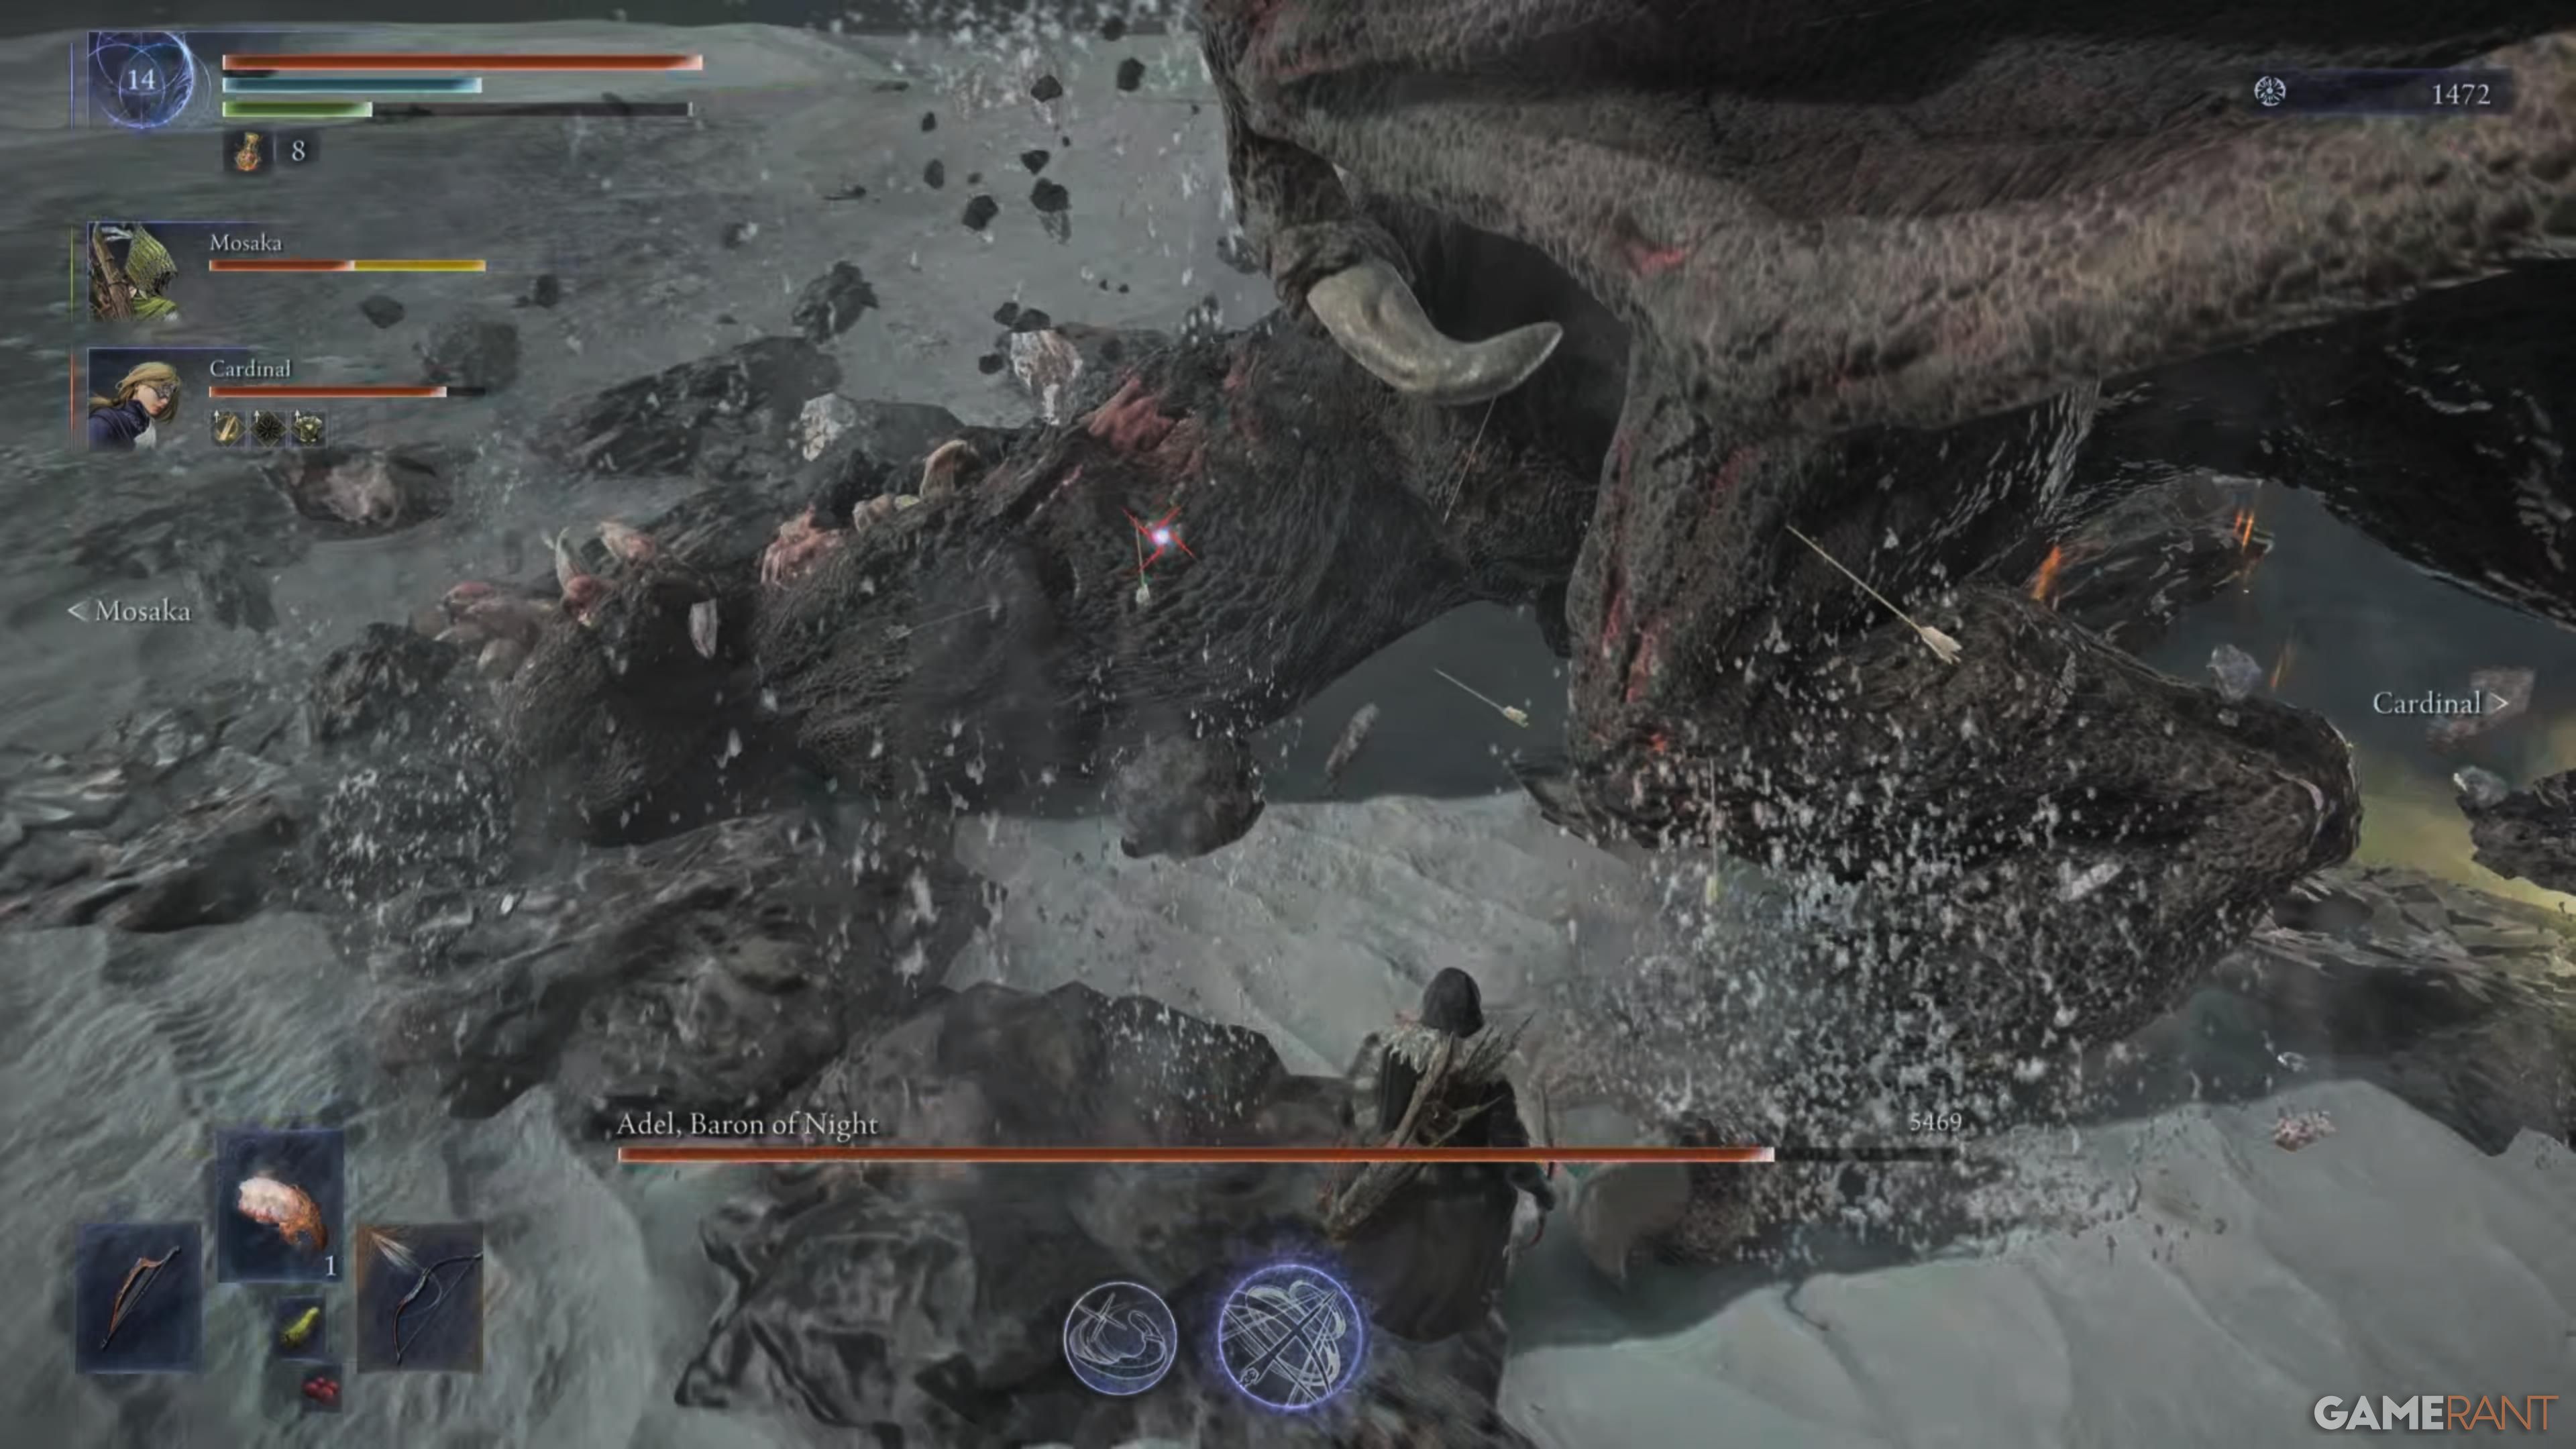
In this scenario, Adel has a vulnerability towards multiple affinities, compelling players to obtain a weapon capable of causing those Status Effects on the boss. The boss is particularly susceptible to Poison, so prioritizing it should be your first move. This interaction stands out as exceptionally unique compared to other Status Effect and boss interactions. Here’s what sets this apart: when the boss is poisoned, Adel expels all the poison from its body, creating a toxic pool that deals damage to players and causes Poison buildup if they are nearby.
Obtaining deadly poisonous weapons can be quite challenging since Poison Ruins and weapon drops are scarce. If you’ve successfully completed the Sentient Pest raid, you’ll have access to the Night of the Wise, a weapon that inflicts poison from the start. After acquiring this, your next step is to visit the Tunnel and secure the Smithing Stone [2]. You can buy the initial one from a merchant, and this should enable you to upgrade your weapon to Rare quality.
Besides exploring the Ruins for icy weapons, another option is to endure the Night of the Miasma with the Relic, which imbues your weapon with a chilling mist.
General Strategy For Gaping Jaw In Elden Ring Nightreign
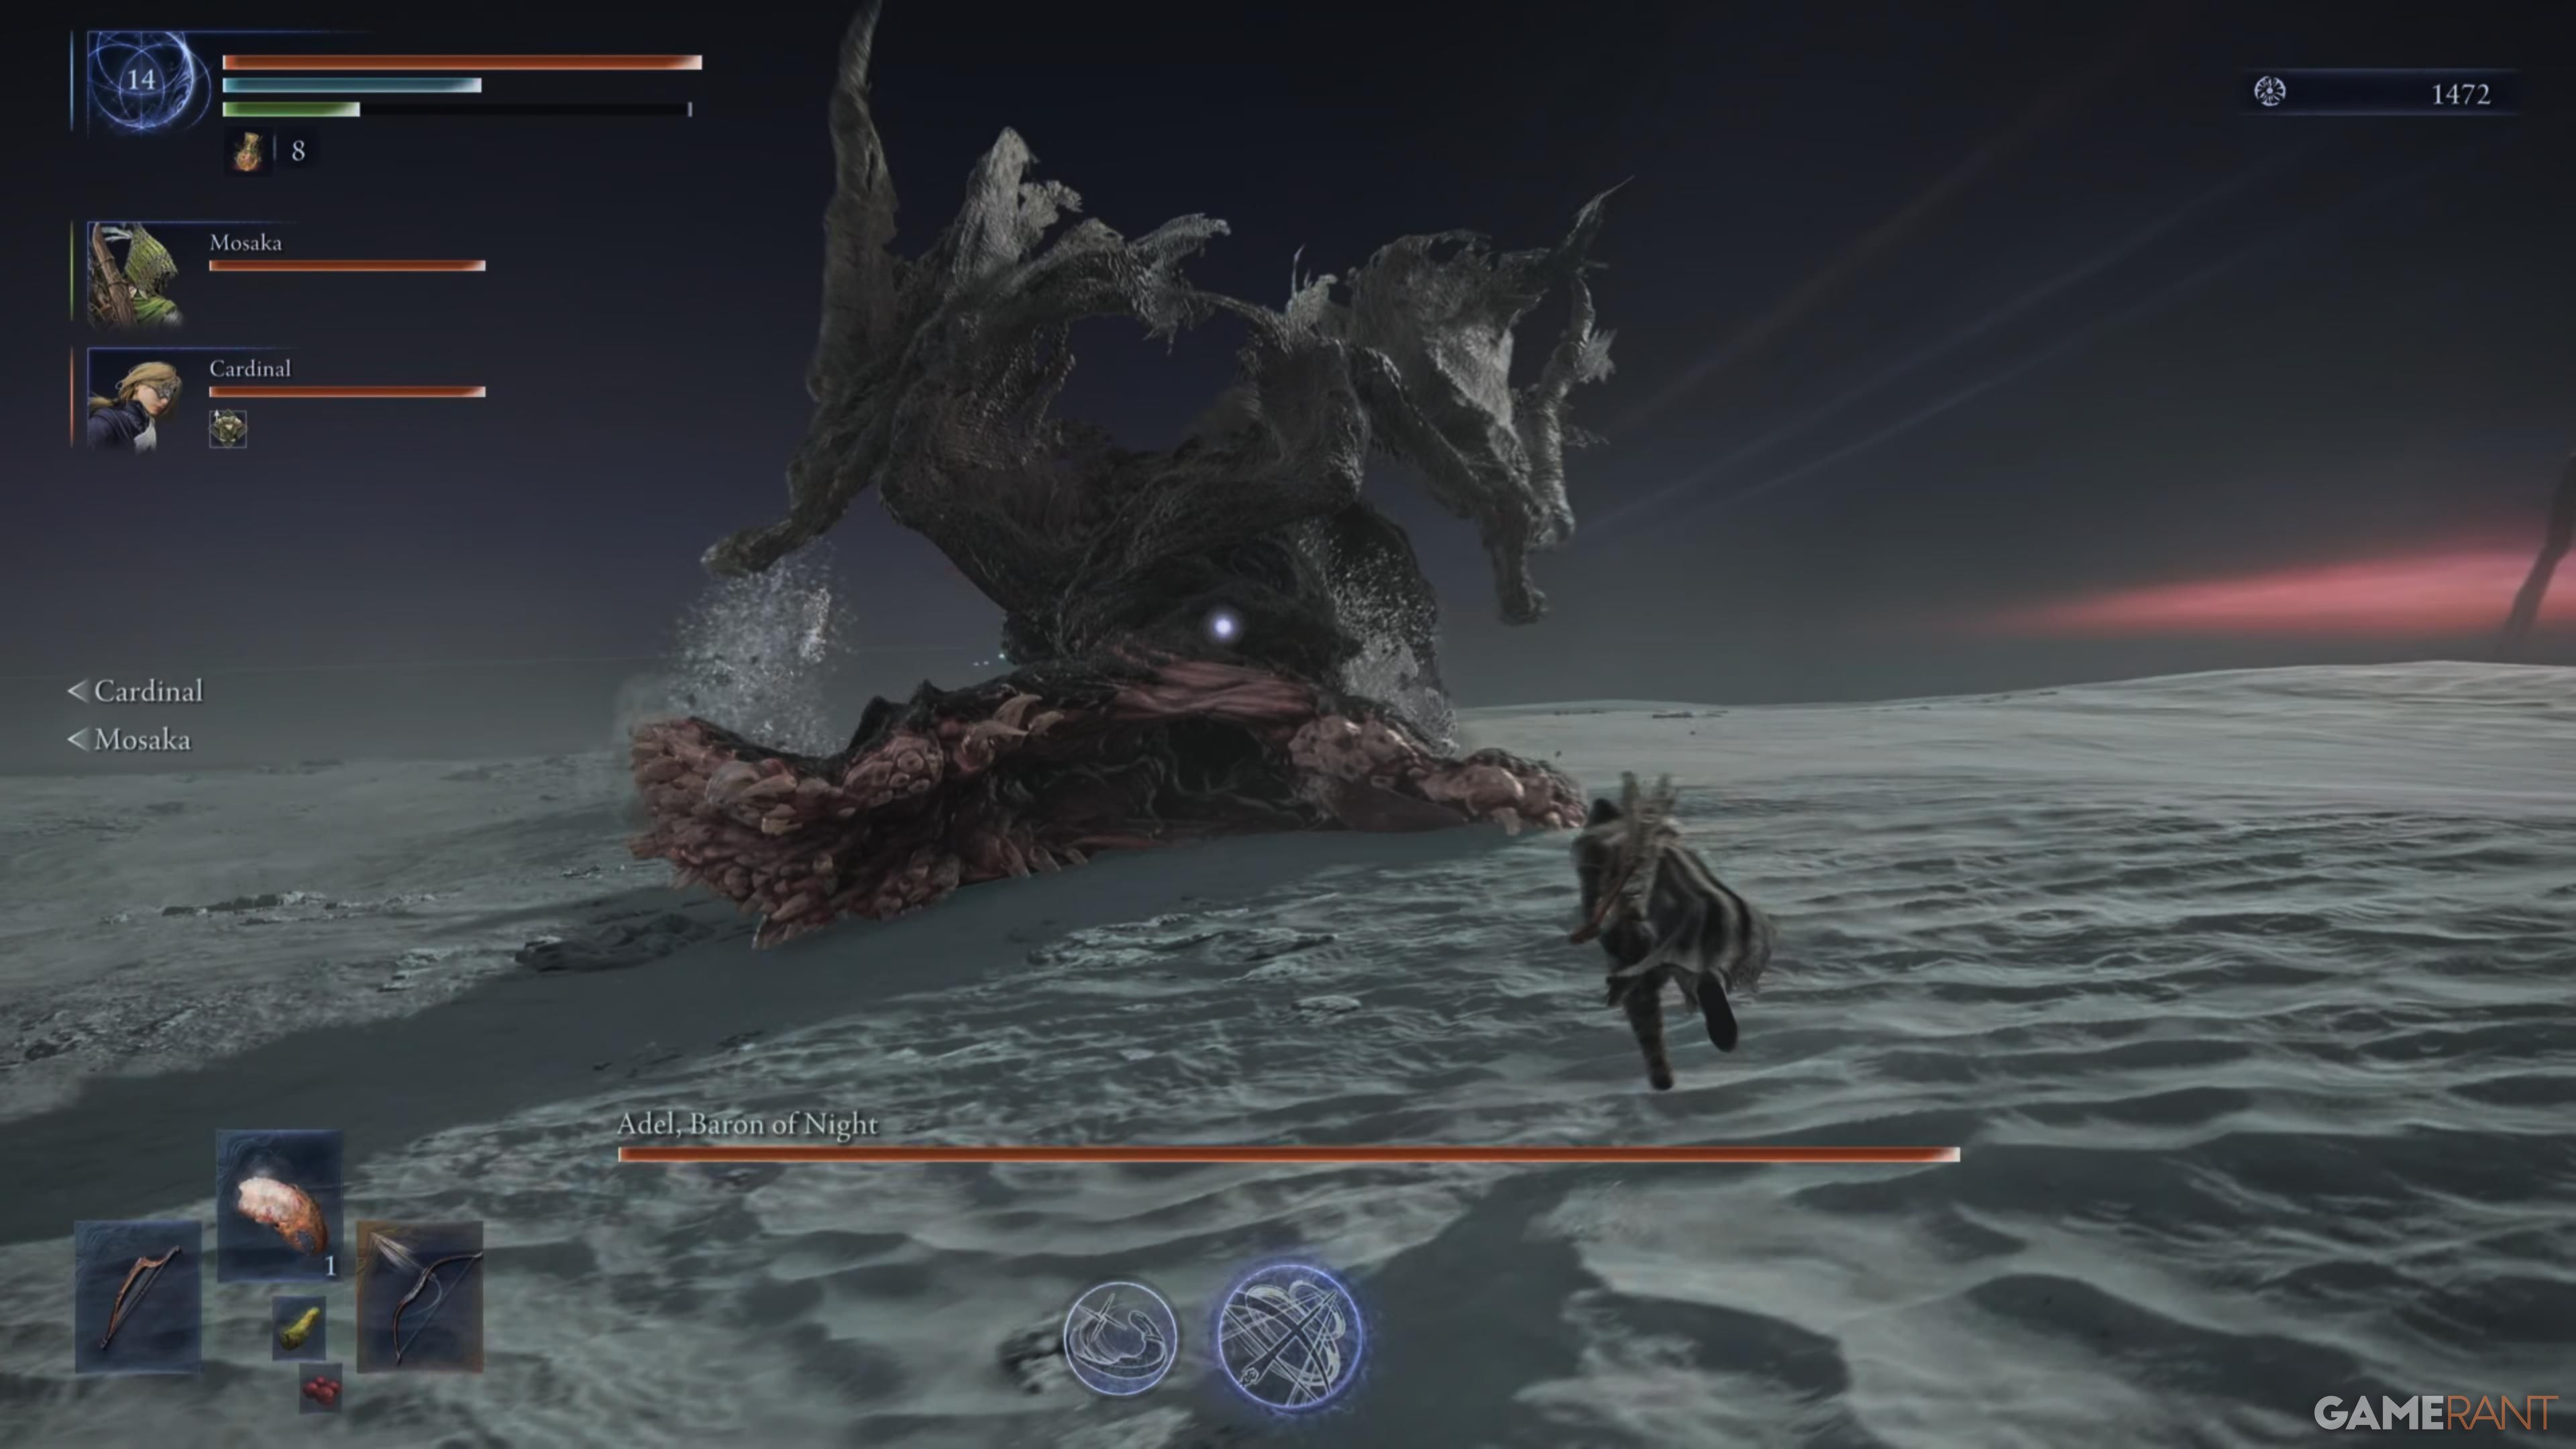
Adel, the Night’s Baron, is an exceptionally aggressive leader who can swiftly change his targets. He has several moves in his repertoire. For most of these moves, he employs his massive jaws either by embedding them into the ground or by dragging them towards the player. The Crushing Bite and Shattering Impact are attacks that can be dodged with relative ease once you’ve familiarized yourself with their movements a few times. However, it’s crucial not to linger too long while dodging the charge of the Crushing Bite, as delaying could result in getting hit and falling down, leaving you vulnerable for another attack from the boss.
This Roaring Tantrum doesn’t inflict damage directly, but it sets up for a subsequent attack, so stay vigilant at all times. The Grab is particularly tricky to avoid due to its ability to instantly bridge the gap, and once you’re grasped, it can swiftly deplete about 80% of your health by causing Blood Loss.
If you are using Ironeye, you can dash through the boss as it comes close for the grab.
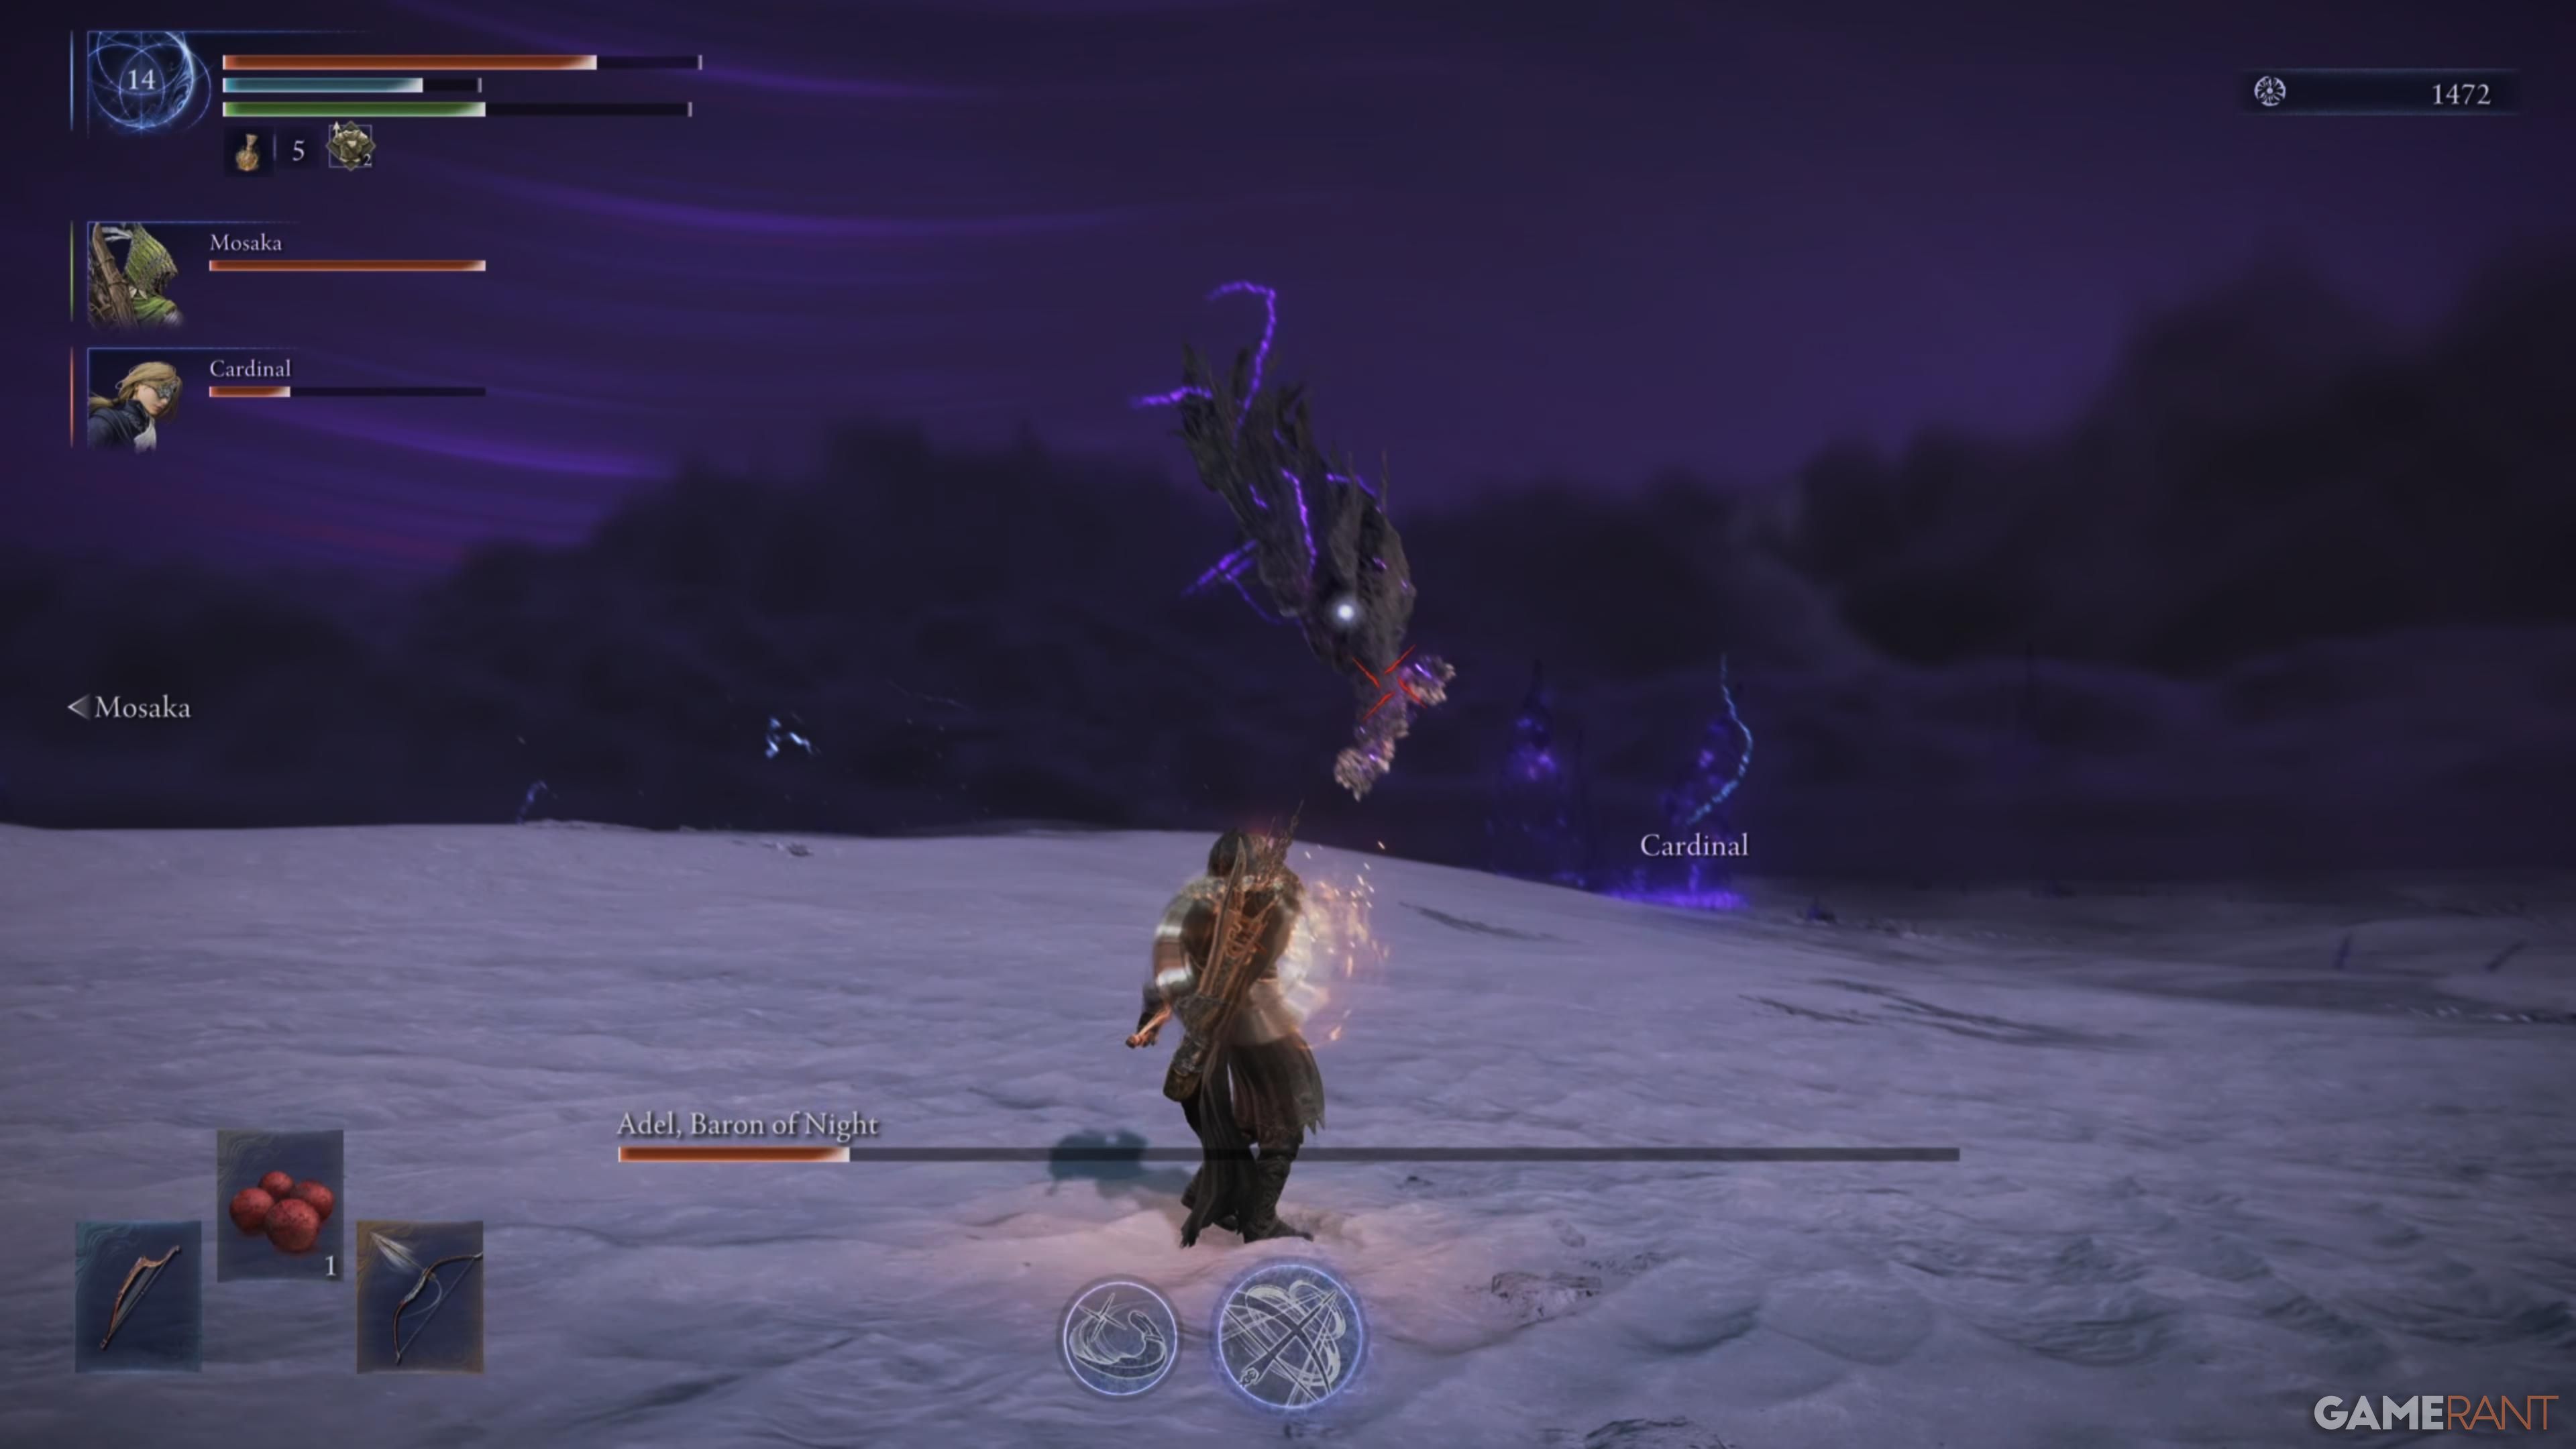
In this battle, administering poison is crucial since it forces the boss to release all the poison it has consumed. This creates a brief window where you can take advantage by healing up, restoring your health completely, enhancing your abilities, or even pressing forward to deal more damage and deplete its health further. Just remember to keep your distance from the poison, as it can cause harm.
One peculiar encounter with your supervisor is that it can seize not one but two team members simultaneously if they’re close enough in proximity. This situation promotes individuality during attacks as players are deterred from congregating together, and instead encourages maintaining a safe distance, particularly when the Purple Grab’s initial motion is observed.
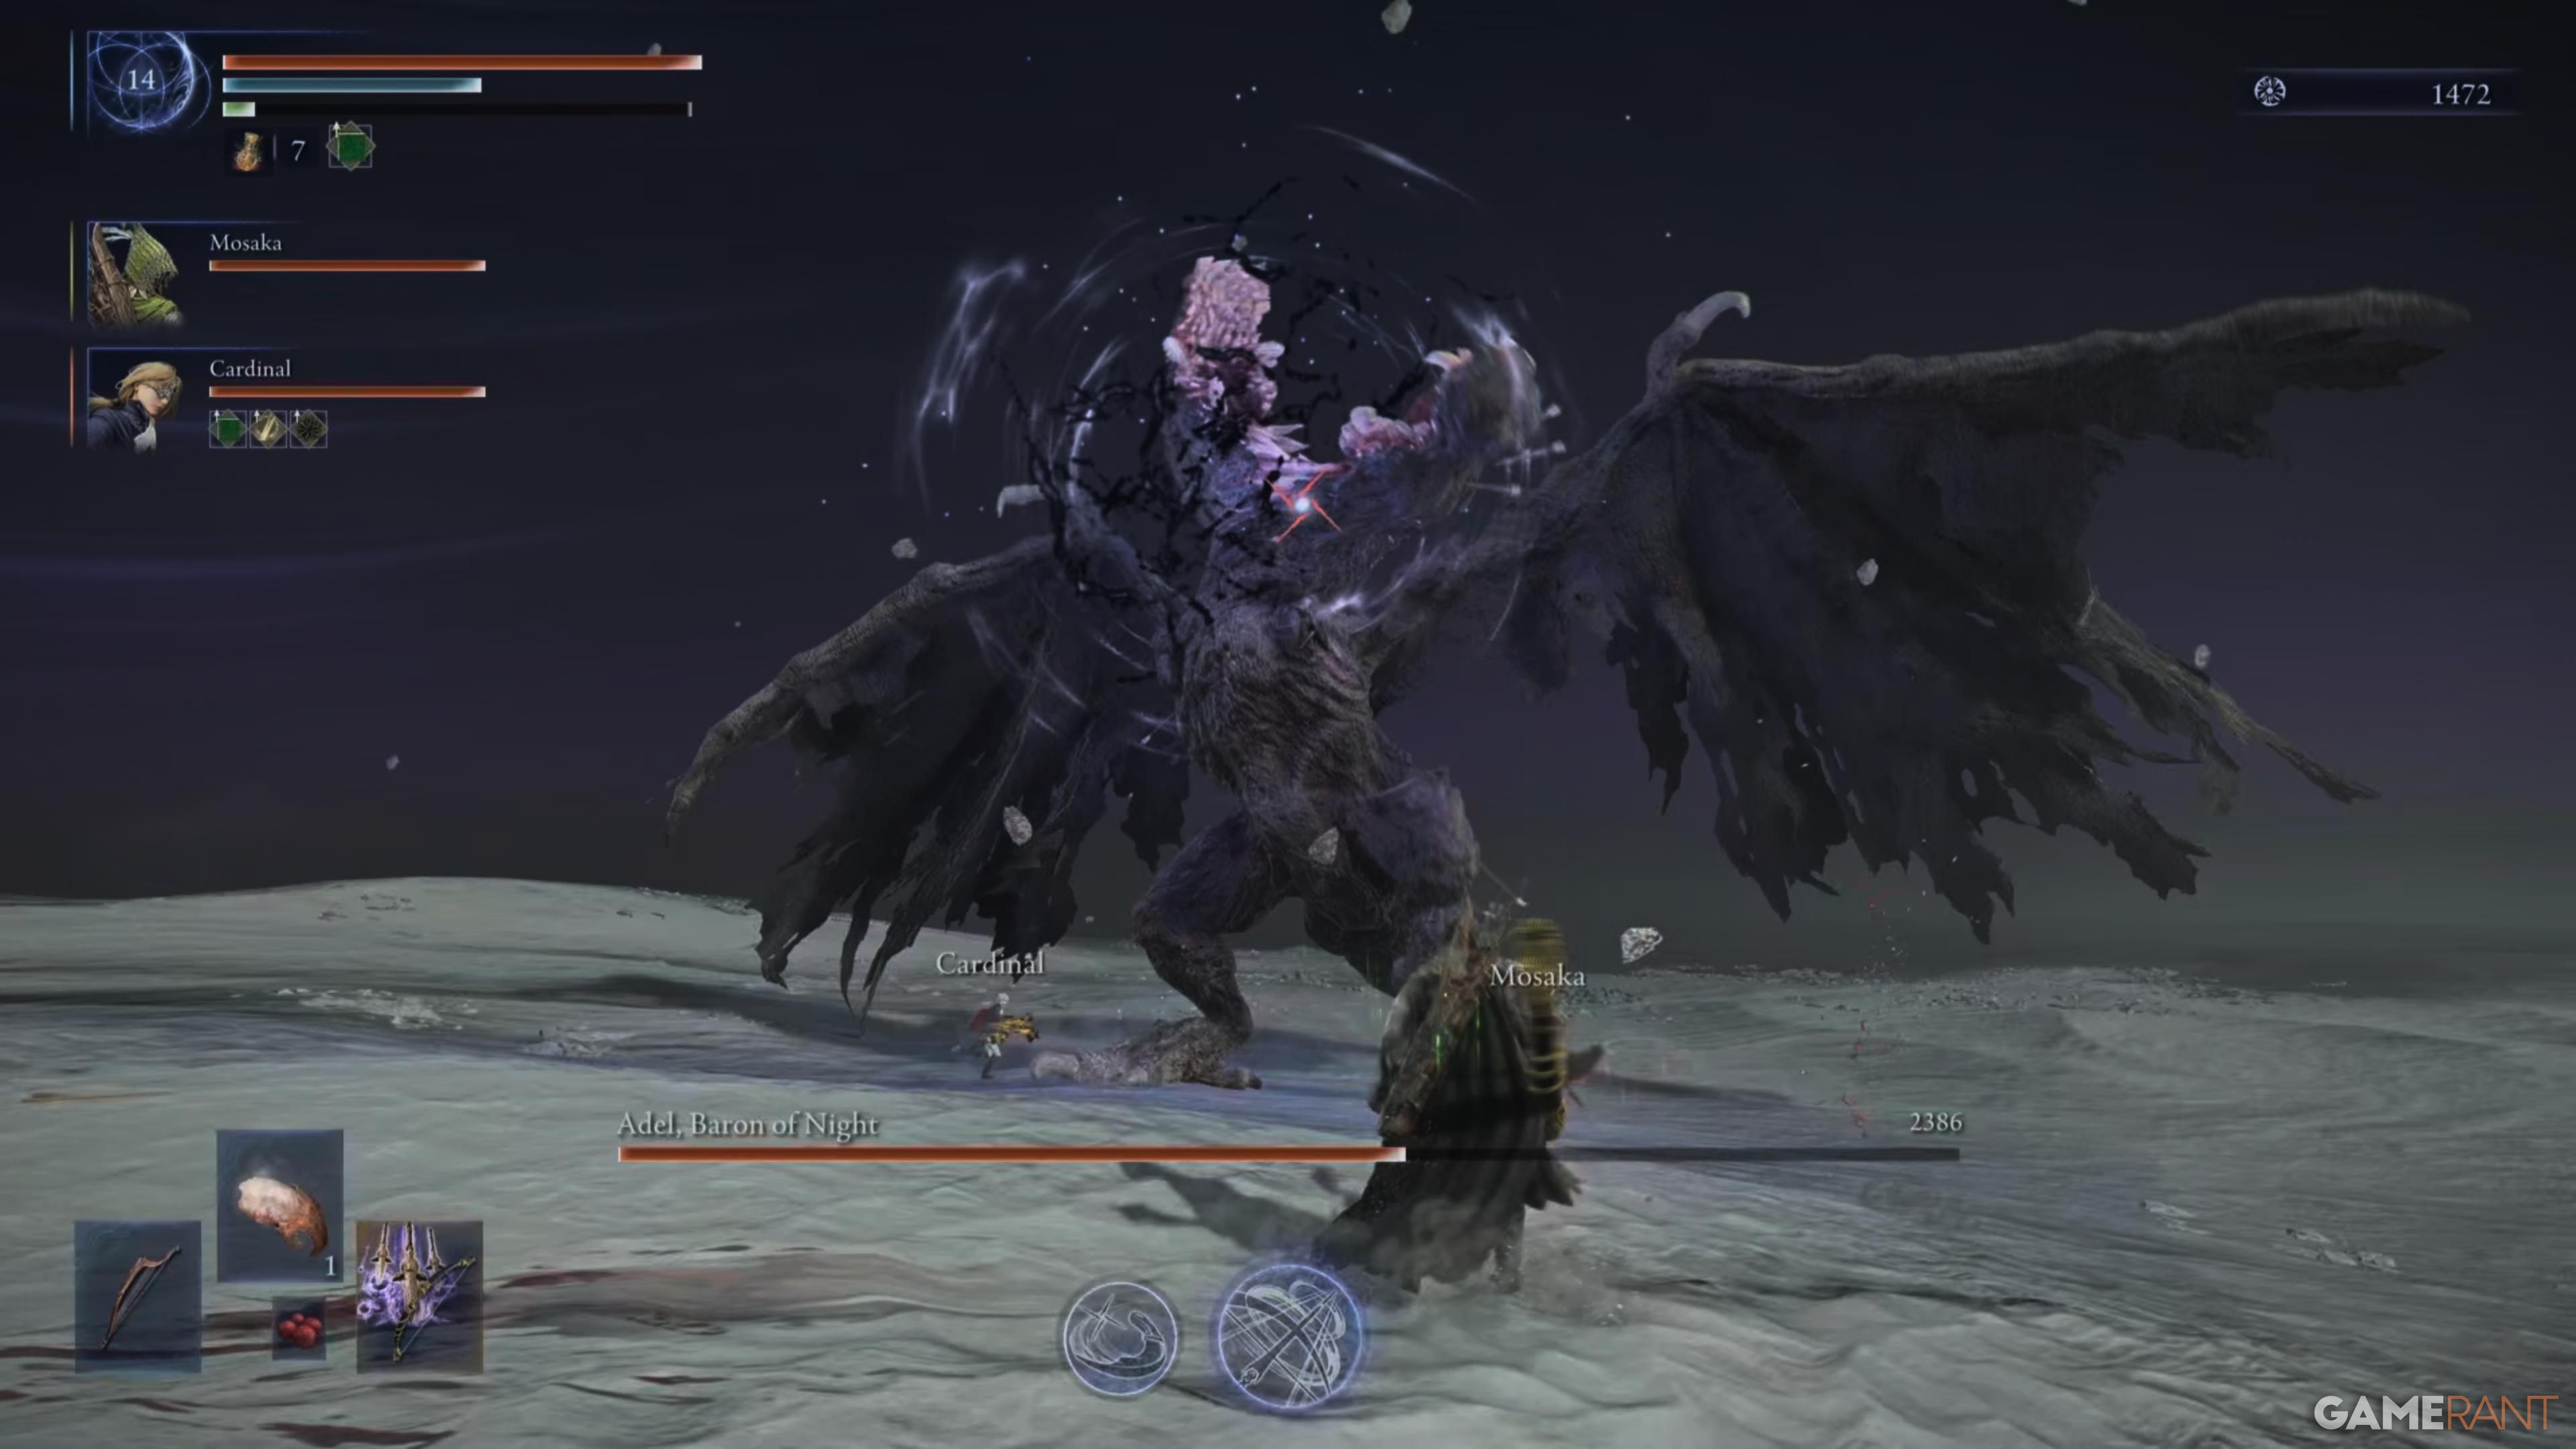
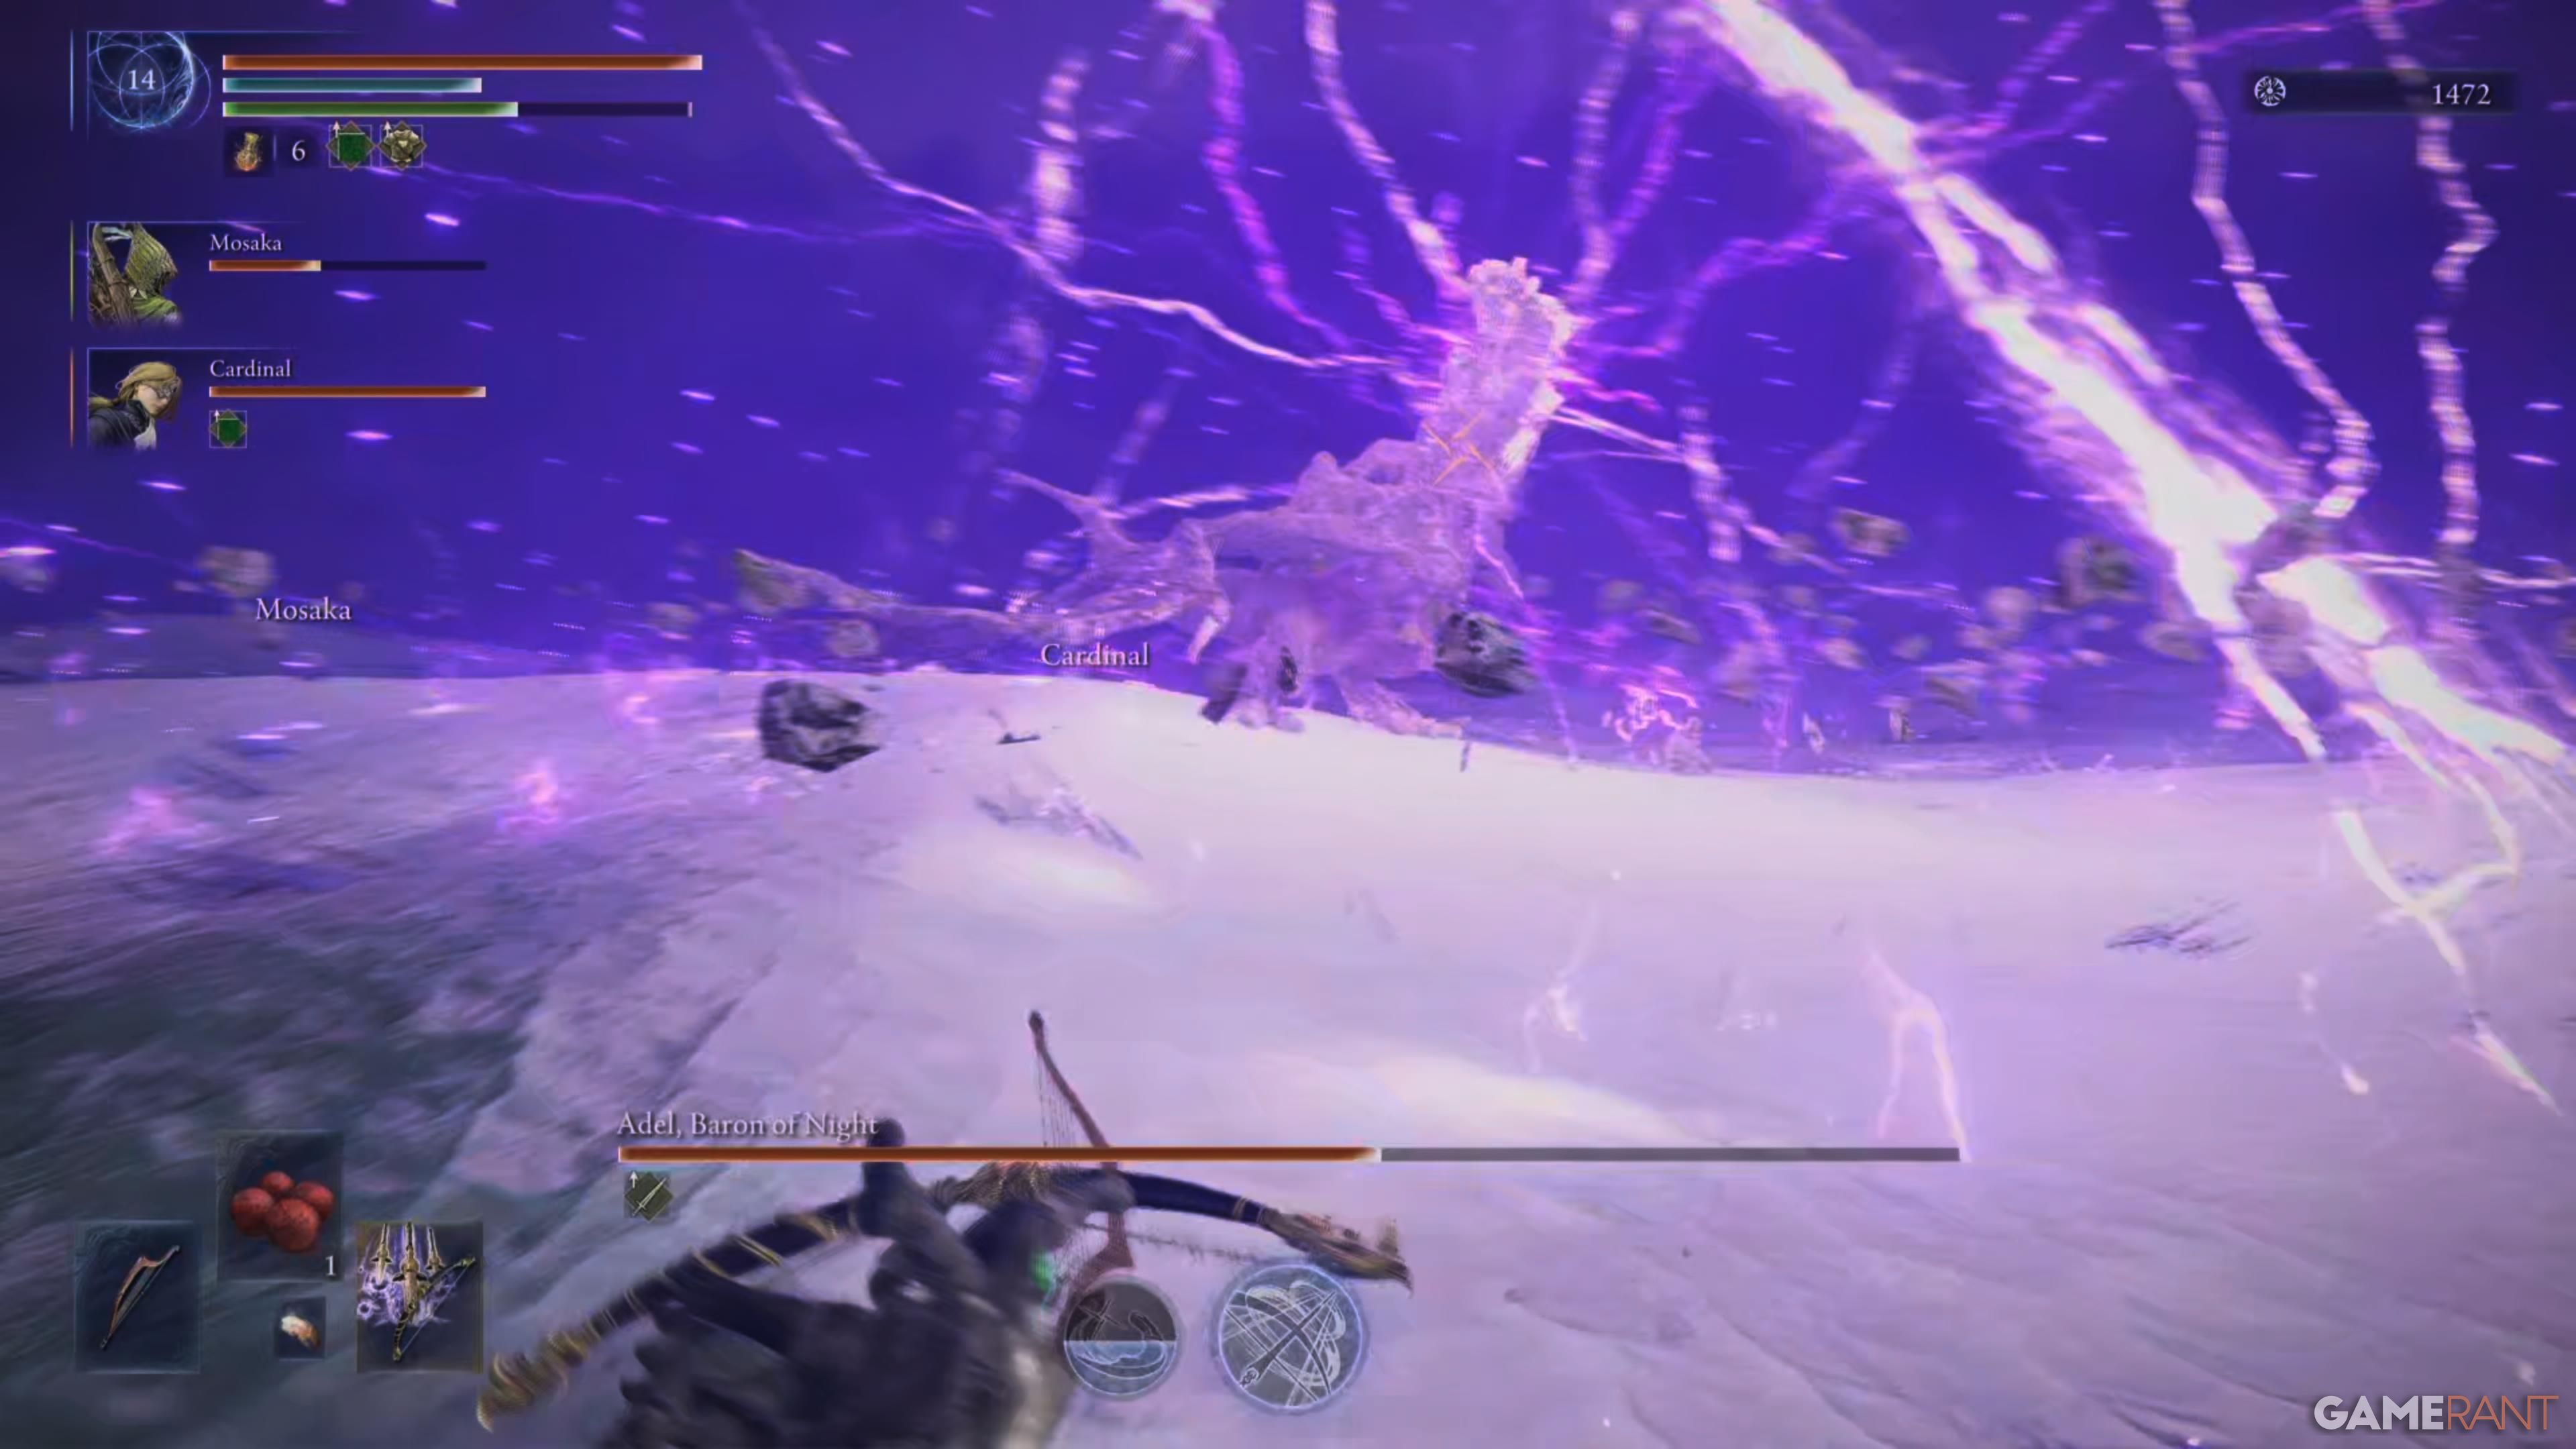
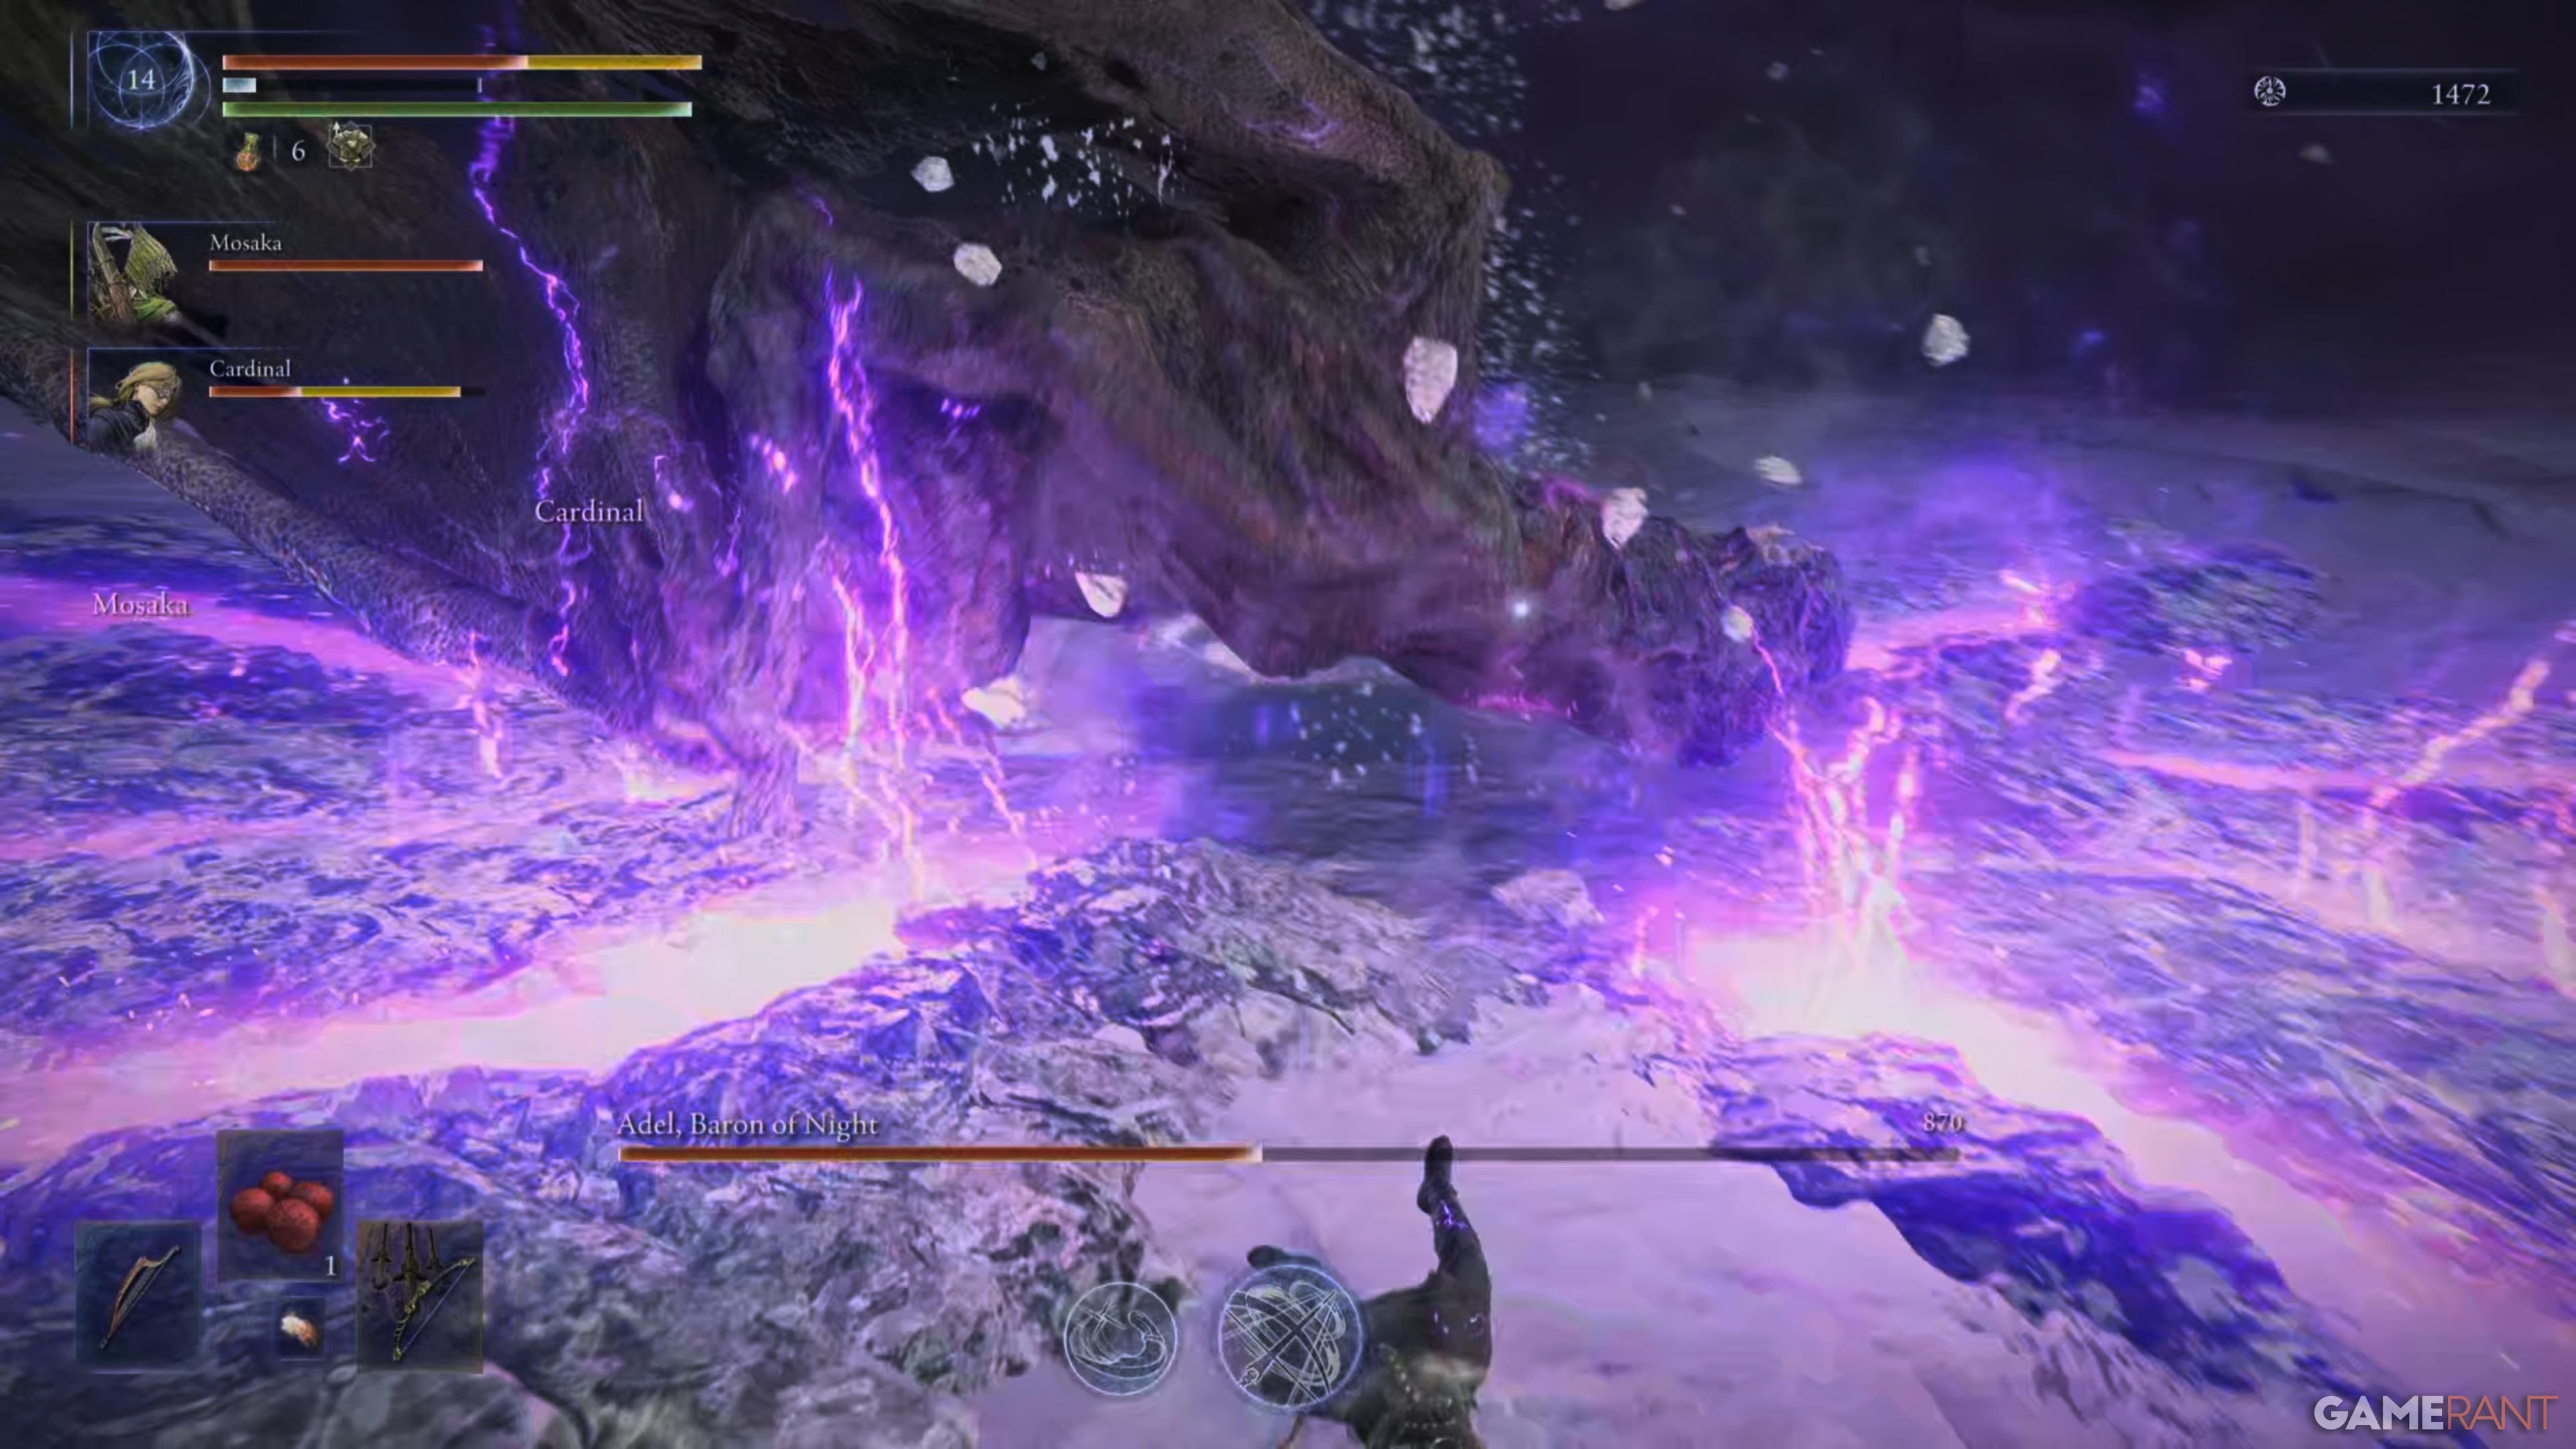
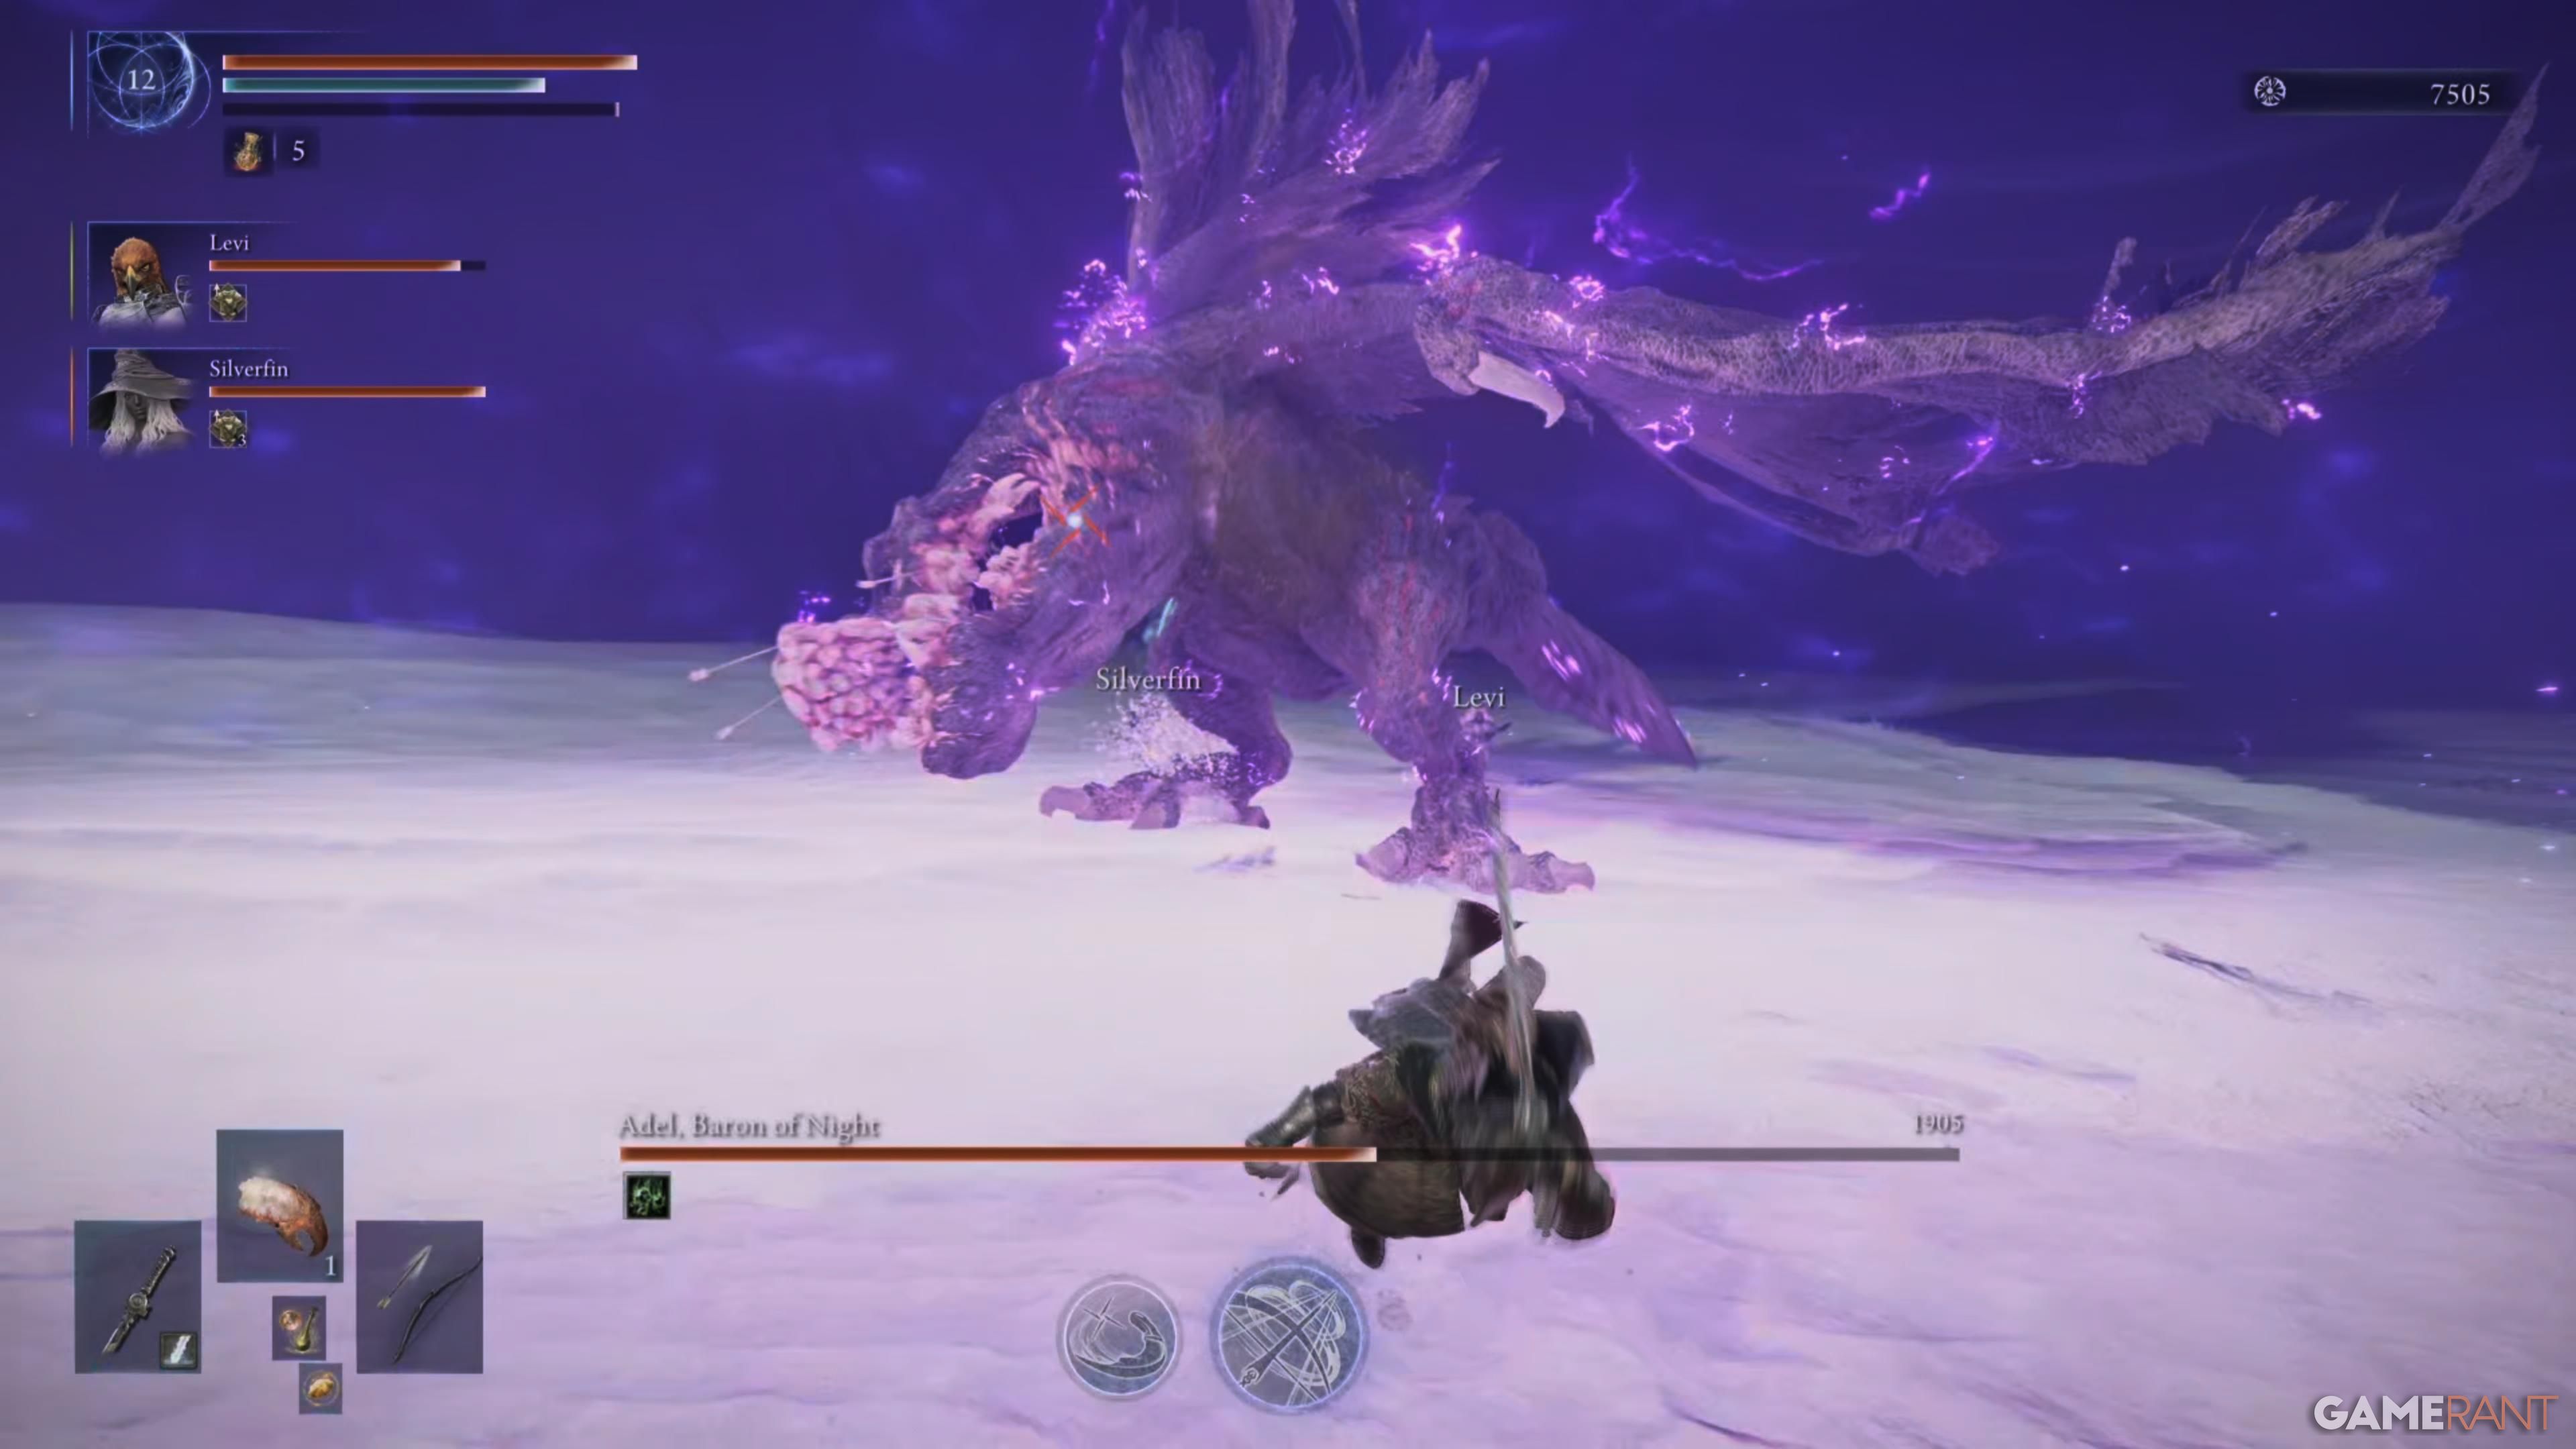
Phase 2
As we move into phase 2, the boss will activate and summon a thunderous tempest spanning a wide region. Staying near the boss during this activation could lead to your team’s instant demise. To evade this, it’s advisable to dash in the opposite direction of Adel when you notice the boss is charging up. The boss’s attacks will now incorporate lightning bolts along with explosive eruptions. A wise strategy to avoid getting hurt is by leaping over these attacks.
Be sure to consistently use Frostbite and, more importantly, Poison, since they can momentarily halt the boss when it captures a player. This action not only saves your teammate’s life but also staggers the boss for a brief period of time.
Best Team Composition For Adel In Elden Ring Nightreign
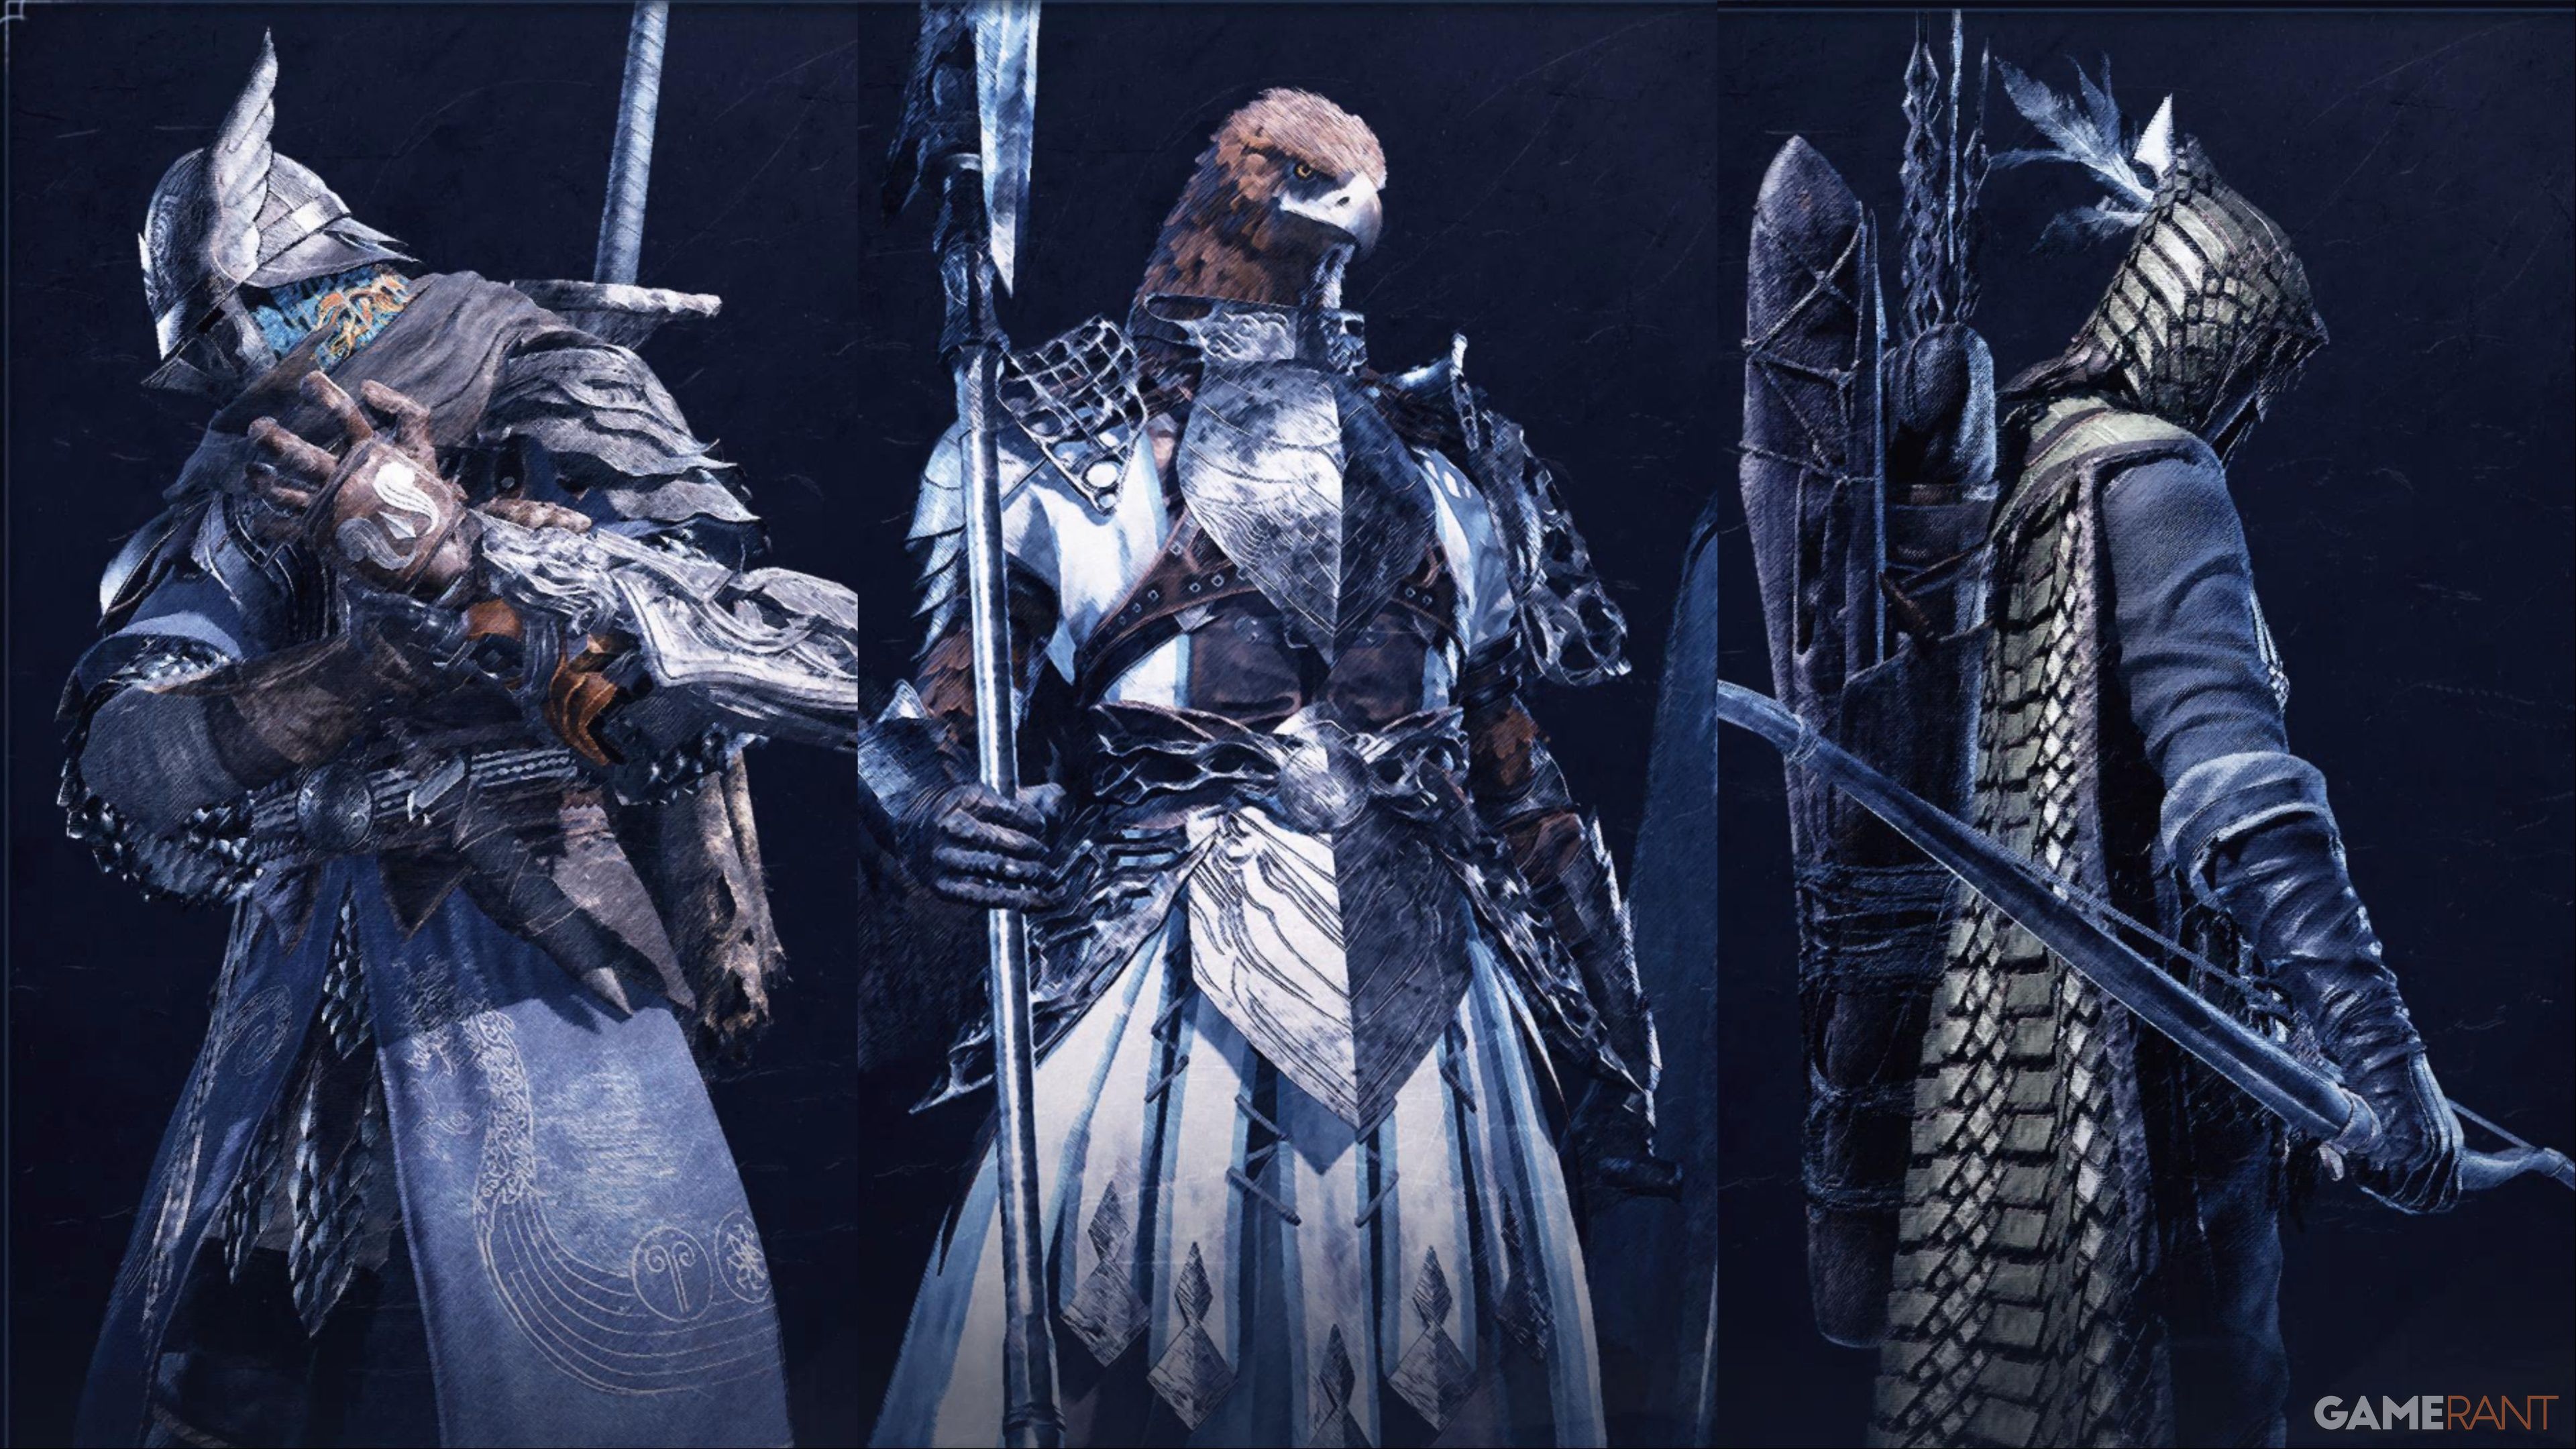
For optimal team setup for Adel, consider pairing a Wylder with an Ironeye, and then select either a Guardian or Recluse for the third position. The initial two Nightfarers are crucial due to their unique ability to either approach the boss swiftly or flee from it efficiently, which is particularly beneficial because of their Character Skill. Notably, Adel can perform a complete turnaround in just a second, making it necessary to have a Nightfarer with high mobility.
Ironeye’s Marking skill stands out as an excellent choice, enabling the player to dash past the boss if it’s approaching, all while placing the mark on the boss. This action will momentarily stun and deal damage to the boss once destroyed.
In certain situations, choosing the third Nightfarer can be subjective, but having either a Guardian or Recluse can prove beneficial due to their high utility. The Guardian’s ultimate ability boasts an extensive range, enabling you to revive fallen allies and deal damage to the boss simultaneously, while also creating a protective barrier. On the other hand, Recluse excels in ranged combat, making her particularly useful in this battle, and her ultimate ability can help regenerate health during the challenging second phase of the fight.
Rewards For Beating Gaping Jaw In Elden Ring Nightreign
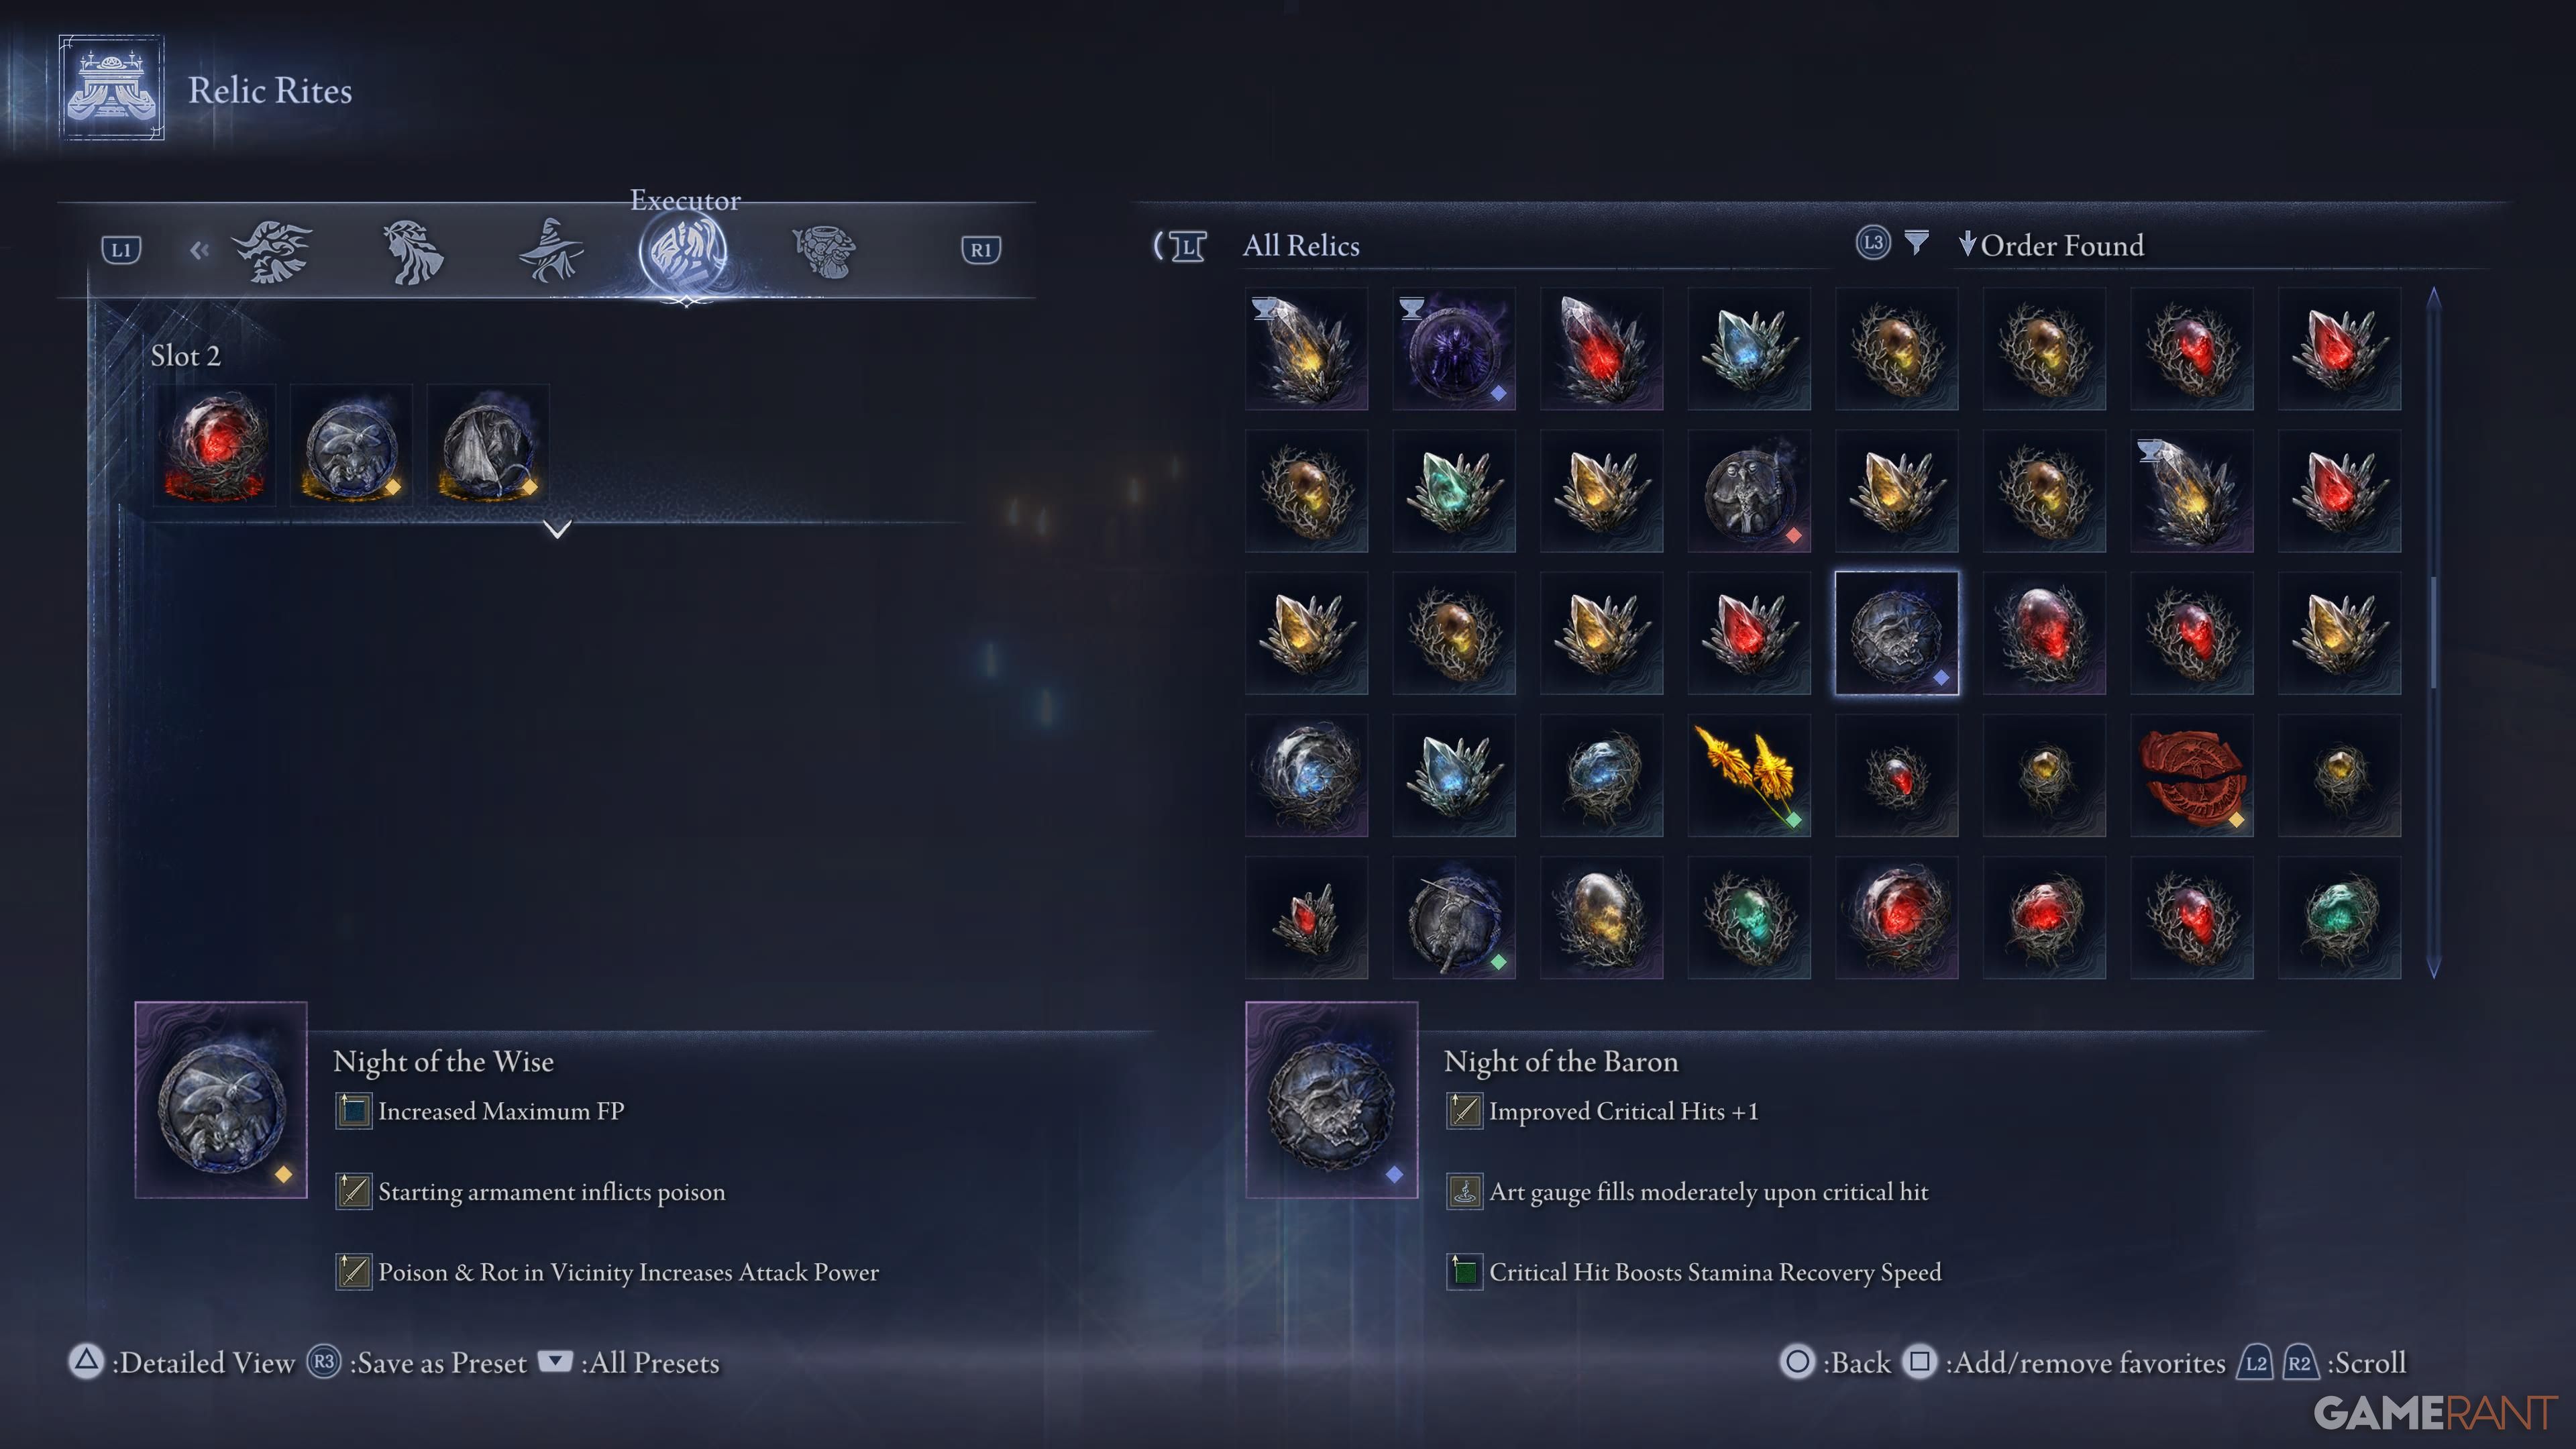

Following your triumph over the Night Baron, Adel, and the successful completion of the Gaping Jaw Expedition, you’ll be rewarded with a collection of Relics, Murk, and the “Relic of the Night Baron,” conferring these benefits:
1. Increased damage to undead enemies by 20%.
2. A chance to stun enemies when attacking.
3. A bonus to critical hit chances.
4. A boost to your defense against dark magic.
- Improved Critical Hits +1
- Art gauge fills moderately upon a critical hit.
- Critical Hit Boosts Stamina Recovery Speed.
Even though this Relic doesn’t provide any initial Status Effects to your weapons, it’s still an excellent choice for Raiders. Many of its attacks shatter the enemies’ defenses, giving you the opportunity to land a Critical Strike.
Read More
- PI PREDICTION. PI cryptocurrency
- WCT PREDICTION. WCT cryptocurrency
- Gold Rate Forecast
- Guide: 18 PS5, PS4 Games You Should Buy in PS Store’s Extended Play Sale
- LPT PREDICTION. LPT cryptocurrency
- Elden Ring Nightreign Recluse guide and abilities explained
- Solo Leveling Arise Tawata Kanae Guide
- Despite Bitcoin’s $64K surprise, some major concerns persist
- Chrishell Stause’s Dig at Ex-Husband Justin Hartley Sparks Backlash
- Playmates’ Power Rangers Toyline Teaser Reveals First Lineup of Figures
2025-06-06 00:54