In the game Elden Ring Nightreign, figuring out the initial destination is crucial for a successful journey with your team. However, Nightreign doesn’t provide extensive guidance about what each symbol on the map of Limveld represents, so you might need to investigate the meanings yourself.
As a fellow enthusiast, if you’ve got the knack for deciphering every icon on the Nightreign map, navigating your journey becomes smoother. This handy guide breaks down each and every map marker in Elden Ring: Nightreign, providing quick explanations to help you grasp their meanings swiftly. Think of it as a sort of key to all Nightreign map symbols, designed to make your gaming experience more efficient and enjoyable.
All Nightreign Map Markers (Key Locations)
Fort
-
In these spots, you’ll find military outposts brimming with soldiers. Maps detailing the strategic layouts of the surrounding regions are concealed within them, shedding light on secrets hidden close by.
In Nightreign, it’s common to find forts with a boss either on the lower or upper tier, along with several chests and item crates scattered around. Typically, there is also a room on the top floor that contains a chest, a Weapon Rack – Stave, an interactive note, and hints about hidden items nearby.
Great Church
-
Crumbling houses of worship. The faithful are known to leave their sacred seals in these locations.
Notable churches frequently feature intermediate-level boss fights along with numerous treasure chests, some skillfully concealed behind altars. These hidden chests and item crates may contain the coveted Weapon Rack – Sacred Seals, a valuable asset to both Revenant and Recluse gamers.
Main Encampment
-
Large garrisons home to powerful armies. Expect to find many strong enemies.
Main Camps usually host a boss fight divided into two or three stages. You’ll need to locate each mini-boss within the camp, and once you’ve found them all, your objective is to reduce their combined health to zero. These zones are teeming with enemies that provide XP and contain loot-filled chests for you to discover.
Ruins
-
Vestiges from ages past. Home to strong foes and hidden underground chambers.
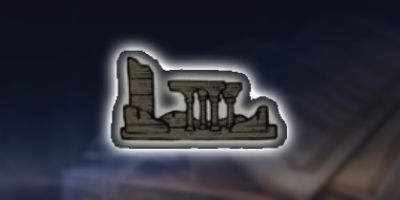
In ruins, similar to encampments, you often find a variety of adversaries and a series of complex mini-boss battles. However, the enemies in these ruins usually align with the elemental properties of the loot you can obtain there. For instance, if you explore a poisonous ruin, you might come across a Perfumer boss, whereas a fiery ruin may host several Flame Chariots.
Tunnel Entrance
-
Mining tunnels containing ore which can temper armaments.
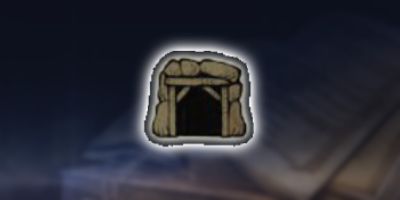
In the game ‘Nightreign’, tunnels serve as reliable spots for finding Smithing Stones. Be sure to note the positions of these map markers, especially if your weapon is powerful or has a weakness that can be upgraded for use in the battle against the final Nightlord. These tunnels often include encounters with enemies and a boss fight deep beneath the surface.
Castle
-
Fortified places filled with peril are best confronted by those whose expertise matches their courage.

In the game called Nightreign, castles are intricate structures with various floors, each inhabited by multiple bosses and guards roaming about the exterior and interiors. Conquering these castles can be challenging, but the allure of runes, treasure chests, and opportunities to battle mini-bosses often proves irresistible – especially for players at mid to advanced levels who find it less risky to explore here.
Field Boss
-
Strong foes who wander from place to place. Misjudge their might at your peril.

In simple terms, a Field Boss is a type of boss that wanders freely in the game’s open world. Players may accidentally discover its location. Once your character has achieved a sufficient level, you can challenge these bosses for substantial experience points and valuable loot as rewards.
Evergaol
-
Cells holding prisoners whose seals weaken over time.

In the original version, an Evergaol can only be accessed when you possess a Stonesword Key. This key can be purchased from merchants or obtained from numerous sources, most commonly bosses in the Tunnels. Defeating the summoned boss will reward you with a significant amount of experience and a selection of items or advantages.
Township
-
Long-deserted places of safety. Merchants with rare goods are known to operate from these places.
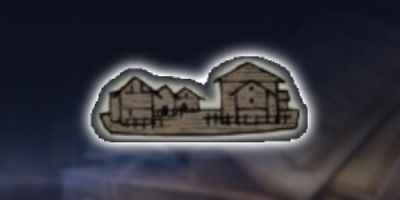
A quaint hamlet where a Trader typically resides. Traders offer a diverse assortment of items, making them almost always worth visiting just to browse their stock. Most Nightreign Traders carry Smithing Stones and essential supplies, along with a limited array of equipment and additional gear.
If you’re playing Nightreign on your own, the Merchants in the game also offer a Wending Grace item that can bring you back to life after you’ve been defeated.
Church
-
Houses of worship visited by pilgrims. Sacred Flask uses can be increased in these locations.

A humble church, consistently offering enhancements for your Holy Vessel, is worth a visit. Interact with the altar within this sanctuary to boost the capabilities of your vessel by 1, for each expedition. Typically, you’ll find at least three churches during an adventure, and due to the scarcity of healing resources, it’s essential to prioritize visiting all three before the third night sets in.
Sorcerer’s Rise
-
Buildings where wizards conduct magical experiments, frequently concealing their discoveries through codes. Rarely do you stumble upon a building that was once inhabited by a sorcerer from long ago.
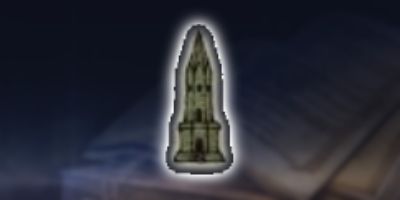
In the game “A Sorcerer’s Rise,” you’ll often encounter a tower with a locked entrance. To ascend and claim the unique prize at the peak, you need to uncover a method to break the seal. Search for anything unusual in the surroundings (like an Imp Statue, a hovering symbol, a swaying tree stump, or any other object that catches your eye) and strike it to release the seal. If the seal is already open, your goal lies within.
Site of Grace
-
These locations provide resting spots for fatigued fighters, rejuvenating health, mana, curing status afflictions, and refilling the use of the Sacred Flask. You can upgrade your level by spending Runes at Sanctum Sites.

At a Restorative Shrine, you can completely rejuvenate your Health, Focus, discard any ongoing detriments, and refill your stock of Holy Water Flasks. Remember to approach one of these sanctuaries to advance in level.
Spectral Hawk Tree
-
Trees that serve as perches for spectral hawks. Brave souls may soar above using spectral pathways. These paths are indicated on maps. (This maintains the original meaning, but uses easier and more common language.)
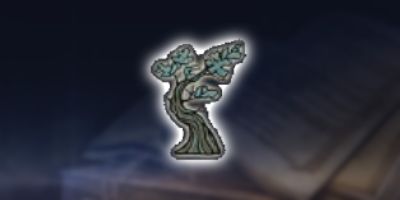
On the global map, Nightreign players will notice six Spectral Hawk Trees and six looping, blue ethereal paths surrounding Limveld’s center. By approaching a Spectral Hawk Tree and engaging with it, you will be transported upward and travel along the spectral path connected to that tree.
Make sure to observe which path the trees indicate, for they serve as a quicker means of navigating through Limmereden.
Spiritstream
-
Energy bursting out from massive openings in the earth, enabling those who harmonize with its rhythm to ascend to remarkable levels.

Just as Spiritspring enables jumps in the main game, Spritstreams empower Nightfarers with the ability to soar to great heights, even scaling steep cliffs and tall structures that would normally be impassable. The direction of travel can be adjusted by facing your desired direction or by maneuvering with the control stick while airborne.
Other Nightreign Map Markers (Minor Locations)
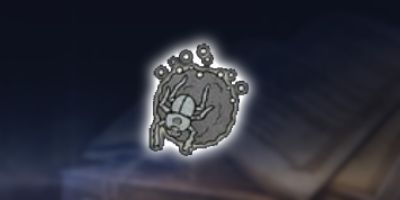
Scarab
-
Carriers of valuable things. Talismans can be taken from them.
Buried Treasure
-
Chests containing rare and precious objects, hidden such that others would not find them.

Mission Objective
-
Indicates the task at hand for the Nightfarers. Will only appear under certain circumstances.

Sacred Flask Refills
-
Refills Sacred Flask charges

Hidden Info Nearby
-
Reveals hidden areas on the world map

Merchants and Smithing Tables
-
Indicates the location of a Merchant and a smithing table

Weapon Rack – Bow
-
Guaranteed to drop Bow items

Weapon Rack – Stave
-
Guaranteed to drop Staves (Sorceries)

Weapon Rack – Sacred Seal
-
Guaranteed to drop Sacred Seals (Incantations)

Read More
- The Bachelor’s Ben Higgins and Jessica Clarke Welcome Baby Girl with Heartfelt Instagram Post
- WCT PREDICTION. WCT cryptocurrency
- Guide: 18 PS5, PS4 Games You Should Buy in PS Store’s Extended Play Sale
- Royal Baby Alert: Princess Beatrice Welcomes Second Child!
- SOL PREDICTION. SOL cryptocurrency
- Sea of Thieves Season 15: New Megalodons, Wildlife, and More!
- PI PREDICTION. PI cryptocurrency
- `SNL’s Most Iconic SoCal Gang Reunites`
- Disney’s CEO Search Delayed as Internal Candidates Face Criticism
- 7 Must-See Movies After Watching Saturday Night
2025-05-30 01:35