If you aren’t battling some kind of dragon or Wyvern in Monster Hunter, it’s probably an ape you’re facing instead. You might encounter Rajang, Garangolm, Ajarakan, or others, and in Monster Hunter Wilds, a familiar foe that has been missing from the recent games is making a comeback.
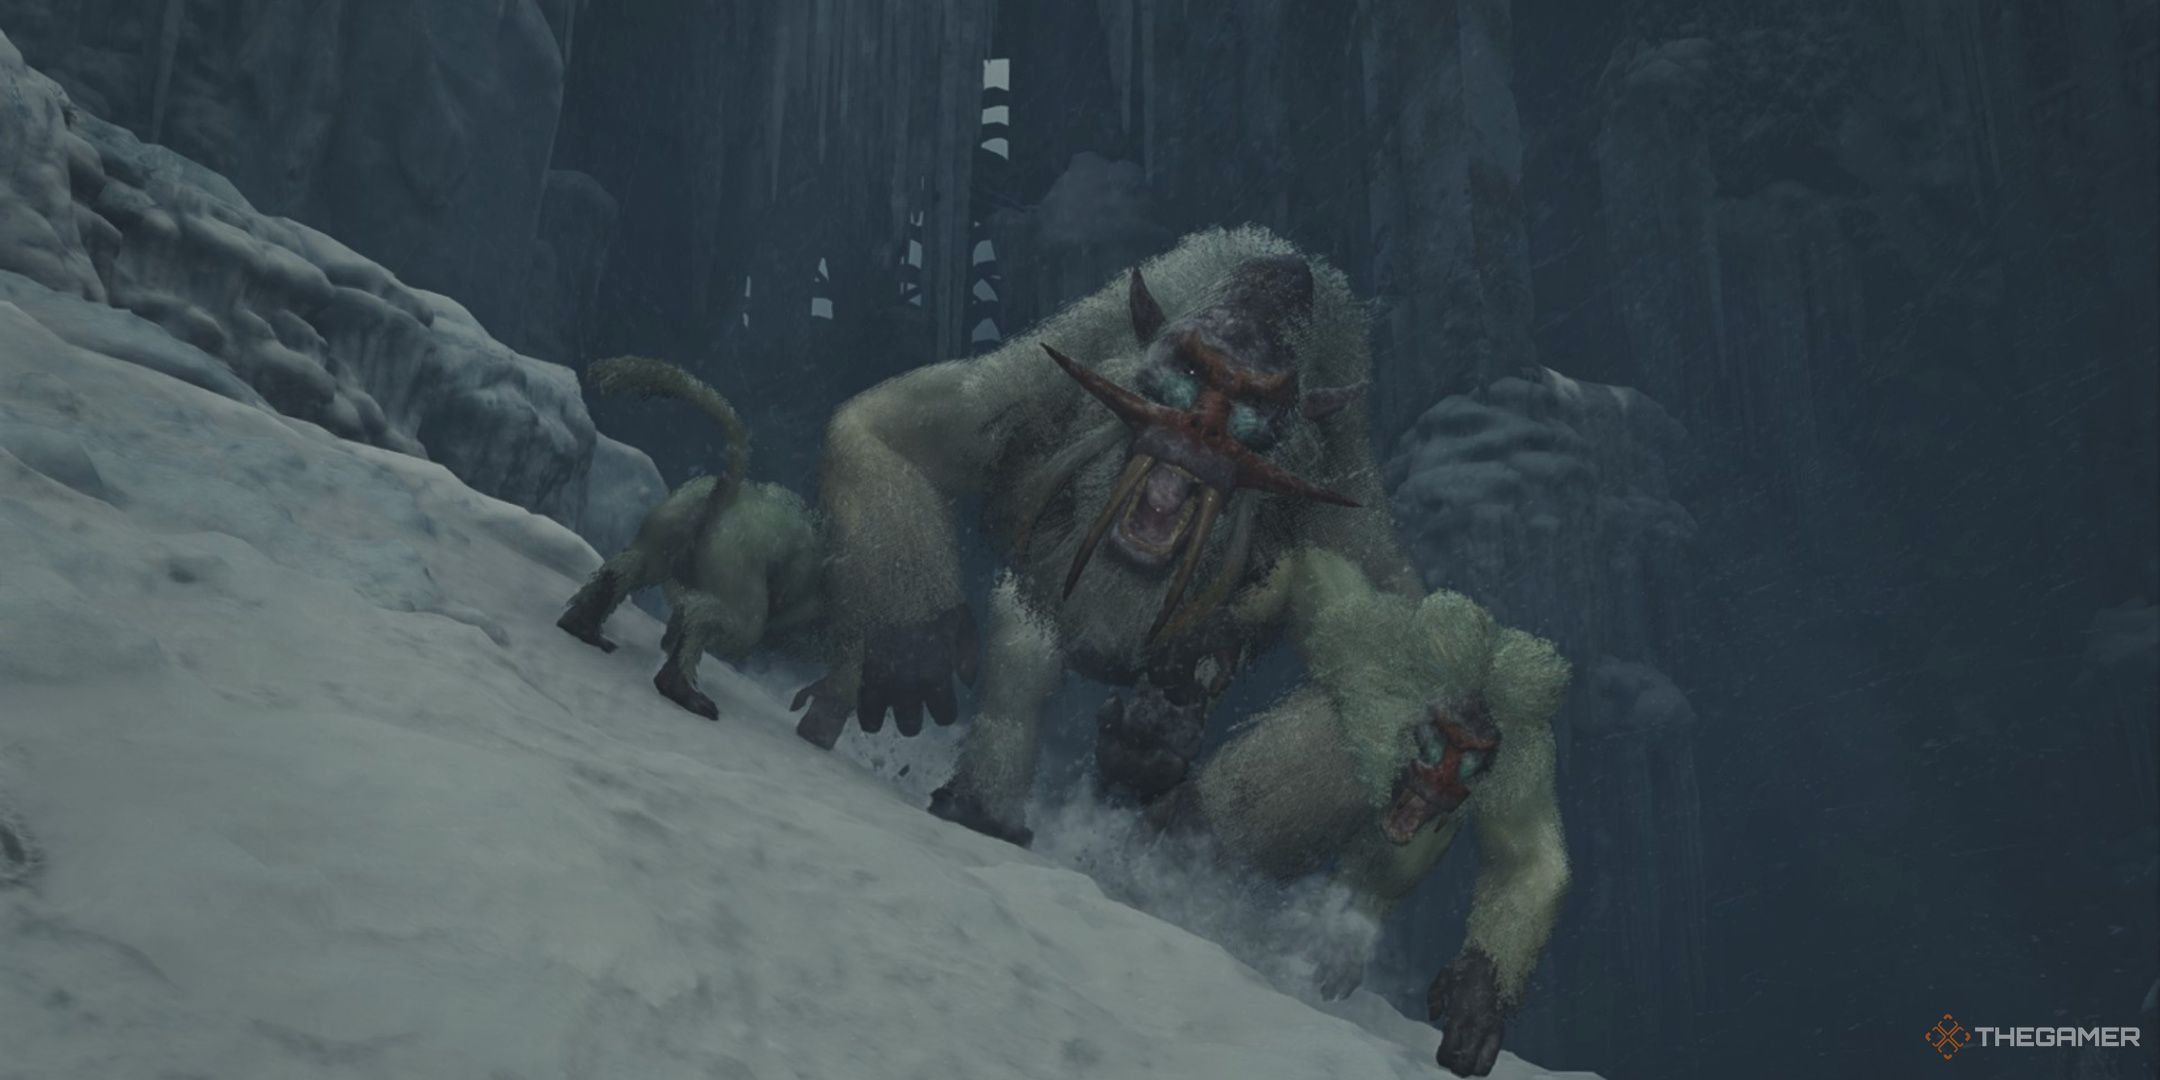
Previously encountered in Monster Hunter Generations, I stumbled upon the frost-dwelling Blangonga – a formidable fanged ape residing within the icy peaks of the Iceshard Cliffs. Unlike other colossal beasts, this ape isn’t a solo act; it relies on its retinue of smaller monsters for assistance. A distinctive adversary and a thrilling comeback, here’s my guide to vanquishing them effortlessly.
Blangonga – Strengths And Weaknesses
Despite its formidable status as a late-game monster, Blangonga is rather modestly sized. It isn’t significantly larger than the hunter, yet this size gives it an extraordinary speed that outmatches most others. It can strike swiftly, maneuver nimbly, recover from attacks with ease, and adjust its position instantly.
Considering the size of weapons such as the Charge Blade, it may prove challenging to concentrate your assault on just one particular spot. To better understand our approach against them, let’s briefly examine the advantages and disadvantages they possess.
- Weak Point – Rear
- Elemental/Ailment Weaknesses – Fire, all Ailments.
- Elemental/Ailment Strengths – Ice, Dragon.
- Best Weapon Damage – Equal across all weapon damage types.
It’s clear, and you might guess given their frosty assaults and realm, but Blangonga is vulnerable to fire. Interestingly enough, they don’t possess immunity or resistance to a specific status ailment. All attacks against them have the same impact, which suggests that while there’s no ideal strategy, any tactic could potentially work against them.
When battling Blangonga, you’ll want to focus on two key areas. The first is its vulnerable backside, which serves as their primary weak point. The second is the fangs protruding from its face. Each of these can be separately targeted for destruction. With every one of these destroyed, it becomes less likely for Blangonga’s pack to obey its commands. Once you weaken its followers, fighting Blangonga becomes noticeably easier.
Best Equipment To Fight Blangonga
Since you’re a beast with an affinity for ice, it makes perfect sense that you should equip something with strong Cold or Ice Resistance. Among the available options, the Hirabami set stands out as offering the highest resistance, and it’s also quite convenient to craft because Hirabami are relatively easy to hunt.
Blangonga is capable of inflicting Frostblight with their breath attack, immobilizing you for a duration that allows them to deliver powerful attacks. In such situations, the Jin Dahaad armor set proves beneficial. It boasts high Ice Resistance, though not quite as much as Hirabami, but it does reduce the duration of Frostblight, making it an excellent choice if you’re having trouble avoiding being frozen.
In this situation, any type of weapon could be effective, but it’s best to steer clear of those with Ice or Dragon elements. Given Blangonga’s vulnerability to all illnesses, status weapons could prove very useful against him too. Two exceptionally potent Fire weapons you might consider are from the Nu Udra and Rathalos lineages.
Blangonga – Fight Breakdown And Moves
Blangonga is quite swift and seems particularly comfortable in the frosty Iceshard Cliffs. Although they could potentially work elsewhere, some of their abilities are specifically suited to this snowy environment. They aren’t overly complicated with a relatively limited repertoire of moves. What sets Blangonga apart is its pack mechanic, which allows it to command smaller monsters as long as its teeth remain undamaged.
Now let’s take a quick look at their moves below:
| Move | Description | Counter |
|---|---|---|
| Ice Breath | Blangonga breathes ice in an arc in front of themselves for a few seconds, which can inflict Iceblight. | This isn’t particularly powerful and can easily be blocked. You can also move around to their sides to attack them during this long animation. |
| Rushing Leap | Blangonga will jump in place for a moment before diving towards you. This move drags them a great distance, and they turn around after landing to face you again. | Try to dodge to the sides and then quickly follow Blangonga to catch them while they’re recovering from the attack. |
| Arm Swipe/Punch | Blangonga will reel back an arm and strike you. This can be done with any hand and can be comboed together. The punch deals more damage than the swipe. | Blocking works great here and can trigger a Power Clash, though dodging to the side works as well. |
| Snow Upheaval | Blangonga will dig their hands into the snow and toss it ahead of them. | This attack is quite wide and has range, so it’s best to keep your distance from it entirely when they reach into the ground. |
| Backwards Kick | If you are standing behind Blangonga, they will kick a leg behind to knock you over, and potentially leap backwards as well. | Easily blocked, and can be avoided entirely by simply not attacking their rear for too long at a time. |
| Dig | Blangonga will bury themselves beneath the snow and jump out again a short distance away near a hunter. | Using lock-on here makes Blangonga much easier to track. |
In summary, they aren’t overly complex, but they are highly maneuverable instead. Since slower weaponry might have difficulty dealing with them, it’s essential to block as much as you can using these, while also maintaining your own mobility by wielding lighter weapons.
Blangonga – Drops And Materials
Blangonga’s appearance is typical for its materials, sporting a long, bushy tail. Unlike some creatures, it does not have detachable body parts, but breaking its fangs has both strategic implications in the game and ensures you receive a specific material drop. To maximize your material yield, concentrate on eliminating as many of its wounds as you can.
| Material | Where It Can Be Acquired |
|---|---|
| Blangonga Fang+ | Broken Part (Head x2), Carving, Target Reward |
| Blangonga Pelt+ | Wound Destroyed, Carving, Target Reward |
| Blangonga Tail | Broken Part (Tail), Carving, Target Reward |
| Blangonga Whisker | Target Reward, Carving |
| Blangonga Certificate S | Target reward |
| Beast Gem | Target Reward, Carving |
Regarding the Pelts and Gems, each item shares an identical drop chance from both Carving Rewards and Target Rewards.
In higher levels of play, Blangonga doesn’t have any materials from lower ranks, even though it appears in many of its drops. The Beast Gem, which is a common feature among other beast monsters, is actually much rarer and not exclusive to him. Surprisingly, Blangonga is one of the simpler hunts compared to others, making the acquisition of the Beast Gem easier due to this ease in hunting him.
Read More
- PI PREDICTION. PI cryptocurrency
- WCT PREDICTION. WCT cryptocurrency
- Quick Guide: Finding Garlic in Oblivion Remastered
- Florence Pugh’s Bold Shoulder Look Is Turning Heads Again—Are Deltoids the New Red Carpet Accessory?
- How to Get to Frostcrag Spire in Oblivion Remastered
- How Michael Saylor Plans to Create a Bitcoin Empire Bigger Than Your Wildest Dreams
- Disney Quietly Removes Major DEI Initiatives from SEC Filing
- Unforgettable Deaths in Middle-earth: Lord of the Rings’ Most Memorable Kills Ranked
- Shundos in Pokemon Go Explained (And Why Players Want Them)
- BLUR PREDICTION. BLUR cryptocurrency
2025-02-28 23:08