By now, you’re well-acquainted with the challenges The First Berserker: Khazan presents, having navigated numerous intricate territories and slain numerous formidable adversaries. Now, it’s time to confront your deepest apprehensions. Specifically, spiders. And a great many of them, which might prove the most daunting aspect of this game for some players.
In this game, “The Strange Stench” level might be among the toughest stages you’ll face, but it leads to one of the least demanding boss fights – if you meticulously search every hidden corner. It’s packed with intrigue, so brace yourself for a continuous battle against Spiders and Bats!
How To Complete Strange Stench
As the mission commences, make a right turn and scamper behind the nearby pillar to uncover a Poison Cleanse Potion on the ground. Subsequently, move towards the main entrance of Skoffa Cave and chat with Elamein. Following this conversation, delve deeper into the cave to discover the initial Blade Nexus and checkpoint for the Strange Stench mission!
Destroy The First Spider Nest
Glance straight ahead from the Blade Nexus to spot a body on the ground below. Then, move towards it as there’s a Spider lurking nearby. Prioritize defeating the Spider first. Once done, absorb the body to gather Lacrima and Soul Tear Dust. Right above the body, you’ll find a large spider nest covering an entrance. Proceed upwards to reach it.
Using your tool, slice through multiple layers of the web and venture into a tunnel where a colossal spider resides. Once the spider is vanquished, continue deeper to discover explosives. Interact with them to ignite the fuse, leading to an immediate cave-in of the spider nest, which will be beneficial for you in the future!
Further Exploration
Return to the Blade Nexus, proceed forward until you spot a purple item on your right side, which is situated across a gap. Follow the pathway as it curves until you reach that item. However, be prepared to encounter a group of Spiders. Defeat them and search the entire area to acquire the Pell Los Ceremonial Helm and Fire Spirit’s Fuel!
Moving On Up
At Blade Nexus, you’ll find a ladder nearby. Climb up this ladder to get to the top of a beam. Once you’re there, start defending immediately as a group of Bats will swoop down towards you. Then, follow the beams all the way around until you hit a dead end. At the end of this path, you’ll find a purple item. Grab it to obtain an Earth Enhancer.
Navigate your steps along the beams until you reach a platform overhead that’s quite expansive and swarming with several spiders. Use your javelin to take out a few of them, then leap down to the platform to dispose of the rest. Once all the spiders are vanquished, gather the remains on the ground for additional Lacrima and Soul Tear Dust!
Continuing Upward
Stay on the platform and glance to your left to spot a wooden plank in the corner that leads to additional support beams. Step onto the wooden plank and start ascending the beams. As you reach the top of the first beam, you’ll find more Bats, so keep a careful watch to prevent getting hurt.
A new location is coming with numerous spiders inhabiting it. Maintain your current care for them and proceed climbing the beams as before. When you ascend again, expect more bats to show up. Make sure to secure yourself once at the top, or you could sustain heavy damage!
Additional Netherworld Energy
At the peak of the beams, you’ll have the option to go left or right. To advance, head left and climb the slanted beam to find a yellow item. Grab it to boost your Netherworld Energy with an additional charge, enhancing your primary healing source. Plus, you’ll get a Fire Enhancer as well!
Activating The Shortcut
With the extra Netherworld Energy you’ve acquired, you can now move towards the right beam that leads into the higher part of the cave. Once there, you’ll spot a lift on your right. Enter the lift and press the switch in the middle to descend down to the Blade Nexus, the starting point of your mission. This shortcut lets you skip everything you’ve just completed, making things much easier!
Exploring The Upper Section Of Skoffa Cave
Using the shortcut elevator now operational, ride it up high and proceed rightwards to encounter Spiders waiting in an ambush. Swiftly eliminate them and keep moving along the cliffside until you spot a large Bat in the distance. Aim for a headshot with your Javelin to inflict heavy damage, temporarily stunning it as well.
This bat is very robust in health and can be quite annoying, so continually pepper it with javelins until it recovers and starts attacking you. It probably doesn’t have much health left now, so remain patient, cast reflections, and only attack when it becomes vulnerable.
Keep hitting the healthy bat with your javelins, but be cautious as it might not have a lot of health left. Wait for the right moment to strike, use your reflection magic, and attack when it’s exposed.
Navigate along the cliff edge beyond where the Bat is located until you arrive at a large wooden platform. You’ll notice a red light shining from the center of this platform. Use your Javelin to strike a Worm concealed beneath the ground, instantly defeating it. Advance slightly forward to be attacked by Spiders.
This version aims to make the instructions more descriptive and easier to follow while maintaining the original meaning.
As a gamer, I’ve got to take out all those creepy spiders and navigate through the platform that offers a breathtaking view of the nearby waterfall. Hidden in the depths of a mysterious cave, there’s an ore dangling precariously on the wall. Time to grab my trusty javelin and take it down!
Deeper In The Cave
Heading left, you’ll encounter a pathway that delves deeper into the cave. Following this pathway will lead you to a creature resembling a zombie, inflicting Plague Damage. This enemy might not be tough on its own, but it acts as a cautionary sign of what lies ahead. Once you’ve dispatched the zombie, proceed forward until you enter a spacious room teeming with such horrifying creatures.
As you start to eliminate these zombies, even more rise up from the ground, making the situation increasingly frightening. Although they move slowly and have limited health, they can inflict a massive amount of damage if they manage to catch you, so it’s essential to maintain a safe distance and attack only when you have sufficient stamina.
After dealing with the zombies, grab the central item that’s purple in color to get a Fire Booster. Then, move on to the next zone!
Undead Nightmare
As soon as you enter the next room, you’ll notice it is swarming with those undead monsters. They are wandering around everywhere. It’s crucial to eliminate them carefully and methodically or risk being overwhelmed. We highly advise using your Javelin to clear out as many as you can before advancing further.
As you venture deeper into the cave, more zombies will emerge from the ground, compelling you to retreat, handle them, and then press on. Some of these zombies will have glowing red eyes, indicating they inflict Plague damage upon contact. If possible, try to tackle them first.
Before proceeding or investigating any area in this room, make sure to deal with all the zombies first, since you wouldn’t want to be surprised by them. Be extra cautious with the infected ones!
Destroy The Second Spider Nest
Once you’ve dealt with all the zombies, search for a ladder situated at the rear of the room and ascend to reach its peak. Up there, you’ll encounter a large spider, so be sure to dispose of it immediately upon reaching that height. Post defeating the spider, locate the wall that appears webbed-up and use your weapon to slice through it.
In this version, I tried to make the text more natural and easy to read while maintaining the original meaning.
As a keen explorer, I’d guide you through the winding tunnel until we reach its conclusion. There, you’ll discover additional barrels brimming with explosive power. Interacting with them will set a fuse alight. This strategic move will seal off and obliterate another nest-filled section, significantly simplifying the final boss battle in our upcoming mission!
Clearing The Rest Of The Room
Descend the ladder to your left, and you’ll spot a staircase that ascends to a platform nestled against the cave wall. Keep climbing those stairs, beware of any Zombies lurking around, as one might be waiting for you there. Once you’ve dealt with it, open the chest ahead to obtain the Corrupted Dual Wield, Forgotten Warrior’s Leggings, Archbishop’s Ring, and a Small Spirit Orb!
Through The Barricades
Head back towards the ladder, casting a glance to your left to spot makeshift wooden barriers obstructing further exploration within the cave. Approach these obstacles and give them a firm whack to shatter them, then press onward. Eventually, you’ll run into a rather unsettling sight: a Spider lurking beneath a pile of bodies entangled in sticky webs.
Get rid of the spider and investigate the bodies more closely. One of them will radiate a purple glow. Use your javelin to knock over the cocooned body, uncovering an item. Grab it to receive a Pilgrim’s Scroll and two Transmutation Mist vials!
Obtaining The Ghost Hammer
Keep venturing deeper into the cave until you encounter yet another big spider. Swiftly dispose of it, making sure not to disturb the nearby webs. Once the spider is gone, carefully inspect the suspended figures above. One of them will be glowing with a striking orange hue. Use your spear to knock that particular figure down, uncovering a hidden object.
To get hold of the Ghost Hammer, pick up the item. Using this tool will enable you to unlock Wulfric the Resilient Phantom when you take a break at a Blade Nexus in the future!
Another Shortcut
Continue walking along the tunnel deep into the cavern until you find a chamber featuring big openings in the floor and a cascading waterfall. Circumvent the opening and glance towards your right to spot a closed door. Approach the door, manipulate it to open, and this will guide you straight back to the initial Blade Nexus you had activated!
Further Beneath The Skoffa Cave
After using your stored Lacrima to free Wulfric the Resilient, retrace your steps through the door you’ve recently opened and then continue rightward along this pathway. Keep following it until you encounter a giant Spider that moves swiftly toward you, similar to Sonic the Hedgehog.
After vanquishing the Spider, proceed to move to your right. You’ll find a lengthy stretch of ground extending towards the cliff edge, where an item waits. Grab it to acquire the Poison Disruption Parchment. Subsequently, keep following the primary path until it forks; one direction points left and the other right!
Right Pathway
As a gamer, I dash diagonally over the log to my right and dive into the dark, mysterious cave ahead. From there, I station myself with caution, bracing for a swarm of bats that will suddenly burst out from the depths, potentially causing significant harm if they manage to connect. Once I reach the entrance of this dimly-lit cavern, my eyes are drawn to a colossal bat hanging ominously from the ceiling, huddled in the farthest recesses of the cave.
In this scenario, you’re dealing with an advanced adversary, a Bat, so stay alert. Use your Javelin to take it out swiftly, but be aware that it will immediately charge towards you upon impact. Lure it into performing its Burst Attacks, then retaliate with powerful Counterattacks. Reflecting is vital in this instance, as conserving your Stamina will help you prevent heavy damage.
Overcoming the Elite Bat will earn you the Hound Scroll, the Mysterious Glyph Dual Wield, Butcher’s Shoulder Armor, Frozen Mountain Trousers, a Poison Removal Potion, and three Inner Essences. Then, make your way to the cave’s exit, and glance to your right to spot another passageway.
Traverse this route until you reach a Chest, then descend and open it to obtain the Spear of Inner Turmoil, Forgotten Warrior’s Helmet, Necklace of Life, and Lightning Spirit’s Fuel!
or
Keep going along this path until you find a Chest. After that, lower yourself to unlock it and get the Spear of Inner Turmoil, Forgotten Warrior’s Helmet, Necklace of Life, and Lightning Spirit’s Fuel!
Back On Track
Back on the fork, I’ll guide myself down the left path. This leads me to encounter the formidable Dragonkin. After vanquishing them, I press ahead, anticipating a run-in with a colossal Spider. As soon as we engage in combat, additional Spiders may join the fray, so it’s crucial to keep an eye on my Stamina levels during this battle.
After killing the Spiders, gather the Poison Spirit’s Fuel by looting the nearby items. Then, move a little further, only to be ambushed by another big Spider. Defeat it carefully, watching out for the egg sacks. Finally, absorb the corpse on the ground to collect Lacrima and Soul Tear Dust!
Very Big Spiders
As a gamer, I’ll stick to the primary course until I stumble upon a skinny chamber, where a massive spider is bound to dash at me with breathtaking speed. Once I take care of it, I’ll keep moving forward until I find an open space. On my left side, there’s a humongous spider standing guard next to a valuable purple item that we desperately need. Not ideal, but necessary.
To provoke the Spider out of its hiding place, throw a Javelin at its head which will move it towards you. This Spider boasts a considerable amount of health, making it a tough opponent to defeat. Focus on dodging its attacks and depleting its Stamina Gauge instead. This encounter is more about endurance than quick victories, so be cautious to avoid any expensive mistakes.
Slaying the colossal spider grants you entry to a hidden treasure. Claim the “Ring of Locked Poison” for yourself, then swiftly put it on. Trust me, you’ll need it!
Descending Further
Keep advancing through the caverns until you come across a larger chamber with fewer spiders. Dispatch them, then proceed along the route beneath the wooden bridge. Once there, look for a slender path on your left. Take it to get a Lightning Booster.
Turn around and make your way through the gap ahead, venturing deeper into the cave. Eventually, you’ll come across another Blade Nexus. This will serve as a convenient resting spot where you can thoughtfully spend your Lacrima.
Face the entrance and walk through the opening that lies before you, delving deeper into the cavern. Soon enough, you’ll find yourself at another Blade Nexus. Here, you’ll have the opportunity to relax and use your Lacrima prudently!
Both versions maintain the original meaning while using more natural language and making it easier to read.
Navigating The Poisoned Depth
With the Blade Nexus now operational, you can embark on a challenging journey of your own making. Navigate through the intricate labyrinth that is this device by moving down its spiraling passageway until you reach the base. Once there, look to your right to find a hidden cache containing a Mysterious Ore. Use your Javelin to break it apart.
Next, cast your gaze ahead to find a sprawling, toxic marsh teeming with giant spiders and danger. Isn’t it delightful? As soon as you exit the ramp, you’ll encounter a large spider, so be sure to act swiftly and dispatch it before proceeding further!
Trudging Through The Swamp
After overpowering the initial Spider, glance towards your right to find a split tree trunk that serves as a passageway. Cross the toxic marsh and venture into the tree trunk, gathering the Fire Essence Concentrate on your journey. From this point, turn left back into the swamp to encounter a sizable Spider in the distance.
Approach an island located nearby, take a moment to rest there first. After that, use something throwable, perhaps a javelin, to catch the Spider’s notice. Once you’ve defeated the Spider, seize the blue item it was protecting. This item will reward you with 3 Poison Cleanse Potions. To your right from this object, you’ll find another island, this one containing a dead body.
Race towards that island: There, you’ll find a large stash of Lacrima and Soul Tear Dust by examining the deceased body, but beware, it will awaken a powerful enemy!
Defeat The Elite Spider
If you found the Elite Bat tough before, the Elite Spider will make it seem like a walk in the park. The fact that you’re constantly in a pool of poison puts you at a major disadvantage. This Spider is no joke, dishing out heavy damage each time it attacks. It also boasts a lot of health and agility, making it a real pain to handle. In short, it’s downright dreadful to deal with.
Due to your successful removal of all spiders thus far, we strongly advise you to entice it towards one of the larger islands to minimize your encounters with the swamp. Once there, focus on triggering its powerful attacks by counterattacking and deflect most of its assaults. This task won’t be simple, so prepare yourself.
Victory over the Elite Spider grants me the following loot:
– Mysterious Glyph Dual Wield
– Butcher’s Helm
– Frozen Mountain Helm
– Fire Spirit’s Fuel
– Double Inner Essence!
Exploring The Swamp
After vanquishing the threat from the swamp, feel free to venture around a bit now, as you might discover another valuable item. To the right of where you previously absorbed the body, keep an eye out for more spiders in the distance and some intriguing rock formations.
Navigate towards that location, keeping an eye out for spiders as you go. Once you reach the rocky outcroppings, look behind them and you’ll spot a blue and purple object tucked away at the rear of the area. Be aware that there are some big spiders in that vicinity too, but with what you’ve already conquered, this should be a breeze for you.
Grab these items to earn 2 Small Spirit Stones, 3 Transmutation Shards, a Spirit Orb, and the Necklace of Sealed Venom. Quickly equip the Necklace of Sealed Venom for significant safeguard against the perils of this treacherous swamp!
Keep Going
After securing your freshly acquired Necklace, venture back to the location where the Elite Spider resided earlier. You’ll find a ramp beside its resting place, be prepared for some Spiders along this path, so eliminate them as you ascend. Approximately halfway up the ramp, glance to your left and you’ll spot a large Spider. Use your trusty Javelin to swiftly dispatch it.
Starting from here, tilt your gaze towards the location where you spotted the Spider earlier. You will find a Chest there. Open it up to acquire the Decayed Greatsword, Slayer’s Helm, Veteran’s Ring, and Lightning Enhancer!
Finding A Familiar Face
From your chest, rotate around, head back along the slope, and then follow the pathway that leads across. You’ll encounter another ramp sloping down; go ahead and take it, proceeding until you spot a path veering off to your right. Be cautious, as there may be some spiders here that explode, so avoid them to minimize damage.
Traverse along the correct course until you come across a light pulsating up from the ground. Then, utilize your “Javelin” to hurl it at the glowing source, which will supposedly strike an underground creature, eliminating it instantaneously. After that, descend from where the creature was concealed. Once you’ve done so, glance diagonally opposite to spot the “Bard.
Approach the Bard for entrance to his store, where you can buy various goods and supplies. Gather your necessities before continuing along the main route!
Almost There
Head back along the same route you initially followed to find the worm. Instead of taking a right turn this time, keep moving forward until you reach the next section of the map. You’ll notice multiple paths here, but for now, veer left. This path will guide you straight to the Blade Nexus, which marks your last checkpoint before the final confrontation!
Ending Things With A Bang
First, retrace your steps to the entrance of this location, then gaze directly forward to spot a stack of logs obstructing part of the cave. Employ your equipment to clear a path by chopping through the obstruction, and continue onwards through the passageway.
In this location, you’ll come across the ultimate collection of explosives. Detonate them by triggering the fuse, thereby sealing off and annihilating the remaining Spider Eggs. If you’ve successfully destroyed the ones we previously marked in this guide, the upcoming battle with the boss will be significantly easier to handle!
Last Bit Of Exploration
To your right, where the tunnel currently stands in ruins, lies another toxic marsh. Fear not, this one isn’t as harmful as the last one. You’ll spot an island nearby with a deceased body on it. Head towards it to gather some Lacrima and Soul Tear Dust by examining or interacting with it.
To the right of this island lies a nook with a tiny entrance below it. Pass through the entrance to discover the last Mysterious Ore. Break it using your weapon, and afterwards make your way back to the island to prevent being exposed to poison!
Starting from this spot, make your way through the toxic marsh until you come across a region on your left where there are some spiders. Eliminate the spiders and grab the item lying on the ground to earn 15 Transmutation Shards. After that, re-enter the swamp and continue straight ahead all the way to the rear to locate a Chest that’s guarded by spiders.
As a fearless gamer, I’ve got to deal with those pesky spiders first. Once they’re out of the picture, it’s time to unlock the chest hiding the Bard’s Wristguards, Pants, Shoes, and a couple of Poison Cleanse Potions. With these new gear and items in my inventory, I can now make a beeline back to the Blade Nexus, redeem my Lacrima, and get ready to wrap up this mission for good!
Defeat Aratra
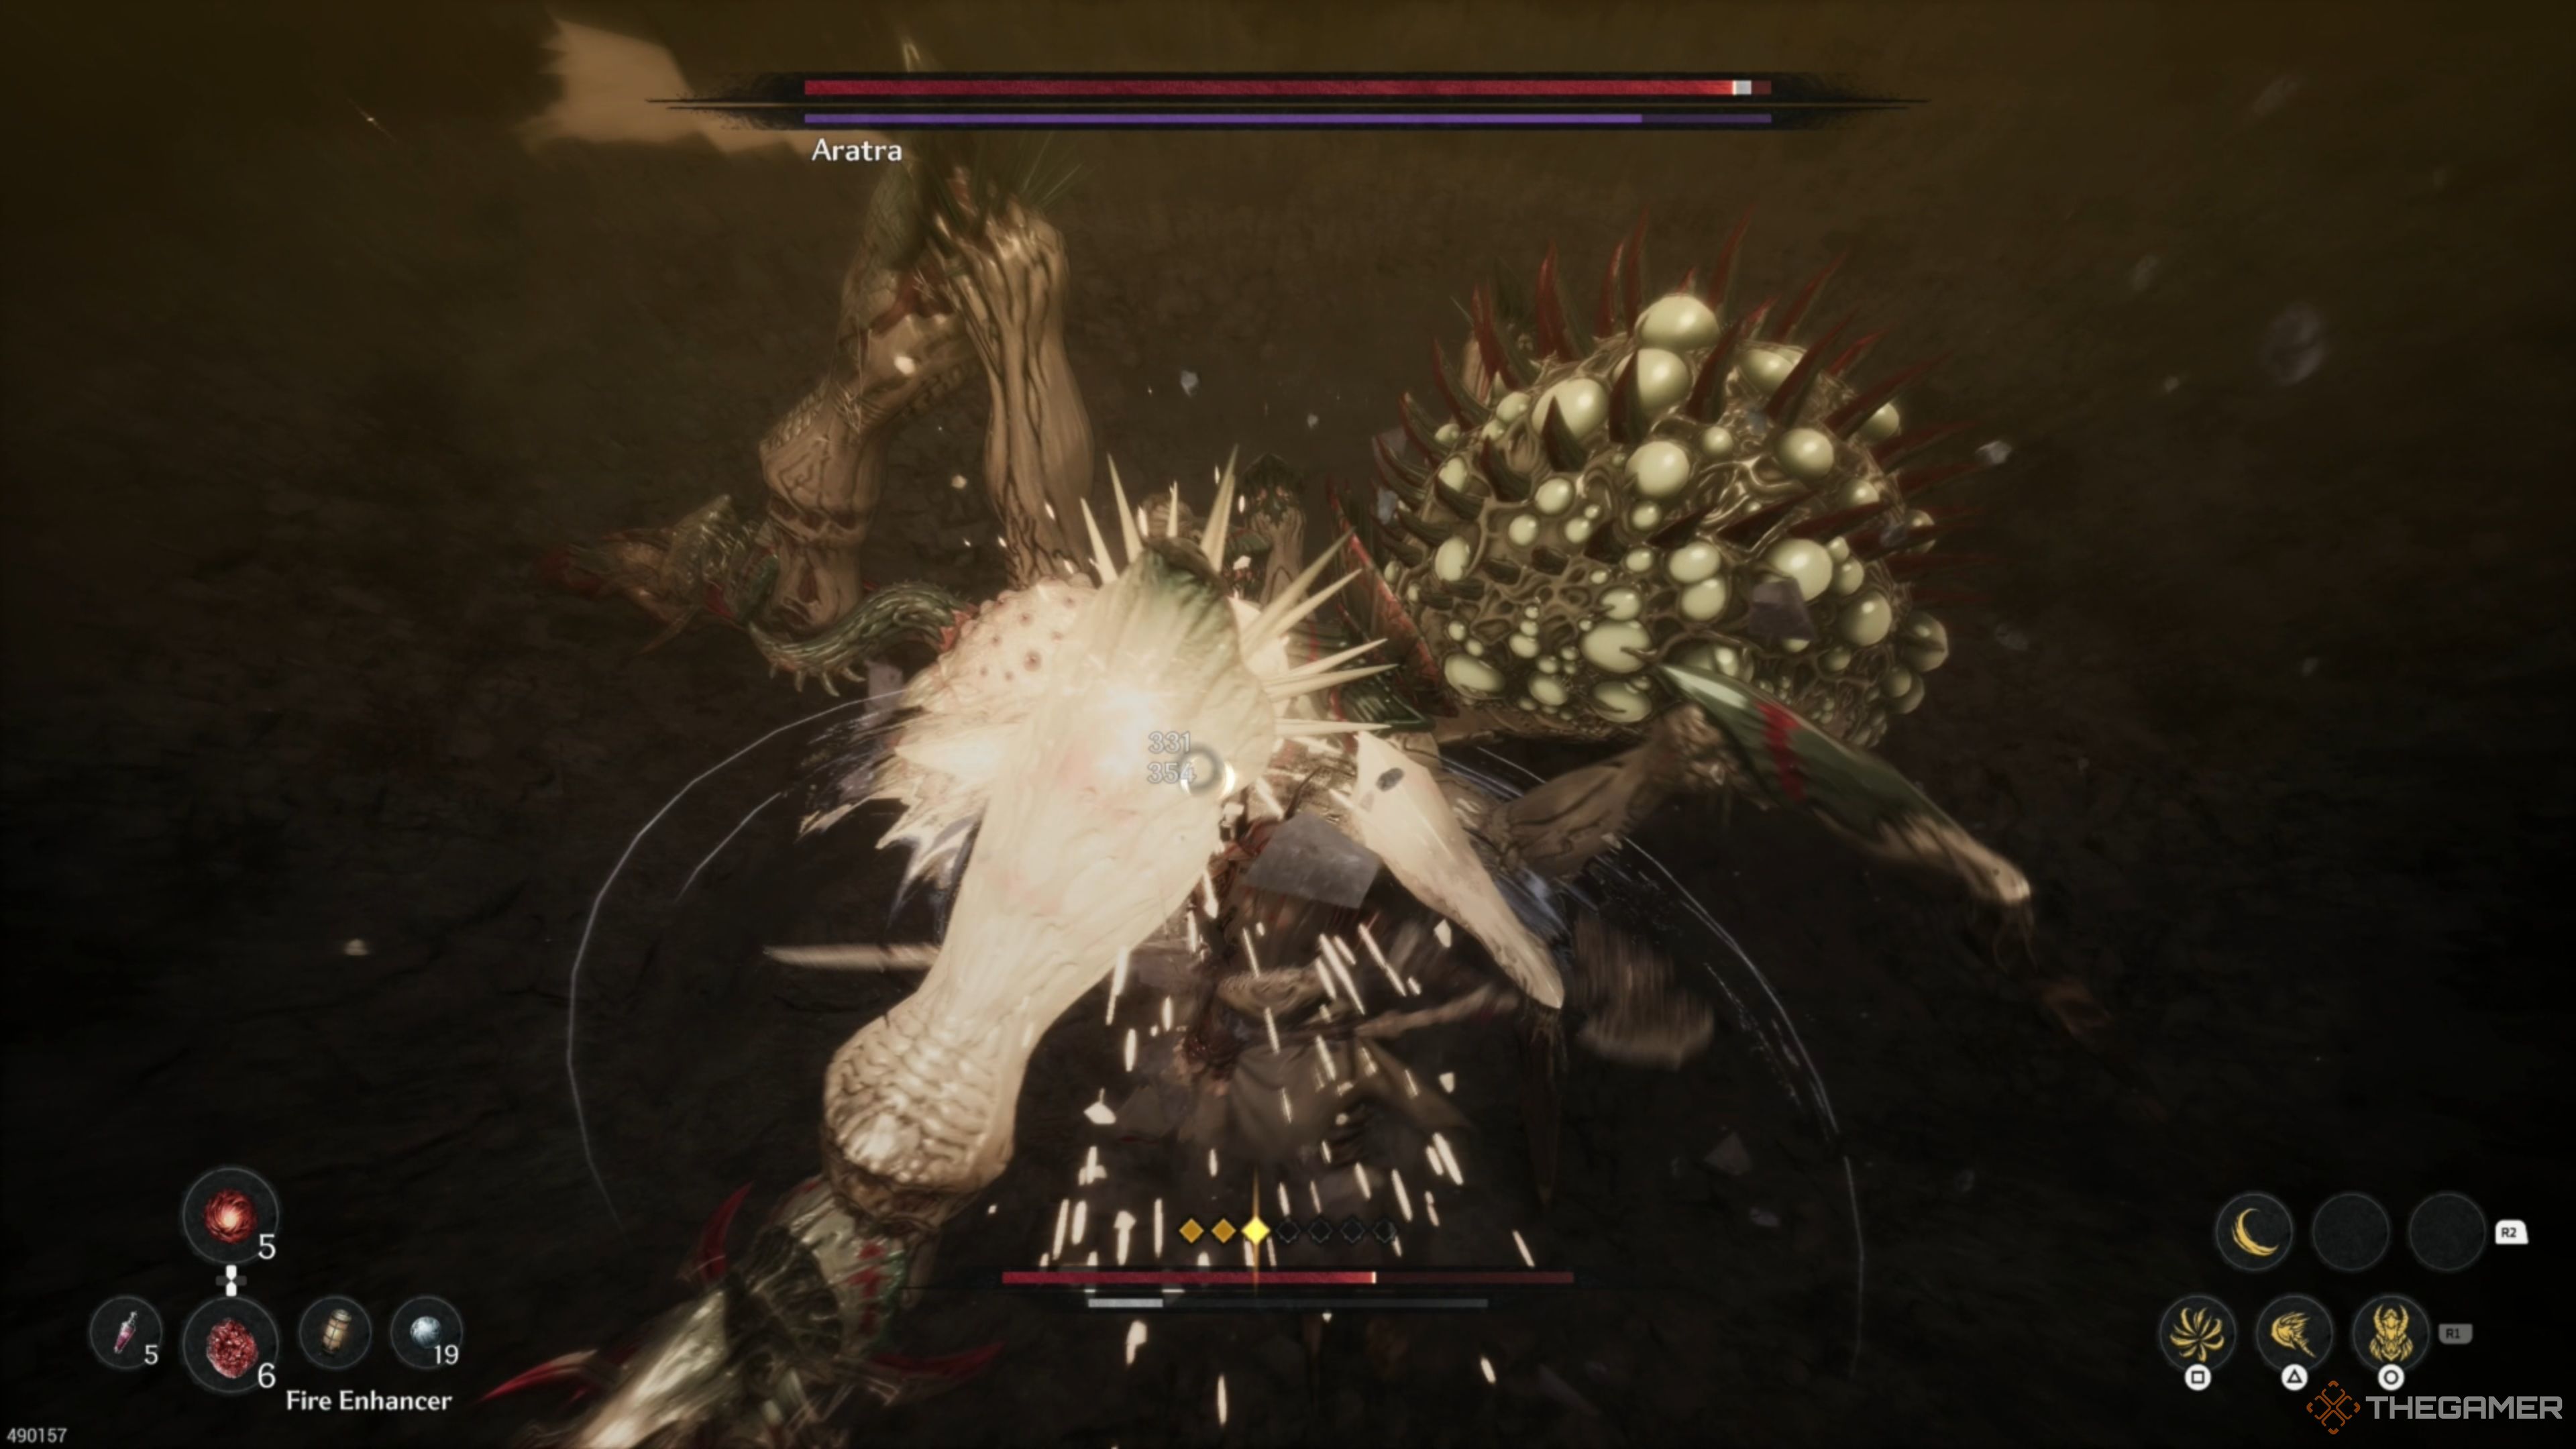
Here I am, at last, standing face-to-eight-legs with my final challenge – Aratra, the colossal spider. It’s not just any ordinary arachnid; it’s got a whole bag of surprises hidden beneath its hairy exterior. But fear not, for so do you possess a few tricks up your own sleeve. If you’ve managed to obliterate all those spider nests on your journey here, this showdown will be far less daunting, as it’ll minimize some of Aratra’s pesky tactics and level the gaming field.
If you’re seeking additional details and tactics to overcome Aratra, rest assured, we’re here to assist you! The battle may remain tough despite the destruction of the Nests, but every piece of advice comes handy, particularly at this advanced stage of the game.
Read More
- Gold Rate Forecast
- PI PREDICTION. PI cryptocurrency
- Rick and Morty Season 8: Release Date SHOCK!
- SteelSeries reveals new Arctis Nova 3 Wireless headset series for Xbox, PlayStation, Nintendo Switch, and PC
- Masters Toronto 2025: Everything You Need to Know
- We Loved Both of These Classic Sci-Fi Films (But They’re Pretty Much the Same Movie)
- Discover Ryan Gosling & Emma Stone’s Hidden Movie Trilogy You Never Knew About!
- Discover the New Psion Subclasses in D&D’s Latest Unearthed Arcana!
- Linkin Park Albums in Order: Full Tracklists and Secrets Revealed
- Mission: Impossible 8 Reveals Shocking Truth But Leaves Fans with Unanswered Questions!
2025-03-24 22:12