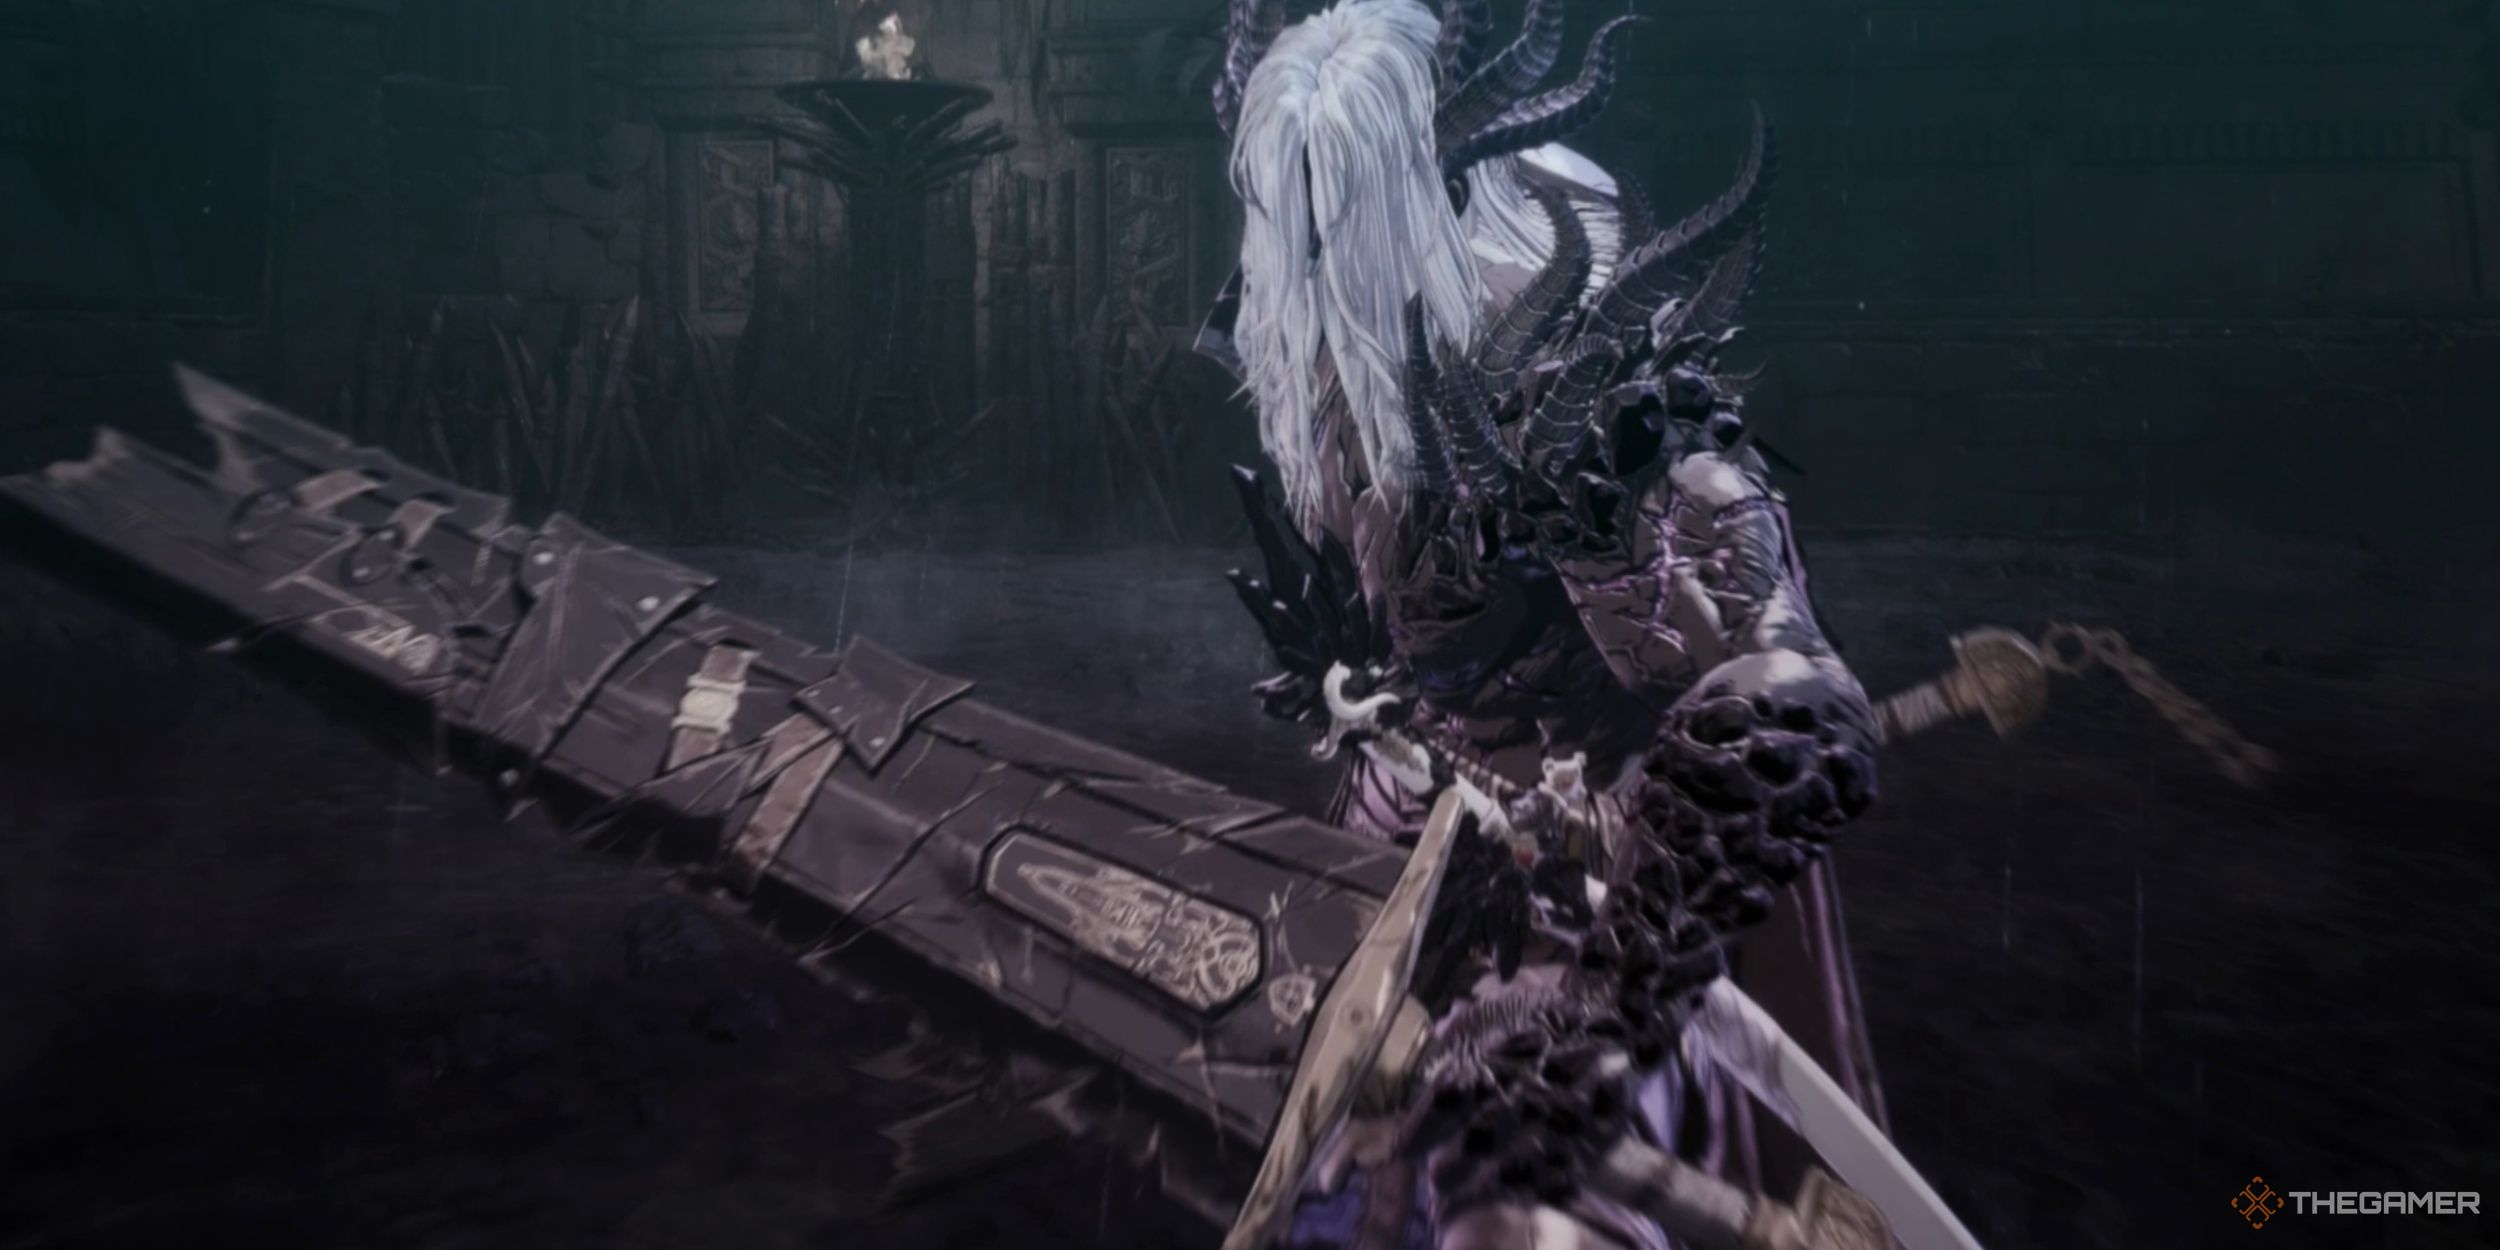
Khazan: The First Berserker is a sophisticated and tough-as-nails soulslike game, renowned for its meticulously crafted boss battles that will truly test your strength and drive you to your breaking point. For those seeking a test of skill, the battle with Maluca hidden deep within the Veil’s Throne offers an unrivaled challenge.
In essence, the Maluca encounter presents an intense and thrilling challenge, pushing you to near perfection in your gameplay. A single mistake could lead to respawning at the Blade Nexus with a sense of defeat. Yet, by employing the right strategy, you can manage to bring some semblance of order, even if only slightly!
Maluca Overview
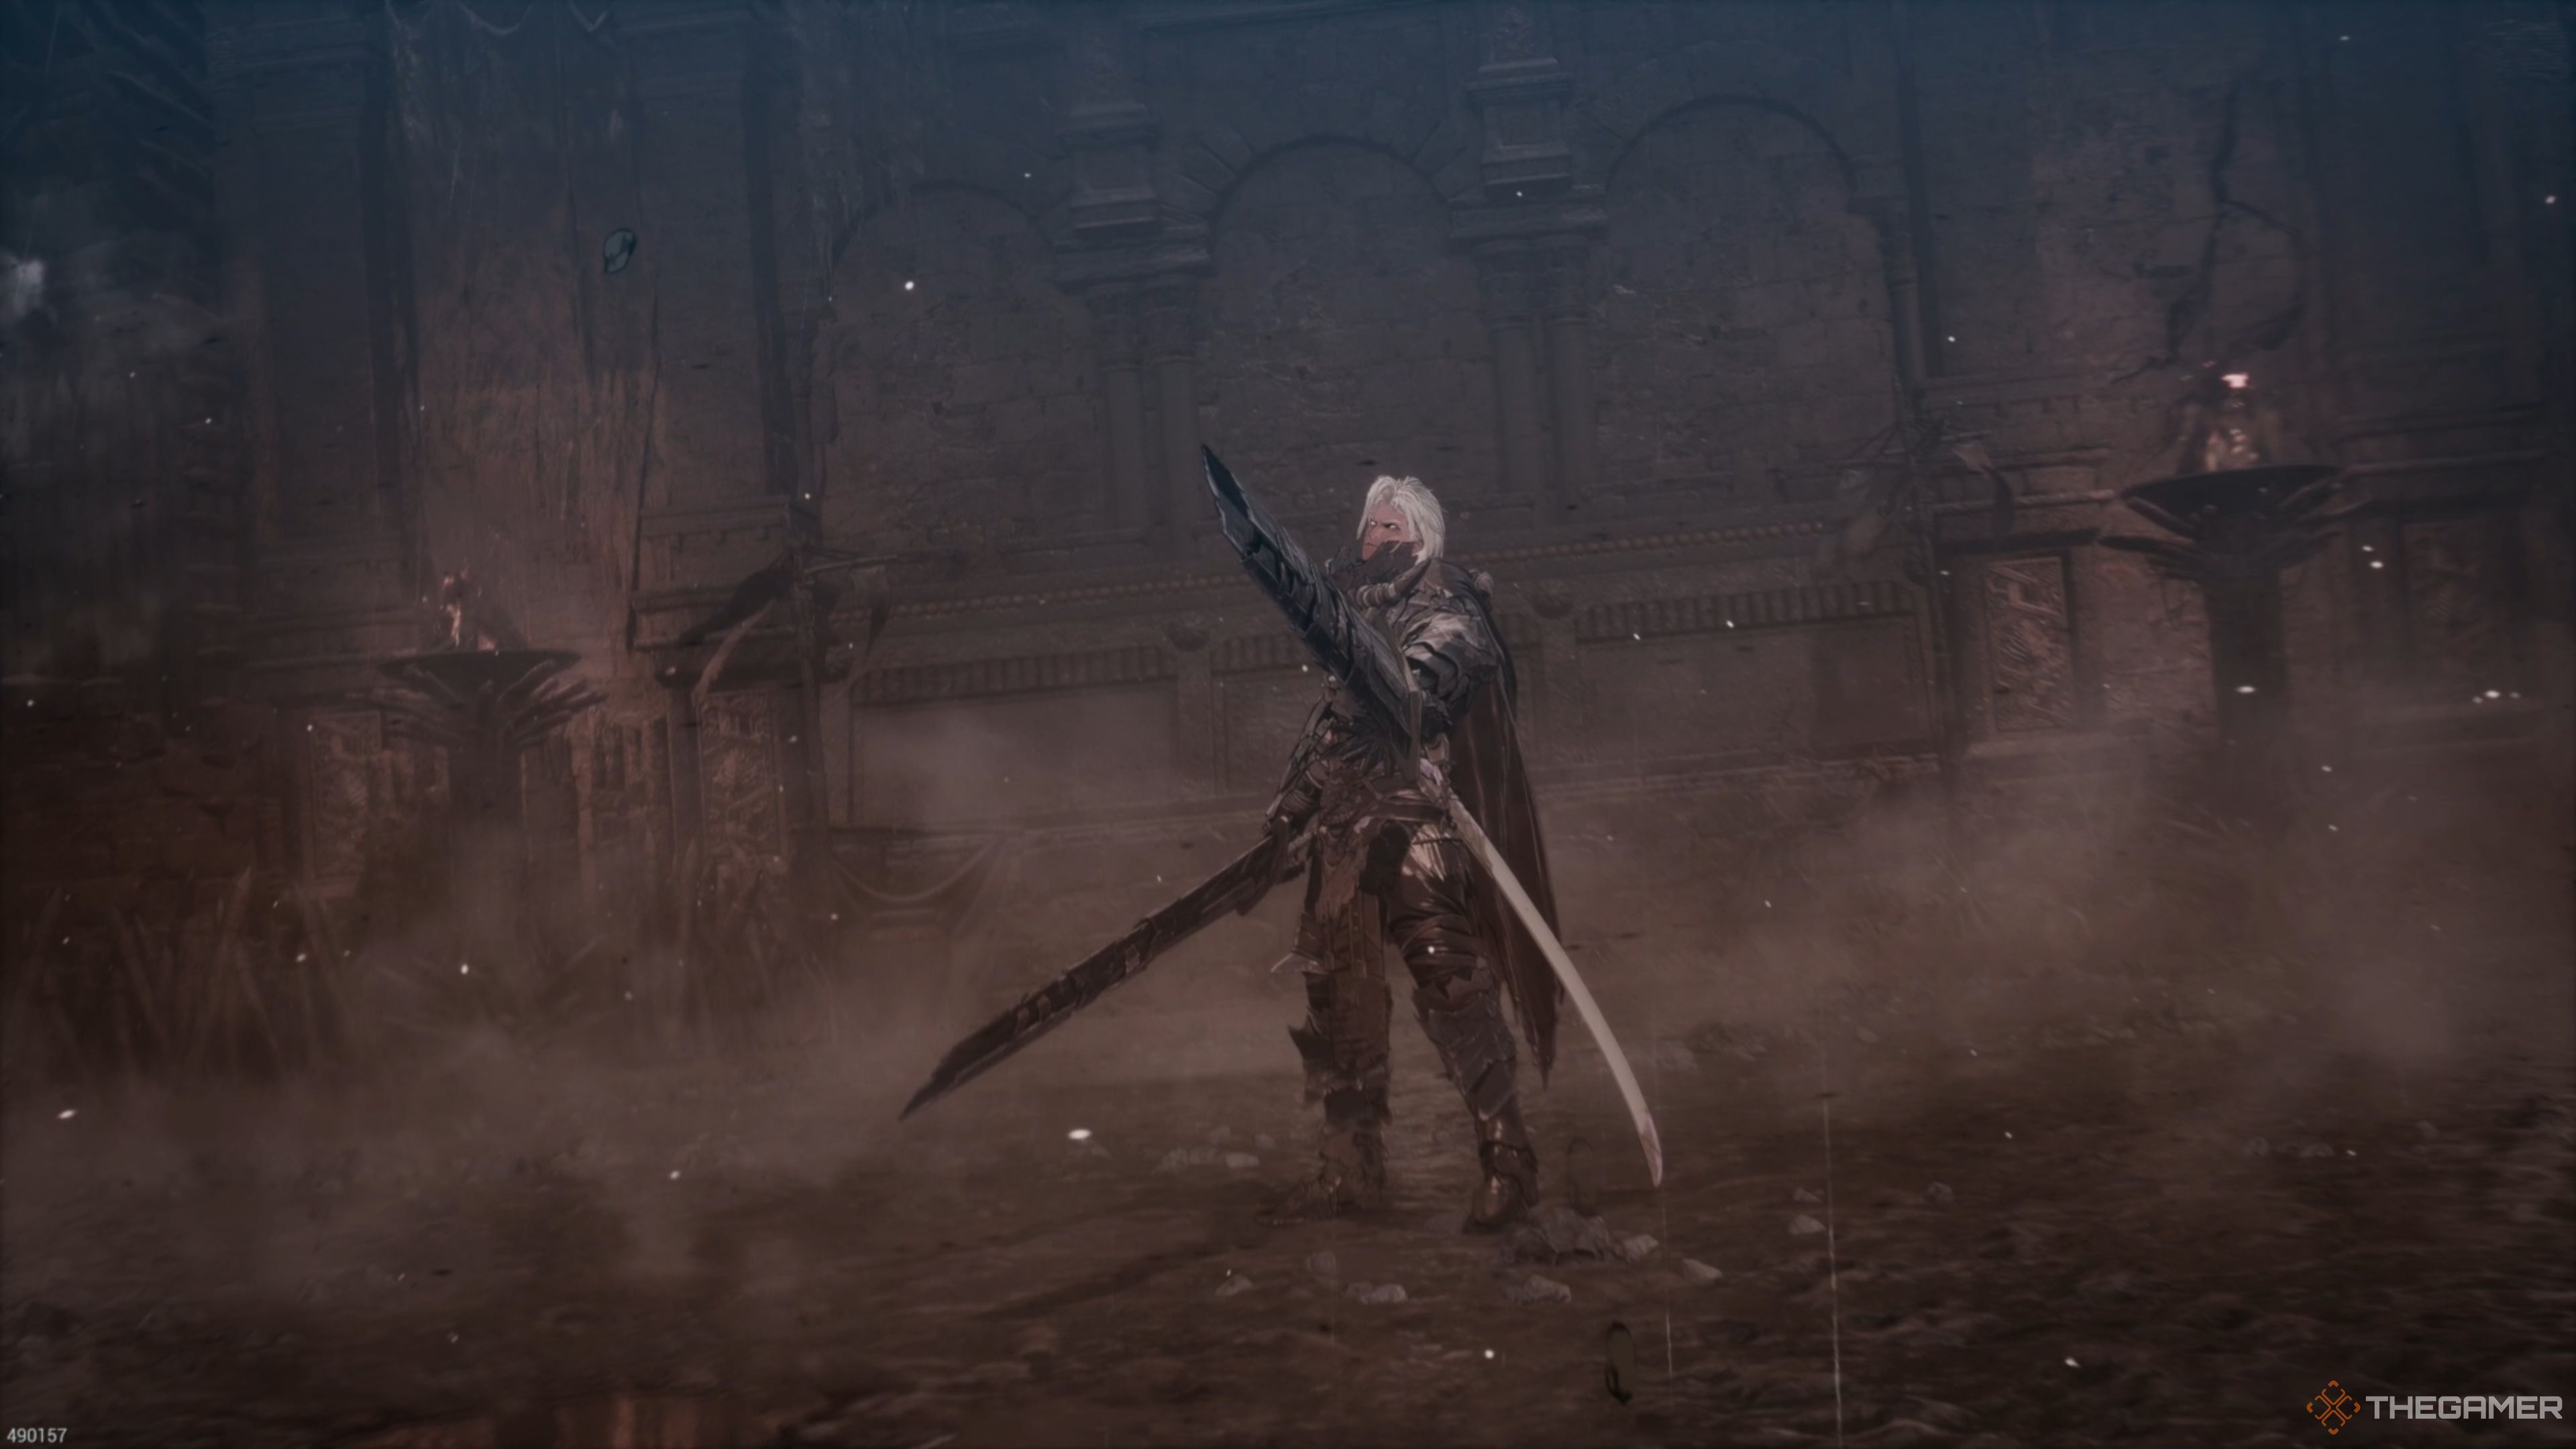
In The First Berserker: Khazan, it’s widely agreed that Maluca is one of the toughest and intricate boss battles due to his ability to inflict massive damage, possessing high speed, and being capable of attacking from various distances, depending on the attack he selects. Even more challenging, this is just the first phase of the fight.
In his second stage, he transforms into a state dominated by Chaos, unlocking an array of fresh assaults. Many of these attacks are extraordinarily swift and challenging to dodge. Moreover, he inflicts significantly increased damage, which spells trouble if you’re the one being hit. This fight won’t be a walk in the park, so gear up for a tough battle!
Maluca Information
| Mission | Veiled Knives |
|---|---|
| Recommended Level | Level 51 |
| Optional? | No |
| Rewards |
|
How To Defeat Maluca
If you’ve reached this point, you should have the skills necessary to conquer Maluca. However, be prepared as he possesses numerous attacks that could quickly send you back to where you started. Moreover, his second phase introduces a level of absurdity, pushing you into confronting Chaos. But with careful planning and enough time, he can be defeated permanently!
Maluca: Overhead Slam
At the onset of the confrontation, Maluca will rush towards you and execute two consecutive Overhead Slam attacks. When you notice him preparing for the attack by lifting his sword high behind his back and rotating towards you, be ready to block them. Right as he’s about to bring the sword down on you, defend yourself to counteract the strike.
After performing the Overhead Slam twice consecutively, proceed to assault him. Aim for about three to four strikes, as this should inflict a reasonable amount of damage in total!
Maluca: Burst Attack
He frequently responds with what’s known as the “Burst Attack”. When you notice the symbol pop up on your screen, pause for a moment, then immediately counter by pressing L1+Circle/LB+B when he starts attacking. This will significantly reduce his health and stun him. While he’s stunned, take advantage by unleashing a series of attacks against him!
Maluca: Big Boot
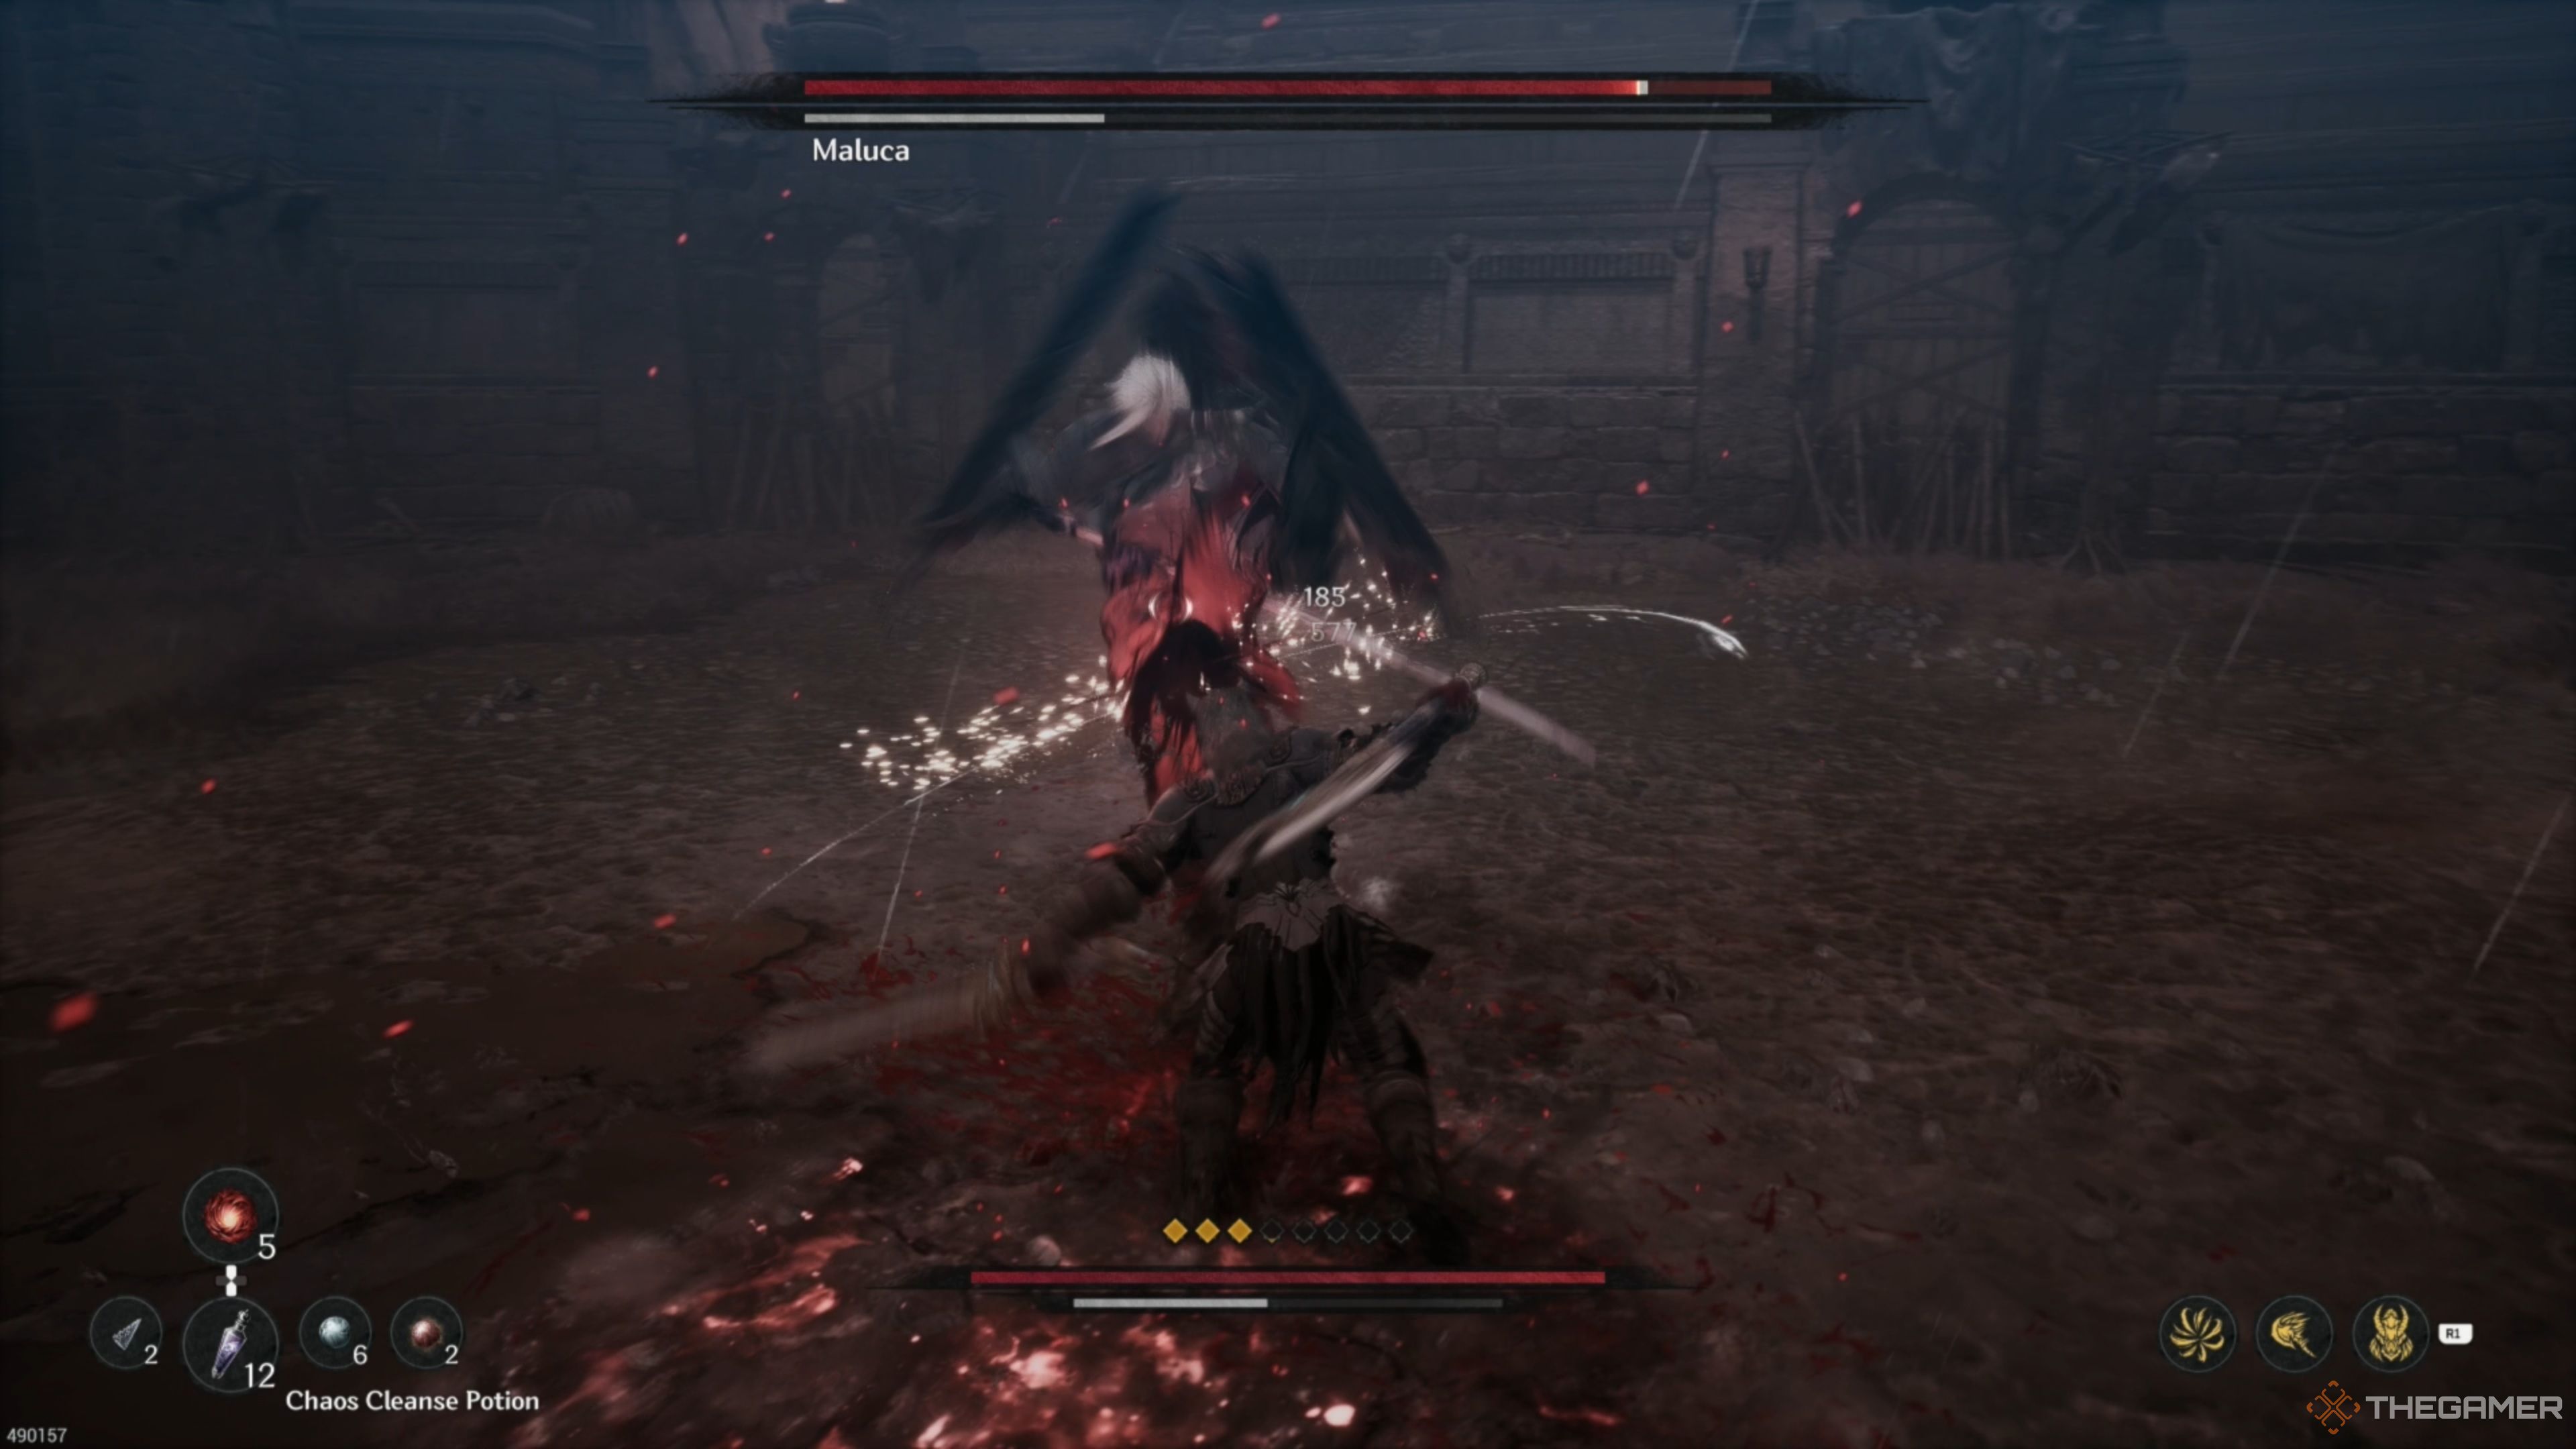
A typical behavior of Maluca involves a powerful stomping approach where he charges at you, then halts, elevates his left foot, and delivers a forceful kick that pushes you away and inflicts significant harm upon impact. If you notice him lifting his leg, stand still and defend the instant you see his foot start to move forward after he lifts it – this gives you a chance, or a ‘Reflect’, to counterattack a few times!
Maluca: Charged Projectiles
After that, Maluca is expected to initiate his “Energy Blast” attack, where he momentarily stops moving and amasses energy within his sword. Subsequently, he discharges this energy as a straight beam in front of him, causing extensive damage. He performs this attack thrice; the first two are swiftly fired, while the third one has a slight delay.
1. Watch as he gathers his energy, then twists his body and positions a foot for a throw.
2. As soon as you notice him planting his foot, quickly move either left or right to dodge.
3. For the first two throws, dodge immediately, but wait for the third to avoid getting hit (it’s an attack).
4. The timing can be tricky to master at first, so practice patience!
Maluca: Dual Blade Combo
Next in line is his “Double Edge Combo”. He initiates it with a thrusting strike, swiftly follows up with a spinning slice, and concludes with an overhead crash. Mastering this move requires careful attention, as you need to watch out for his secondary blade during one of the attacks.
As a fan, I’d describe it like this: When he lunges forward, I patiently guard to execute a Reflect. The spinning slash is the most challenging move as one blade attacks before the other, requiring me to guard twice. As the first blade is about to reach me, I quickly guard the attack to Reflect it. Then, I release the button and instantly guard again to Reflect the second strike. After this, I wait for his overhead slam and guard right before it hits me for another Reflect!
Maluca: Twirling Slam
The Twirling Slam move comes next. Maluca soars high up before spinning fiercely as he plummets towards the ground. Although it appears menacing, this attack isn’t as severe as it seems. Just when he is about to hit the ground, defend yourself by using Reflect to block the attack, causing him to halt his advance, providing you with an opportunity to launch several attacks. After that, simply repeat the process until you reach his second phase!
Maluca – Chaos Phase: Devastating Slam
You’ve moved on to the second stage of the interaction now, where Maluca is overtaken by Chaos. Typically, he initiates this phase with his formidable Slam attack. This involves him jumping incredibly high into the sky, followed by a dramatic fall where he slams into the ground below, causing a powerful shockwave. Before you even have time to react, the ground beneath you seems to explode in a burst of Chaos.
As soon as he jumps up, start moving a safe distance away from him, then stand your ground during his descent. Afterward, continue moving farther to dodge the shockwave and keep running to exit the blast area. Since attacking isn’t advisable in this situation, maintain a safe distance from him at all times!
Maluca – Chaos Phase: Time Altering Slash
After that assault, Maluca will execute his Time Bending Slash. This means he’ll draw his katana and temporarily slow time around him. When you notice time starting to slow down for you, swiftly move to the left or right to dodge. Keep in mind, he’ll instantly teleport to your location following this action. Dodging at that moment will let you avoid the attack entirely, giving you an opportunity to land some blows!
Maluca – Chaos Phase: Lunging Grab
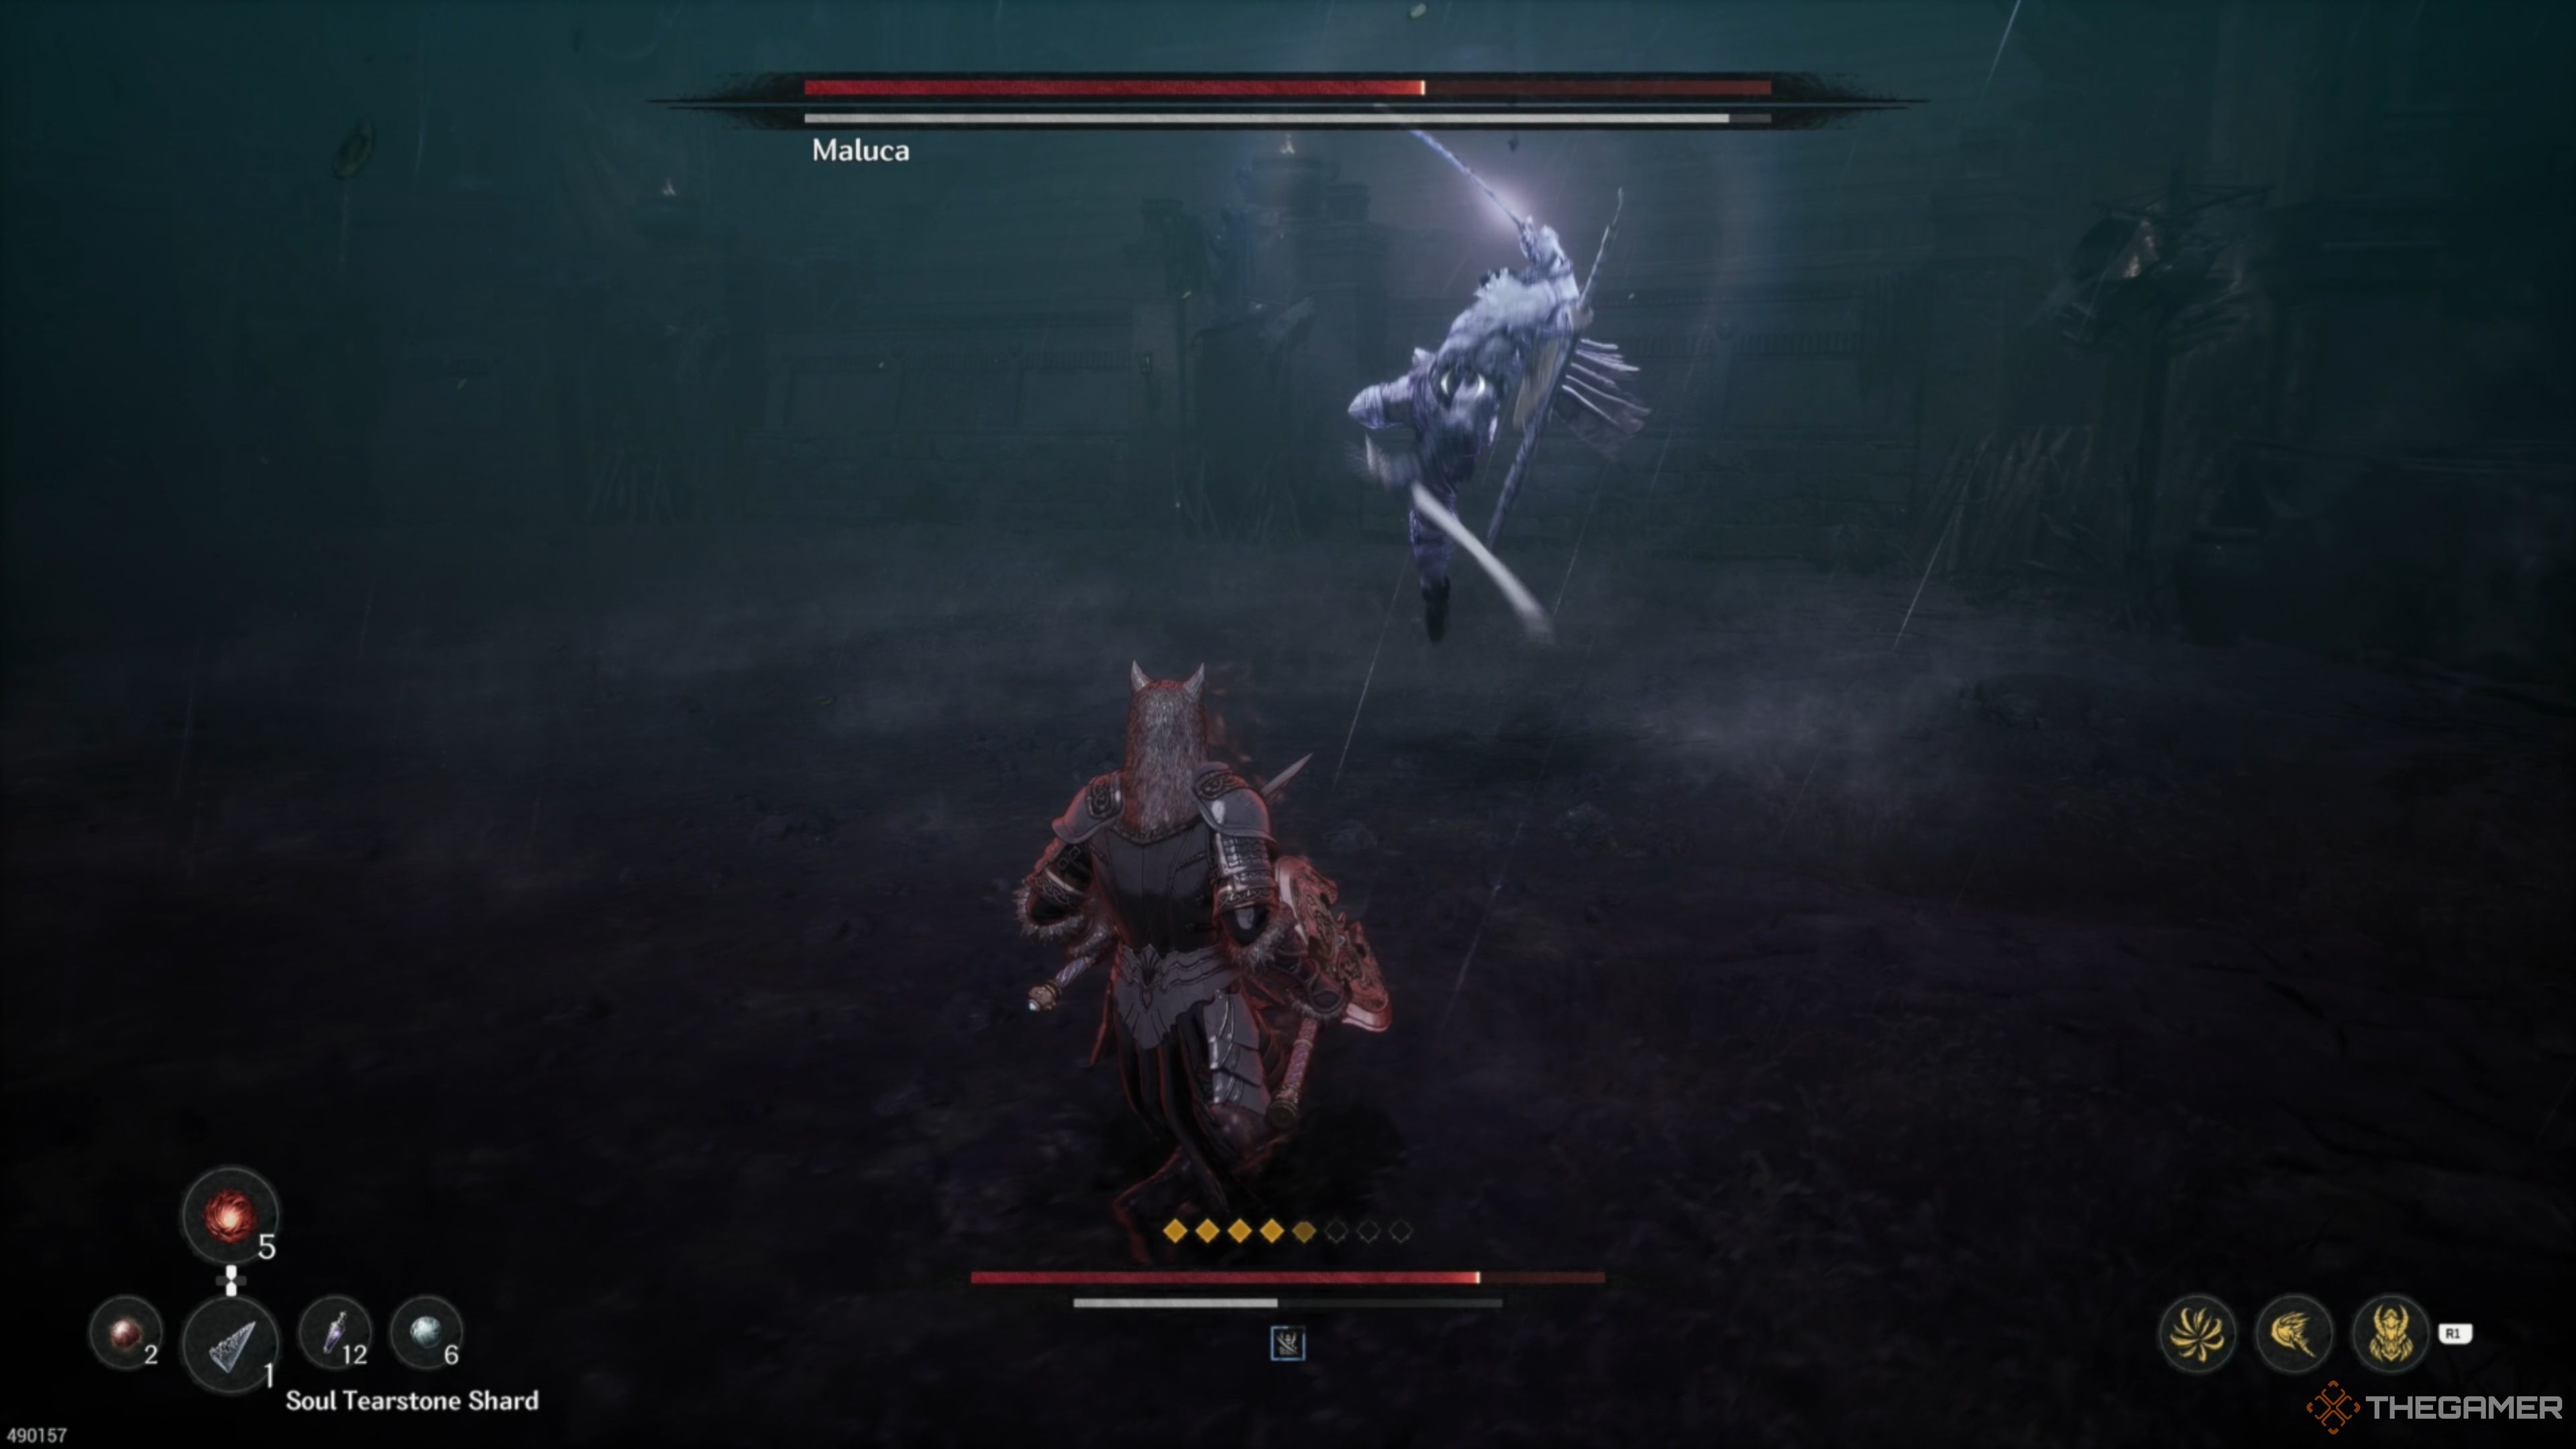
Next, Maluca unleashes his high-flying Lunging Grab move. In this attack, he soars into the sky before coming down with a powerful thrusting strike from his katana that transforms into a grab. This brutal maneuver packs a massive punch of Chaos damage upon impact. As he leaps into the air, his katana flashes brightly – a clear signal for you to get out of harm’s way. The instant you spot that flash, dodge left or right to evade the grab, then make a run and counterattack!
Maluca – Chaos Phase: Taunting
From time to time, during this stage of the confrontation, Maluca might back off and start taunting. He’ll strut around in a small space, making fun of you while holding his blade on his shoulder. A good strategy would be to close in and attack him aggressively. Initially, some of your attacks will be parried, but this should prompt him to counter-attack, usually with a basic slash. This gives you the opportunity to deflect it and respond with a special move!
Maluca – Chaos Phase: Charging Slash
From here, it’s expected that he’ll perform his “Energy Gathering Charge,” where he’ll build up power from afar, then quickly dash towards you with a formidable slash. Following this, he’ll spin around and strike again with a powerful downward swing. This move is quite challenging to dodge, so stay alert.
In the heat of the game, as soon as I spot him making a move, I quickly guard to mirror his initial attack. Then, I stand my ground, patiently waiting for his follow-up slash. Just before he can connect with me, I guard once more, reflecting that attack too. This clever timing allows me to land three to four hits in response!
Maluca – Chaos Phase: Chaos Barrier
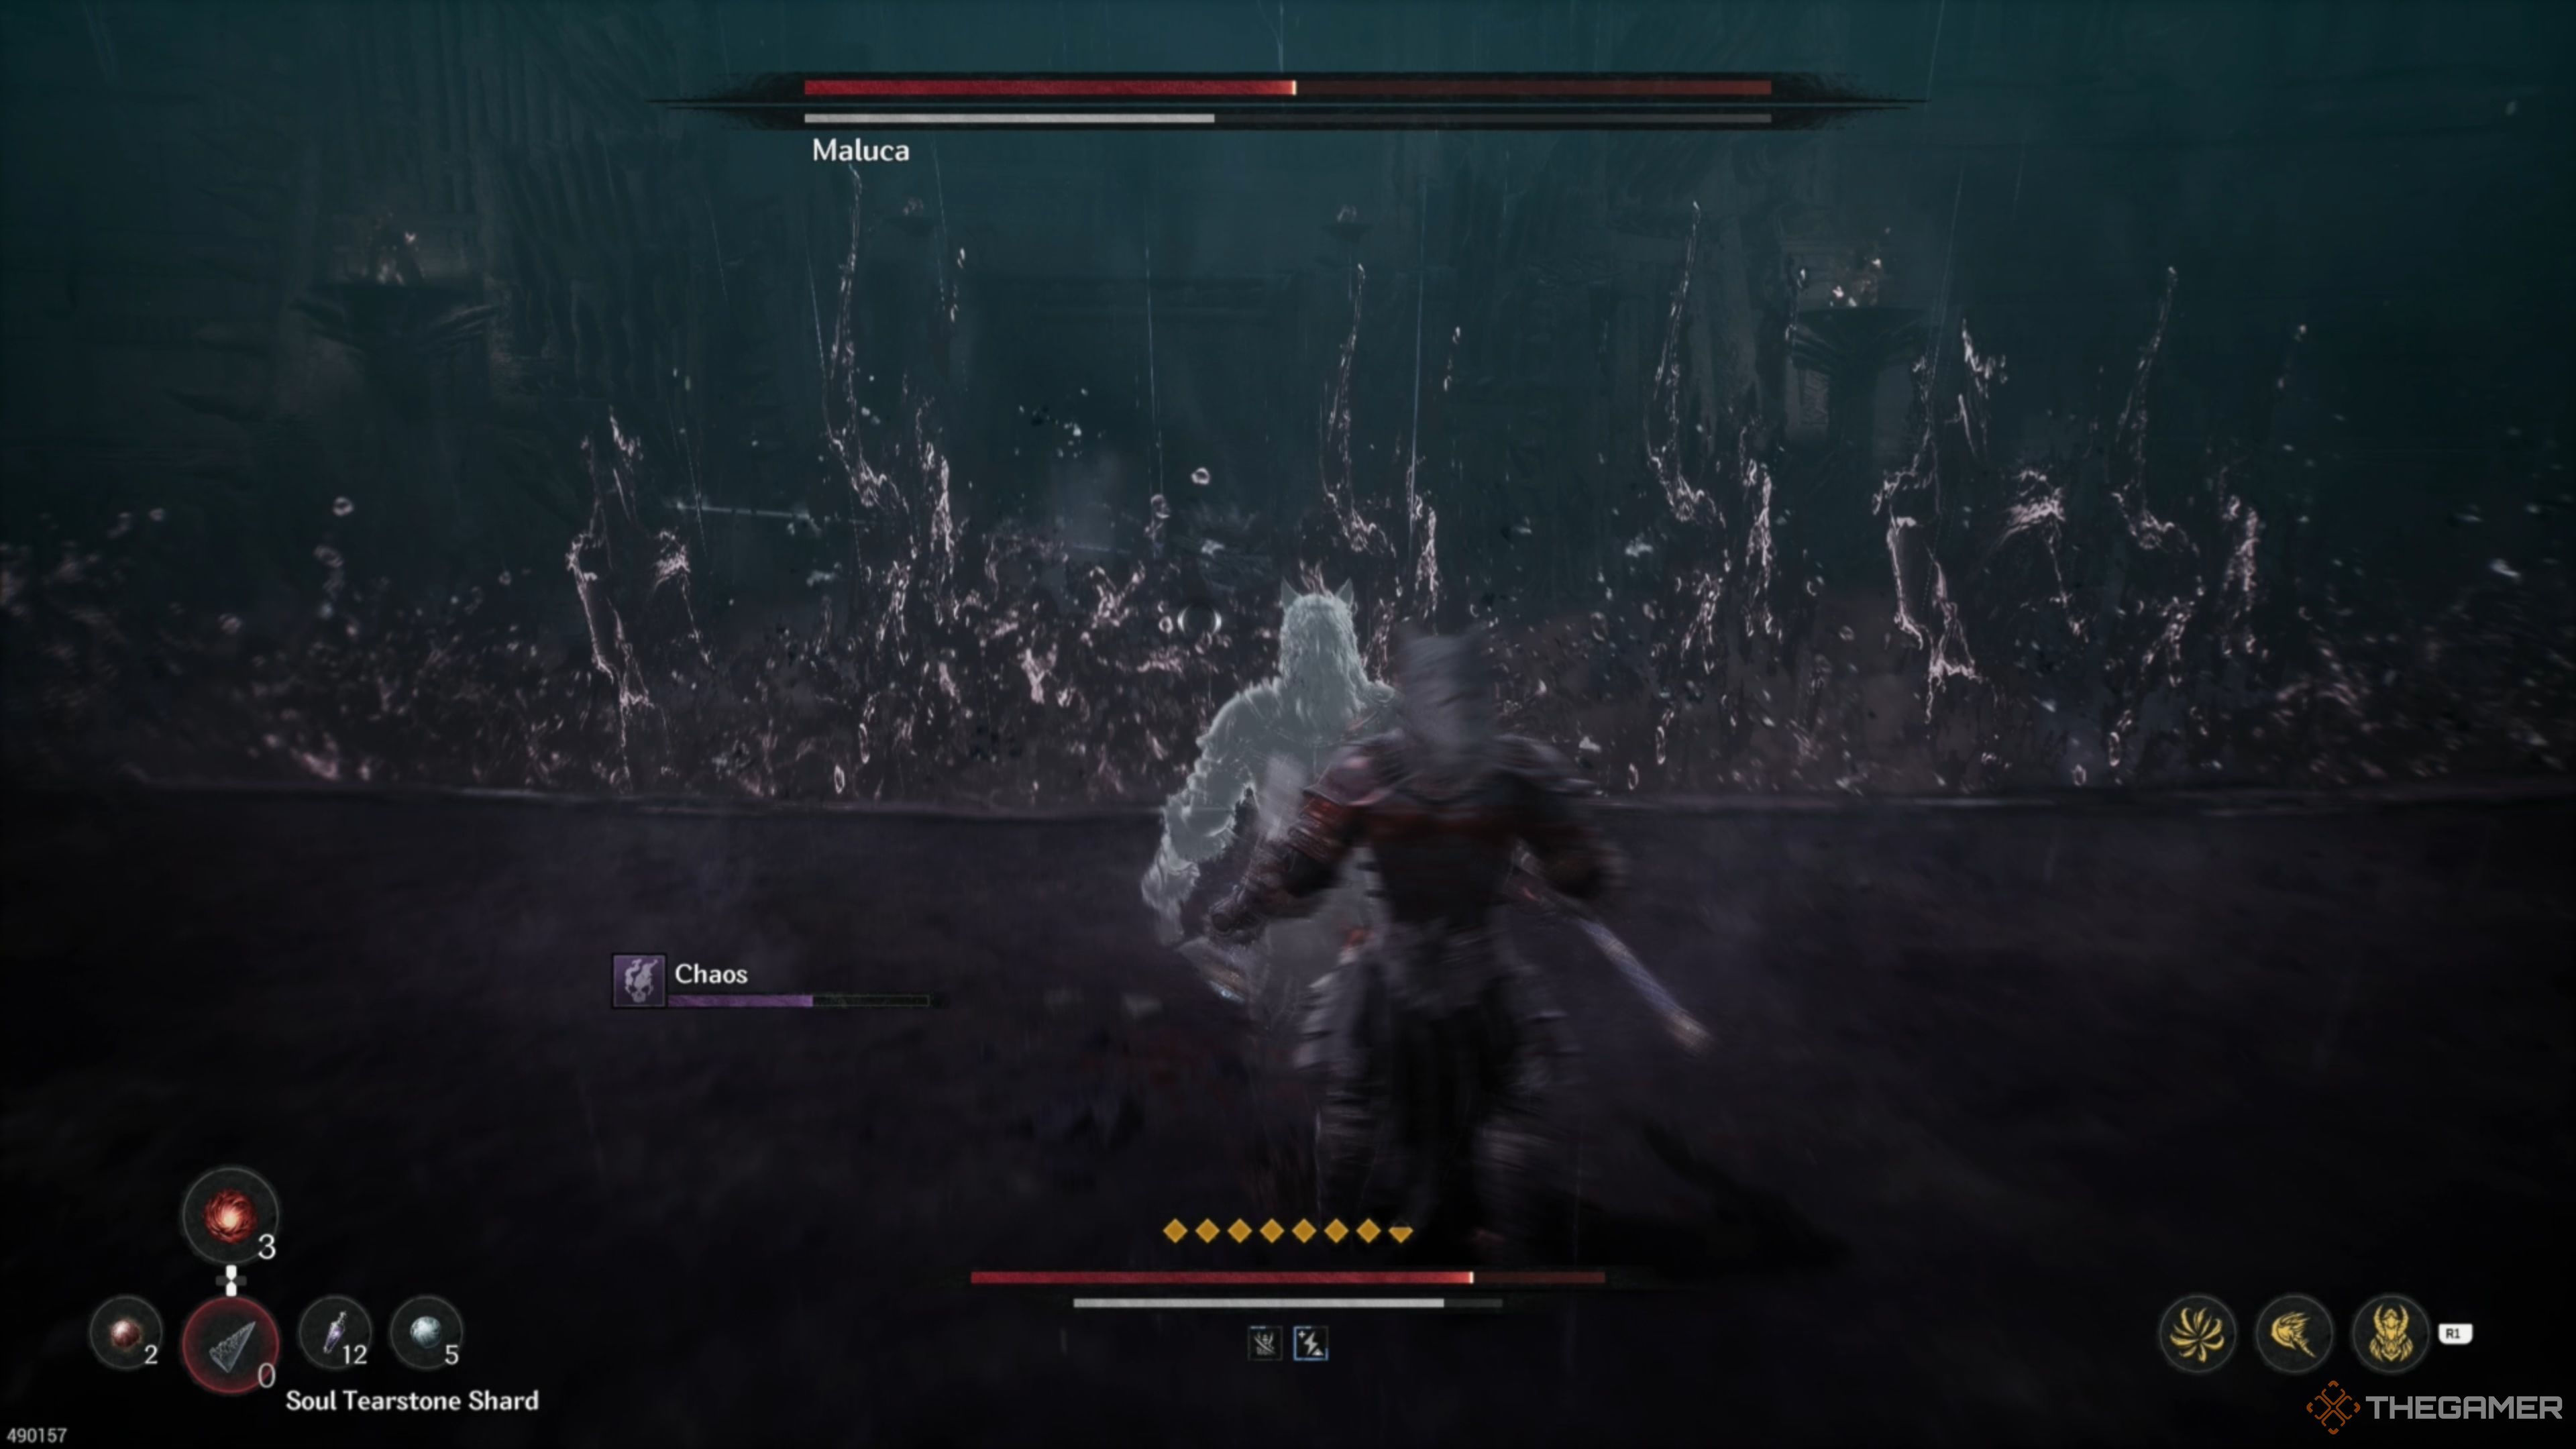
In this phase, I often find myself utilizing his Chaos Barrier – a move that splits the arena in two using a wave of Chaos Energy. This gives him some breathing room for a series of attacks. After emerging from the chaos, he usually unleashes a swift slashing attack. So, stay alert and be ready to deflect it when it comes!
Maluca – Chaos Phase: Low Stance Attack
Following the dispersal of the Chaos Energy barrier, Maluca tends to carry out his “Crouching Assault.” In this stance, he drops low before charging straight towards you at high speed. Upon reaching you, he’ll leap over you and repeat the move again before performing a sliding slash attack that can be tricky to block effectively.
Wait for him to jump over you not once, but twice, and then prepare yourself as soon as he starts gliding to dodge his Slash. He will advance quite a distance from you, so it’s best to refrain from attacking him right now. Instead, conserve your energy for the next move!
Maluca – Chaos Phase: Propulsion Slashes
One of the frustrating moves to counter is his “Propulsion Slashes,” where he crouches down again but this time wielding not one, but two daggers. Following this, he’ll leap into action, using those daggers to execute powerful airborne slashes.
One of the more vexing moves to handle is his “Propulsion Slashes,” which involves him getting low and brandishing a pair of daggers. Subsequently, he’ll launch himself into the air, using those daggers for devastating mid-air slashes.
Every time he takes a swing, he’ll lunge in your direction. It would be wise to create plenty of distance between you since only the last strike will come close. He typically performs three strikes, so keep a safe distance and prepare to reflect when he starts spinning for his final blow!
Maluca – Chaos Phase: Twirling Slash Combo
Afterward comes his maneuver called the Spinning Slice Combo. This sequence initiates with a spinning slice attack, sending him charging towards you with a powerful slash, followed swiftly by an overhead slash and then a leaping overhead strike. It’s crucial to note that blocking here won’t help much, as it will quickly deplete your Stamina Meter, leaving you vulnerable.
As Maluca starts spinning towards you, immediately defend yourself. When he starts bringing his sword down on you, block the strike. Then, wait for the overhead slash and shield yourself just before the blade reaches you. There will be a brief pause, after which Maluca will execute a small leaping overhead slash. Guard yourself before it lands to set up another Reflect opportunity. Taking advantage of this moment, you can land a few strikes of your own!
Maluca – Chaos Phase: Quick Slashes
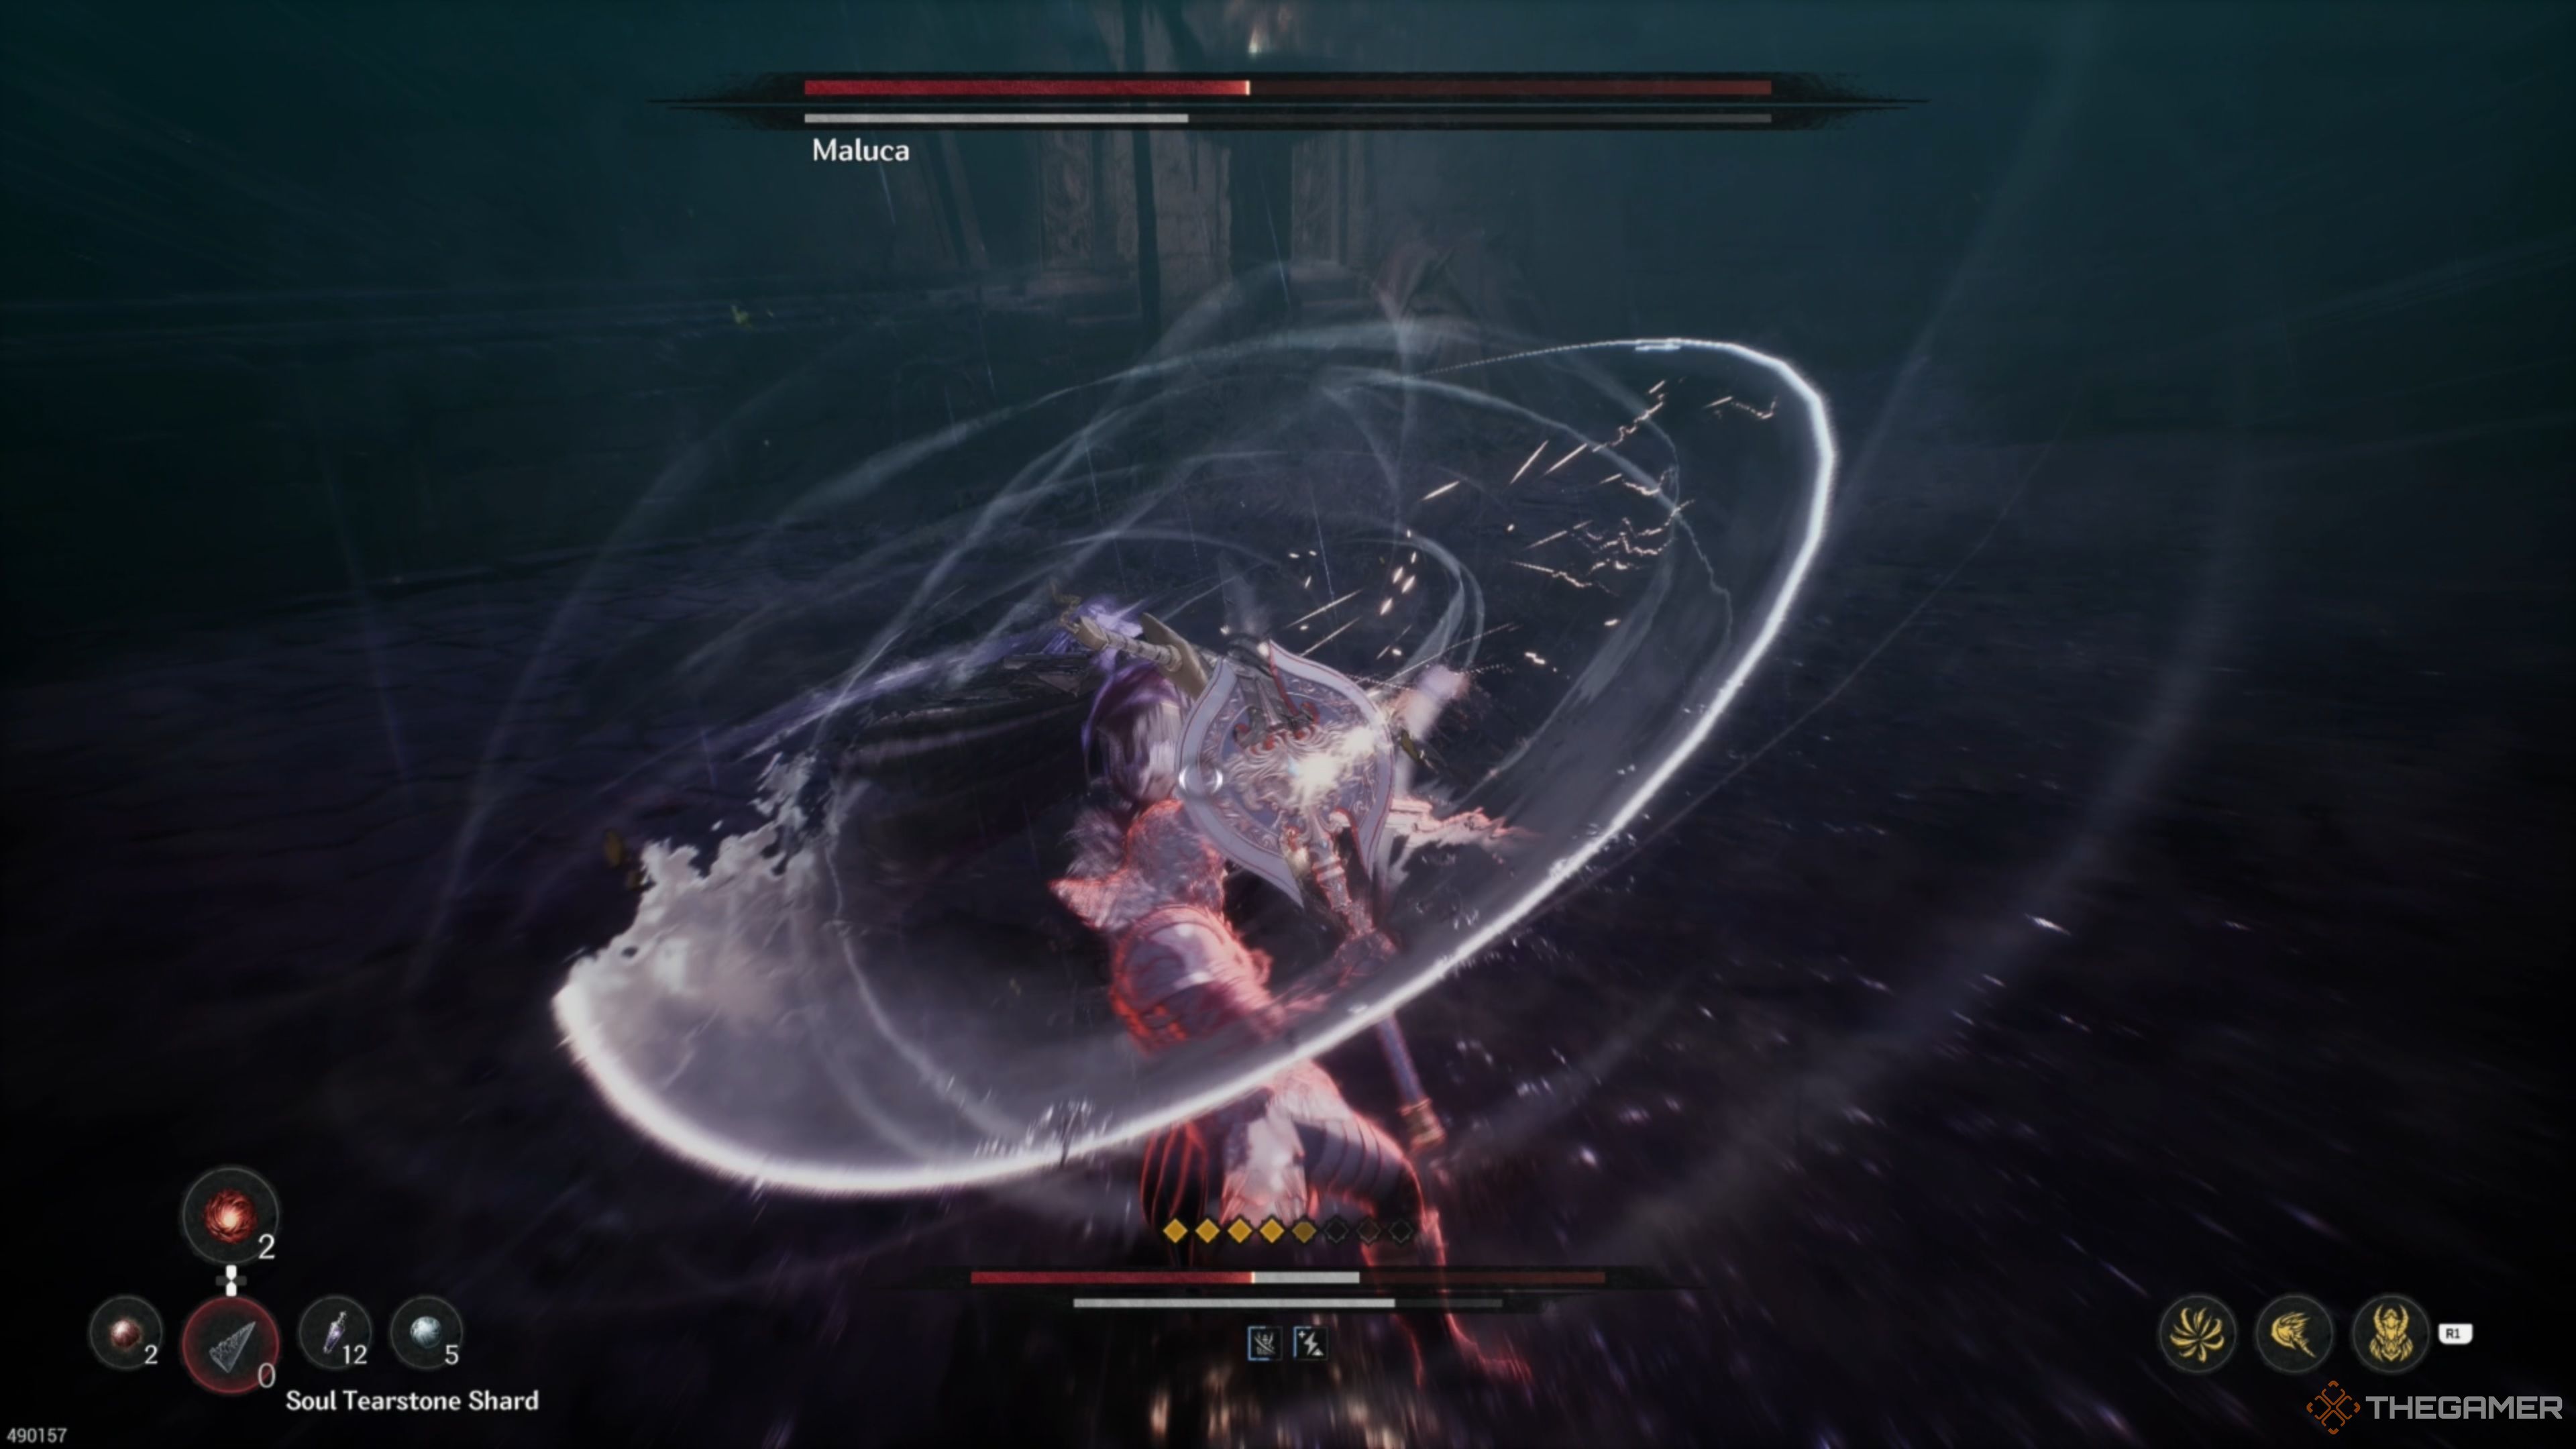
In the sequence of events, it’s Maluca who is about to perform a lethal move. He will launch rapid strikes with his katana that are exceptionally difficult to deflect due to their high speed. While we usually advise against this, if you can successfully deflect the first two, it would be wiser to defend yourself through the rest as they become progressively harder to block and could cause significant damage to your health if timed incorrectly!
Maluca – Chaos Phase: Big Boot
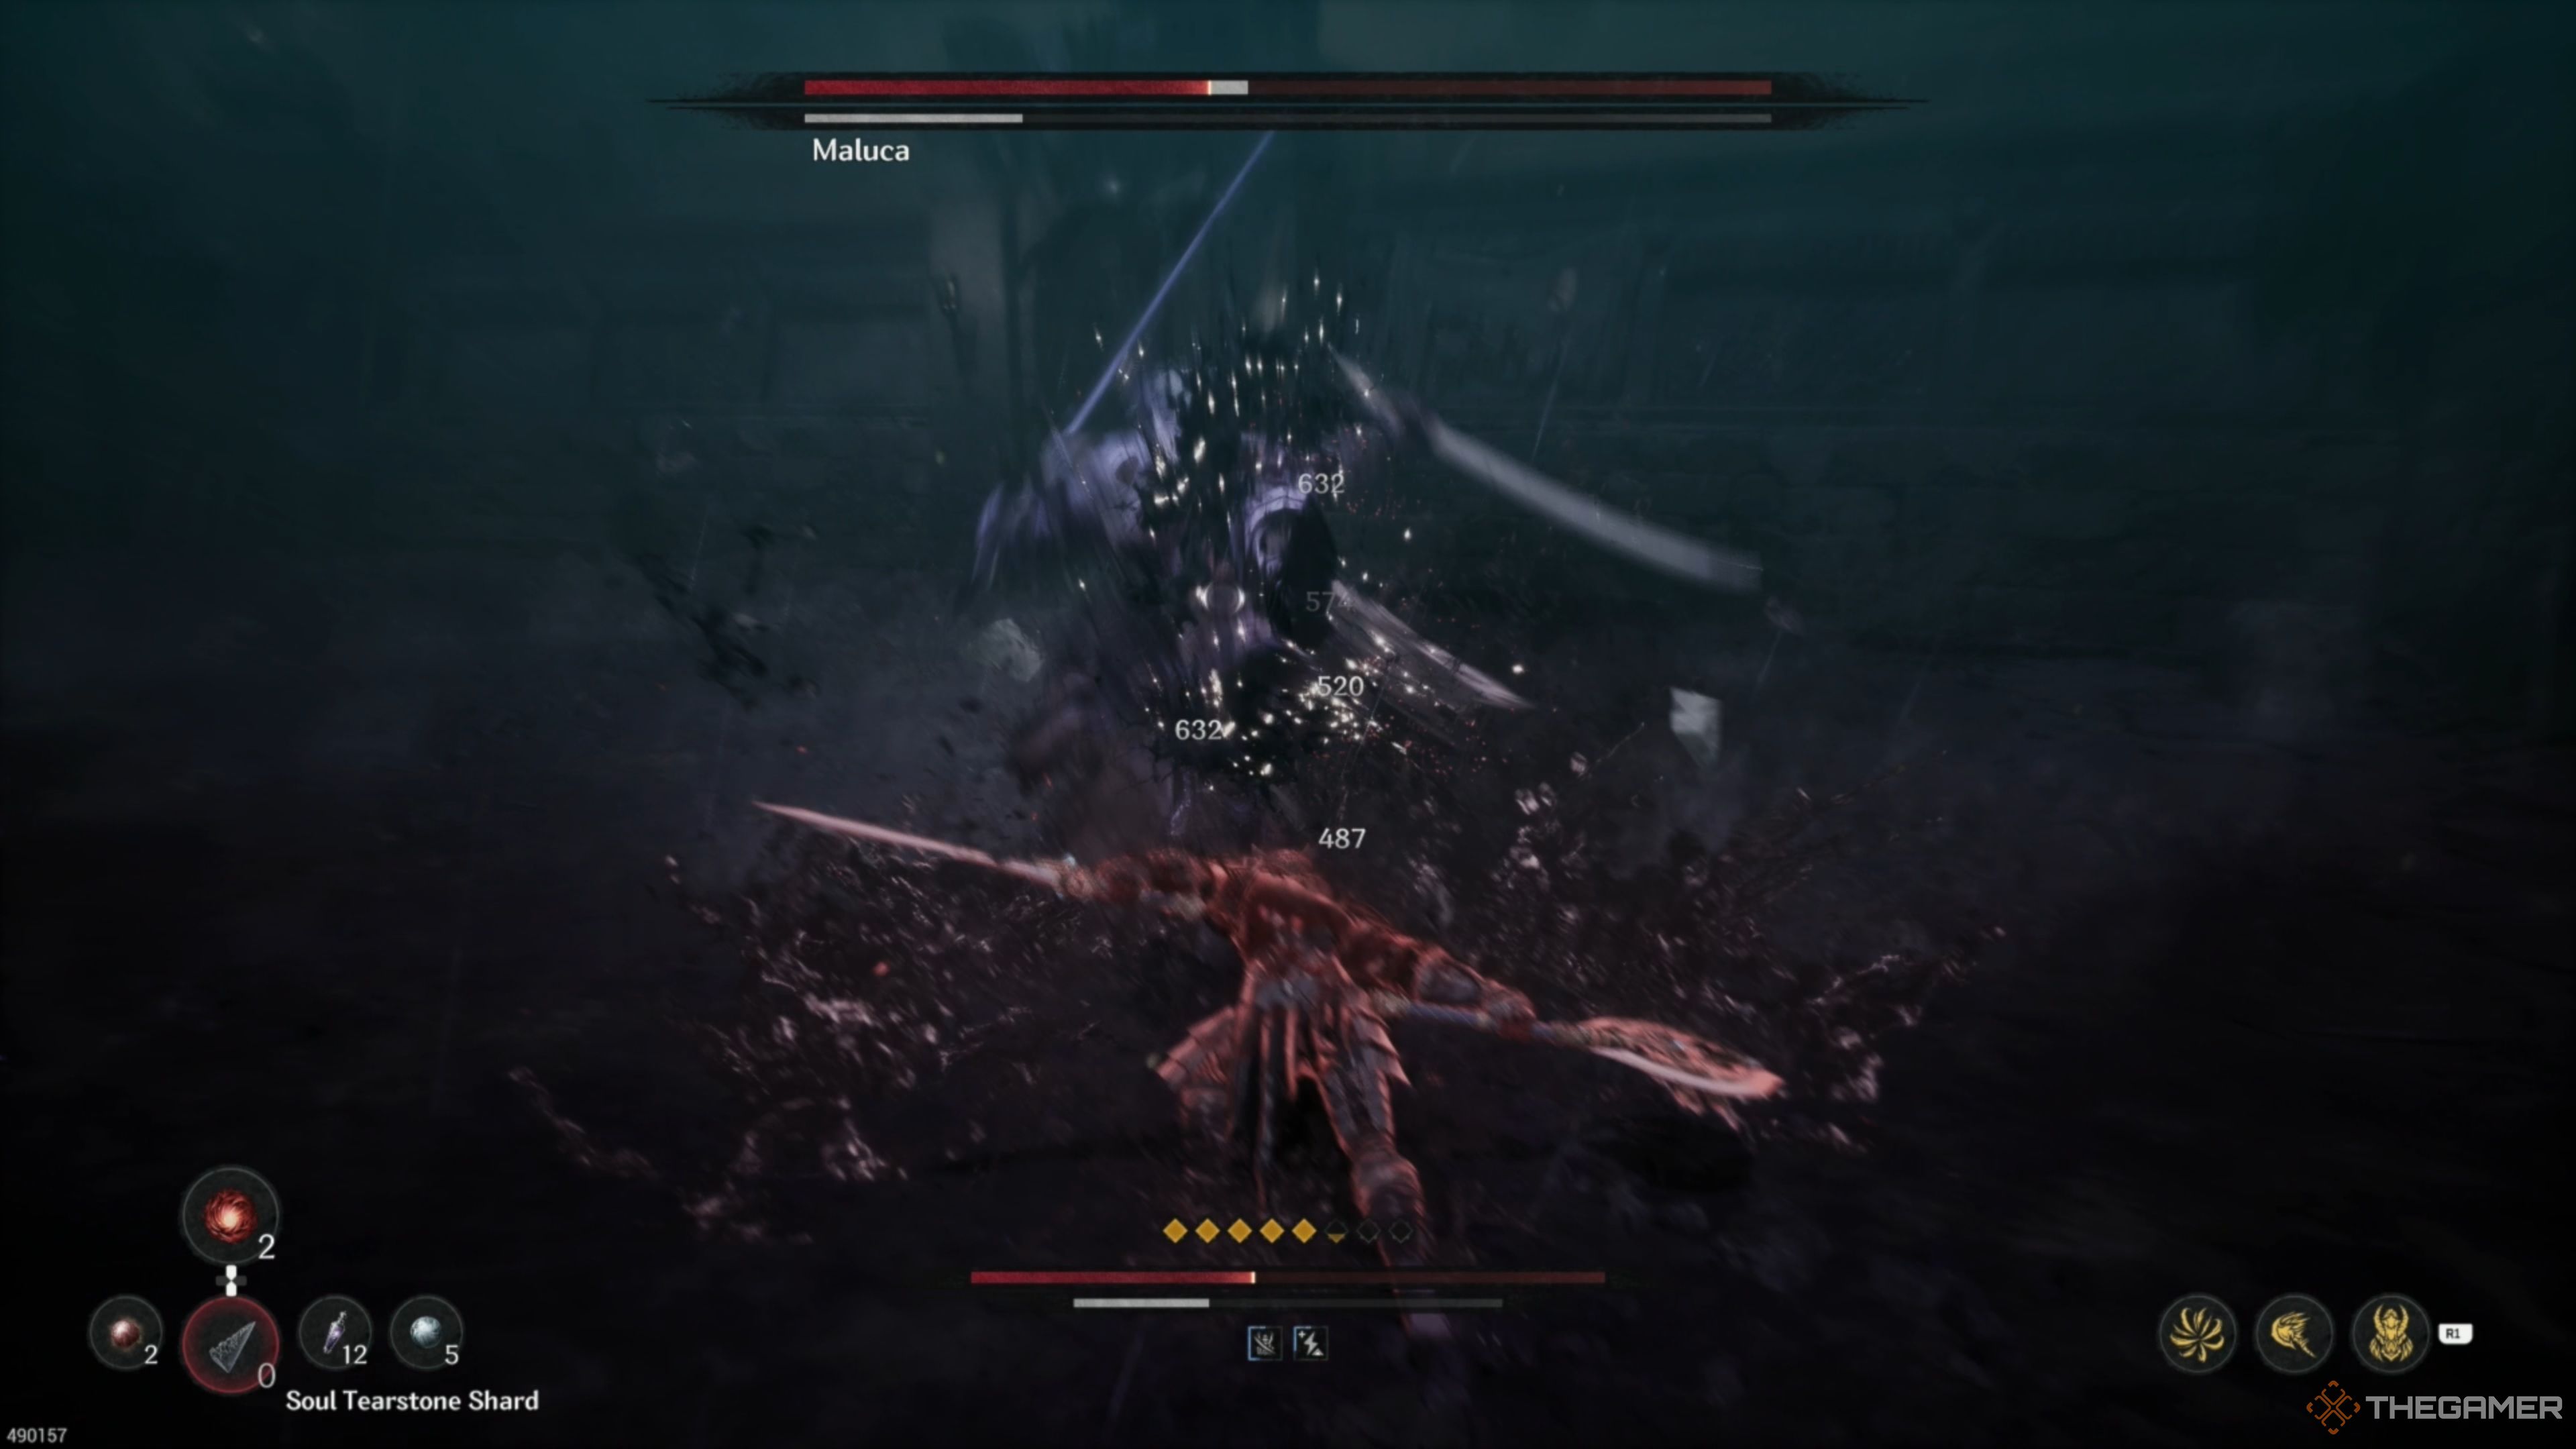
The “Big Boot” makes its comeback, and we’ll manage it just as we did during the initial stage of our interaction. You can deliver multiple attacks on him if you Mirror his actions, which will be extremely effective since he frequently performs this action to try and establish some distance!
Maluca – Chaos Phase: Dual Blades, Leaping Slam
Once you’ve reduced his health by around 75%, Maluca will unsheathe his Dual Blades, returning to the attack patterns from his initial phase but with minor adjustments. However, there’s a new move in his repertoire now – the Leaping Slam. He will always execute this move first before proceeding with others.
When Maluca jumps high and harshly lands on the ground repeatedly, it can either inflict significant damage or deplete your Stamina. Watch for his descent, and defend at that moment. Repeat this procedure for all three slams. This will provide you an opportunity to charge towards him and launch a series of attacks!
Maluca – Chaos Phase: Dual Blades, Twirling Slashes
Next, we have his move called “Twirling Slash.” In this action, he jumps up and then spins while slashing as he comes down. This time though, he’ll execute this move twice consecutively, so hold off on your attack until after the second one. Just like before, he will perform it back-to-back, so wait for your turn to strike after the second one!
Maluca – Chaos Phase: Dual Blades Combo
Here comes my favorite move next, the “Dual Blades Combination,” reminiscent of the initial phase but with a touch more speed! The sequence starts with a powerful thrust, followed swiftly by a spinning slash, and culminates in an overhead strike. Remember, there are two hits during that spinning slash, so be prepared to block twice to dodge both blades. Once you’ve successfully deflected the final attack, feel free to retaliate and start your offensive!
Maluca – Chaos Phase: Dual Blades, Burst Attack
Luckily, his “Burst Attack” comes back once more, offering an opportunity for you to inflict substantial harm on him. This is handled in the same manner as before, but with a twist: it causes far greater damage than before, so make sure you execute your Counterattack at the right moment!
Maluca – Chaos Phase: Dual Blades, Overhead Slam
His overhead smash comes back too and is dealt with in a similar manner. It might be slightly quicker, but it feels quite similar. Treat it similarly as you did during the initial phase, and follow up with several attacks of your own after reflecting the second overhead smash!
Maluca – Chaos Phase: Dual Blades, Charged Projectiles
In summary, during the second phase, we encounter an attack that is particularly challenging. This isn’t just a repeat of the Charged Projectiles from the first phase; instead, it has become even more erratic and could potentially foil most attempts. Not only are these energy blasts faster and inflict greater damage, but they seem to be endless.
In our last showdown, I let fly with seven shots in a row, and it was a barrage like no other! They came at me so quickly, one after the other, I could barely catch my breath. I’d fire, spin, fire again, and repeat the process. Evading them is the only strategy if you want to stay alive. Good luck!
Once Maluca has been avoided for a sufficient amount of time, he will eventually come to a halt, providing an opportunity for you to approach him and launch numerous assaults against him. He will persist in attacking until you manage to overcome him! Keep going, you’ve got this!
Read More
2025-03-30 01:36