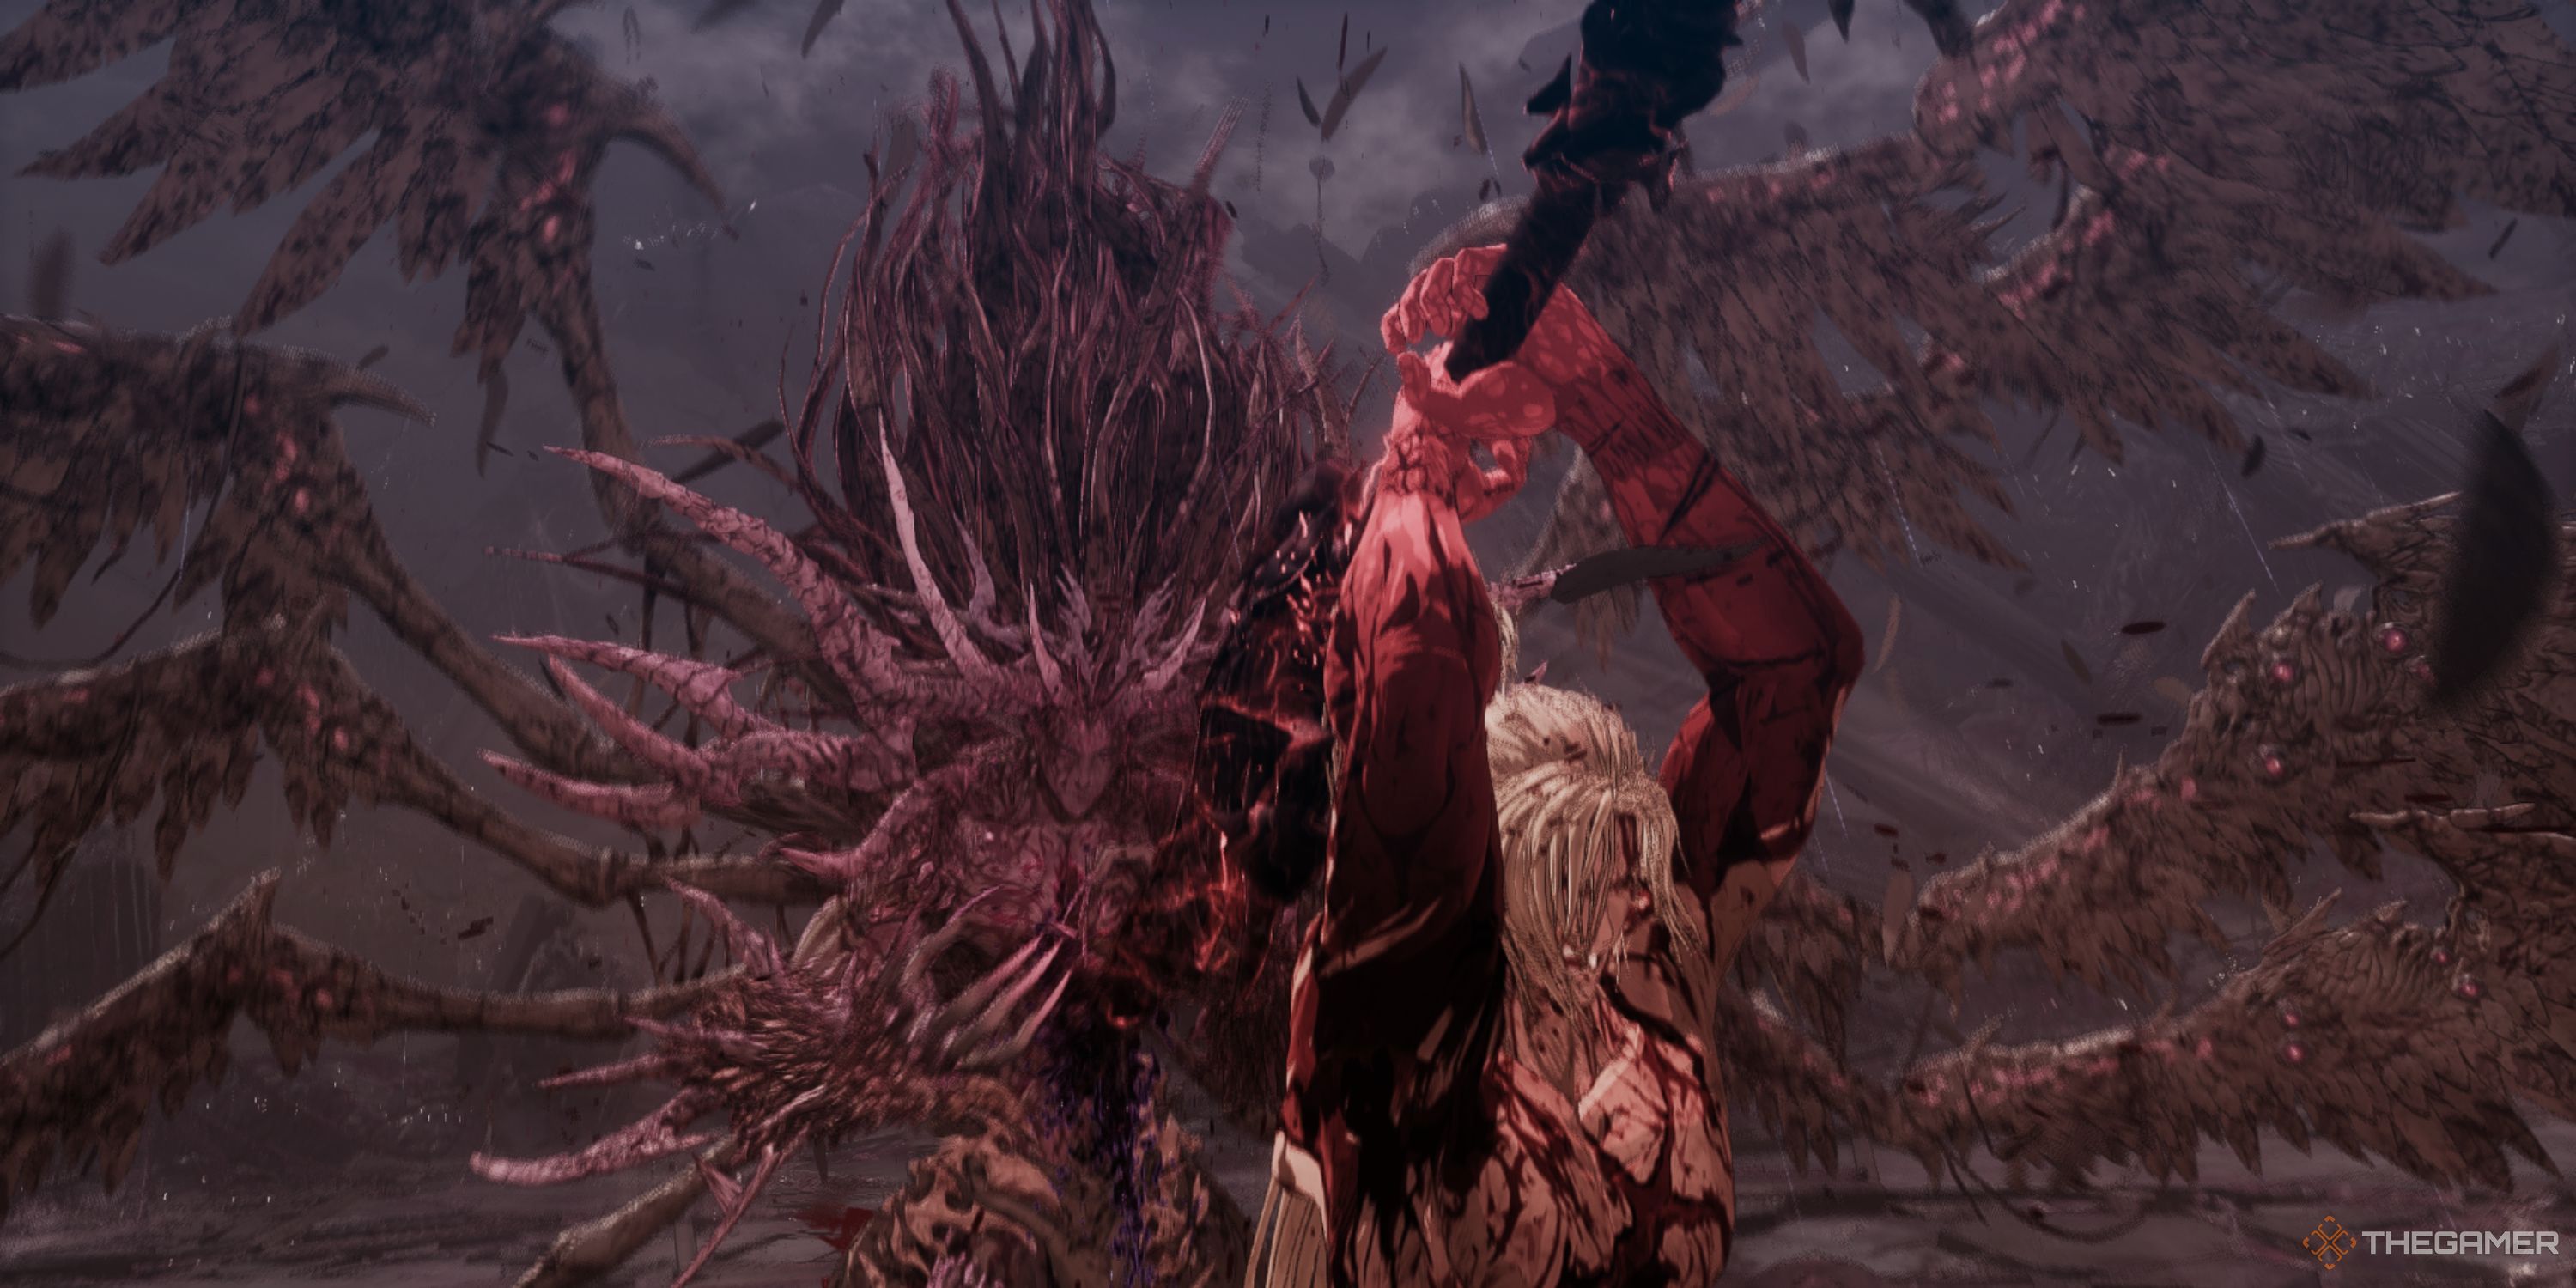
In the game The First Berserker: Khazan, the final and endgame bosses are notably tough. Among them, Ozma stands out as one of the toughest, if not the toughest, adversaries you’ll encounter. Be prepared for a challenging battle, as Ozma is likely to cause you some difficulties. This formidable foe has two (or three if you activate the true ending) distinct health meters and can dish out significant damage.
Initially, Ozma isn’t much of an issue, but he can turn troublesome during his second and third stages. Keep in mind that defeating Ozma might not be as straightforward as overpowering the other bosses, yet there is a strategy to keep him off balance continually. Let us walk you through how to conquer this foe.
How To Defeat Ozma
This boss has the ability to cause trouble whether up close or far away, but it’s especially important to stay vigilant when he’s not in sight; at that moment, he becomes virtually indomitable.
It takes some time to grasp since he goes through three different stages, but when you get the hang of his sequence of actions, the battle becomes significantly less challenging.
Ozma enters its final stage under specific conditions: completing these tasks will lead you to the true ending. To achieve this, ensure you gather all 15 Golden Collectibles, forge the Transcendental Sword and Charon’s Chains, and choose the “I need to uncover the truth” dialogue when conversing with Daphrona.
First Phase
As a gamer, I gotta tell ya, Ozma ain’t your average boss. You gotta study his moveset if you wanna stand a chance against him. His initial phase might seem straightforward, but don’t let that fool you. He’s got a white stamina bar, which could be your ticket to success. But remember, if you don’t familiarize yourself with his patterns, you might just find yourself on the losing end.
In certain situations, striking him at the right moment will disrupt his defense, creating an opportunity for you to launch a series of attacks. A good choice for this would be using the spear. When his defense can be shattered by a blow, initiate the attack by pressing R2 and follow up with three rapid presses of R3. Then, press R2 twice more to continue the sequence. After that, sprint towards him and press R2 again to momentarily stun him, allowing you to extend your combo further.
When your energy wanes, switch to utilizing your other skills instead. This tactic will significantly deplete his health and, undeniably, a significant portion of his own stamina. During this stage, it’s crucial to keep an eye on Ozma’s spellcasting. He can be quite irritating with his spells, so taking the offensive reduces the chances for him to cast them. Be cautious of his fire spell. As he ascends, dodge backward and wait for him to charge. Once you notice the fire approaching, dart inside and assault him as he’ll be defenseless during this time.
As soon as you deliver your initial counterattack, he’ll leap up for a wide-range assault. Be sure to dodge immediately once you notice the red signal flashing. Since this attack can cause significant harm, it is crucial that you evade it.

If you continuously counter his up-close assaults, you’ll frequently have a chance to take the offensive. By doing so, you essentially confine him to attacking at close range. Nevertheless, keep in mind that he can quickly increase the distance between you. The chaotic spells are generally easy to dodge; you can usually avoid them by simply running sideways.
Ozma is launching an unstoppable assault. Since it will be clearly visible, take advantage of this moment to strike back. This presents your optimal chance for an attack, as it’s incredibly simple to retaliate effectively.
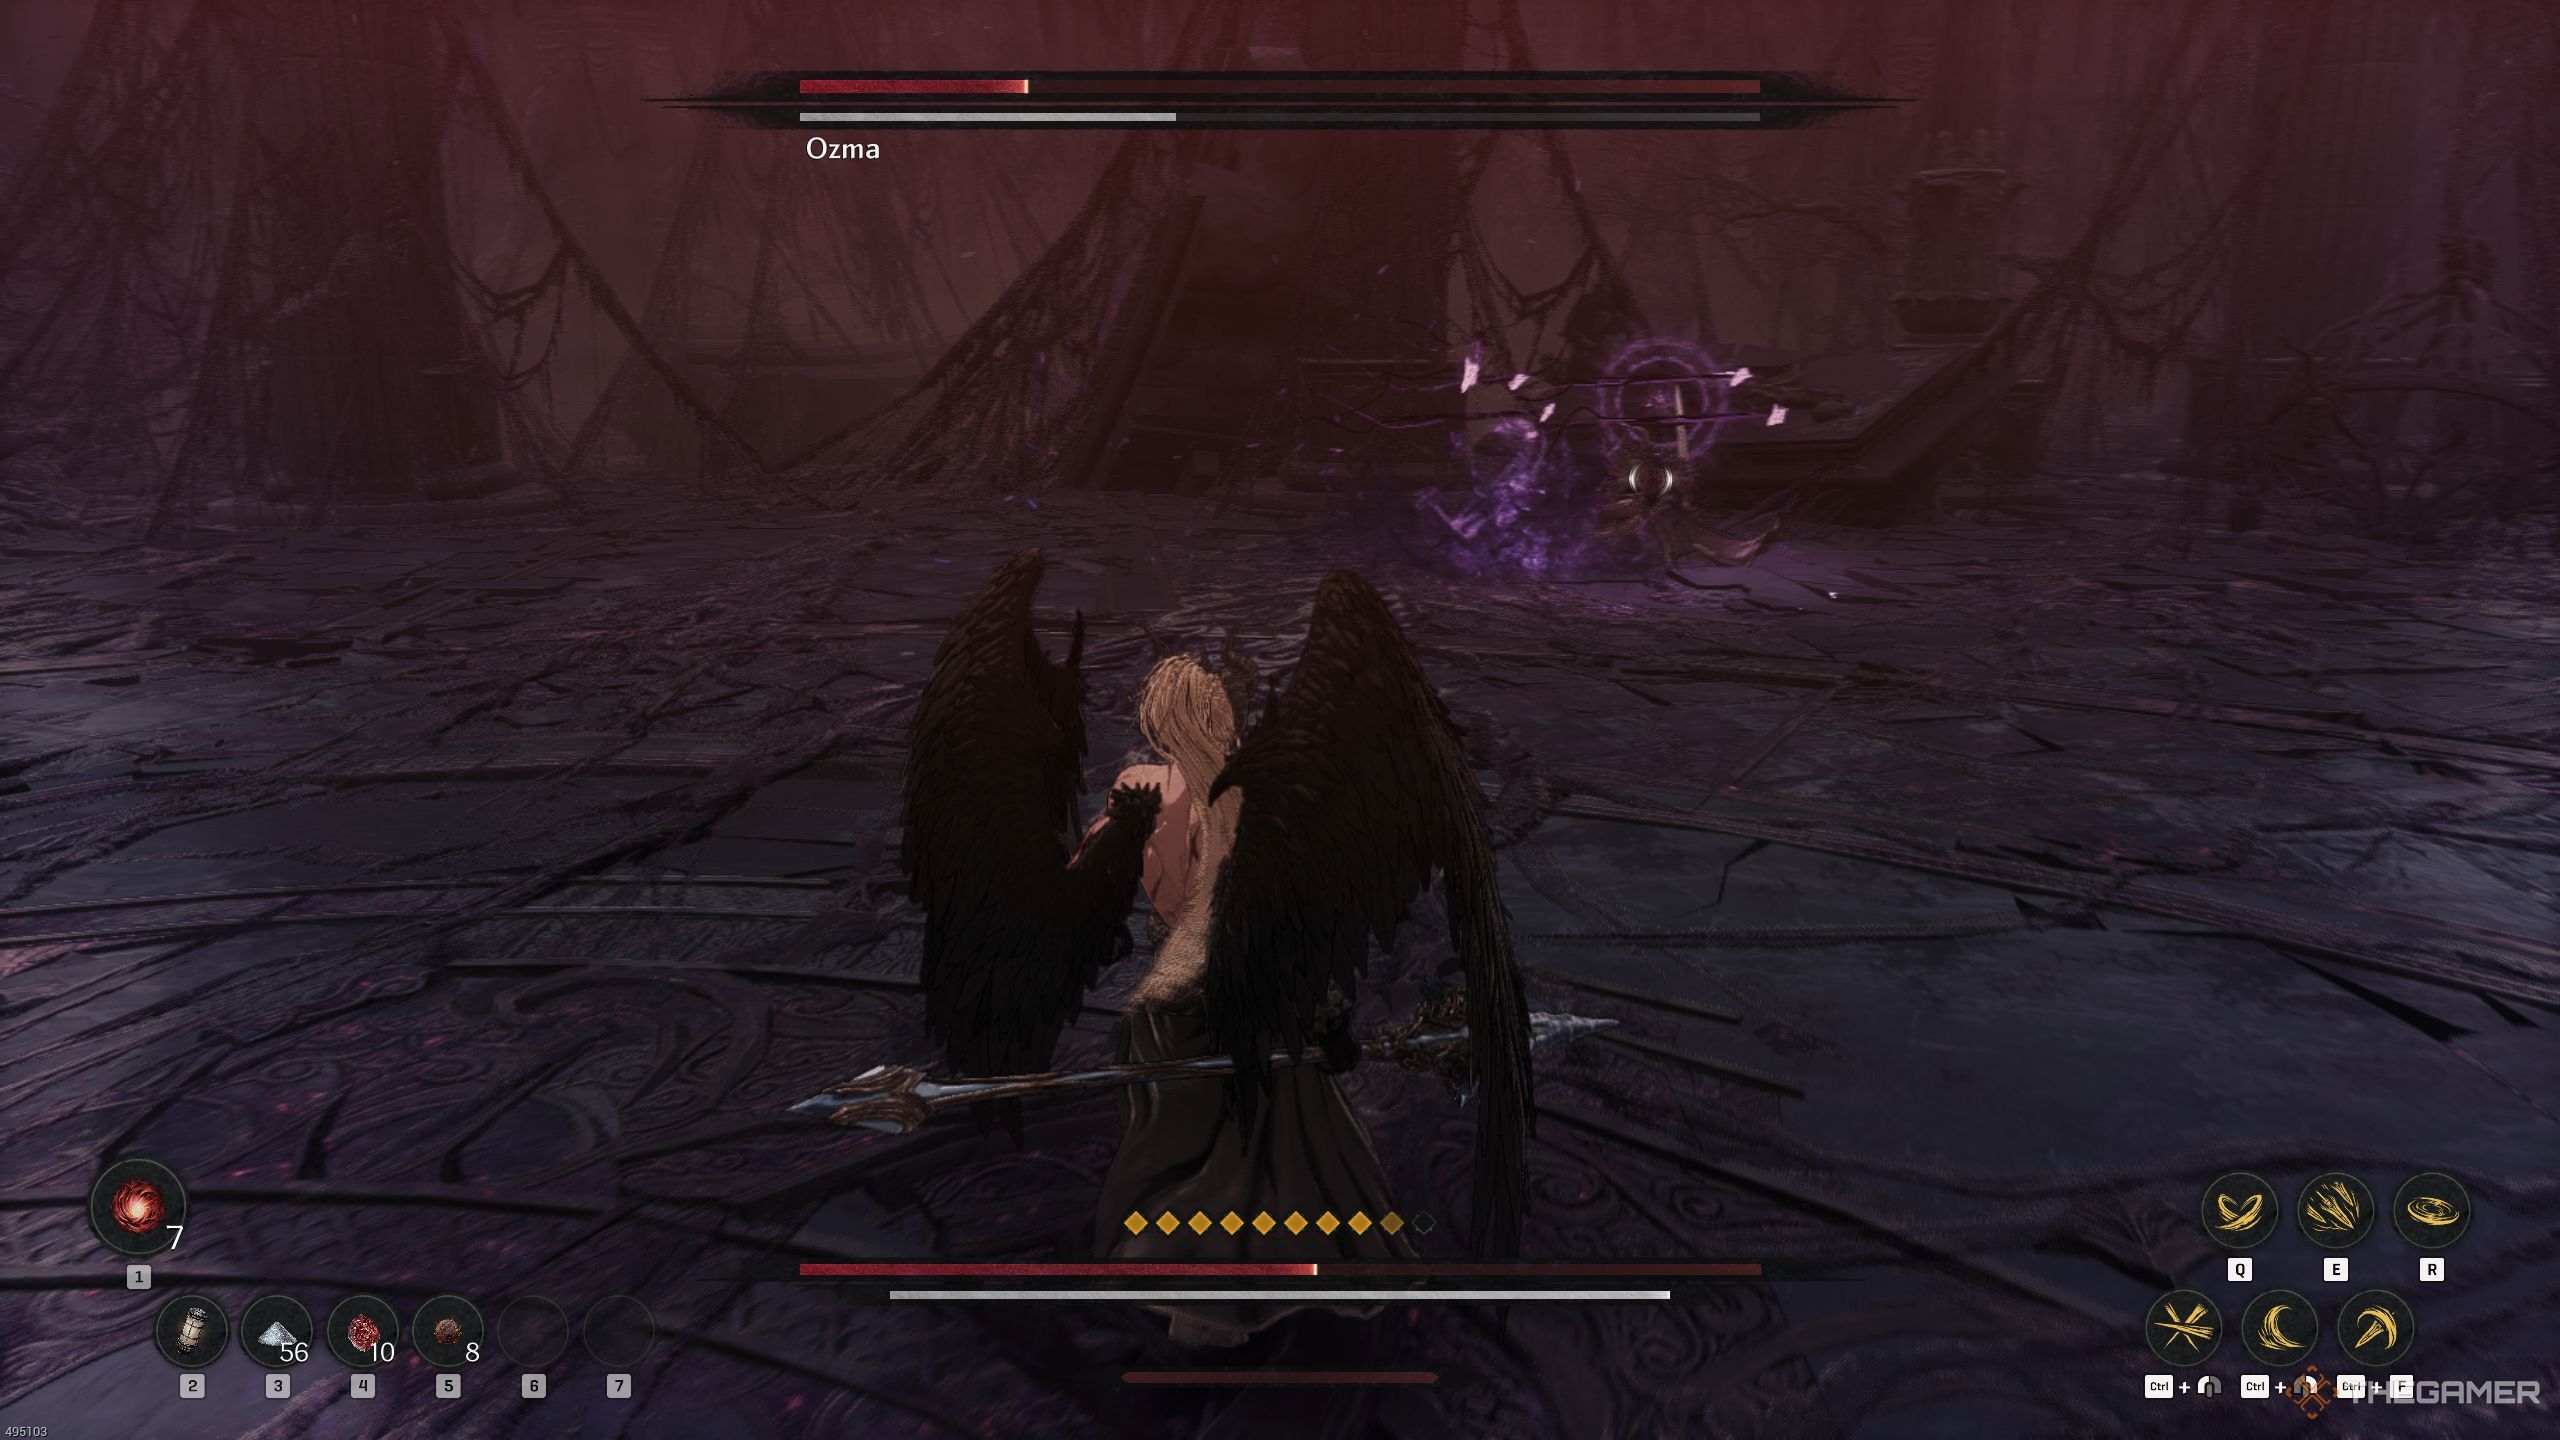
When he launches three chaos javelins from his head, it’s crucial that you evade them. These projectiles can inflict significant damage, so avoid getting struck. Stock up on healing items for the upcoming stages.
During the initial stage, Ozma isn’t challenging, but his subsequent attacks can be quite vexing. One particularly frustrating move is when he conjures whirlwinds of chaos that surround you. This maneuver is the most aggravating, so instead of engaging him directly, it would be wiser to shift yourself to the opposite side of the battlefield. Ozma is quite mobile, so if you confront him near the tornadoes, they will eventually collide with you and rapidly deplete your health.
Second Phase
After draining all of Ozma’s vitality, a new sequence will unfold, marking the commencement of a fresh stage. As Ozma alters most of his initial attack strategies, it’s essential for you to adapt and learn an entirely new behavioral pattern now.
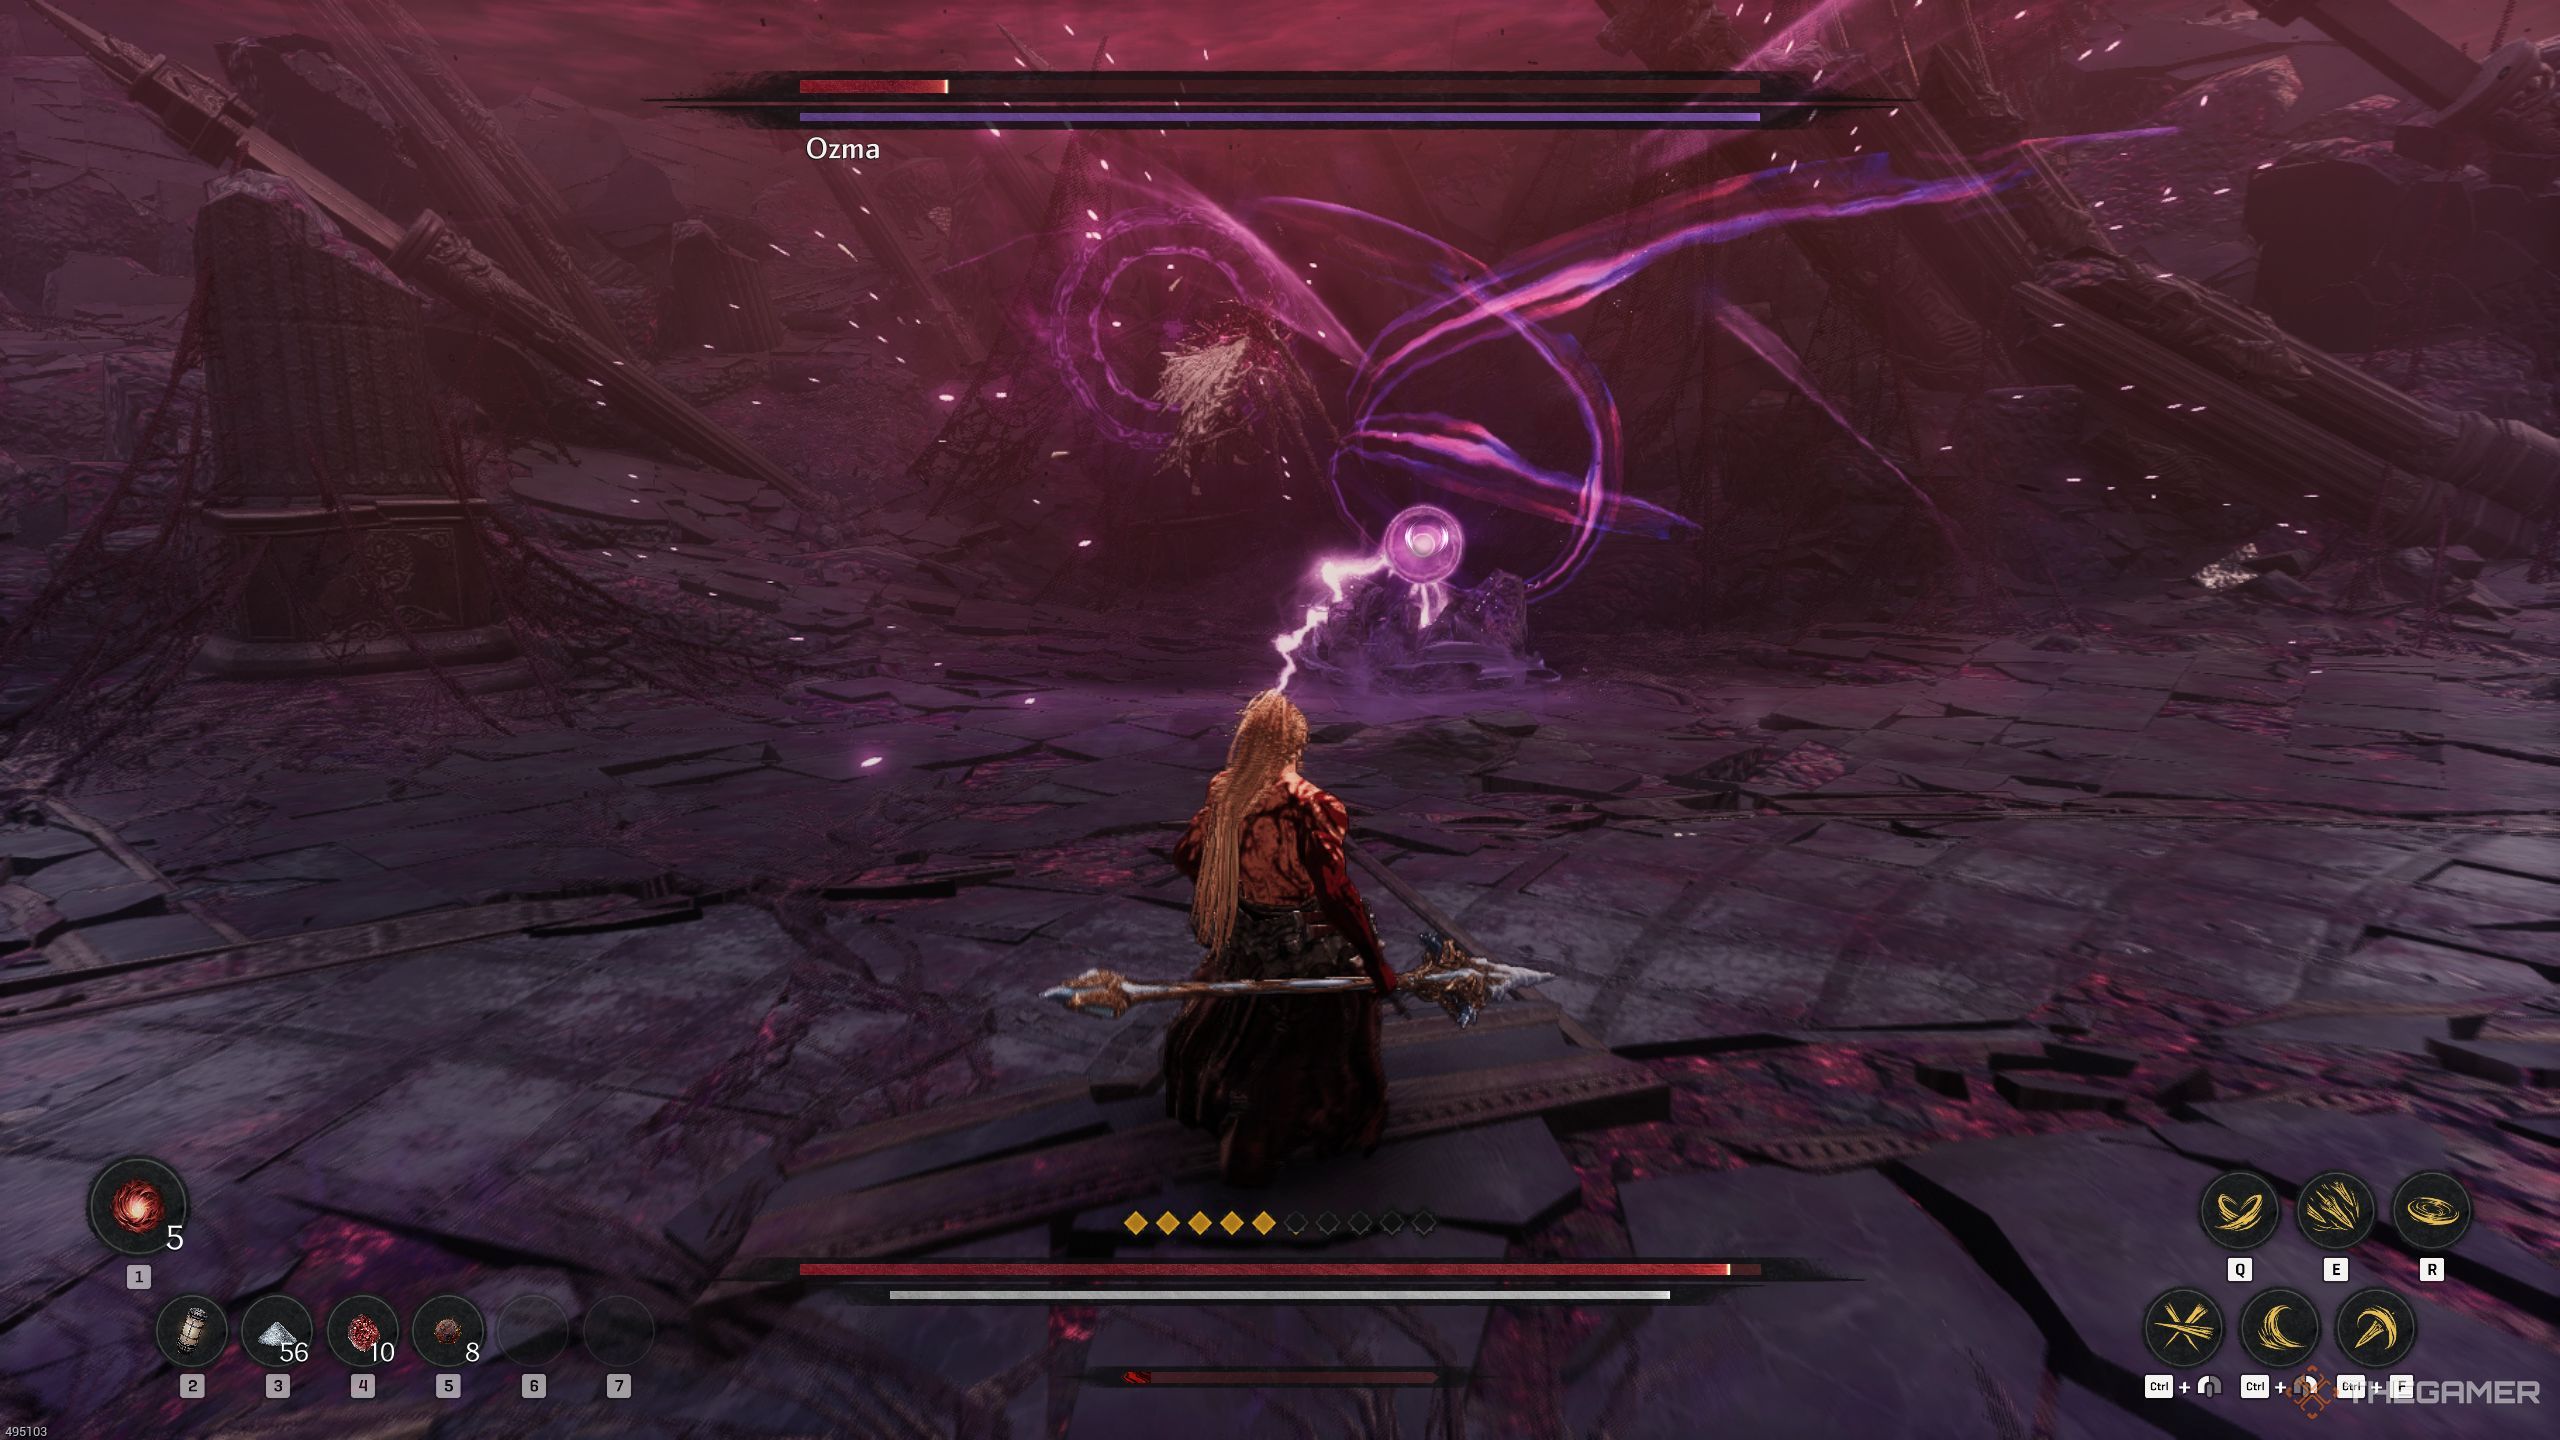
You should sprint towards Ozma, aiming to strike him at least once or twice before he attacks. After that, he’ll try to hit you with his wings. At first, it might be tricky to block them, but with practice, you’ll manage easily. He also charges quickly towards you and then swiftly moves away to unleash a burst of chaotic energy at you. You need to dodge the charge and avoid the energy blast. By the way, Ozma shoots out two chaotic beams, each leaving a trail behind.
During this stage, you’ll encounter some challenging assaults. One of them occurs when Ozma soars into the sky and imbues his punches with chaos energy. He will throw three punches at you; if you manage to dodge them, a blast of chaos energy will hit the surrounding area instead. Be aware that the final punch will have a significant delay, and after the attack, it will trigger a massive explosion. Ensure you take advantage of any moment when you completely break his defense during this round by inflicting damage on him and then counterattacking promptly.
Enhanced Second Phase
Following his response, he’ll enter a brief spell and leap upwards, hurling chaos javelins in your direction. Be aware of the delayed one, as it’s more likely to reach you. Once he’s finished launching them all, he’ll perform a powerful slam attack that you can either parry or evade.
In this current stage, be vigilant for an attack where he repeatedly jumps at you and thrusts his sword. The individual strikes can be easily blocked with a parry, but keep in mind that the sword blows are delayed. The final blow can be perfectly parried, but it will trigger a chaotic explosion after impact, so remember to dodge as well.
When engaging in combat during this stage, watch out for an attack where your opponent leaps at you several times and swings his sword. While the individual strikes can be easily parried, take note that the sword blows are not instantaneous. The final swing can be perfectly blocked, but it will cause a chaotic explosion after landing, so ensure you dodge too.
Ozma will follow up with a series of rapid slashes, referred to as a combo, and then unleash a huge barrage of slashes in your direction. Be cautious and make sure to avoid these relentless attacks.
He additionally employs another form of the assault by leaping up and hurling a colossal spear. Since Ozma aims this spear at you, it’s best to evade and swiftly retreat because it will trigger a huge blast.
An attack to be wary of is when Ozma creates a black hole using chaotic energy and fires it at you. This orb can pull you in, so make sure to dodge frequently and stay outside its range. If you don’t, you could find yourself hit by Ozma’s double laser attack. To avoid this, move out of the orb’s reach and continue dodging the lasers. The most infuriating part of this phase is when Ozma starts healing. He summons a matter made of chaotic energy and begins to charge it for some time. If you strike it during this period, you will sustain damage. We attempted to destroy it multiple times but were unsuccessful. Once fully charged, Ozma regains a portion of his health.
Mastering this stage requires flawless dodging and blocking. If not, you might struggle to overcome your opponent.
After overcoming him, you might miss out on the final stage, but rest assured, if you make it there, there’s not much to fret about; it’s largely similar.
Third Phase
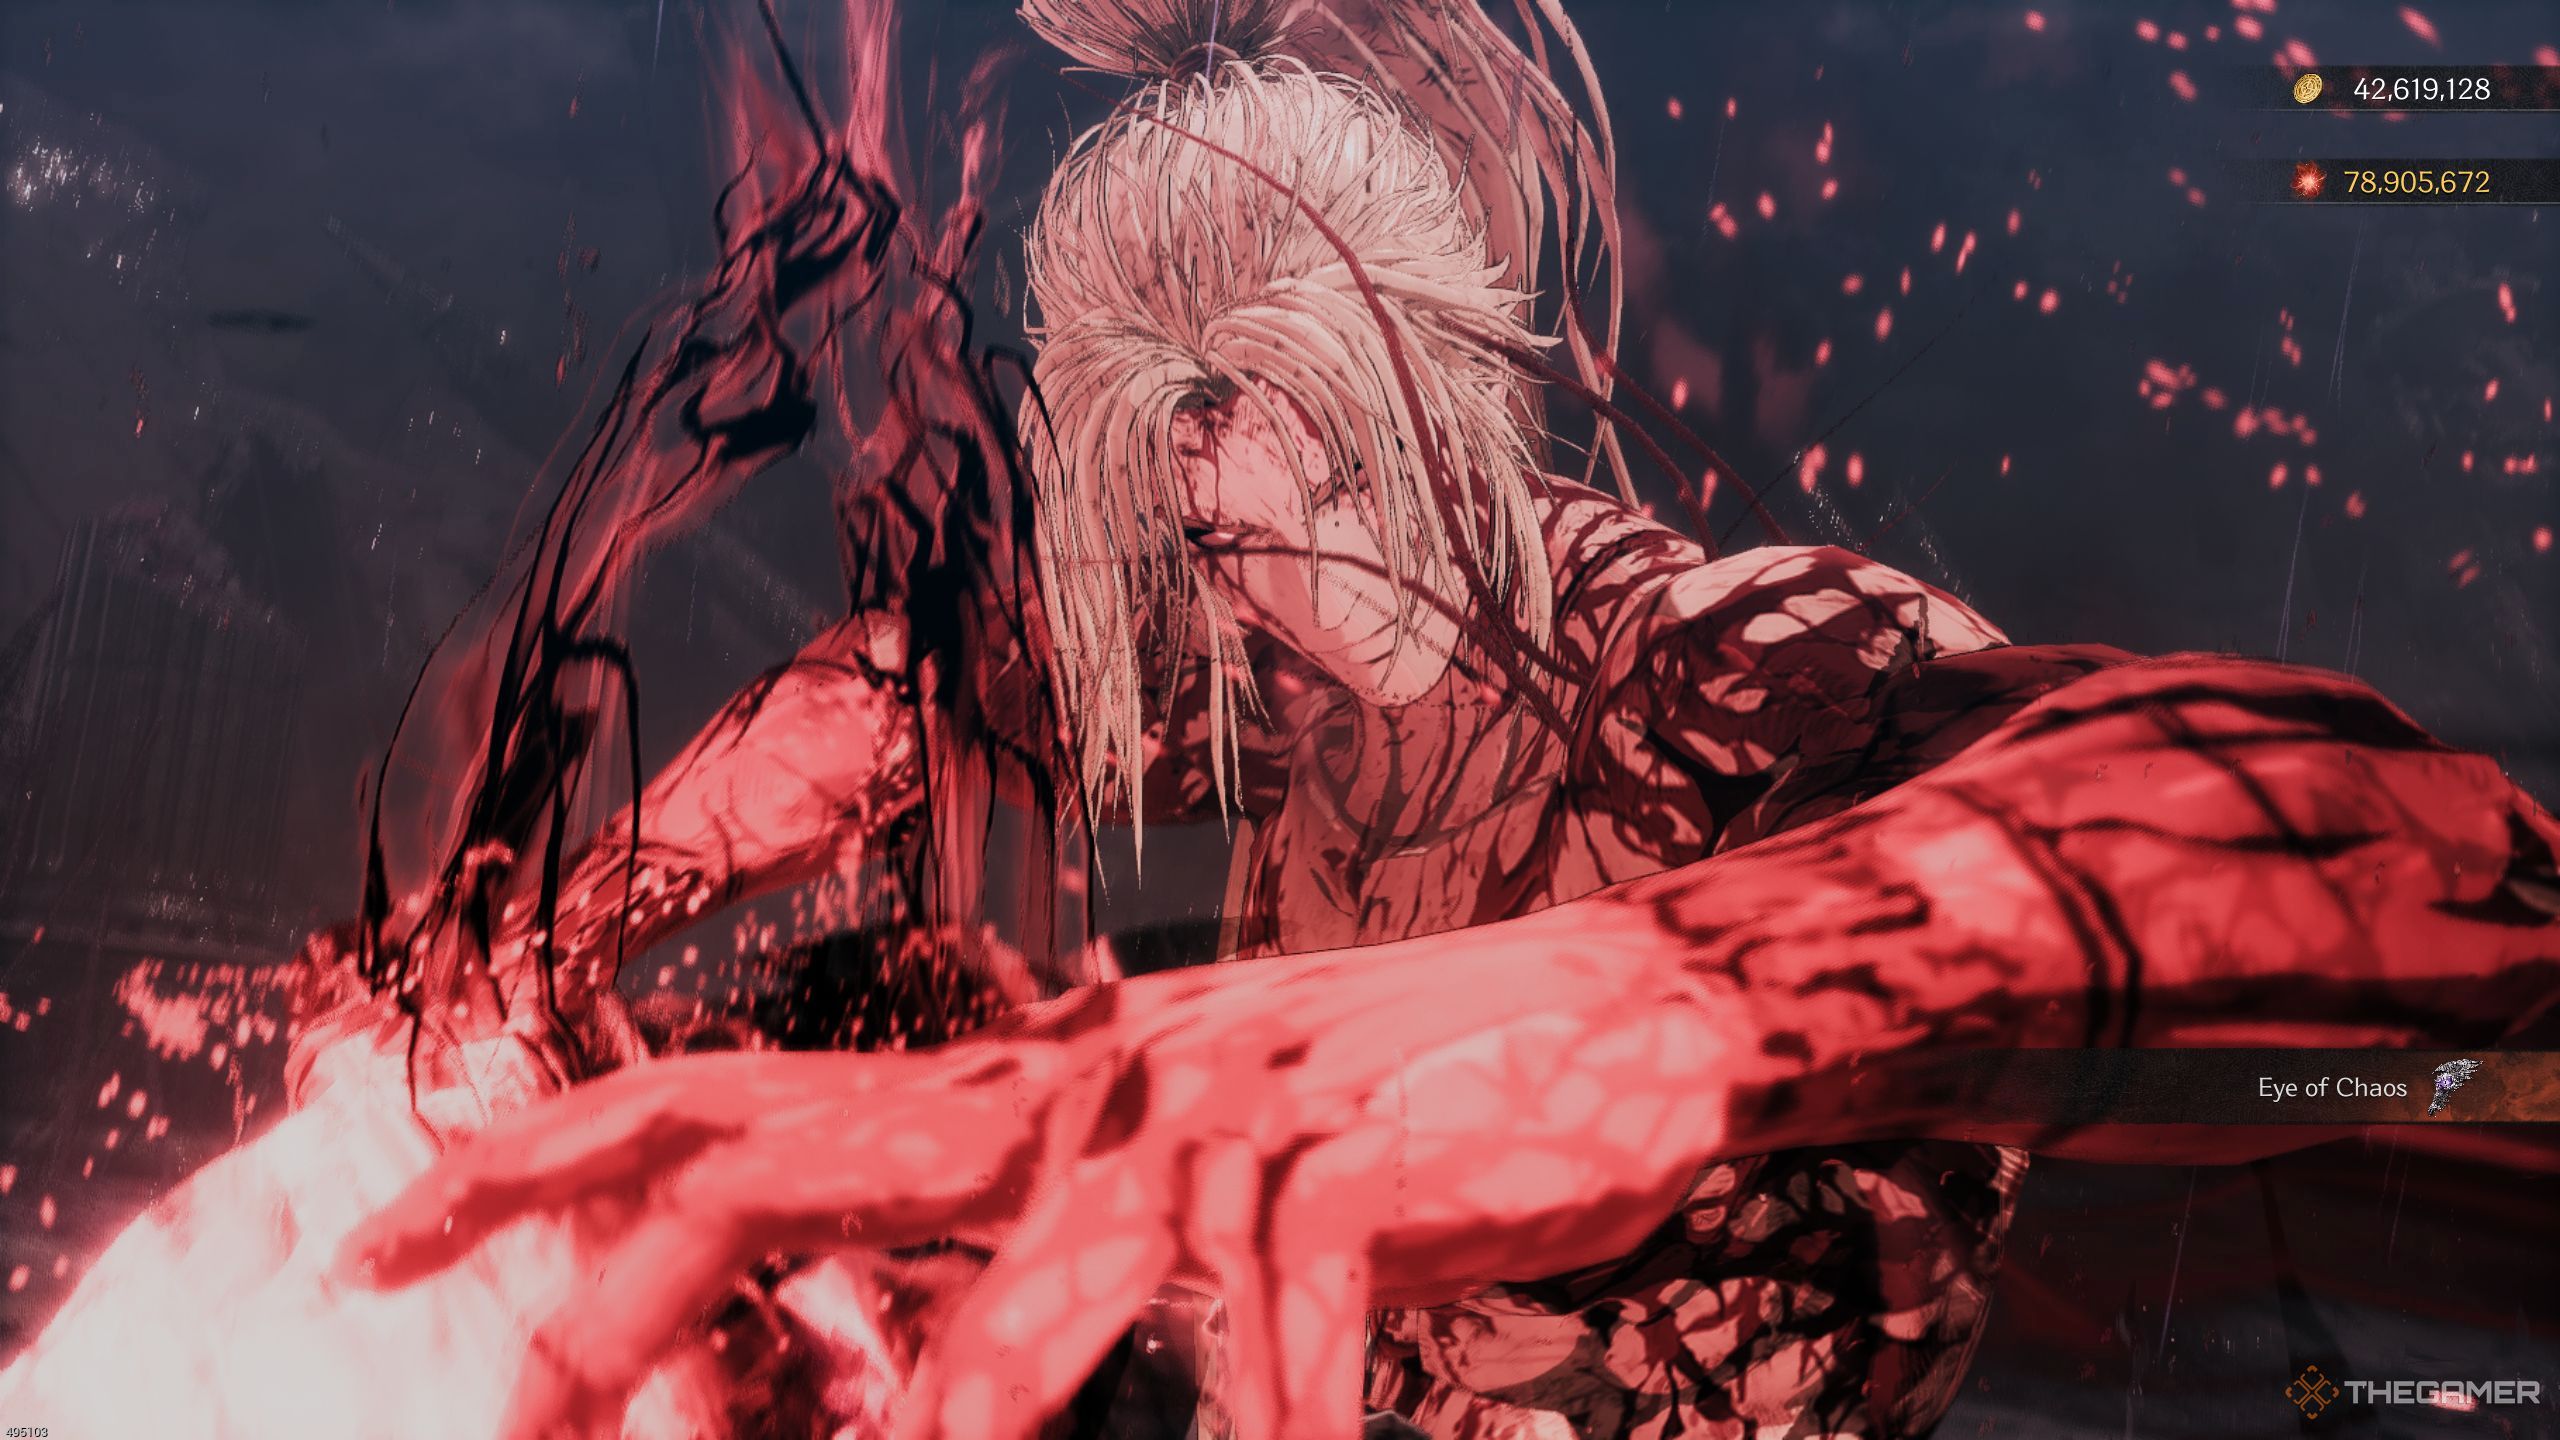
In this stage, Ozma’s health and stamina are barely hanging on, making it a breeze for me as a gamer to take him down. He’ll stumble at the slightest provocation, and every time I manage to knock him off balance, Khazan will unleash the Chains of Charon upon him, dealing some serious damage!
Do note that Ozma’s moveset is still the same as his second phase, so do not underestimate him.
Read More
- PI PREDICTION. PI cryptocurrency
- WCT PREDICTION. WCT cryptocurrency
- Guide: 18 PS5, PS4 Games You Should Buy in PS Store’s Extended Play Sale
- LPT PREDICTION. LPT cryptocurrency
- Gold Rate Forecast
- FANTASY LIFE i: The Girl Who Steals Time digital pre-orders now available for PS5, PS4, Xbox Series, and PC
- SOL PREDICTION. SOL cryptocurrency
- Playmates’ Power Rangers Toyline Teaser Reveals First Lineup of Figures
- Shrek Fans Have Mixed Feelings About New Shrek 5 Character Designs (And There’s A Good Reason)
- Solo Leveling Arise Tawata Kanae Guide
2025-04-11 00:06