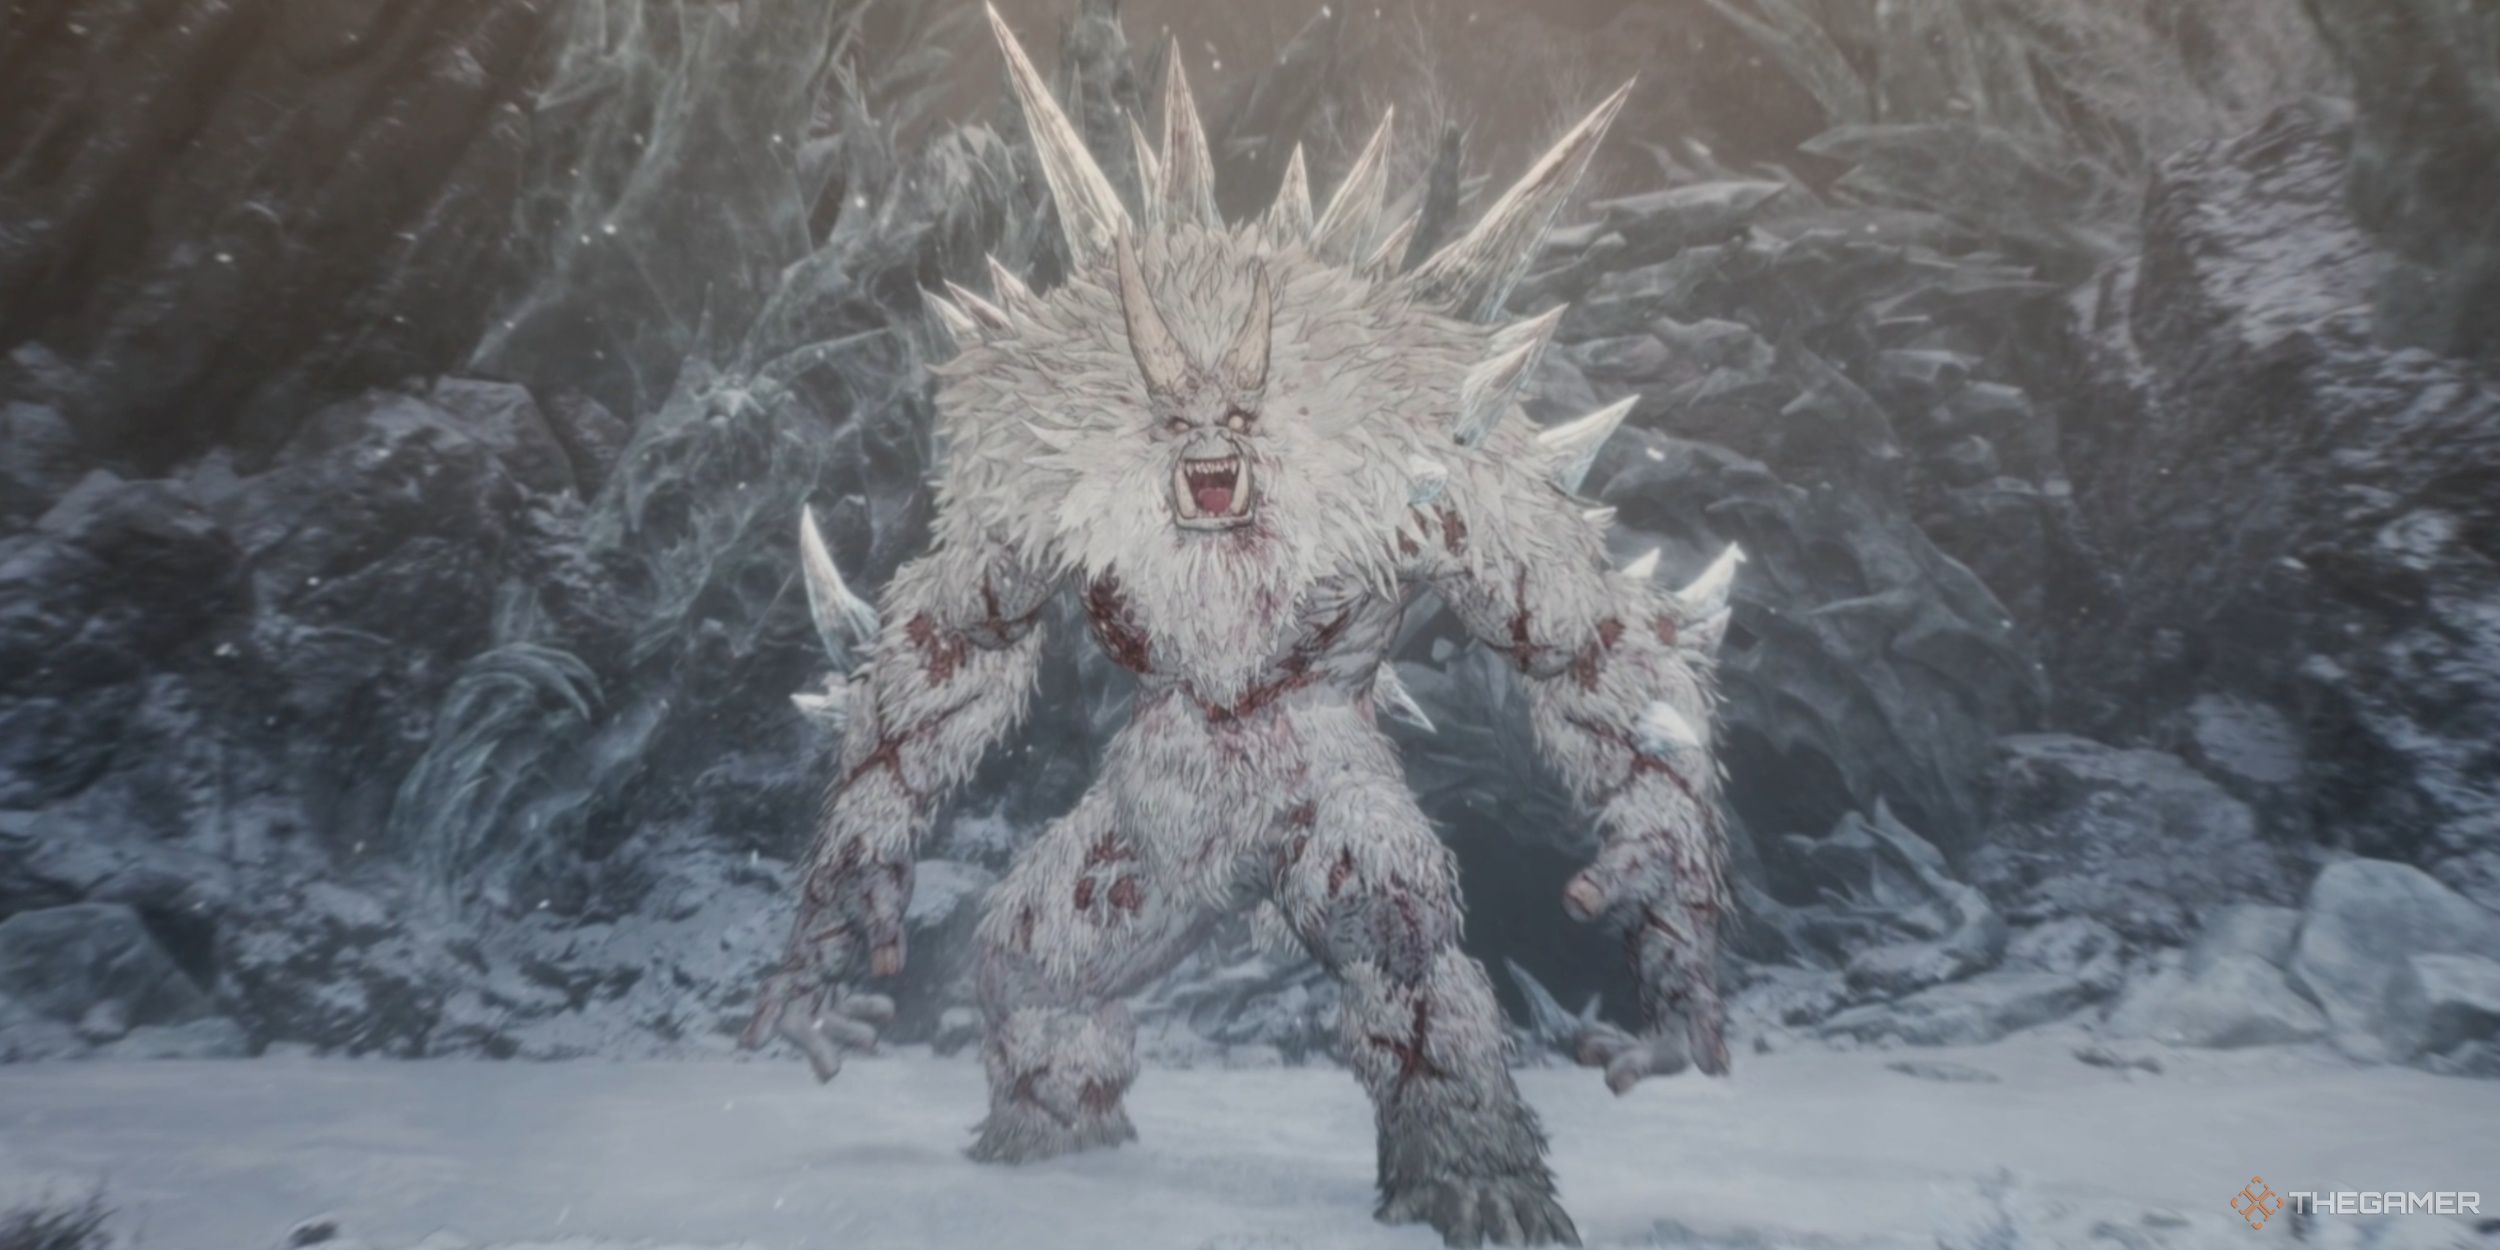
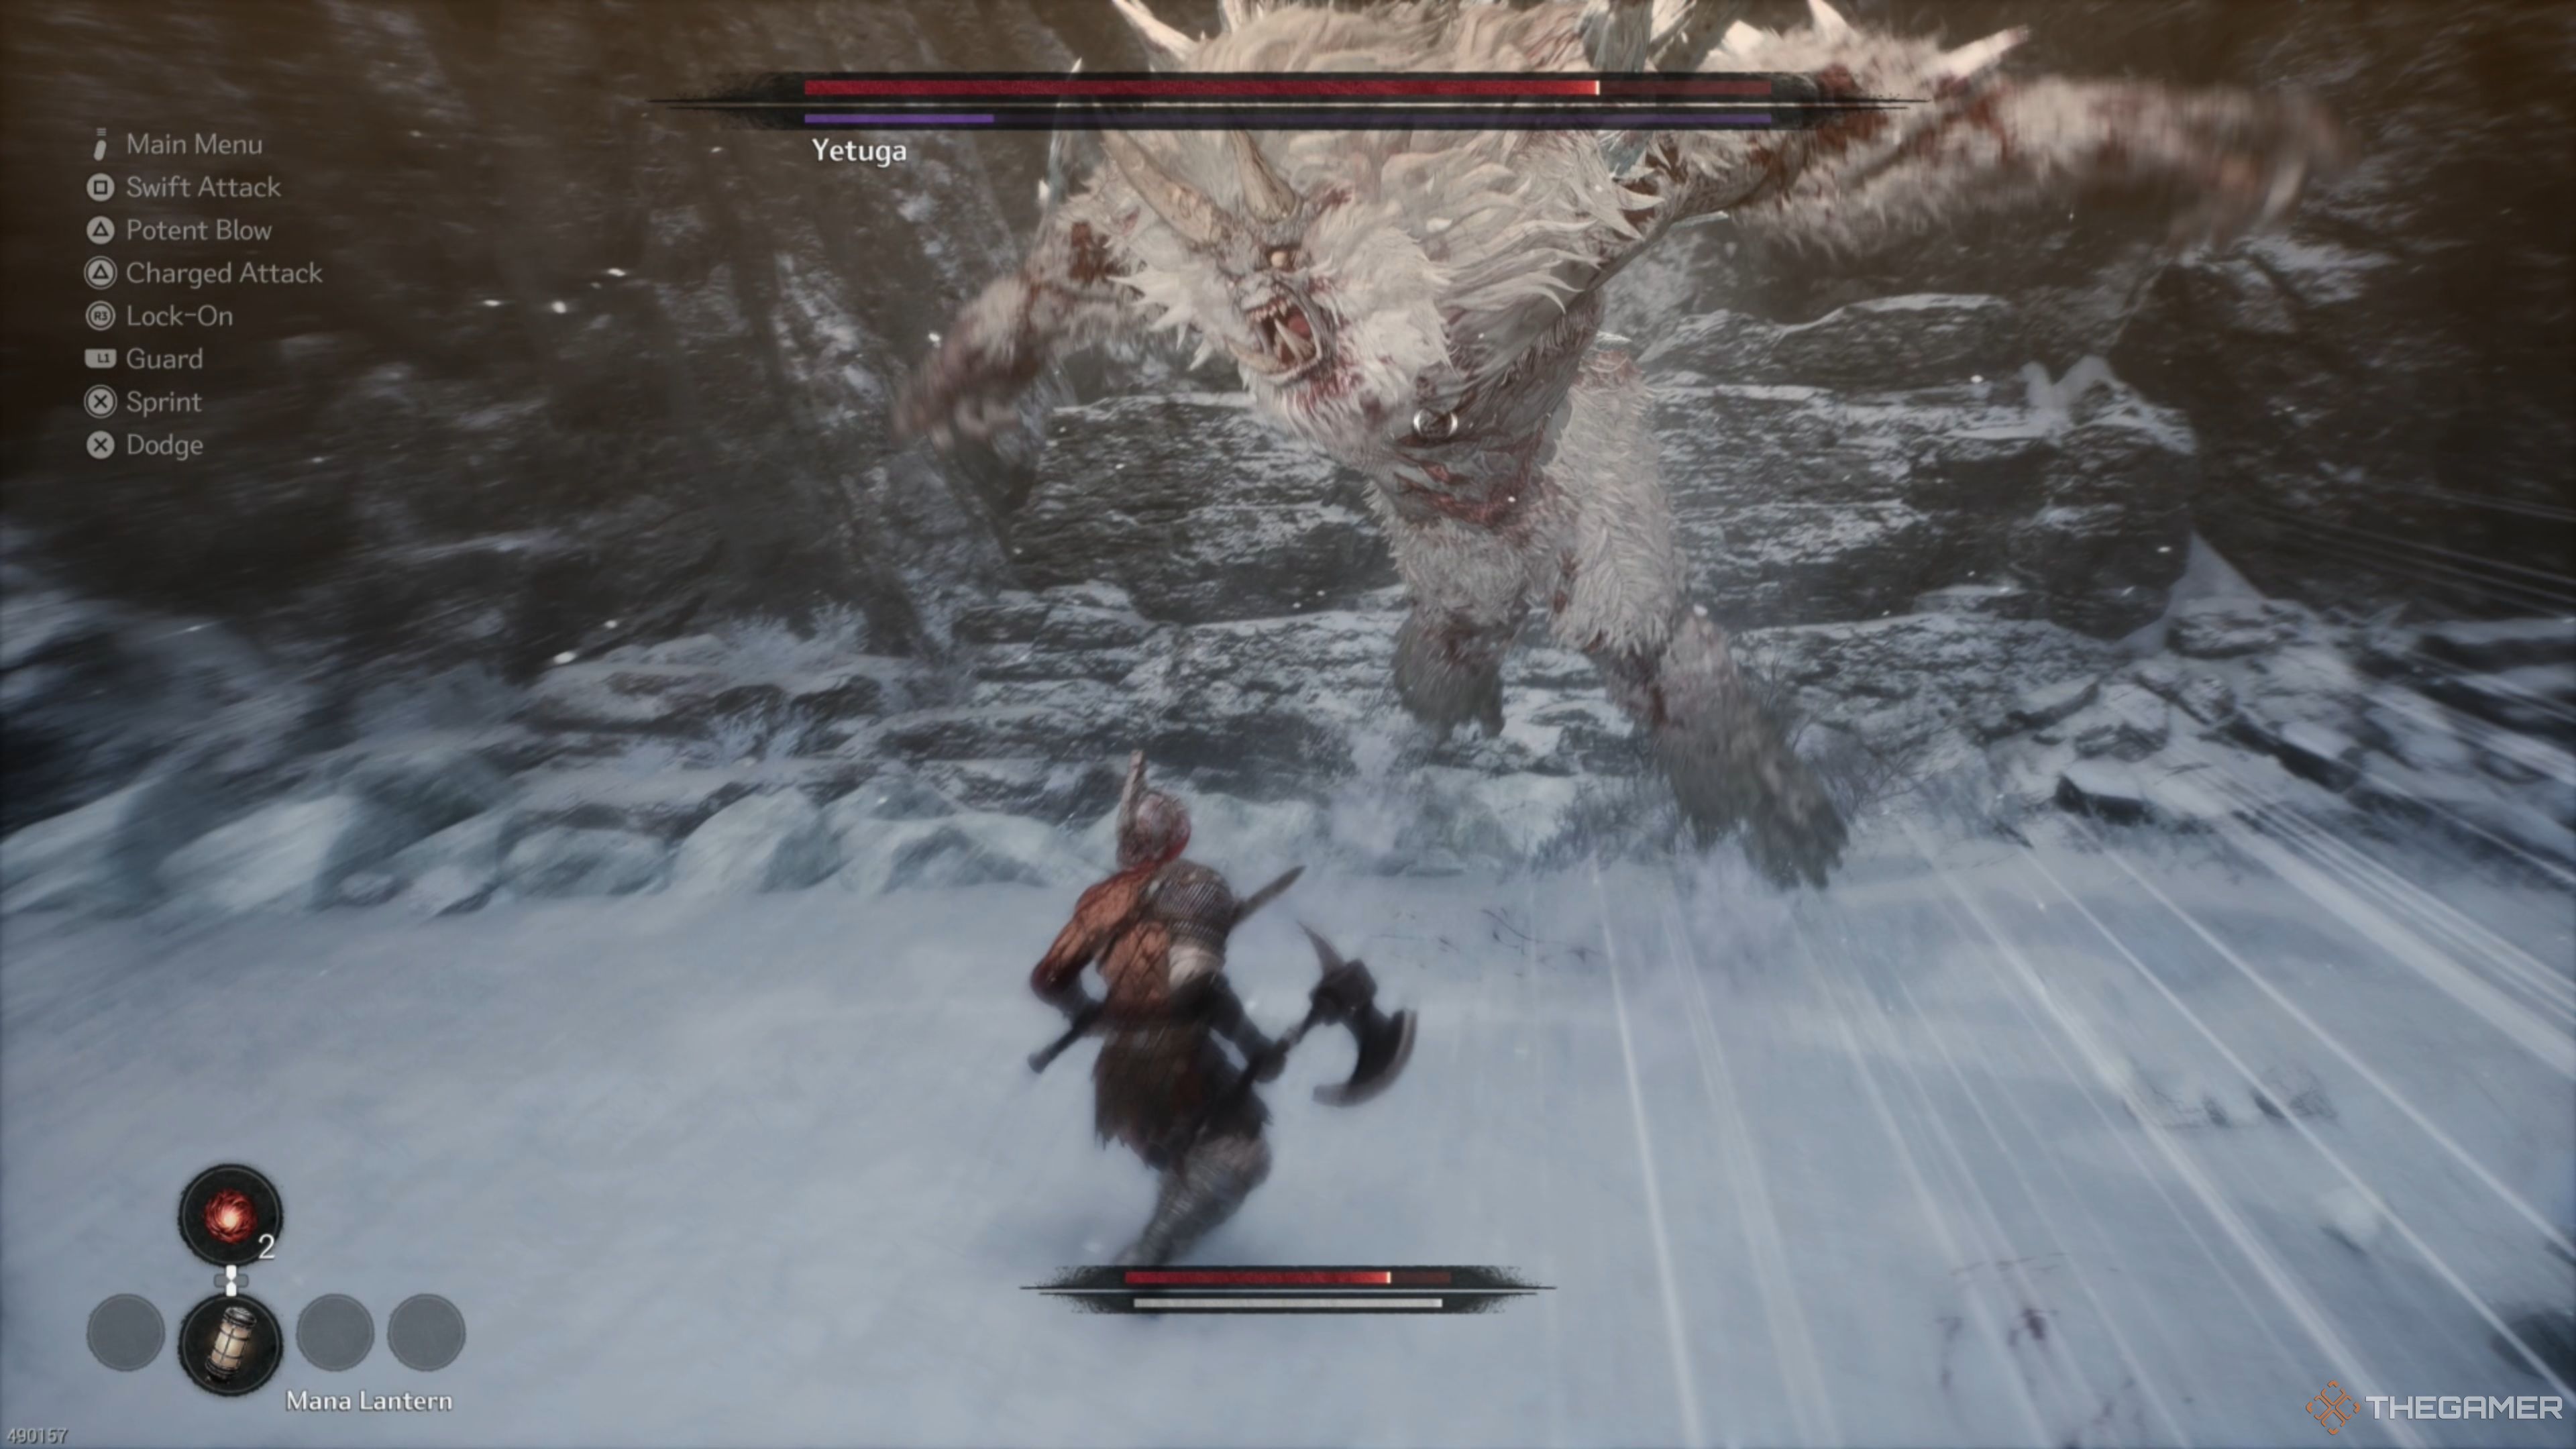
As a hardcore gamer immersed in the soulslike world of The First Berserker: Khazan, I’ve found myself squaring off against various formidable foes that will relentlessly test my skills and mettle. Although Yetuga isn’t the most daunting adversary you’ll face within the game, he certainly doesn’t pull any punches during our initial encounter. He serves as a perfect introduction to the intense battles that await me throughout my journey, offering a tantalizing taste of what challenges lie ahead.
As a sort of tutorial leader, you’ll grasp the fundamentals of employing Reflection (precise parry) to gradually deplete their Stamina Meter and learn when to retaliate against their aggressive moves. However, you’ll need to remain vigilant about your own Stamina, making for a tense yet gratifying initial boss battle!
Yetuga Overview
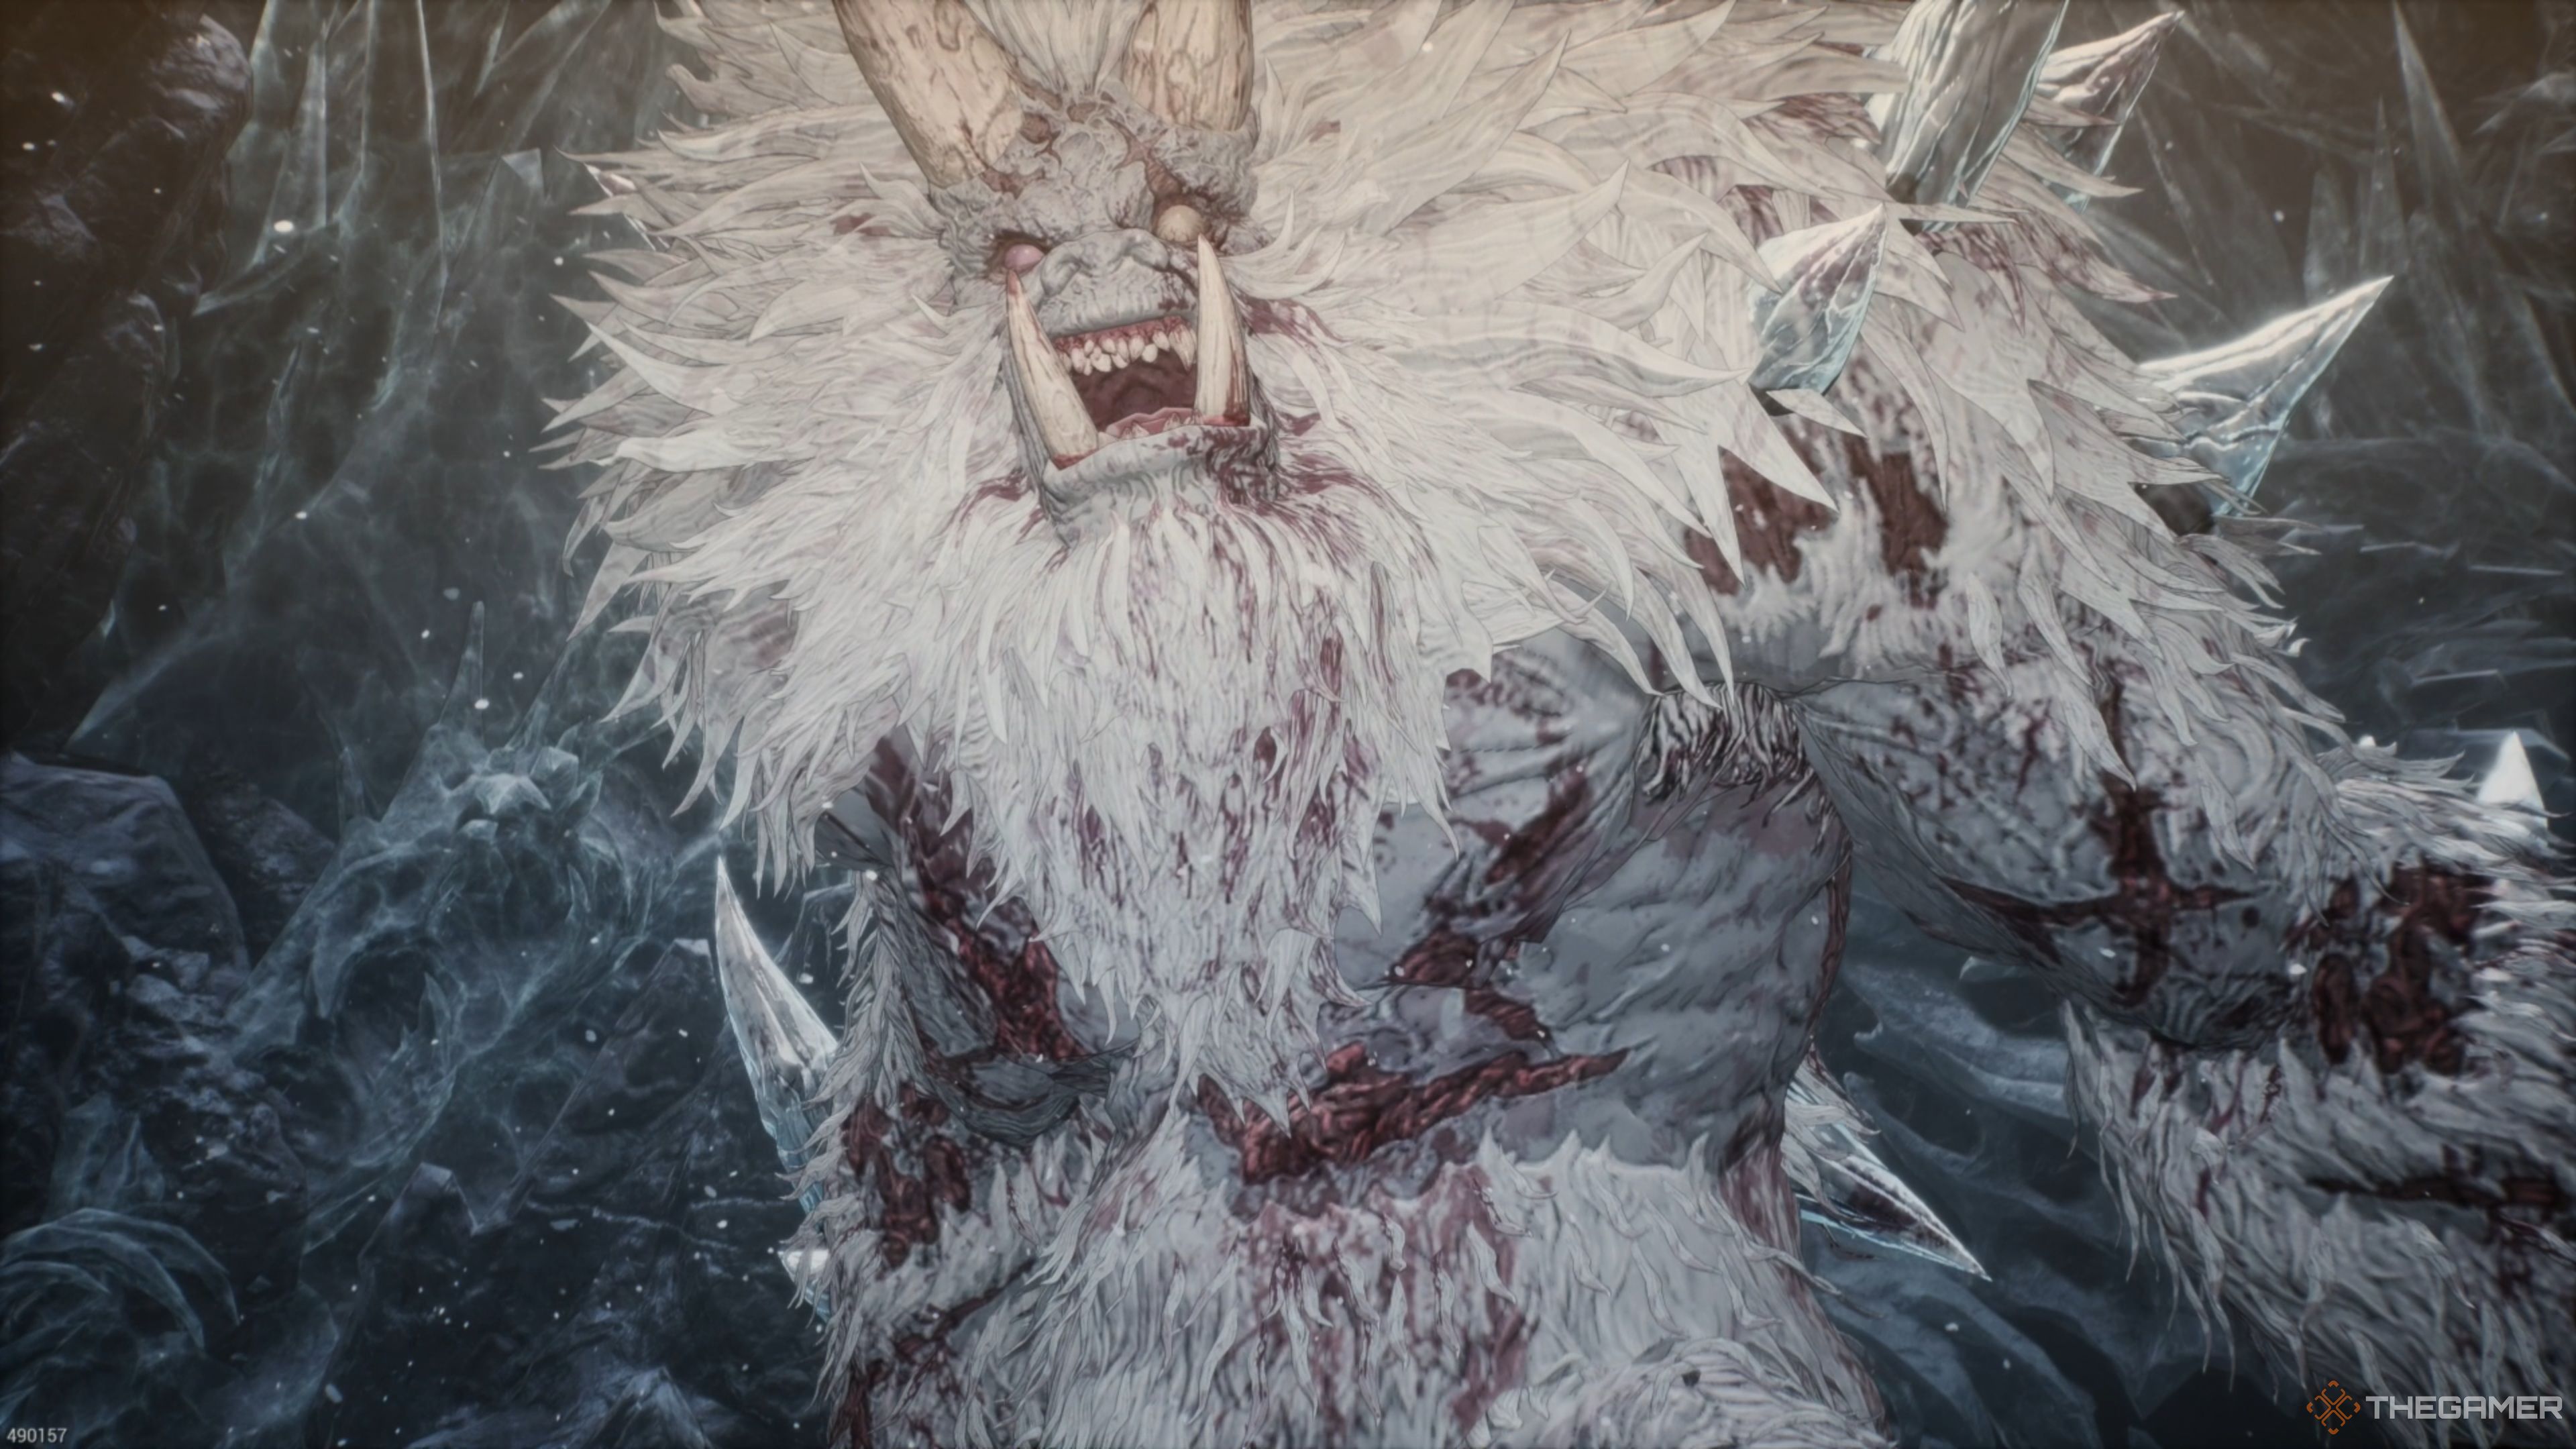
In The First Berserker: Khazan, Yetuga stands as your initial significant test. It will provide you with the fundamental knowledge necessary for understanding upcoming boss battles. Although you and subsequent bosses may possess additional Skills and actions, this battle will offer a solid foundation and showcase the significance of Stamina.
Prior to delving into strategies for overcoming this colossal frosty titan, allow me to share with you the rewards you stand to gain upon vanquishing this formidable foe. This prize, I assure you, makes the challenge of defeating your initial boss worthwhile!
Yetuga Information
| Mission | Banished Hero |
|---|---|
| Recommended Level | Level 1 |
| Optional? | No |
| Rewards |
|
How To Defeat Yetuga
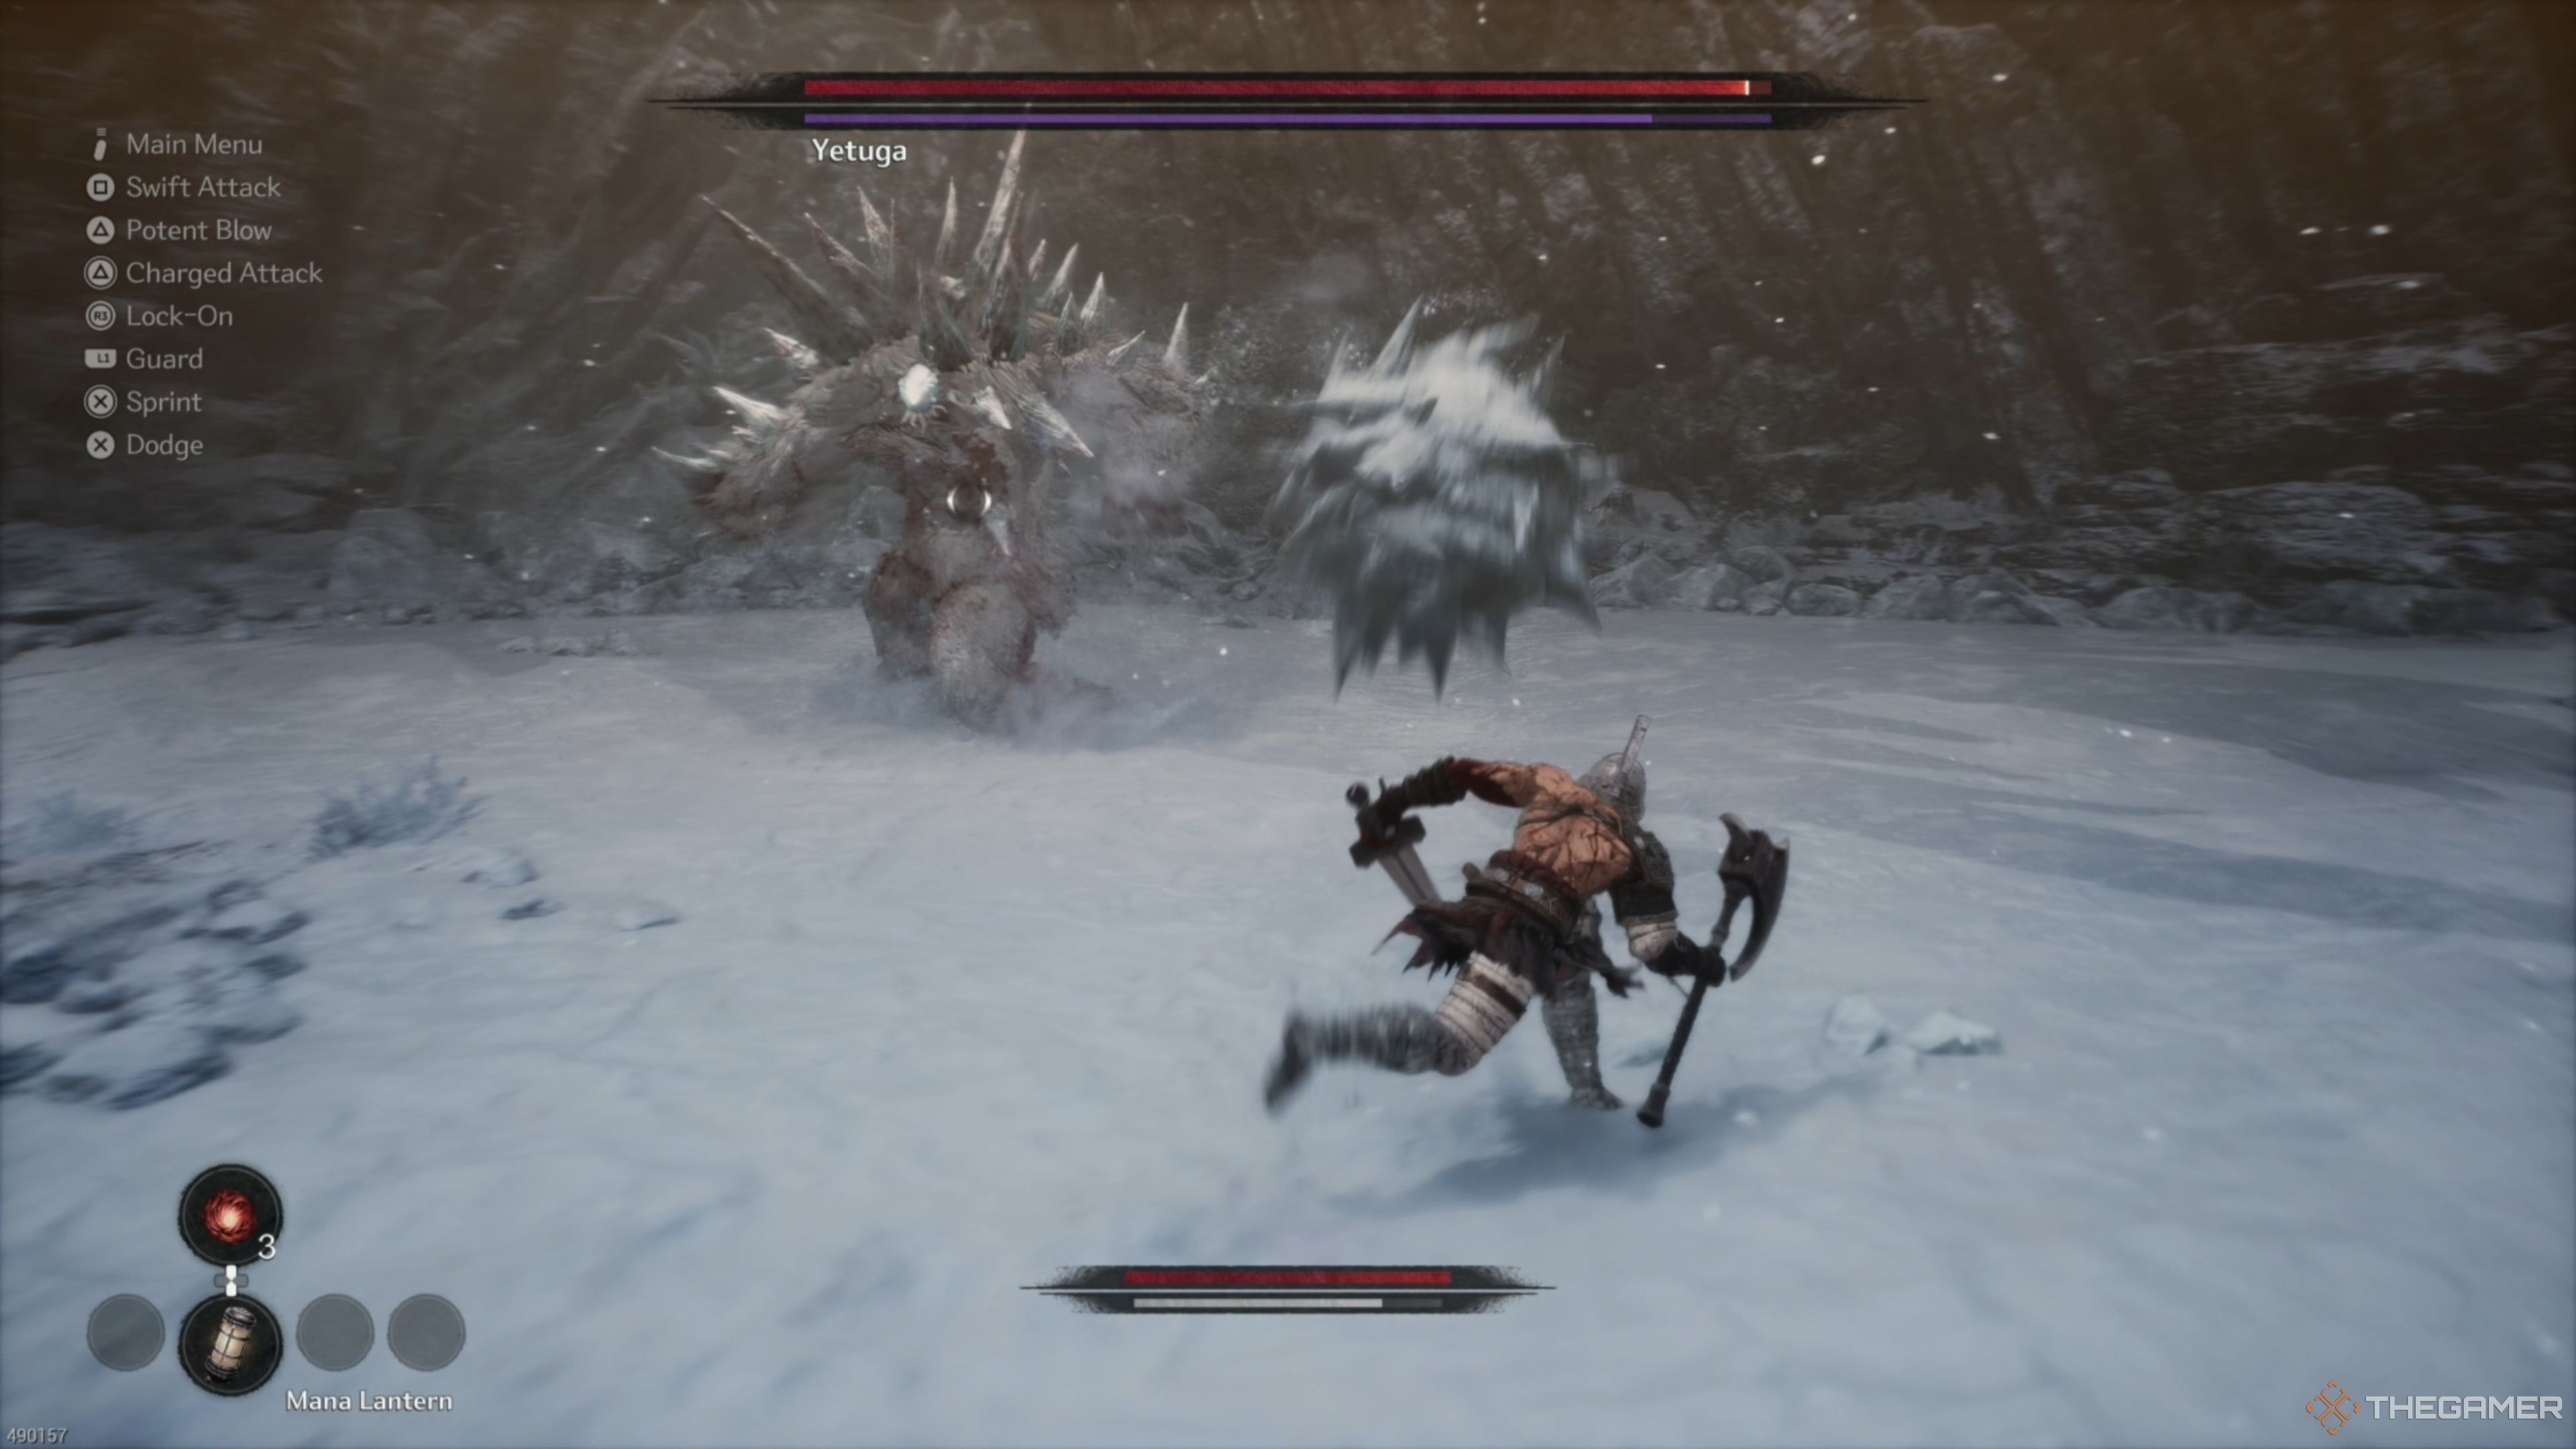
Although the Yetuga is the initial boss you face in The First Berserker: Khazan, it possesses a surprisingly varied repertoire of attacks that will forcefully maintain your agility as you search desperately for an opportunity to strike back. Luckily, its moves are clearly signaled in advance, and there are certain attacks that momentarily immobilize them, providing the perfect chance for you to inflict significant damage!
Yetuga: Big Punch/Uppercut Combo
Initially, the Yetuga is expected to execute its powerful combination move, which includes a left-arm hook followed by a right-uppercut. The initial punch takes some time to wind up, making it relatively easy to anticipate.
When the Yetuga cocks its arm back, wait for the instant you notice it starting to advance. Then, defend yourself to execute a flawless Reflection. Afterward, release the guard button swiftly and press it immediately again to secure another flawless Reflection during its subsequent attack!
An alternative approach is to defend against both attacks, yet be aware that this could drain your Stamina Gauge significantly as they are powerful moves. We advise against it due to their size. Mastering the art of perfectly timed Reflections on these specific attacks is the most effective way to handle them, though it might take some practice initially.
Yetuga: Body Flop

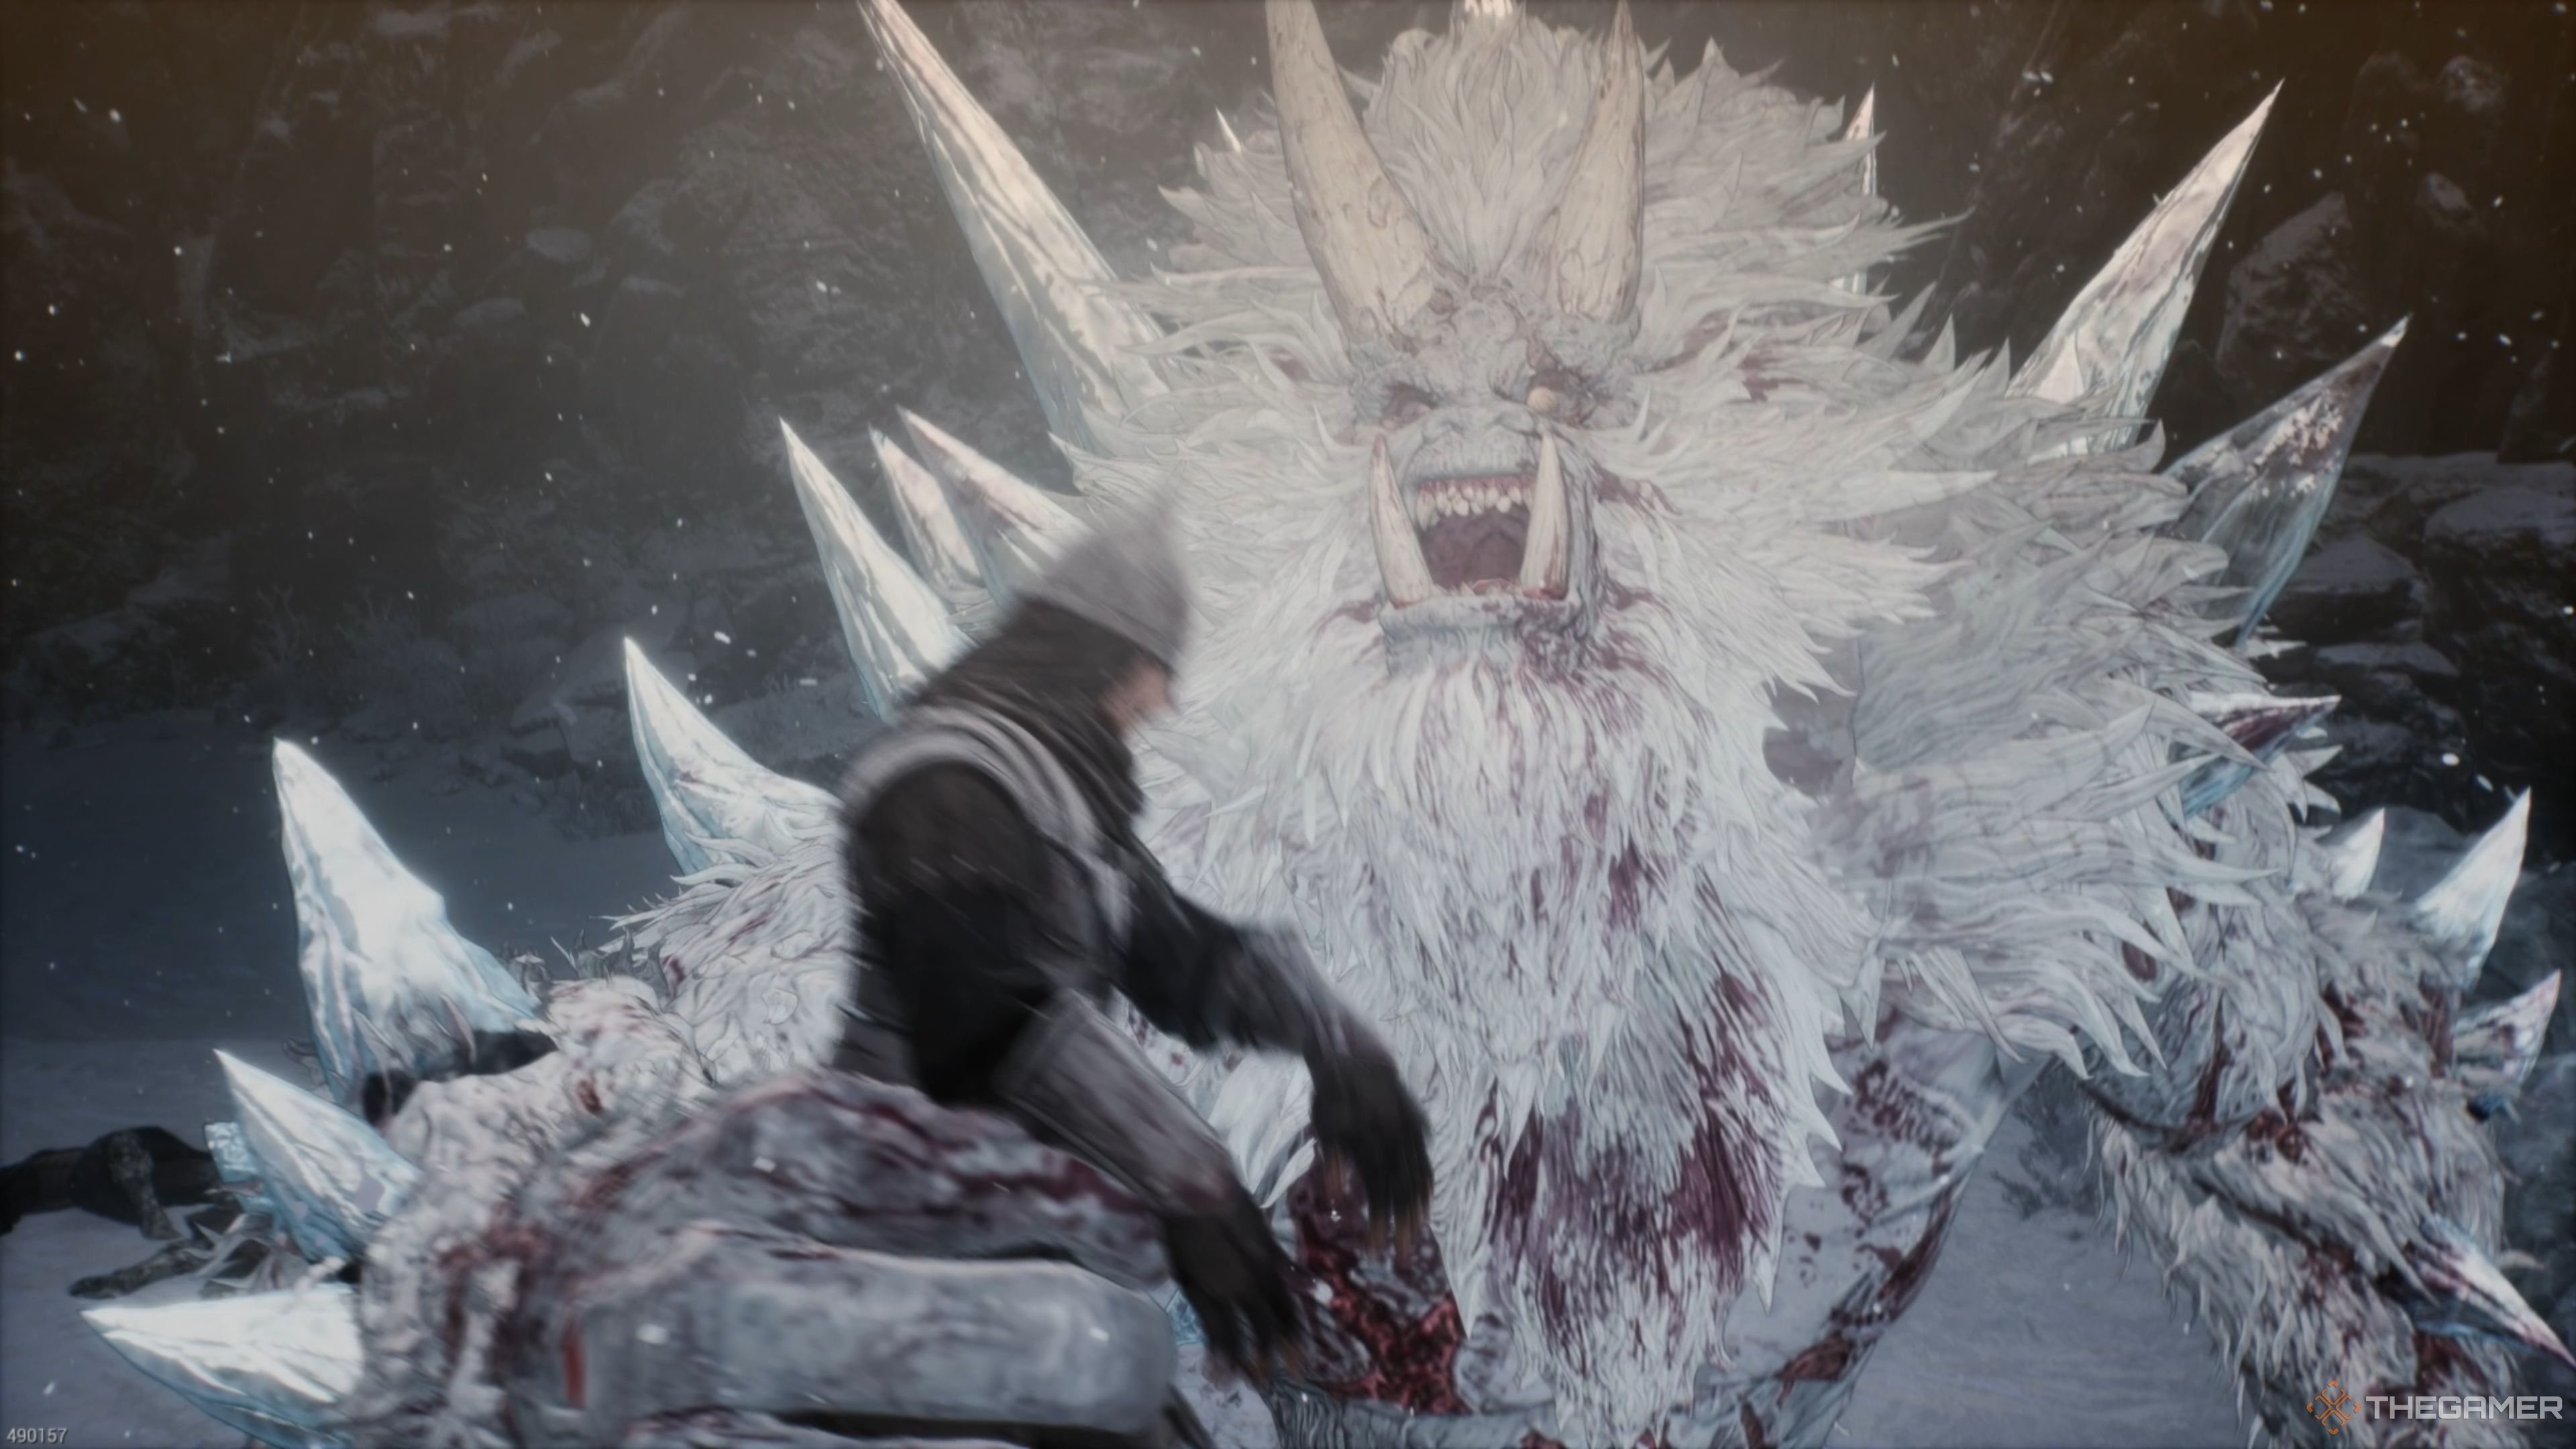
The Yetuga often employs a maneuver called the Body Slam. In this move, it raises its arms above its head and then advances forward momentarily while falling forward, aiming to trample you with its body. This attack is quite predictable, so as soon as you notice it lifting its arms, get ready to counter it.
1. “You have two options here: You can dodge at the right moment for a skillful evasion, or you could throw another Reflection. As soon as you notice the Yetuga leaning forward, press the guard button to execute a perfect Reflection. If you don’t feel confident about that, wait until it starts walking forward and then slip behind it for an easy evasion.”
2. “You can choose between two strategies: You could dodge smartly when the opportunity arises or continue with another Reflection move. When the Yetuga appears to be falling forward, press the guard button quickly to execute a perfect Reflection. Alternatively, if you prefer to avoid the move altogether, wait until it starts walking forward and then evade behind it.”
Yetuga: Boulder Throw
Regularly during your interaction, the Yetuga will shove its hand into the snow and extract a massive, frost-covered rock, then hurl it at you with astonishing swiftness and force. This makes it quite challenging to dodge, particularly if you’re already running low on energy or Stamina.
Alternatively, you can achieve a flawless Reflection on the rocky outcrop instead of relying on precise dodging. Instead, when the Yetuga reaches into the snow and prepares to pull the boulder, pause your movements and wait for it to start hurling the boulder. The moment its arm starts moving forward, quickly press the guard button and execute a Reflection to avoid taking any harm to your HP or Stamina!
Yetuga: Alternating Punches
Often, the Yetuga performs a move known as “Alternating Jabs,” where it rapidly delivers a series of punches, switching between its left and right fists. These punches are swift and powerful. In this sequence, there will be a total of four punches, with the final one being a sliding punch that propels it forward, potentially passing you by.
whenever the Yetuga turns its body away from you, prepare for a series of punches. Quickly press the guard button as soon as it starts twisting back towards you with a clenched fist, release the button, then strike again and do so one more time to effectively block all three punches in quick succession.
As a fan, I’d tell you to watch out for the fourth punch. There’ll be a brief pause before the Yetuga throws a small charging punch. When you see it raising its arm again, use your defense, but don’t do it too soon. This will give you a chance to perfectly reflect and send it flying, leaving it temporarily drained. In this moment of weakness, you can land multiple unchallenged hits on the Yetuga!
Yetuga: Leaping Superman Punch
Coming up next is the Leaping Superman Punch. In this move, Yetuga will soar high into the sky and then come crashing down with a heavy punch that inflicts significant damage if it lands. However, since it’s quite predictable, you can effectively dodge the attack, which often results in a large reward.
Await the Yetuga’s jump into the sky, and be ready to spot when it starts coming down with great impact. Once you notice it starting its descent, swiftly move away from the potential blast area. The aim is for it to get its fist lodged in the snow, providing a short window for you to administer multiple attacks without any counterattack!
Yetuga: Leaping Grab
Just like its earlier assault, the Yetuga features a Leaping Grab move, but you can distinguish them with some key differences once you’re familiar. For one, it won’t leap as high in this instance, making it a much swifter jump instead. Additionally, speed lines will show up at the edges of your screen, serving as the main warning that this attack is imminent.
When the Yetuga performs its aerial leap, keep an eye out for speed lines – swiftly dodge left or right to completely bypass the attack. There’s no way to reflect or defend against this move; if you try, you’ll get grabbed instead, resulting in substantial harm. Simply dodge it, replenish your Stamina, and prepare yourself for what comes next!
Yetuga: Chest Pounding Swipe
In several instances during the fight, you’ll observe the Yetuga repeatedly thumping its chest. This might appear as if it’s presenting an opportunity, but there isn’t one. There never has been. Whenever the Yetuga performs this action, it swiftly follows up with a Swipe Attack, quickly sweeping one of its arms across the ground, covering a wide area.
Stay clear of the Yetuga when it’s thumping its chest. Simply maintain a safe distance, observe it until it drags an arm along the ground, and then wait for its next move. It’s just not wise to take that chance!
Yetuga: Finally Staggered
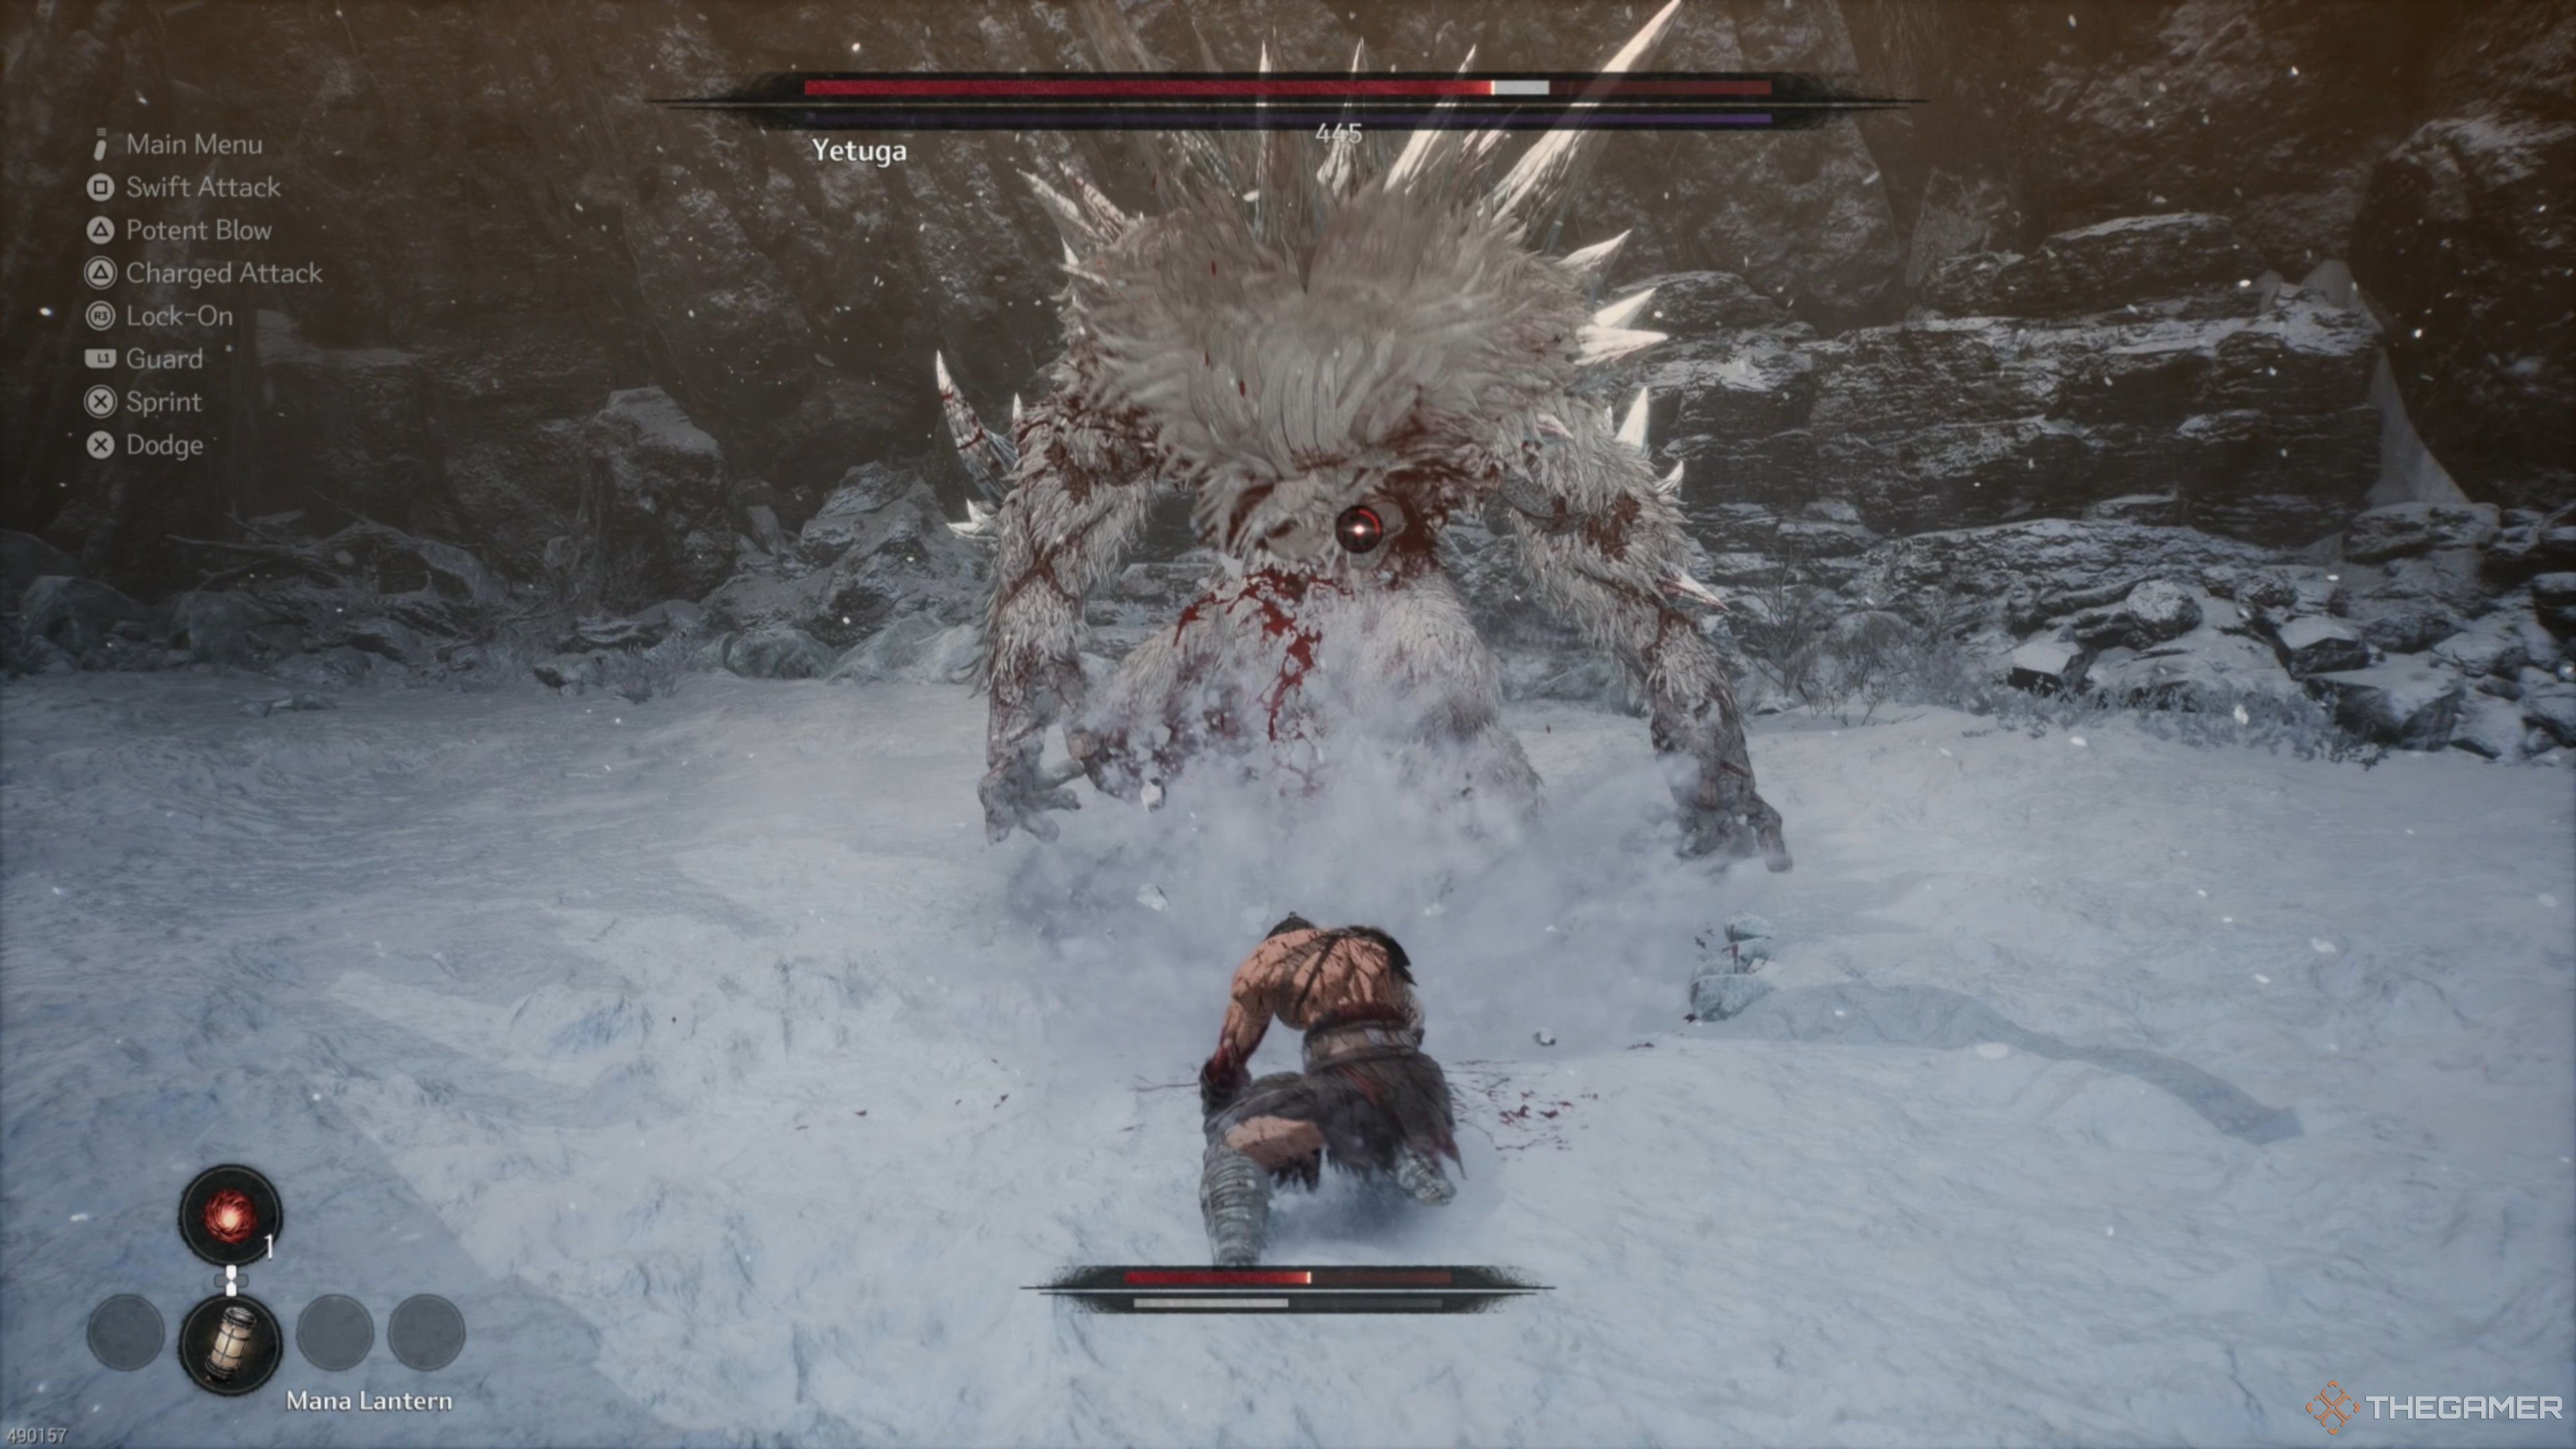
As we reach this point in our battle, the Yetuga will continue to perform the moves I’ve described until its Stamina Gauge runs out, momentarily stumbling it. Seizing this opportunity, I’ll rain down a series of powerful attacks on it. After a few more well-timed Reflections and strikes, I can pour all my strength into one final offensive, setting the stage for the next phase!
Yetuga – Phase Two: Charging Roar
During its second phase, which usually happens after it has used up its Stamina Meter for the first time, the Yetuga learns three new tricks and repeats everything we’ve previously discussed. One of these new tricks is its Charging Roar.
In this scenario, the Yetuga will firmly plant its feet and emit a thunderous, fierce bellow before propelling itself forward at incredible velocity. As soon as you notice it starting to approach you, swiftly dart to either side to let it pass by you, causing it to collide headlong into a cliffside. This impact will momentarily stun the Yetuga, providing an opportunity for you to strike back with a series of attacks!
Yetuga – Phase Two: Large Boulder Leap
Afterward, another move is called the “Great Rock Jump,” where the Yetuga digs both arms deeply into the ground. Subsequently, it grabs an enormous, icy boulder. Then, it jumps incredibly high into the air, only to crash-land back down with the boulder, causing a significant explosion in its wake.
Among all its strategies, this one is particularly aggravating to handle. Once it soars aloft, your options become limited. You could either attempt to dash across the arena to evade it entirely or strive for a precise counterattack with the Reflect ability. Both choices are quite challenging, but the Reflect offers a slight edge in consistency!
You could opt to maintain defense throughout this whole sequence, but beware that it will significantly deplete your Stamina Meter. Whether it’s a wise choice depends on your current circumstances. If you have enough stamina to spare, this could be the most secure strategy as the fight nears its end, if you wish to avoid taking unnecessary risks and potentially losing health!
Yetuga – Phase Two: Ice Breath Slam
Lastly, its final move is the “Icy Blast Bash,” which isn’t too daunting to handle. The Yetuga initiates this attack by drawing in the frigid air surrounding it with a deep breath. Then, it will unleash a powerful blast of ice, blanketing the arena with large shards of ice.
To navigate past the menacing ice beam, a skillful dodge at the right moment is key. After it sucks in the cold air, wait for it to start expelling, then swiftly move through the beam when it appears, positioning yourself behind the Yetuga. Once you’re there, you can begin attacking it without fear, as its powerful slam will only impact the region in front of it.
As a gamer, I’m ready to keep on truckin’. The key here is repeating the strategies laid out earlier until I ultimately conquer the Yetuga once and for all. It might seem like it’ll take a while, but once I nail down those Reflection windows and get the hang of when to strike back after its moves, victory will be mine in no time!
Read More
- Gold Rate Forecast
- Masters Toronto 2025: Everything You Need to Know
- SteelSeries reveals new Arctis Nova 3 Wireless headset series for Xbox, PlayStation, Nintendo Switch, and PC
- Rick and Morty Season 8: Release Date SHOCK!
- Discover the New Psion Subclasses in D&D’s Latest Unearthed Arcana!
- Mission: Impossible 8 Reveals Shocking Truth But Leaves Fans with Unanswered Questions!
- PI PREDICTION. PI cryptocurrency
- We Loved Both of These Classic Sci-Fi Films (But They’re Pretty Much the Same Movie)
- Eddie Murphy Reveals the Role That Defines His Hollywood Career
- ‘The budget card to beat right now’ — Radeon RX 9060 XT reviews are in, and it looks like a win for AMD
2025-03-24 19:54