In the realm of Avalon, the waters are perilously unpredictable, a fact that the inhabitants of Tainted Grail: The Fall Of Avalon are acutely aware of. Beneath these deceptively calm surfaces lie creatures of the deep sea, ever ready to attack unsuspecting sailors. Moreover, the weather in this region can be mercilessly unforgiving; it doesn’t matter whether precautions have been taken or not, the elements may still pose a significant threat.
It appears the Andraste, a vessel believed to have collided in Smuggler’s Bay more than a century ago, remains a mystery. An ancient lighthouse keeper chronicled it in his logbook, yet the truth remains unclear. Lady Elaine seeks answers regarding this incident, and she enlists your assistance to uncover the truth behind it.
How To Get Information About The Andrastre

Your next mission, titled “The Last Voyage, is a task assigned by Elaine. To locate her, venture towards the village nestled behind the Southern Keep’s Horns. Upon entering, follow the damaged path that leads past the grand tree, then descend the wooden stairs and continue downhill until you reach the village situated at the coastline.
Step into Ron’s Tavern, and there you’ll see Elaine comfortably seated on a bench near the corridor that guides to the sleeping quarters. If you engage her in conversation, you’ll discover she’s on a quest for the remnants of a ship known as the Andraste, but is short on details about it.
Make your way to the castle’s main entrance, climb the stone steps leading up to the keep, and venture inside. Once there, proceed to the Captain’s Quarters. Inside, you’ll discover both a museum and Rhydderic, who can provide some crucial details about the whereabouts of the Andraste. You may chat with him for this vital information.
How To Find The Andraste’s Wreck
The most straightforward way to locate Andraste’s Wreck is by starting at the Horns of the North Keep. Proceed north, aiming for the heart of the region until you reach the Archspire. From the Fast Travel point at the Archspire, take the main road east and pass the Ruined Broch. Continue down to Smuggler’s Bay, which is located along the shore.
You’ll discover that the Smuggler’s Bay Dungeon is hidden behind a cliffside door, important for a future mission. However, if you manage to pass a Perception test undetected, you can gain early access by being stealthy with the guard.
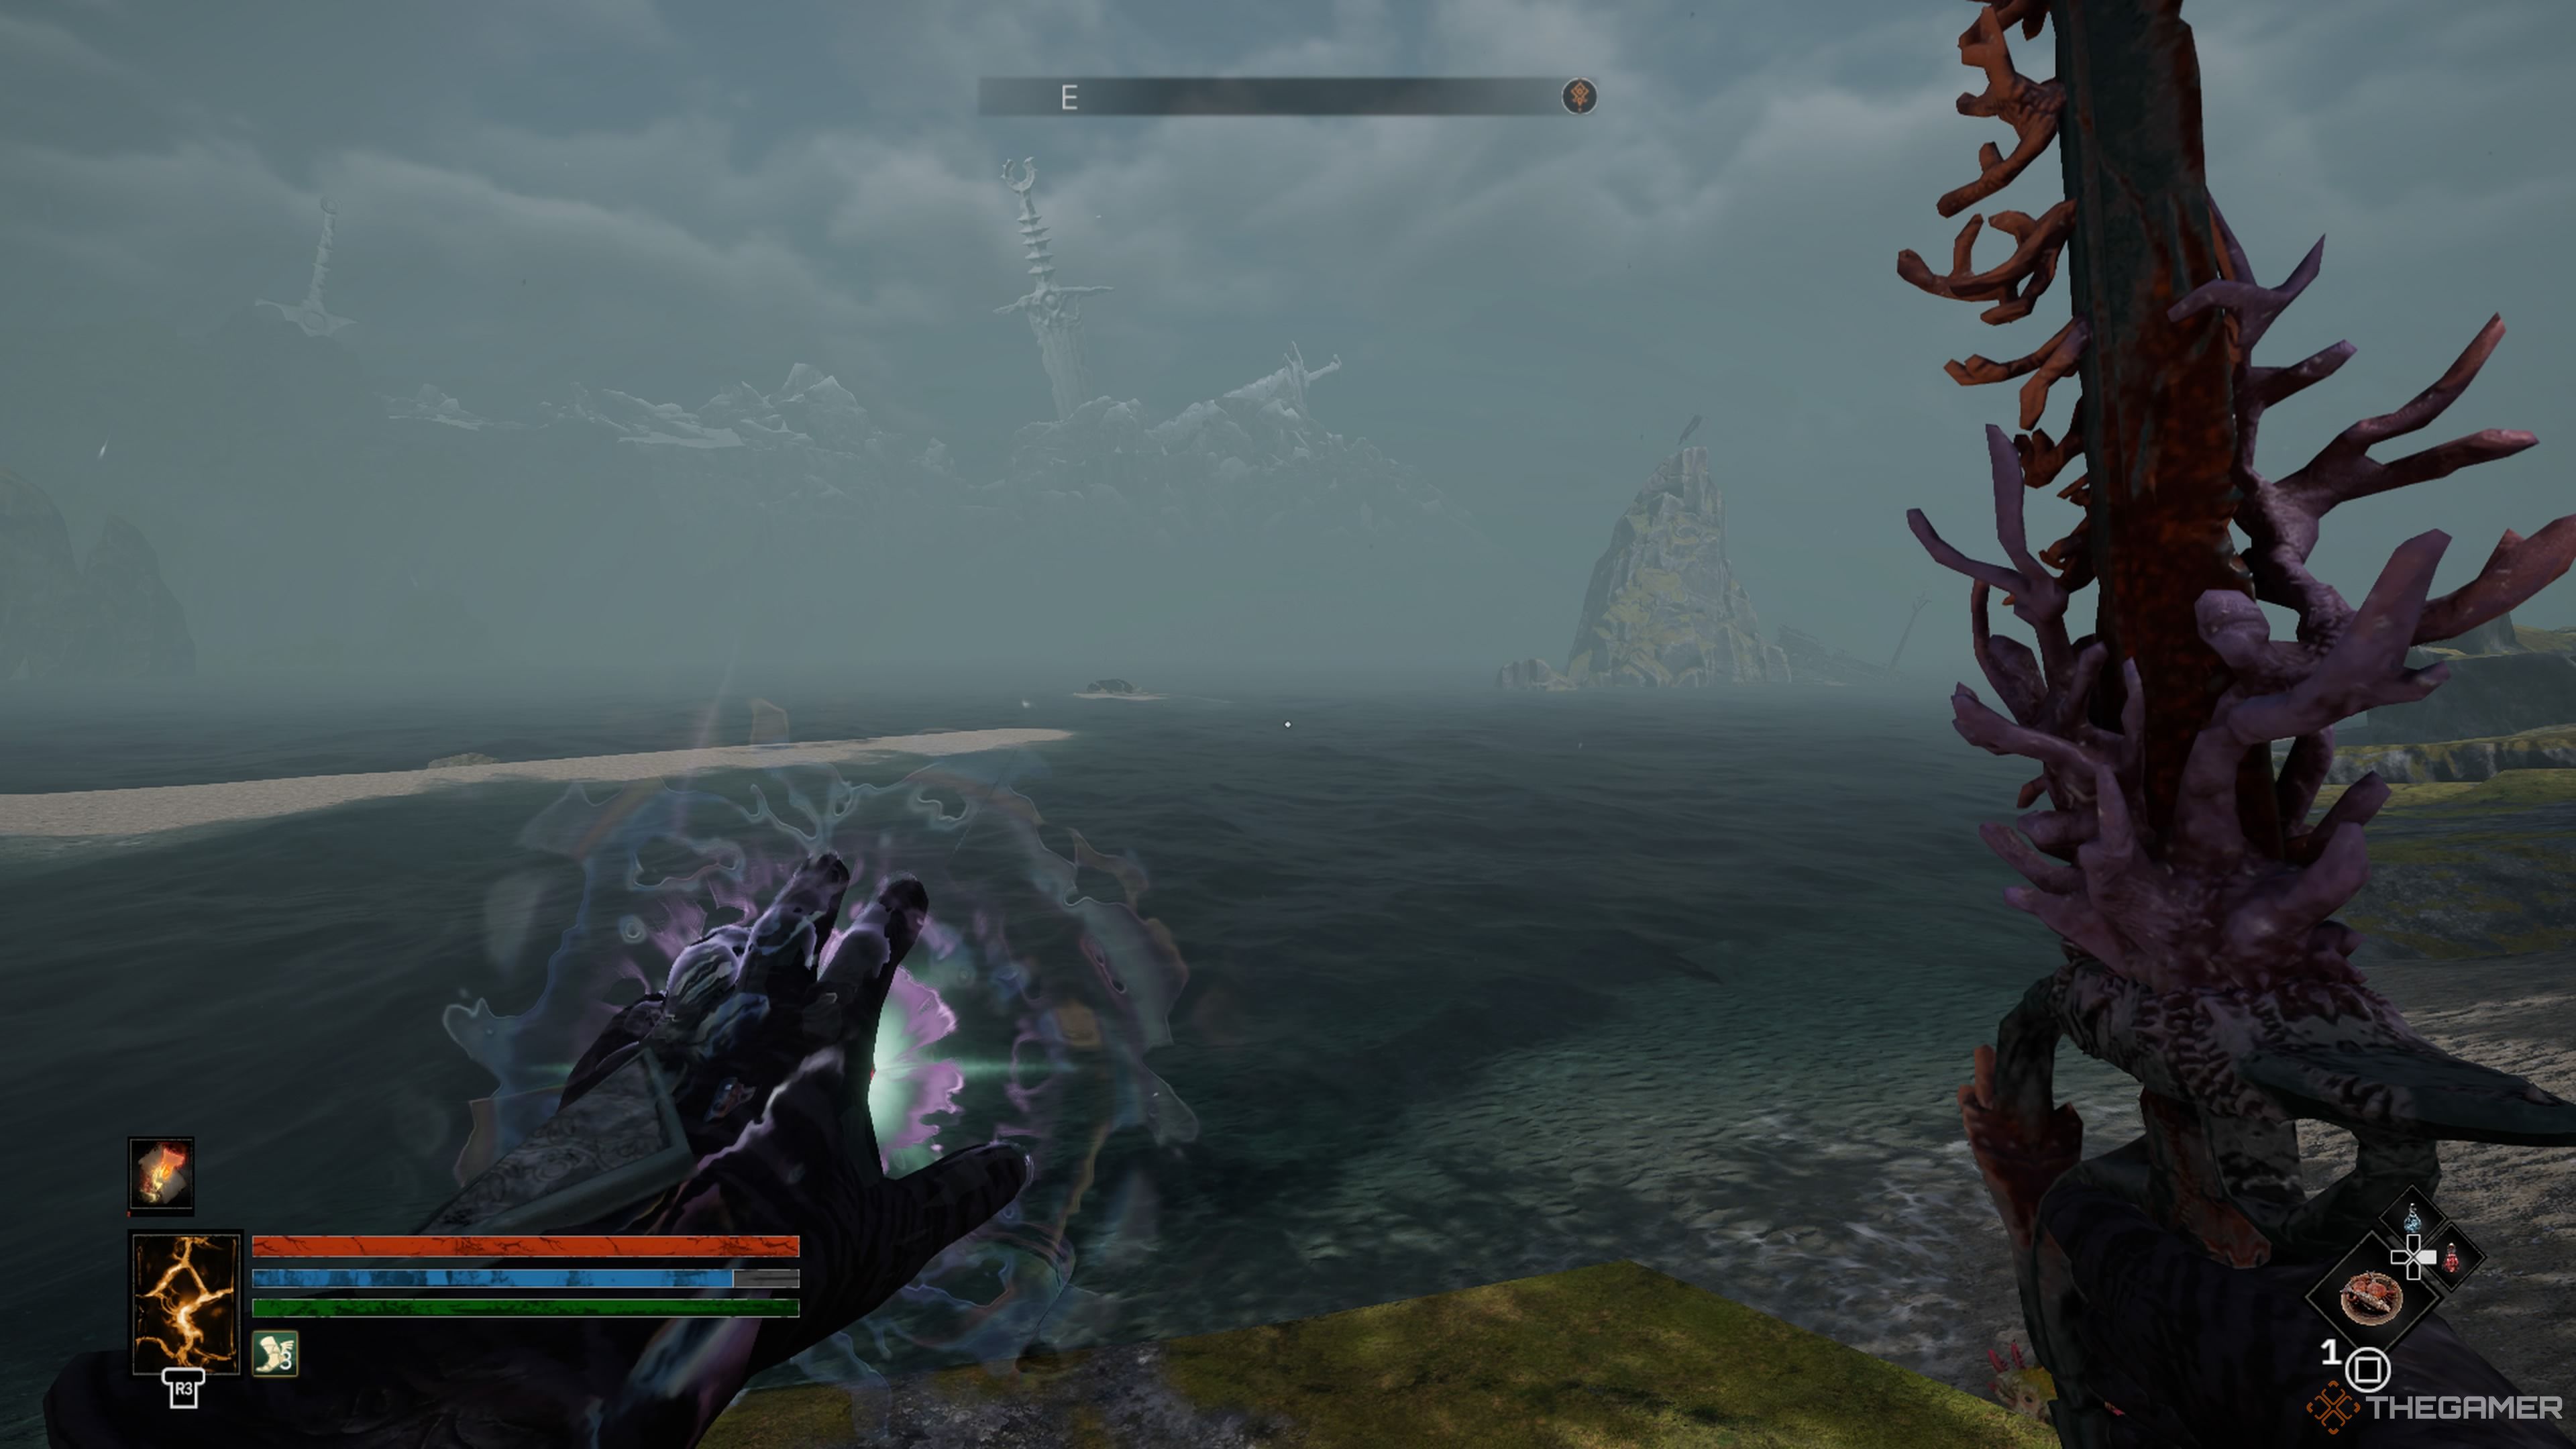
Clear out the troublemakers nearby to avoid inconvenience. There are two routes to reach the island on the other side of the water: either head straight across from Smuggler’s Bay, or follow the coastline north until you’re close to the docks, then use the protruding landmasses as stepping stones until you can no longer proceed without swimming.
Jump into the water, swim past the big rock close by, then make your way to the tiny island beyond it. There, you’ll discover a mix of bodies and chests scattered about, which hold valuable treasures like the Summon Keeper spell on the body of a priest.
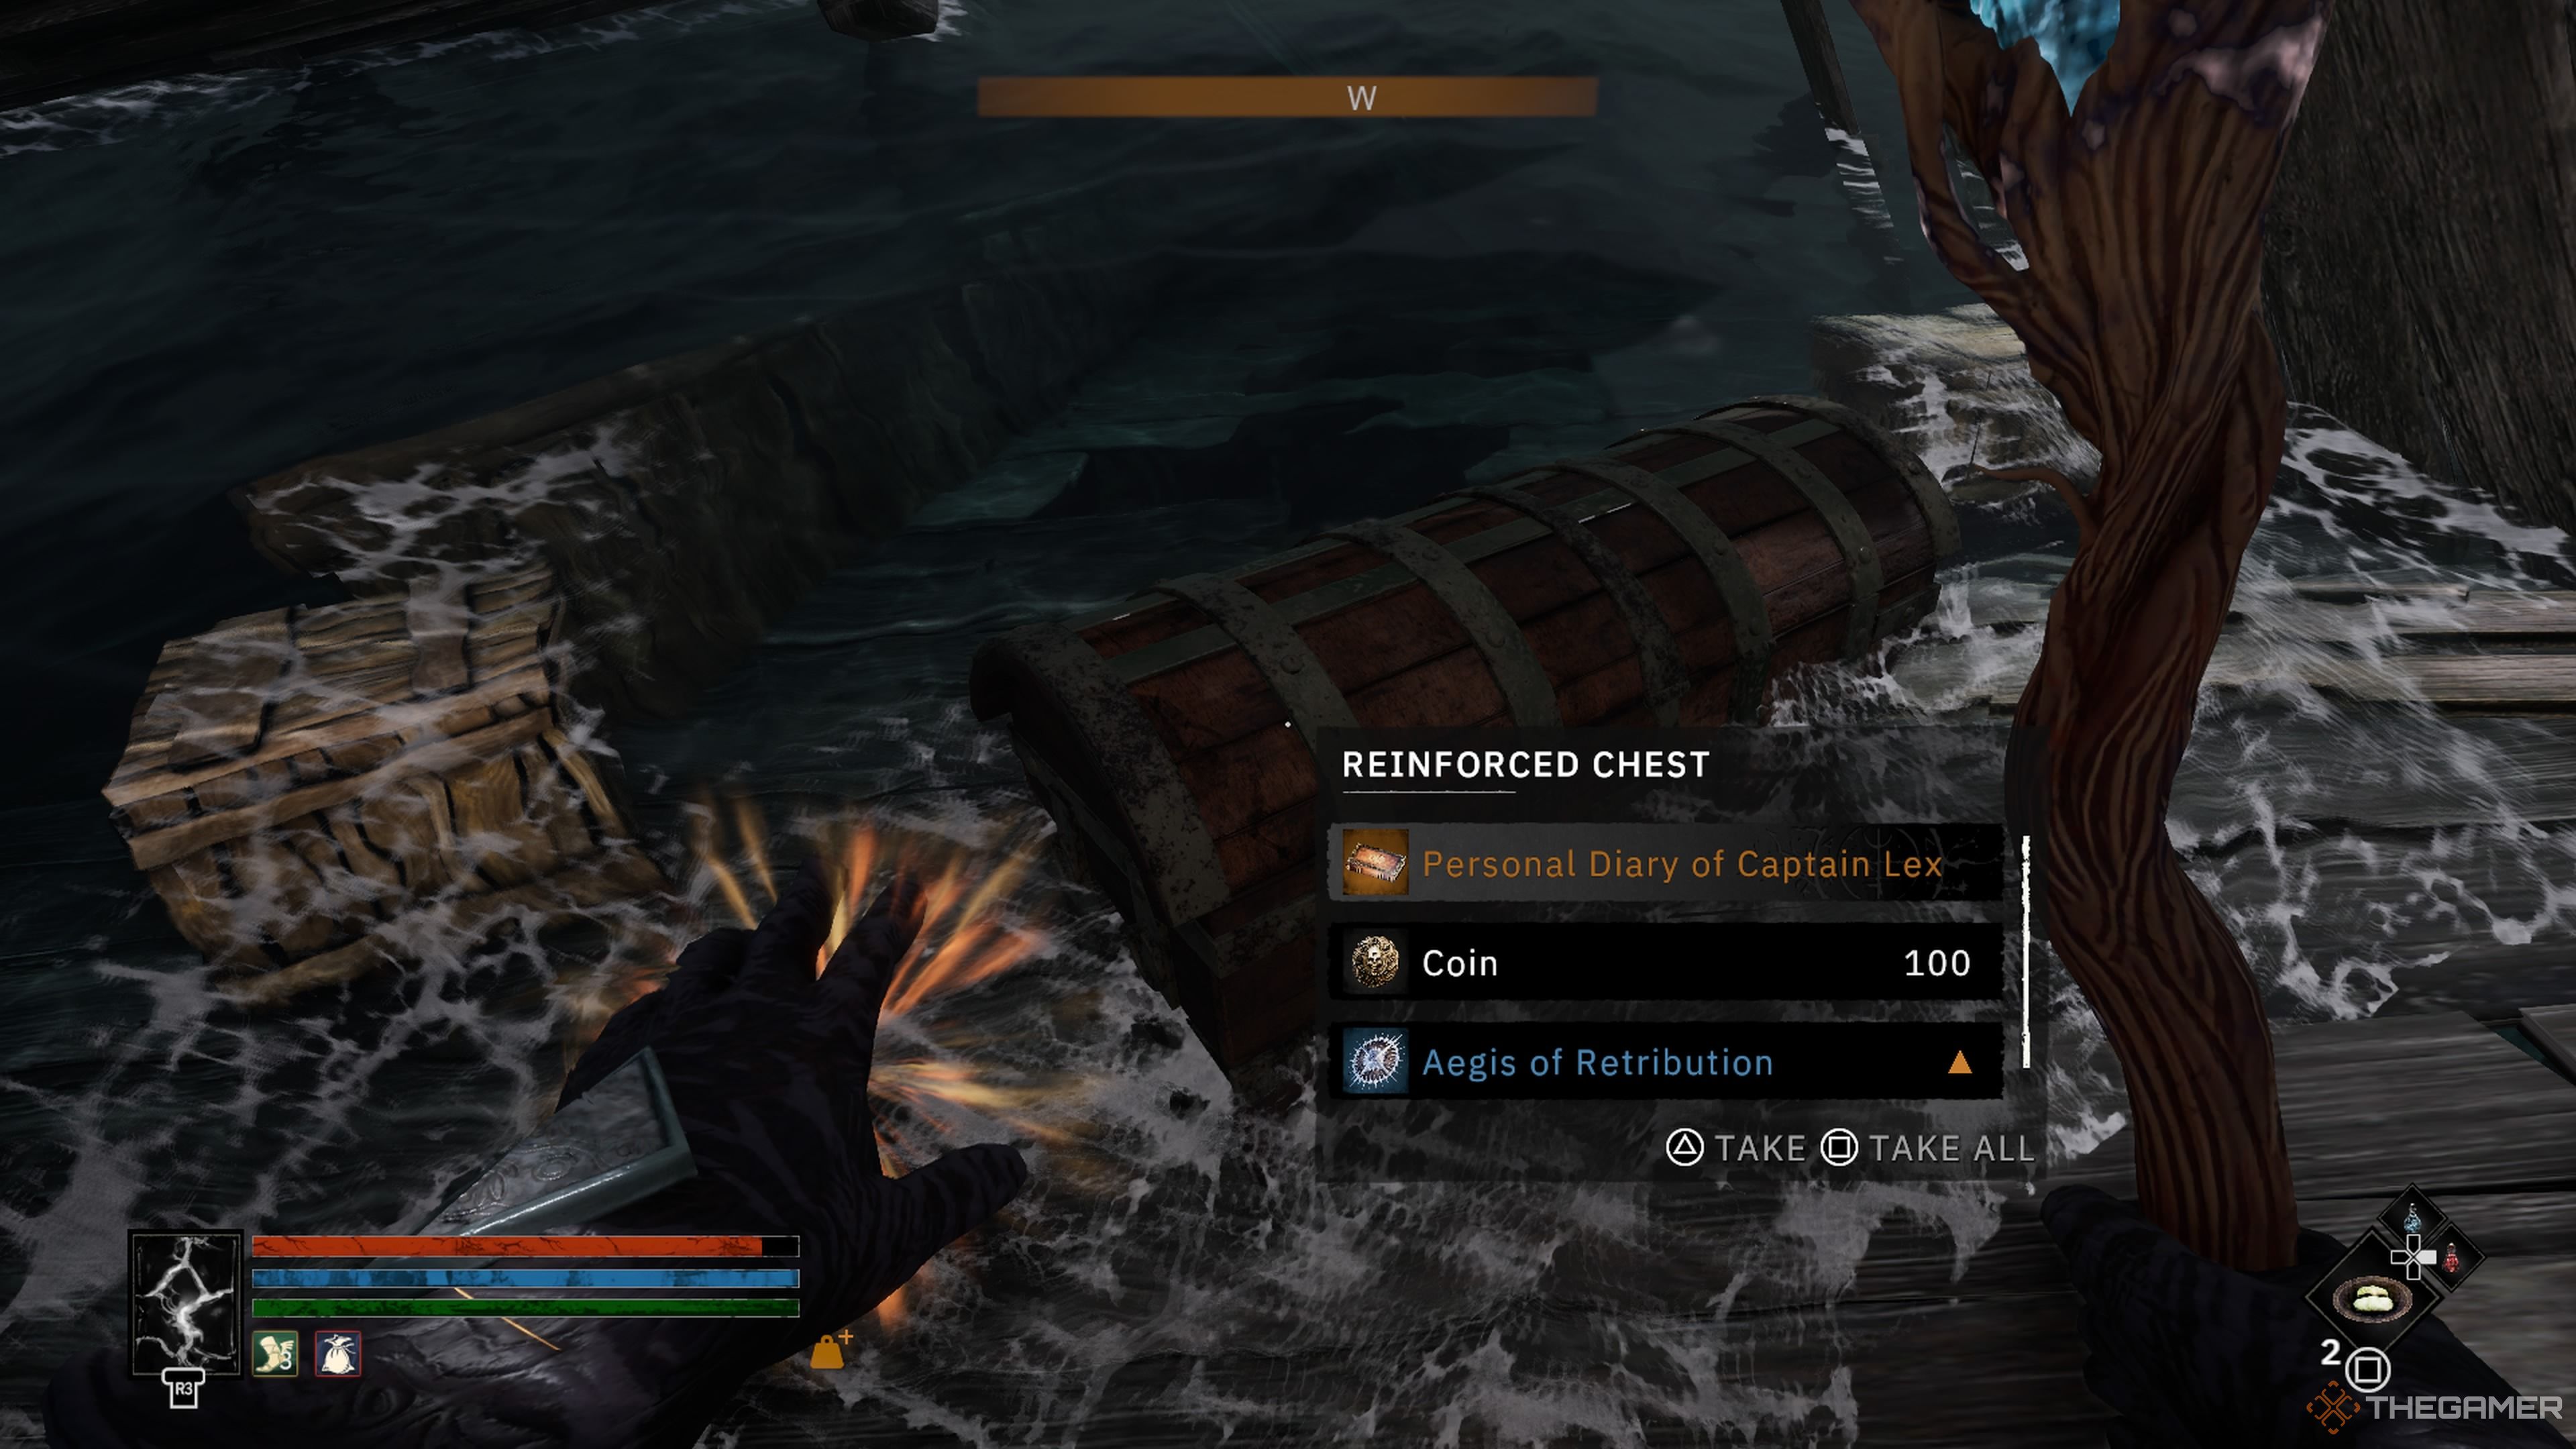
As I traverse the small island, veering to its right, I stumble upon a pile of sacks and bones, where I discover a magical Cloak of Retribution hidden within one of them. Not far from this spot, there lies a massive wreckage that houses a Reinforced Chest. Upon opening it, I’m rewarded with 100 Coins, the powerful Aegis of Retribution shield, and Captain Lex’s personal diary. Quite an exciting find!
If you move towards the wall next to the major portion of the debris, you’ll come across a meteorite cluster that you can extract for some Meteorite Ore. This ore is essential for enhancing certain parts of unique armors such as X.
By perusing or quickly scanning through Captain Lex’s Personal Journal, it becomes clear that they have transported the cargo to another location in close proximity. This is the destination you should be aiming for next.
How To Get The Andraste’s Findings For Elaine
Return to Smuggler’s Bay’s coastline using the old route, and then walk up the beach heading north. Continue walking until you reach the large rock structure in the northeastern part of the map, which is home to the All-Mother’s Temple.
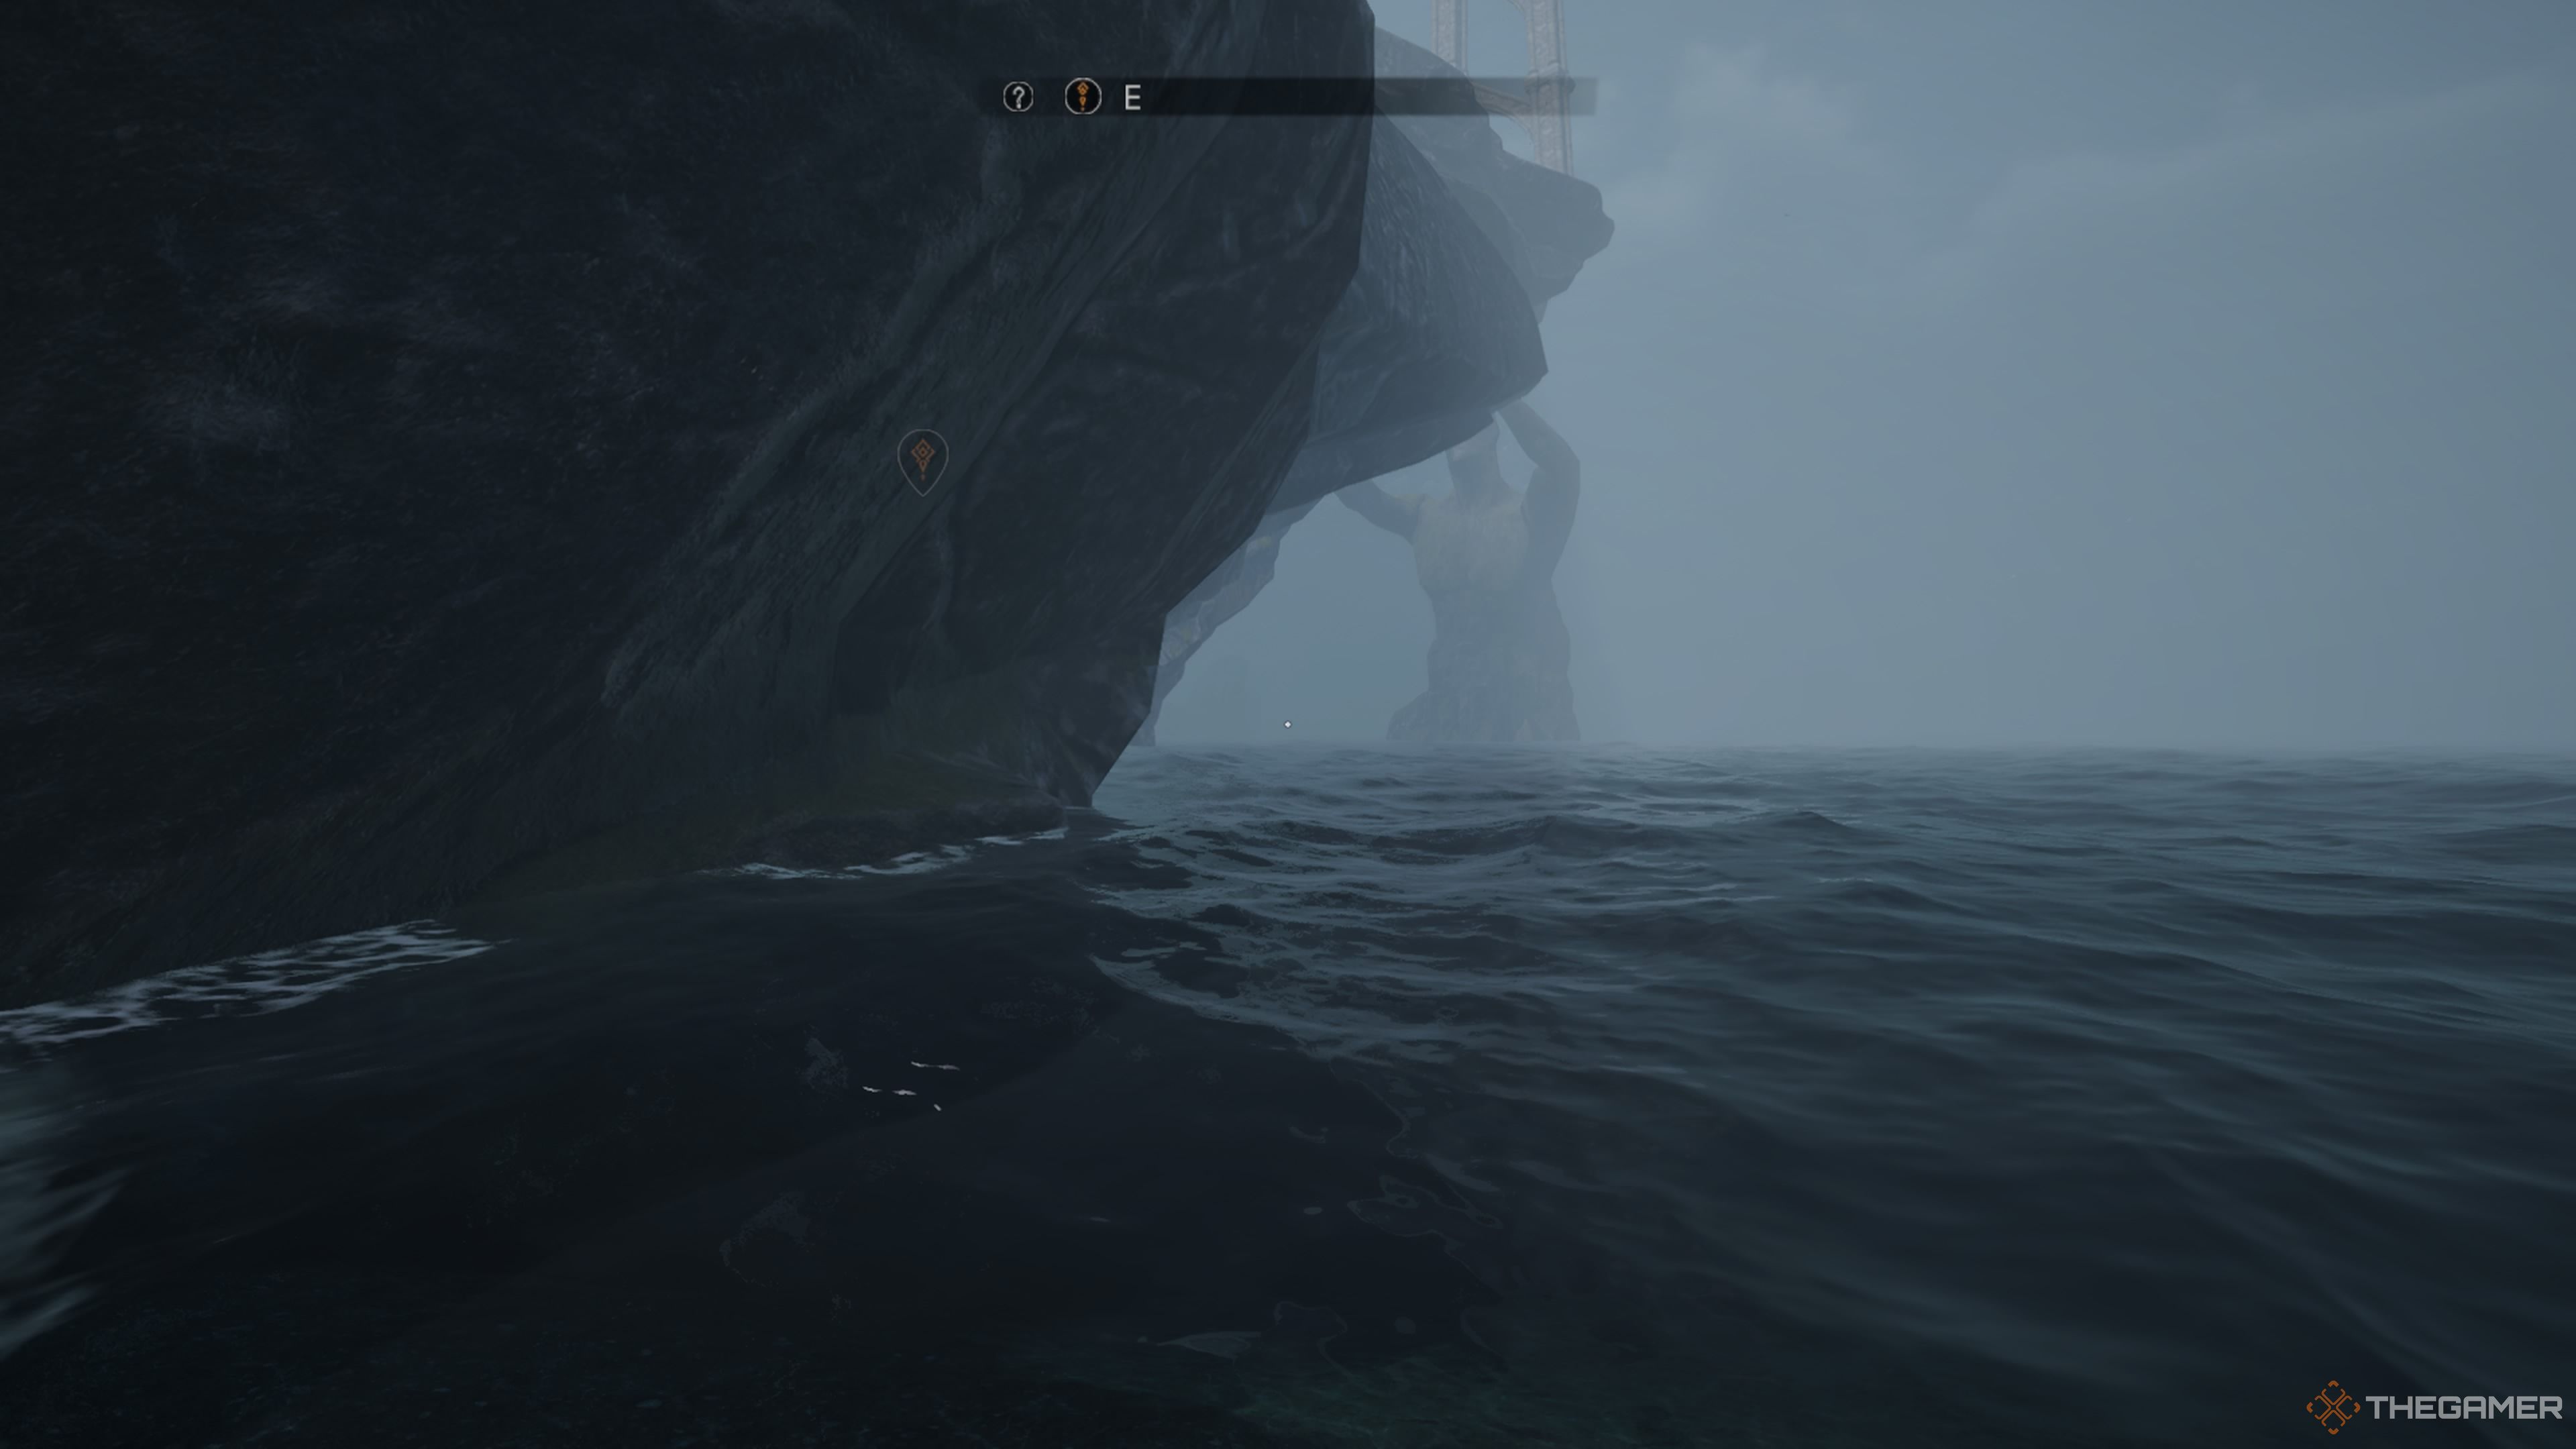
Travel eastward along the coastline, moving parallel to the seashore until you reach a point where the water’s edge forces you to begin swimming. As you swim, maintain a distance close to the cliffside. Eventually, you’ll come across a little piece of land on the north side of the rock formation, which is where the Castaway Cave can be found.
In the depths of that cavern, you’ll encounter groups of common Drowner foes and numerous crates, barrels, and corpses ripe for plundering. These items can provide you with various Cooking Ingredients as well as assorted Crafting Materials.
Be sure to take time to inspect the chests scattered throughout your journey, for the one that stands beside a solitary crate holds the potent Merlin’s Thorn spell – an exceptional choice for mages during the early stages of gameplay.
Traverse the sequential tunnel inside the cave until you reach a round chamber characterized by a substantial stalagmite at its core. Engage in combat with the Scourge Of The Seas during this encounter.
How To Beat The Scourge Of The Seas
The Scourge Of The Seas is a formidable adversary with considerable strength that can inflict significant harm if it comes near you, and possesses long-range attacks in addition to its close combat abilities.
He’s more likely to assault you up close, employing a jumping slash and a sequence with his sword as his main tactics. However, he may also hurl water projectiles like the Drowners sometimes, and he can discharge waves of magic from his sword as well.
As a gamer, I found that the spell I picked up deep within the cave – Merlin’s Thorn – packs quite a punch against my foe. What makes it even more powerful is when I wield it with a wand or staff. Surprisingly, you don’t need high Spirituality to cast this spell effectively.
His magic assaults are the least harmful of his actions, so it’s best to always maintain a safe distance. Try to lure him out with either water projectiles or bait, particularly if you’re employing Magic or Bows. Then, take advantage and inflict damage as he recovers from these attacks.
Maintain good health and dodge his close-quarters attacks to defeat The Scourge Of The Sea quickly. After defeating him, you can plunder his corpse to obtain the one-handed sword Tidepiercer, which releases long-range projectiles when performing a Heavy Attack with it.
How To Complete The Last Voyage
With the Scourge of the Seas now vanquished, feel free to proceed to another, expansive cave chamber. This particular chamber features a lake graced by a modest rock structure in its center, and it also houses Andraste’s cargo.
To reach the boulders, take a swim there, then scale them to their summit. Move closer for an inspection of the cargo once you’re near enough. After updating your quest, you may now return to the Castaway Cave’s entrance and depart.
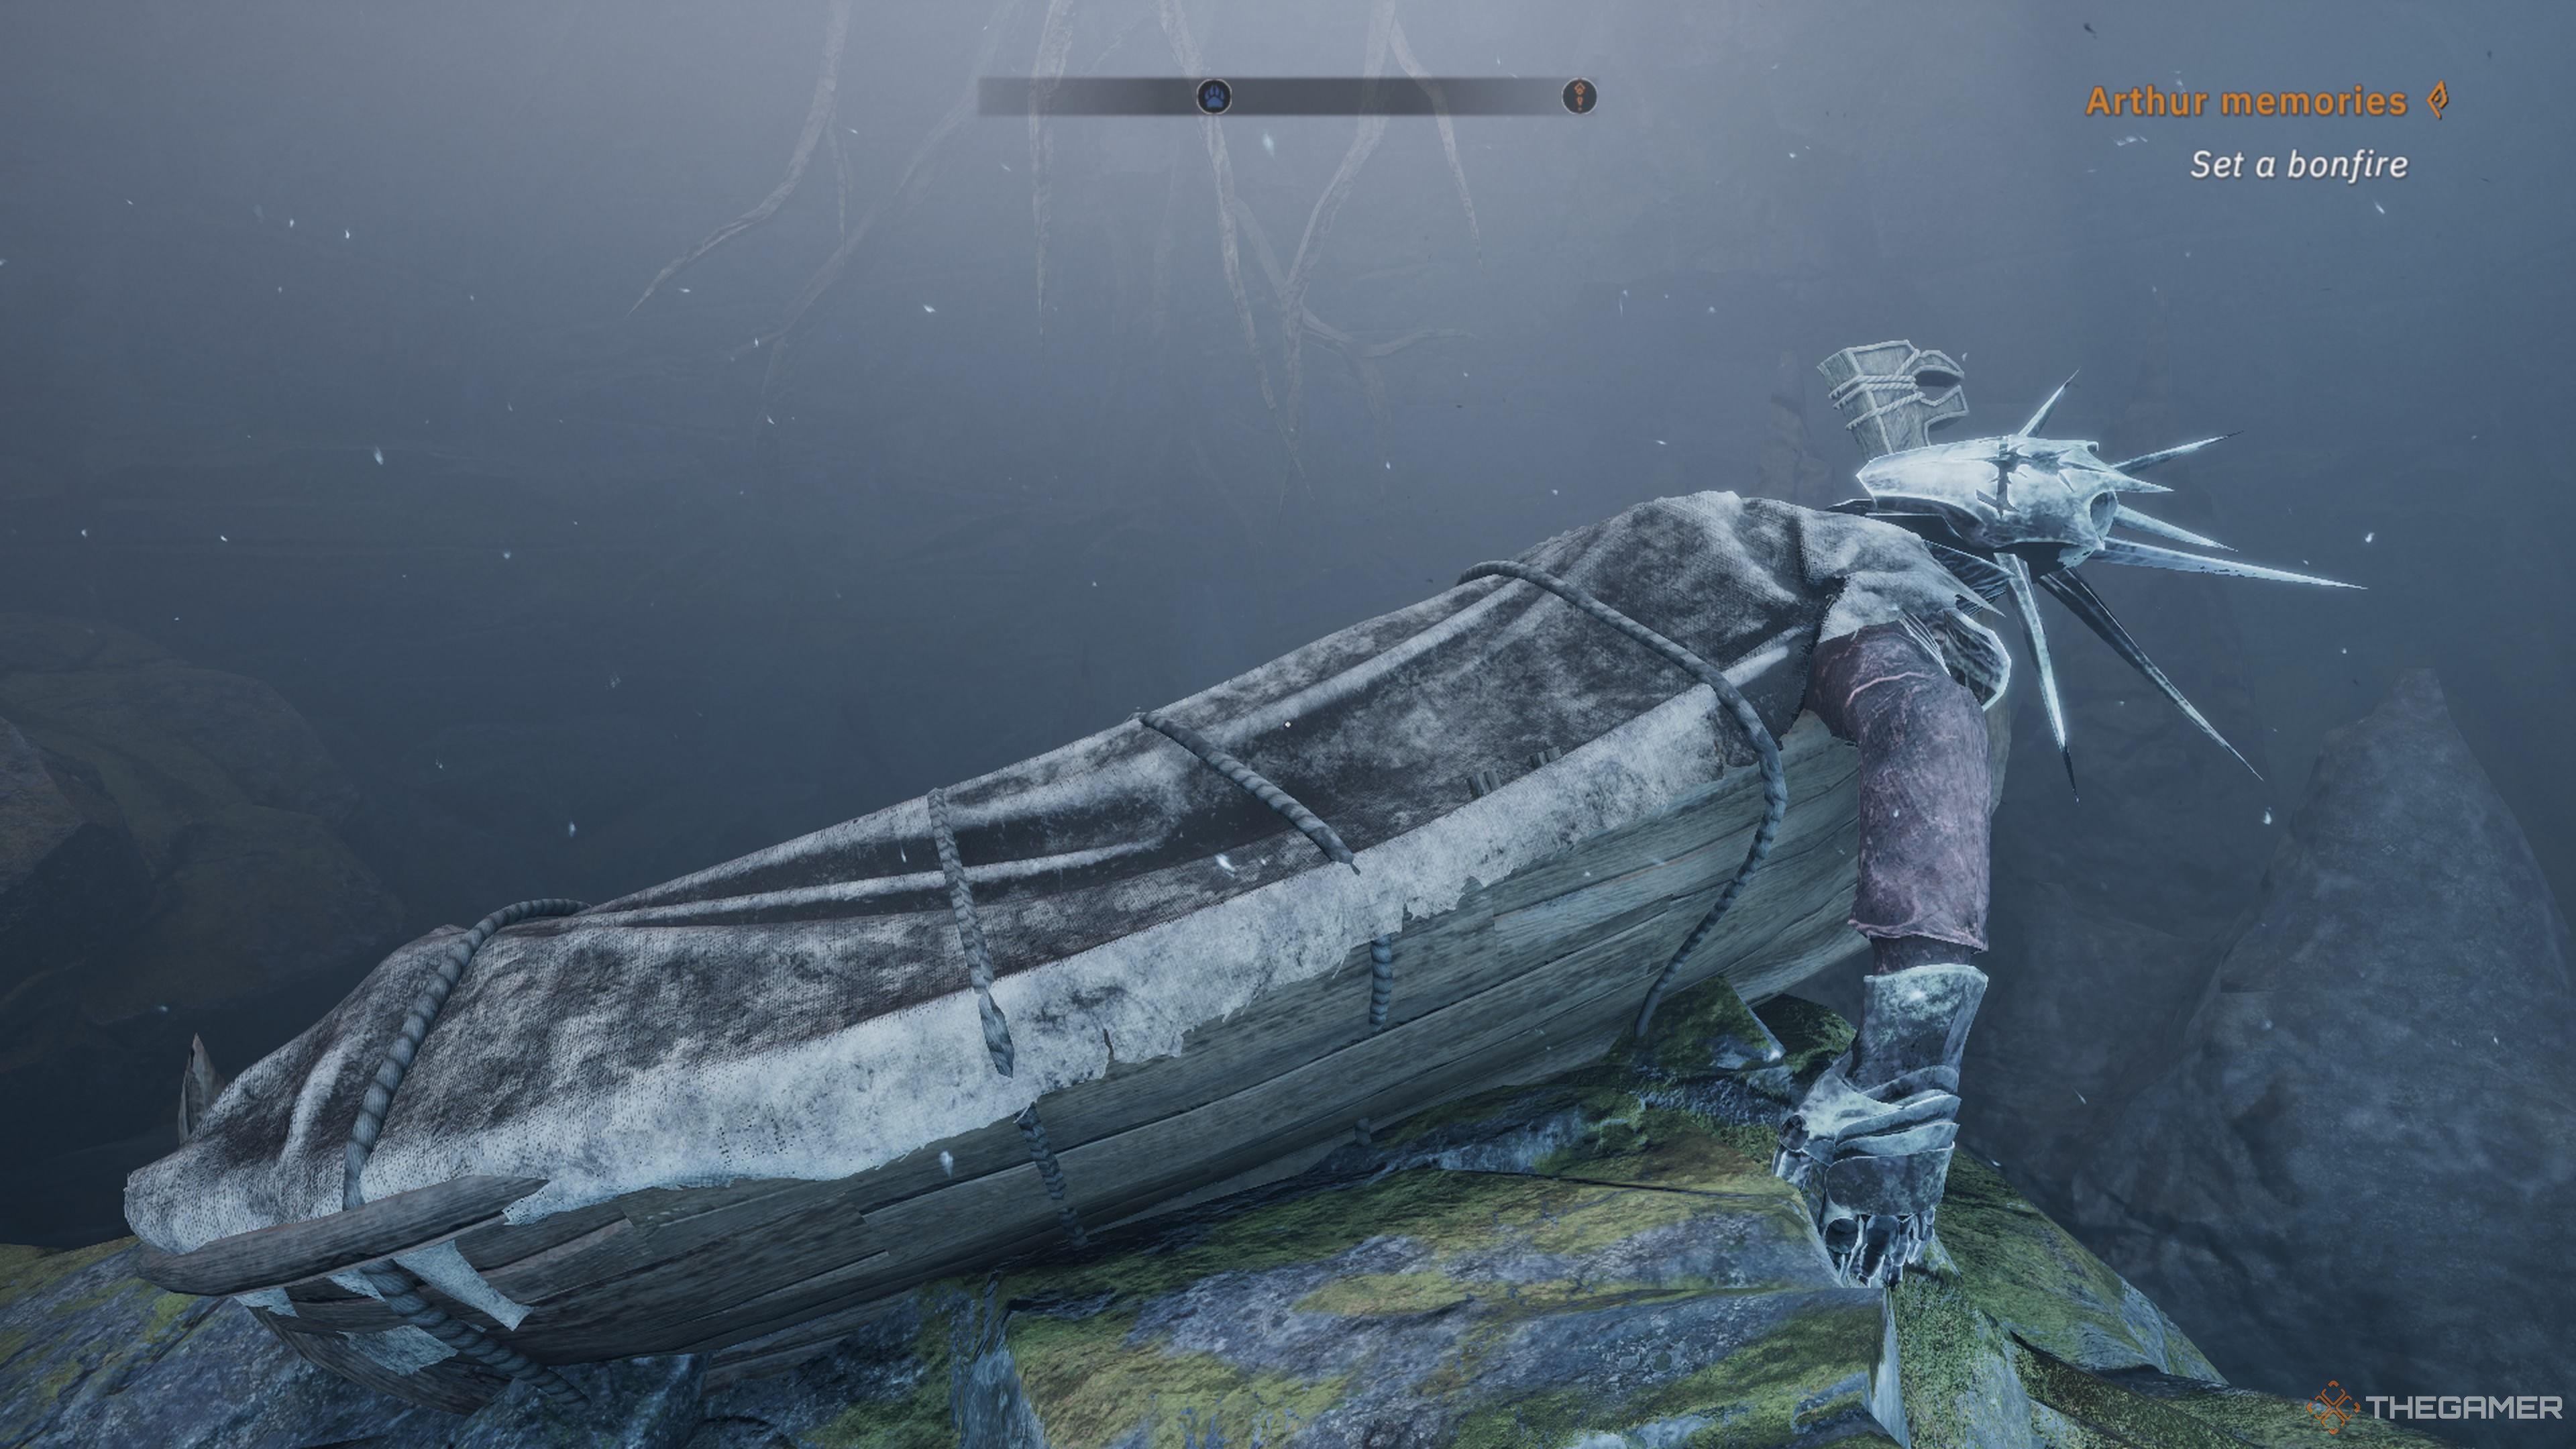
You’ll need to make your way back towards the main part of the beach since there’s no proper location for a bonfire in close proximity. Once you arrive, feel free to set up a bonfire and employ ten Ethereal Cobwebs to light the fire, which will enable you to quickly return to the village.
Head back to Ron’s Tavern once more, have another chat with Elaine. For your dedication, you’ll earn 1,000 EXP and some Gold upon task completion. If you visit Elaine again in the future, you’ll be able to embark on her second quest, entitled “As Good As Gold.”
Or simpler:
Return to Ron’s Tavern, talk to Elaine once more. Reward for this mission: 1,000 EXP and a bit of Gold. If you chat with Elaine again later, you’ll start her second quest, titled “As Good As Gold.
Read More
- WCT PREDICTION. WCT cryptocurrency
- The Bachelor’s Ben Higgins and Jessica Clarke Welcome Baby Girl with Heartfelt Instagram Post
- Guide: 18 PS5, PS4 Games You Should Buy in PS Store’s Extended Play Sale
- New Mickey 17 Trailer Highlights Robert Pattinson in the Sci-Fi “Masterpiece”
- Royal Baby Alert: Princess Beatrice Welcomes Second Child!
- Chrishell Stause’s Dig at Ex-Husband Justin Hartley Sparks Backlash
- The Elder Scrolls IV: Oblivion Remastered – How to Complete Canvas the Castle Quest
- AMD’s RDNA 4 GPUs Reinvigorate the Mid-Range Market
- SOL PREDICTION. SOL cryptocurrency
- Studio Ghibli Creates Live-Action Anime Adaptation For Theme Park’s Anniversary: Watch
2025-05-30 22:06