In the narrative of The First Berserker: Khazan, the primary tale is broken down into distinct missions. Each mission unfolds in a unique setting, requiring you to explore the entire locale to locate and defeat the boss, thereby completing the mission. As you traverse your adventure, it’s wise to gather as many collectibles as possible along the way, for they bring additional perks.
While completing these tasks isn’t always straightforward, there are hurdles along the way that can prove quite tricky to overcome if you’re not familiar with them. The Quest of the Inconceivable Truth is also a complex journey, as Soul Stones are subtly tucked away in spots that are easy to overlook.
Inconceivable Truth Walkthrough
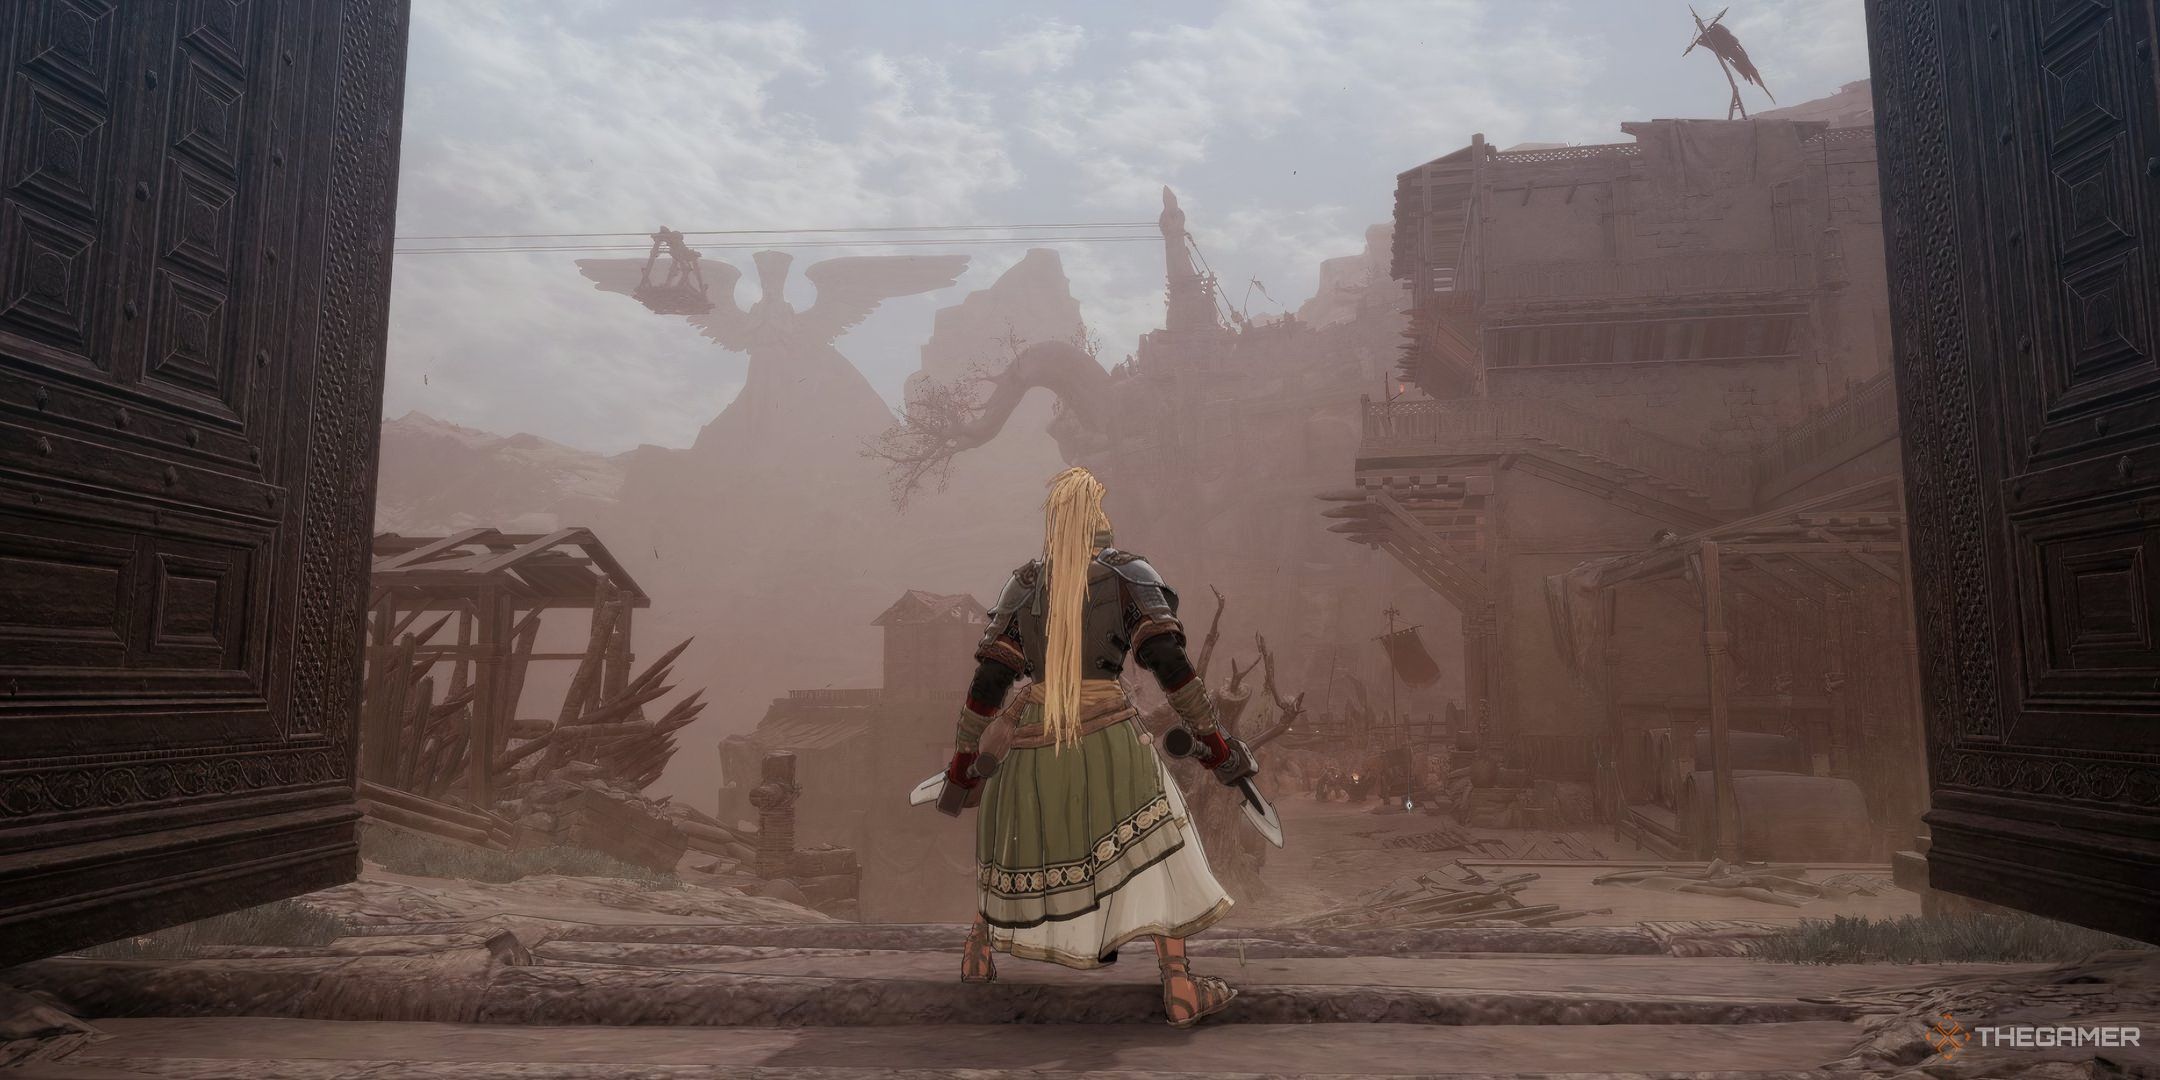
The Incredulous Truth is the ninth task within the game, and it becomes available for acceptance following your victory against Elamain at El Ravaca, during the mission titled Devoured Village. Before venturing into this region, remember to prepare some Plague Purification Draughts as you’ll require several of them in this area.
The objective of this mission leads you to the Linon Mines, where your goal is to locate Yulian. It’s suggested that you should be at least level 69 before embarking on this task. In this region, there are a total of three Soul Stones hidden, and one Jarling, which can be challenging to discover.
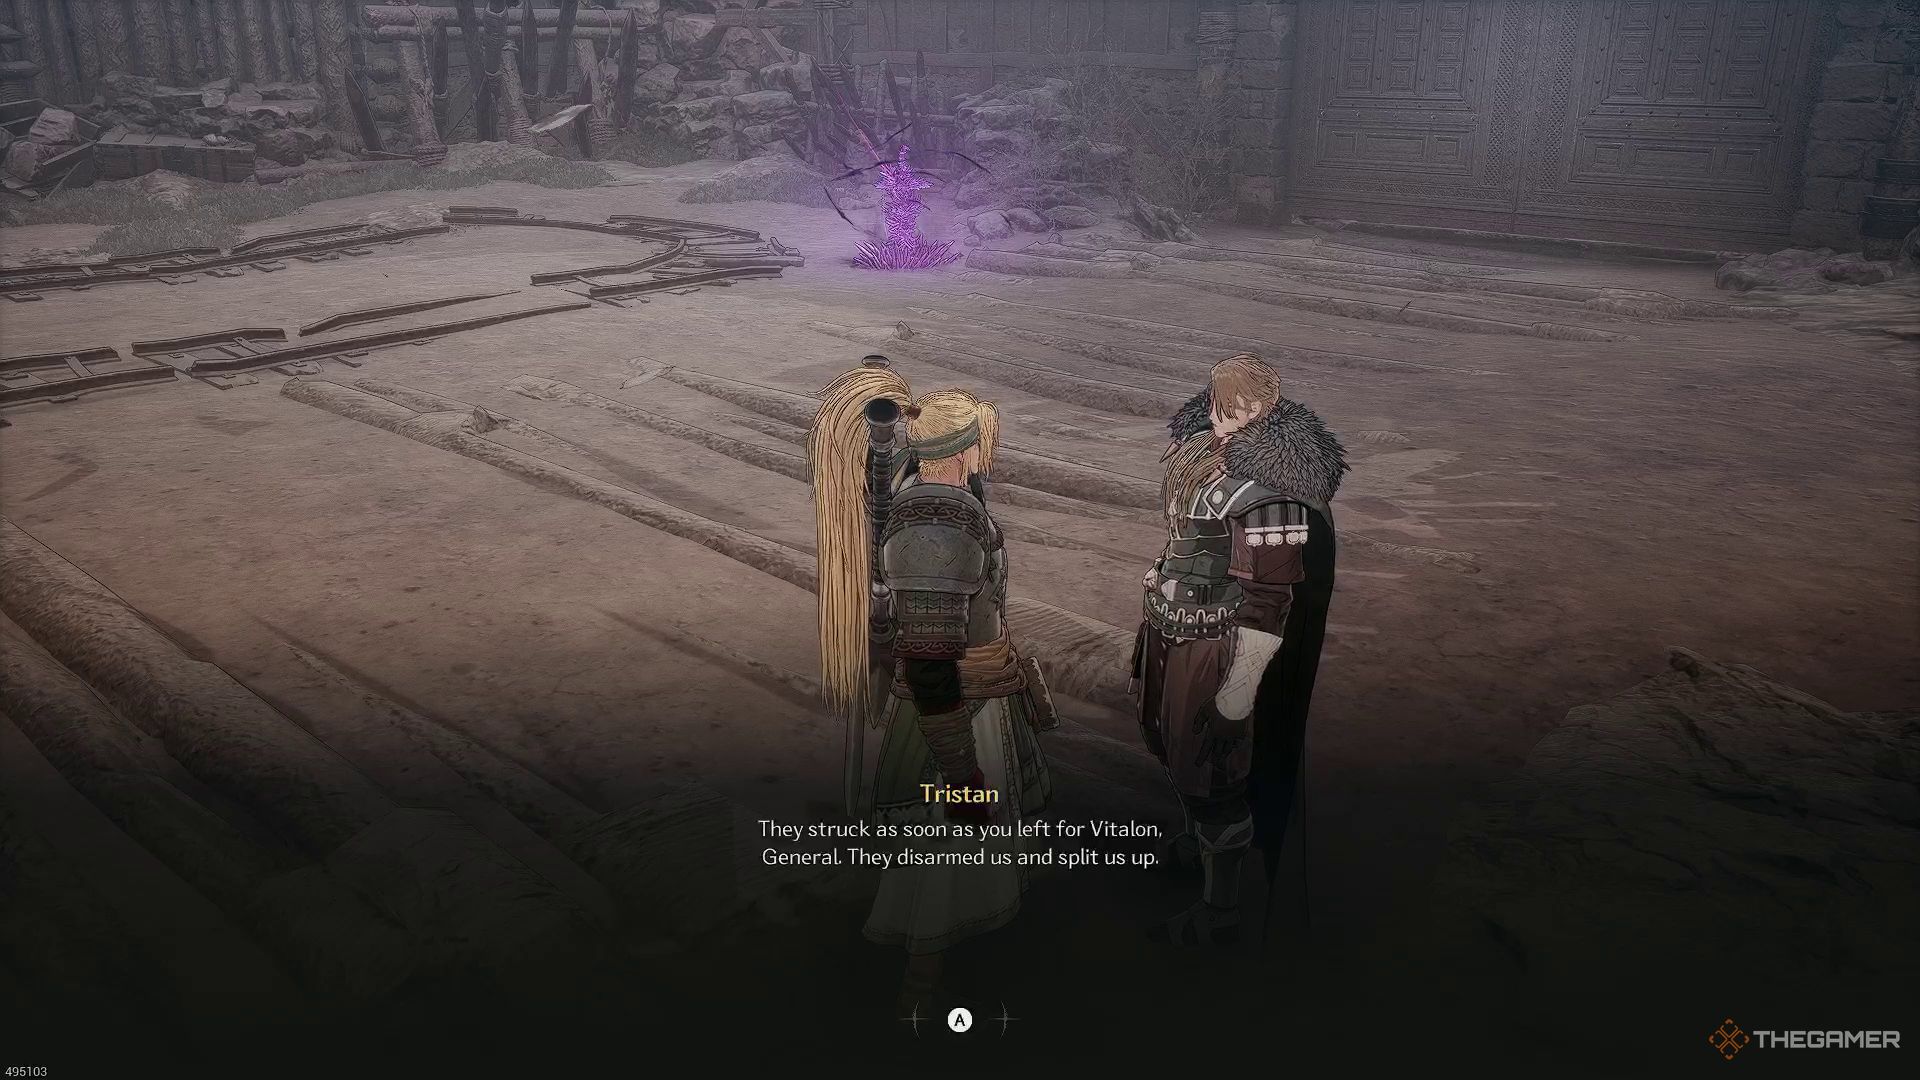
At the outset of the mission, chat with Tristan briefly before proceeding and activating the Blade Nexus. Open the large gate, and that will mark your entry into the designated zone. Upon entering, you’ll notice the path forks in two directions. Taking the right path leads to finding two bottles of Fire Resistance Elixir and three stones, but it also requires engaging with a few soldiers.
Swiftly collect everything and then move downstairs to advance. There, you’ll encounter a pair of imperial soldiers sparring on a training mannequin, with a knight overseeing them. The knight appears robust, but if they’re unaware of your presence, you could easily take them out from afar with a well-charged javelin to the head.
How To Find The First Soul Stone
Once you’ve vanquished the adversaries, here’s where you’ll stumble upon your first Soul Stone in this very spot! Too bad I can’t grab it just yet, seems like I need to explore that house instead. Swing open the gate to your left and step outside. Now, keep a sharp eye, right after exiting, take an immediate right, but for now, hold off on climbing those stairs.
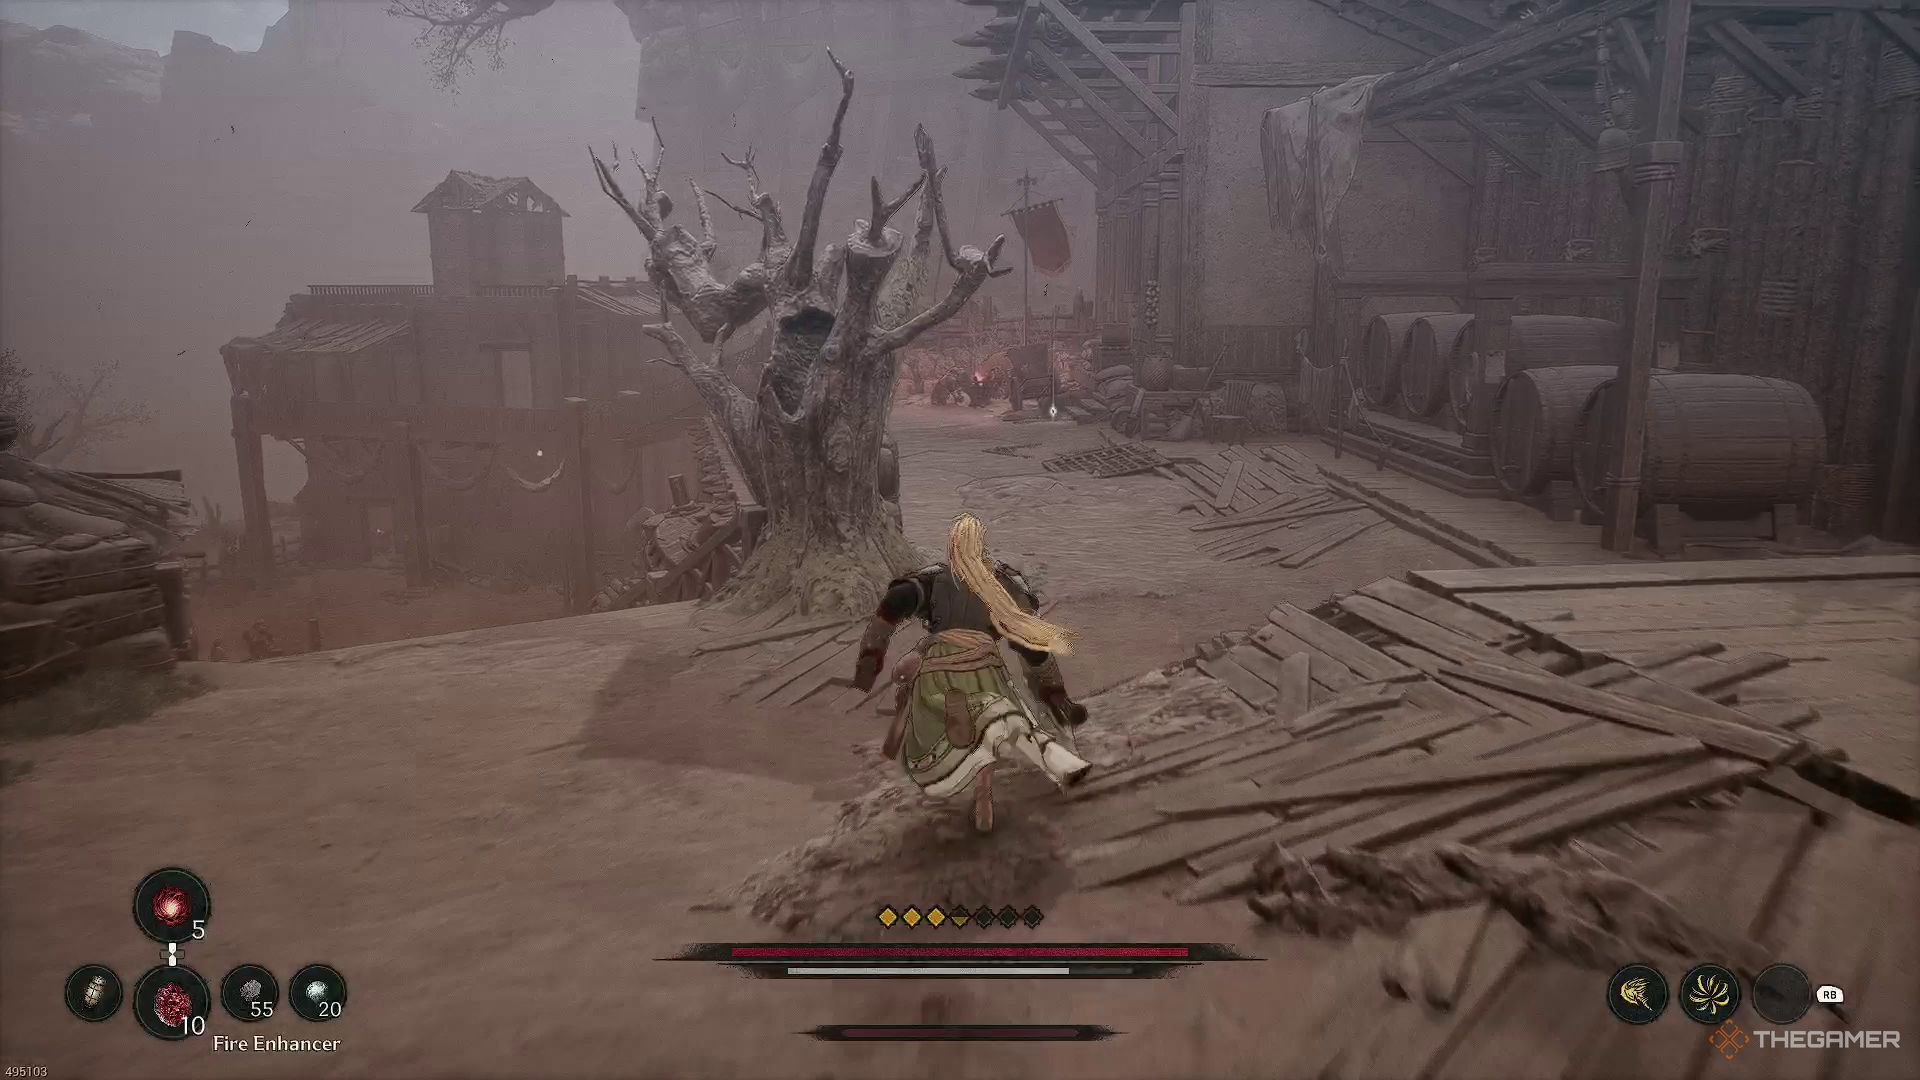
Rather than taking the steps, move forward a bit more, and you’ll come across a wooden barrier obstructing your way. Knock down this wooden barrier and proceed further to locate and demolish your initial Soul Stone in the Linon Mines.
How To Unlock The Shortcut To The Imperial Army Lookout Post
Following my acquisition of the Soul Stone, I ascend the steps and continue forward until I encounter a bridge fortified by explosive kegs and guarded by adversaries. After vanquishing them, I proceed into the nearby dwelling that lies ahead. Inside this residence, I climb another set of stairs, which eventually lead me to an elevated vantage point where I can behold the Blade Nexus in the distance.
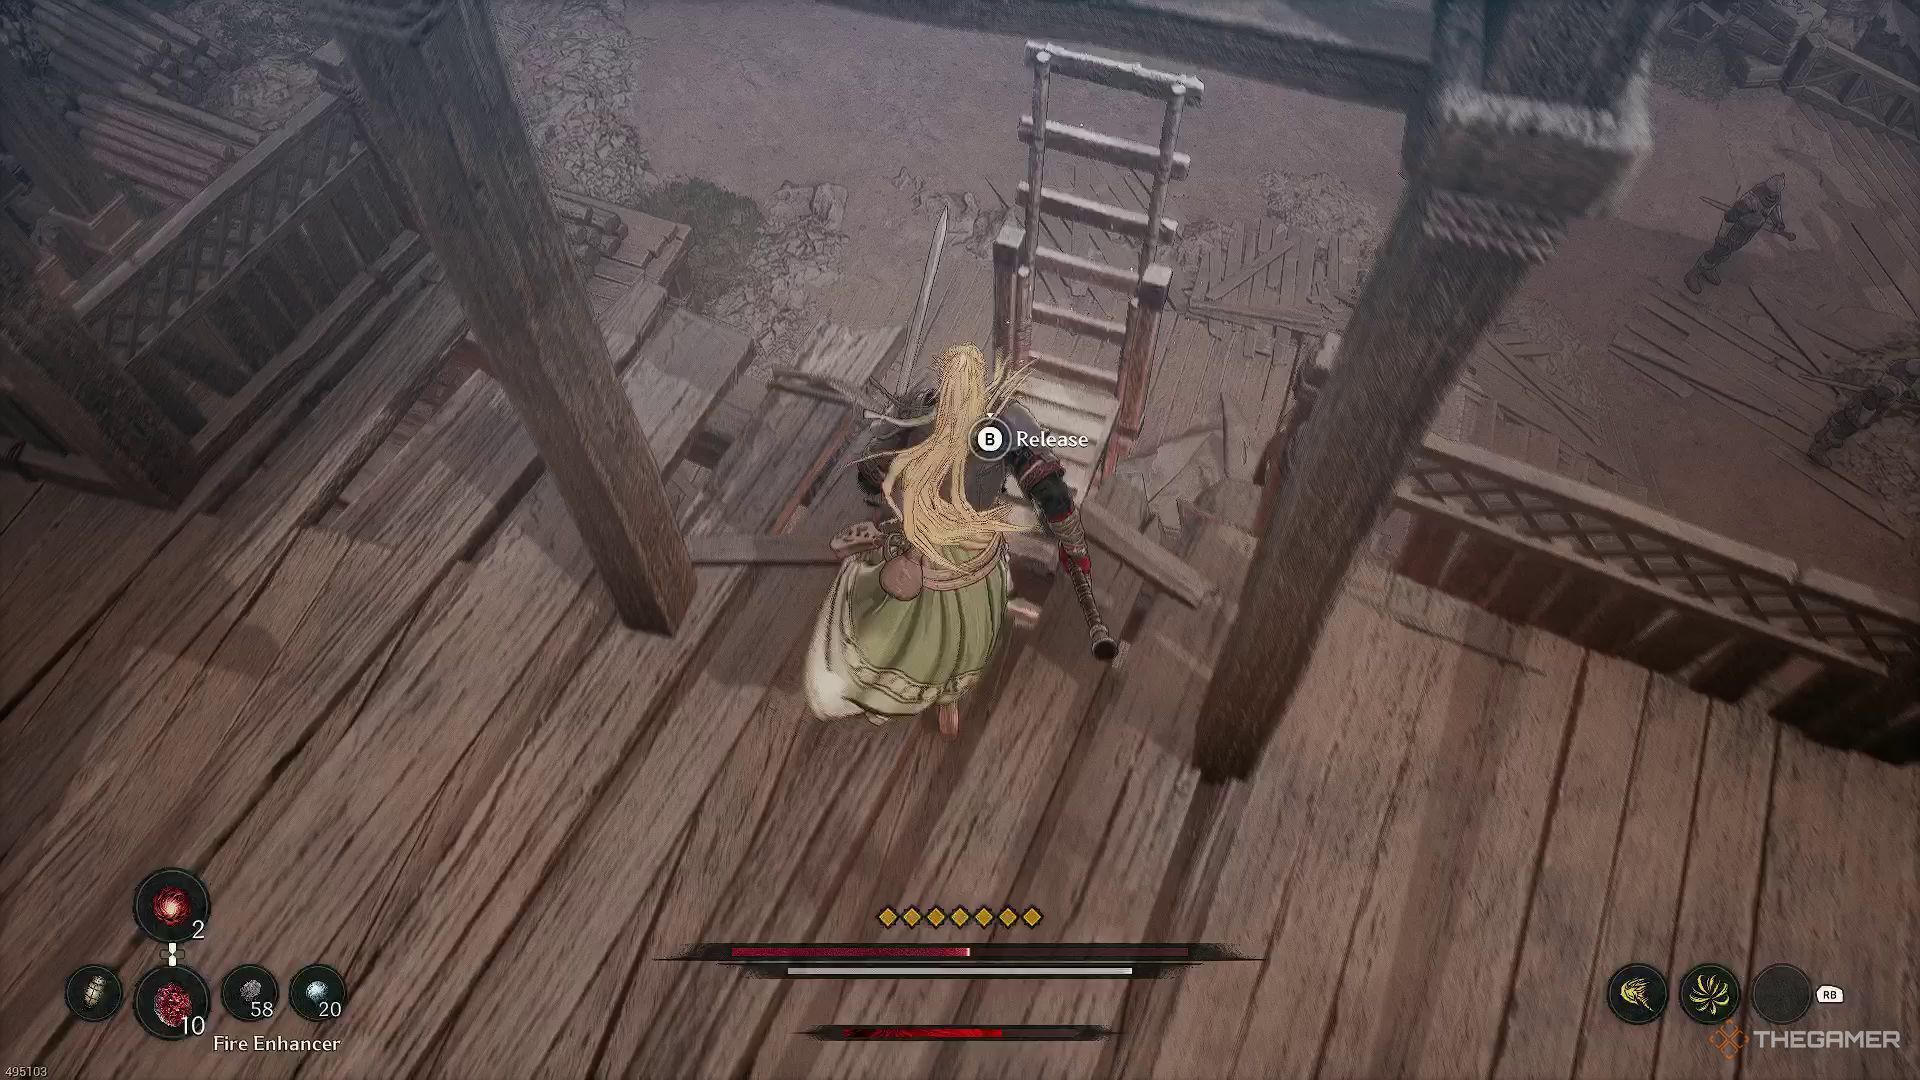
As you move forward, keep an eye on your left side where you’ll spot a ladder. Continue along the path veering to the right until you come across another ladder which appears to be kickable. Once you’ve given it a good kick, return to the initial ladder on your left and ascend it.
Continue making strides forward, and soon enough, you’ll encounter a formidable knight with a halberd. Overcome all the adversaries that block your way until you reach a dwelling with a ladder built-in. Ascend the ladder to unlock the gate ahead for further advancement. By the way, there’s a chest hidden inside this house, conveniently placed near the exit.
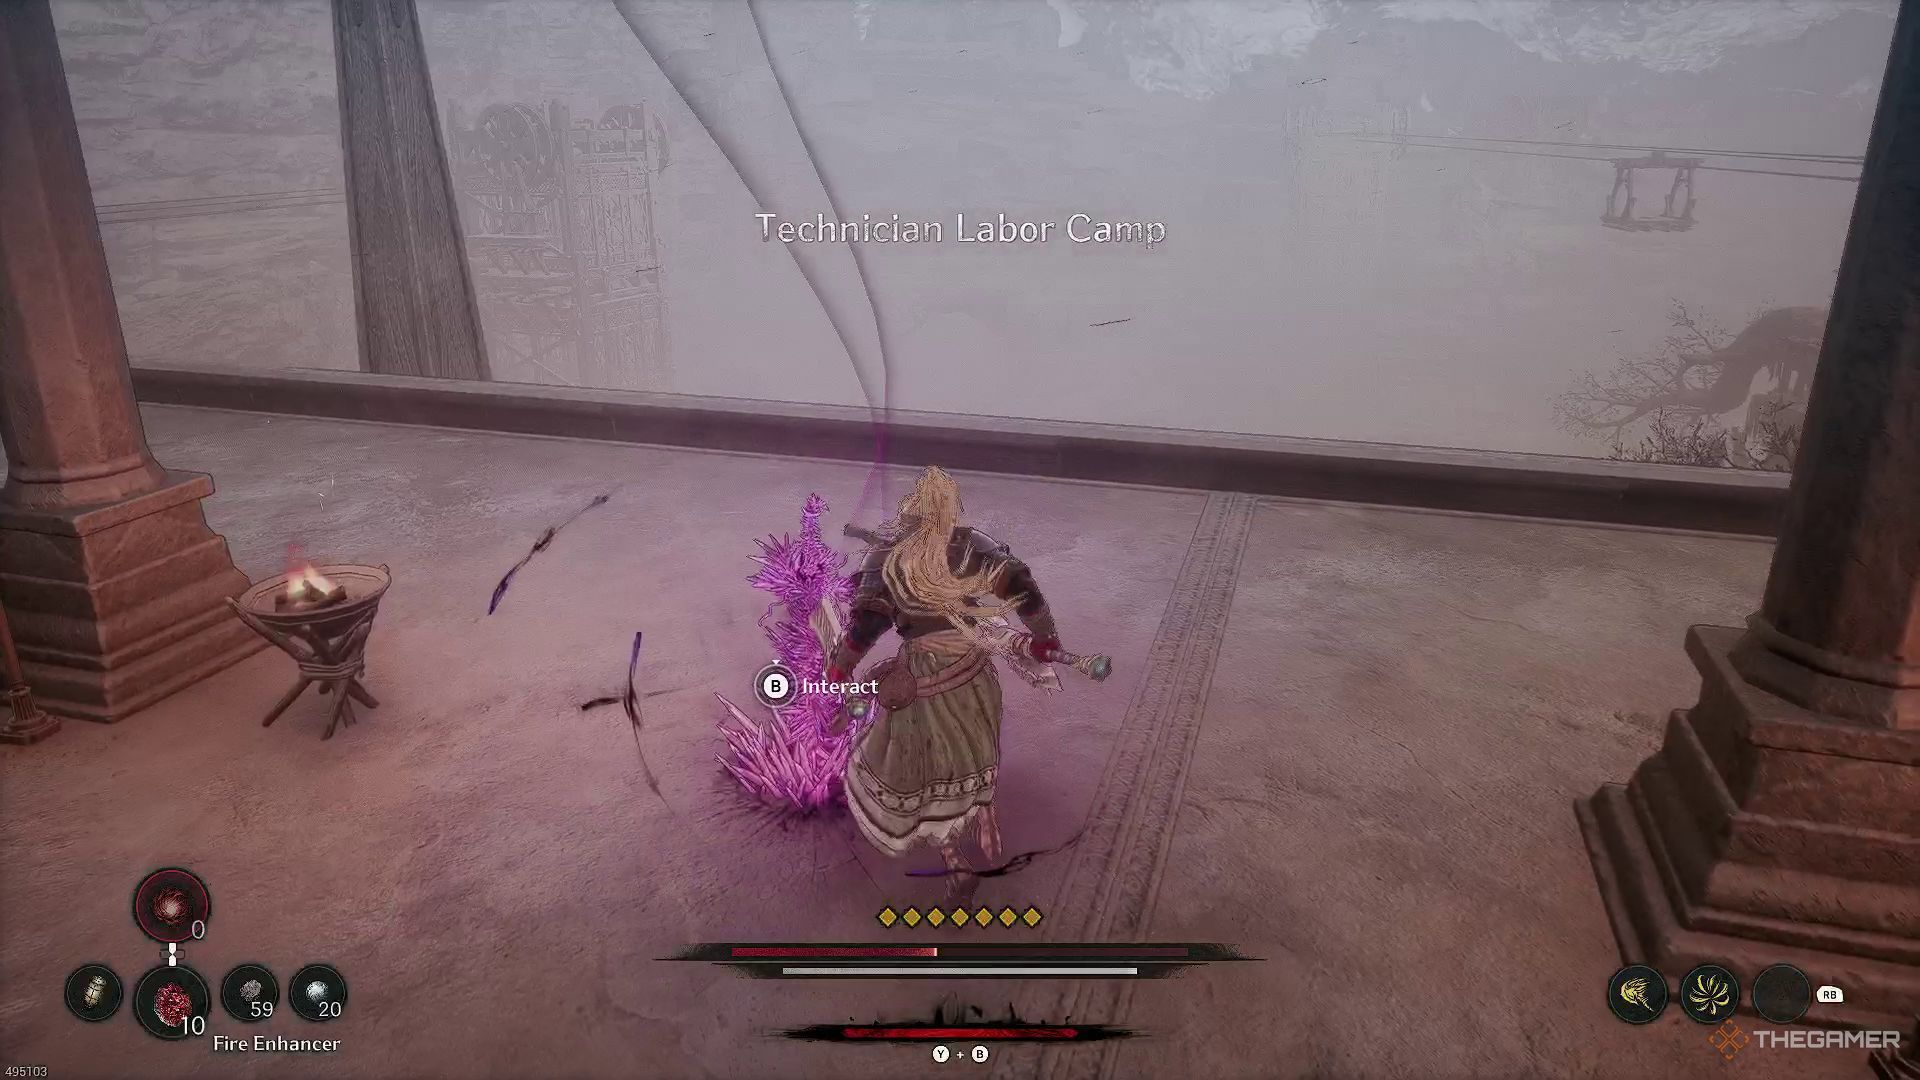
Moving forward, you’ll face numerous adversaries, but persist and you’ll eventually reach the Blade Nexus at the Technician Labor Camp.
How To Clear The Technician Labor Camp
Heading straight forward from the Blade Nexus, you’ll find a path leading you there. Along this path, you’ll come across a door that can be opened. Once inside, eliminate all the enemies in the vicinity. In the large room you’ll eventually reach, there’s an item waiting for you in one corner, but it’s guarded by both a knight and an imperial archer.
Lift the object, and you’ll discover it’s an Imperial Post Guard’s Log. Go ahead and peruse its contents for additional information about this place. Once you’ve picked up the item, you’ll notice a passageway in the room that leads to an elevator shaft.
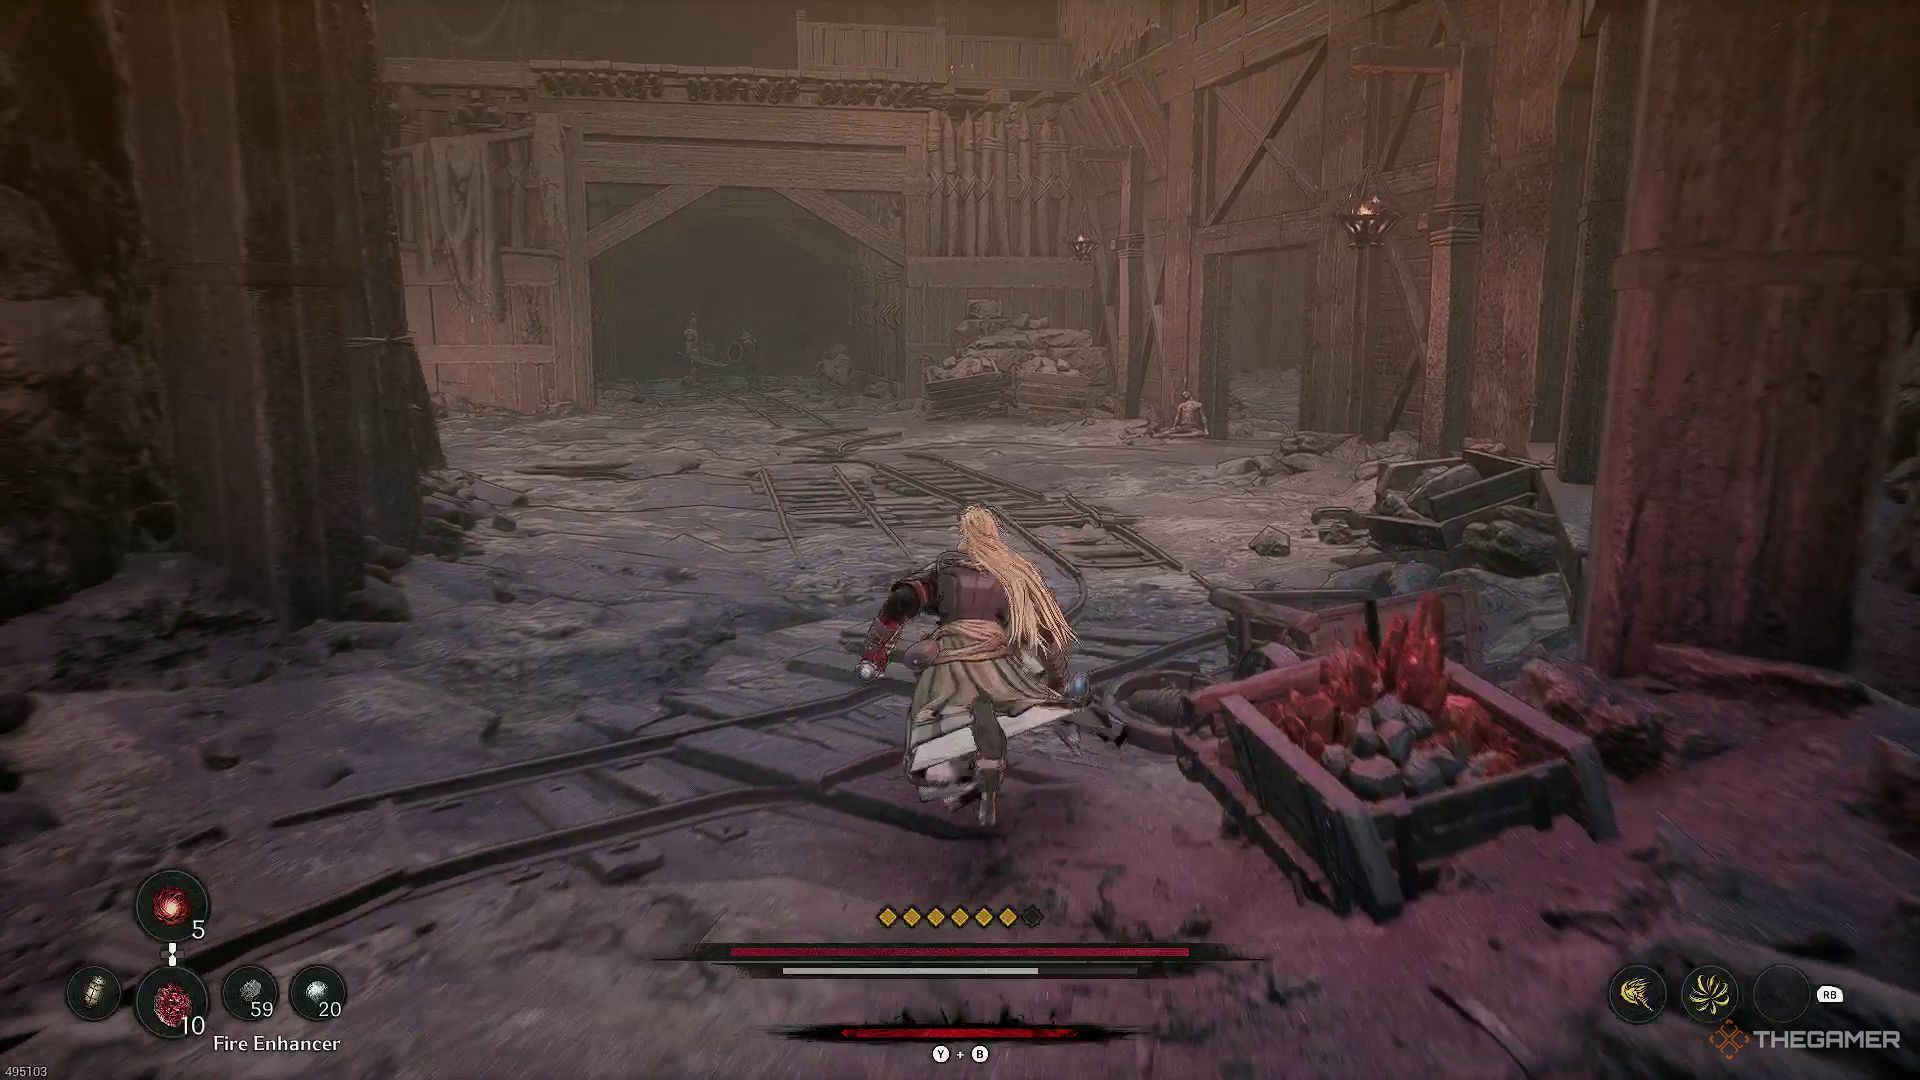
As you make your way to the mines, you’ll find two paths ahead: one leading to the right and another straight on. Be cautious, there’s a formidable imperial battlemage patrolling the path on the right. They are more challenging than knights, and at this distance from the Blade Nexus, it might be wise not to provoke them.
To make advancements, you should proceed along the direct route ahead. En route, you’ll encounter a couple of knights, but once you pass them, you’ll discover a chamber not far off that houses the Defector’s Scroll.
Continuously examine each cell on this grid. The ‘Yulian’s Necklace’ is hidden in one of these cells. Once discovered, move forward directly, and you will ultimately arrive at the Underground Shaft Blade Nexus.
This version maintains the information provided while using more natural language to make it easier for readers to understand the instructions.
How To Find The Second Soul Stone
As you descend from the Blade Nexus, you’ll find yourself face to face with an Elite Enemy right off the bat. Vanquish all the adversaries in this region and continue your journey forward until you reach a spot where you can identify the second Soul Stone in the Linon Mines.
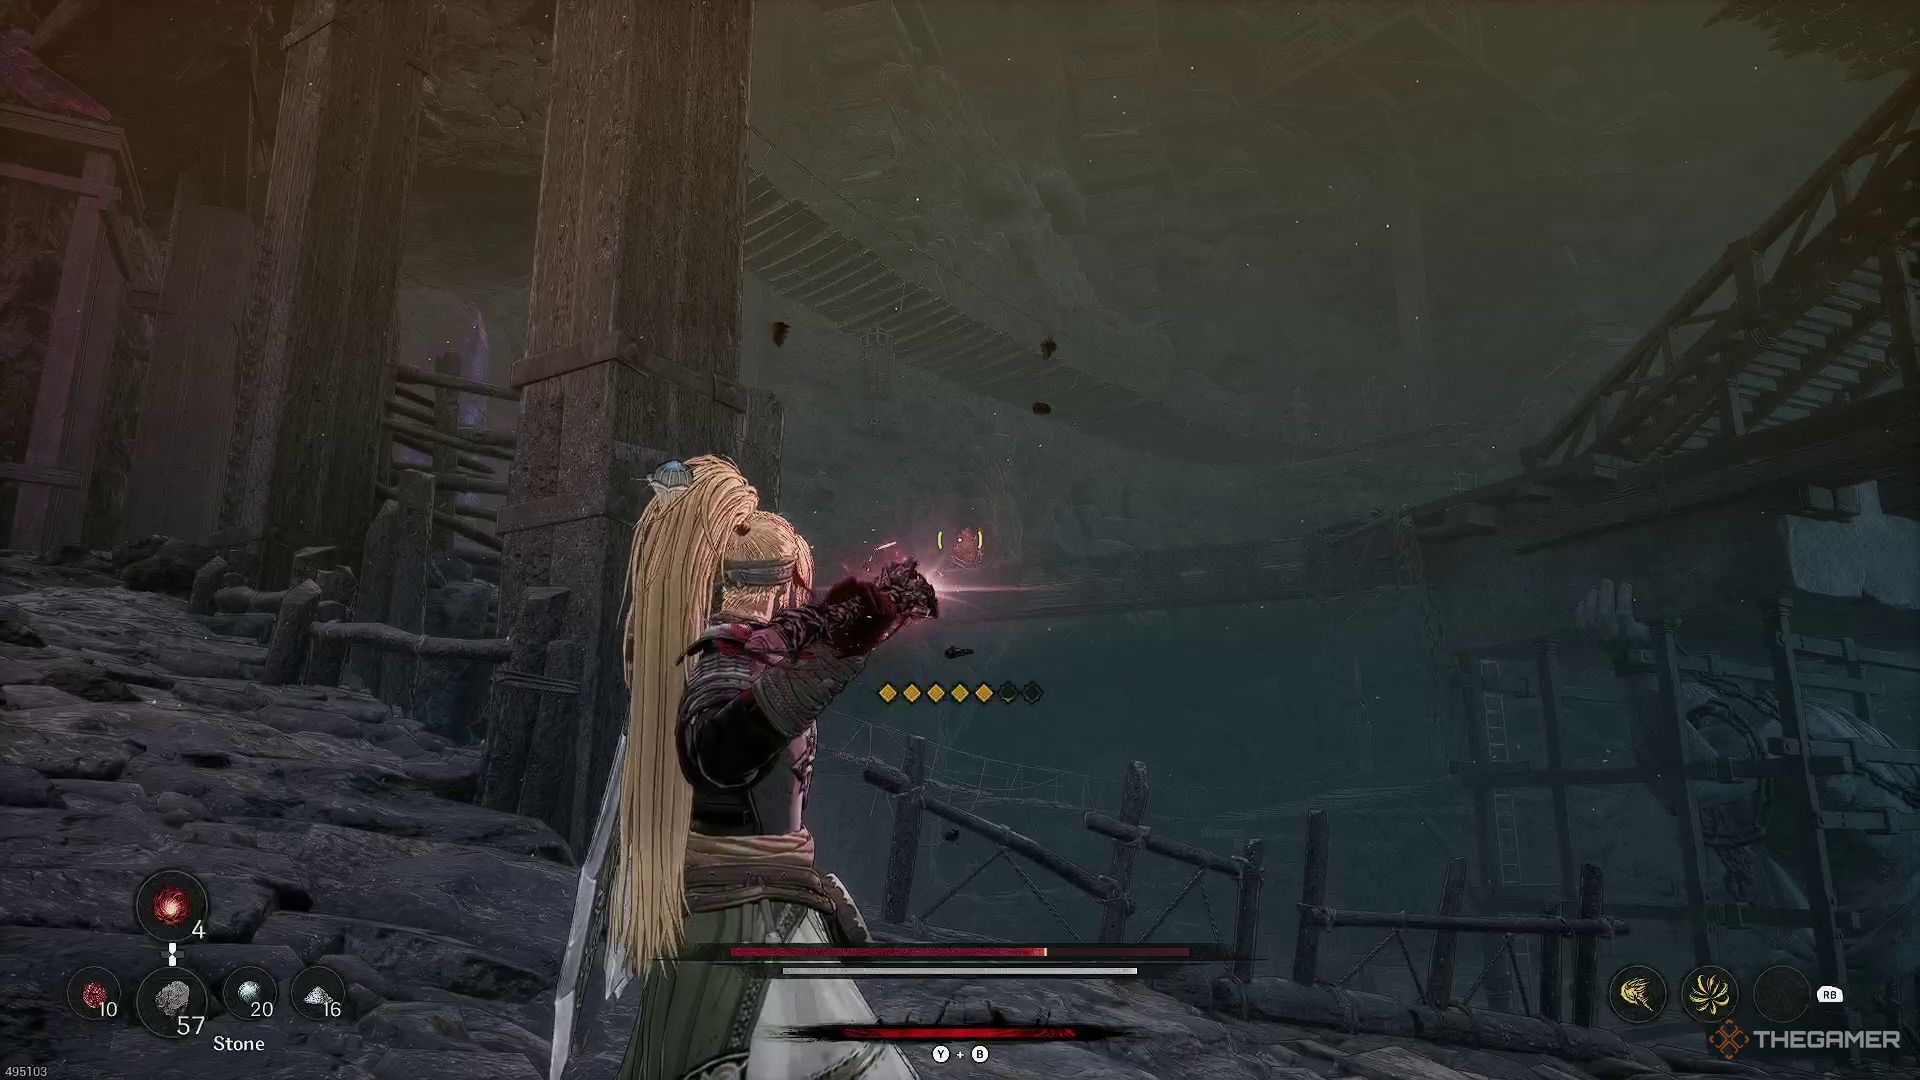
From this location, you’re able to hurl a javelin to shatter the Soul Stone. Once the Soul Stone is obliterated, your mission is to navigate through the series of platforms ahead. You’ll encounter various ladders, bridges, and adversaries on your journey, but your objective is to progress forward until you find a wall-mounted hole blocked by explosive barrels.
Avoid physically attacking the barrel; instead, opt for a distant strategy to clear a path, as you’ll discover numerous stones spreading disease in this area along with numerous foes. Additionally, there will be several crypt worms disguised as lost Lacrima here, but you can easily identify them by aiming your Javelin at the Lacrima.
Instead of attacking the barrel up close, choose a long-range approach to clear the way. Be aware that many stones are spreading disease and there are several crypt worms pretending to be lost Lacrima here. You can spot these by aiming your Javelin at the Lacrima.
How To Find The Only Jarling

Moving through a region teeming with infected foes, you’ll come across another, heavily populated by imperial soldiers. This area also has several rocks oozing with plague. In one secluded part of this segment, you’ll discover three jars. Destroying these containers will reveal the Jarling.
An alternative approach is to access this location through the Cavern of Gloom Blade Nexus, especially if you feel that prolonged exposure could potentially be harmful due to the prevalence of the plague in this region.
Keep moving forward, eliminating any foes that cross your path until you reach a stretch guarded by both a knight and a mage. Climb up this extended ladder and keep advancing. As you proceed, you’ll eventually arrive at a platform where you previously found the second Soul Stone. From here, you can knock down a ladder to help you progress further in your journey.
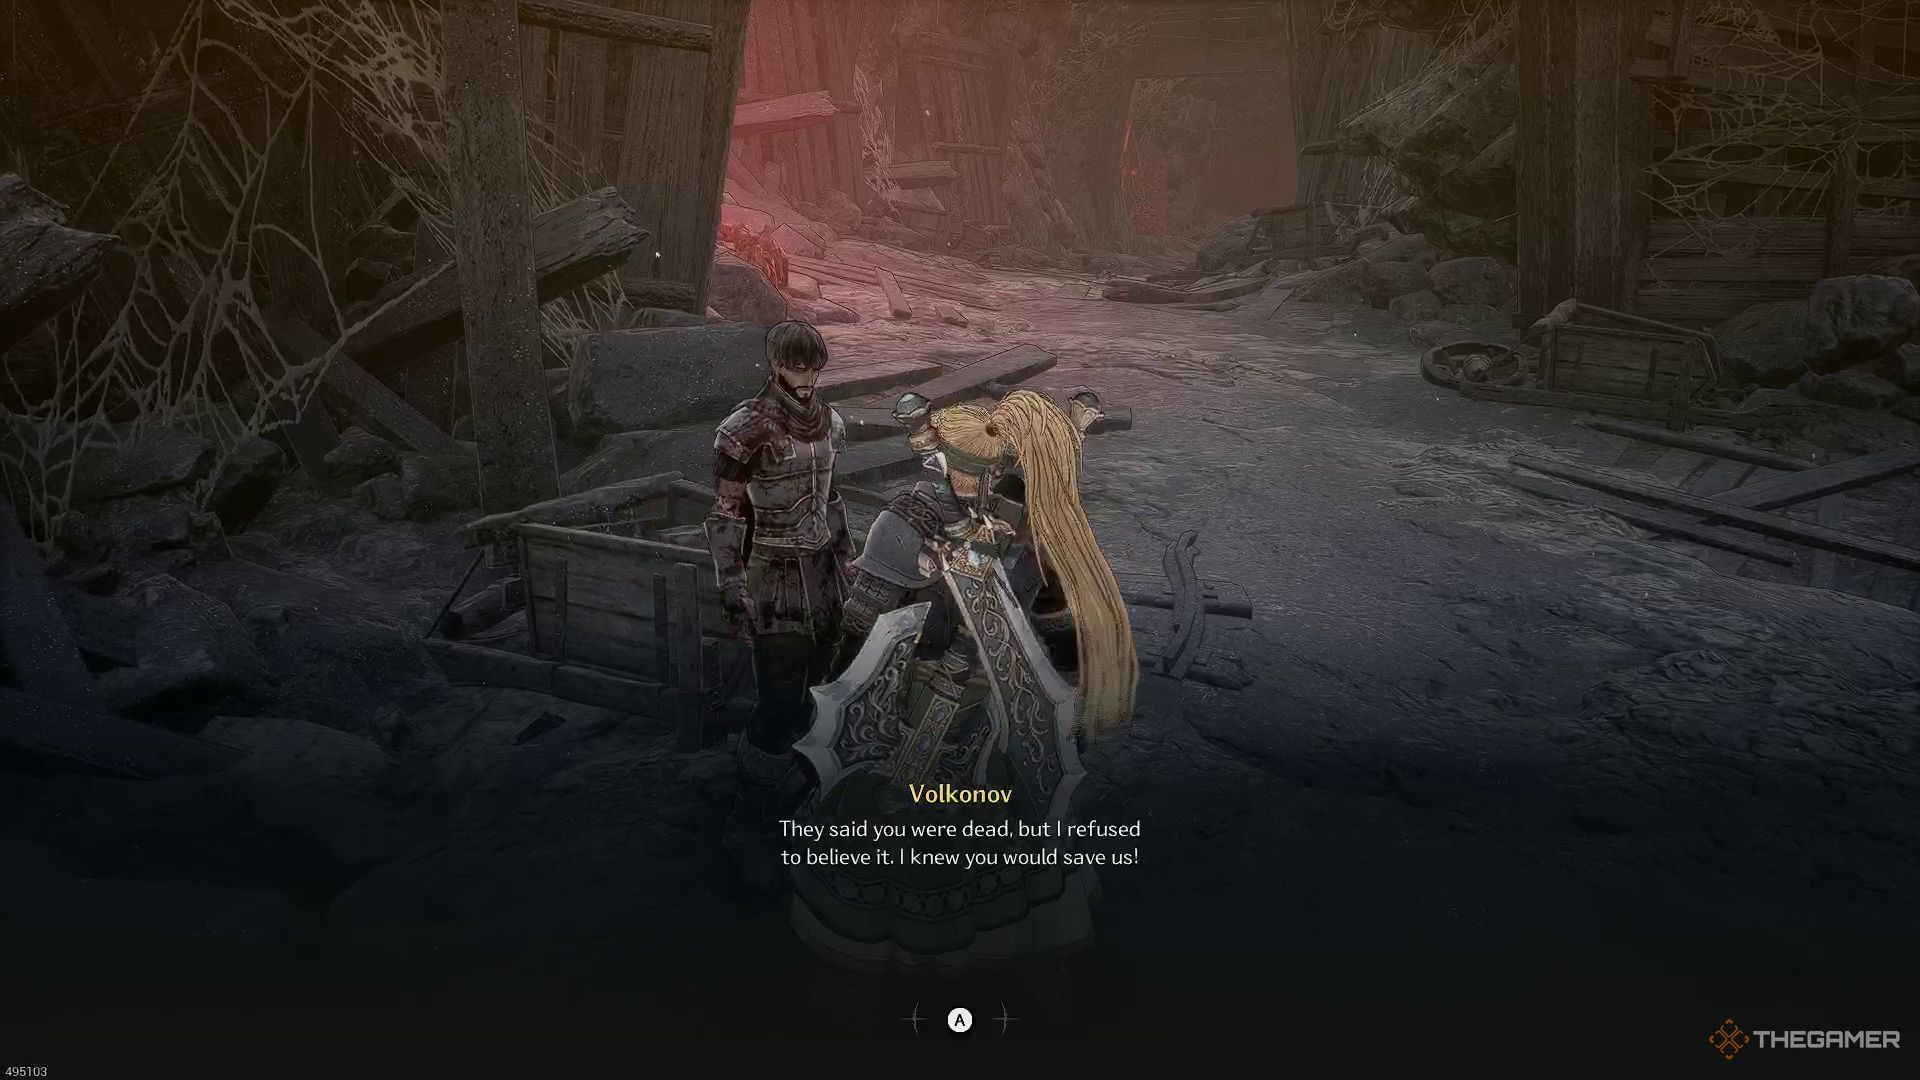
Continue making headway, as there are numerous adversaries ahead, but remember, there’s only one way forward. So, press on. After crossing a long wooden span, you’ll come across a descending ladder, where you’ll meet Volkonov. He’ll inform you that you need to hurry to the upper level to save Yulian.
Proceed into the region adorned by red crystal-covered walls. You’ll find the entrance close to where Volkonov stands, leading you soon to the dismal Cavern.
How To Find The Third Soul Stone

Heading towards the winding descent from Gloom Blade Nexus’ Cavern, you’ll eventually stumble upon the last Soul Stone in this region. Initially, it may be hard to distinguish due to its camouflage with numerous other red crystals scattered throughout the cavern.
As you progress, you’ll encounter numerous wooden bridges and extended ladders. However, the path to the next Nexus Blade is brief and uncomplicated. Soon enough, you will clearly see the final Nexus Blade in your sight, but gaining access to it requires a bit more time first.
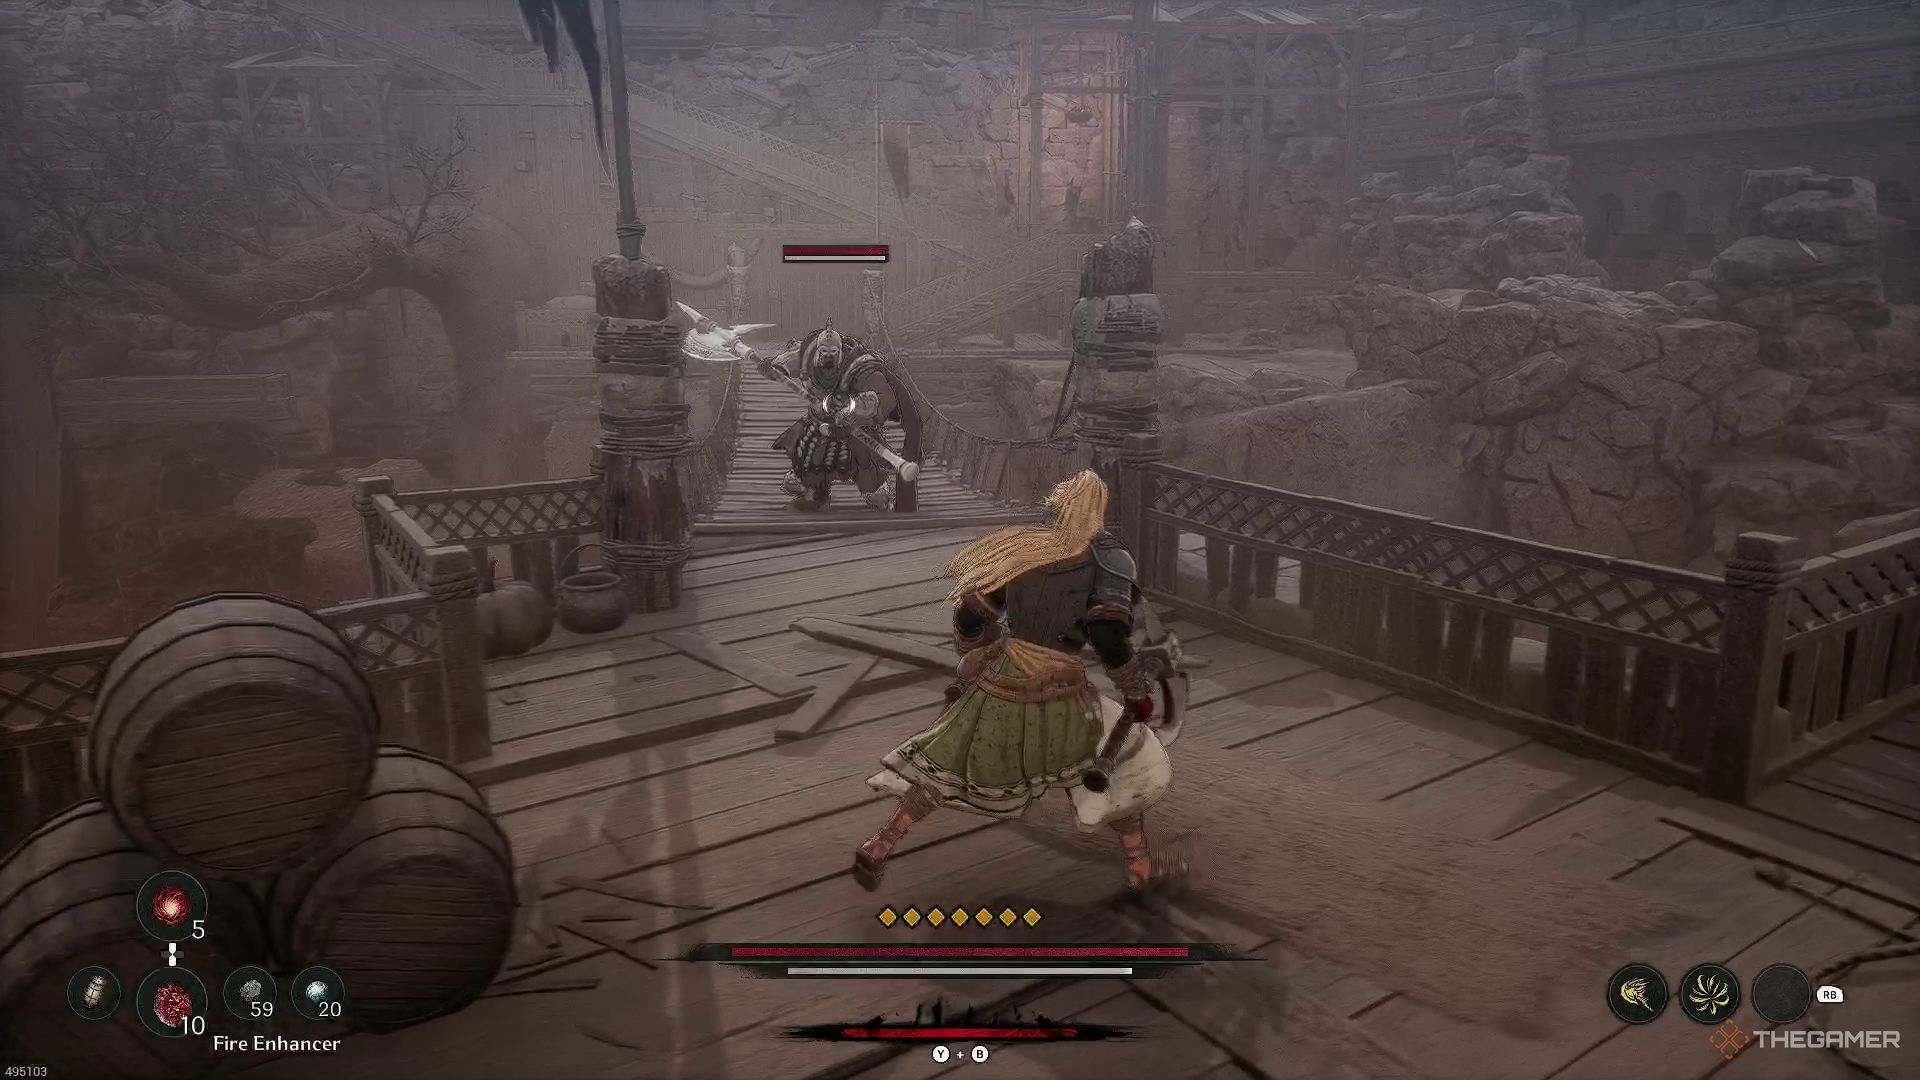
You’ll encounter a formidable Knight Elite adversary on the massive wooden bridge, which serves as your final challenge before gaining access to the Execution Ground Entrance Blade Nexus. Following this, you’ll need to engage and defeat Shactuka to successfully finish the mission.
Read More
2025-04-02 17:36