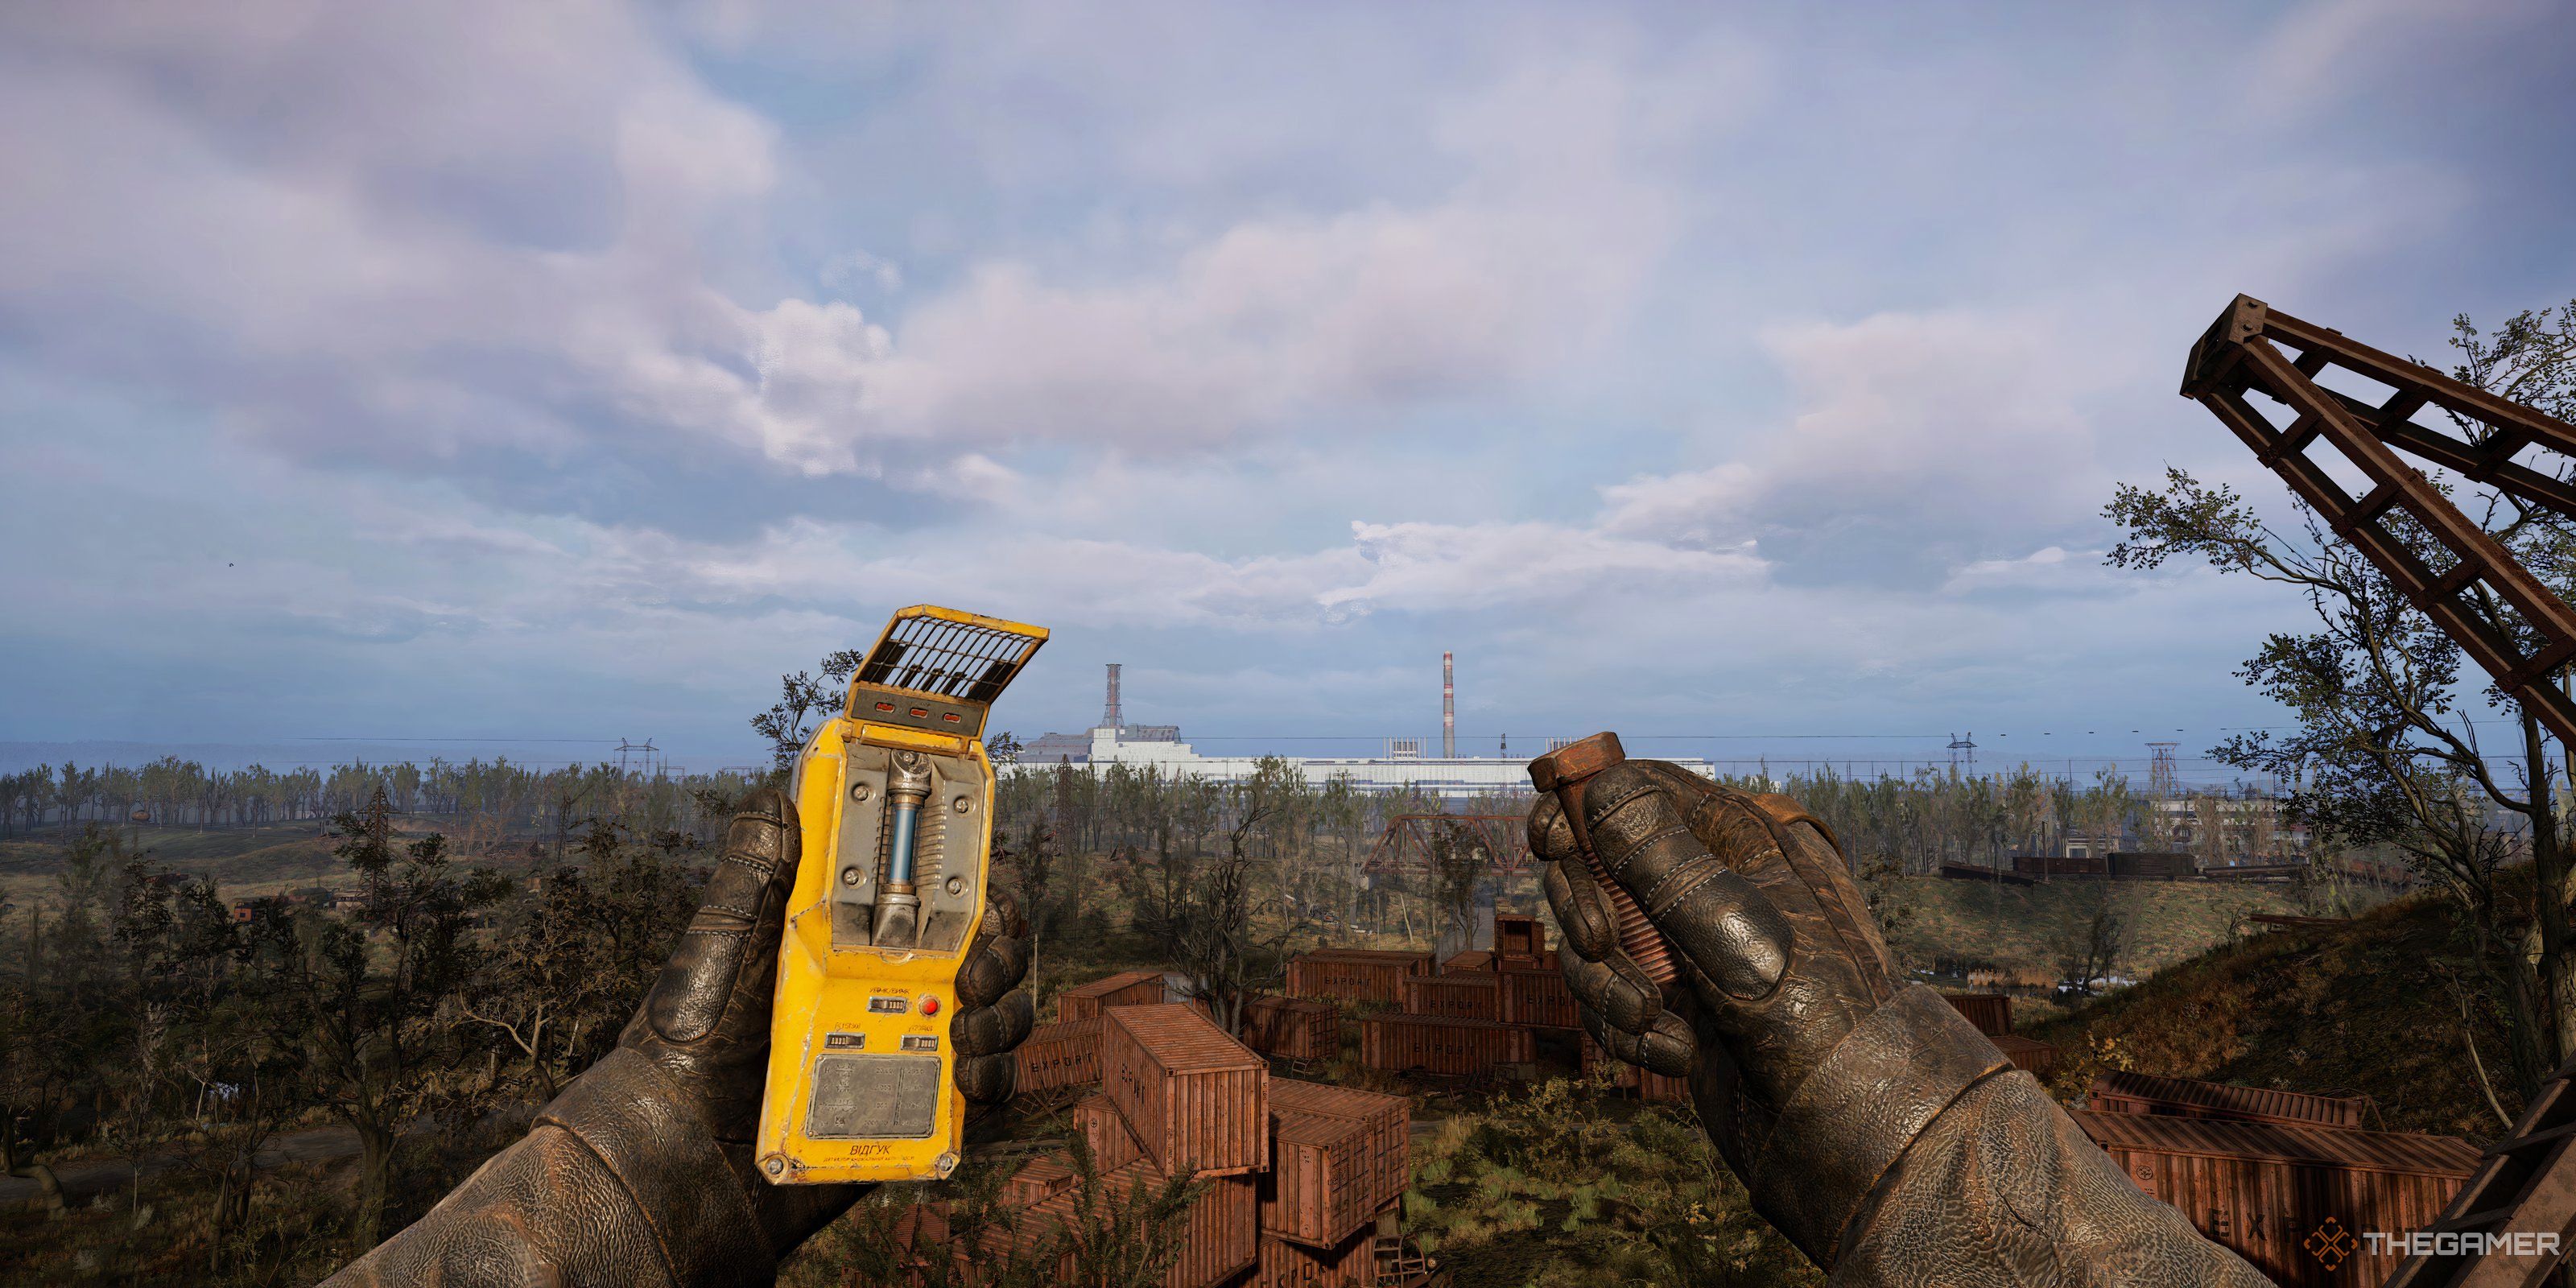
As a seasoned Stalker roaming the desolate lands of Chornobyl, I can’t stress enough the importance of the Scanner upgrades in your quest for artifacts. The Echo Detector is a good starting point, but it’s like trying to find a needle in a haystack without a magnet.
If you aim to expand your collection in the game Stalker 2: Heart of Chornobyl, having a Scanner will be essential for you. You’ll receive one initially when starting the game, but others will require you to search diligently. The effort is rewarding, as even the initial upgrade significantly enhances your capabilities, with each subsequent level offering even more benefits.
You won’t be able to upgrade your artifact scanner for a while due to some prerequisites that need to be fulfilled first. More details about these requirements and additional information can be found here.
Where To Find The Echo Scanner
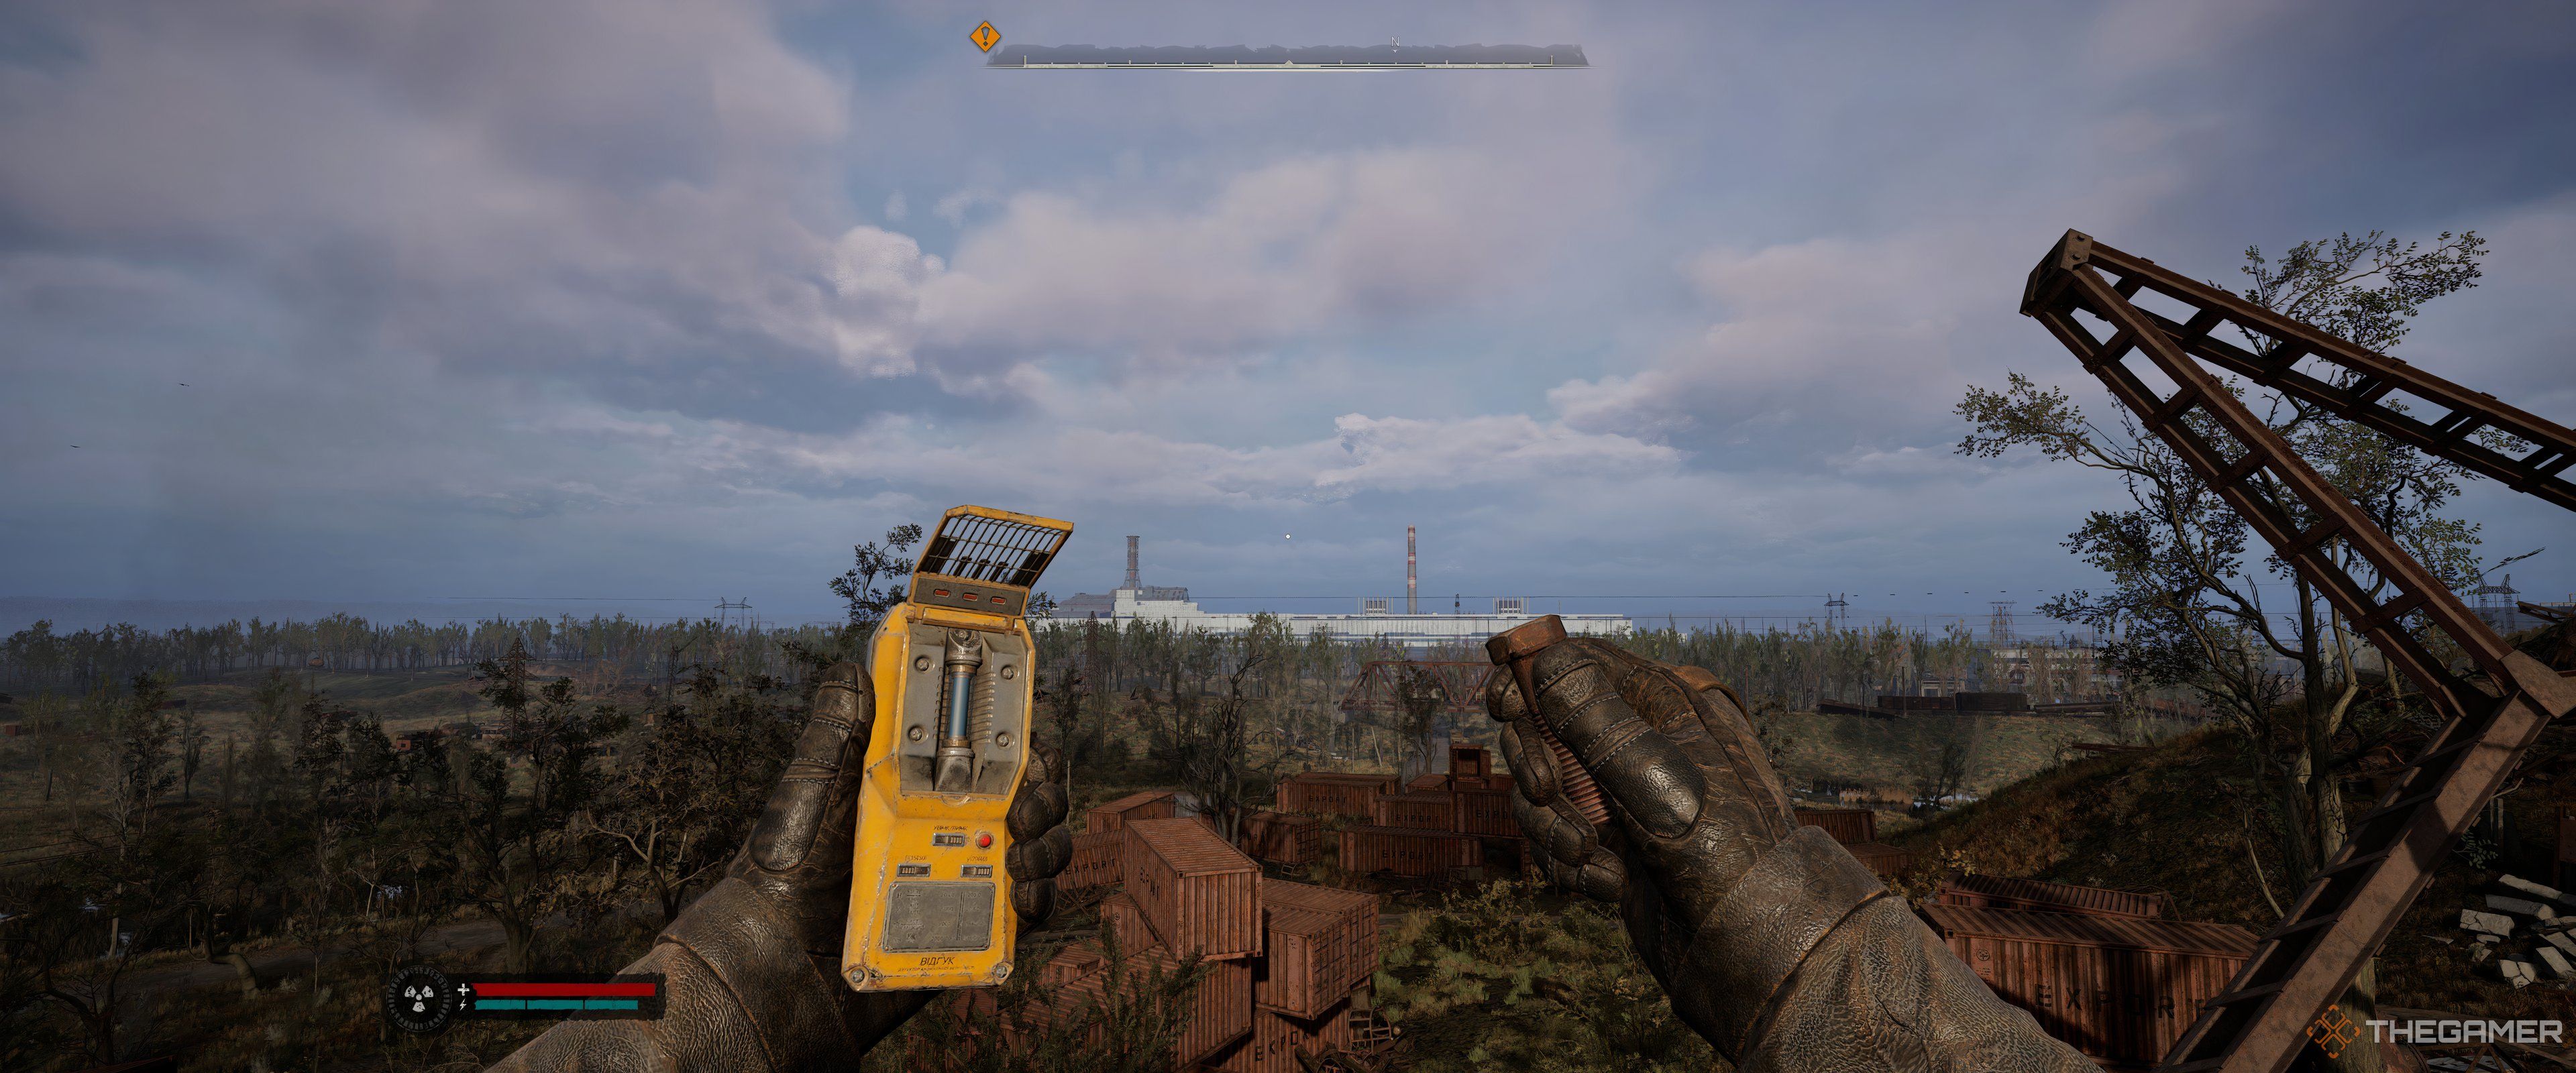
The Echo Detector is the first scanner you find during the initial tutorial mission, There and Back Again. When you go through the scientist outbuilding, you’ll come across a dead scientist’s body with a Viper-5 next to it. Looting the body awards the Echo Scanner.
With your initial activation, the Echo Detector operates in a straightforward manner: The nearer you are to an artifact, the more rapidly the light on it will flash. When the object is within your reach, the light remains steady. There are no direction or distance indicators provided, only the flashing or solid light as guidance.
Where To Find The Hilka Detector
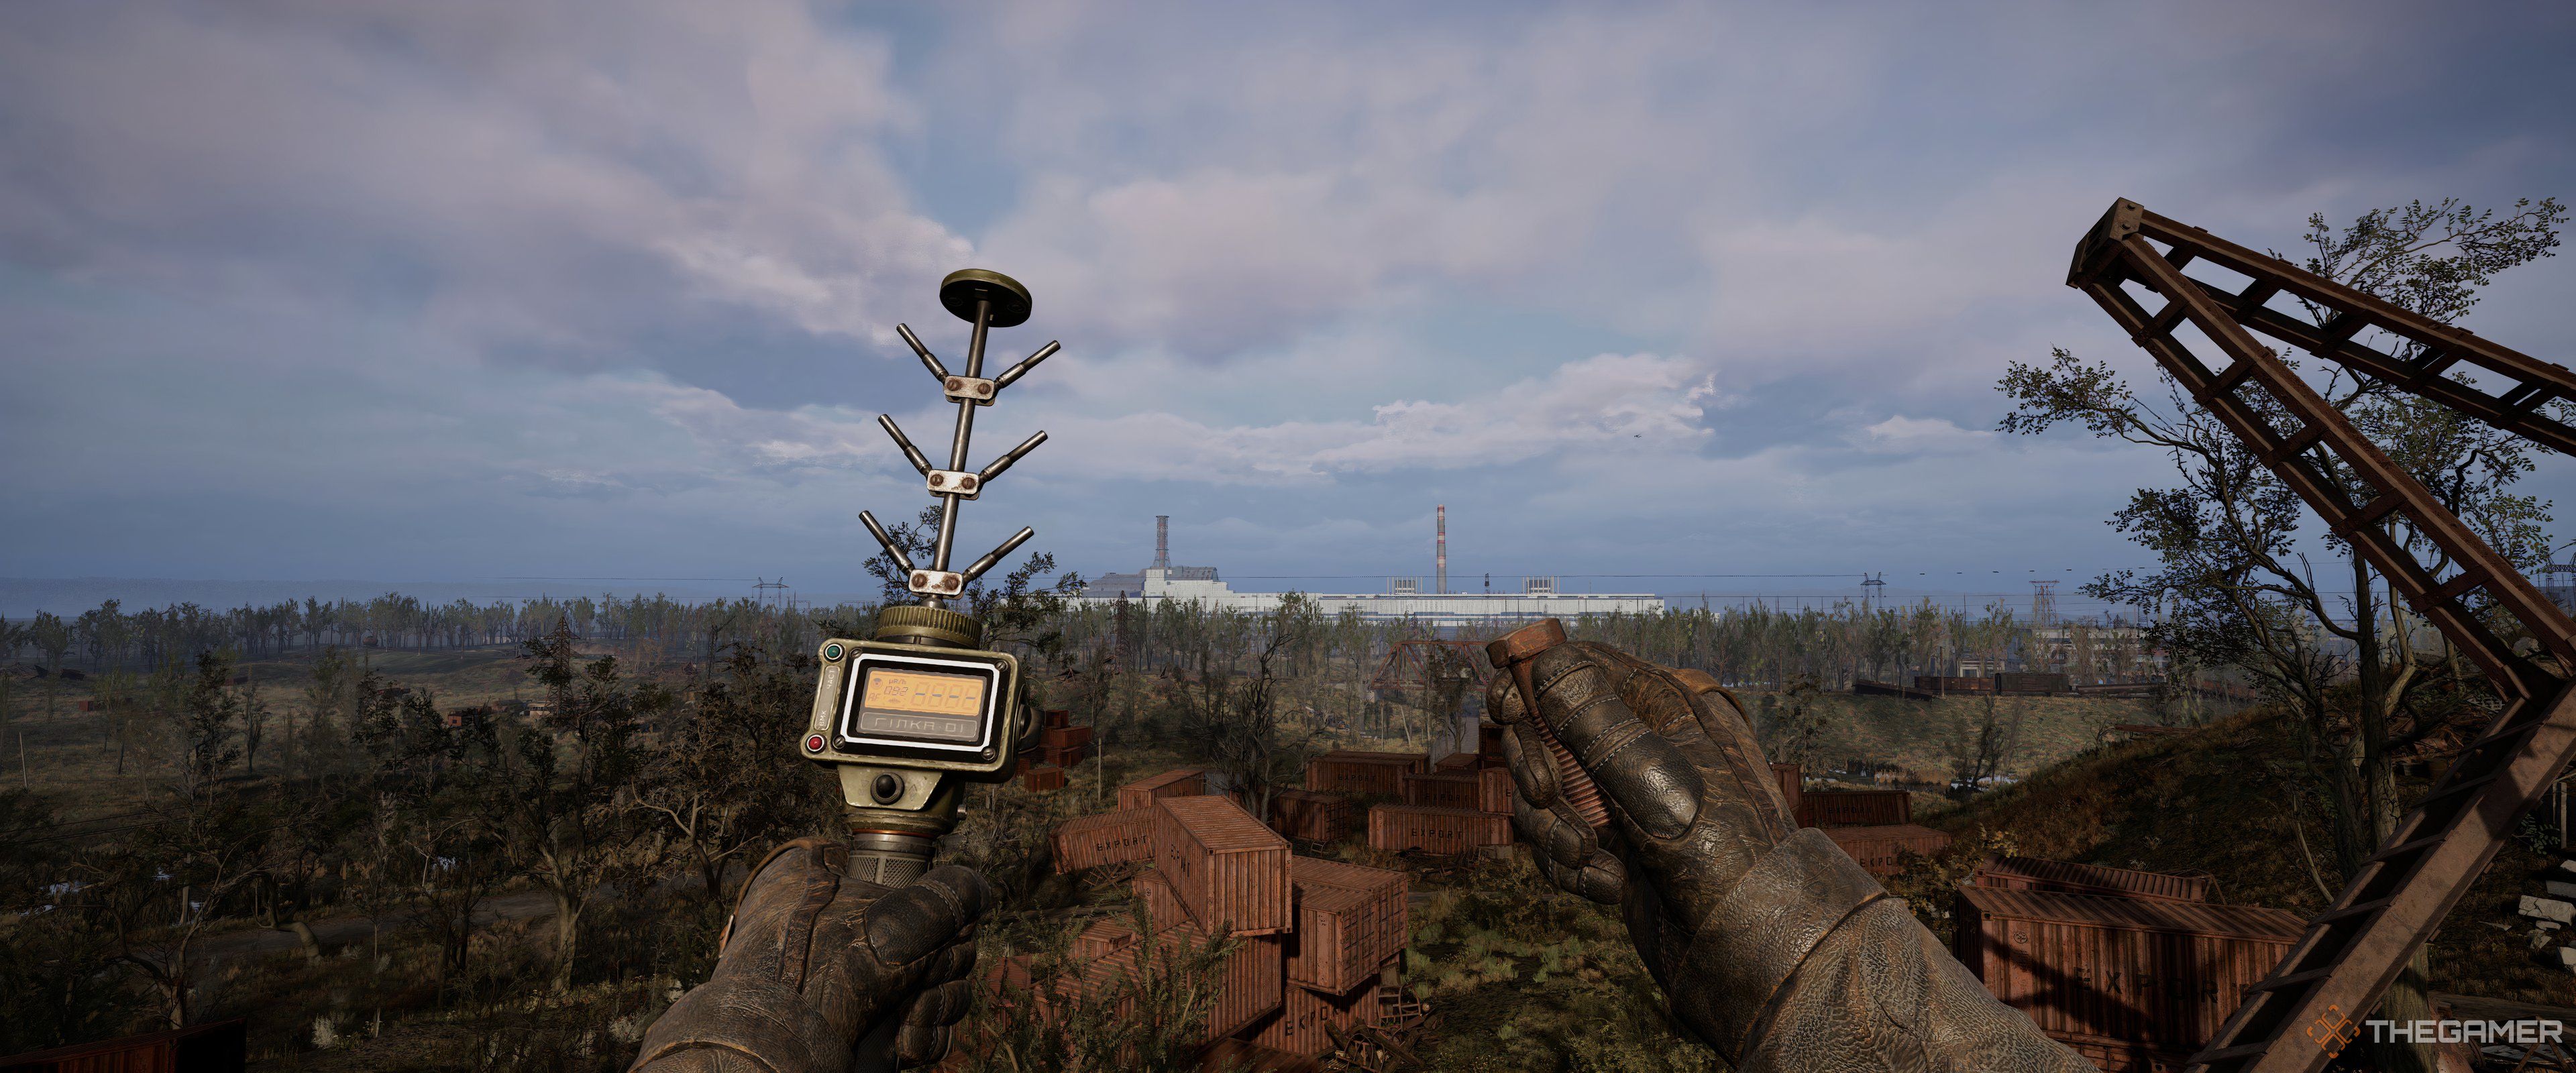
You can locate the Hilka Detector in multiple spots. It can be found:
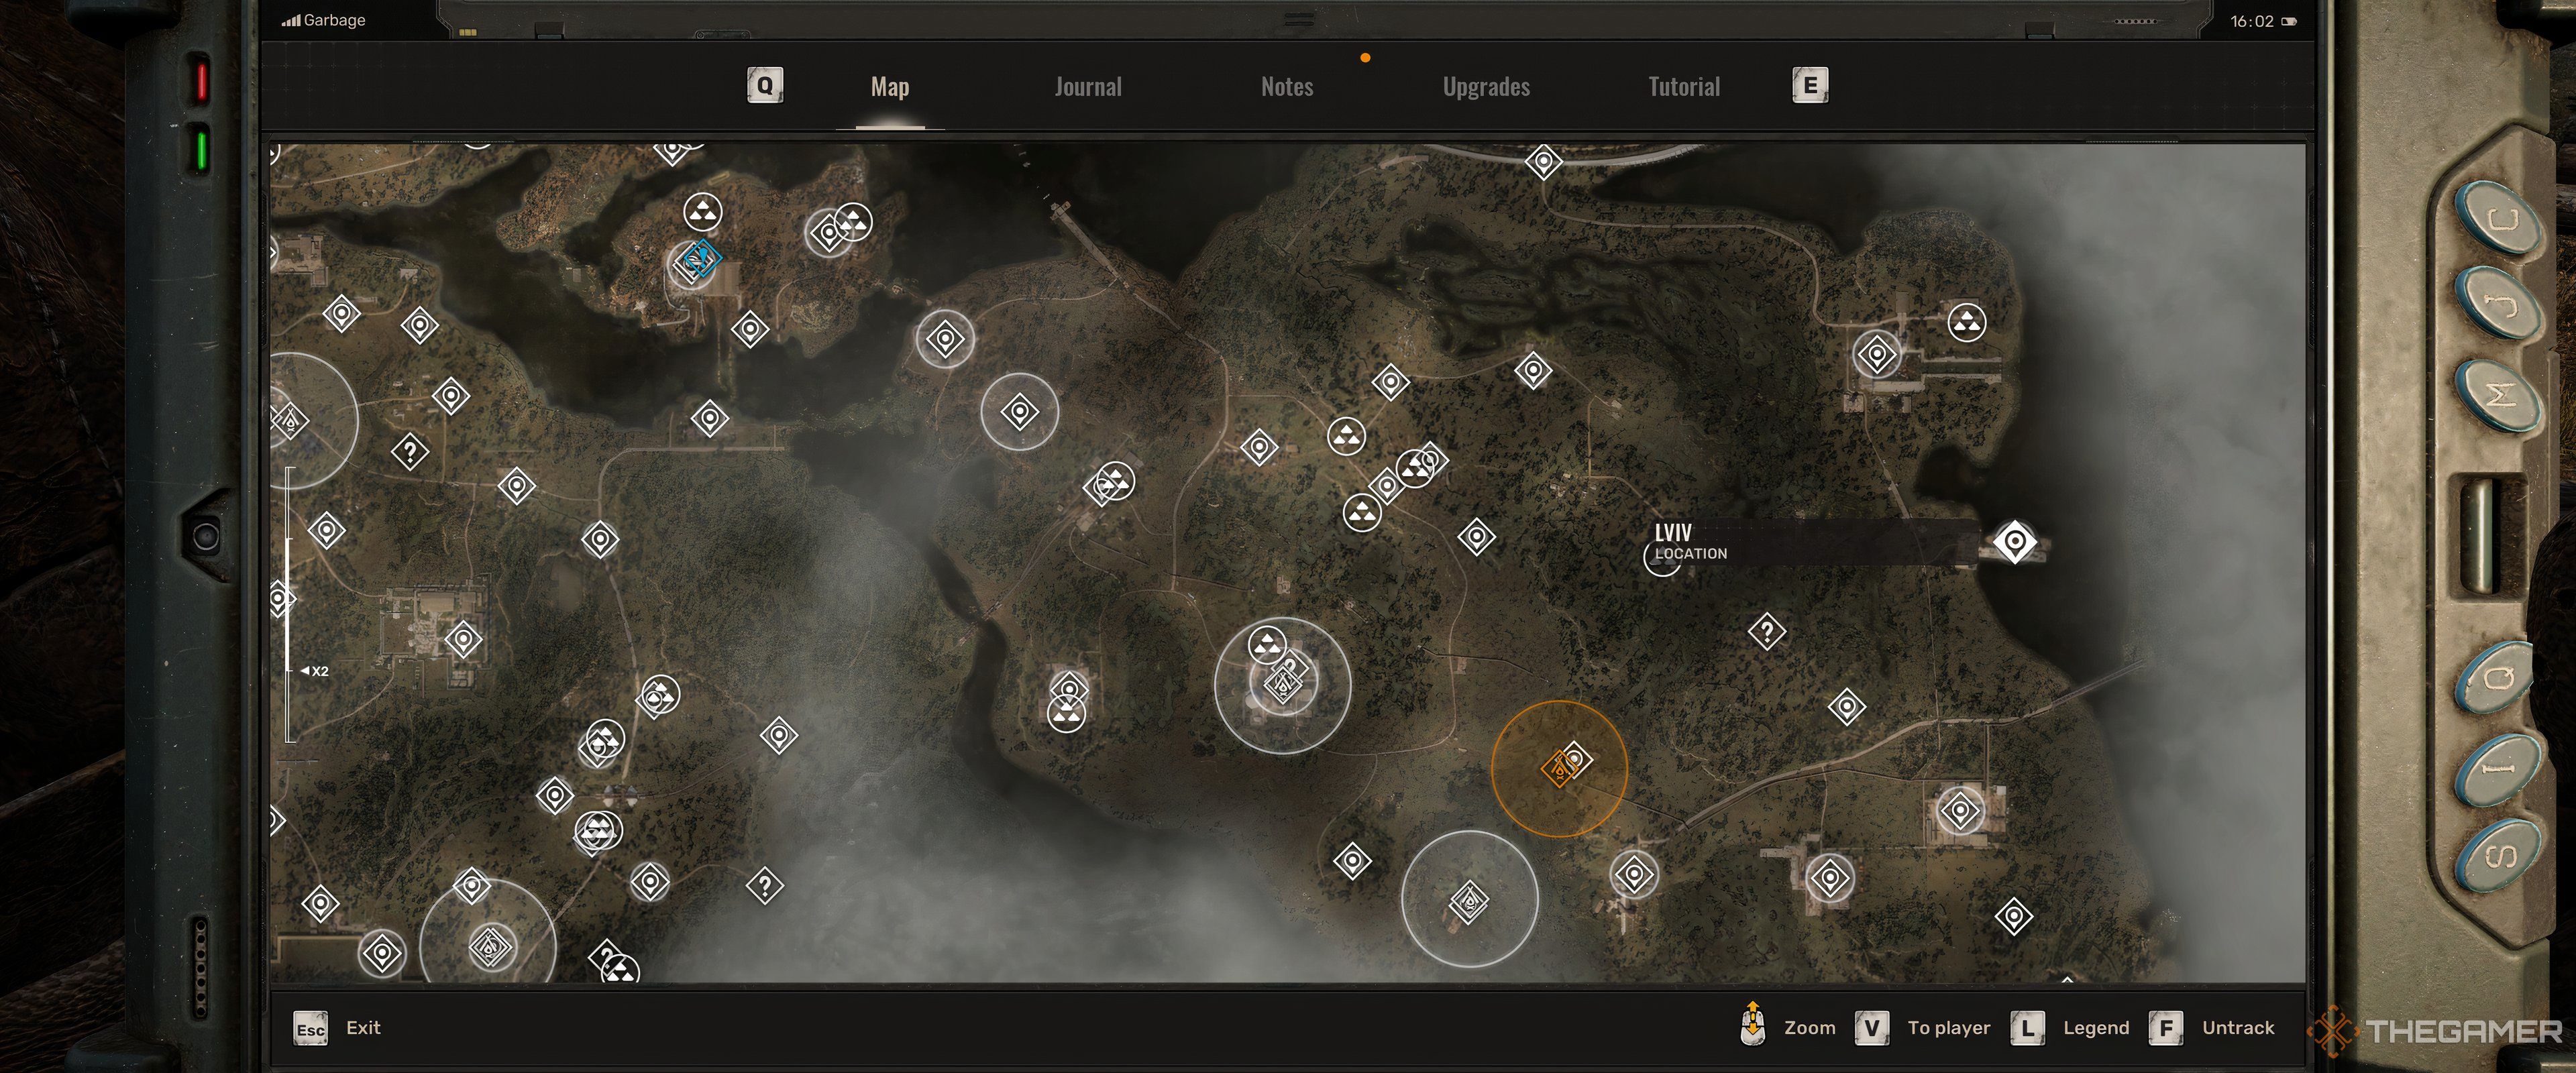
The Budmo! stash is east of the Slag Heap, and you’ll want to go there first; if you complete the mission by helping the drunkard’s friend at the eastern stash, its contents will vanish.
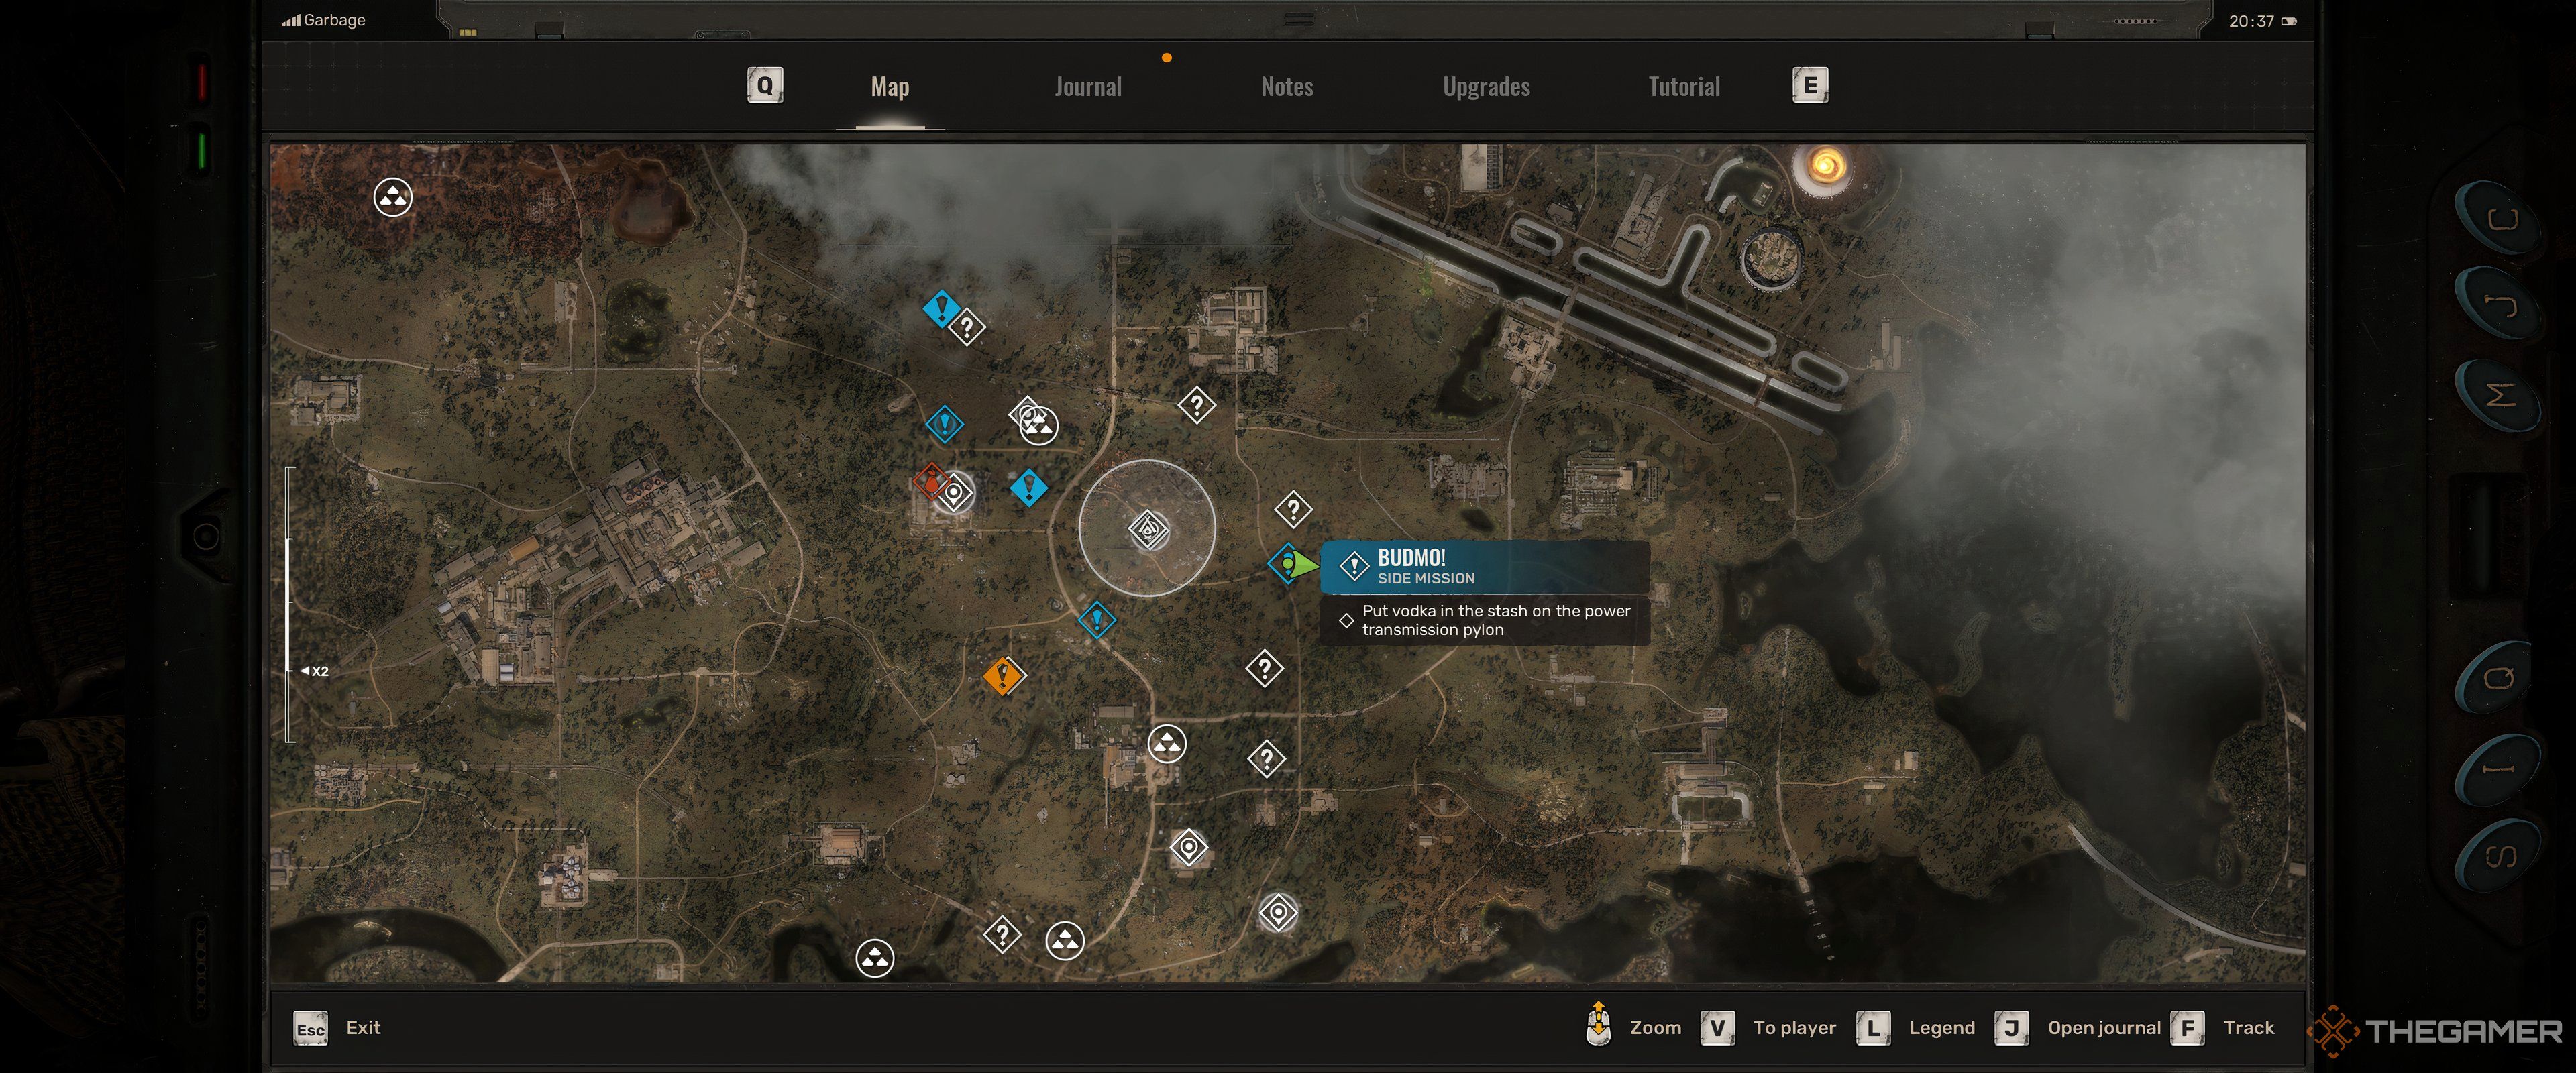
Moreover, the Lviv tanker can be accessed entirely through the mission called “A Mysterious Case.” This is because the entrance to the ship won’t open until you’ve taken on the mission from the Sultan at the Sultansk base. Inside the scientists’ bunker, located at the eastern end of the boat, you will find the Hilka Detector.
The traders you can buy the Hilka Detector from for 4,000 coupons are:
- Barkeep in Rostok
- Pythagoras at UTC Malachite
- Hawaiian at Yaniv Station
At each location, these vendors are the local proprietors of the pubs. They offer a variety of goods for sale, including food items and sometimes souvenir artifacts, while also being willing to buy any unwanted items you may have.
The Hilka Detector significantly improves upon the Echo, as it provides exact distance measurements up to 100 meters when it identifies an artifact. Furthermore, the reading decreases at a steady pace, ensuring you’re consistently aware of approximately which direction to head in.
Where To Find The Bear Detector
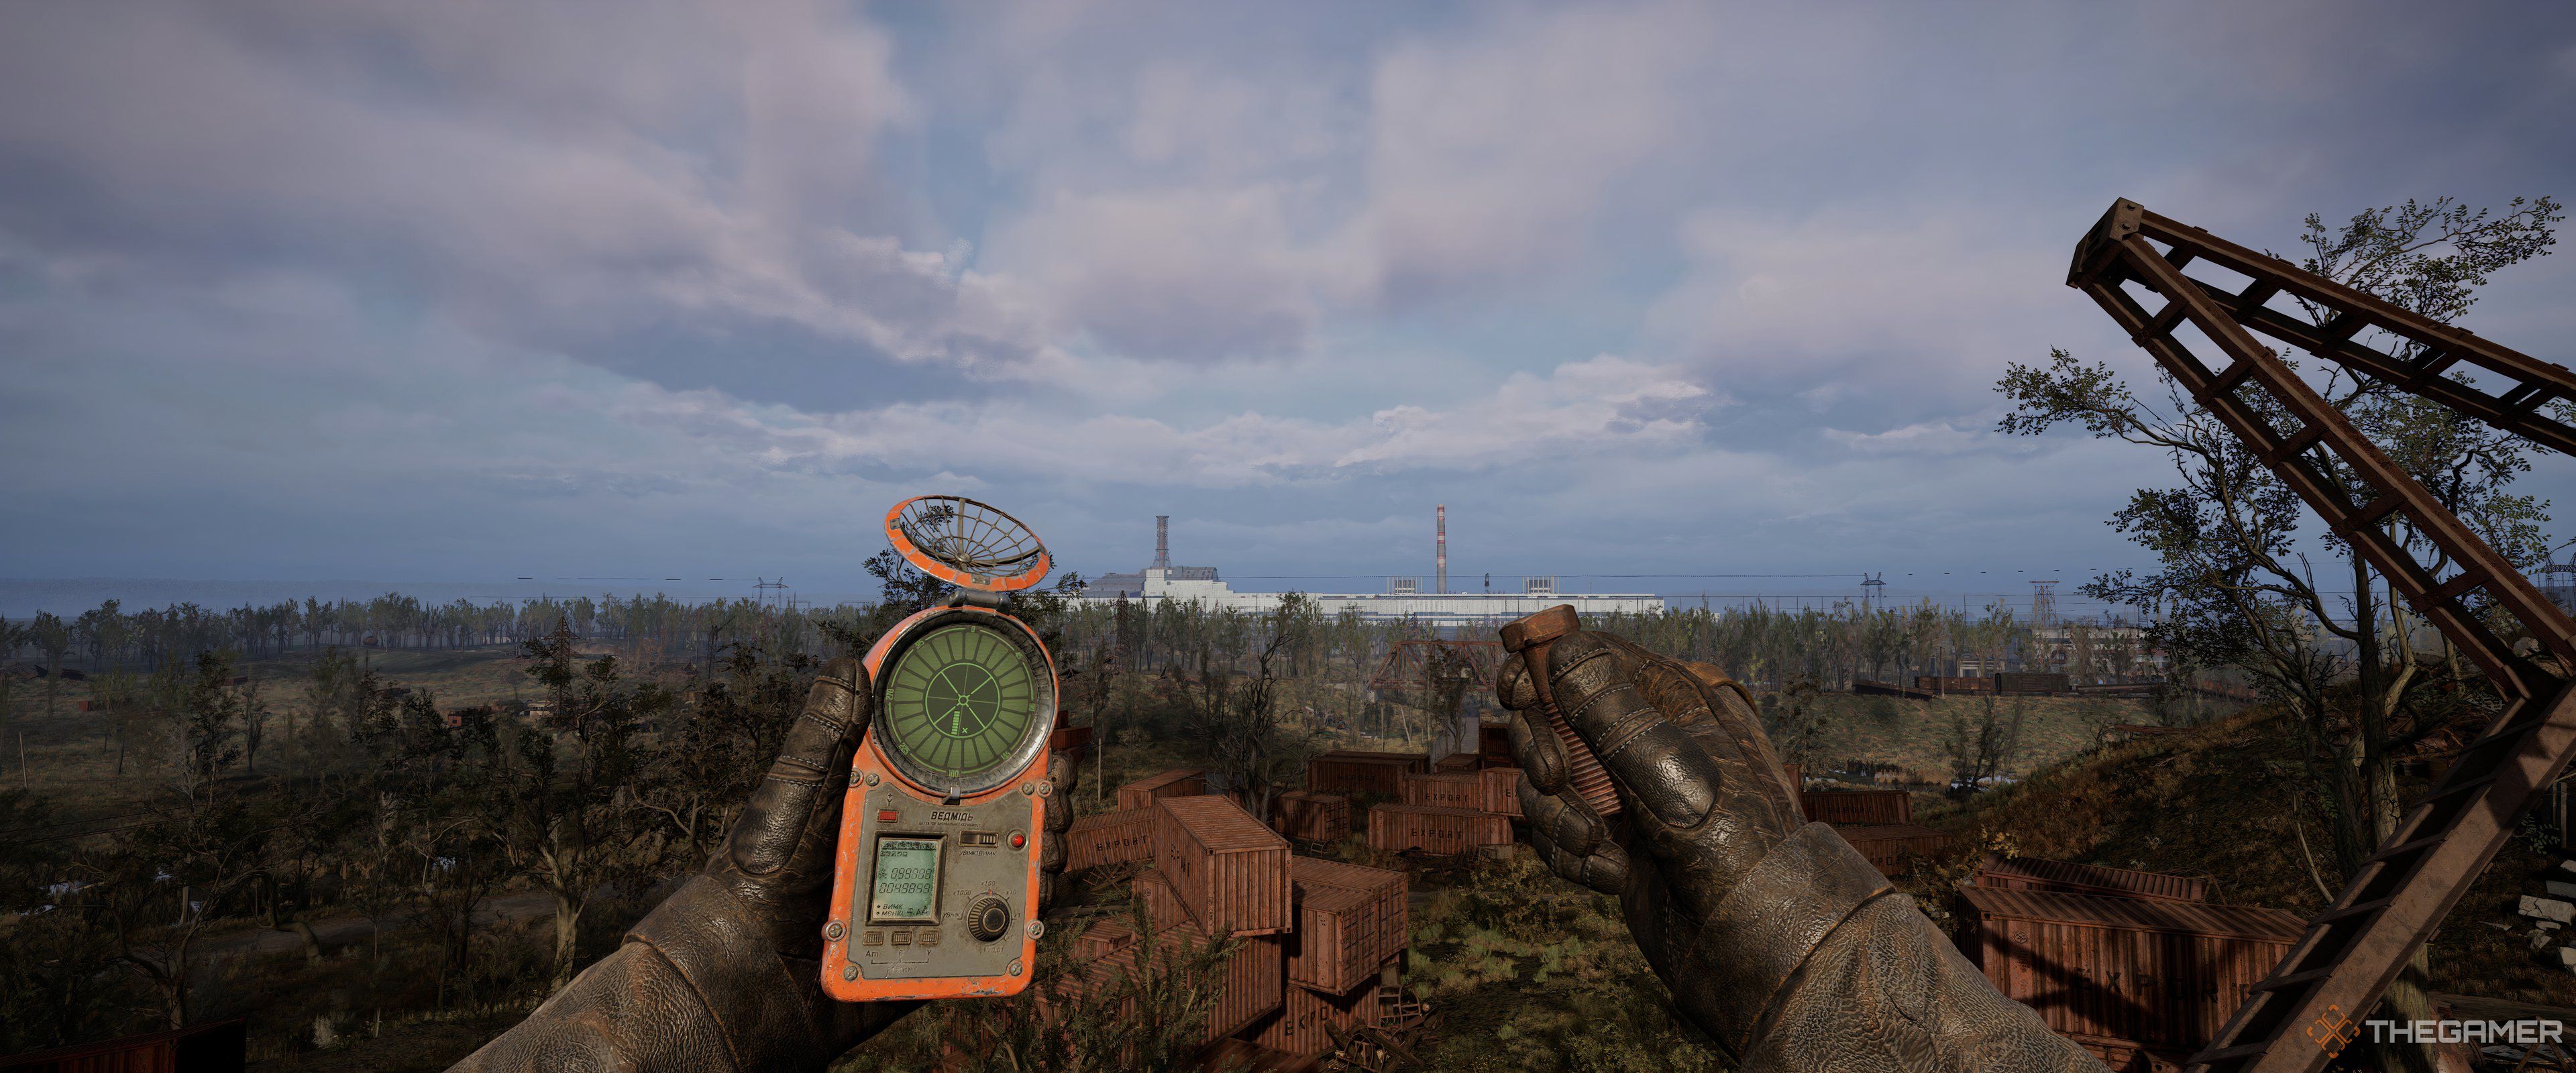
You can acquire the Bear Detector in two different methods. The more challenging one involves completing the side mission called “Uninvited Guests”. To initiate this mission, simply converse with Mytryk Genius, who is located on the northern side of the Concrete Forest, within the Cement Factory area.
In your mission, you’ll have to journey through the subterranean passages until you encounter two Burer adversaries. After defeating them, search for Mytryk’s hidden loot, which is located near a couple of big wooden cable reels.
You can also purchase the Bear Detector from the Hawaiian at Yaniv Station for 6,000 coupons.
We
highly
recommend buying the Bear Detector.
Burers are infuriating
.
When it comes to this detector, it beats the Hilka hands down in two significant aspects. For starters, instead of just giving a vague indication, it provides a fairly accurate compass bearing I should follow to find the artifact. Moreover, as I get nearer, the ring of pips becomes denser, ensuring I always know where to focus my search.
Where To Find The Veles Detector
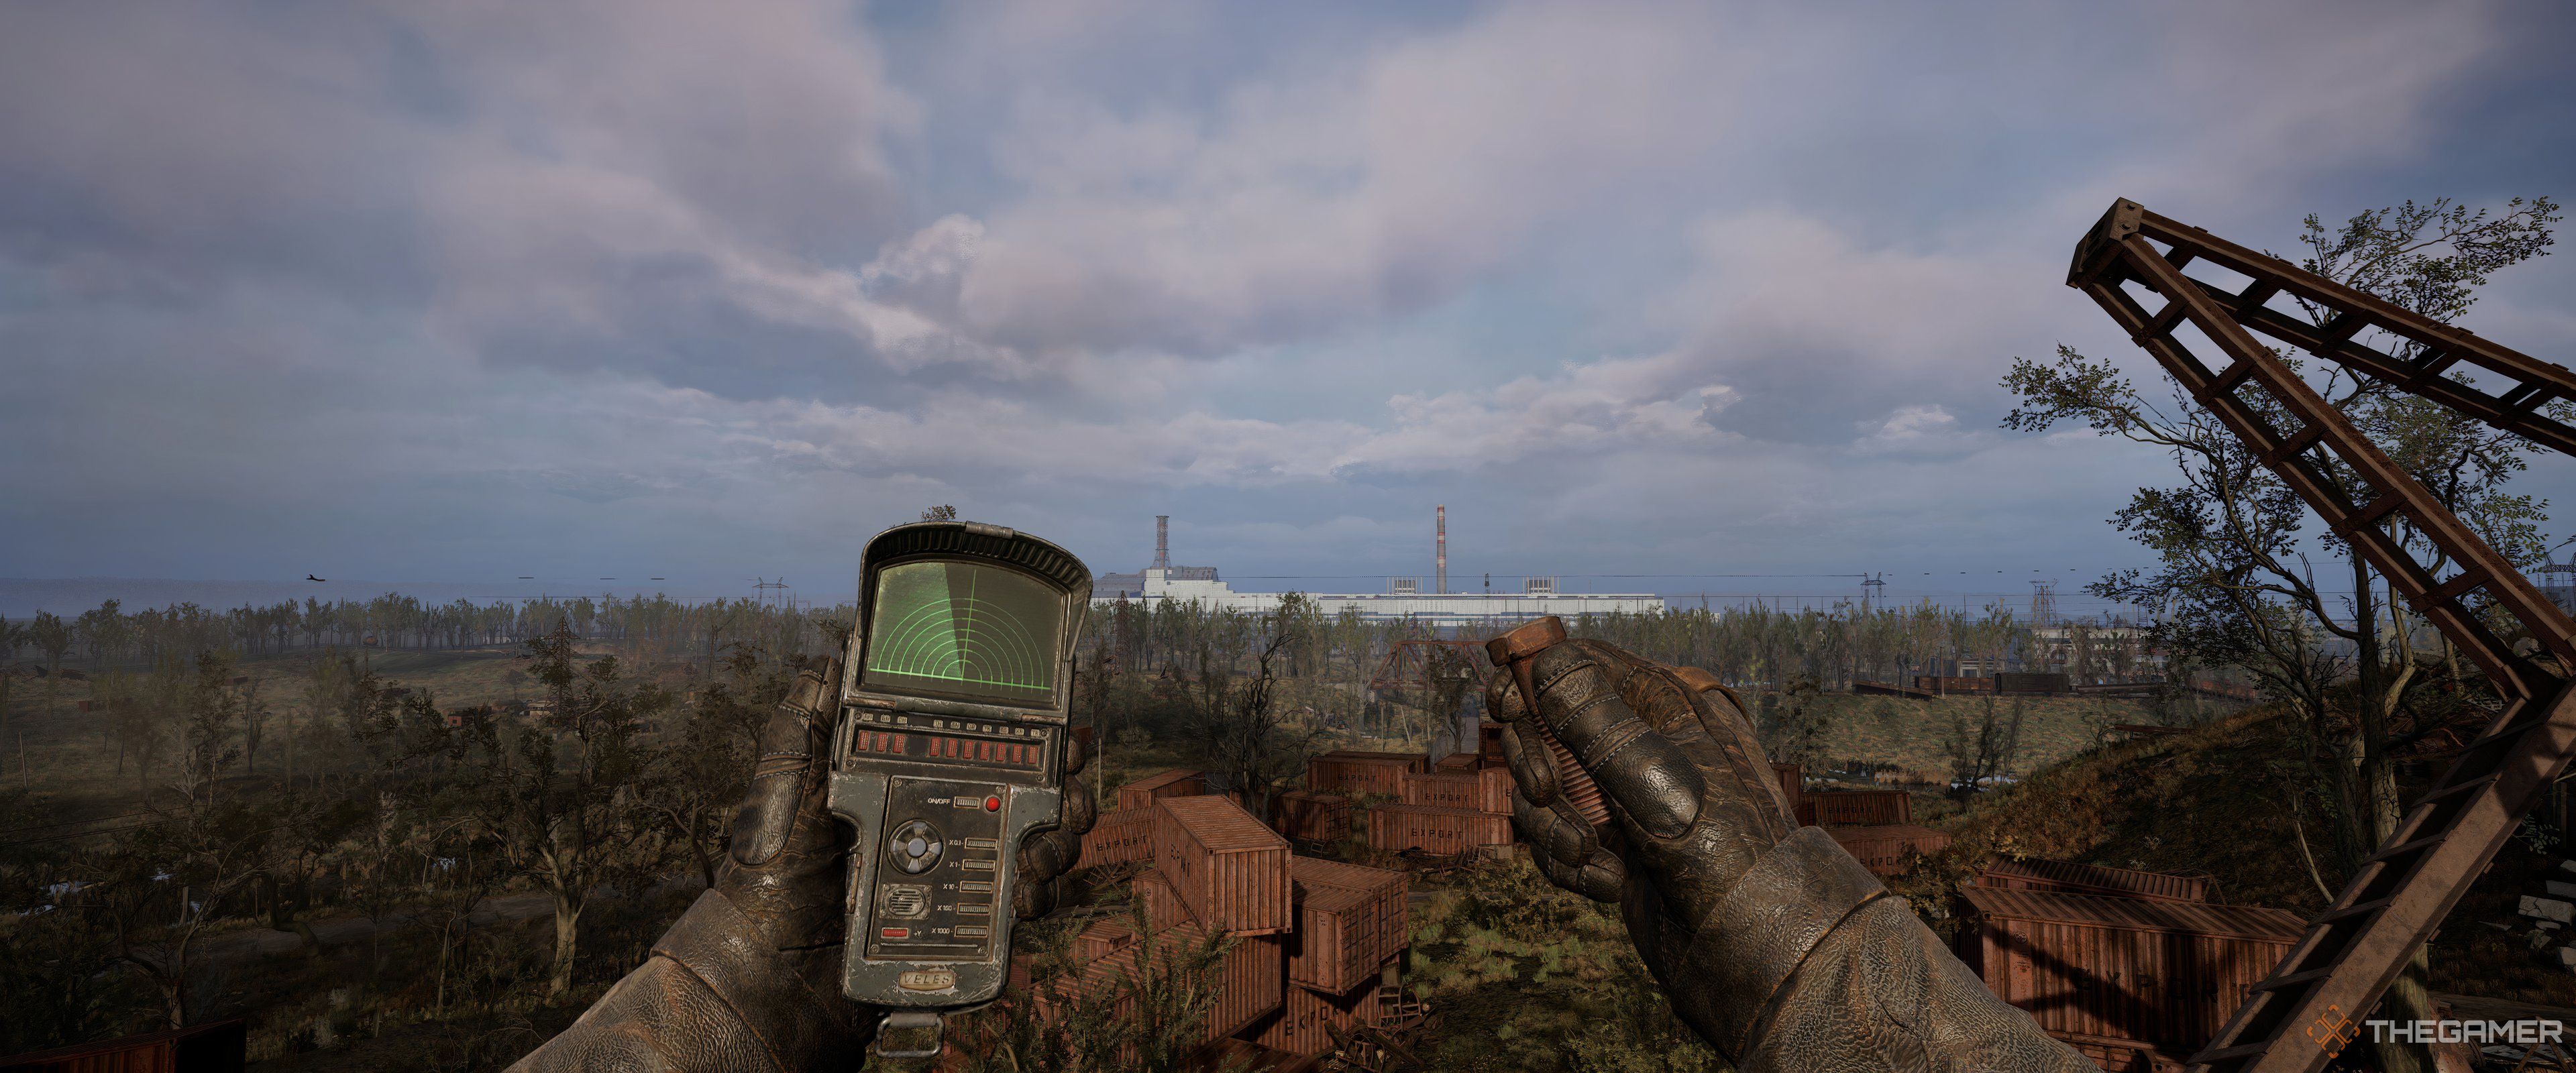
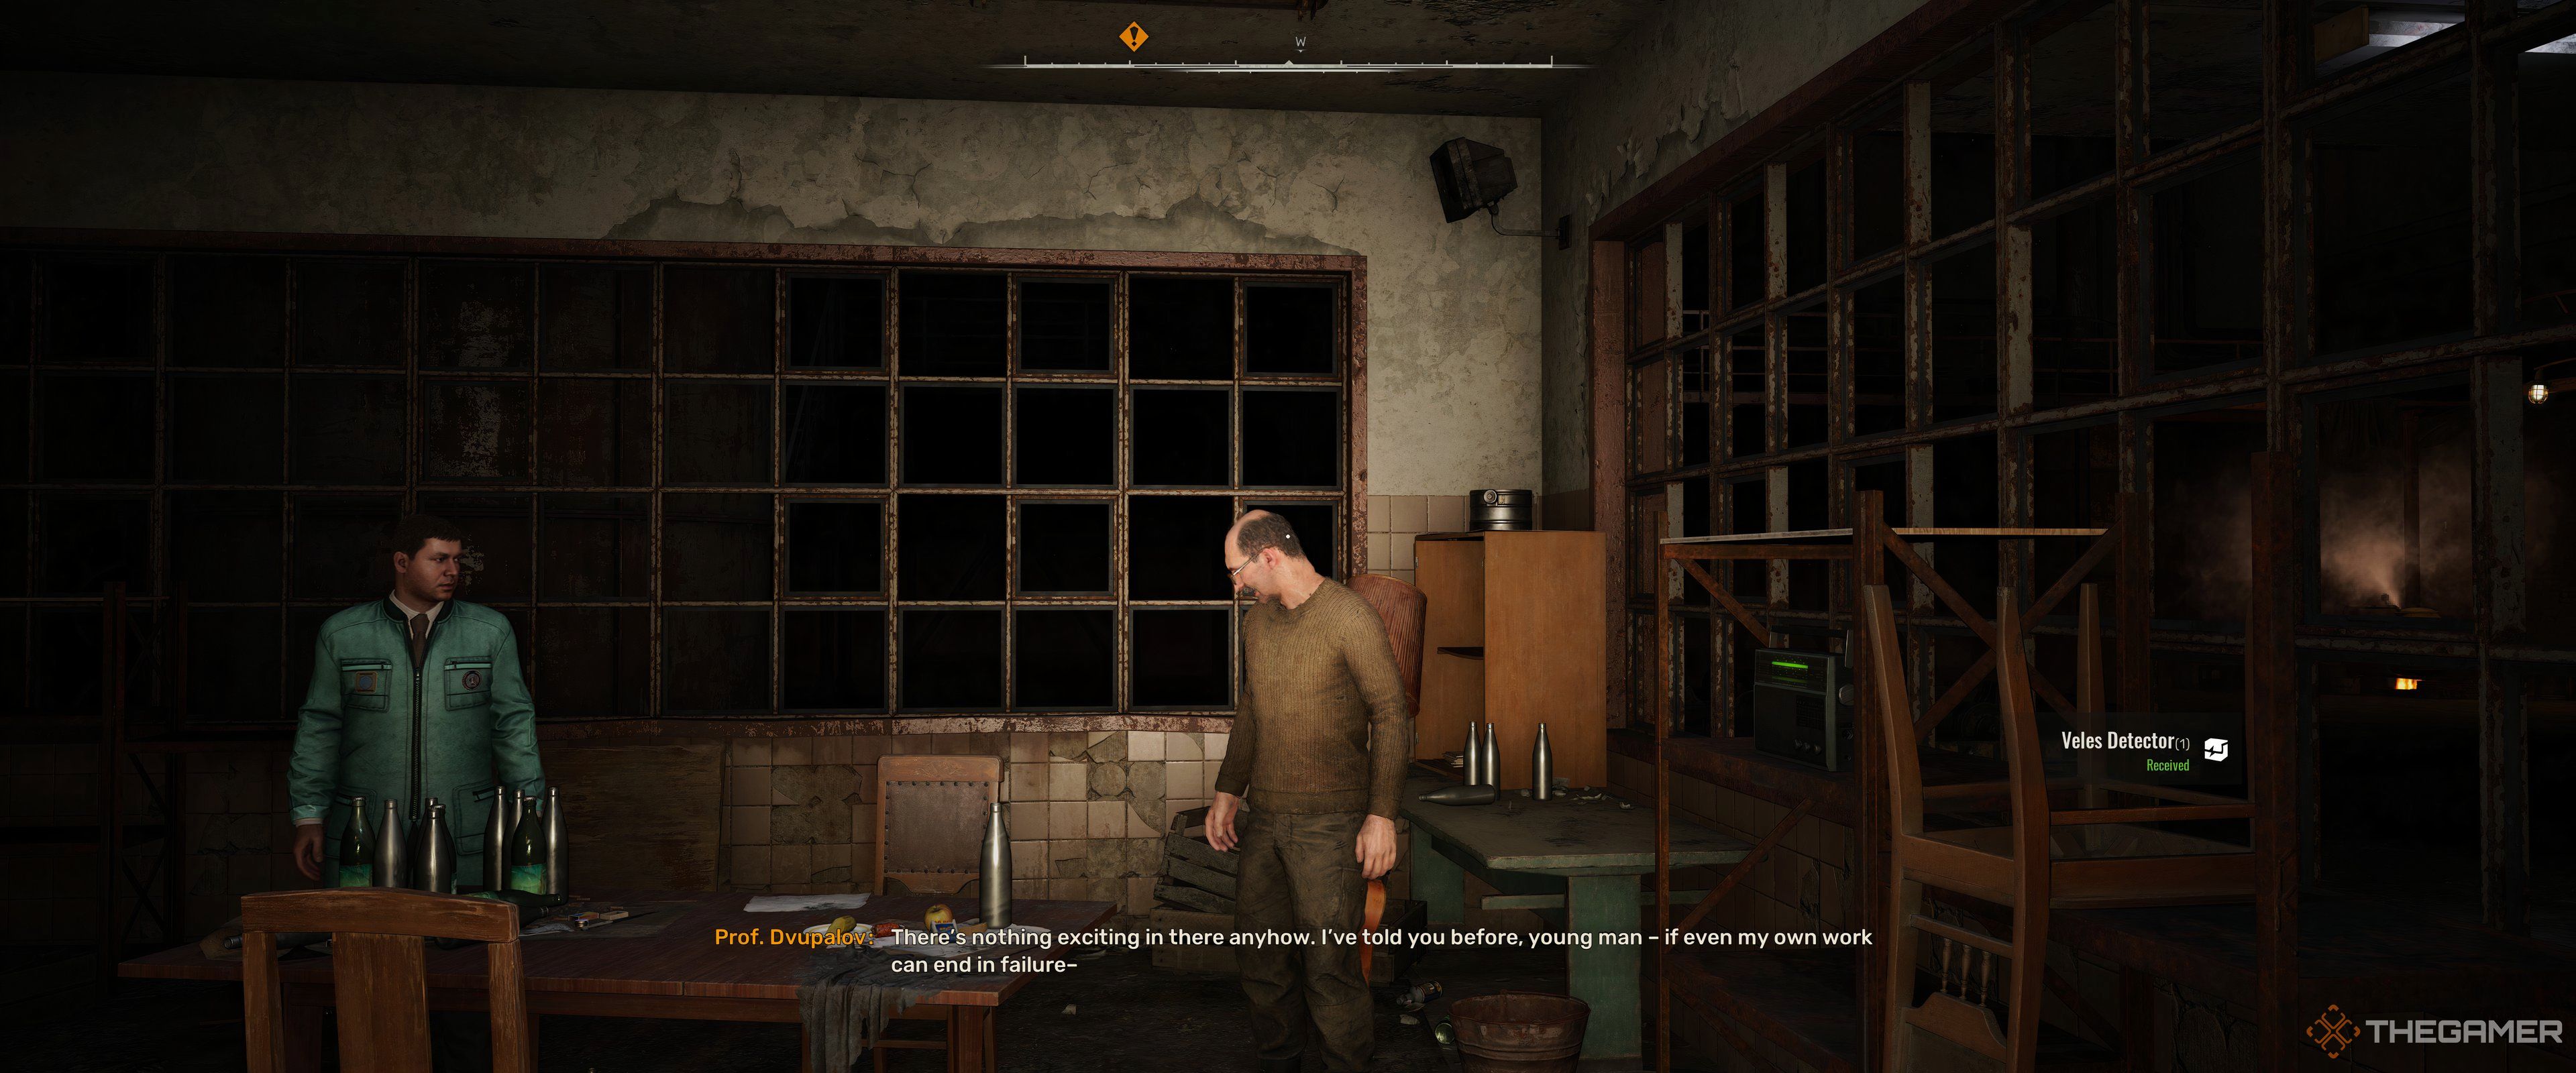
Similar to the Echo Detector, the Veles Detector is an in-game reward, more precisely earned from the mission titled “In Search of Past Glory.” This mission is typically completed towards the end of the game and requires a journey of at least 15 hours, though it may take longer if you engage in additional side content.
As a gamer, I’d put it this way: “I’ll snag the Veles only after I’ve completed the part where I hand over the Suppressor blueprint to Dvupalov, and then they have themselves a good old-fashioned spat.
Finding an artifact with the Veles couldn’t be easier – its screen clearly indicates the artifact’s position, distance, and heading, in addition to providing regular auditory guidance.
Read More
- Gold Rate Forecast
- PI PREDICTION. PI cryptocurrency
- Rick and Morty Season 8: Release Date SHOCK!
- Discover the New Psion Subclasses in D&D’s Latest Unearthed Arcana!
- Linkin Park Albums in Order: Full Tracklists and Secrets Revealed
- Masters Toronto 2025: Everything You Need to Know
- We Loved Both of These Classic Sci-Fi Films (But They’re Pretty Much the Same Movie)
- Mission: Impossible 8 Reveals Shocking Truth But Leaves Fans with Unanswered Questions!
- SteelSeries reveals new Arctis Nova 3 Wireless headset series for Xbox, PlayStation, Nintendo Switch, and PC
- Discover Ryan Gosling & Emma Stone’s Hidden Movie Trilogy You Never Knew About!
2024-12-02 06:35