Whenever I acquire a new handheld gaming device, one of my immediate actions is to securely attach a trustworthy screen protector onto its touchscreen.
Regardless of the specific gaming handheld you own, such as ROG Ally, ROG Ally X, Legion Go, Legion Go S, Steam Deck, Nintendo Switch, MSI Claw 8 AI+, or any other device, here’s a straightforward method to effortlessly and effectively apply a screen protector without encountering issues.
Here’s what you need
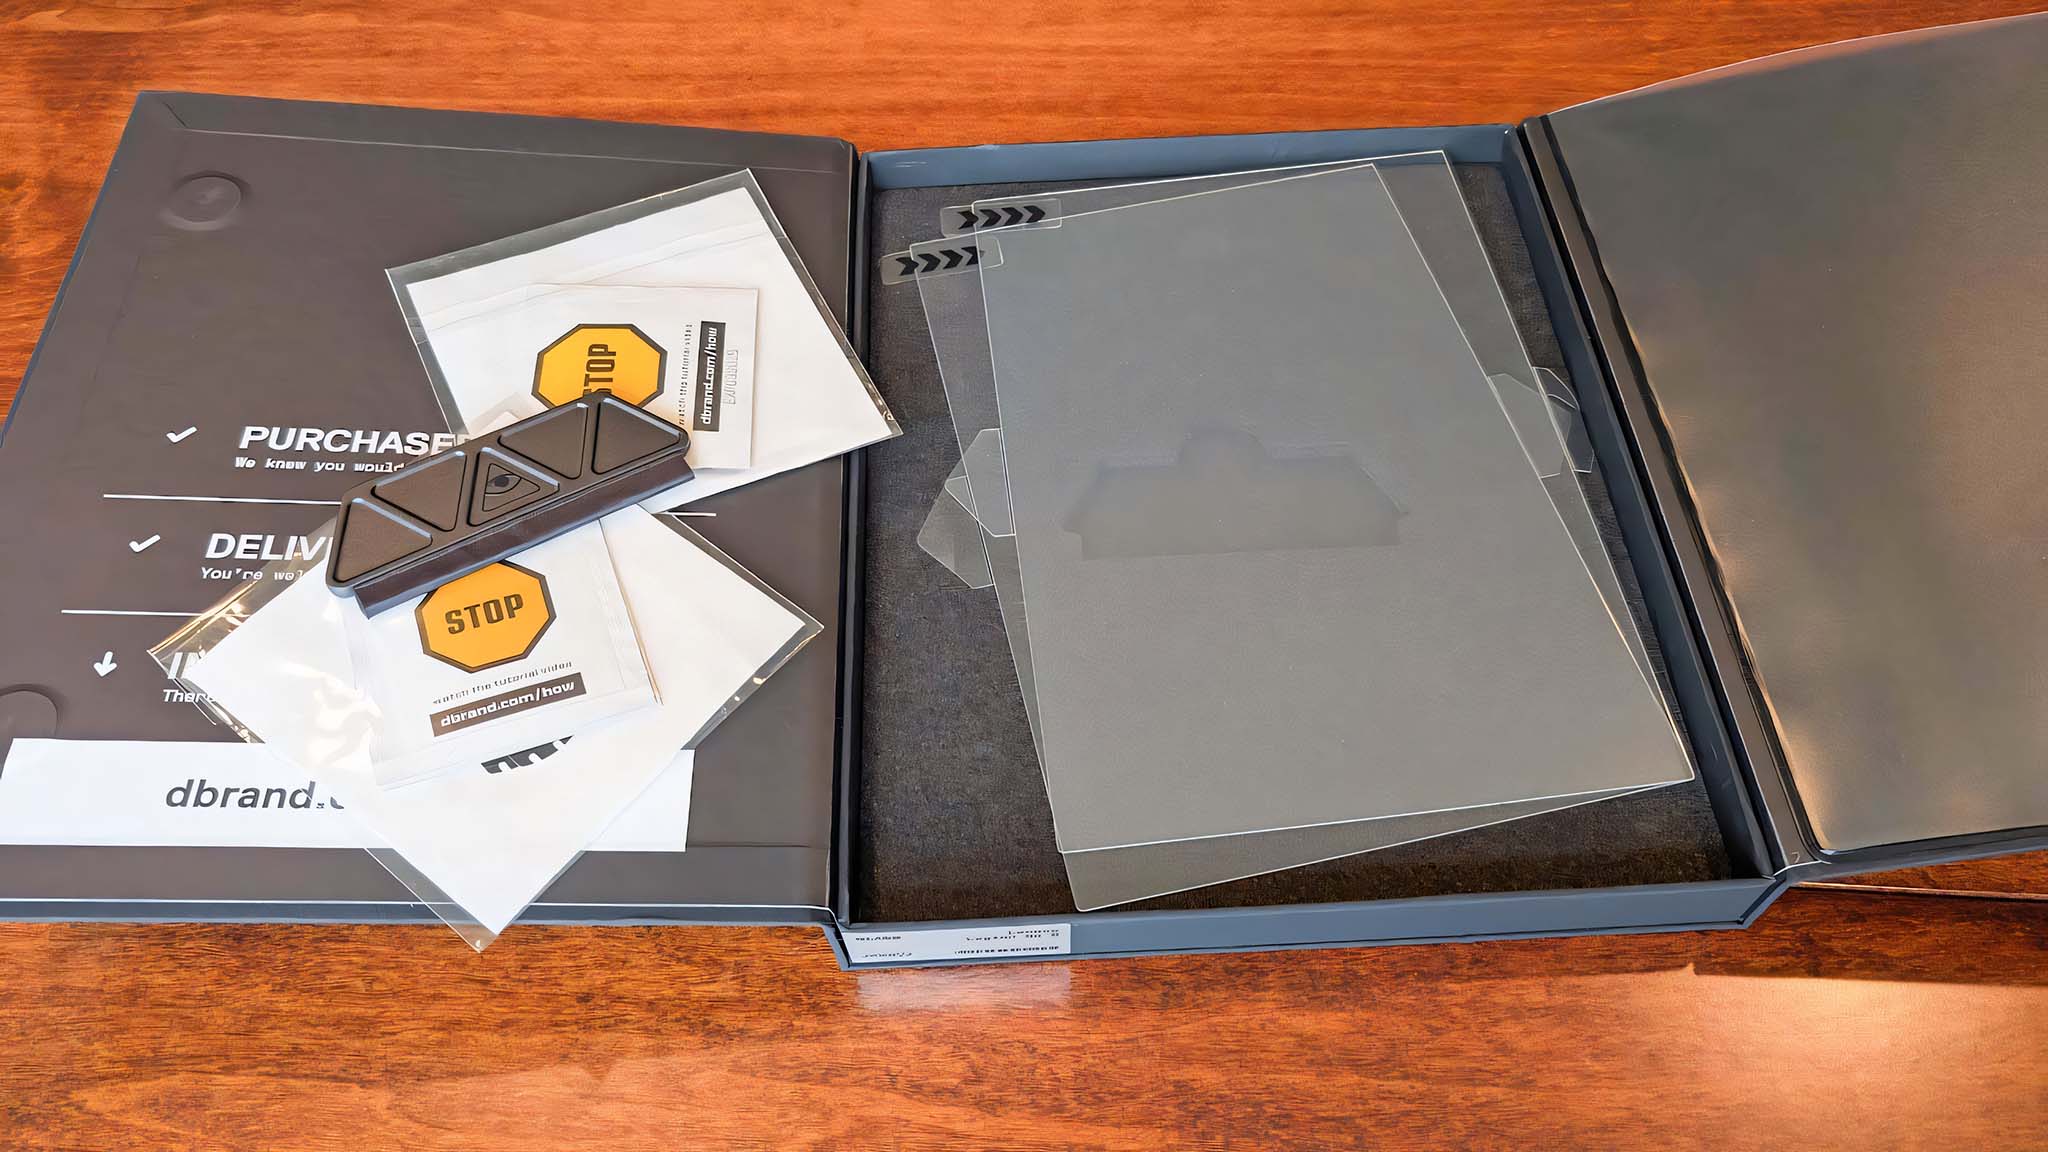
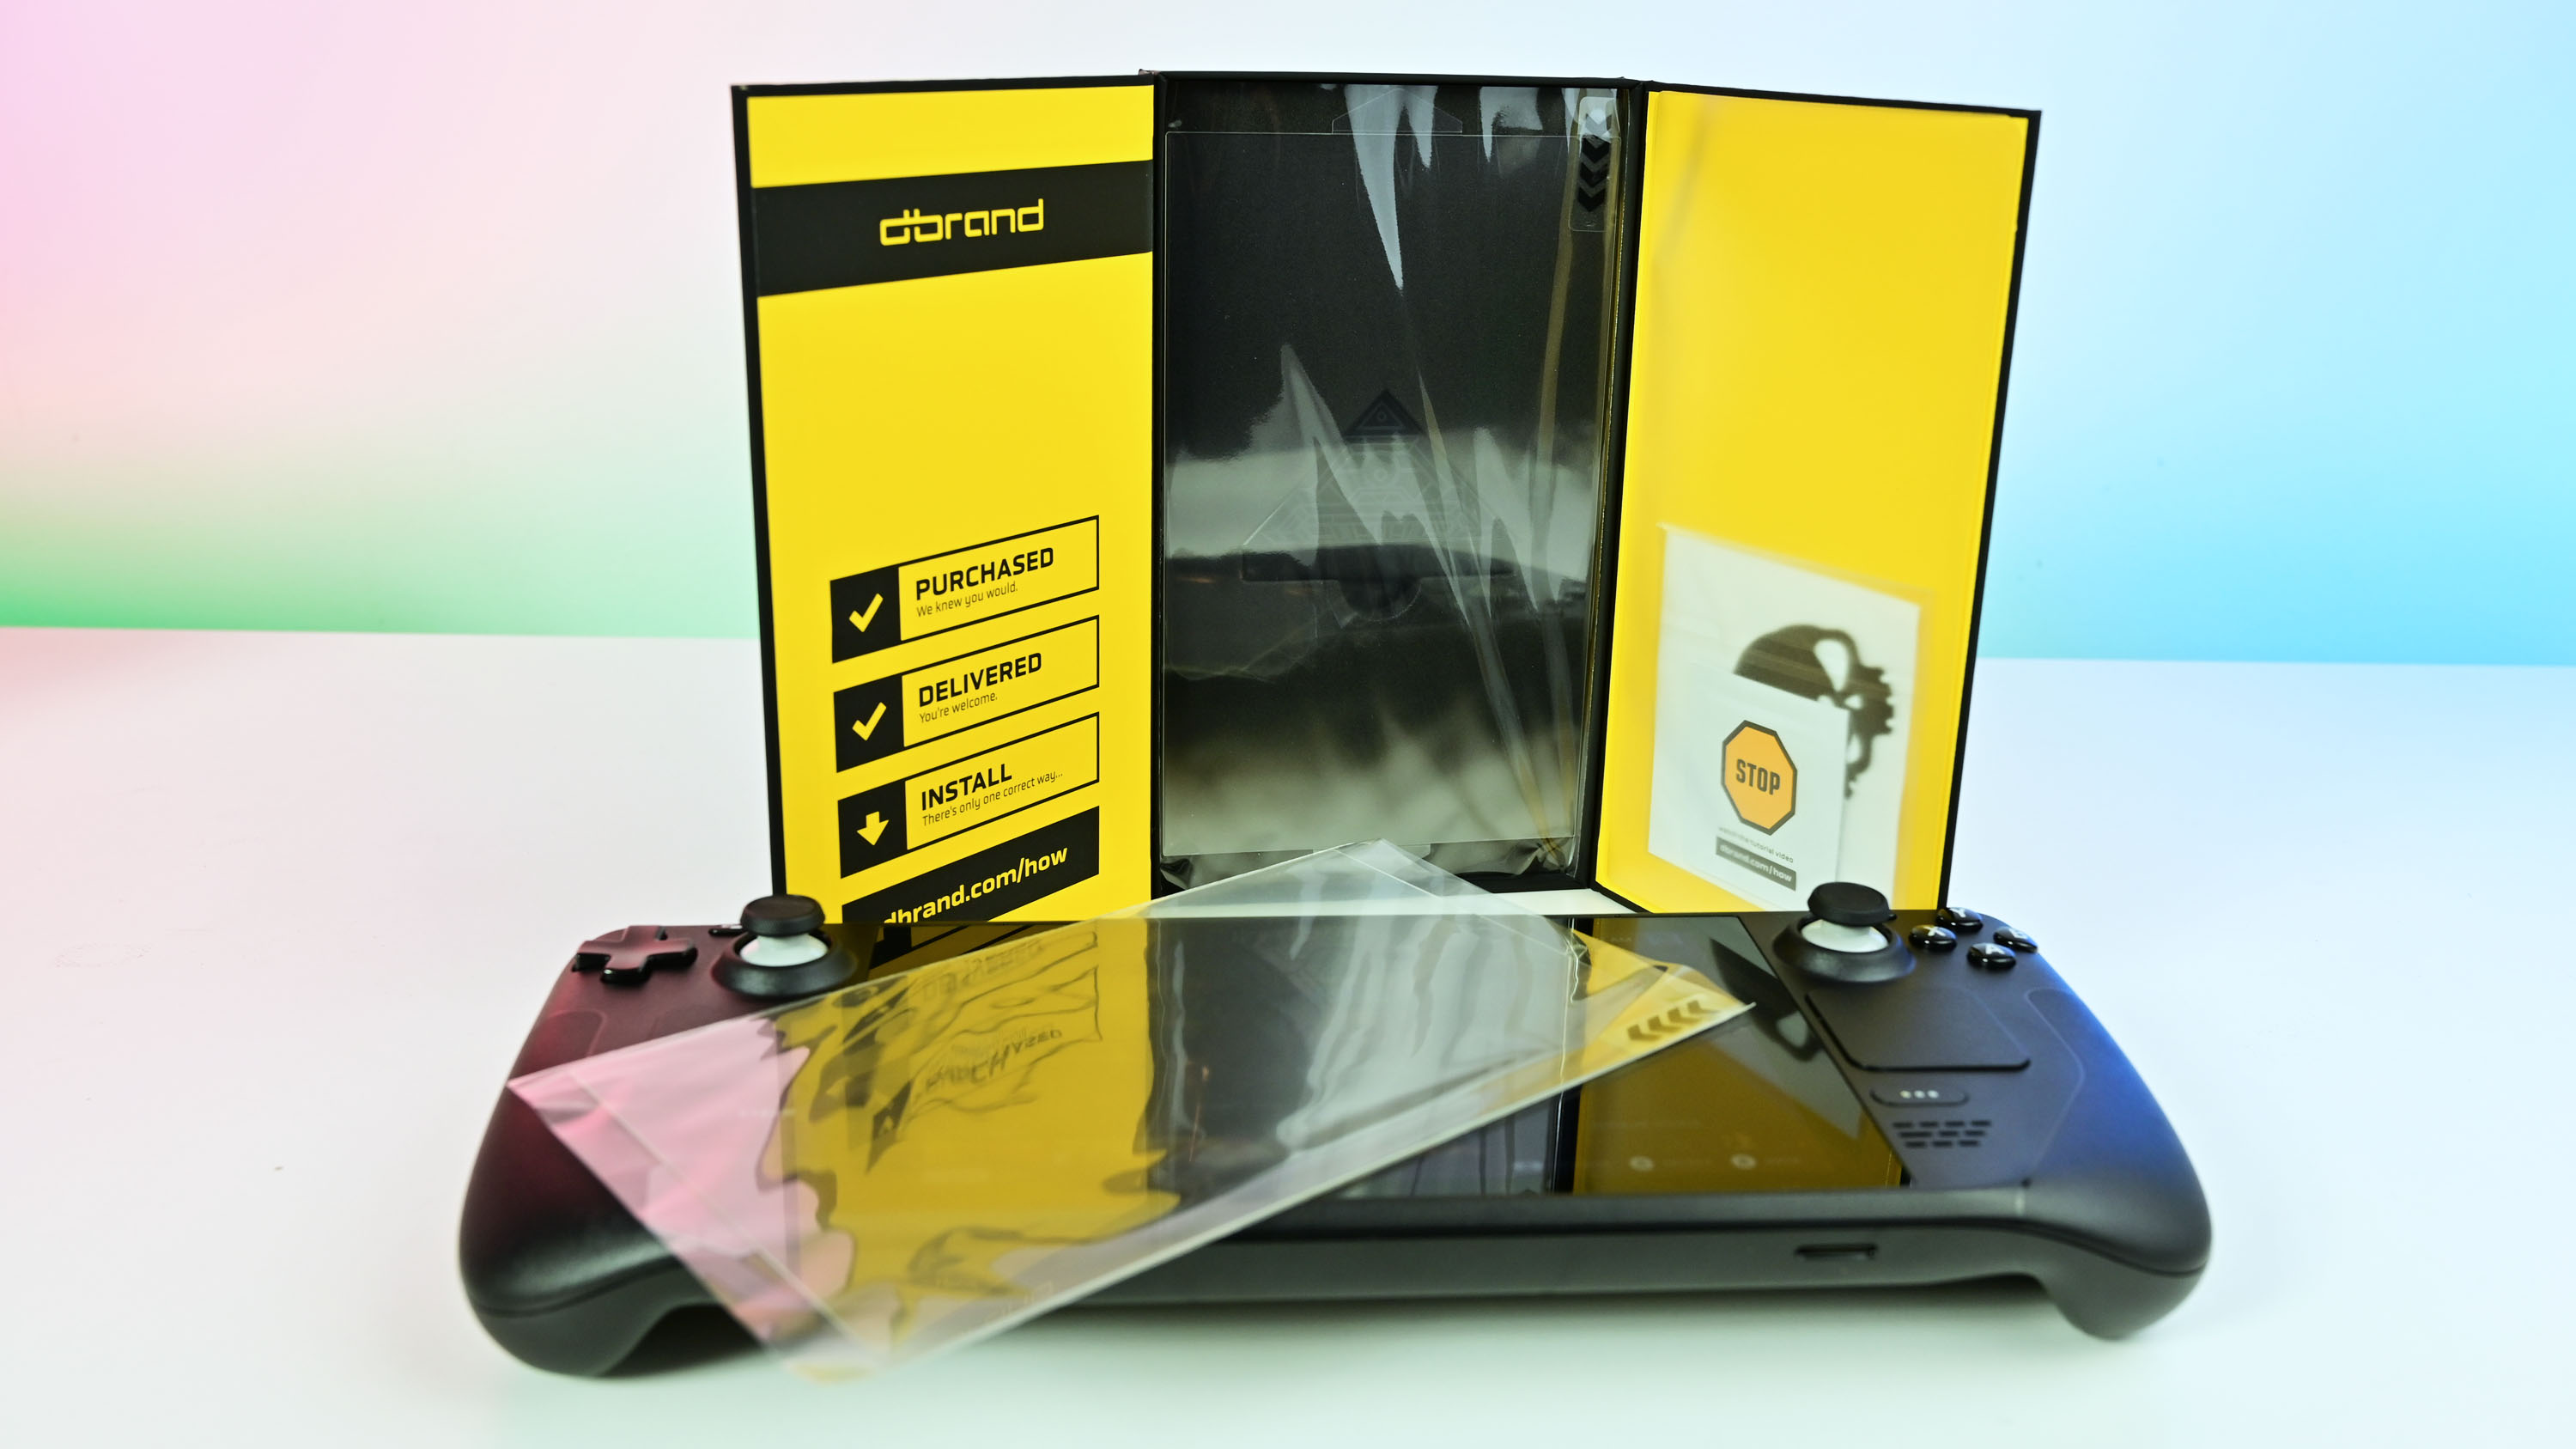
What you essentially require is an installation kit for screen protectors. Many folks here at Windows Central have installed dBrand screen protectors on multiple devices, and we wholeheartedly endorse them.
I even used a dBrand Legion Go S screen protector for this guide.
Additionally, should you wish to explore a wider variety of choices, there are numerous handheld screen protectors available on Amazon.
How to install a screen protector on your gaming handheld
TIP: To keep dust off your screen, it’s best to put on a screen protector in a bathroom. This is because the moisture helps remove any loose particles that might stick to the protector during application.
Let the shower run for a while so it becomes damp and reduces any airborne dust. After that, you’ll be able to apply the screen protector smoothly without specks of dust sticking to the sticky side.
- Clean off an area on a table or countertop where you will perform the installation.
- Place your handheld down on this clean area.
- Use the wipes and/or microfiber towel included in your screen protector kit to clean your handheld’s touchscreen until no marks remain.
- If there is any persistent dust that keeps landing on your screen, use the included stickers in the screen protector kit to dab dust off the glass. If your kit didn’t come with stickers, you can use Scotch tape wrapped around your fingers.
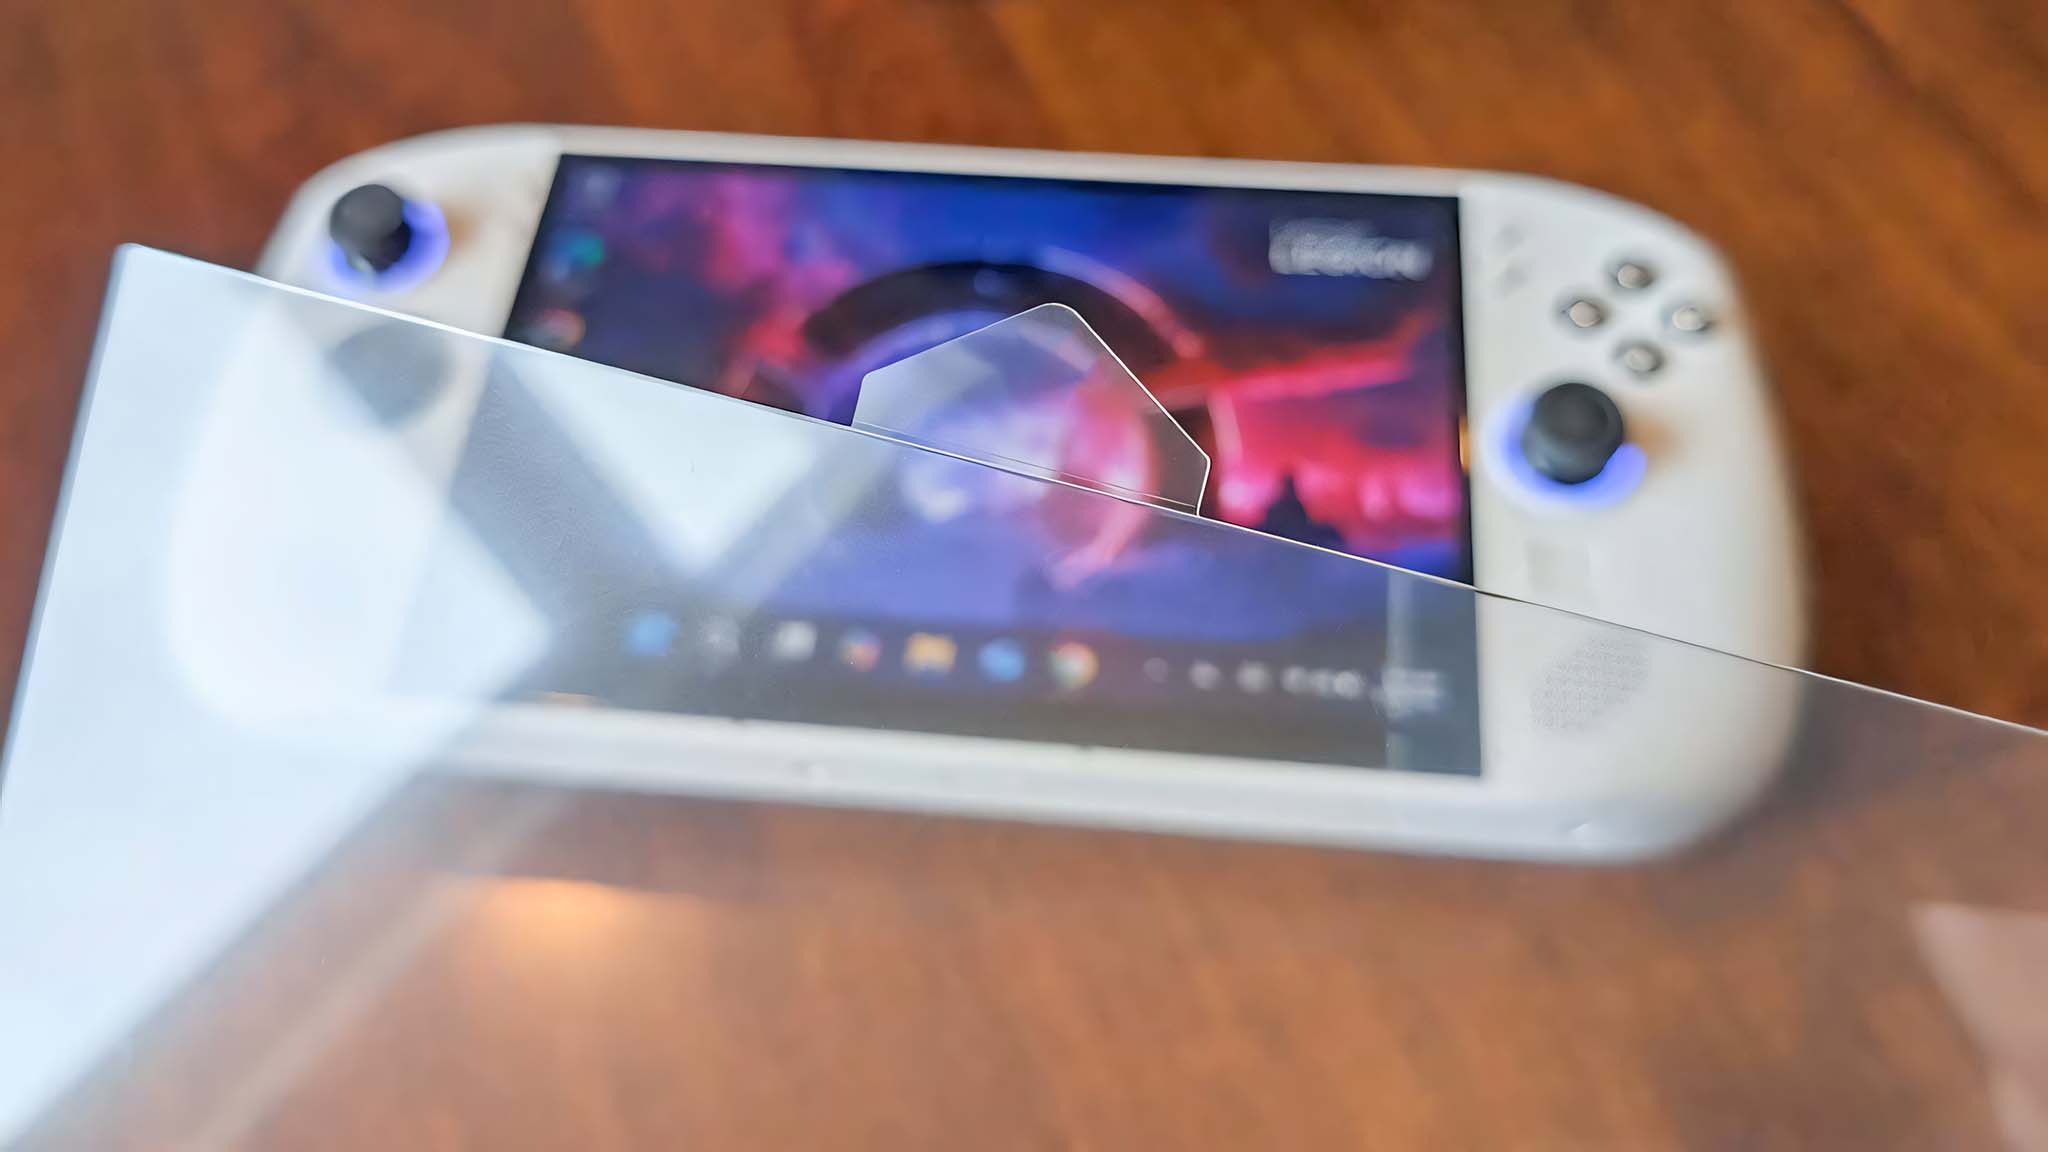
- Make sure your touchscreen is clean and then peel off the sticky side of your screen protector.
- Carefully place the screen protector in position and try not to get any fingerprints on the adhesive side. To help with this, the dBrand Legion Go S screen protector has plastic tabs on either side to help get the glass perfectly in position.
- Peel the outer layer of the screen protector plastic off to reveal the actual glass.
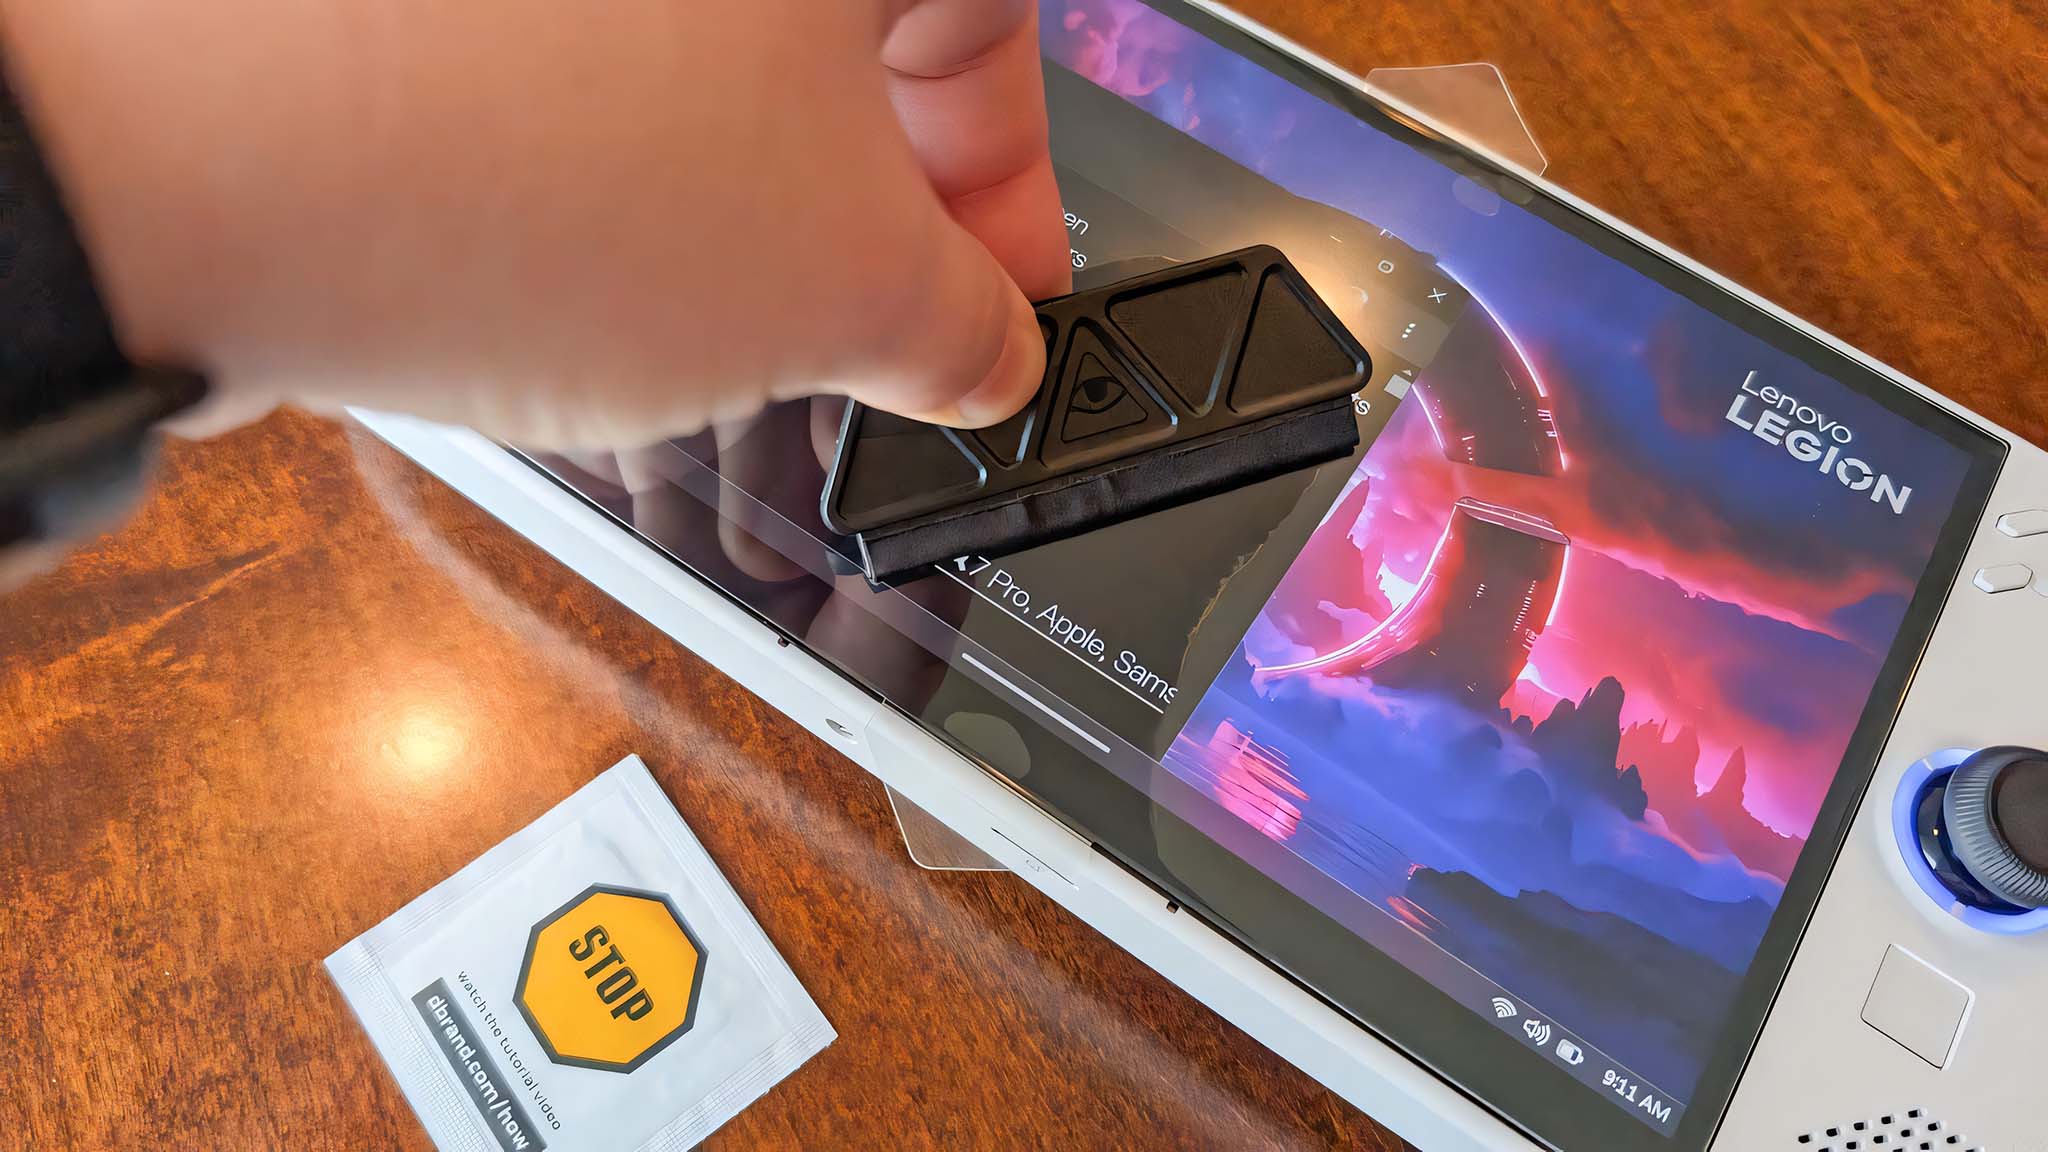
- Press the included squigi tool (if there is one in your kit) against the glass and guide any bubbles out from under it. You can also use a credit card with tissue or soft cloth wrapped around it.
If you happen to make a mistake, you could adjust the glass’s position, or you might need to take out another page from the stack for replacement.
With the new screen protector securely installed, I can now immerse myself fully in my handheld device, ready to conquer challenges and indulge in the joy of playing my beloved games!
Be sure to keep any extra screen protectors in a place where you can easily find them. That way, if an accident occurs and the current protector gets damaged, you can simply remove it and apply a new one.
Protect that expensive handheld touchscreen
Handheld gaming devices are terrific, however, they tend to acquire scratches and damage as time passes. To prevent this, I always fit a glass screen protector onto any handheld gadget I possess.
If you’re looking for a high-quality screen protector set, I suggest checking out dBrand. Although it’s slightly pricier, the glass quality is exceptional, and the kit comes with all the necessary items included.
Additionally, I find the handy plastic guides on both sides of dBrand screen protectors particularly useful as they allow for an effortless alignment of the glass shield perfectly over my portable touchscreen.
Read More
2025-04-01 16:09