
To personalize your gaming experience in Schedule 1 more than the typical settings offer, it’s essential to grasp how to install and operate mods.
Although the number of available mods is currently limited because the game is fairly new, there are already numerous beneficial mods for personalizing your gaming experience. These range from instant Mixing Stations and God Mode options, to increasing the number of clients, adding a minimap, granting access to the debug console… there’s quite an array of handy features!
In this guide, we’ll tell you how to install and use mods in Schedule 1.
How to Install & Use All New Mods | Schedule 1
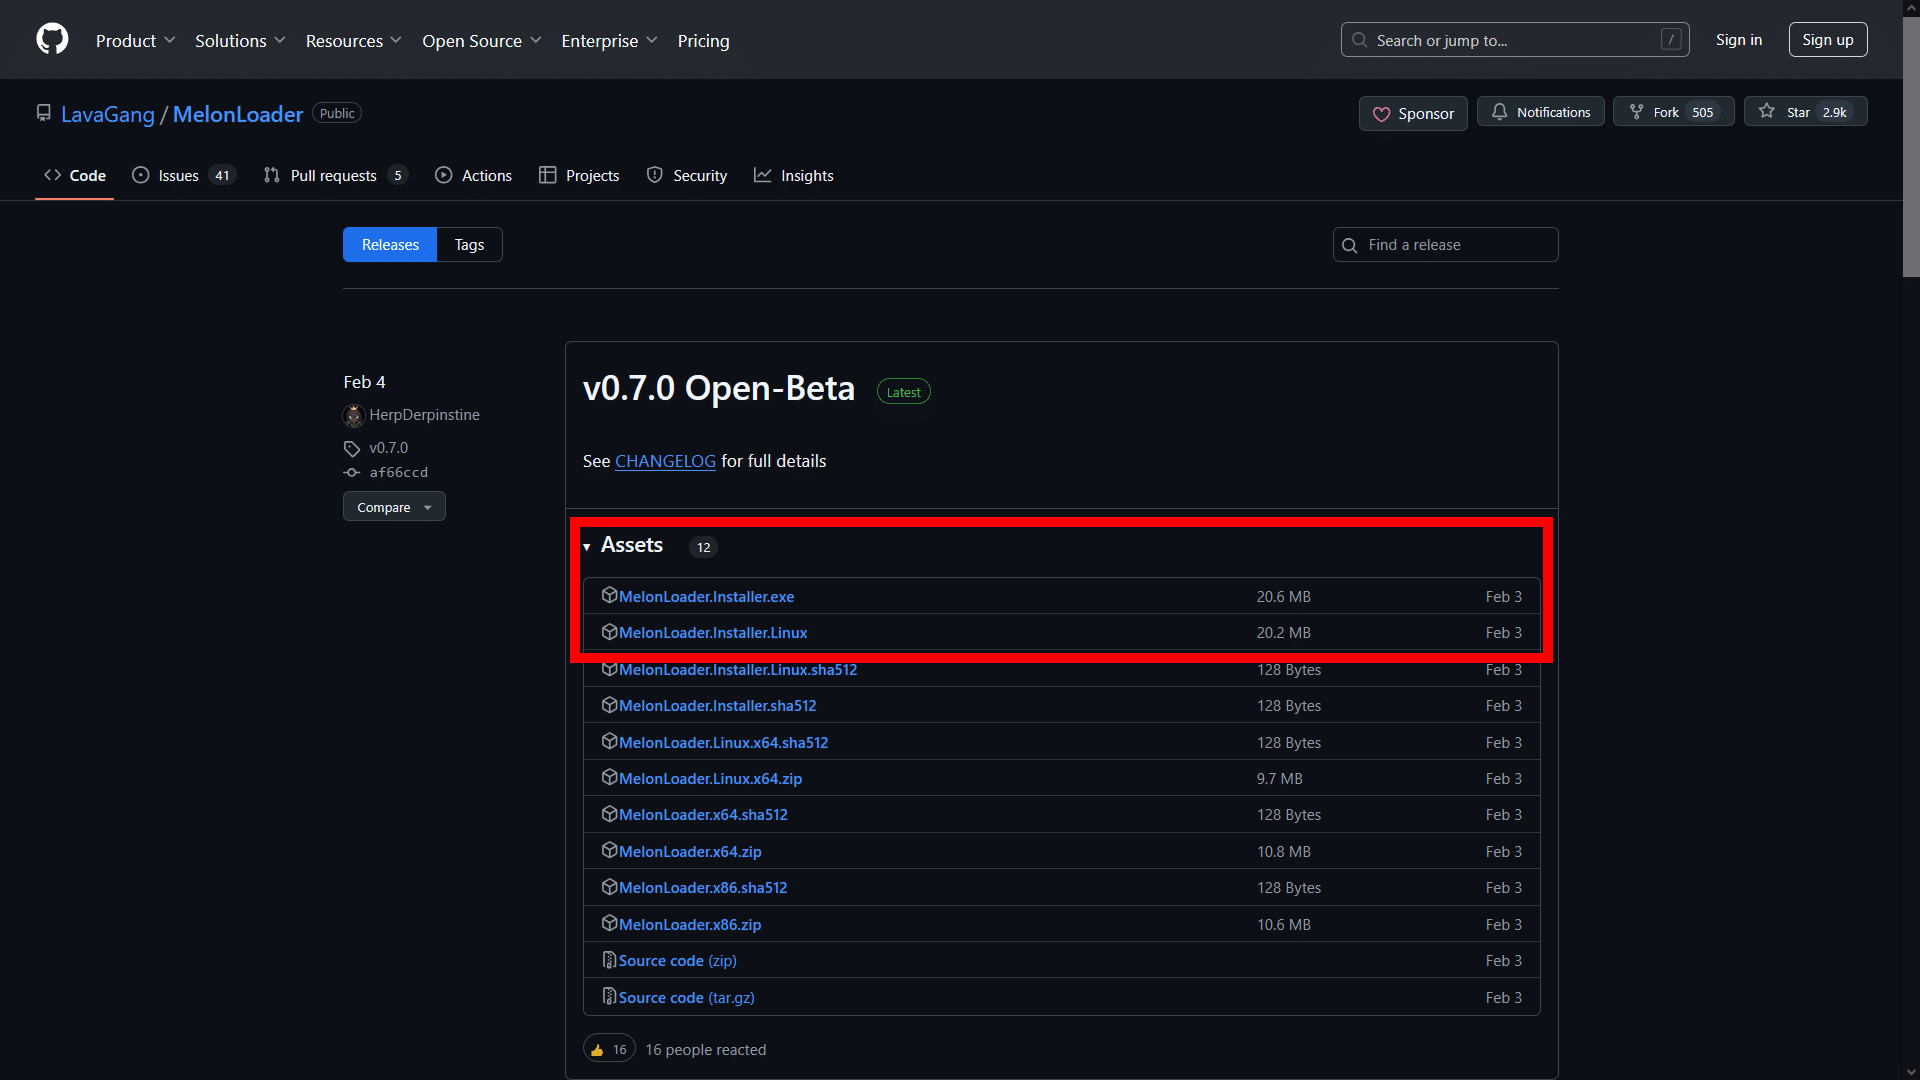
To set up mods, head over to the main MelonLoader GitHub page and grab the most recent installer version, which is the 0.7.0 Open-Beta (as displayed earlier). The installers for every compatible platform will be found at the top of the listing.
- If you’re on Windows, download “MelonLoader.Installer.exe”.
- For Linux users, download “MelonLoader.Installer.Linux”.
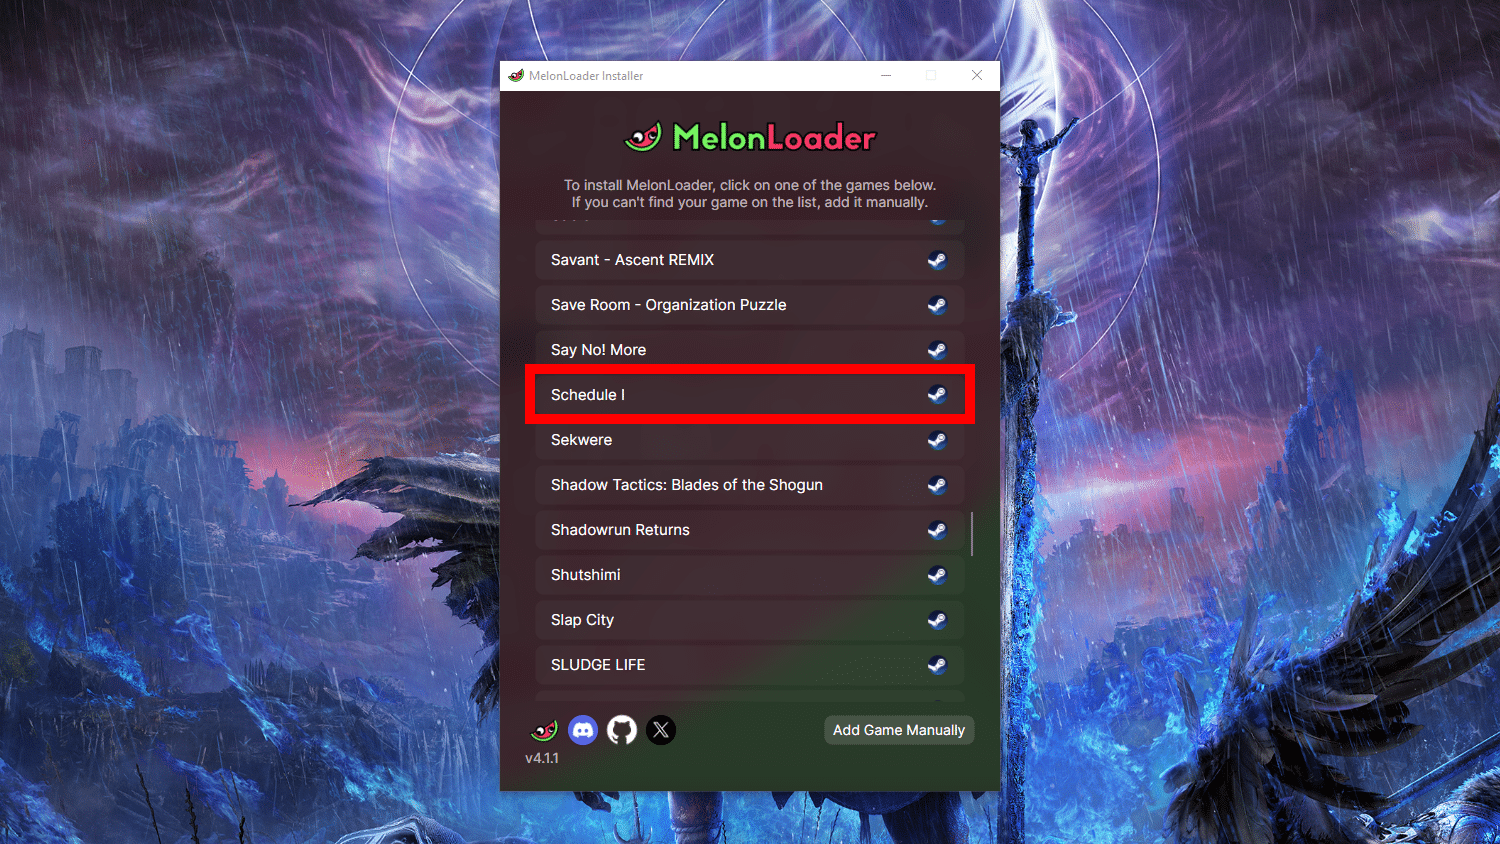
After you’ve downloaded the installer, go ahead and run it. This will present you with a selection of games already on your computer that can be installed. Simply search for ‘Schedule 1’ within this list and then click on it to proceed.
As a game enthusiast, if by chance Schedule 1 doesn’t appear on your list, don’t worry! You can manually add it by clicking on “Add Manually” located at the bottom right corner of the program interface. Once you do that, direct the installer to the location where you have Schedule 1 installed. It will then magically appear on your list of games.
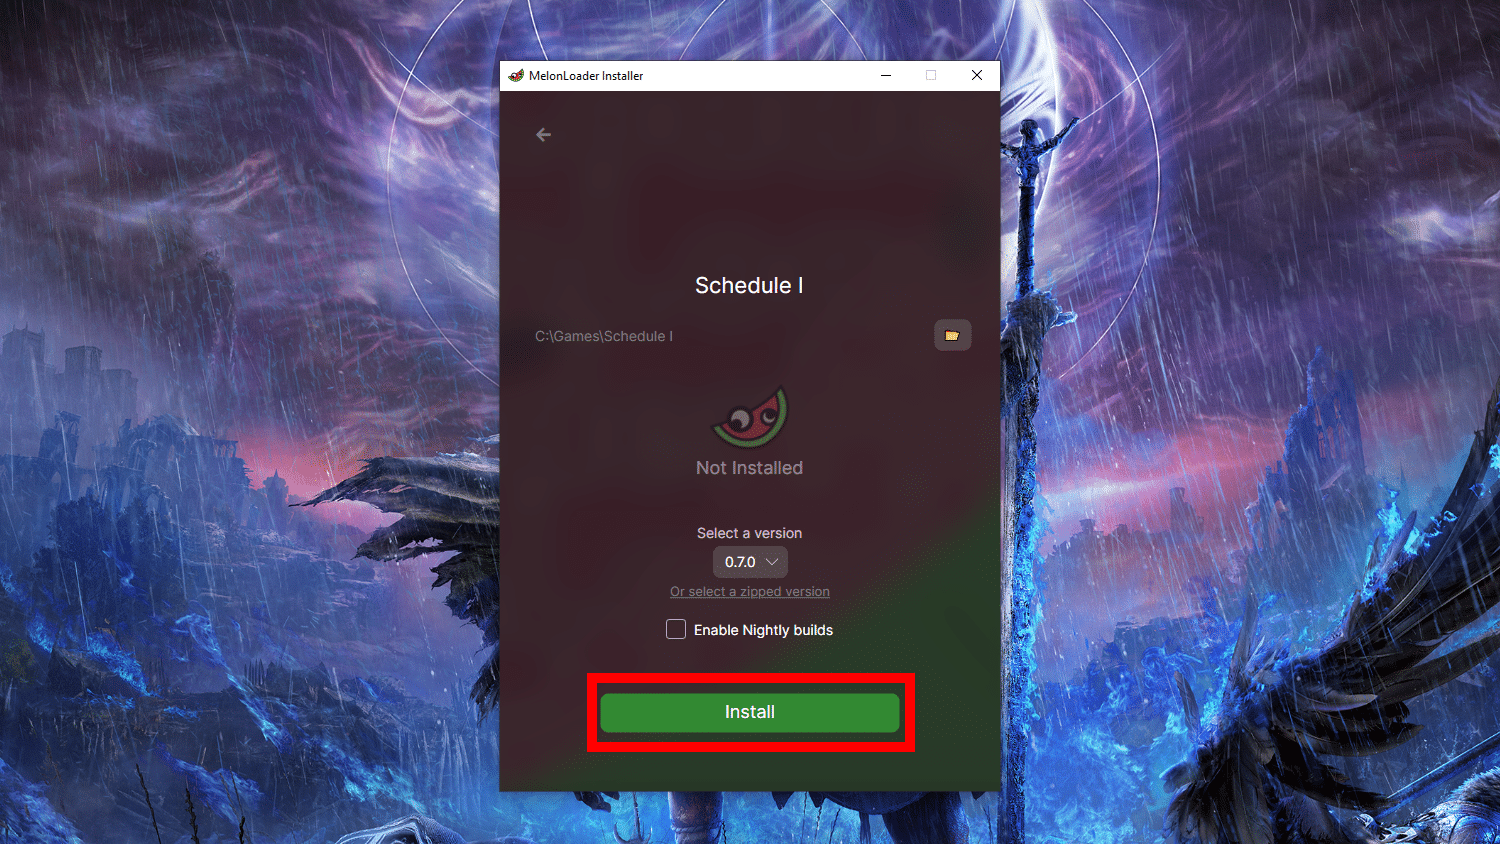
After that, simply press “Install” and let it run until it completes its task. This will automatically grab and install the most recent version of MelonLoader for you.
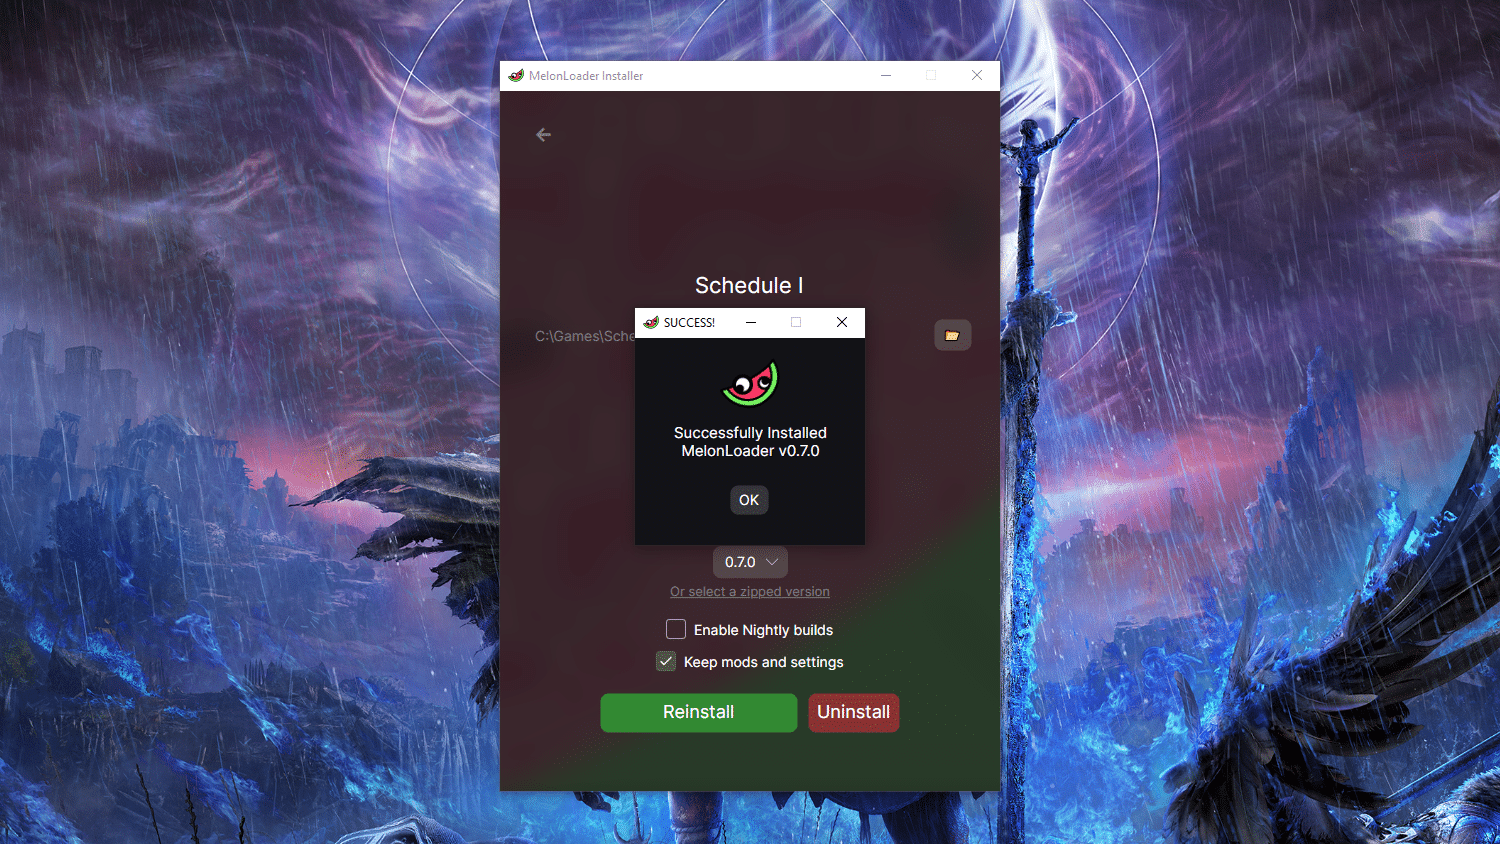
You know, I can always go through the process again if I need to reinstall or update MelonLoader in the future. And if I ever decide to take a break from modding, I can even uninstall it.
Installing Mods Via MelonLoader
After completing the process, hop over to where you’ve got Schedule 1 saved in your Steam Library. You can do this by right-clicking on Schedule 1, choosing “Manage”, then selecting “Browse Local Files” from the menu.
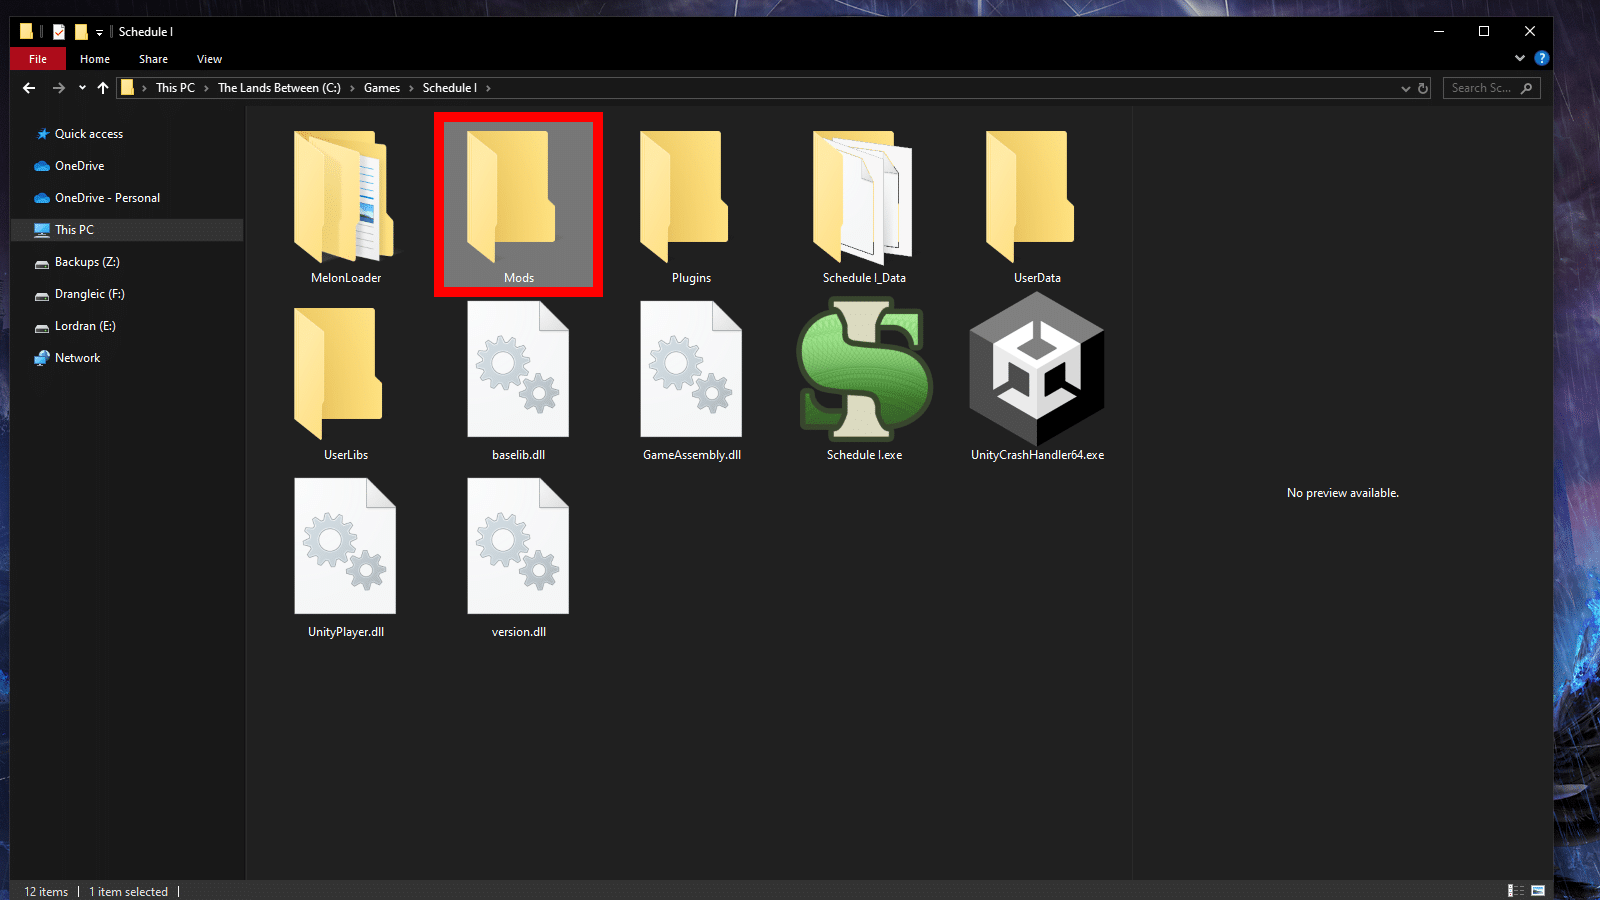
To start using some mods, navigate to the ‘Mods’ folder within the ‘Schedule 1’ folder. This folder is automatically created by MelonLoader. If you haven’t done so already, you might want to check out Nexus Mods for Schedule 1. Remember that in order to download mods from this site, you will need to register first.
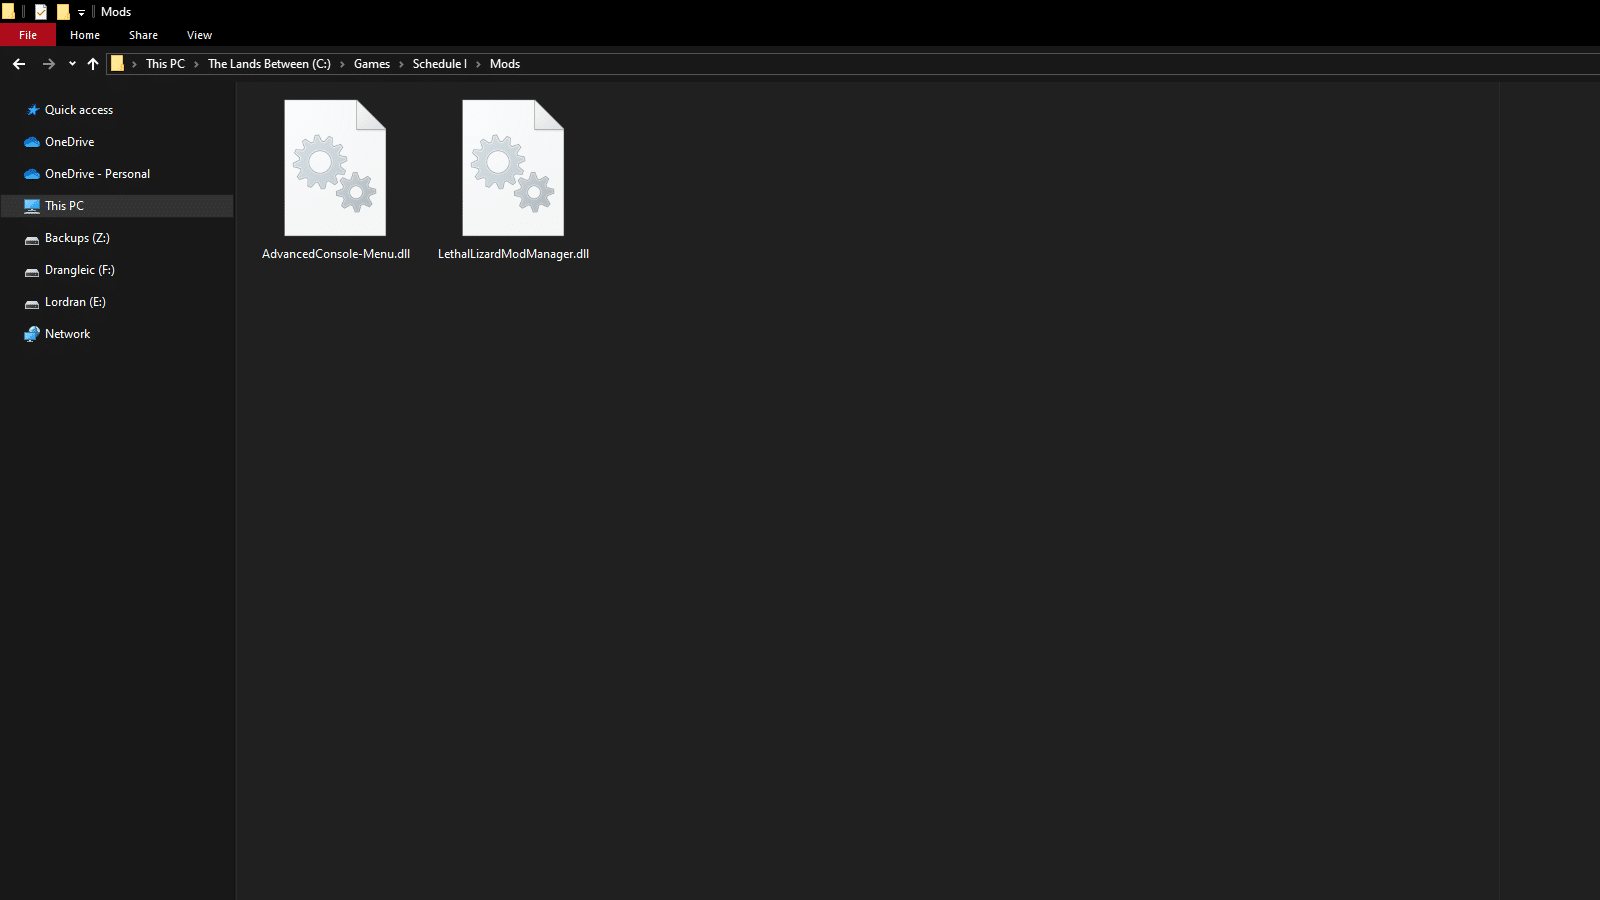
After selecting a mod that appeals to you and downloading it, unzip or extract the files into your ‘Mods’ folder. For instance, you may find mods like “Advanced Console and Menu” or “Mod Manager”.
Extract the contents of the mod you’ve chosen and preferably downloaded, and place them in your designated ‘Mods’ folder for seamless use. Examples of such mods could be the “Advanced Console and Menu” or the “Mod Manager”.
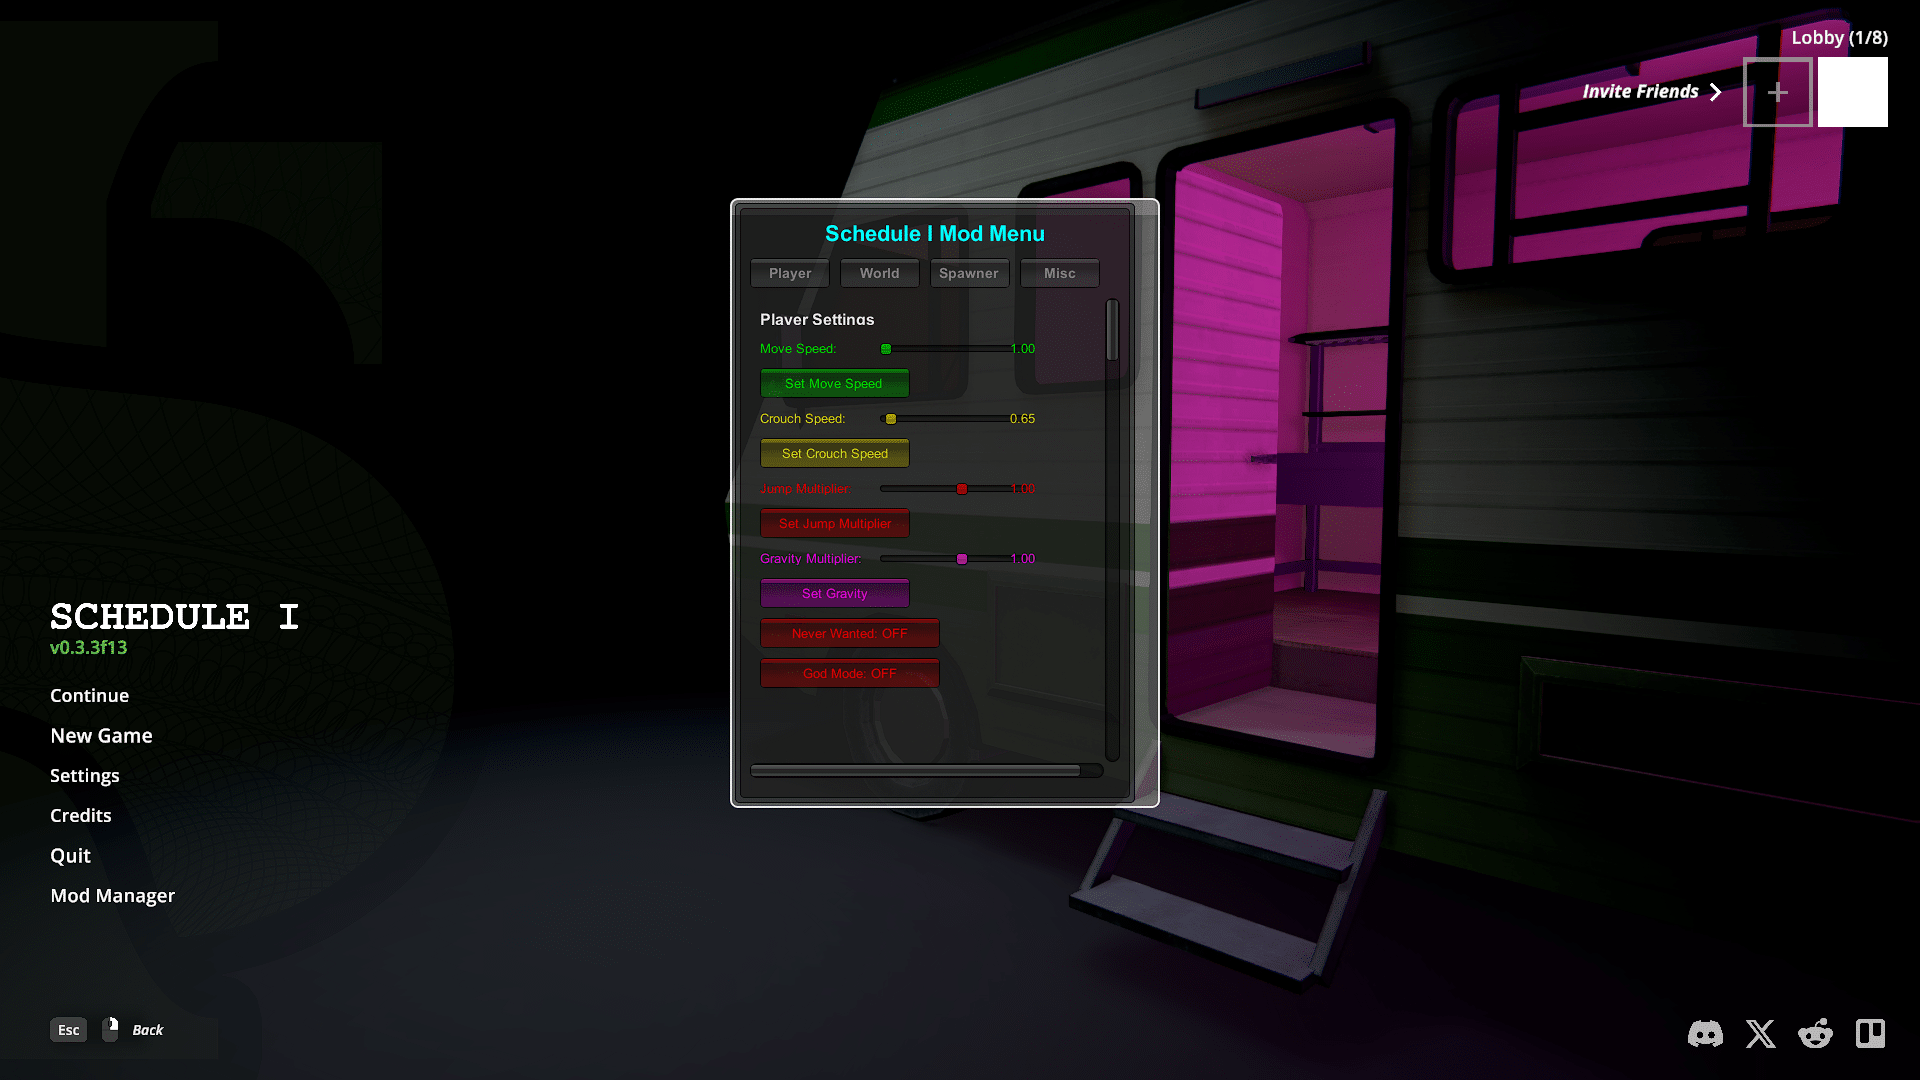
After placing the files in your Mods folder, you’re ready to go! Fire up the game and give one of the mods a spin. It should function smoothly, much like the “Advanced Console and Menu” mod by jxckooo2k25 demonstrated earlier.
To avoid encountering problems with a mod, take a moment to check out its description on its page at Nexus Mods. Some mods may necessitate other mods or software to function properly. Furthermore, it’s possible that the mod might cease functioning after each game update. In this case, you may need to wait for the modder to update it so it works with the latest version.
Regardless, here’s everything you need to set up and utilize new mods for Schedule 1! The current mod scene is quite simple due to the game being relatively new. However, there are plenty of great mods available to tailor the game to your preference.
Without delving into mods, would you be interested in discovering the optimal method for mixing Coke within this game? Feel free to consult our top-notch Coke Recipe Guide!
Read More
- Gold Rate Forecast
- PI PREDICTION. PI cryptocurrency
- Rick and Morty Season 8: Release Date SHOCK!
- Discover the New Psion Subclasses in D&D’s Latest Unearthed Arcana!
- Linkin Park Albums in Order: Full Tracklists and Secrets Revealed
- Masters Toronto 2025: Everything You Need to Know
- We Loved Both of These Classic Sci-Fi Films (But They’re Pretty Much the Same Movie)
- Mission: Impossible 8 Reveals Shocking Truth But Leaves Fans with Unanswered Questions!
- SteelSeries reveals new Arctis Nova 3 Wireless headset series for Xbox, PlayStation, Nintendo Switch, and PC
- Discover Ryan Gosling & Emma Stone’s Hidden Movie Trilogy You Never Knew About!
2025-03-30 06:36