As a seasoned researcher with a knack for exploring digital landscapes, I must say that setting up a virtual machine using Oracle’s VirtualBox on Windows 11 has been a refreshingly straightforward process. The detailed instructions provided here were a godsend, especially when it comes to the often daunting task of navigating BIOS settings and ensuring my system is ready for such operations.
In the year 2024, you can easily and without cost set up a virtual machine for various purposes. Notably, prominent entities such as Microsoft, Broadcom/VMWare, and Oracle provide free software that enables running multiple operating system instances directly on your Windows 11 computer.
It’s the latter of those three we’re focusing on here. Virtualbox by Oracle is a completely free, open-source, and cross-platform virtual machine tool. It’s been around for what feels like eternity, but it’s still in active development today and is absolutely one of the best free virtual machine applications around.
If you’re new to Virtualbox, though, the first thing to do is get yourself set up. Here’s how you go about that.
Before you begin
Before you get started using Virtualbox there is a little bit of housekeeping needed to make sure your system is ready for it.
Initially, if your operating system is Windows 11, it’s likely that your computer’s CPU is up-to-date enough to handle virtual machines smoothly. However, before you can start, there might be specific settings in your BIOS (Basic Input/Output System) that need to be activated first. As each BIOS varies, you may need to consult the user manual for your hardware to learn how to access it and navigate through its menus.
It might be helpful to explicitly state that the subject matter is about software that emulates computer hardware (hardware virtualization). Additionally, ensuring your system supports Intel Virtualization Technology (Intel VT-x) or AMD-based Virtualization (AMD-V) could save time and potential complications later on. So, it’s advisable to check these specific features before proceeding.
To avoid any potential conflicts, make sure that Hyper-V from Microsoft is not already installed on your computer before you start working with VirtualBox. In case Hyper-V is present, you will need to uninstall or disable it prior to using VirtualBox.
How to install Virtualbox on Windows 11
Instead of finding VirtualBox in the Microsoft Store, you can securely obtain it from two different sources.
1. You can start by visiting the VirtualBox website, where you’ll find the installer. After that, open it up just like any other Windows app and follow the instructions to complete the installation process.
But if you use the Windows Package Manager (winget) you can also get it here. Enter the following command into your PowerShell window:
winget install oracle.virtualboxWinget will go and fetch the installer and immediately run it for you.
From my perspective, You’ve successfully installed VirtualBox on your Windows 11 computer! However, before diving into creating any virtual machines, I would recommend checking for and applying any available updates first.
How to update Virtualbox
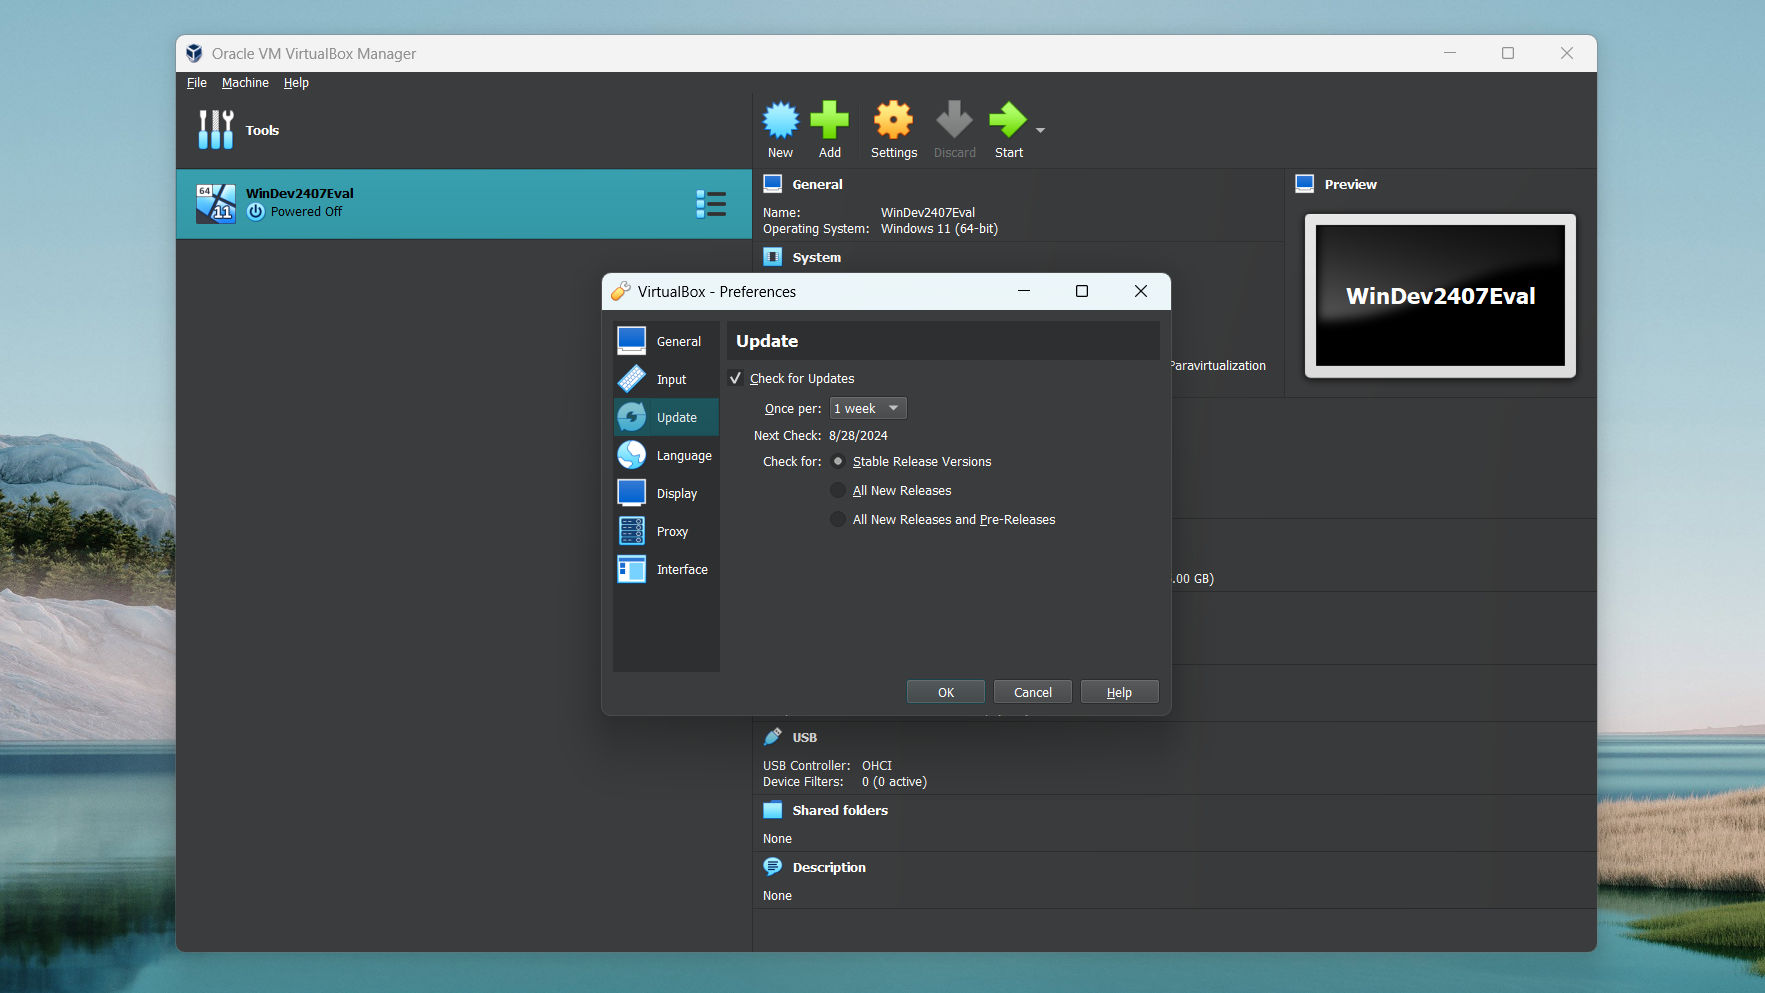
After installation, the app will take care of its own updates, and you can even schedule automatic updates for convenience. While you still have the option to manually check for updates from the File menu, here’s how to ensure it performs regular checks on its own without needing your input:
- Click File.
- Select Preferences.
- Select Update from the sidebar.
- Check the box next to Check for Updates.
- Choose your timeframe from the dropdown box. You have options between one day and one month.
- Select whether you want to check for Stable, all new, or all new and pre-releases of Virtualbox.
- Click OK.
Now, the setup is such that VirtualBox automatically checks for updates based on your chosen schedule. For my part, I’ve opted for a weekly check-up since I prefer to stick with stable versions, and there isn’t much advantage in checking more often than that.
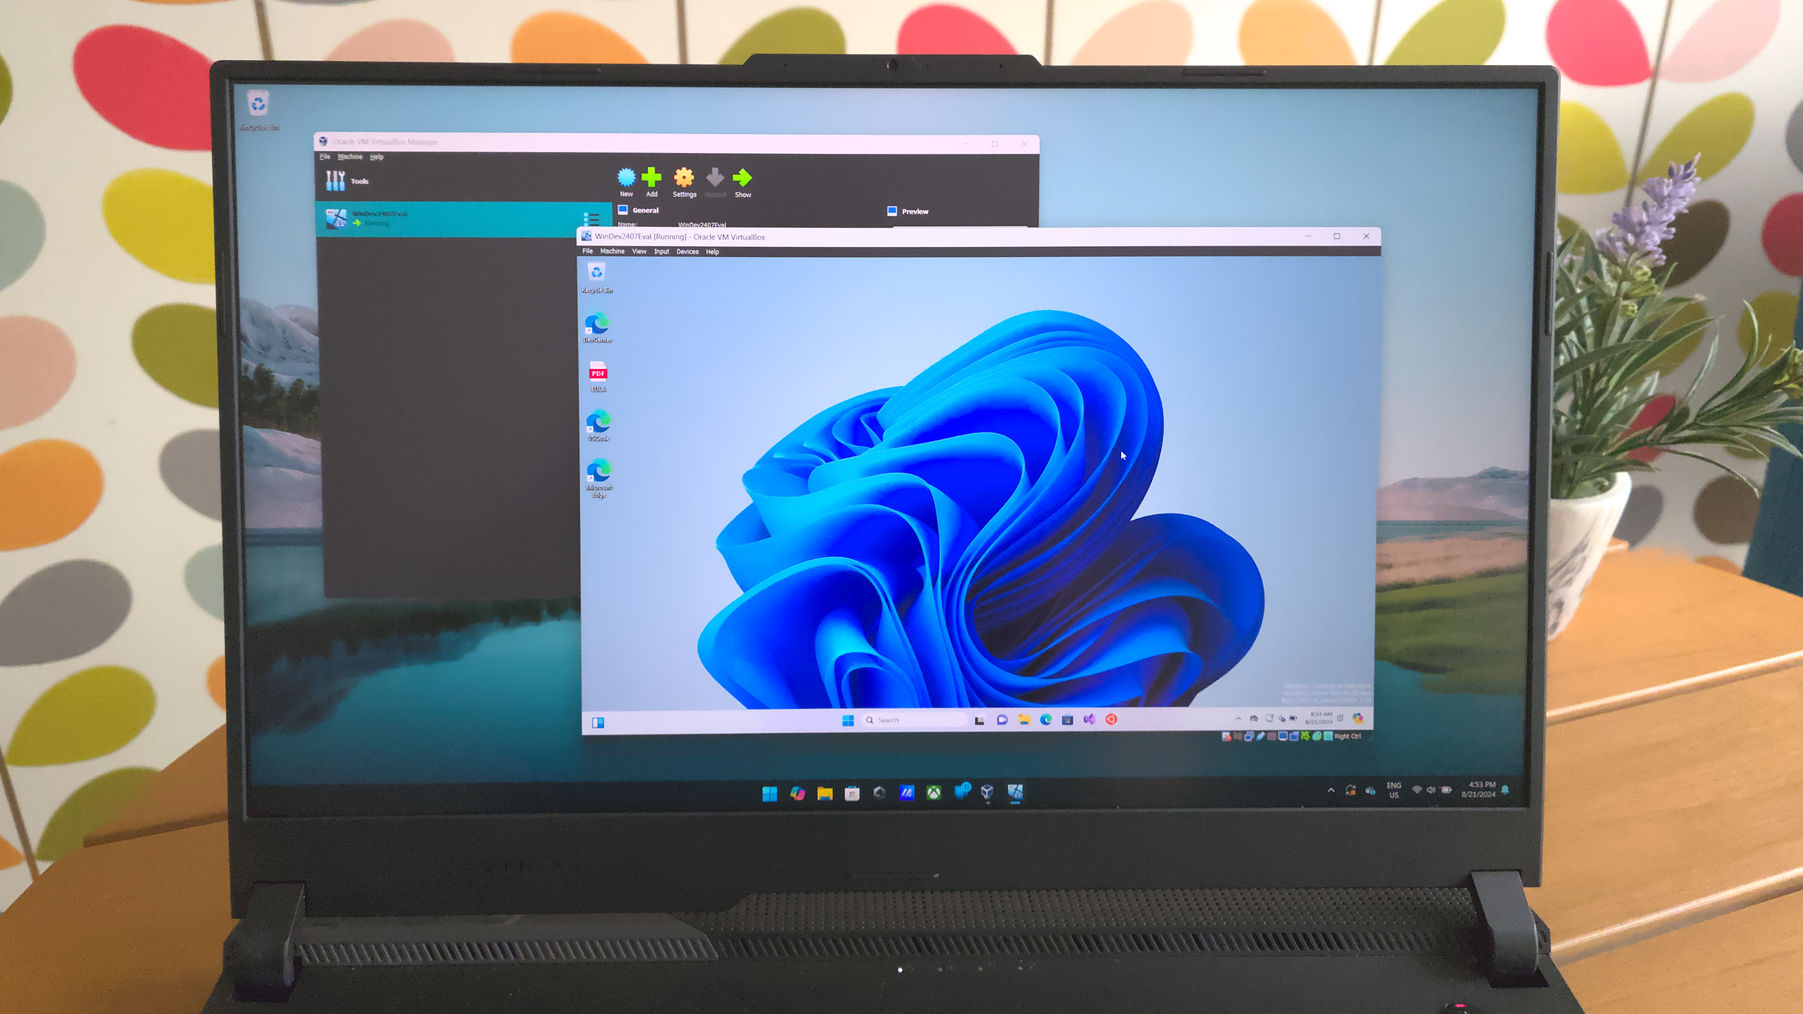
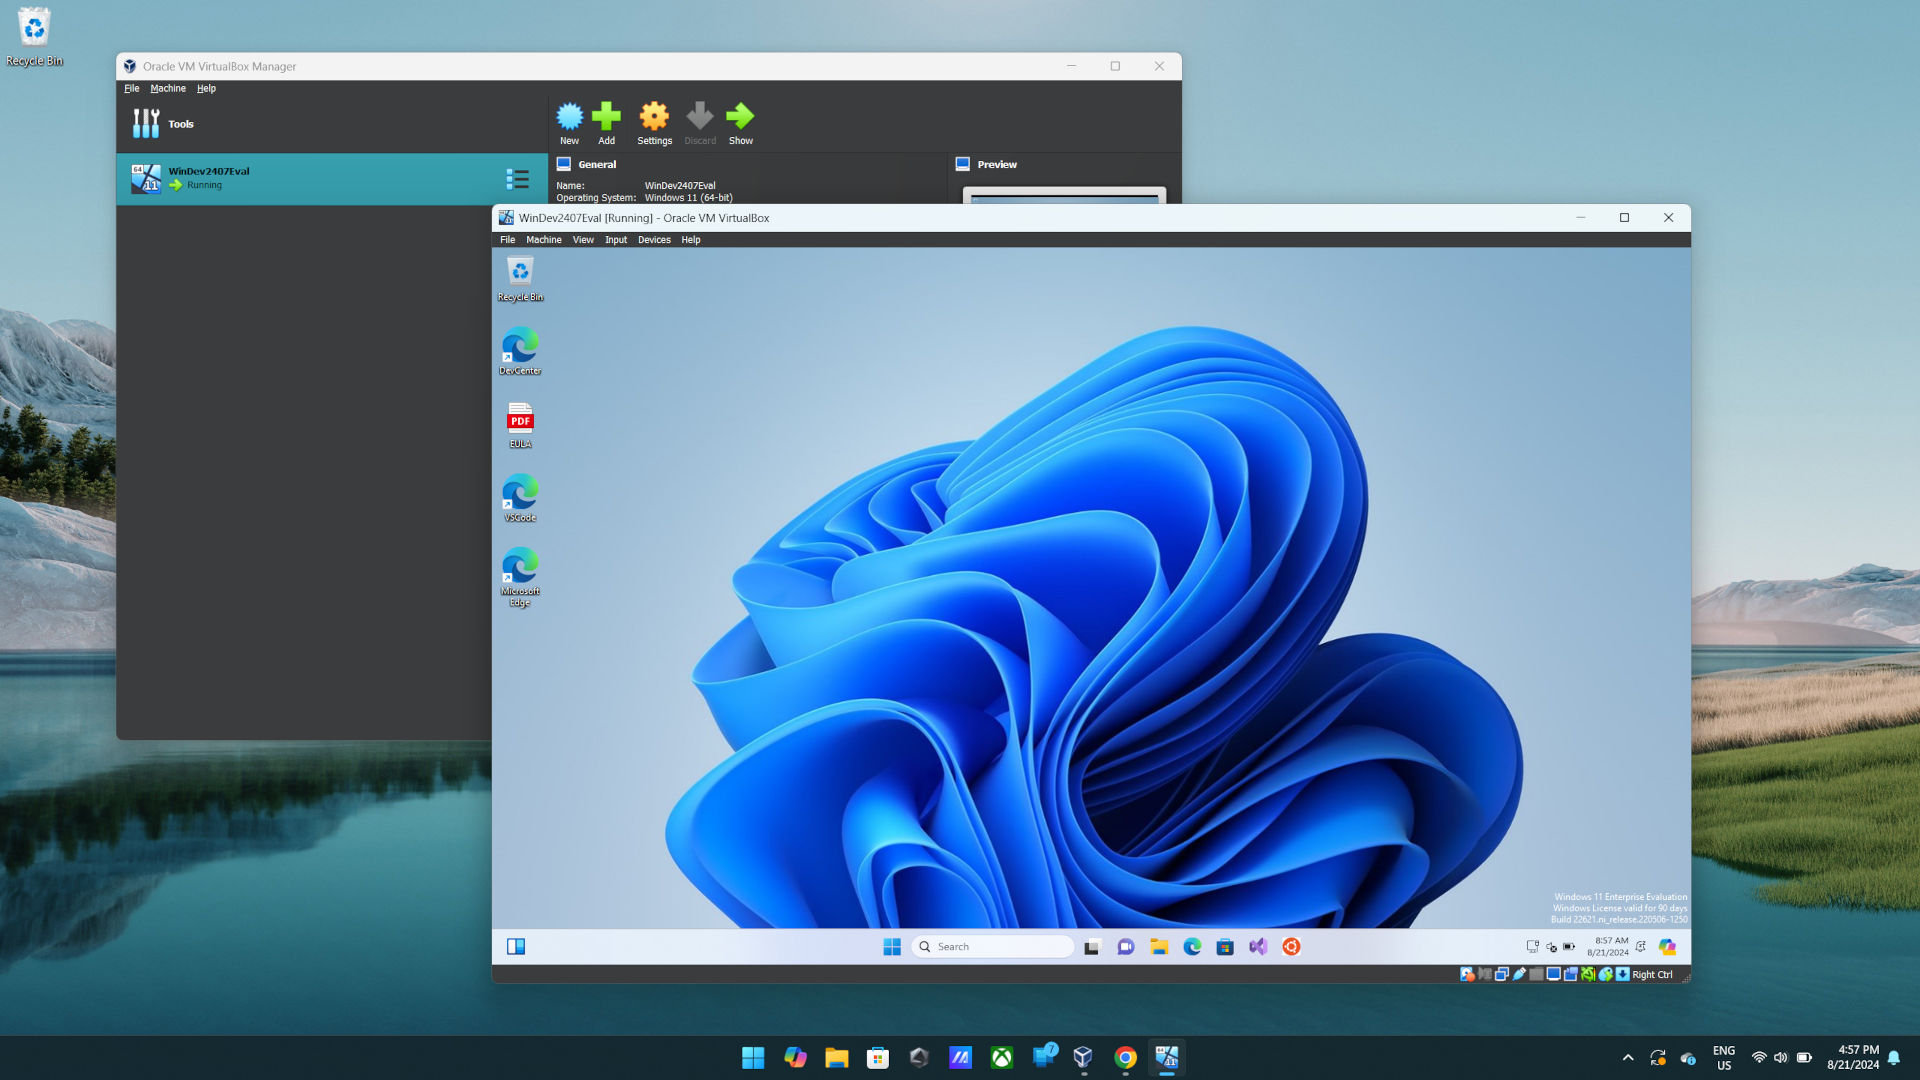
Now that you’ve made your initial stride! The setup for VirtualBox is complete, and all necessary updates have been addressed. It’s time for you to start creating those virtual machines!
Read More
- PI PREDICTION. PI cryptocurrency
- Gold Rate Forecast
- Rick and Morty Season 8: Release Date SHOCK!
- Discover Ryan Gosling & Emma Stone’s Hidden Movie Trilogy You Never Knew About!
- Discover the New Psion Subclasses in D&D’s Latest Unearthed Arcana!
- Linkin Park Albums in Order: Full Tracklists and Secrets Revealed
- Masters Toronto 2025: Everything You Need to Know
- We Loved Both of These Classic Sci-Fi Films (But They’re Pretty Much the Same Movie)
- Mission: Impossible 8 Reveals Shocking Truth But Leaves Fans with Unanswered Questions!
- SteelSeries reveals new Arctis Nova 3 Wireless headset series for Xbox, PlayStation, Nintendo Switch, and PC
2024-08-21 19:39