Alright, mate! Let me walk you through setting up your very own virtual machine using VirtualBox, shall we? It’s a bit like brewing a fine cup of tea, if you will – careful measurements and a steady hand are required.
One widely-used tool for managing virtual machines is Oracle’s VirtualBox. This is partly due to its free nature, but also because it supports multiple operating systems, making it versatile across platforms. Regardless if you’re working on Windows 11, Linux, or macOS, you can easily transfer your VirtualBox virtual machines and workflow to suit your preference.
We have a separate guide on how to install Virtualbox and handle updates, but once you’re done there, the fun really begins. The whole reason you’re using it in the first place.
Here’s what you need to know about setting up your first virtual machine in Virtualbox.
All virtual machines need something to boot from
As a tech enthusiast, I can tell you that setting up a virtual machine is much like assembling a PC or swapping out an operating system – you need a bootable disk. The advantage here is that the required bootable disk is the same as what you’d use in a bare-metal installation, just one step less involved.
As a researcher, I’m focusing on the file type often known as an ISO. Regardless if it’s a virtual machine for Windows or one of the numerous Linux distributions, the initial step is always to obtain the appropriate ISO file first.
In simpler terms, the advantage here is that you don’t have to transfer the operating system image to a USB drive before using it, as VirtualBox can directly interpret the image file. This makes the process less complex and easier to handle.
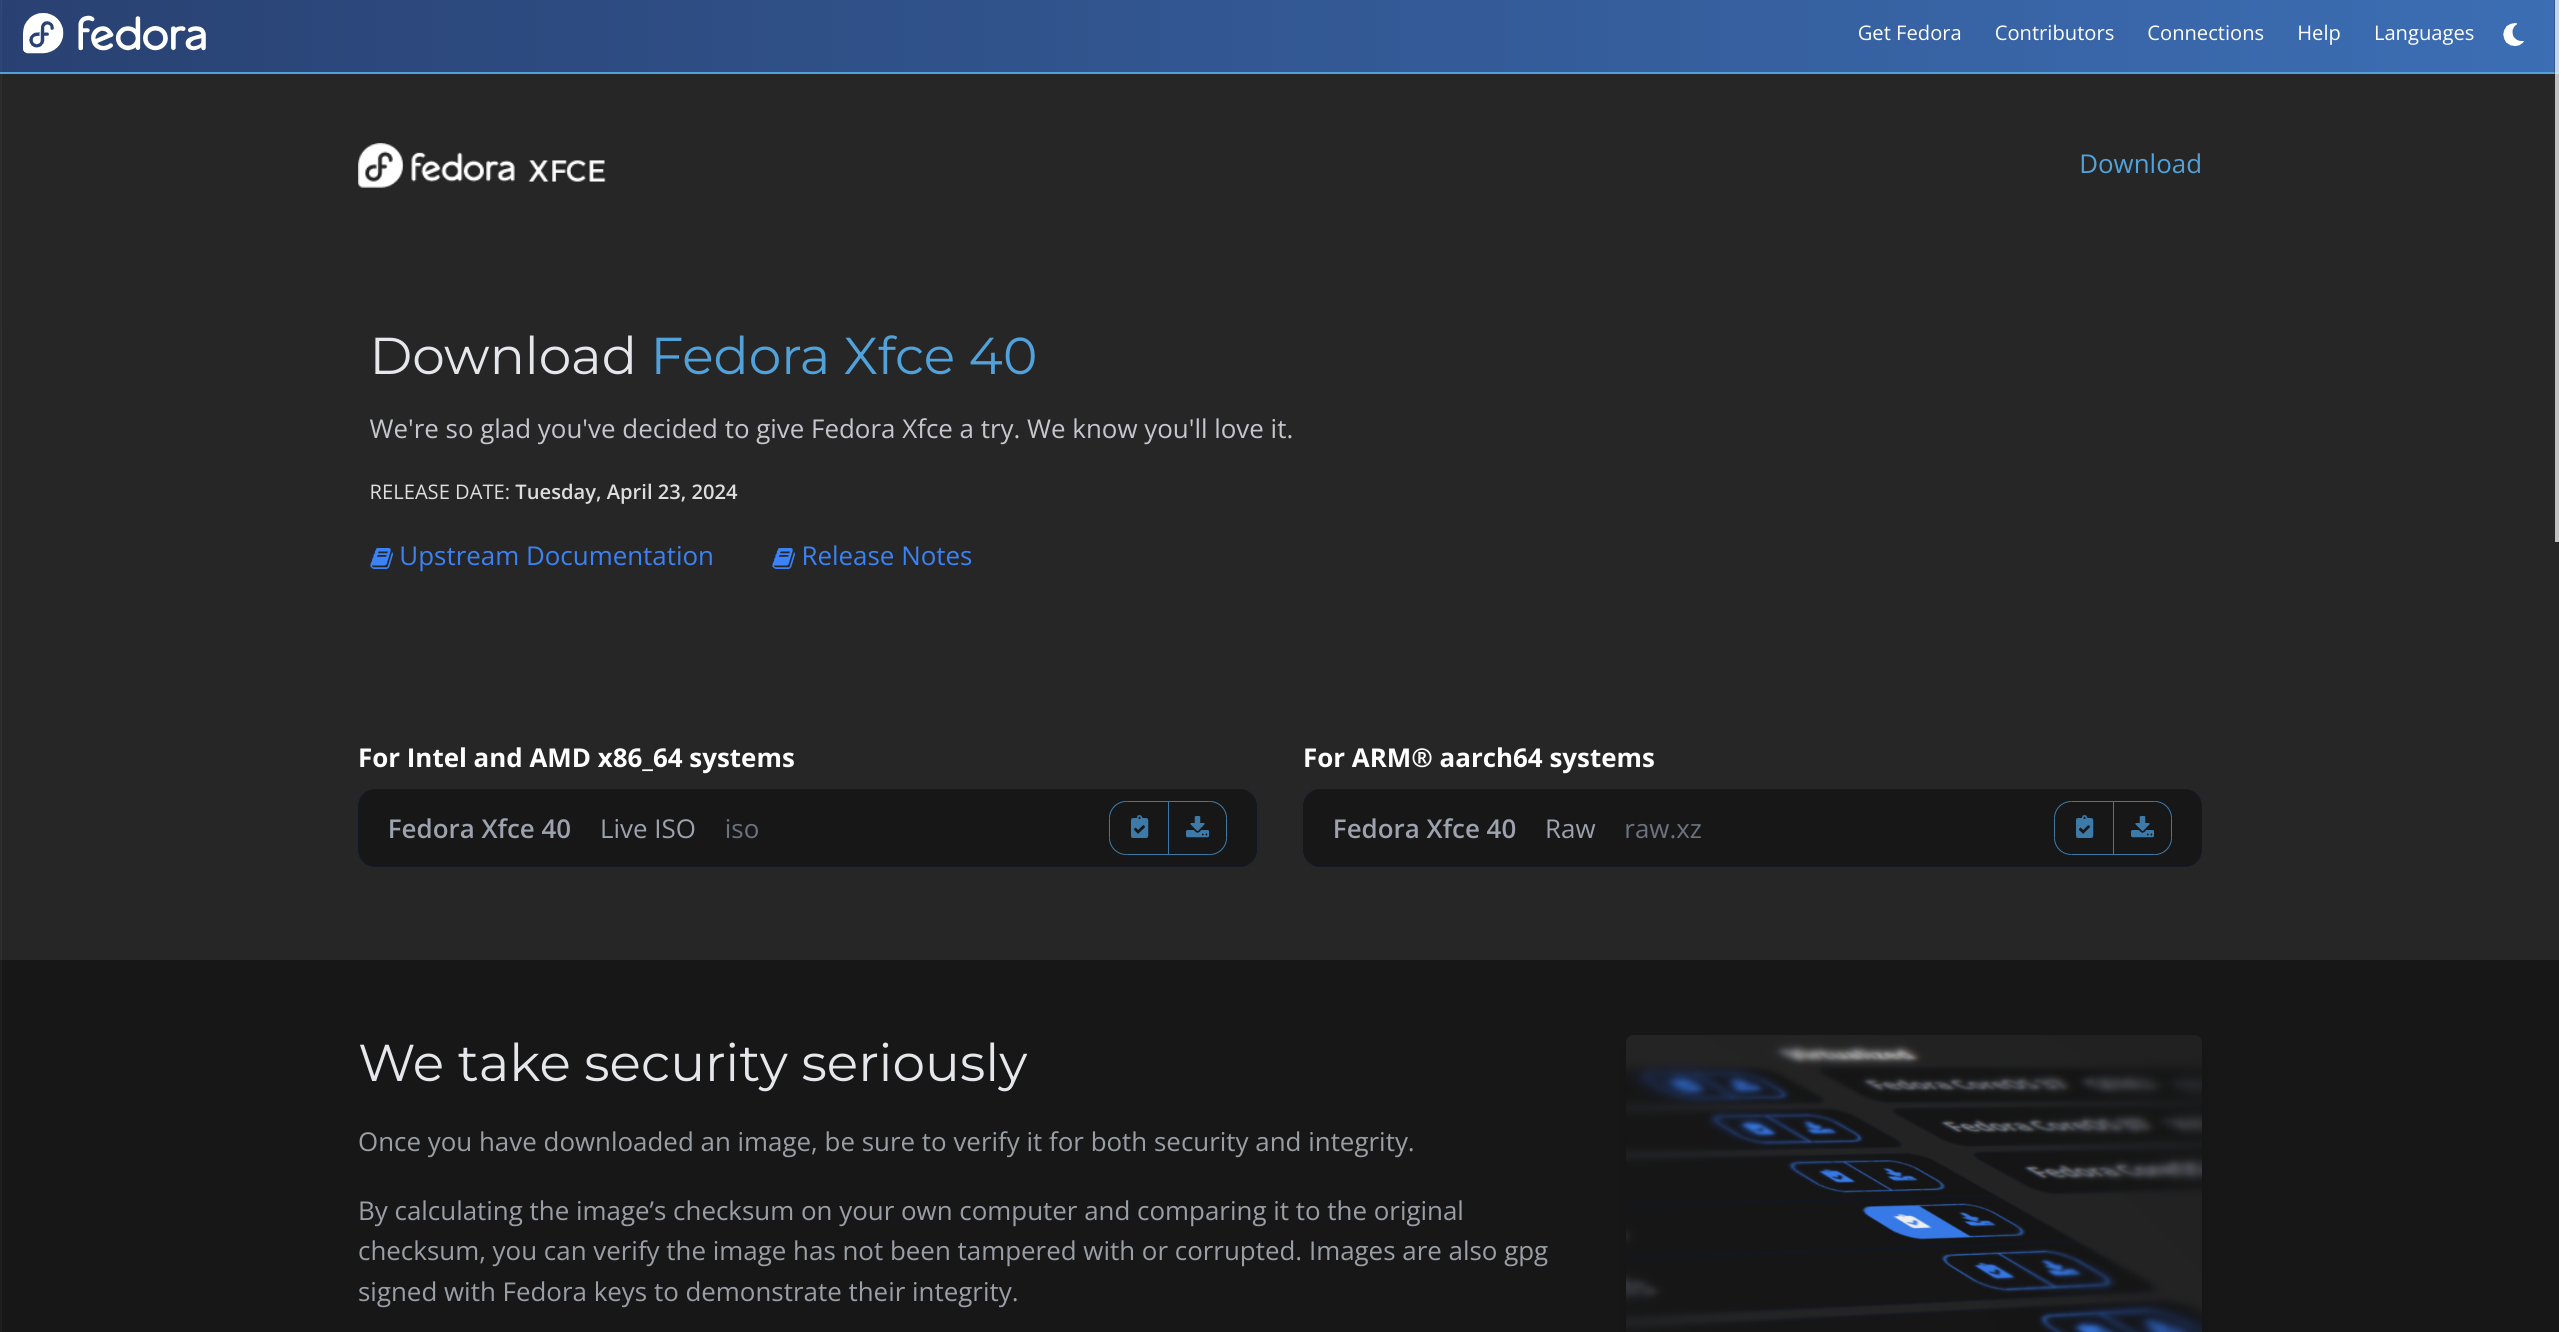
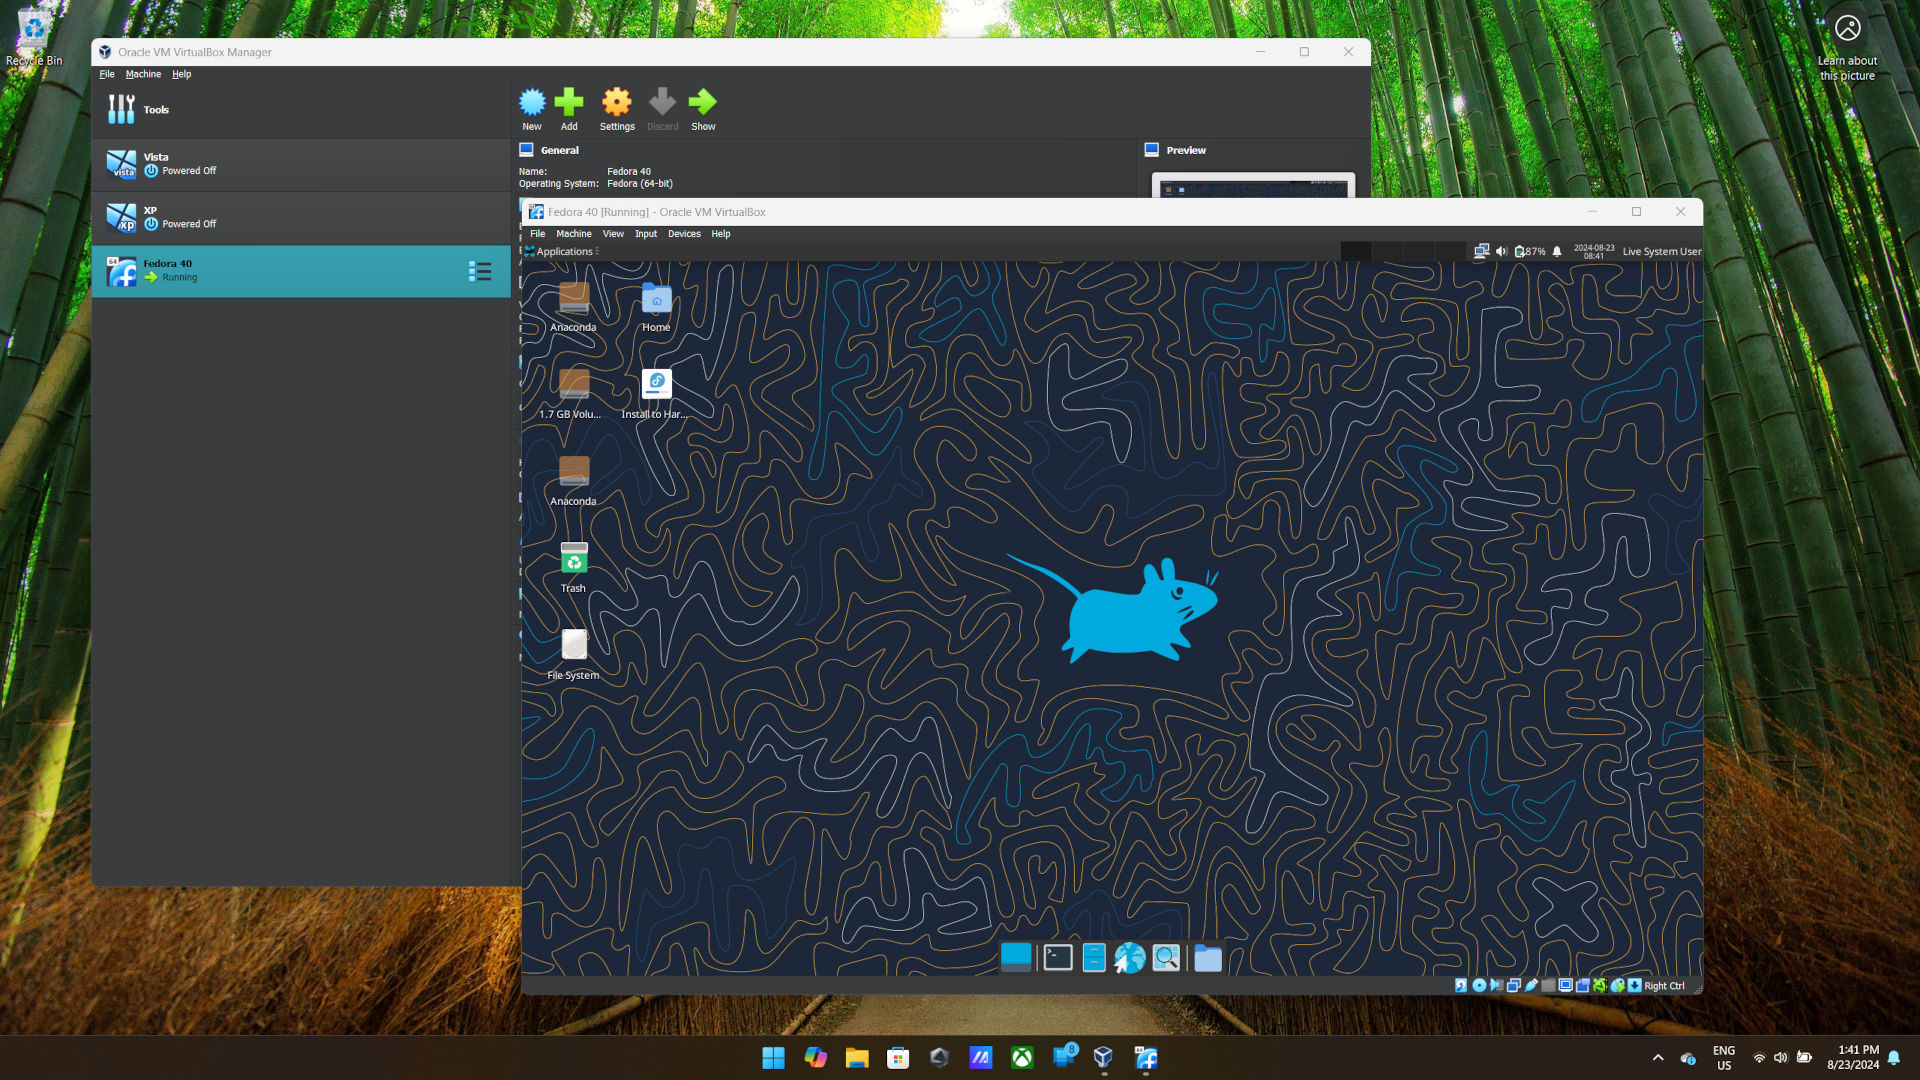
In this tutorial, I’ll be demonstrating the setup process for a virtual machine running Fedora 40. However, you can follow similar steps to set up Windows or other Linux distributions as well. To acquire the required file, just navigate to the Fedora 40 website, locate the version that suits your needs, and proceed with the download.
You do need to remember, also, that you’ll need to match your architecture. Virtualbox on Windows 11 will be able to build x86 and x64 virtual machines, but not ARM64. Likewise, if you’re on an ARM machine, like the new Copilot+ PCs, you’ll need to make sure you download the ARM-specific ISO.
How to set up a virtual machine
Once you have your ISO, you’re ready to get started making a new virtual machine.
Open up Virtualbox on your PC and follow these steps.
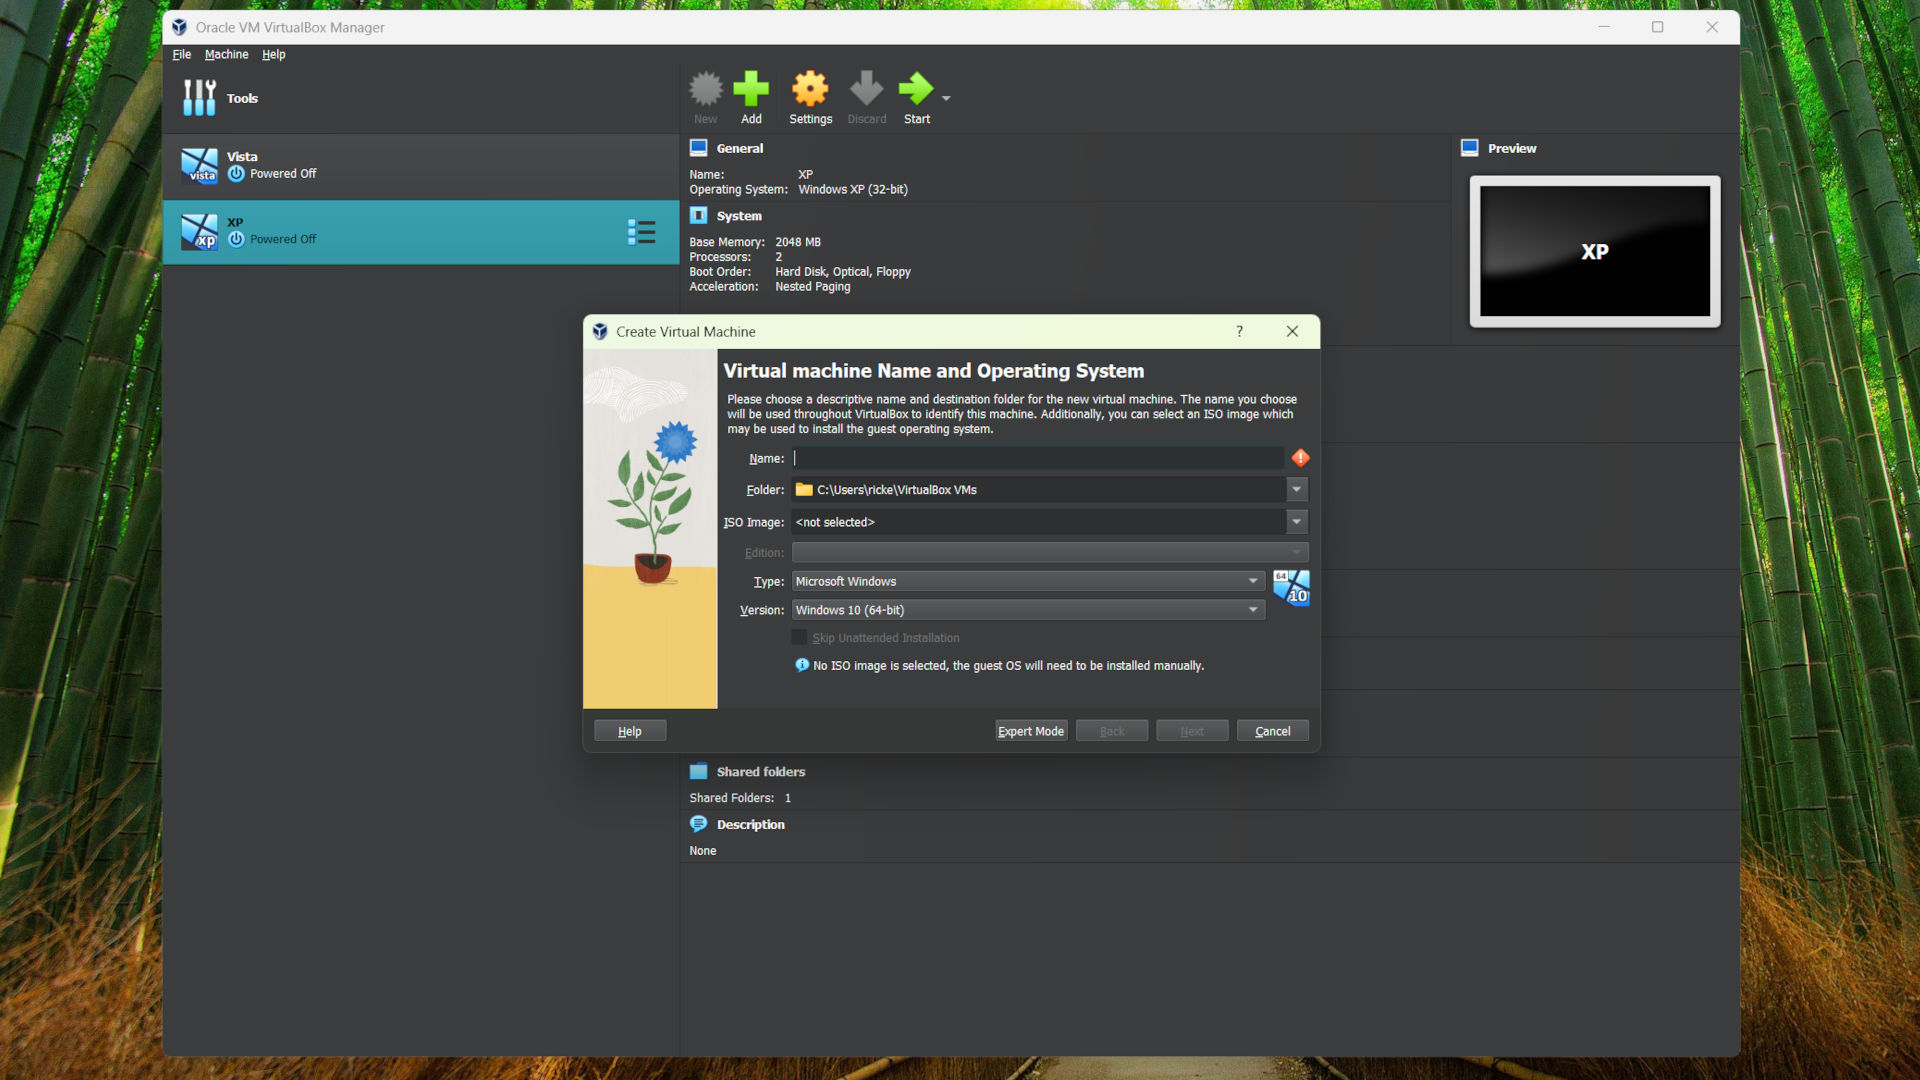
- Click New.
- Give your new virtual machine a name that will help you identify it in the Name box.
- If you want to change the location it installs to on your PC, select that in the Folder dropdown box. Virtualbox has a default location set up after installation.
- From the ISO Image box, choose the ISO file that you’ve downloaded.
- Virtualbox should have recognised it and populated the Type and Version boxes for you, but if it hasn’t select them manually from the dropdowns.
- Click Next.
In this stage, you’ll be choosing the hardware resources that will be assigned to your virtual machine for its operation.
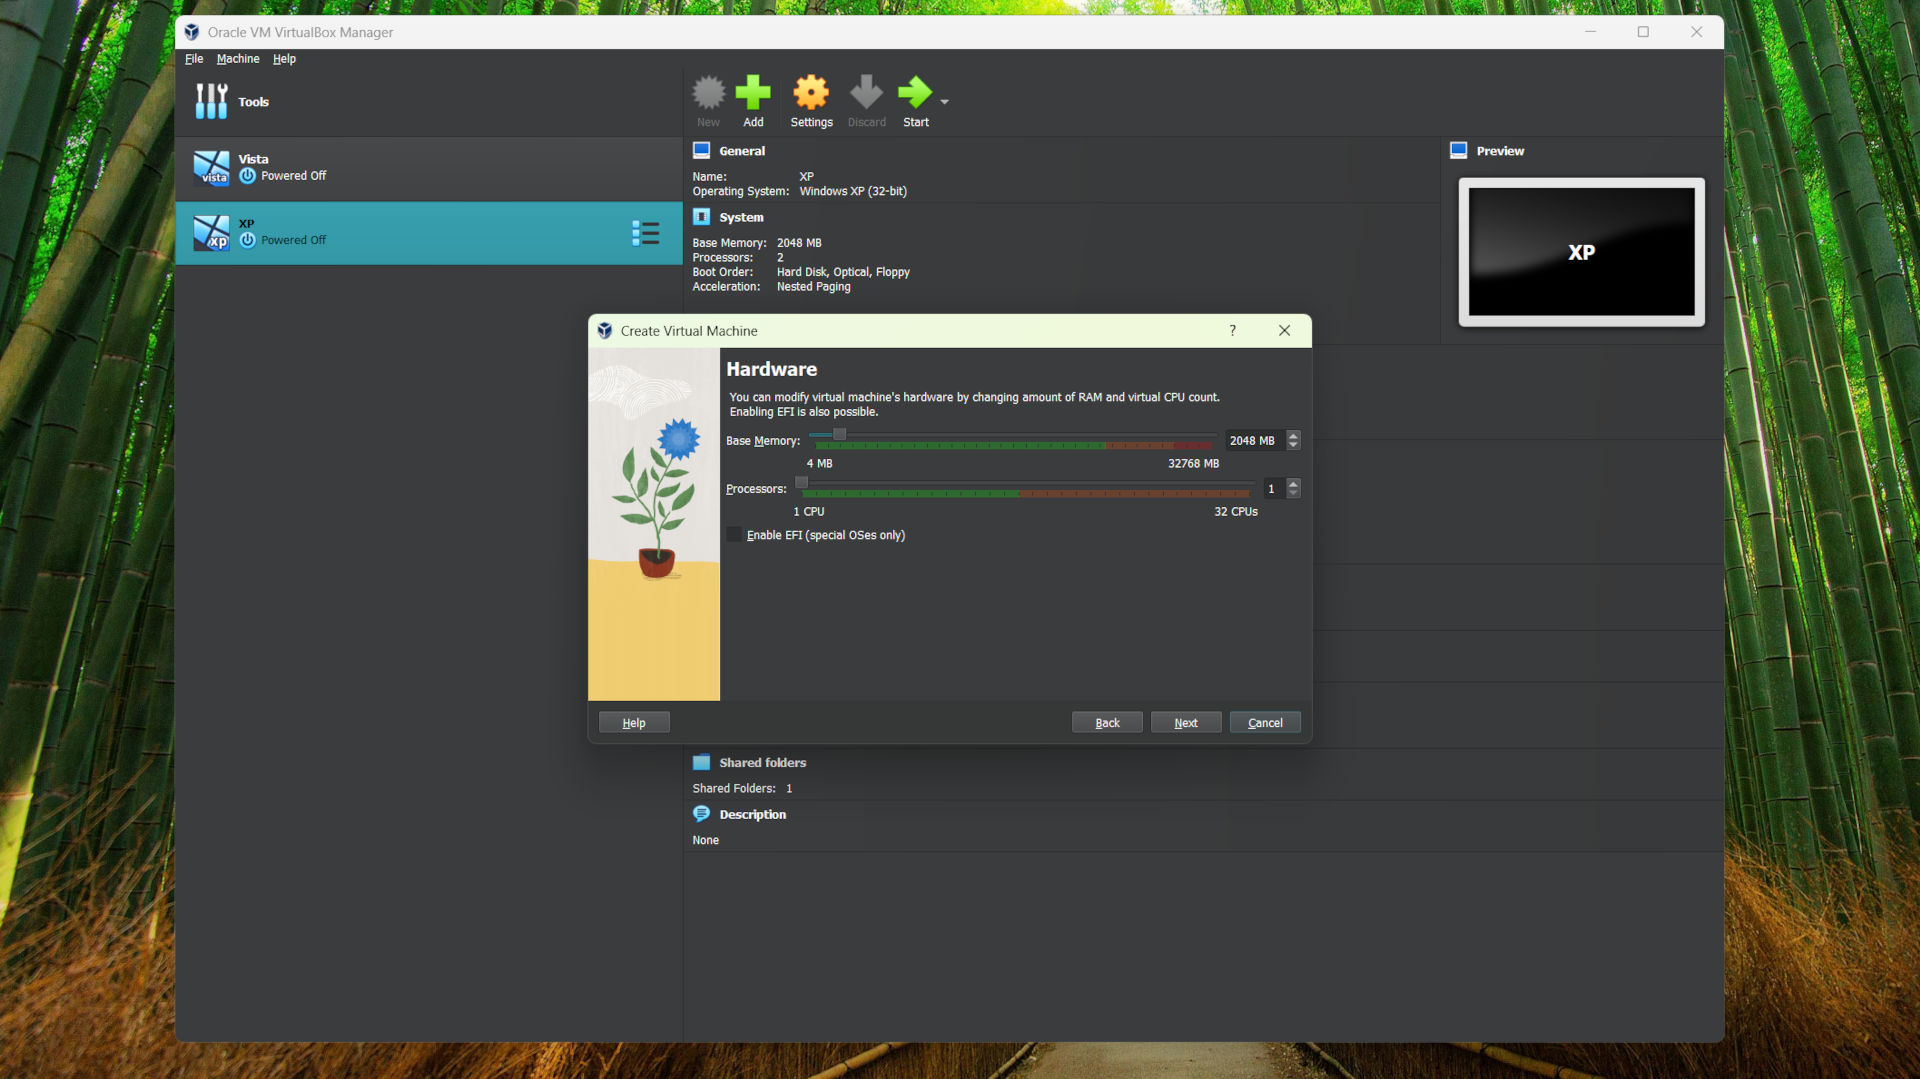
- Using the Base memory slider, decide how much RAM you want your virtual machine to have access to.
- Using the Processors slider, decide how much CPU you want to allocate. It’s important to note that it will be based upon how many threads your CPU has on the host machine. In the image above it shows 32, based on the CPU in my PC having 32 threads on 16 cores.
- Click Next.

- Allocate the storage space you want to be made available to your virtual machine. Think of this as the SSD you would have inside a desktop or laptop, but you can always increase it later on if needed.
- Click Next.
- Check the Summary to make sure you’re happy with the configuration.
- Click Finish.
The basic setup process is now complete, but there’s one more step which you’ll need to do inside your new virtual machine.
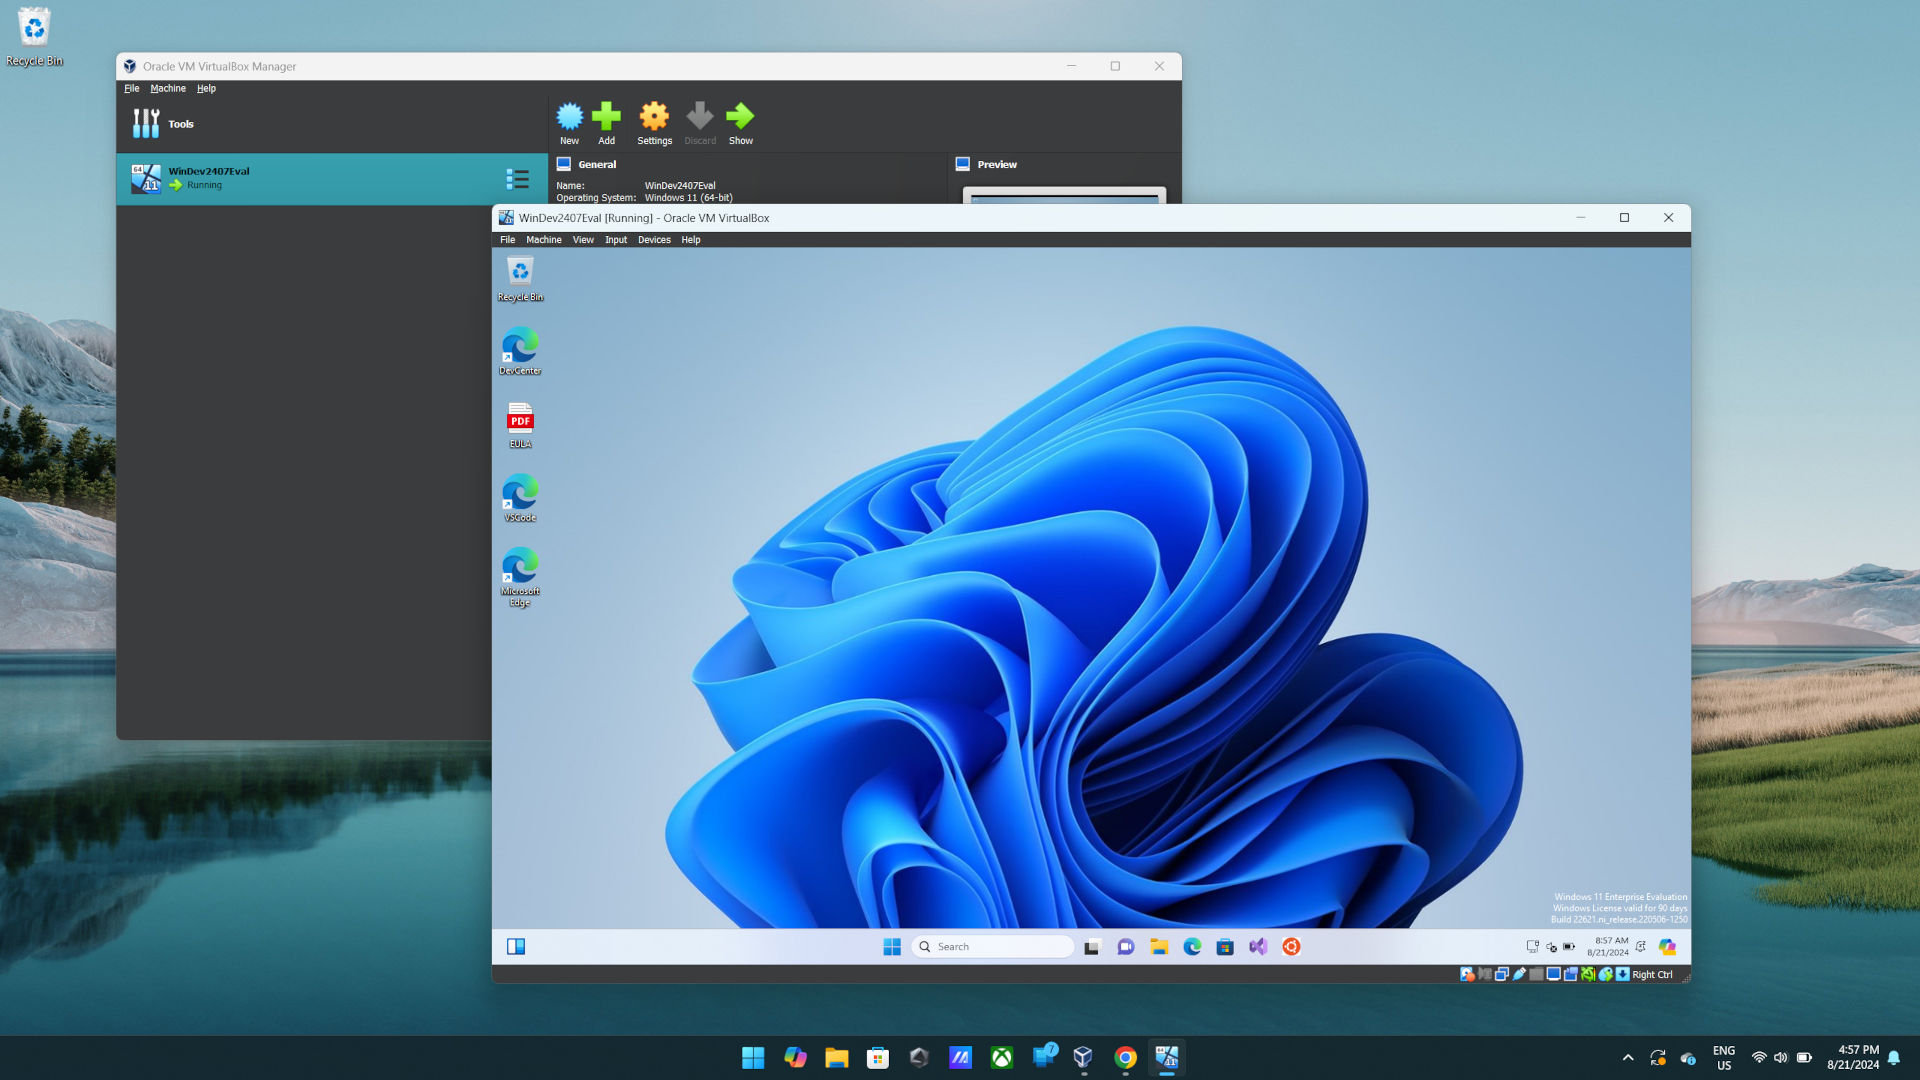
To initiate your chosen virtual machine, simply pick it from the VirtualBox main interface and hit the prominent green “Start” button. This action will ignite the virtual machine, leading you through the regular installation procedure for the selected operating system. The process mirrors that of starting the OS on a physical computer.
Installing Virtualbox Guest Additions into a new Linux or Windows virtual machine
To enhance the experience of utilizing a virtual machine within VirtualBox, it’s recommended that you install the VirtualBox Guest Additions software package. Instead of doing this during the initial setup, you should install it directly within your virtual machine.
As a tech enthusiast, I can’t stress enough the value of diving deep into the comprehensive documentation of VirtualBox Guest Additions to fully grasp its offerings. Among the many useful features, two stand out for me personally: seamless mouse pointer integration, which bridges the gap between guest and host environments; and shared folders with my host machine, enabling easy file access and management across both systems. Lastly, a shared clipboard is another handy tool that synchronizes my copy-paste actions between the guest and host, enhancing productivity significantly.
The process is a little different depending if your virtual machine is running Linux or Windows, but the initial step is the same. Click Devices from the menu bar in your virtual machine window, and select Insert Guest Additions CD image. This will mount the installer into your virtual machine as if you were putting a CD-ROM into a physical PC. Old school.
If you’re operating a Windows virtual machine, just open the disc image (often referred to as an ISO file) and launch the setup program. The installation process will be quite similar to how you’d install other Windows applications using this method.
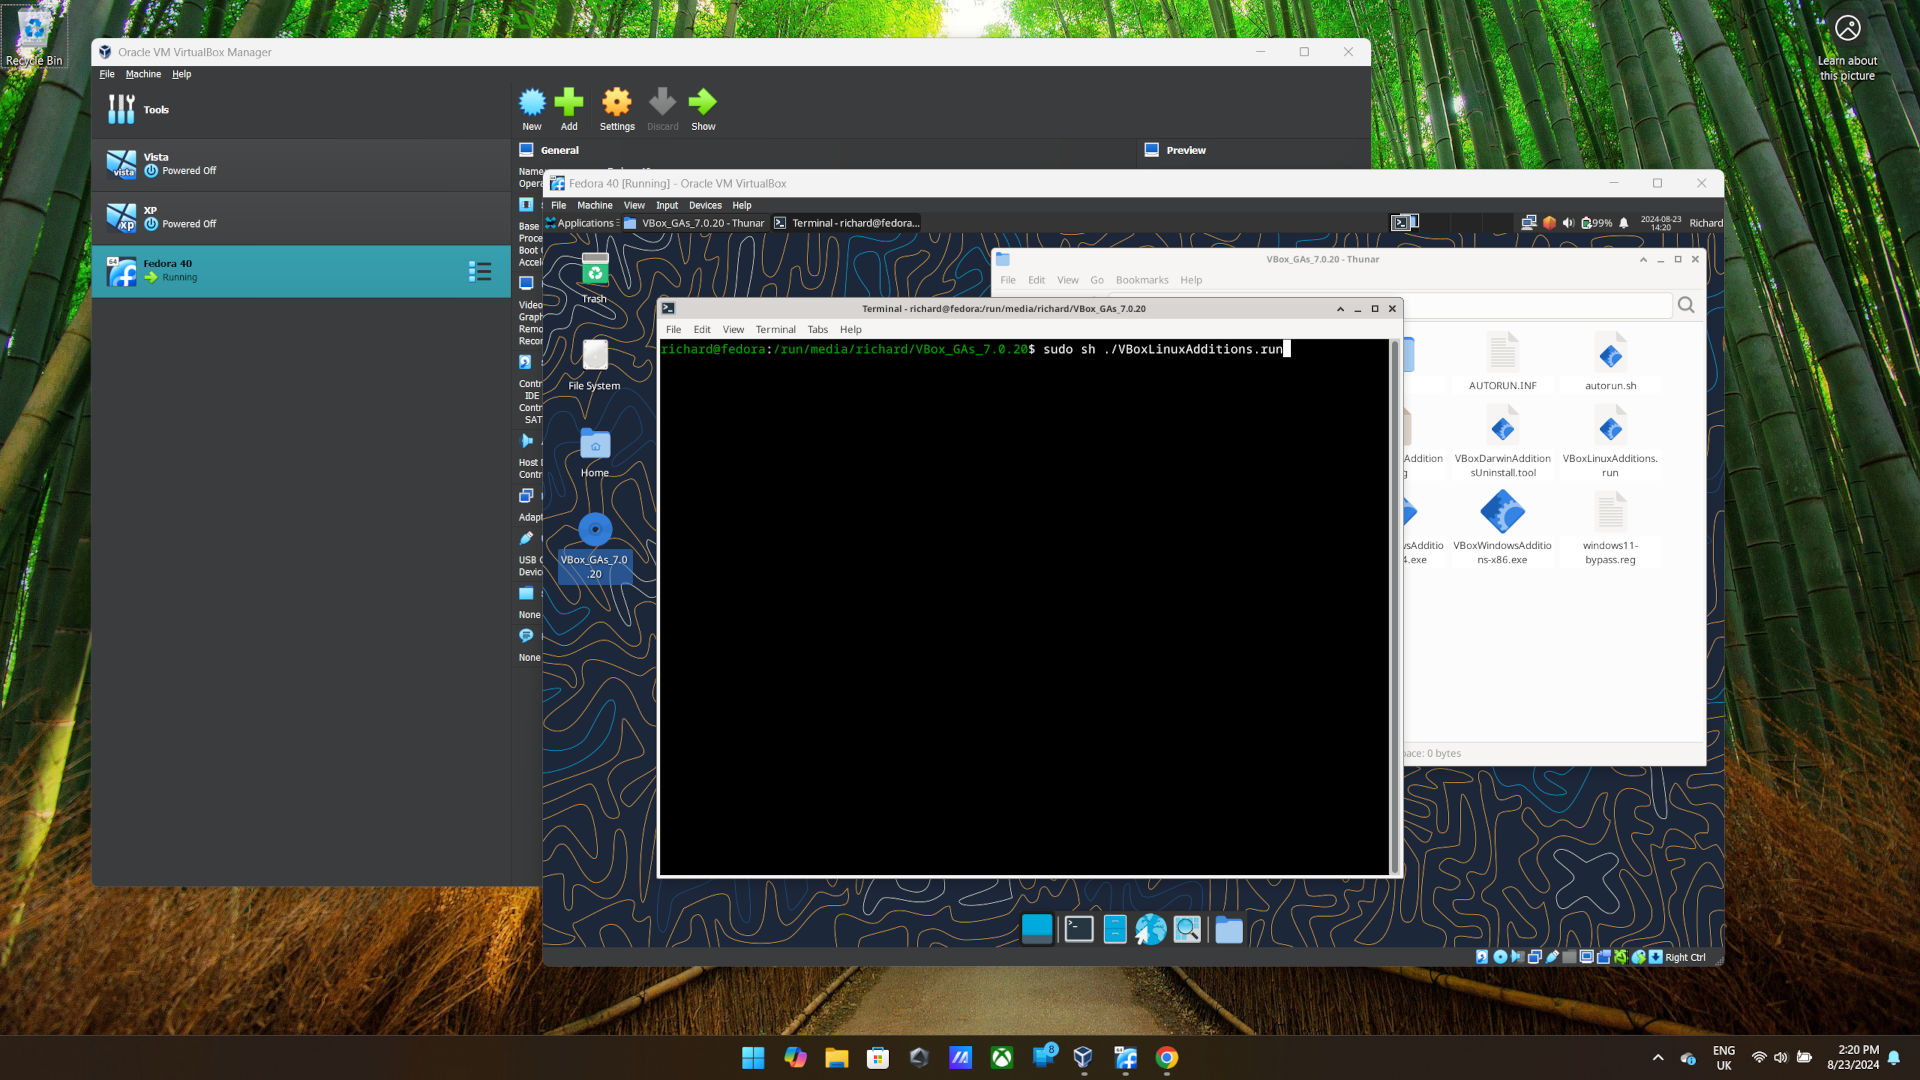
If you’re using Linux, you’ll need to follow these steps.
- Open up the installation media from the desktop or the file manager.
- Right click and choose to Open terminal here.
- Type sudo sh ./VBoxLinuxAdditions.run into the terminal and hit enter.
- As it’s a sudo command you’ll also need the password you set up for your user
The same benefits will now be available to your Linux virtual machines.
Following these steps, you’ll end up with a functioning virtual machine tailored to your specifications, complete with the Guest Additions installed. This will significantly enhance your overall user experience.
You have the flexibility to adjust settings for your virtual machines according to your requirements, however, keep in mind that it’s advisable to ensure they are turned off prior to making modifications. Certain settings can’t be altered while a virtual machine is running, so it’s generally a good habit to turn everything off before you start tweaking anything.
Read More
- PI PREDICTION. PI cryptocurrency
- WCT PREDICTION. WCT cryptocurrency
- SUI’s price hits new ATH to flip LINK, TON, XLM, and SHIB – What next?
- The Battle Royale That Started It All Has Never Been More Profitable
- McDonald’s Japan Confirms Hatsune Miku Collab for “Miku Day”
- Buckle Up! Metaplanet’s Bitcoin Adventure Hits New Heights 🎢💰
- Royal Baby Alert: Princess Beatrice Welcomes Second Child!
- EastEnders’ Balvinder Sopal hopes for Suki and Ash reconciliation: ‘Needs to happen’
- The Bachelor’s Ben Higgins and Jessica Clarke Welcome Baby Girl with Heartfelt Instagram Post
- Michael Saylor’s Bitcoin Wisdom: A Tale of Uncertainty and Potential 🤷♂️📉🚀
2024-08-27 13:09