In Monster Hunter Wilds, while ranged weapons exist and have their enthusiasts, most of the weapons in the game encourage players to approach enemies closely for maximum impact. Each weapon demands unique strategies, catering to diverse player styles.
The hammer is a powerful melee weapon that can be extremely effective for players who know when to dodge and attack. It’s especially handy during battles while on Seikret’s mount. Available in various versions, each upgrade makes the hammer even more lethal compared to its previous state.
Suitable Playstyle For Hammer
Although the Hammer isn’t as heavy as the Heavy Bowgun, limiting your mobility significantly, it’s not quite as agile as the Dual Blades or Insect Glaive. This means that in a mobility chart, the Hammer would be positioned near weapons with lower mobility but higher damage potential.
The significance of positioning remains crucial when wielding the hammer, as once it’s equipped, the player finds themselves moving too slowly. Therefore, carefully timing dodges and strikes is essential to avoid initiating a combo while your foe prepares for a fatal strike. In Monster Hunter Wilds, there’s no option to swap an attack move for a dodge.
Here’s another way:
The importance of positioning doesn’t diminish when using the hammer, as it makes movement sluggish for the player. Hence, precision in timing dodges and strikes is key, to ensure you don’t kick off a combo during your enemy’s preparations for a lethal attack. In Monster Hunter Wilds, players can’t swap an attack move for a dodge mid-action.
If you don’t mind its limited mobility, this weapon is highly efficient against monsters, particularly during campaigns where the bosses aren’t overly challenging. The weapon boasts several combos, some of which deal significant damage. Notably, most of these combos are straightforward to execute and can quickly deplete a monster’s health, especially when they are weakened.
How To Effectively Use Hammer
Here are some suggestions for hunters to improve their use of hammers against monsters. To start with, don’t hesitate to get close to the monster’s feet. Since this is a melee weapon, it’s essential to stay as near as possible to the enemy, but there are instances where this isn’t advisable.
As a skilled gamer, when it comes to battling creatures with predictable attack patterns, I can usually manage to deliver two or three standard strikes before executing an evasive maneuver. However, if the monster is crawling or too challenging to dodge swiftly, I’d recommend employing Seikret. Simply climb onto it and begin hammering away by rapidly pressing X/Y/Left Mouse Button. The goal is to get close, strike, then move away, creating a zig-zag pattern around the boss. This strategy tends to work particularly well against monsters like Uth Duna.

To maximize the advantages of using the hammer and Seikret combo, consider charging towards the monster instead. Once you’re near it, press and hold Triangle + Circle / Y + B / Left Mouse Button + Right Mouse Button to execute a Dismount Attack. This move causes the hunter to swing the hammer repeatedly in mid-air, dealing around 3 to 4 hits. On occasion, this attack might even land on top of the monster, allowing you to knife it and follow up with a powerful finisher.
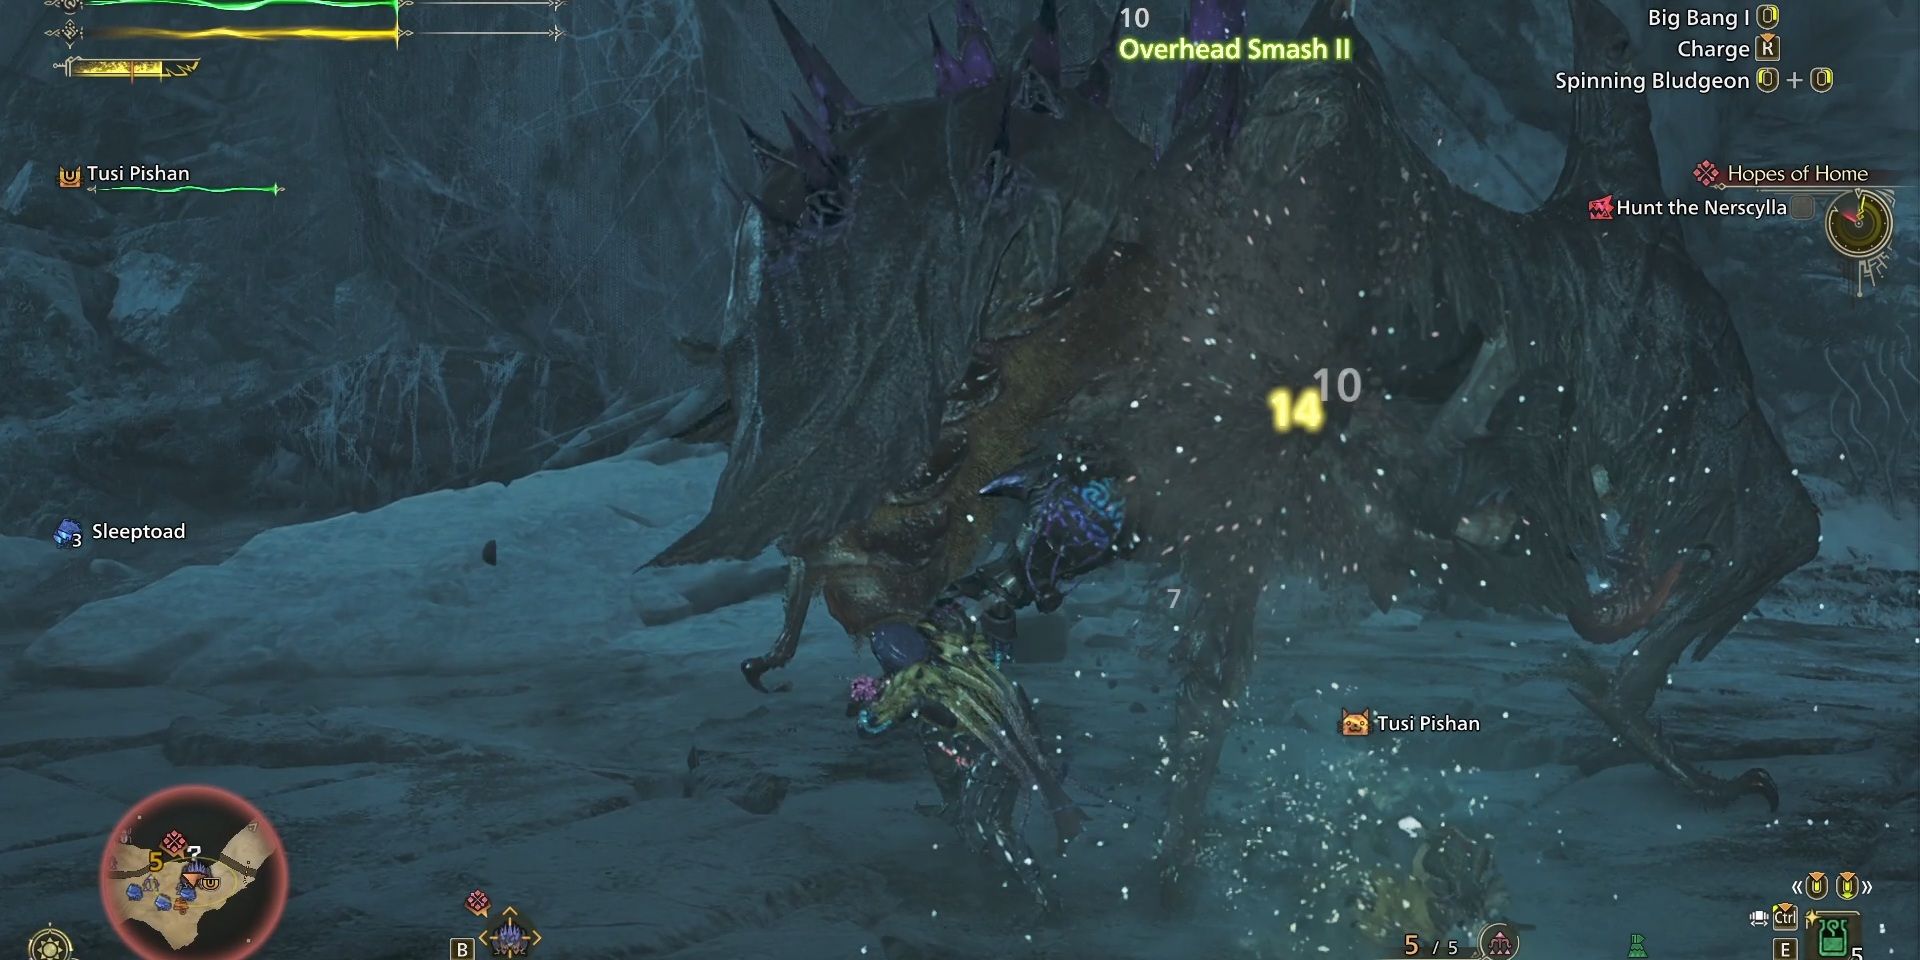
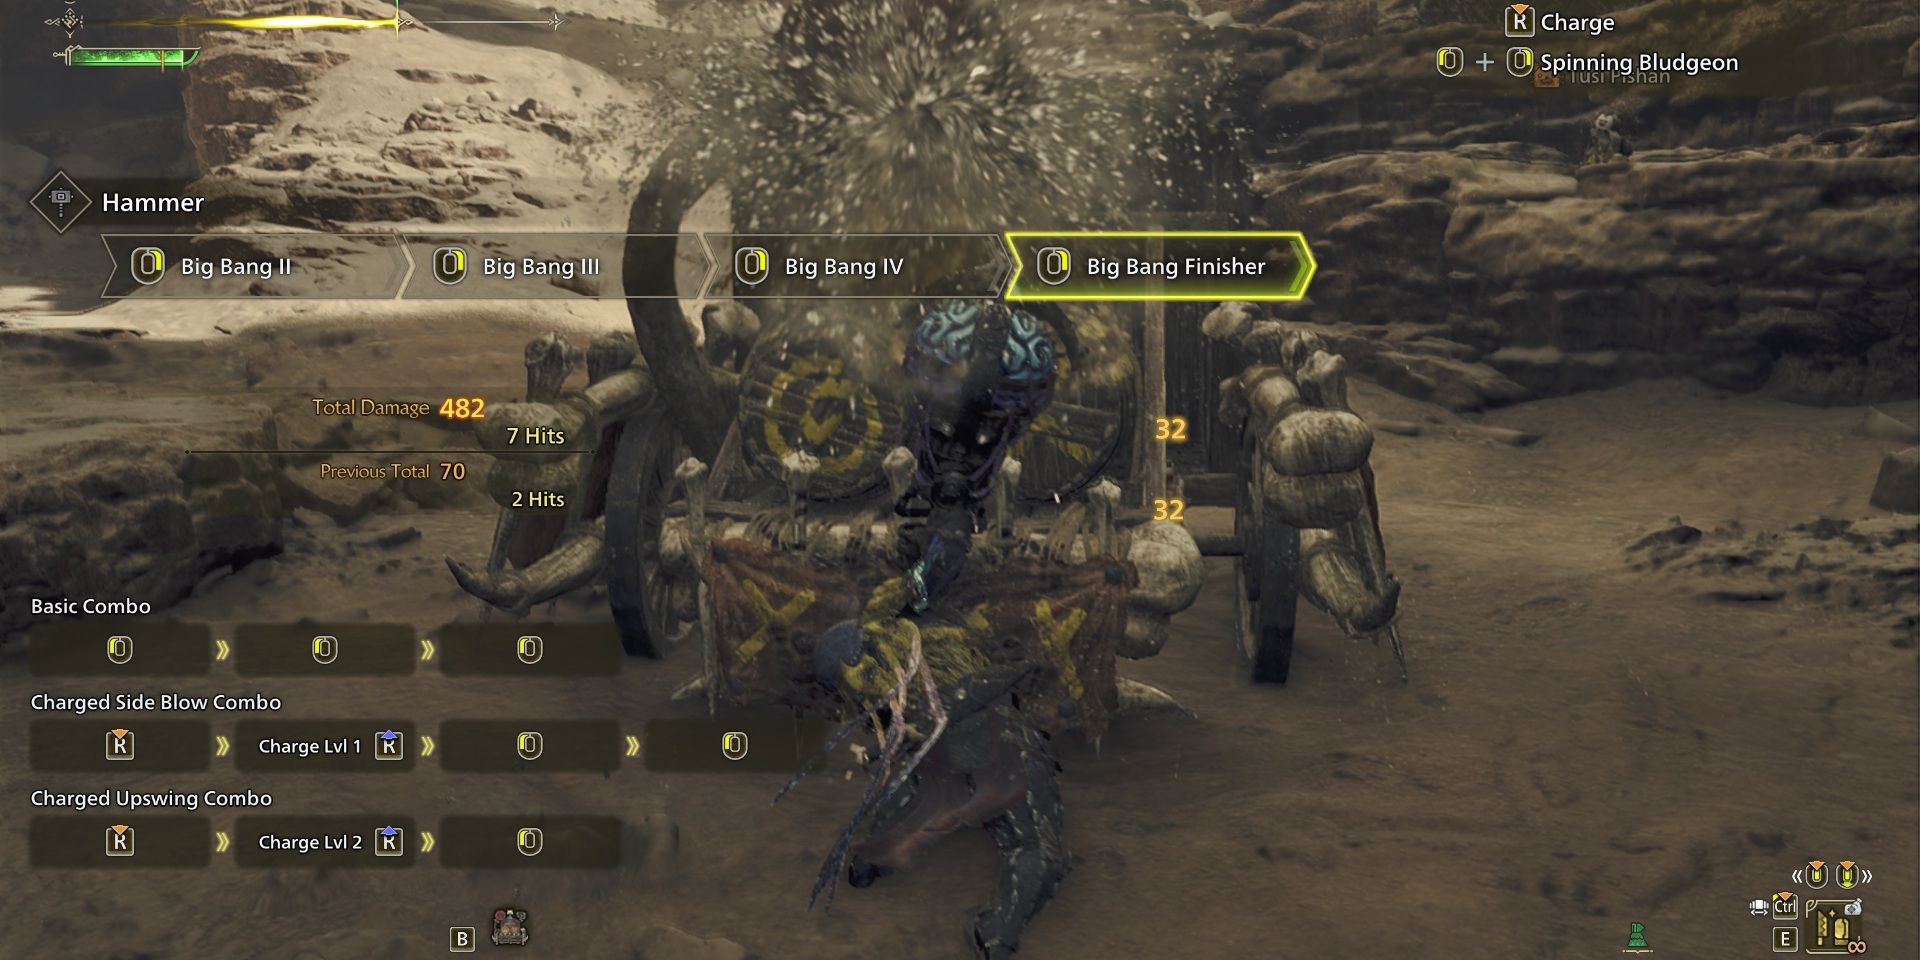
In summary, when the enemy is weakened (or “down”), utilizing the Big Bang sequence inflicts an enormous amount of damage. This momentary weakness occurs during battles for most monsters, lasting approximately 5 seconds. This interval offers a prime chance to execute the Big Bang series, which strikes the monster seven times rapidly, with the fourth and seventh blows causing the maximum harm.
Hammer Combos
With the hammer, you’ll find numerous combinations and unique maneuvers at your disposal, many of which inflict substantial damage.
- Basic Combo
- Press Triangle / Y / LMB three times consecutively.
- Big Bang Combo
- Press Circle / B / RMB five times consecutively, or just spam it until the finisher is performed.
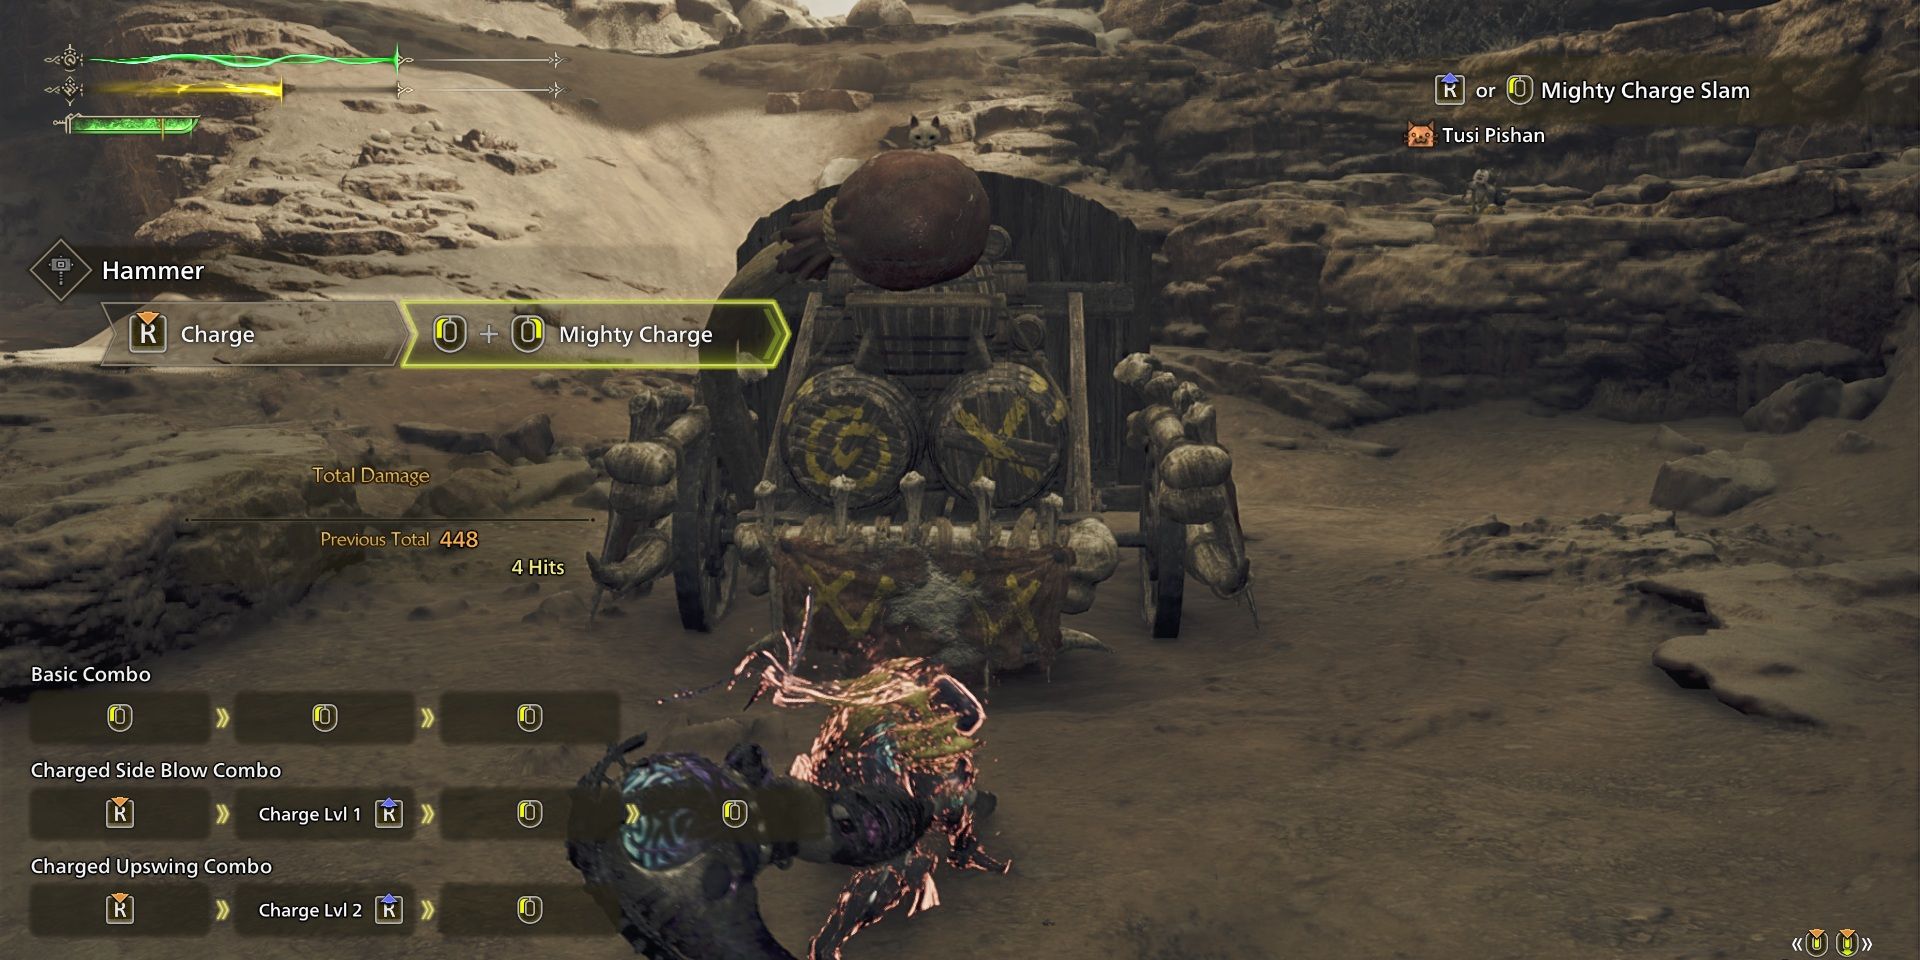
- Charged Side Blow Combo
- Before getting into the combo, there is something to learn about charging the hammer. When you hold down R2 / RT / R to charge the hammer, your character’s body will flash three times. If you leave the charge button after the first flash, it’s Charge Lv.1, and leaving after the second or third flash will result in Charge Lv.2 or Charge Lv.3, respectively.
- Hold R2 / RT / R for a Charge Lv.1, then leave it and press Triangle / Y / LMB two times.
- Charged Upswing Combo
- Hold R2 / RT / R for a Charge Lv.2, then leave it and press Triangle / Y / LMB once.
- Mighty Charge Combo
- Hold R2 / RT / R for a Charge Lv.3, then hold Triangle+Circle / Y+B / LMB+RMB. This will again charge your character with two extra flashes while they are swinging the hammer in the air. Now, leave R2 / RT / R to perform the combo.
In addition to those combinations, there are some unique actions the player can execute using the hammer as well.
- Charged Big Bang
- Hold R2 / RT / R for a Charge Lv.3 and then leave it.
- Focus Blow: Earthquake
- The real version of this move consists of 4 consecutive hits and only performs when targeting a wound in Focus Mode; Otherwise, it will just be a single swing.
- Hold down L2 / LT / Side Mouse Button to enter Focus Mode, then target a wound and press R1 / RB / Shift.
- Side Smash
- Press Triangle / Y / LMB once while moving forward.
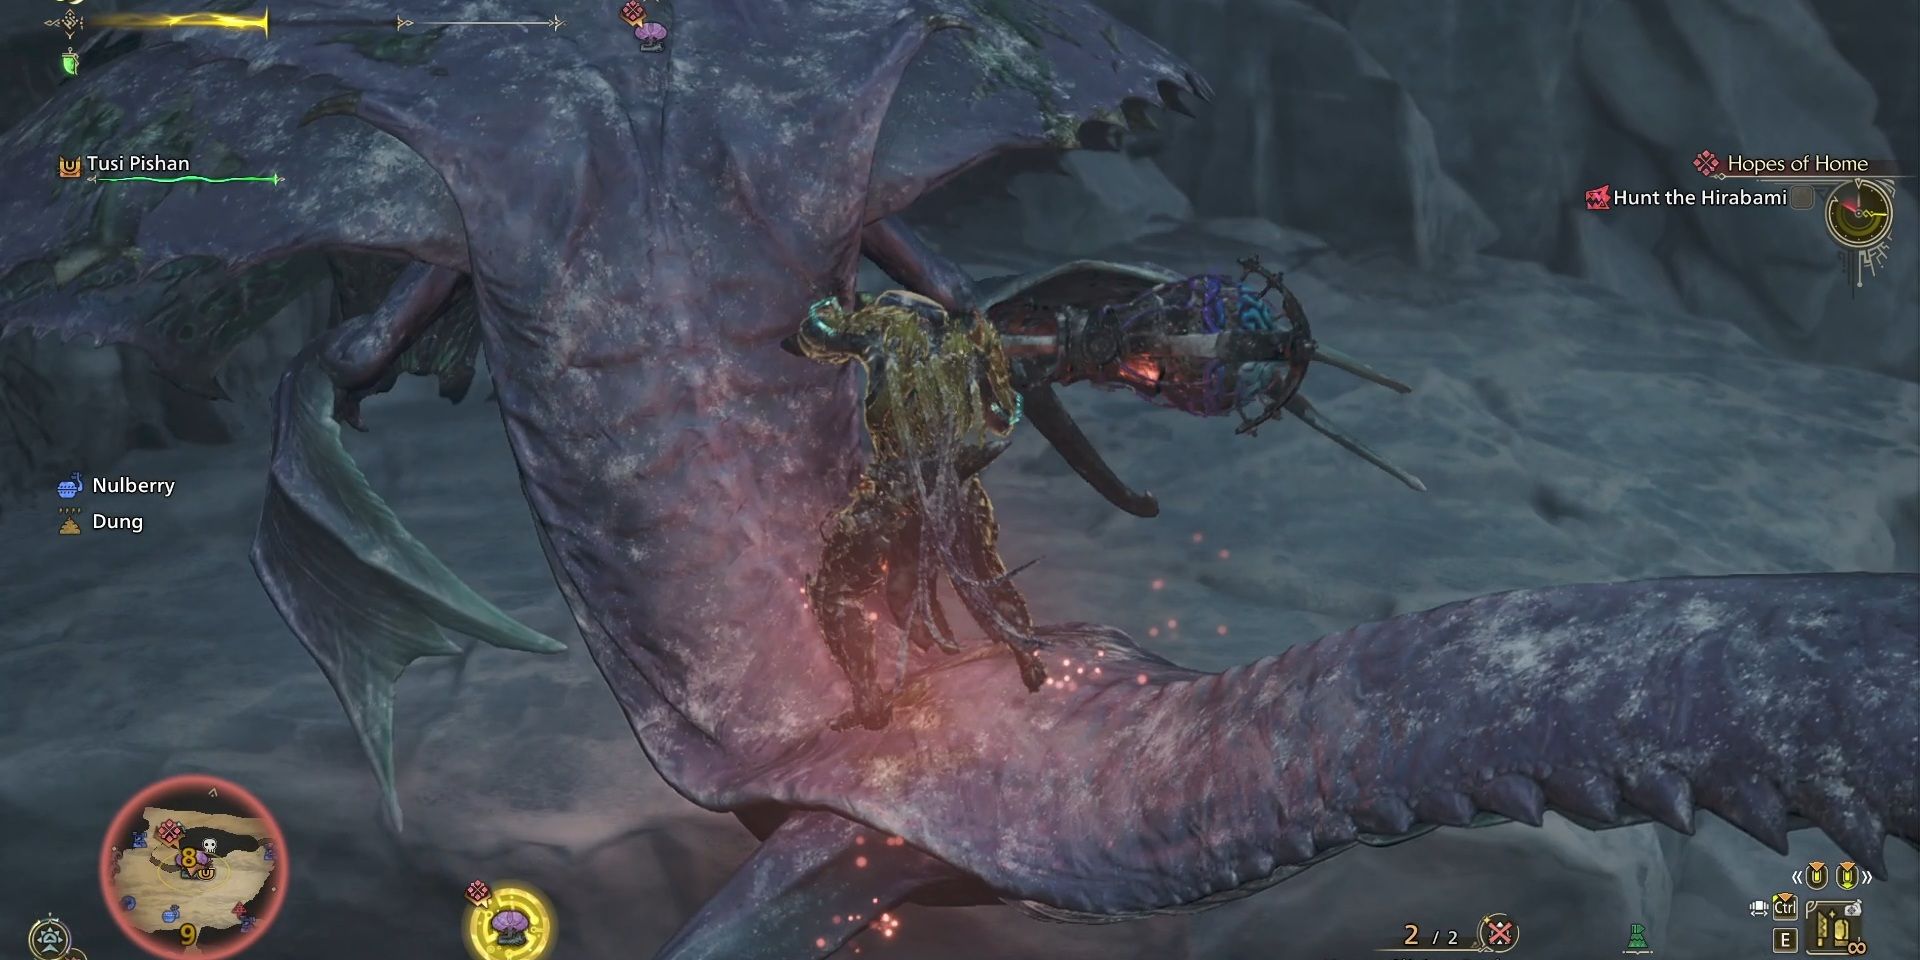
In Monster Hunter Wilds, hammers deal the greatest raw damage of all available weapons, making them an excellent choice for most battles. Even seemingly unsuitable targets like Hirabami can be effectively attacked with a hammer due to its wide swings that encompass a substantial area above the hunter.
Read More
2025-03-03 16:42