Excitedly, I can’t contain my enthusiasm as I share this news: Void Interactive’s “Ready or Not,” which emerged from early access in December 2023 for PC, is now playable on Xbox Series X/S and PS5! As a fan of tactical first-person shooters, I can’t wait to step into the shoes of Commander David “Judge” Beaumont and command D Platoon in the LA-inspired city of Los Suenos. Responding to various crimes, I’ll gradually uncover the city’s hidden darkness and immerse myself in its gritty underbelly.
If you’ve ever yearned for an experience akin to SWAT, then I highly recommend giving “Ready or Not” a try – whether you prefer solo play or teaming up with friends. However, the initial training is just the beginning. To help you navigate through tough times, here are 15 essential tips and strategies for surviving in this game.
Play Slow (and Know When to Play Fast)
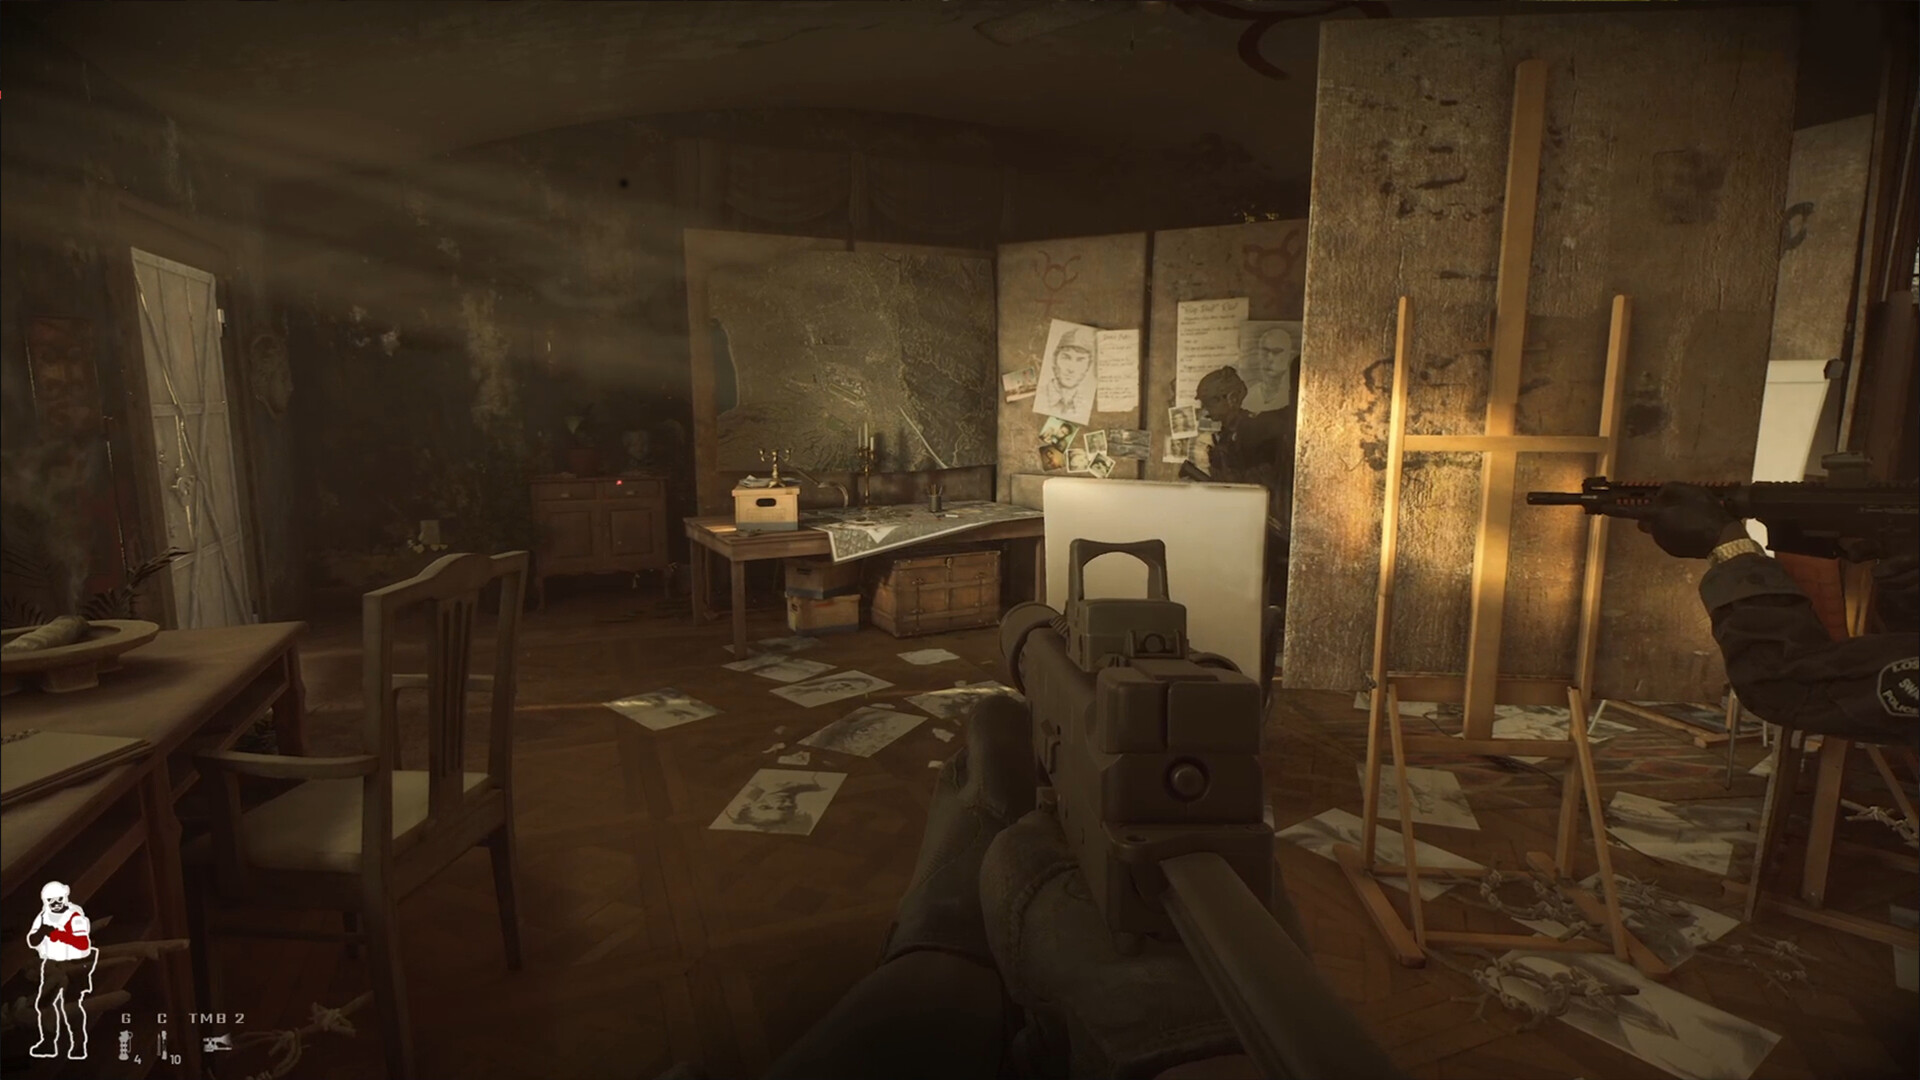
In the game Ready or Not, it’s unlikely that you’ll be able to charge through levels at top speed without proper training. While you can rush if you wish, it might lead to overlooking corners or hidden dangers like suspicious individuals. As you navigate the environment, take your time and methodically clear spaces outside of rooms before entering them. Don’t forget to lean around corners while aiming down sights for better accuracy. However, if you’re certain there are armed suspects in a room (and they’re aware of your presence), then it’s acceptable to be more aggressive.
Leaning and Free Leaning
It’s beneficial to learn how to lean, whether you anticipate someone approaching from the next turn or simply wish to peer through a narrow opening. This position minimizes your exposure, making it less likely that you’ll take excessive damage. Master the art of moving while leaning simultaneously, but don’t forget about free-leaning. It offers greater control and even allows for inspecting areas beneath furniture, where potential threats might be hiding (and they often will hide when you least suspect it).
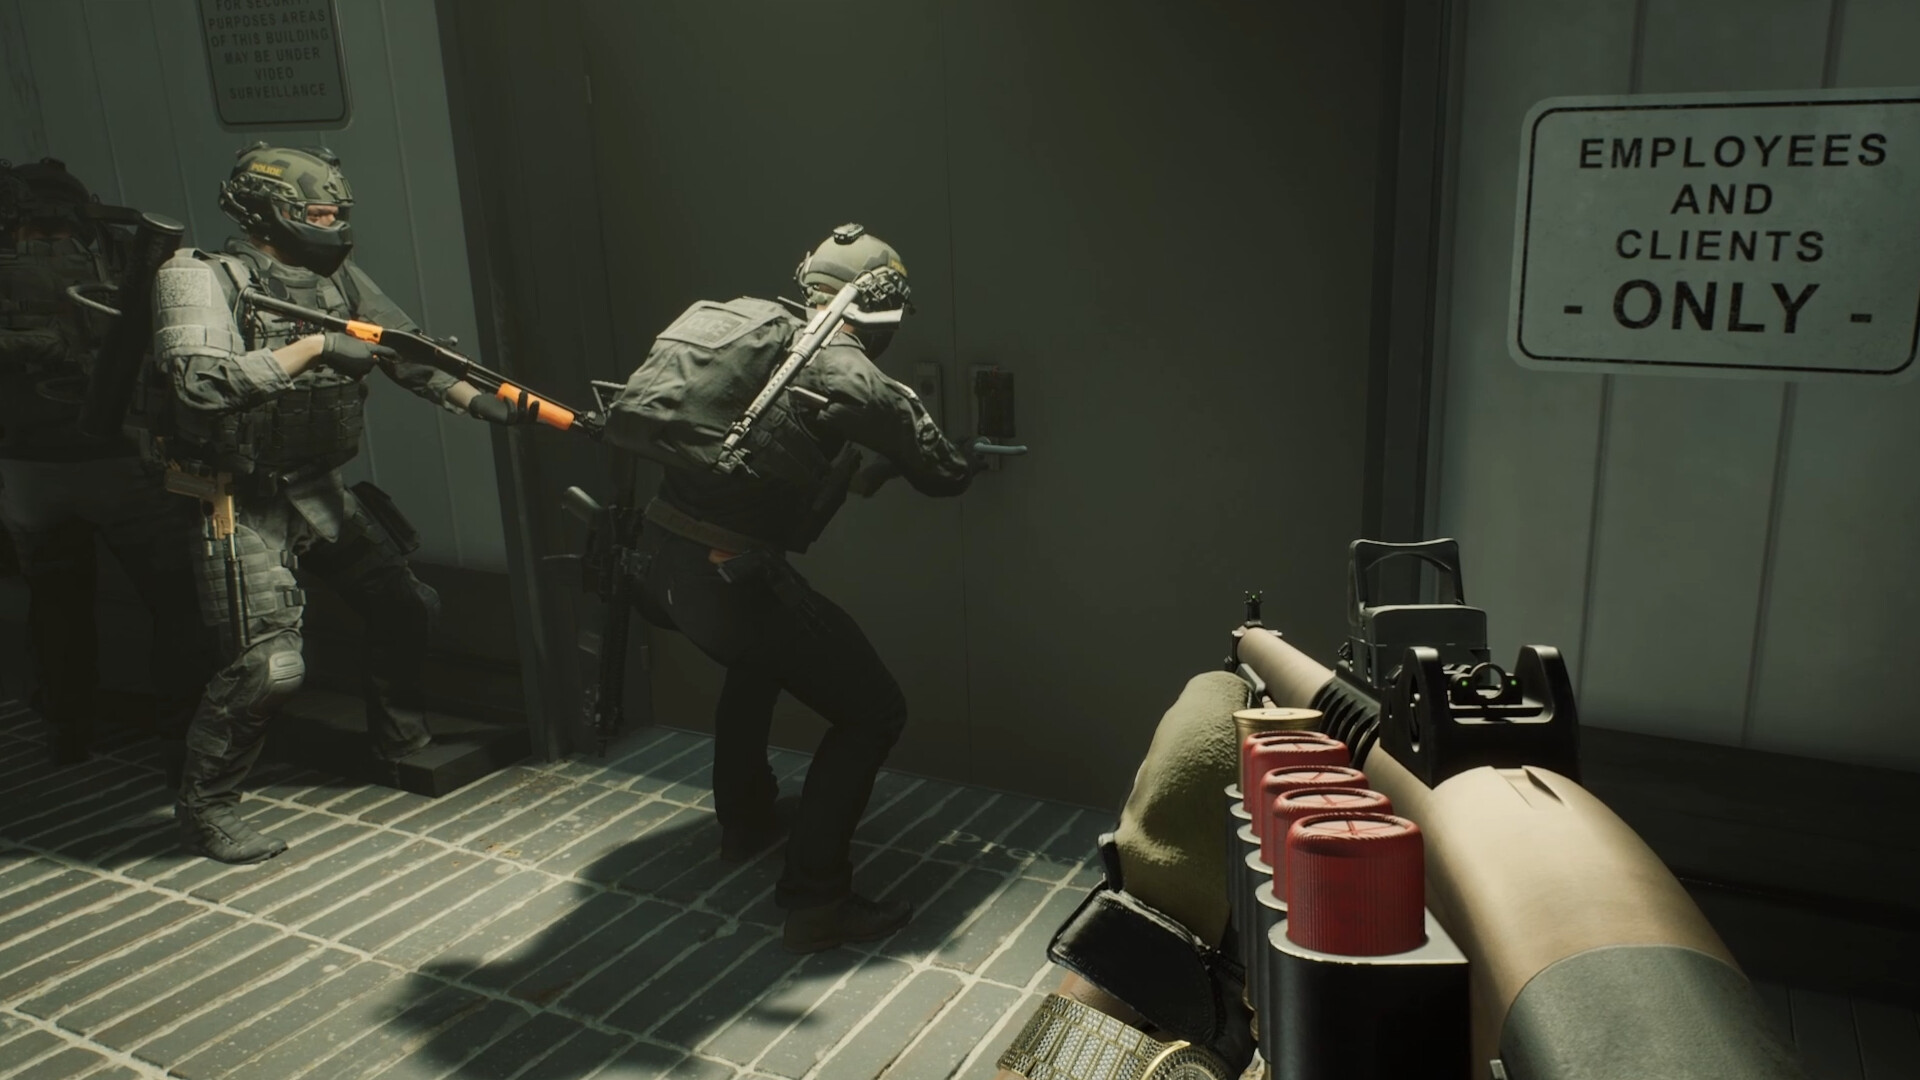
Peak (Instead of Opening) Doors
In the movie “Ready or Not,” doors might pose potential dangers, but there are strategies to reduce that risk. One such tactic is called peeking. To do this, gently open the door a crack, then inch towards it to fully open it. This method generates less noise than simply flinging it open and provides an advantage in some scenarios by catching suspects off guard.
Hard Breaching to Lower Morale
In another scenario, you might need forceful entry methods like ramming or explosive charges (C2) when encountering reinforced doors. Although this approach is quite loud, using battering rams and C2 can have psychological effects on the occupants, potentially making them more willing to give up without a fight. A breaching shotgun could also be useful in such situations, as it’s less likely to cause harm to suspects or bystanders.
Prioritize Suspects
In the pursuit of maintaining order amidst disorder, it’s crucial to control individuals around you first. Yet, ensure to handle suspects cautiously, observing their willingness to comply. Remember, unexpected threats can arise when you least expect them. After dealing with the suspects, restrain any nearby bystanders for safety reasons.
Commanding Suspects
Instead of ordering suspects to surrender by shouting, they might conceal a hidden weapon. If you approach too closely or focus on other immediate threats, they could suddenly attack. A tactical approach is to instruct a kneeling suspect to turn around and then move towards you. This strategy provides a safer position and decreases the likelihood of them using their concealed weapon.
Always Restrain Incapacitated Suspects
Regardless of whether a suspect appears to be seriously injured or dead, always ensure they are properly restrained. This not only increases the chances of a successful mission outcome, but it also accounts for the possibility that some individuals might feign death and later pose a threat. Although such incidents are rare, it’s better to err on the side of caution to ensure both your safety and success.
Prioritize Non-Lethal Options
Given the abundance of firearms, one might wonder why anyone would prefer non-lethal alternatives. For instance, the beanbag shotgun, flashbang, and stinger can lead to quicker surrenders, while gas can disarm suspects, preventing them from using concealed weapons. However, it’s important to note that some suspects might choose to resist rather than surrender, potentially leading to violence. Nonetheless, these non-lethal options can result in fewer fatalities and a higher success rate overall.
JHP vs. AP Rounds
When selecting ammunition for lethal weapons, it’s crucial to know which type is most effective against different kinds of targets. Jacketed Hollow Point (JHP) bullets work well against unarmored opponents due to their increased stopping power. In contrast, Armor Piercing (AP) rounds are designed to penetrate armor-clad adversaries. If a mission involves both armored and unarmored enemies, it’s advisable to carry both types and adjust accordingly.
Praise the Door Wedge
When embarking on almost any mission, it’s advisable to carry a versatile tool called a Door Wedge. This device serves the purpose of securing doors, which in turn helps you avoid surprise attacks from potential threats. The advantage is that once set up, it stays put and can be utilized again after clearing an area. However, do remember its location carefully, as breaching a door forcefully will cause it to disappear.
Praise the Mirrorgun
In virtually any operation, the Mirrorgun would be an indispensable piece of gear. It’s useful for a multitude of purposes such as gathering information before opening a door, detecting potential traps on the other side, or even sneaking peeks around corners without giving away your position to enemies.
Armor and Materials
The choice of armor significantly impacts your survivability in various scenarios, and the number of equipment slots you need can vary based on whether you opt for heavier or lighter armor types. While Steel Plates provide robust protection and substantial permanent damage reduction, they are heavier than alternatives like Ceramic and Kevlar. These lighter materials won’t slow down your movement as much, but be aware that some ammunition types can penetrate Kevlar. Ceramic offers excellent defense for a time, but it can be breached by multiple shots, so use caution when relying on it.
The (Supposed) Importance of Canting
Using a canting angle in certain situations might not seem essential when systematically patrolling corridors. Yet, it could be beneficial when employing long-range weapons and transitioning to a broader perspective for close-quarter fights. If you’re equipped with night vision goggles and an infrared sight, switching to canted sights could offer a more comfortable feel without jeopardizing precision (though this depends on the range of your engagements).
Highlight Nearby Dropped Weapons
Absolutely, prior to starting any action in the game “Ready or Not“, make sure to navigate to your settings and activate “Highlight Dropped Weapons Nearby.” This feature will cause any weapon dropped by a suspect to have a yellow border on the ground, which can be seen even in pitch-black conditions. This makes it simpler to gather evidence, especially when guiding your teammates towards the same location.
Recommended Squad Perks
As your teammates successfully navigate missions and withstand stress, they can unlock potent abilities that benefit everyone. The Nutritionist boosts each member’s maximum health, Pacifier increases the probability of non-deadly weapons making suspects surrender, and Negotiator makes it more likely that suspects immediately surrender when you demand compliance. Stacking these perks multiplies their benefits, but be cautious as equipping them on more than two members at a time may not be worth the perk slots that could be used elsewhere.
Read More
- What Song Is In The New Supergirl Trailer (& What It Means For The DC Movie)
- Why is Tech Jacket gender-swapped in Invincible season 4 and who voices her?
- Highly Anticipated Strategy RPG Finally Sets Release Date (And It’s Soon)
- TV legend Carol Kirkwood reveals the reasons why she decided to retire after 28 years with BBC
- Unforgotten legend Nicola Walker stars in first look at all-new “outrageously witty” comedy drama series
- Grab These Resident Evil PSN Avatars for Free This Month
- Gold’s March Madness: Plumbing, Panic, and Polish Central Banks
- Whales, Channels, and the Inevitable Dance of Folly
- The War Film Harrison Ford Completely Disowned Finally Returns to Streaming – “A Terrible Experience”
- Steam Giving Away Two PC Games for Free for Next 72 Hours
2025-07-16 17:42