As a seasoned gamer with over a decade of experience under my belt, I can confidently say that Satisfactory has been one rollercoaster of a journey. Five long years of Early Access, and now finally, the full release! But let me tell you, this game isn’t for the faint-hearted. The complex systems are deep enough to make even the most hardened gamers scratch their heads.
Following more than five years in Early Access, the game “Satisfactory” has now been officially released in its complete form. As a simulation title, “Satisfactory” boasts intricate systems that could initially overwhelm newcomers. In fact, even veteran players might encounter confusion due to the continuous updates and developments the game has undergone over the past five years.
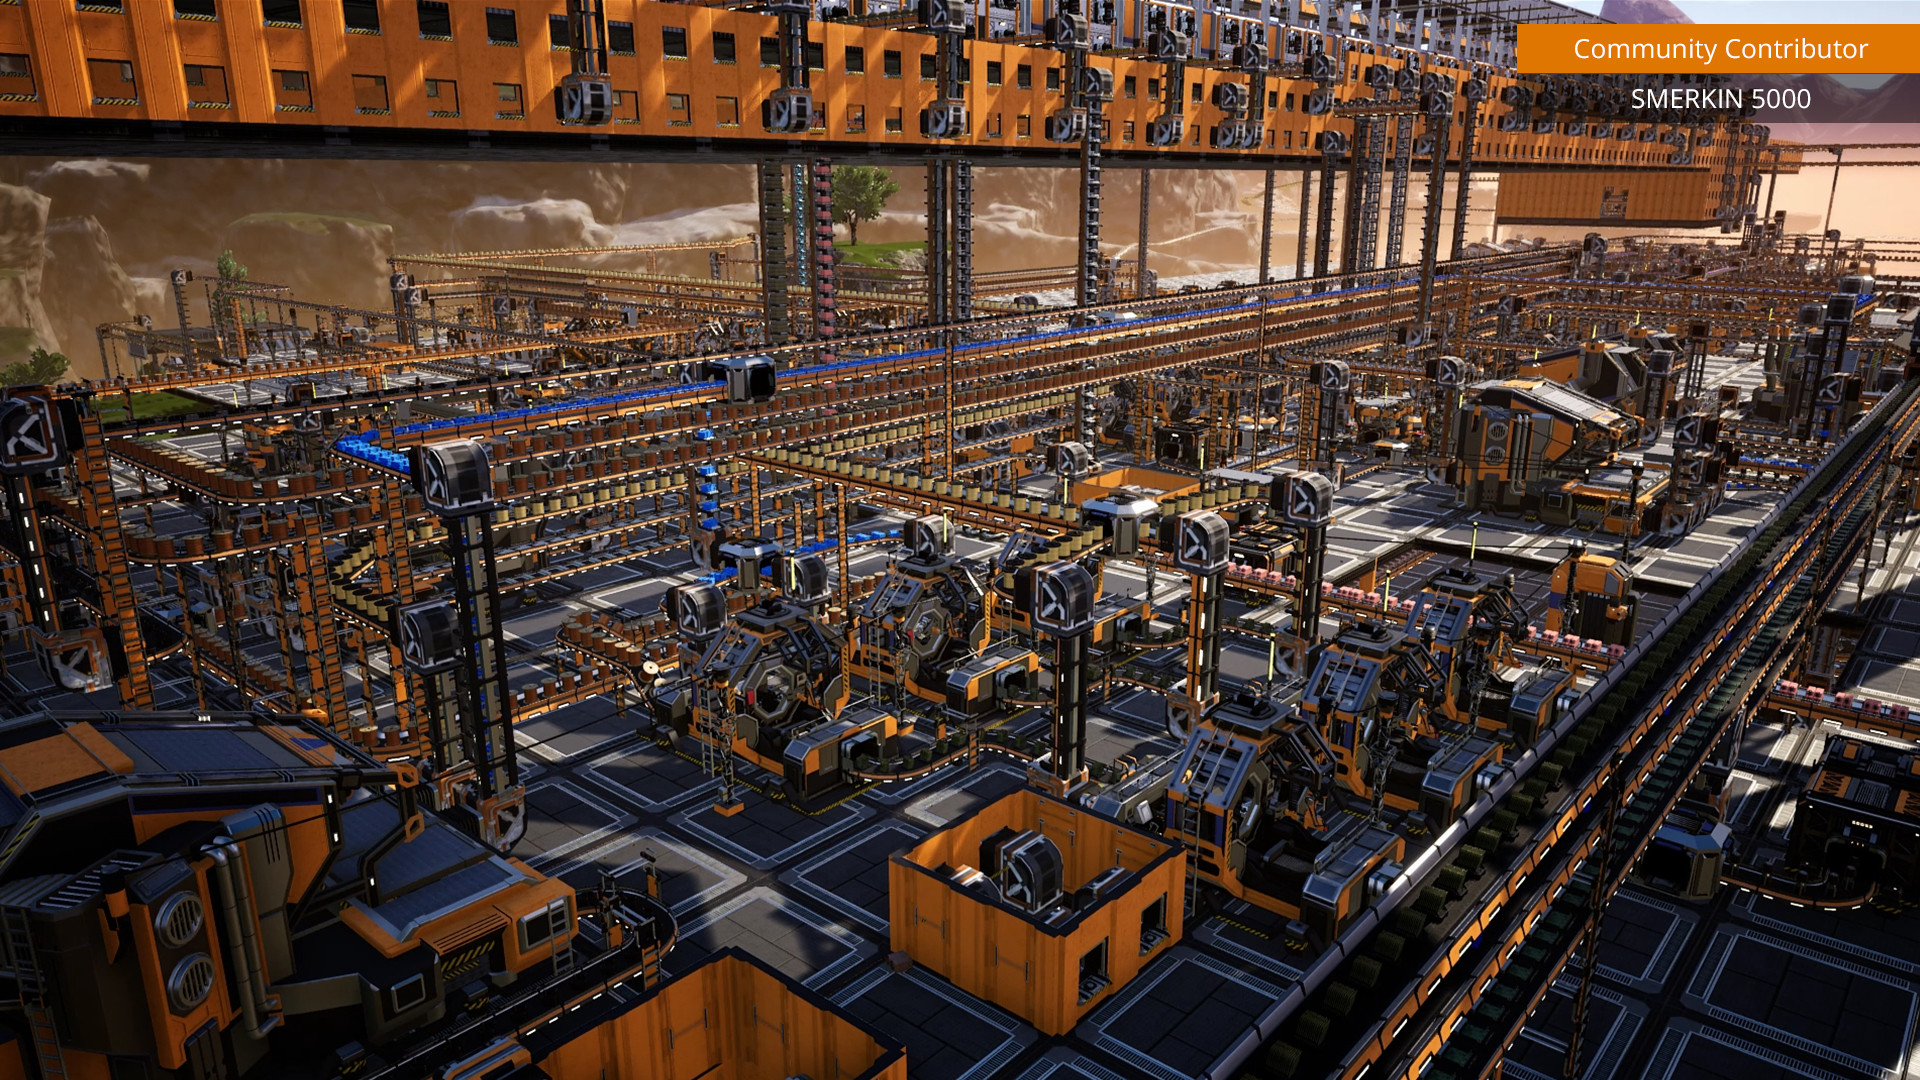
This introductory manual contains essential details necessary for newcomers embarking on their adventure in the game mechanics of Satisfactory, covering complimentary initial resources, swift navigation across the map.
Do Not Skip Intro
As a fellow enthusiast diving back into this captivating open-world sandbox game, I strongly advise against ticking the ‘Skip Intro’ box. The introductory segment is instrumental in familiarizing you with essential gameplay principles. With so much to explore and discover, it’s all too easy to become sidetracked and overlook vital mechanics introduced early on. Don’t let these foundational concepts slip by unnoticed – take the time to absorb them during the initial stages of your adventure!
Do Not Enable Advanced Game Settings
Using Advanced Game Settings disables Achievements because it operates similarly to ‘Creative Mode’ in other simulation and survival games. While you can turn it on during gameplay, once activated, there’s no going back to the standard game mode without resorting to previous saved games.
Drop Pod Free Materials
At each beginning point, you’ll find a drop pod that may contain different amounts of Reinforced Iron Plates. These will prove useful for bypassing certain stages of construction that require Reinforced Plates to be obtained through difficult means. Typically, these drop pods are situated near the area where you initially land.
Peaceful Mode
As you delve into your adventure, gathering resources and progressing towards your goals on the map, you may come across aggressive alien beings that will assault you without provocation. If you’re looking for a calmer gaming experience, head to the Pause menu, then Options -> Gameplay -> Creature Aggression at the top, and choose Passive from the list. Alternatively, select Retaliate, which means creatures will only attack when you start a fight.
Key And Button Prompts
In many games, there’s a series of important shortcut keys and buttons that let you perform various tasks, such as rotating structures for optimal positioning or automating crafting at workbenches. However, these prompts are often located at the bottom of the screen, which can make them easy to overlook when you’re concentrating on other menu options.
Hotbar Customization
Nearly any function on the menu can be assigned to a key on your hotbar. Just hover over the button for a function like Power Line, then press a hotbar key (usually ‘1’ to ‘0’) to bind it. Later, when you want to use that function, just press the corresponding key, allowing you to skip moving through various menus.
HUB Placement
After you’ve mined your initial iron ore, you’re all set to establish a base – specifically, a HUB. Although it can be relocated later, the most effective strategy is to position it as near as possible to an Iron Deposit, or ideally between several deposits if available, for optimal efficiency.
Resource Storage
Remember that the HUB contains a Personal Storage Box for all the pickups that you have been gathering by hand. If you are running out of inventory space, offload it here as often as possible.
Moving Stacks
In the game Satisfactory, you’ll be tasked with managing resources by transferring them between different areas. Instead of manually dragging and dropping items one by one, you can streamline this process by making use of the Double Left Click or Shift + Left Click functions. This allows you to quickly move entire stacks of items directly into their appropriate slots, such as transferring a large amount of ore into a Smelter for the creation of ingots.
Node Purity
As a devoted miner, I’ve come to notice that the speed at which nodes yield ore is influenced by their purity rating. You can easily observe this when you hover over an ore site, with Impure being the slowest, followed by Normal, and finally Pure. To combat slow ore production, one effective strategy is to deploy several Portable Miners on the same deposit, thereby increasing the rate at which resources are extracted.
Flashlight
The dark of night will descend on your outpost much sooner than you can set up an electrical grid and lighting. Make use of your flashlight (key ‘B’) as a temporary measure, so that you can continue to see in the darkness until you manage to string up some power cables.
Snap Mode
Initially, you’ll move resources between production structures manually. However, as you progress, consider building Conveyor Belts to automate this process. Properly aligning buildings during construction can make the setup easier. Use the Snap Mode function (key: Left Ctrl) for instant visual guidance from the building hologram. Rotate the building so it shows a green and orange dashed line connecting it to the output structure, indicating proper alignment.
Rapid Biomass Collection
Before you can truly automate ore refining and production, you will have to construct the relevant buildings, all of which require power from the Biomass Generator. That in turn requires the laborious collection of biomass of the ground by hand. As you scour the map for leaves and wood, hold the collect key (default ‘E’) while the prompt is active, and from that point you can simply scoop up fuel while you run around. This method will spare you the need to manually focus and tap the key on every leaf and bit of wood you find.
Power Poles
The single Biomass Generator provided with your HUB only provides power to one building at a time initially. Although you can disconnect and reconnect the power cable among various buildings, it’s more efficient to build a Power Pole instead, which offers four connection points for your convenience. You must reserve at least one of those four connections to connect another Power Pole as you expand your power network.
Second Biomass Generator
After achieving Hub Upgrade 5 and activating the second Biomass Generator, remember to connect it with the same Power Pole as the initial one, ensuring your power system remains optimized and uninterrupted. You might need to readjust some existing connections on Power Poles to make room for this new link.
Miner Placement
At this stage, you’ll find that you can activate the Miner, a device which you can position over ore deposits to mechanize the mining process that you previously carried out manually or with the help of the Portable Miner. If you find it perplexing as to why you cannot set up Miners on certain deposits, it’s because the pile of ore on top needs to be manually mined and destroyed first to make room for larger automation.
Fast Map Traversal
In the game Satisfactory, it’s not always the case that a full sprint is the quickest method for covering longer distances. Instead, using slide and jump mechanics often provides a swifter means of traversal over long stretches.
Those are all the critical tips and tricks you need in the early game for Satisfactory.
Read More
- Gold Rate Forecast
- Rick and Morty Season 8: Release Date SHOCK!
- SteelSeries reveals new Arctis Nova 3 Wireless headset series for Xbox, PlayStation, Nintendo Switch, and PC
- Discover the New Psion Subclasses in D&D’s Latest Unearthed Arcana!
- PI PREDICTION. PI cryptocurrency
- Mission: Impossible 8 Reveals Shocking Truth But Leaves Fans with Unanswered Questions!
- Eddie Murphy Reveals the Role That Defines His Hollywood Career
- Discover Ryan Gosling & Emma Stone’s Hidden Movie Trilogy You Never Knew About!
- Masters Toronto 2025: Everything You Need to Know
- We Loved Both of These Classic Sci-Fi Films (But They’re Pretty Much the Same Movie)
2024-09-30 15:12