In the game Avowed, the main quest is named “Ancient Soil.” This quest is a significant turning point in the story where you cannot turn back. You’ll join forces with Giatta and journey into Naku Tedek, an intriguing location where your mission is to discover a colossal Adra pillar buried within the Ancient Soil. By finding this pillar, you aim to reveal the origin of the Dreamscourge.
As you journey along, you’ll uncover a significant truth about yourself, so hold off on finding out just yet! In this guide, we’ll lead you step by step through the pivotal instances, the decisions that mold your destiny, and the repercussions of claiming or forgoing your divine authority. Additionally, we’ll discuss the final choices between Paradis and Thirdborn, so you can experience the story unfold to its fullest!
Important Notes Before Starting Ancient Soil
Spoiler ahead.
In the game Avowed, Ancient Soil serves as a critical juncture with significant consequences. To ensure success in your journey, consider these factors before embarking:
1. Familiarize yourself with the area and its surroundings.
2. Gather essential supplies such as food, water, and healing potions.
3. Plan your route carefully to avoid potential pitfalls or ambushes.
4. Equip yourself with weapons and armor suitable for the challenges ahead.
5. Consider enlisting allies who may help in overcoming obstacles or defeating enemies.
6. Be aware of any special abilities, items, or quests that can aid your progress.
7. Lastly, keep an open mind and be prepared to adapt your strategy as circumstances change throughout the quest.
- The following quests will automatically fail if not completed before the ending of Ancient Soil: Scofflaw’s Vase, Elder Offerings, Nature vs. Nurture, and Steel Resolve.
- The quest Debt of Blood only becomes available if Fior mes Iverno is burned down.
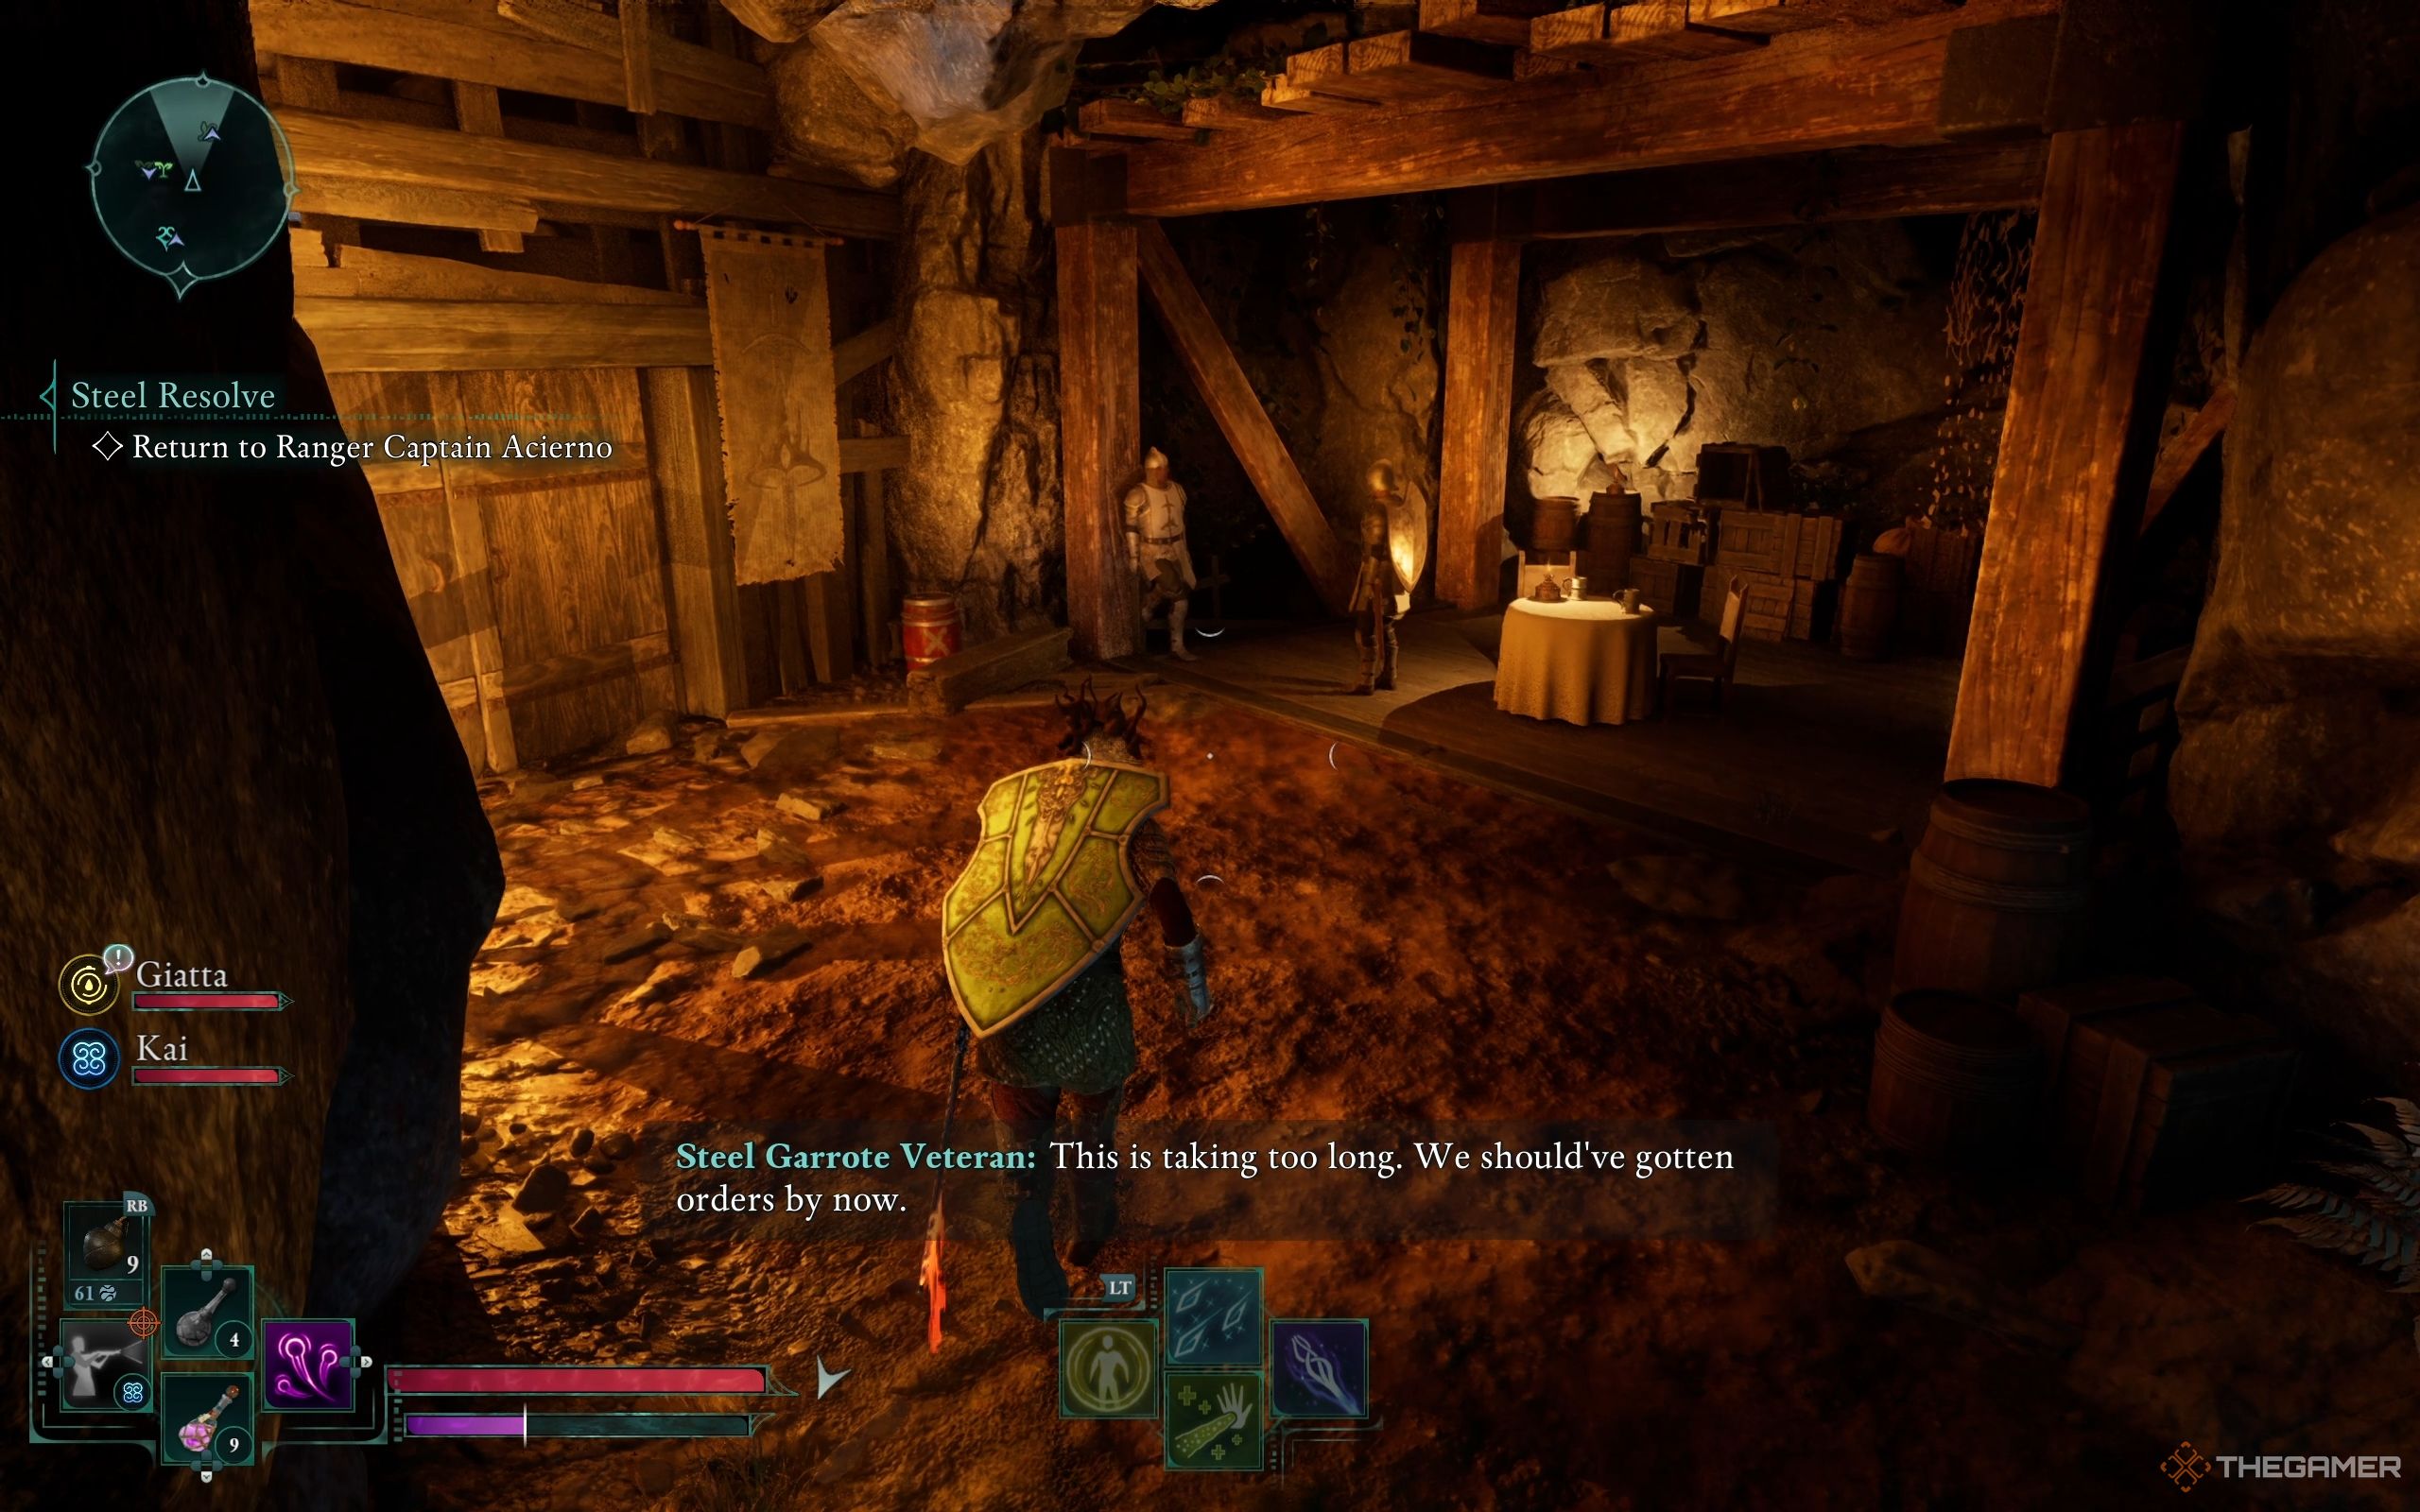
- At the start of this quest, Giatta may give you a letter if you convinced Elowe to spy for you or instructed the Ambassador’s spy to monitor the Steel Garrote, revealing that the Steel Garrote is secretly gathering forces in a hidden waterfall cave near Fior. You can also learn this information by speaking to Dorso during Steel Resolve and make sure to clear the Garrote camp.
-
If you don’t have a Frost spell, make sure to bring plenty of
or collect them as you explore the dungeon.
- Upgrade some of your gear to Exceptional quality to make the fights easier.
How To Reach Naku Tedek
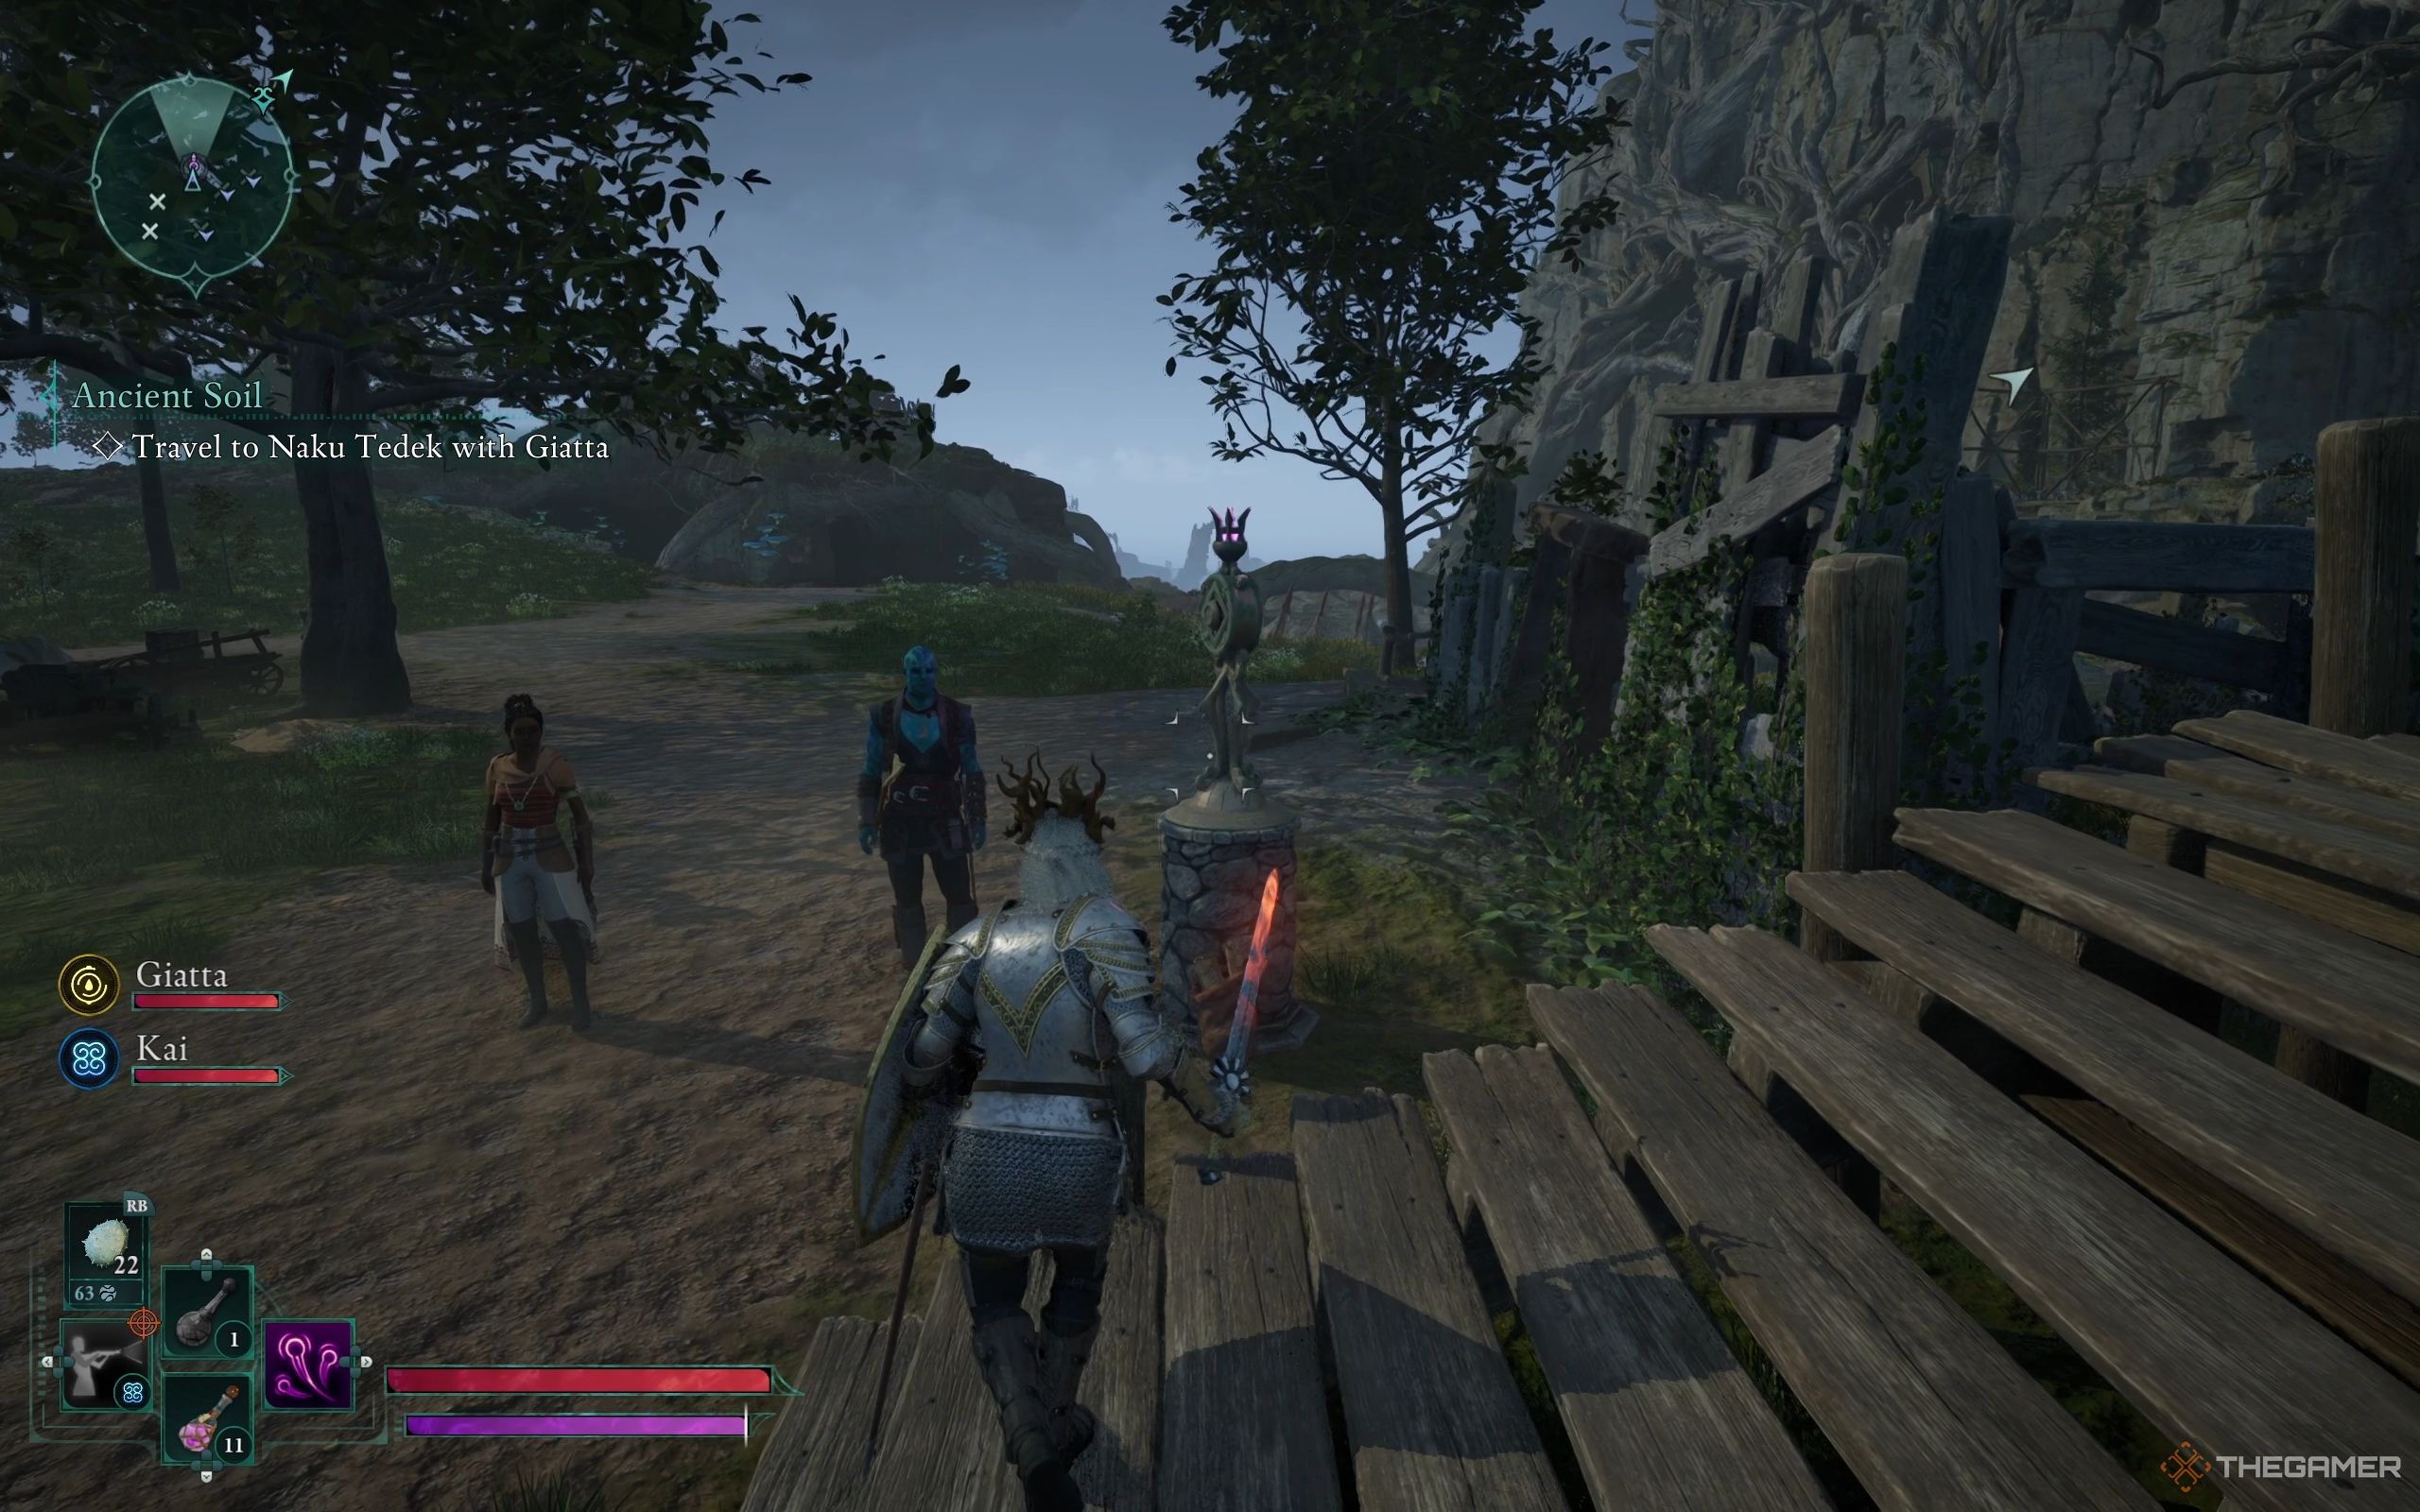
Invite Giatta to join us on this adventure. Her ability to disable electrical generators to unlock doors and her healing skills make her an invaluable addition to our team.
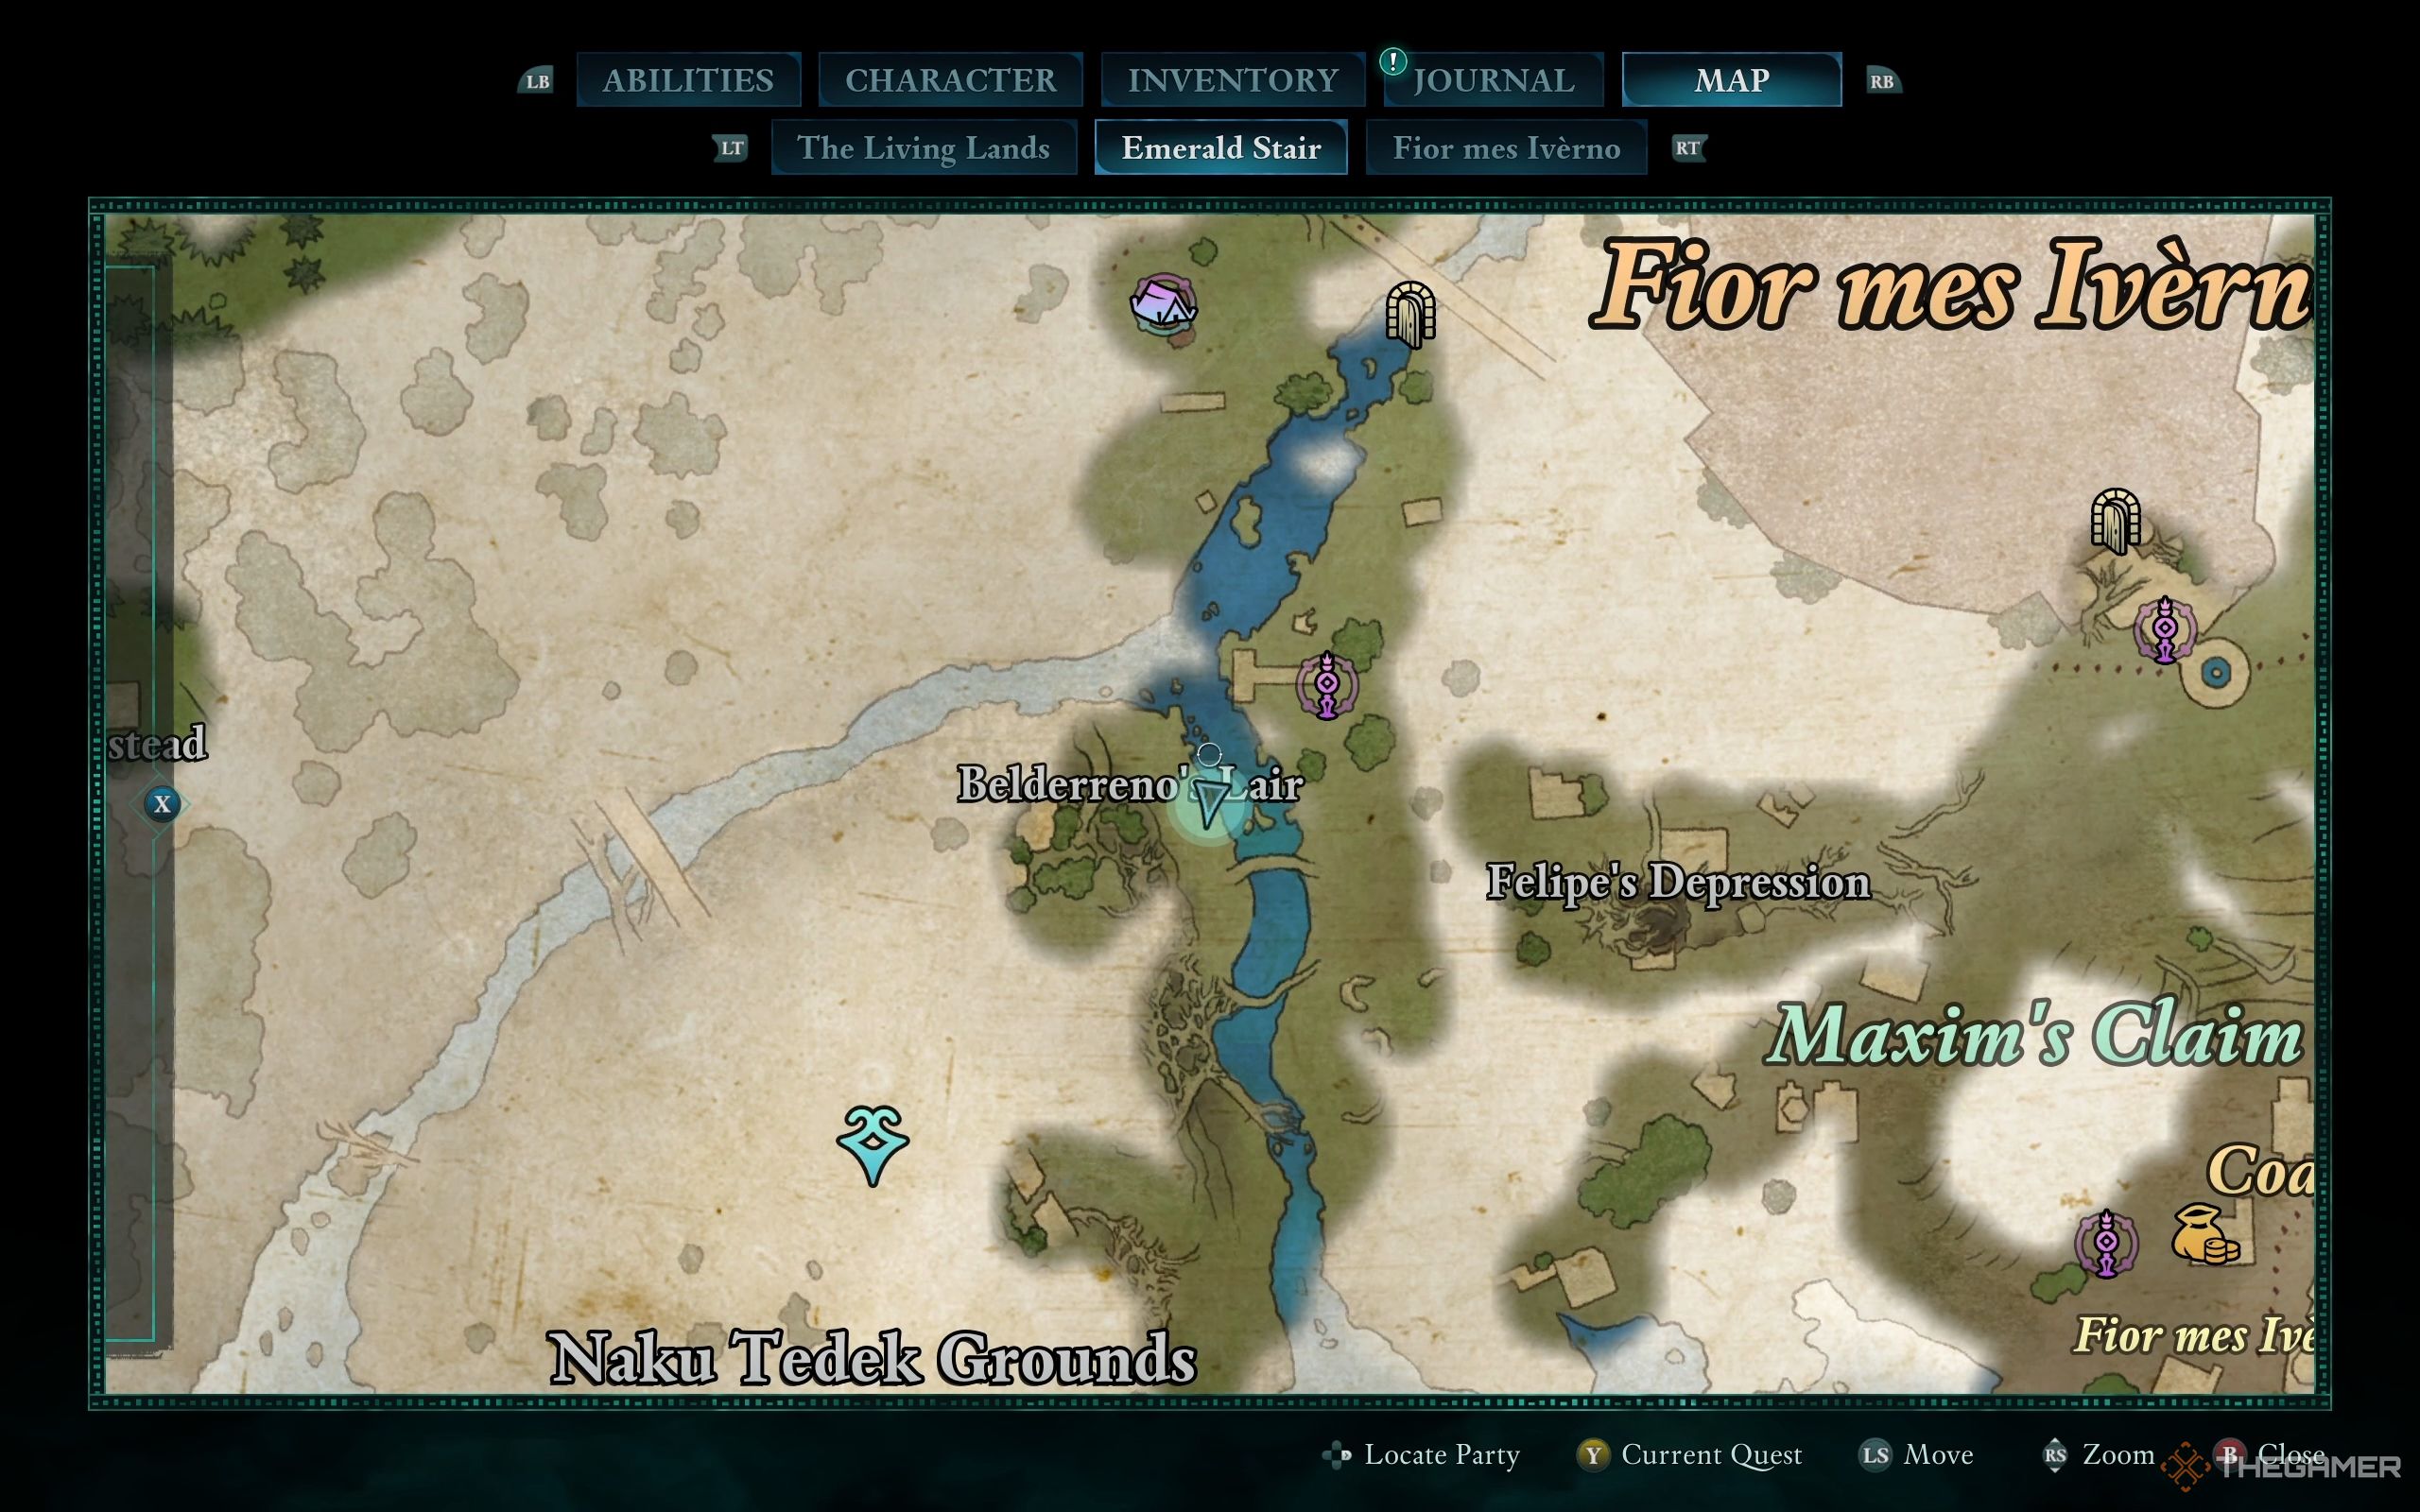
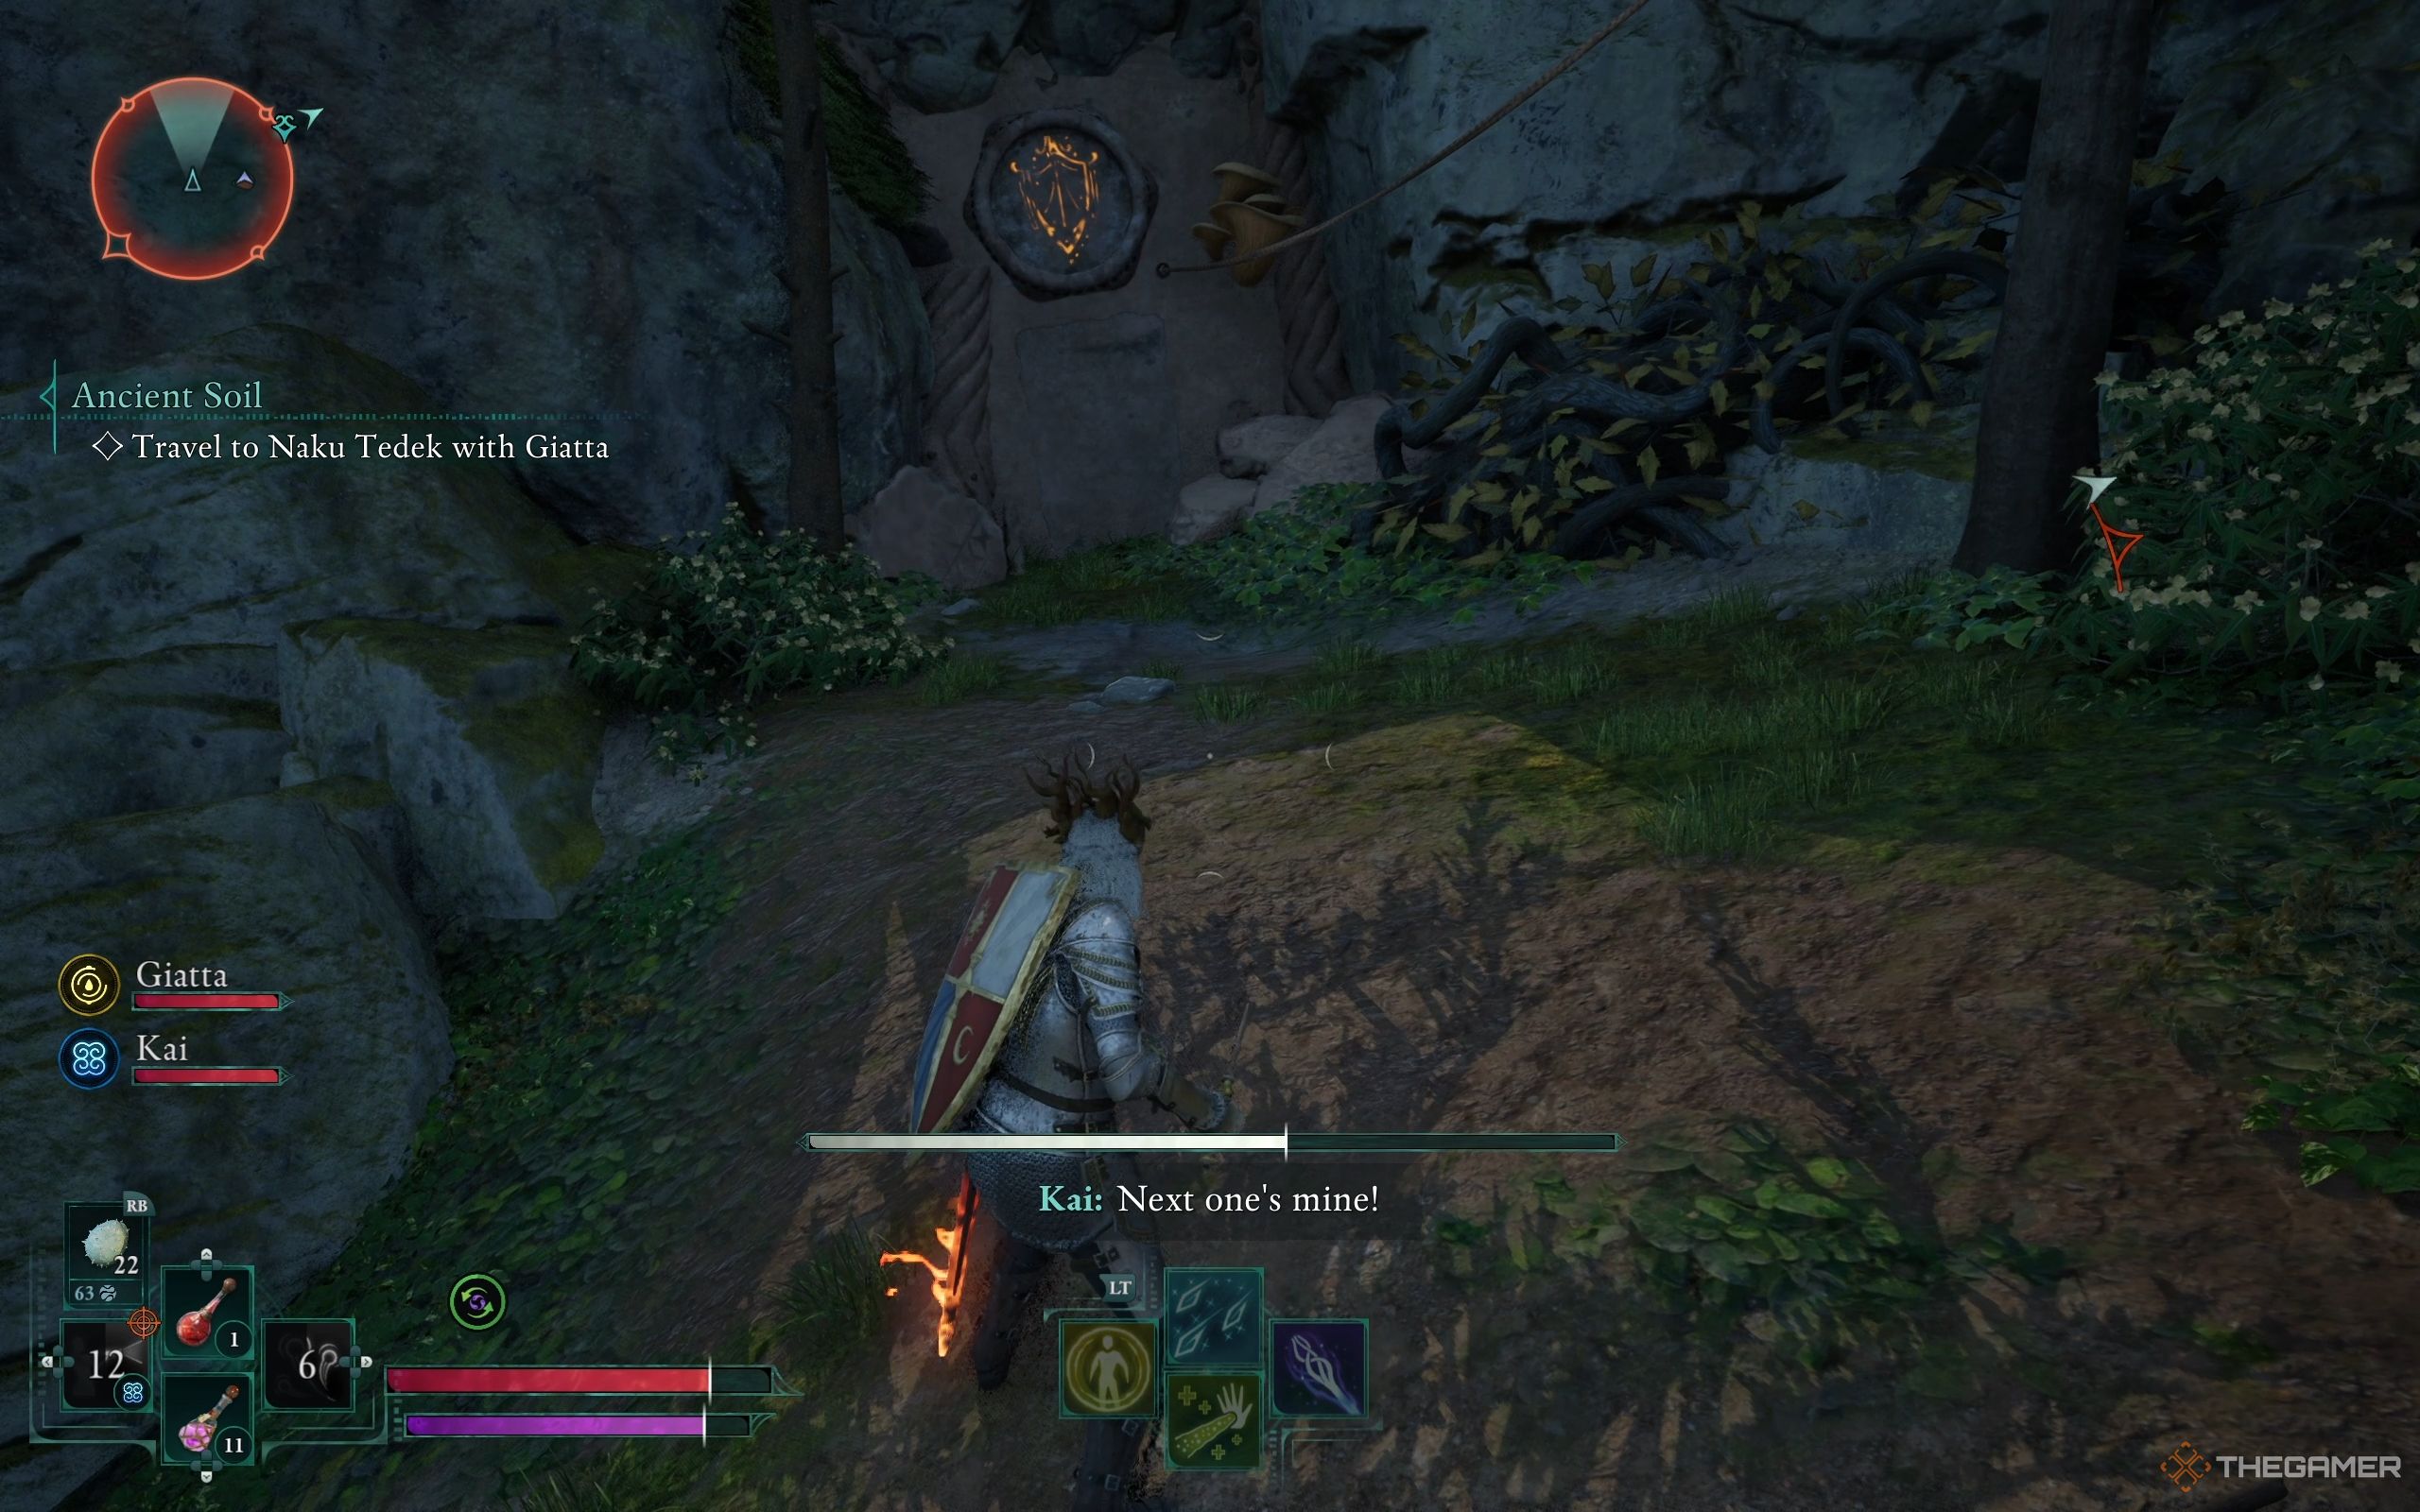
The Fast Travel spot nearest to Naku Tedek is referred to as the River Fork Beacon. After crossing the river from there, you’ll find yourself at Belderreno’s Lair. If you’re feeling adventurous, you can enter and conquer it for a reward. To the left of the lair, keep an eye out for a path marked by rocky outcrops and scaffolding.
Ascend continuously till you spot a structure bearing an orange shield emblem. Keep in mind that nearby Xaurips might spot you and initiate an assault, so always be prepared for combat.
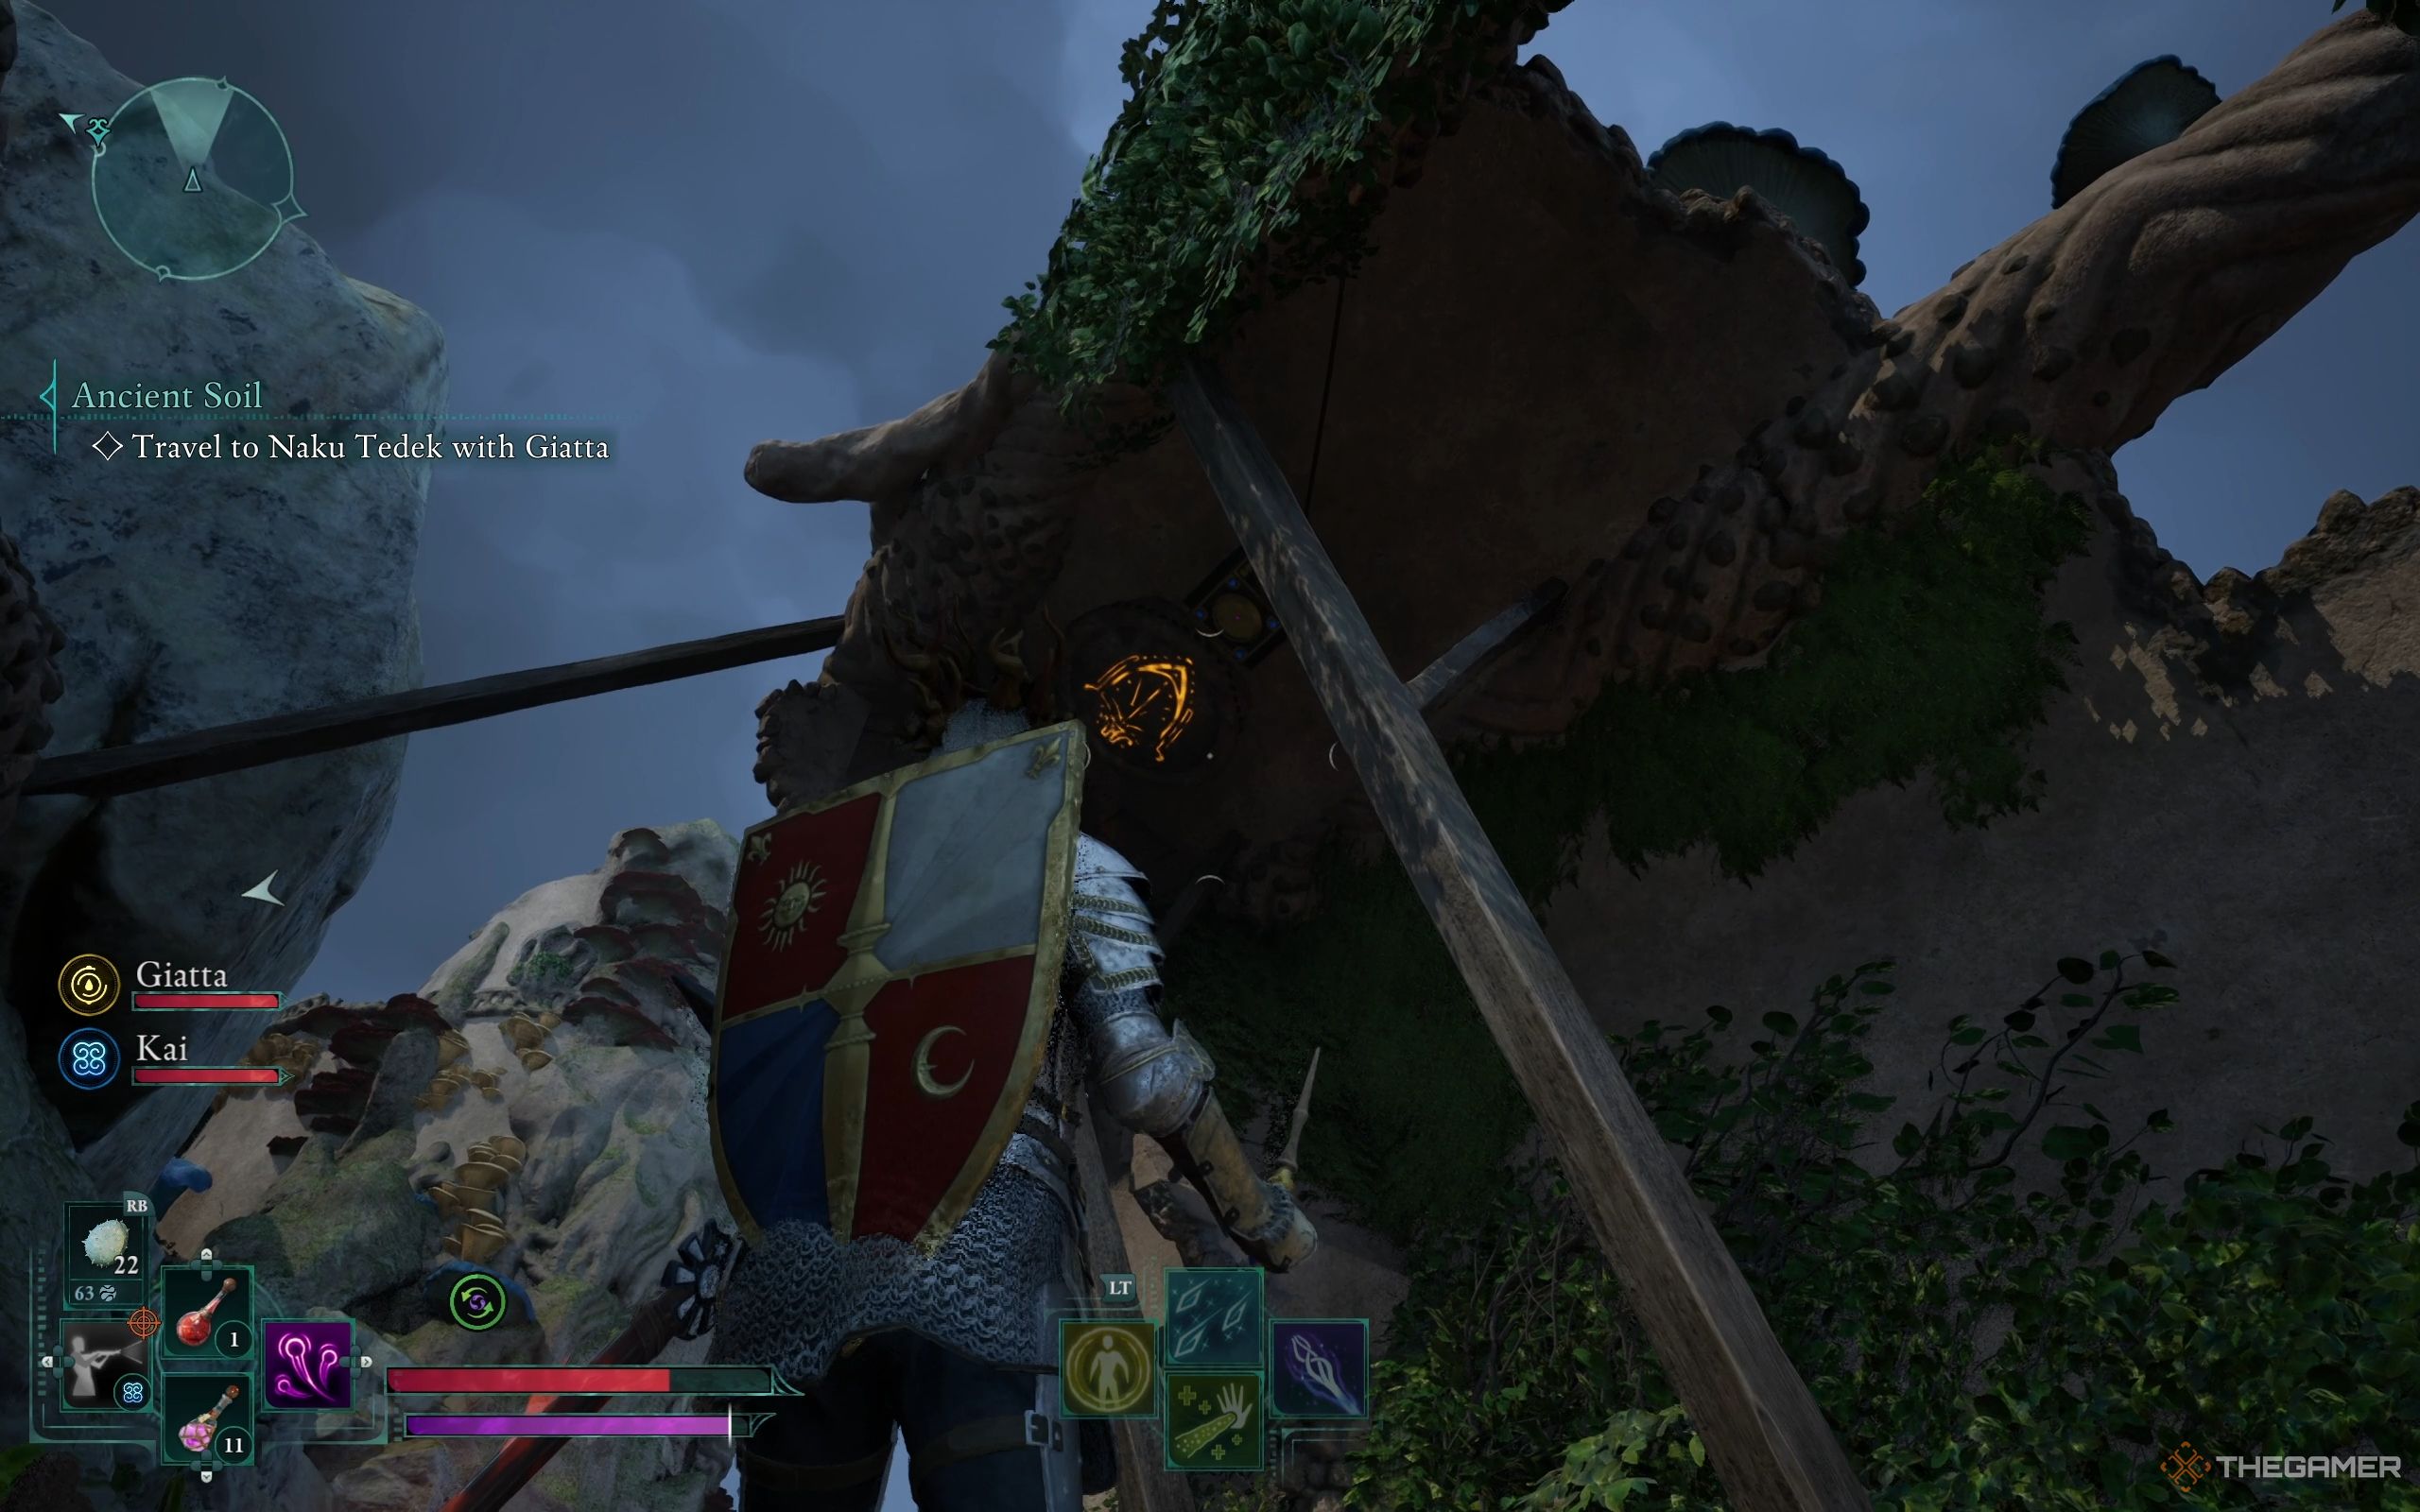
1. Once you’ve made the space safe, take a look at the fallen wall reinforced by wooden beams.
2. Just beneath the second orange shield, you’ll come across a generator. You can either plant an Electric Lily Seed there or let Giatta activate it using her powers.
3. Head back to the door that was previously locked. Now that it’s open, explore inside and discover a purple chest waiting for you to loot it.
After you’ve finished searching the chest, make your way back to the main road, then ascend the scaffolding on the left side to get to Naku Tedek Grounds. There are many items to gather here, so feel free to spend some time investigating the domes and picking up anything that seems helpful.
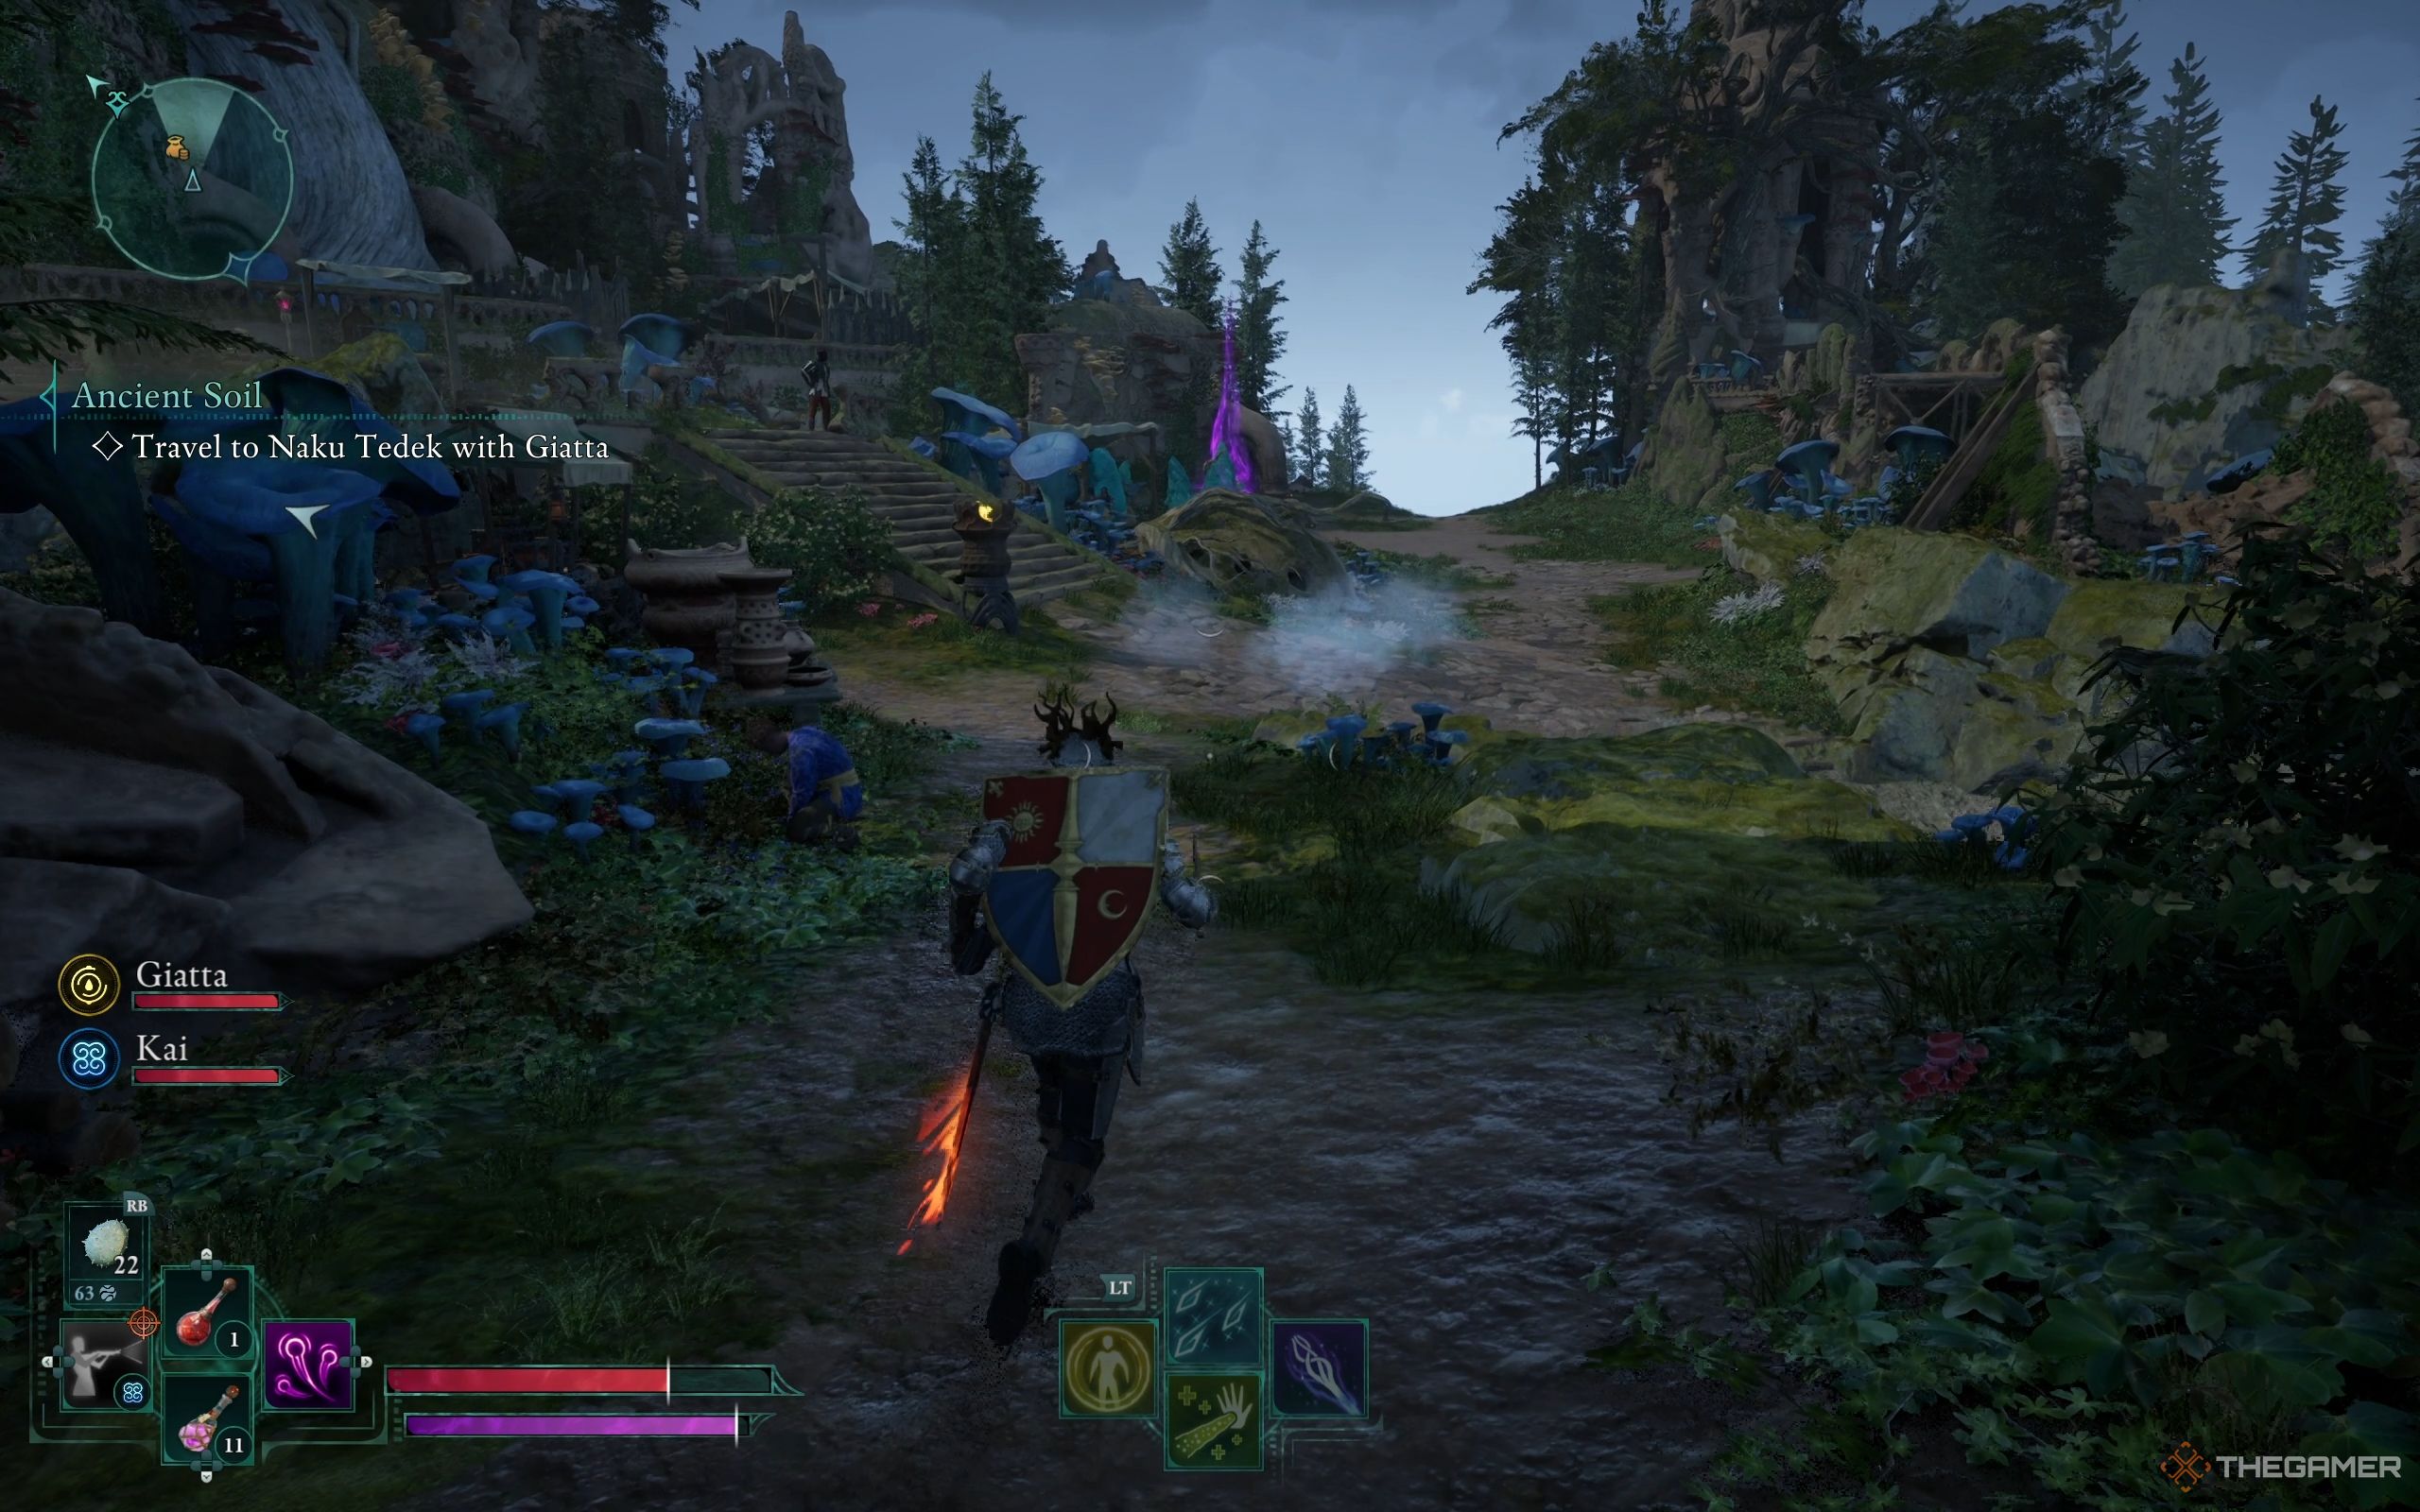
Be sure to drop by the Naku Tedek Party Camp, where you’ll discover a new fast travel and rest spot on your map! Afterward, continue your journey beyond the camp, and you’ll come across a winding path that descends towards a cemetery. It is here that you can make headway in the quest named “Mapping the Living Lands: Emerald Stair.
Prior to entering Naku Tedek, don’t forget to stop by Merchant Alyssa. She stocks Awakened Adras and other useful items.
Or,
Before you delve into Naku Tedek, be sure to check out Merchant Alyssa. She offers Awakened Adras as well as additional valuable goods.
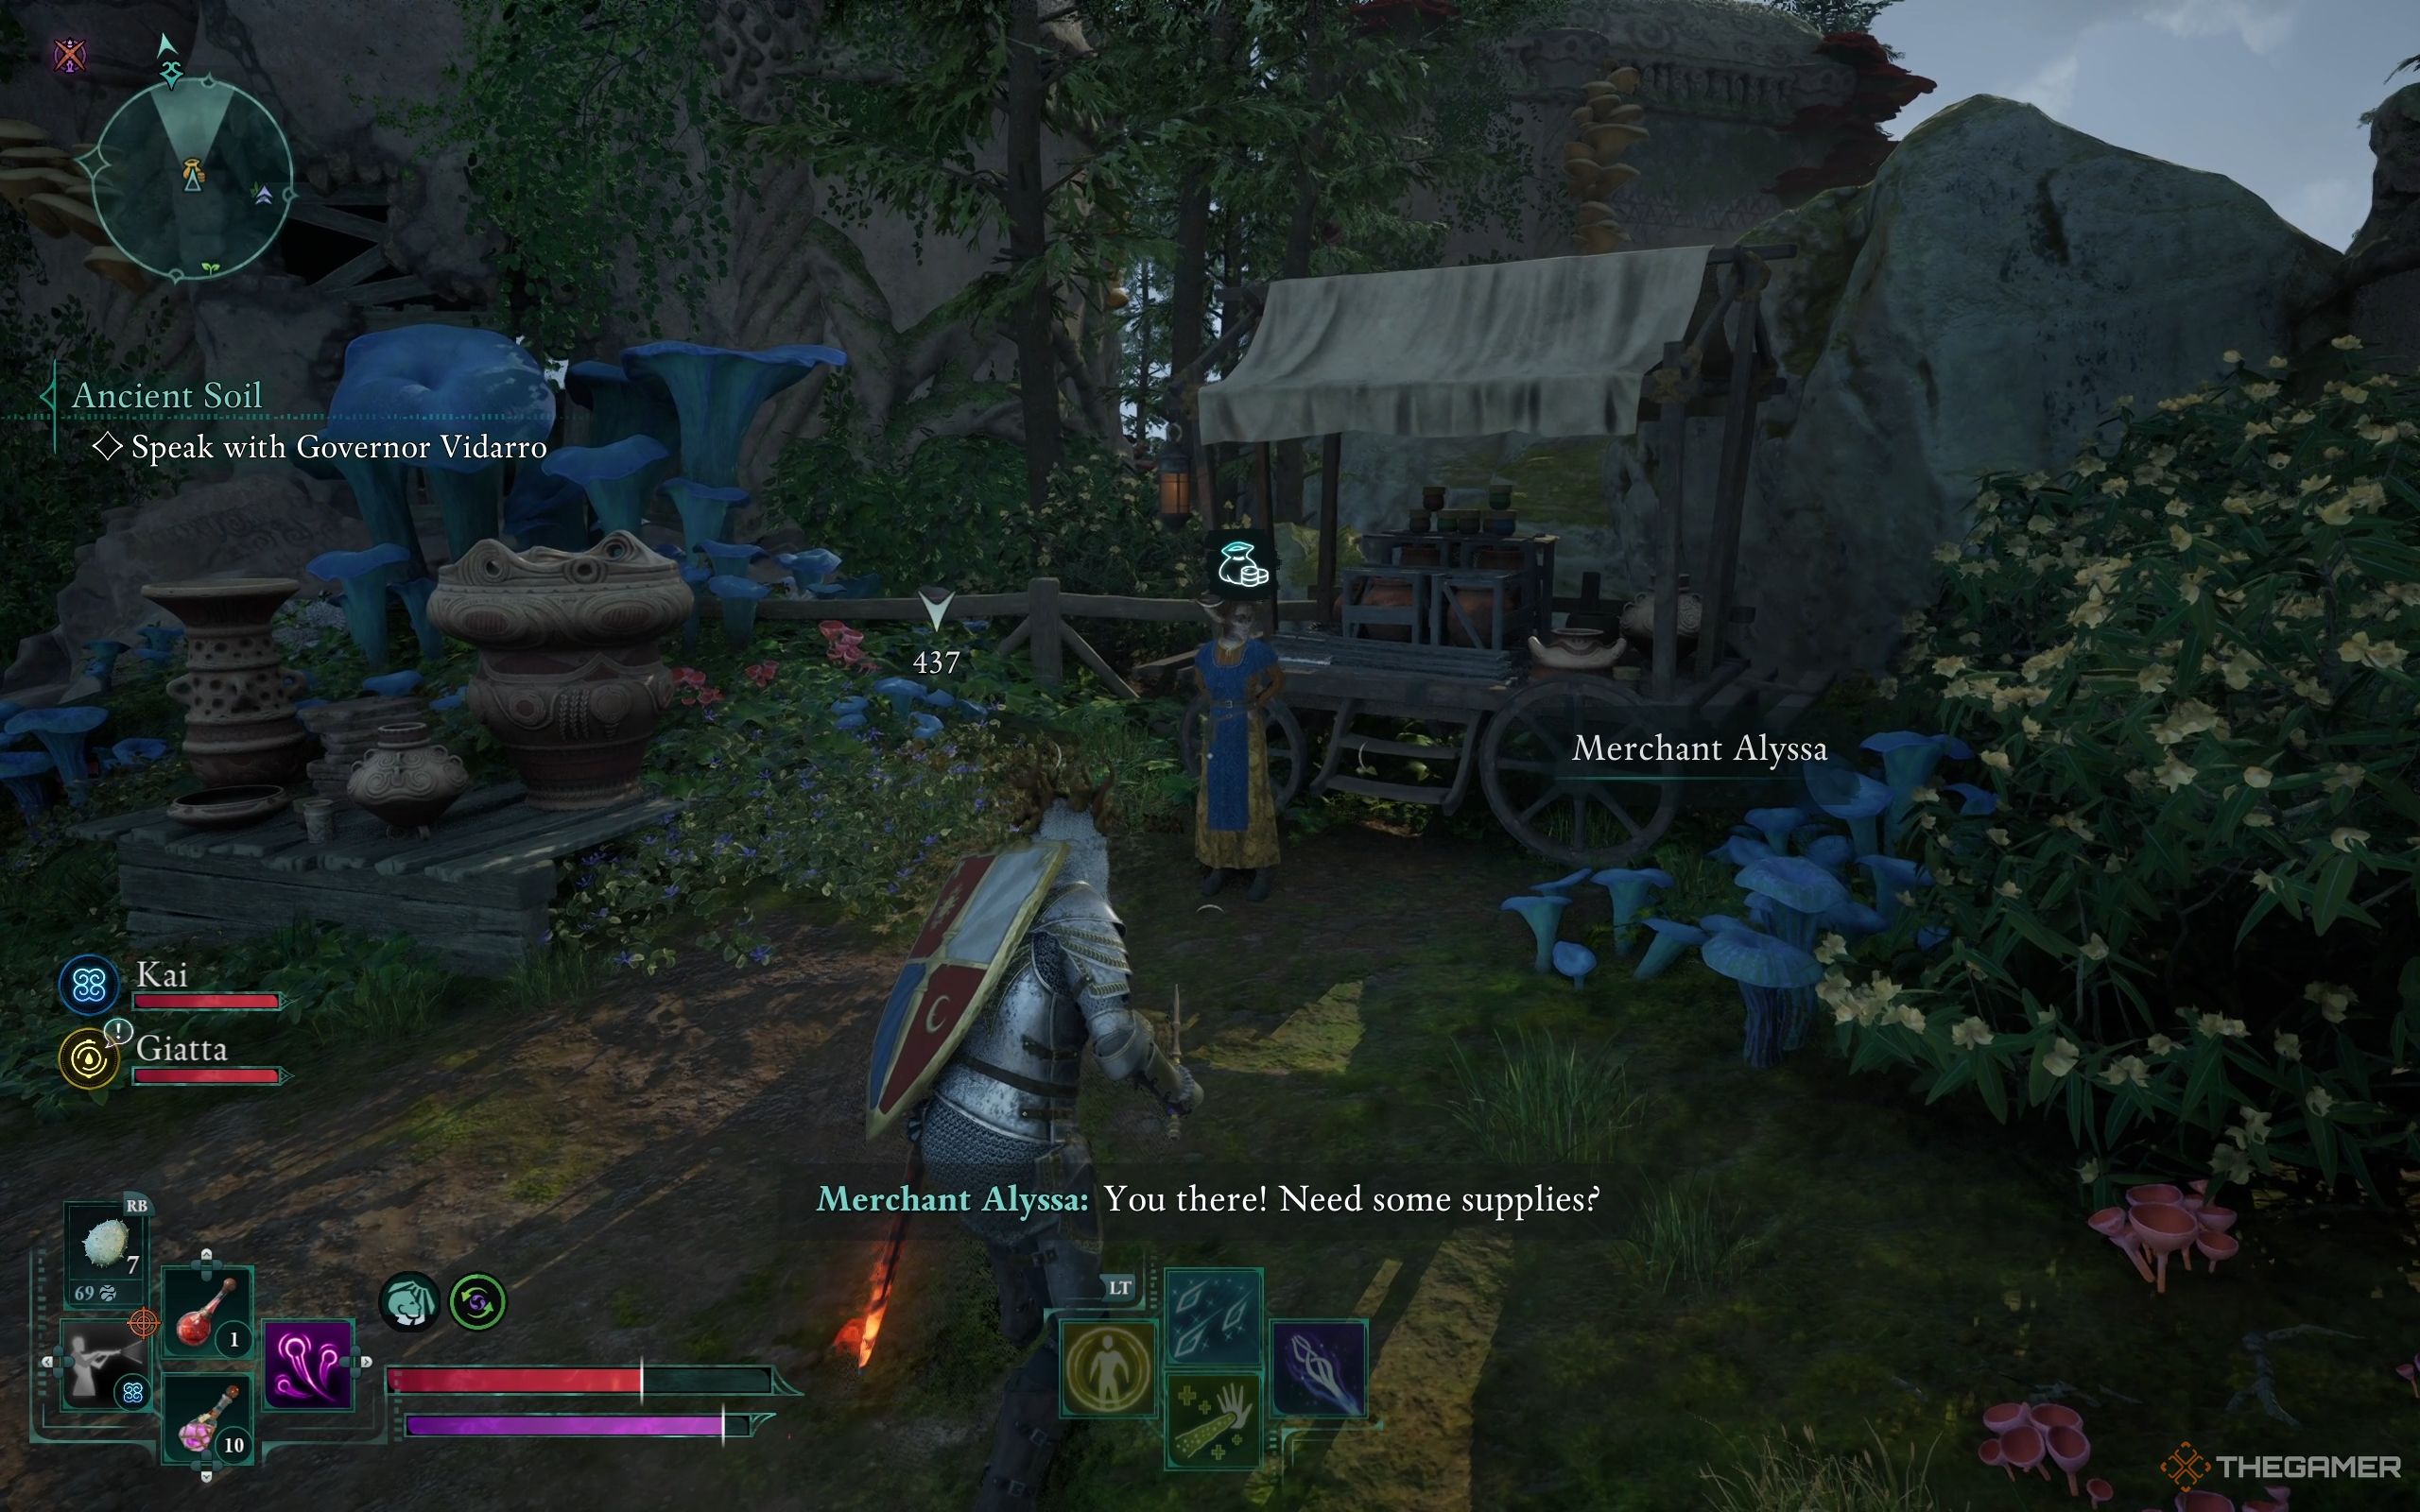
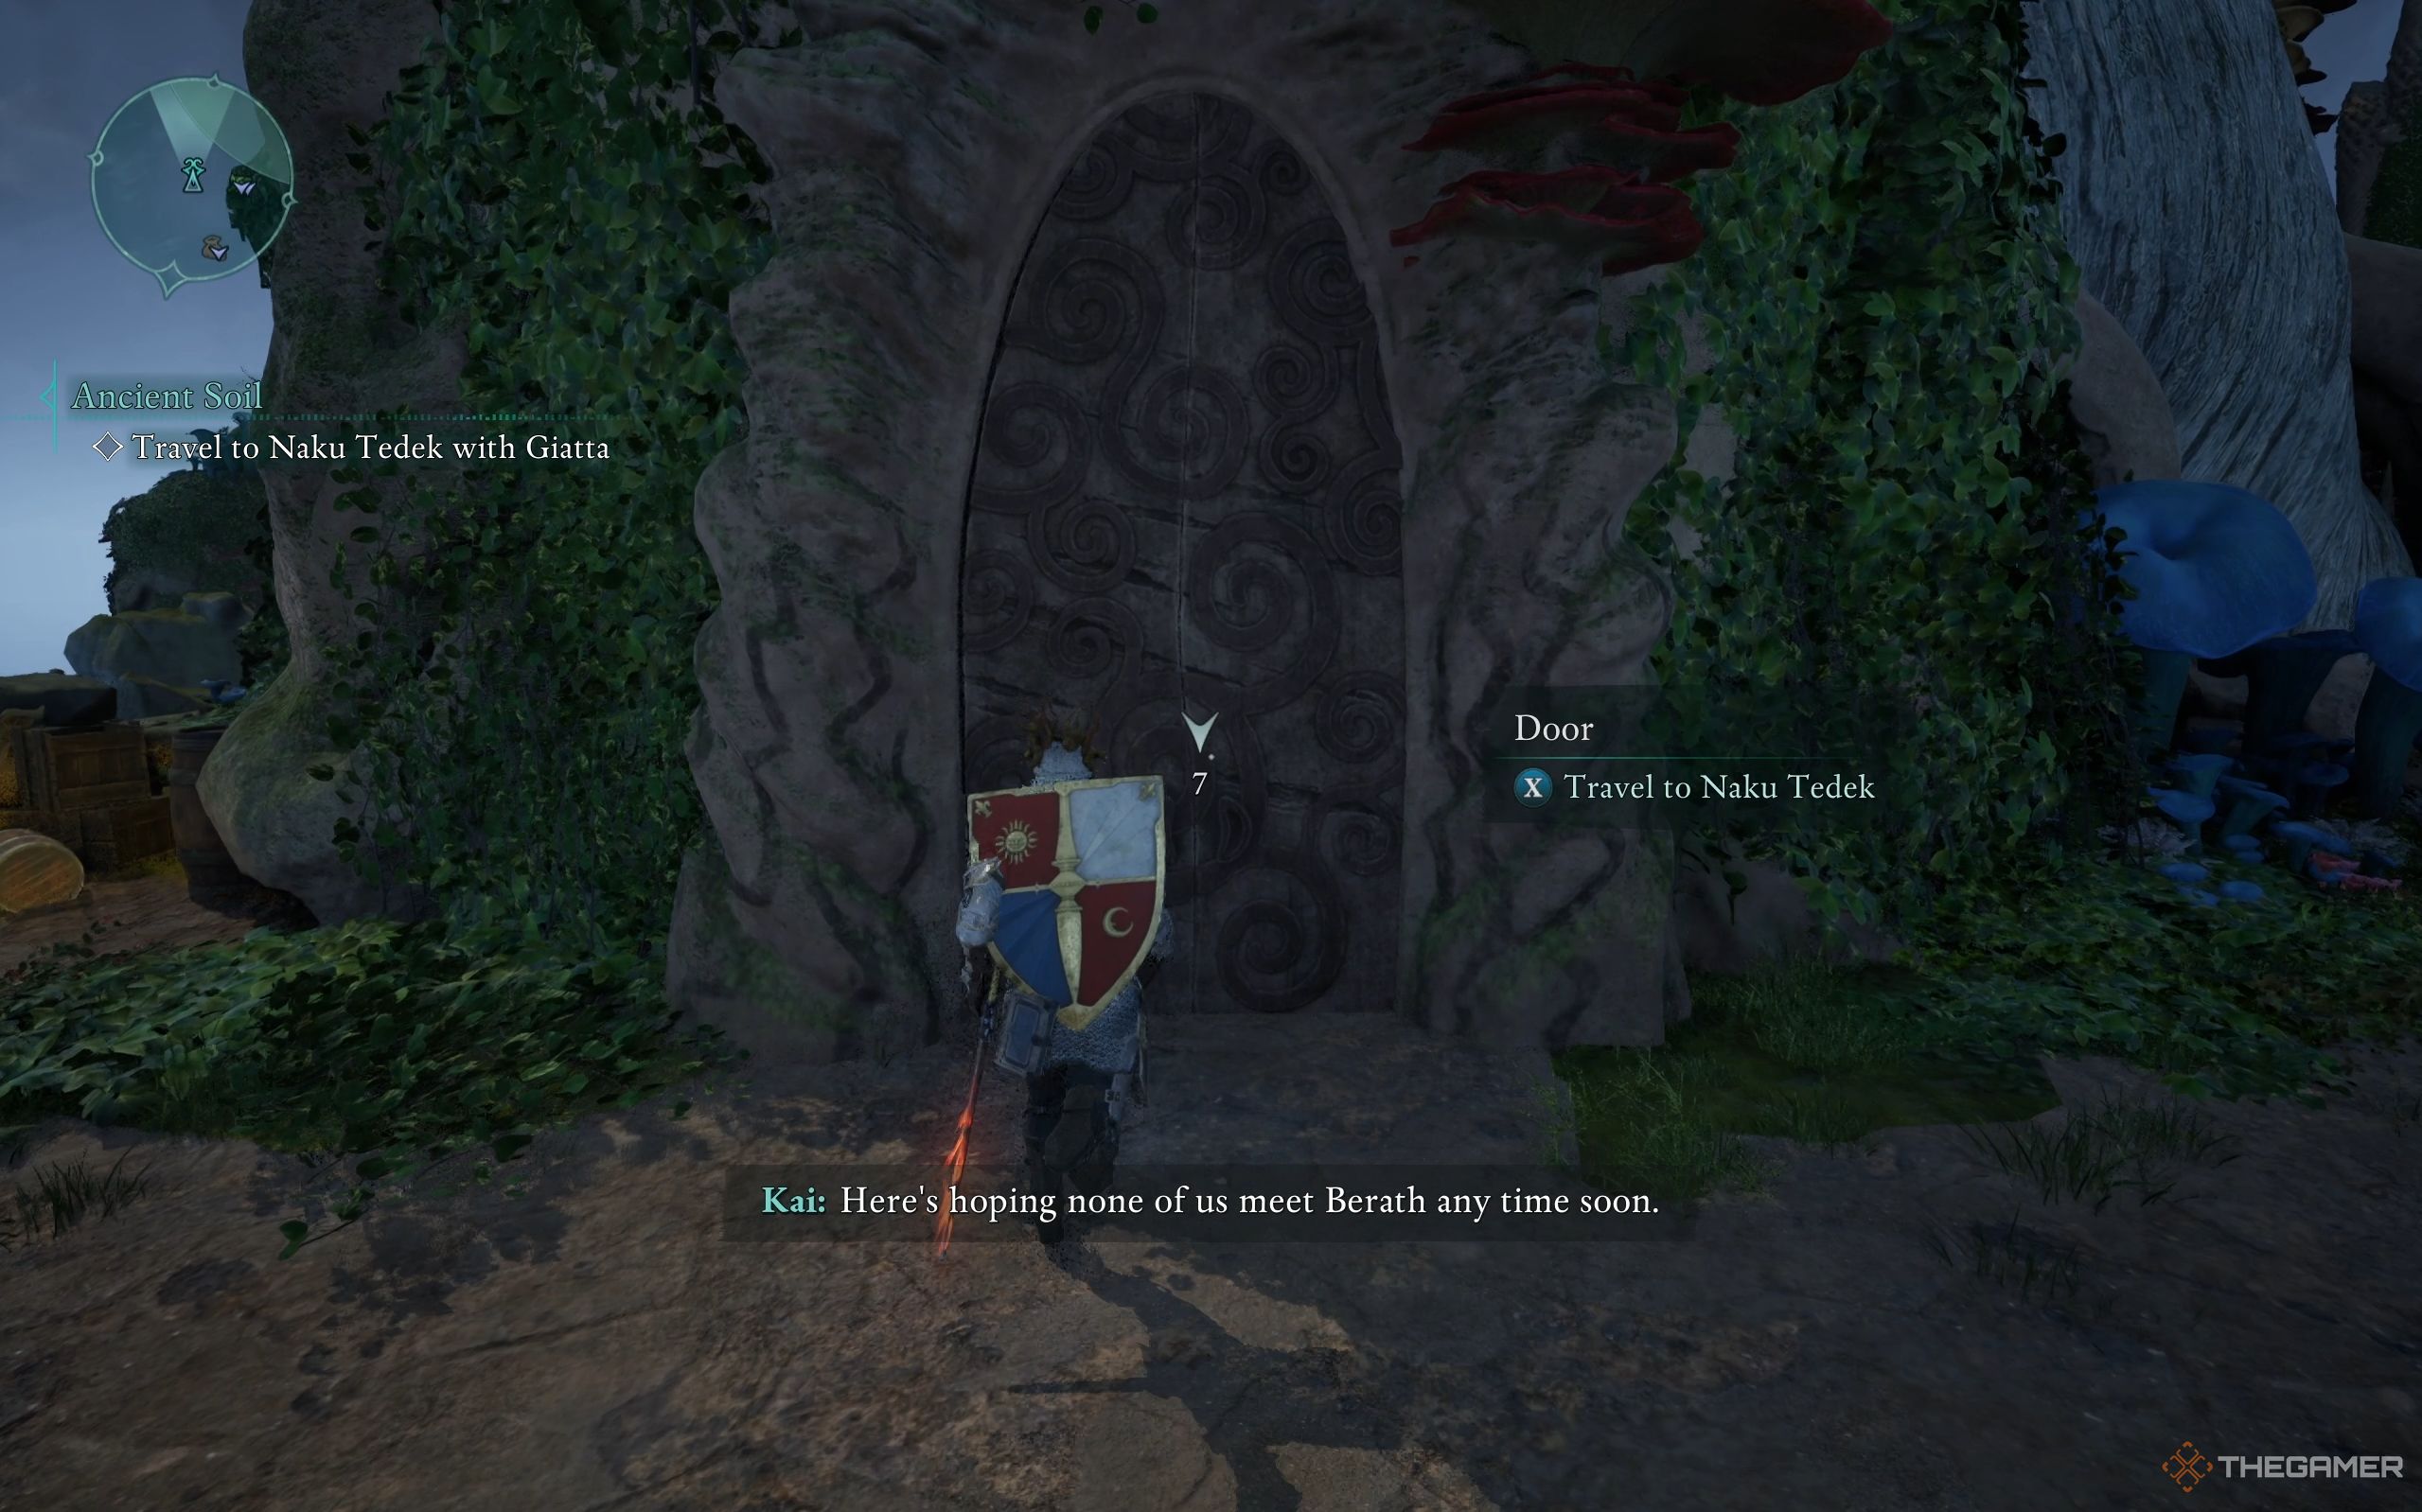
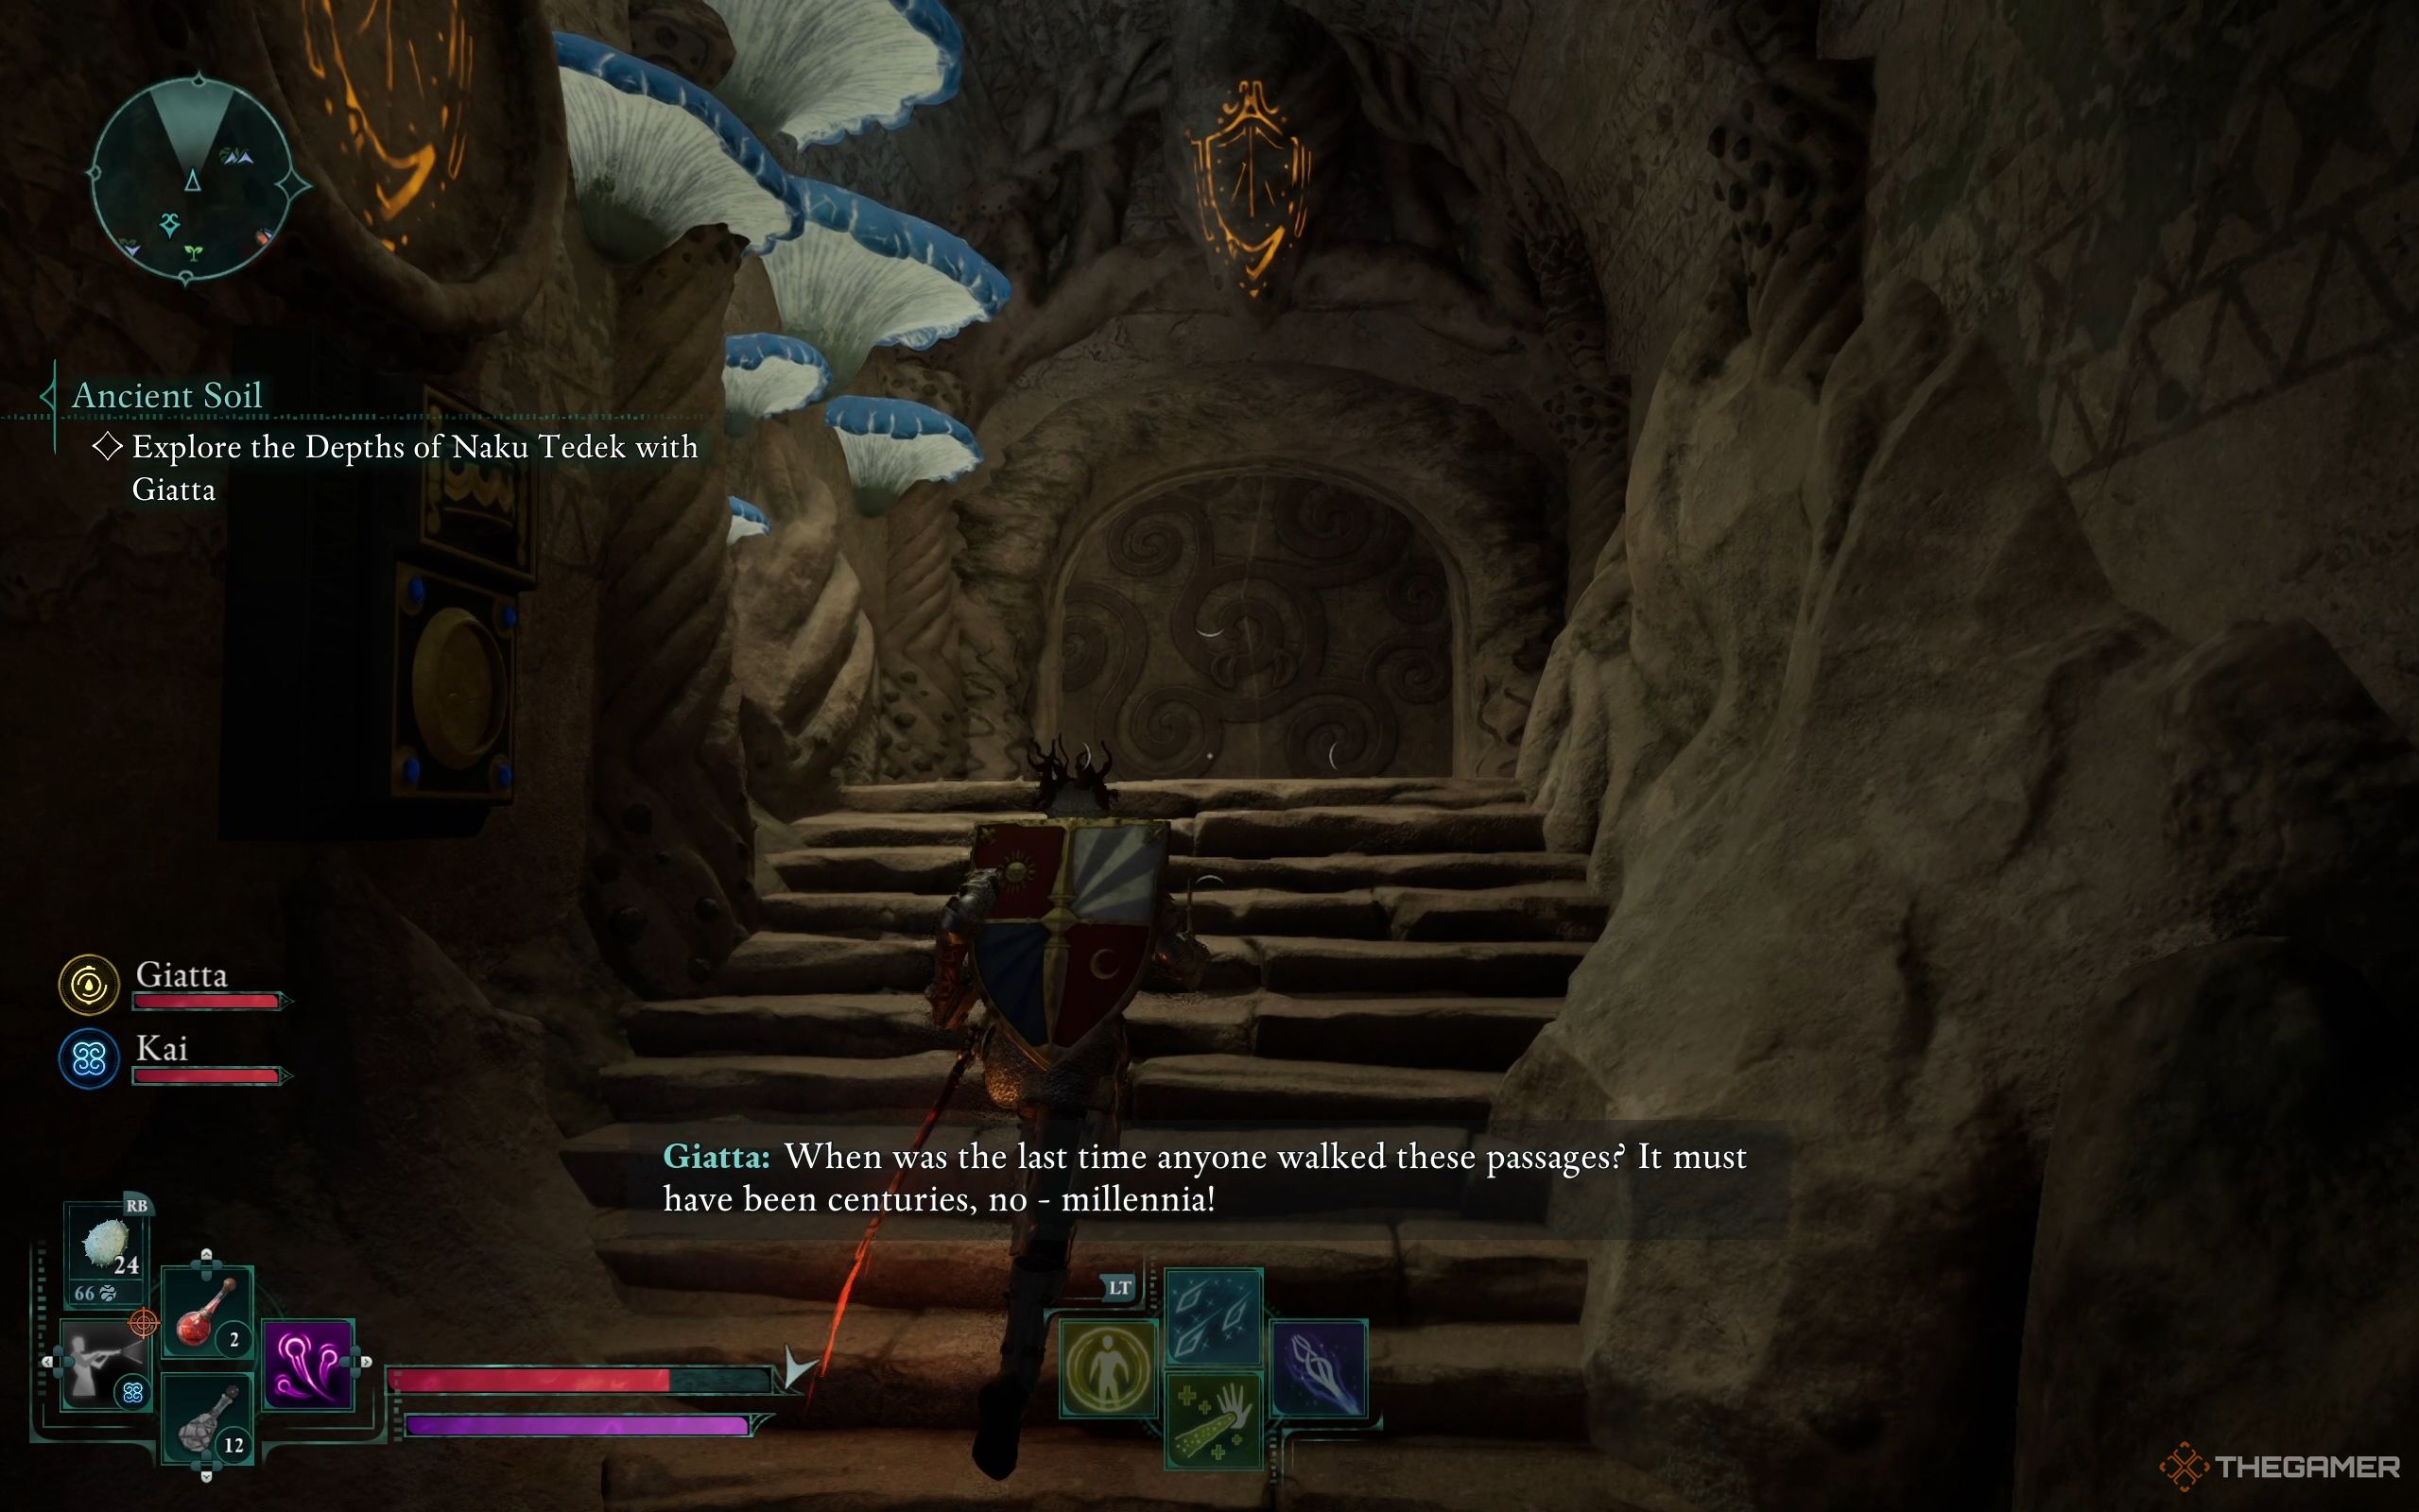
As a devoted follower, you could converse with the local Priestess of Berath for additional insights into the lore. Once prepared, find the staircase beside her and step through the door to venture into the enigmatic realm of Naku Tedek.
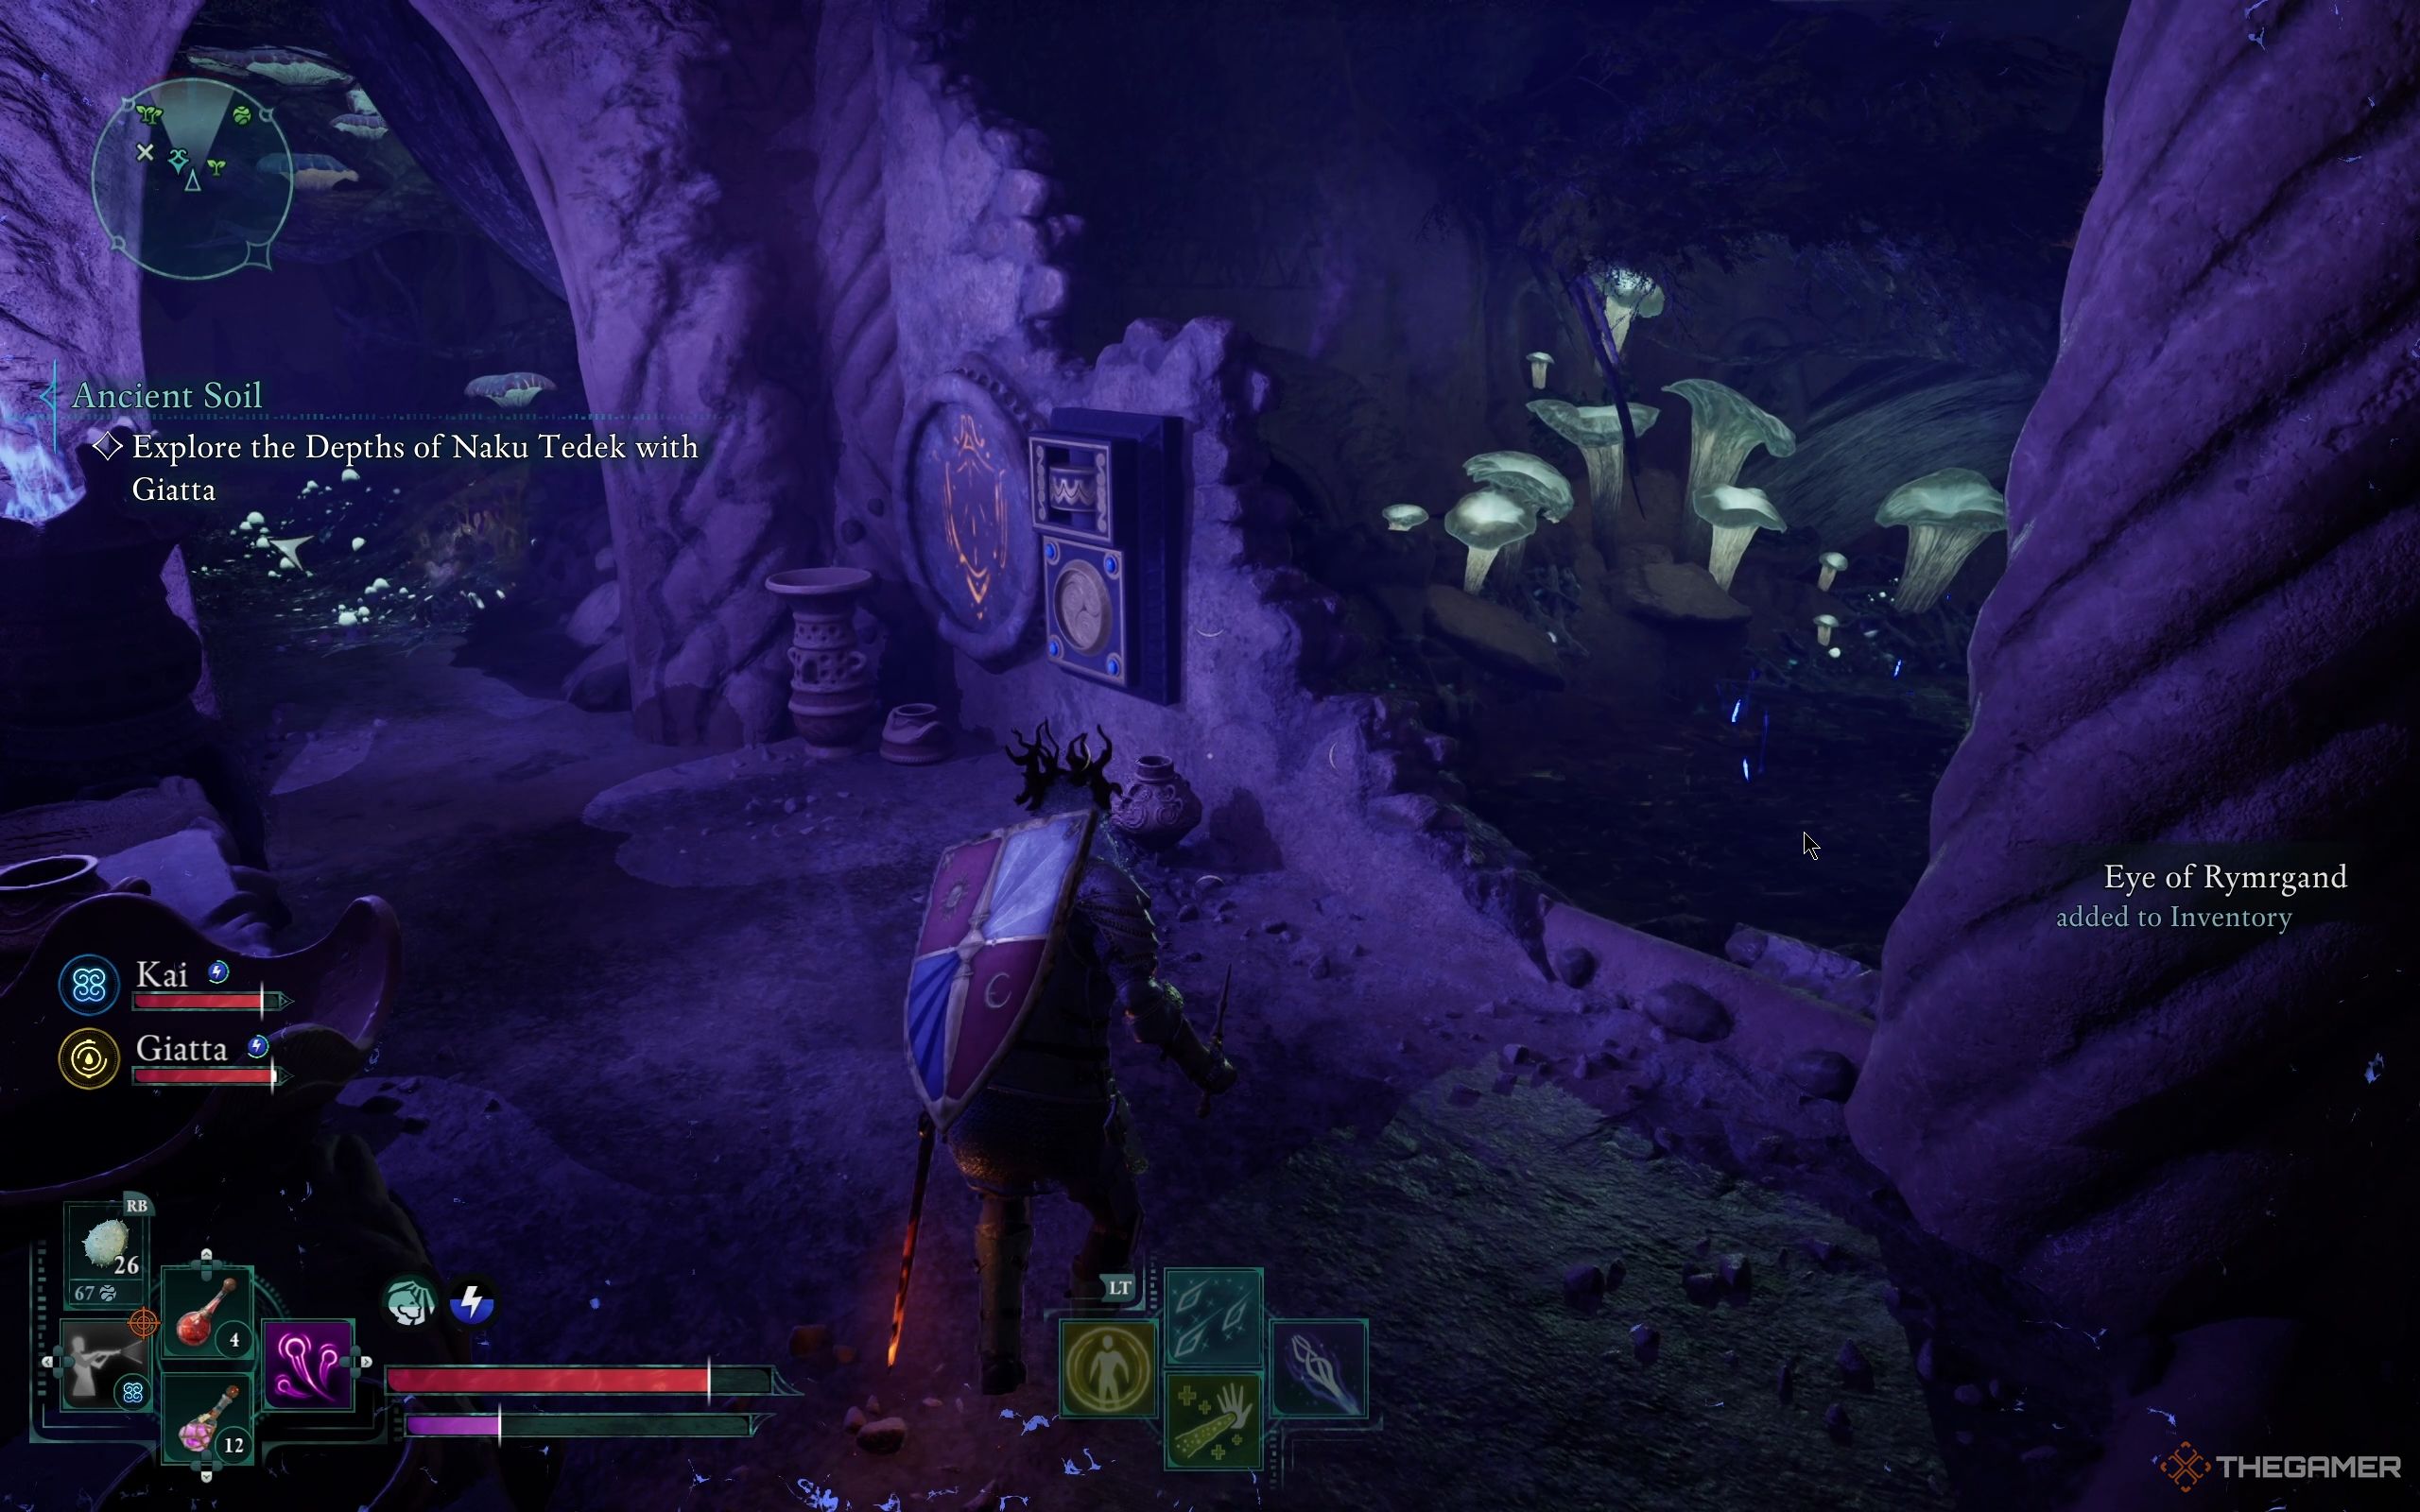
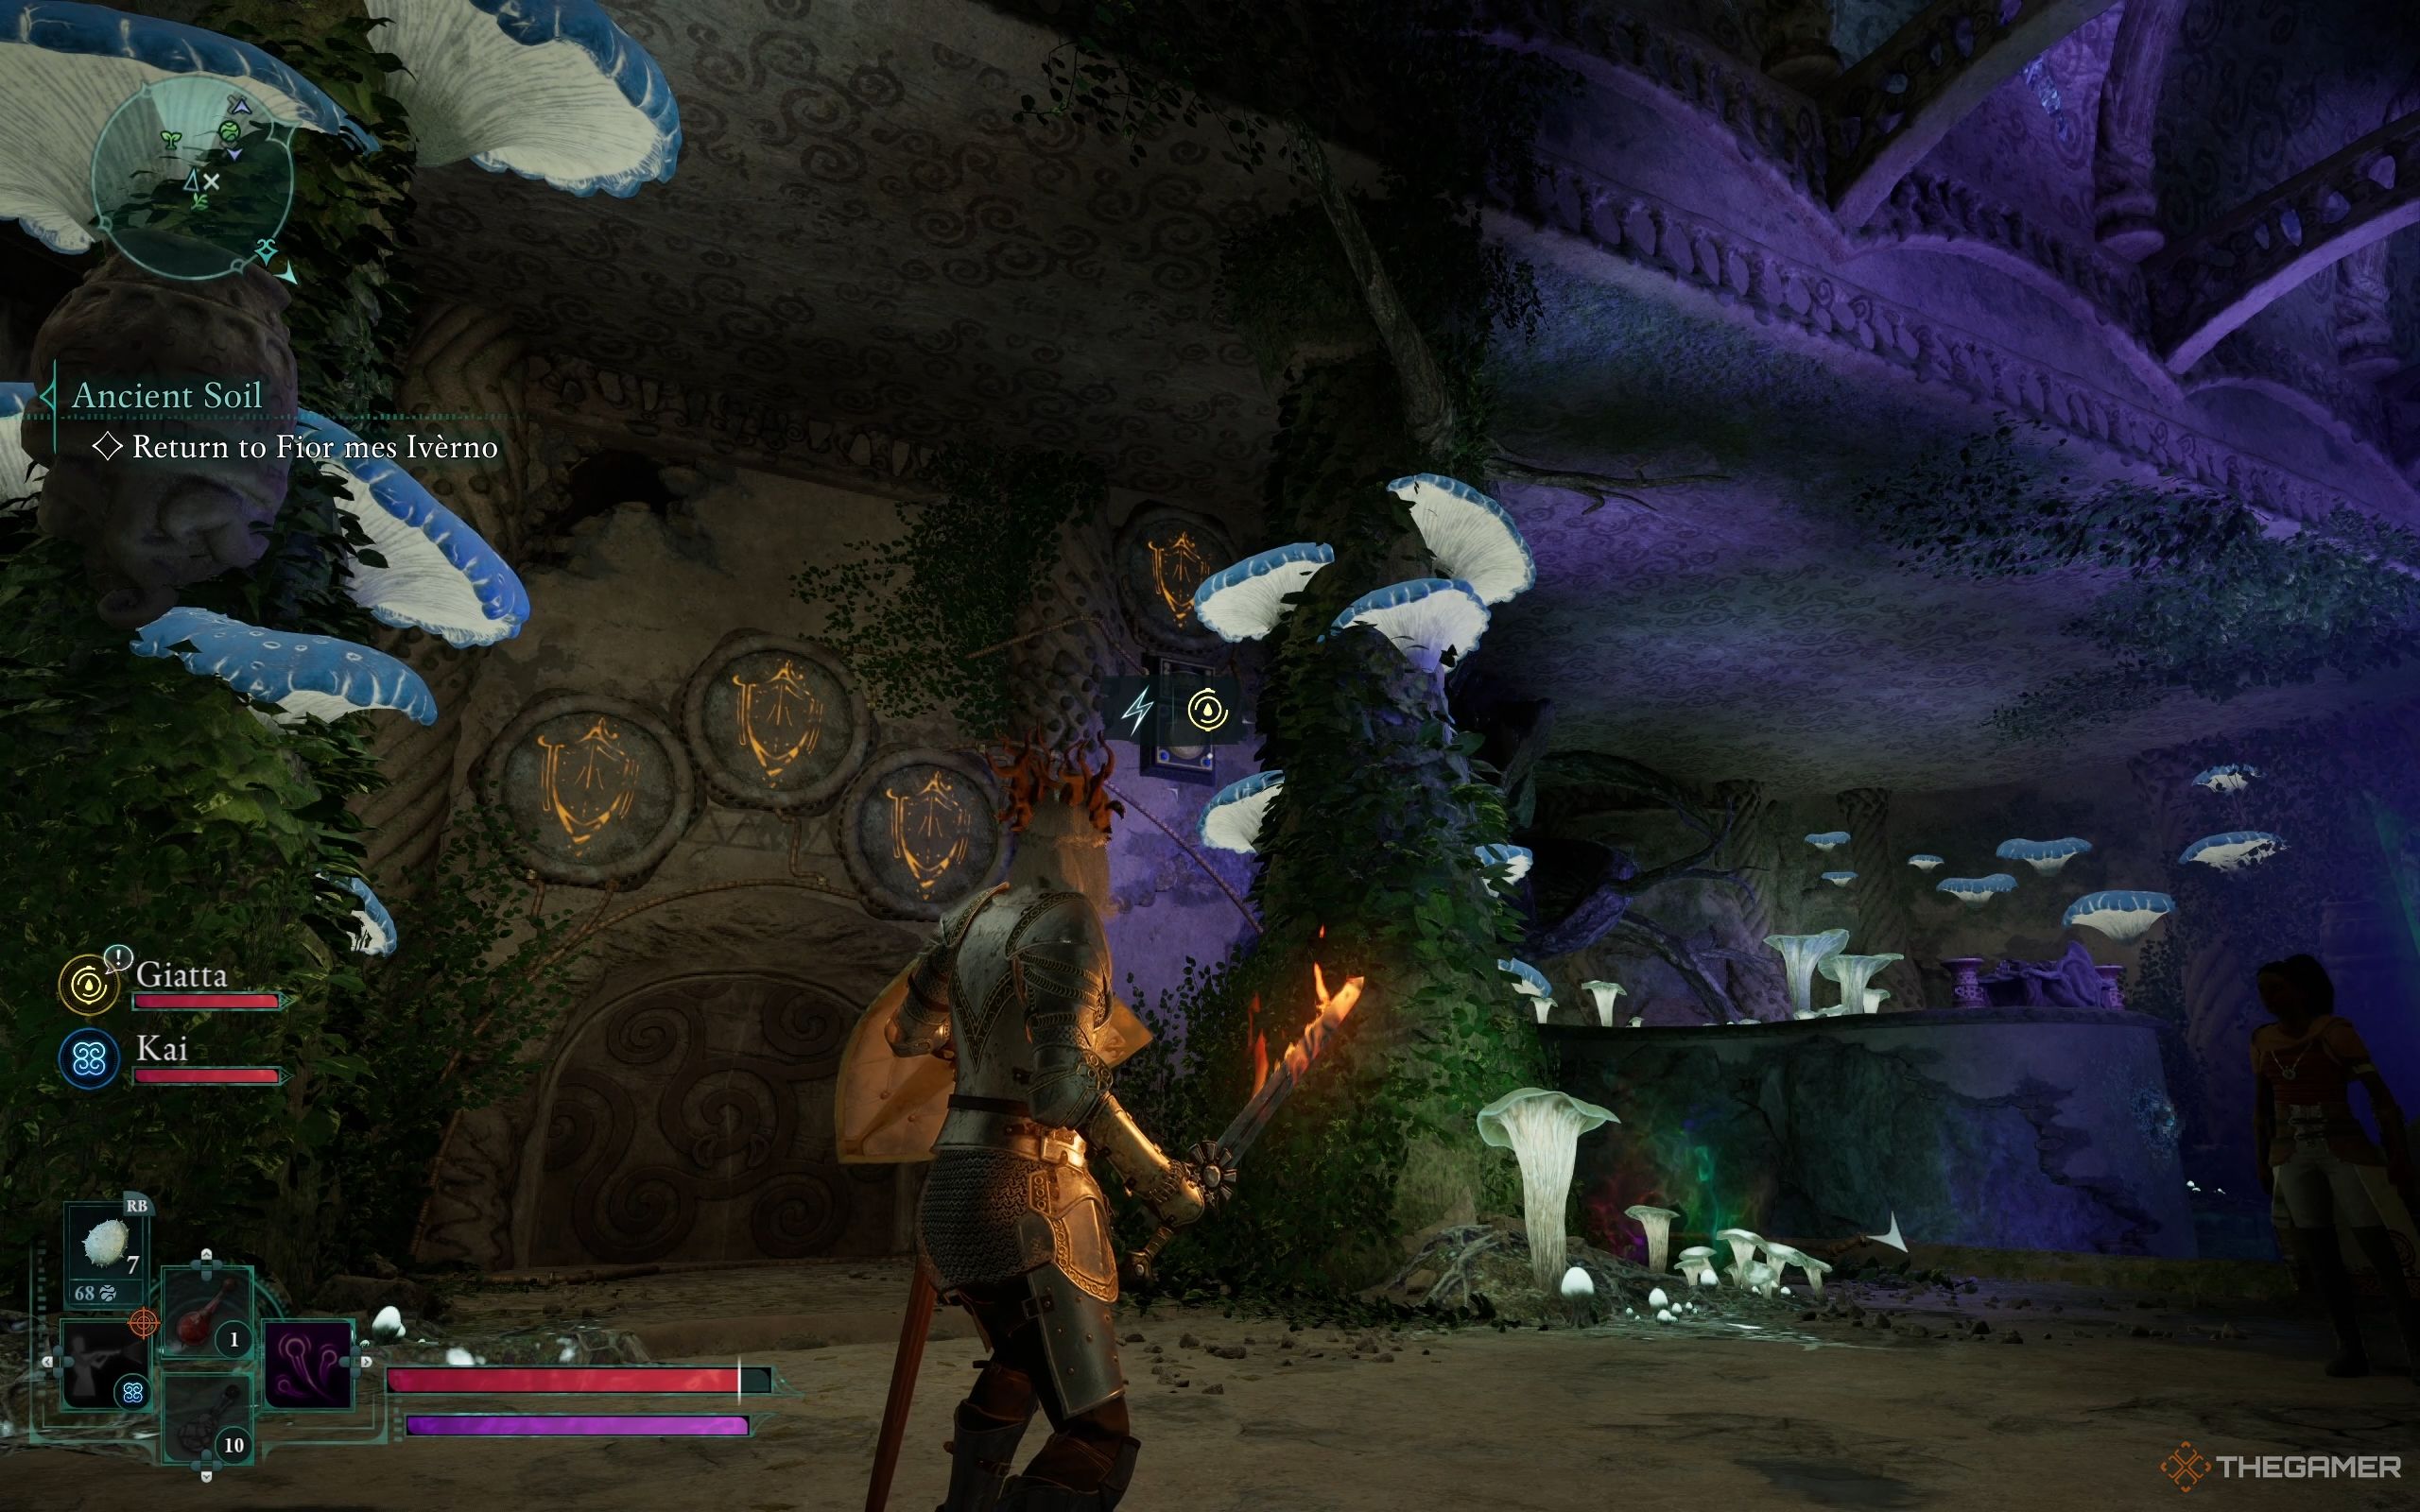
Explore The Depths Of Naku Tedek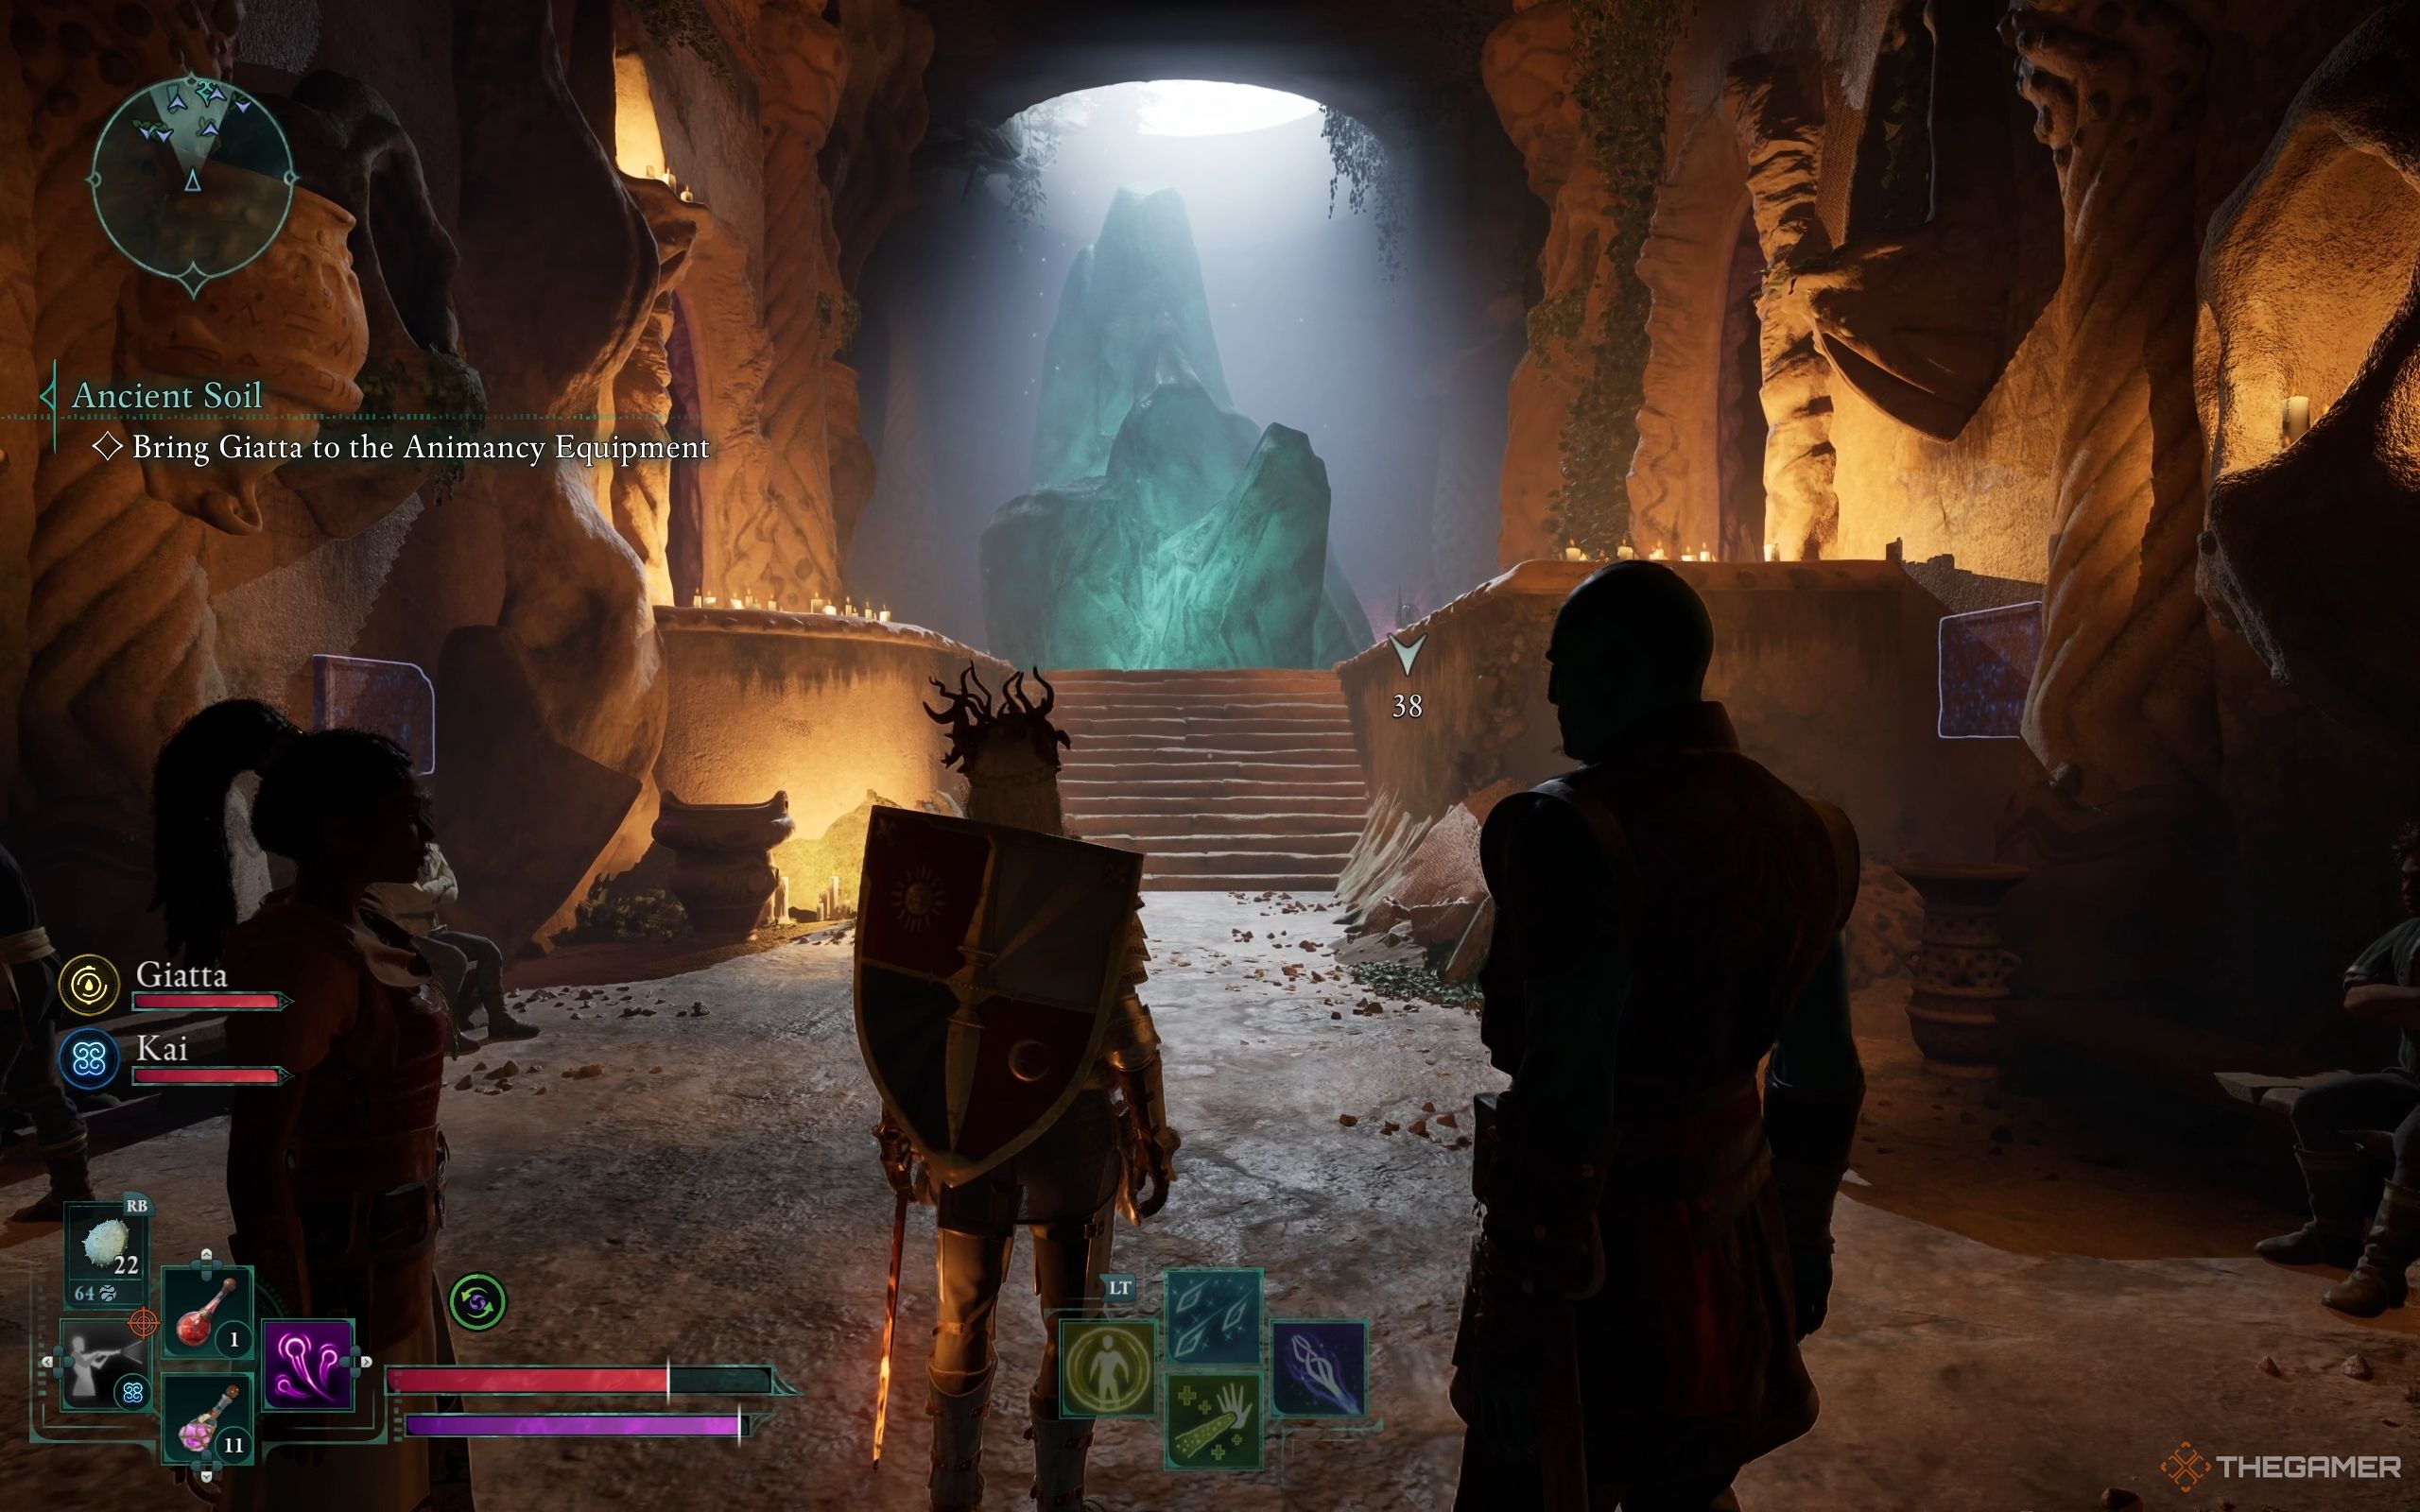
Stepping into the temple, my eyes immediately catch sight of an immense Adra right smack in the middle. To its left and right stand two dimly lit chambers, bathed in a soft purple glow.
- In the left room, you’ll find a chest, a Lock Box, and a Healing Potion.
- In the right room, there’s a Fine Bow and a book called Dignity of the Deceased.
Search the surroundings thoroughly for valuable finds such as an Eye of Rymrgand, Electric Lily Seeds, Magran’s Fury, and a bottle of Essence Potion.
Here, you’ll find Luminous Alfons. Engage with him to receive a side quest called “A Relic from the Ashes.”
Or more casually:
In this area, you’ll meet Luminous Alfons. Chat him up to get the side quest “A Relic from the Ashes”!
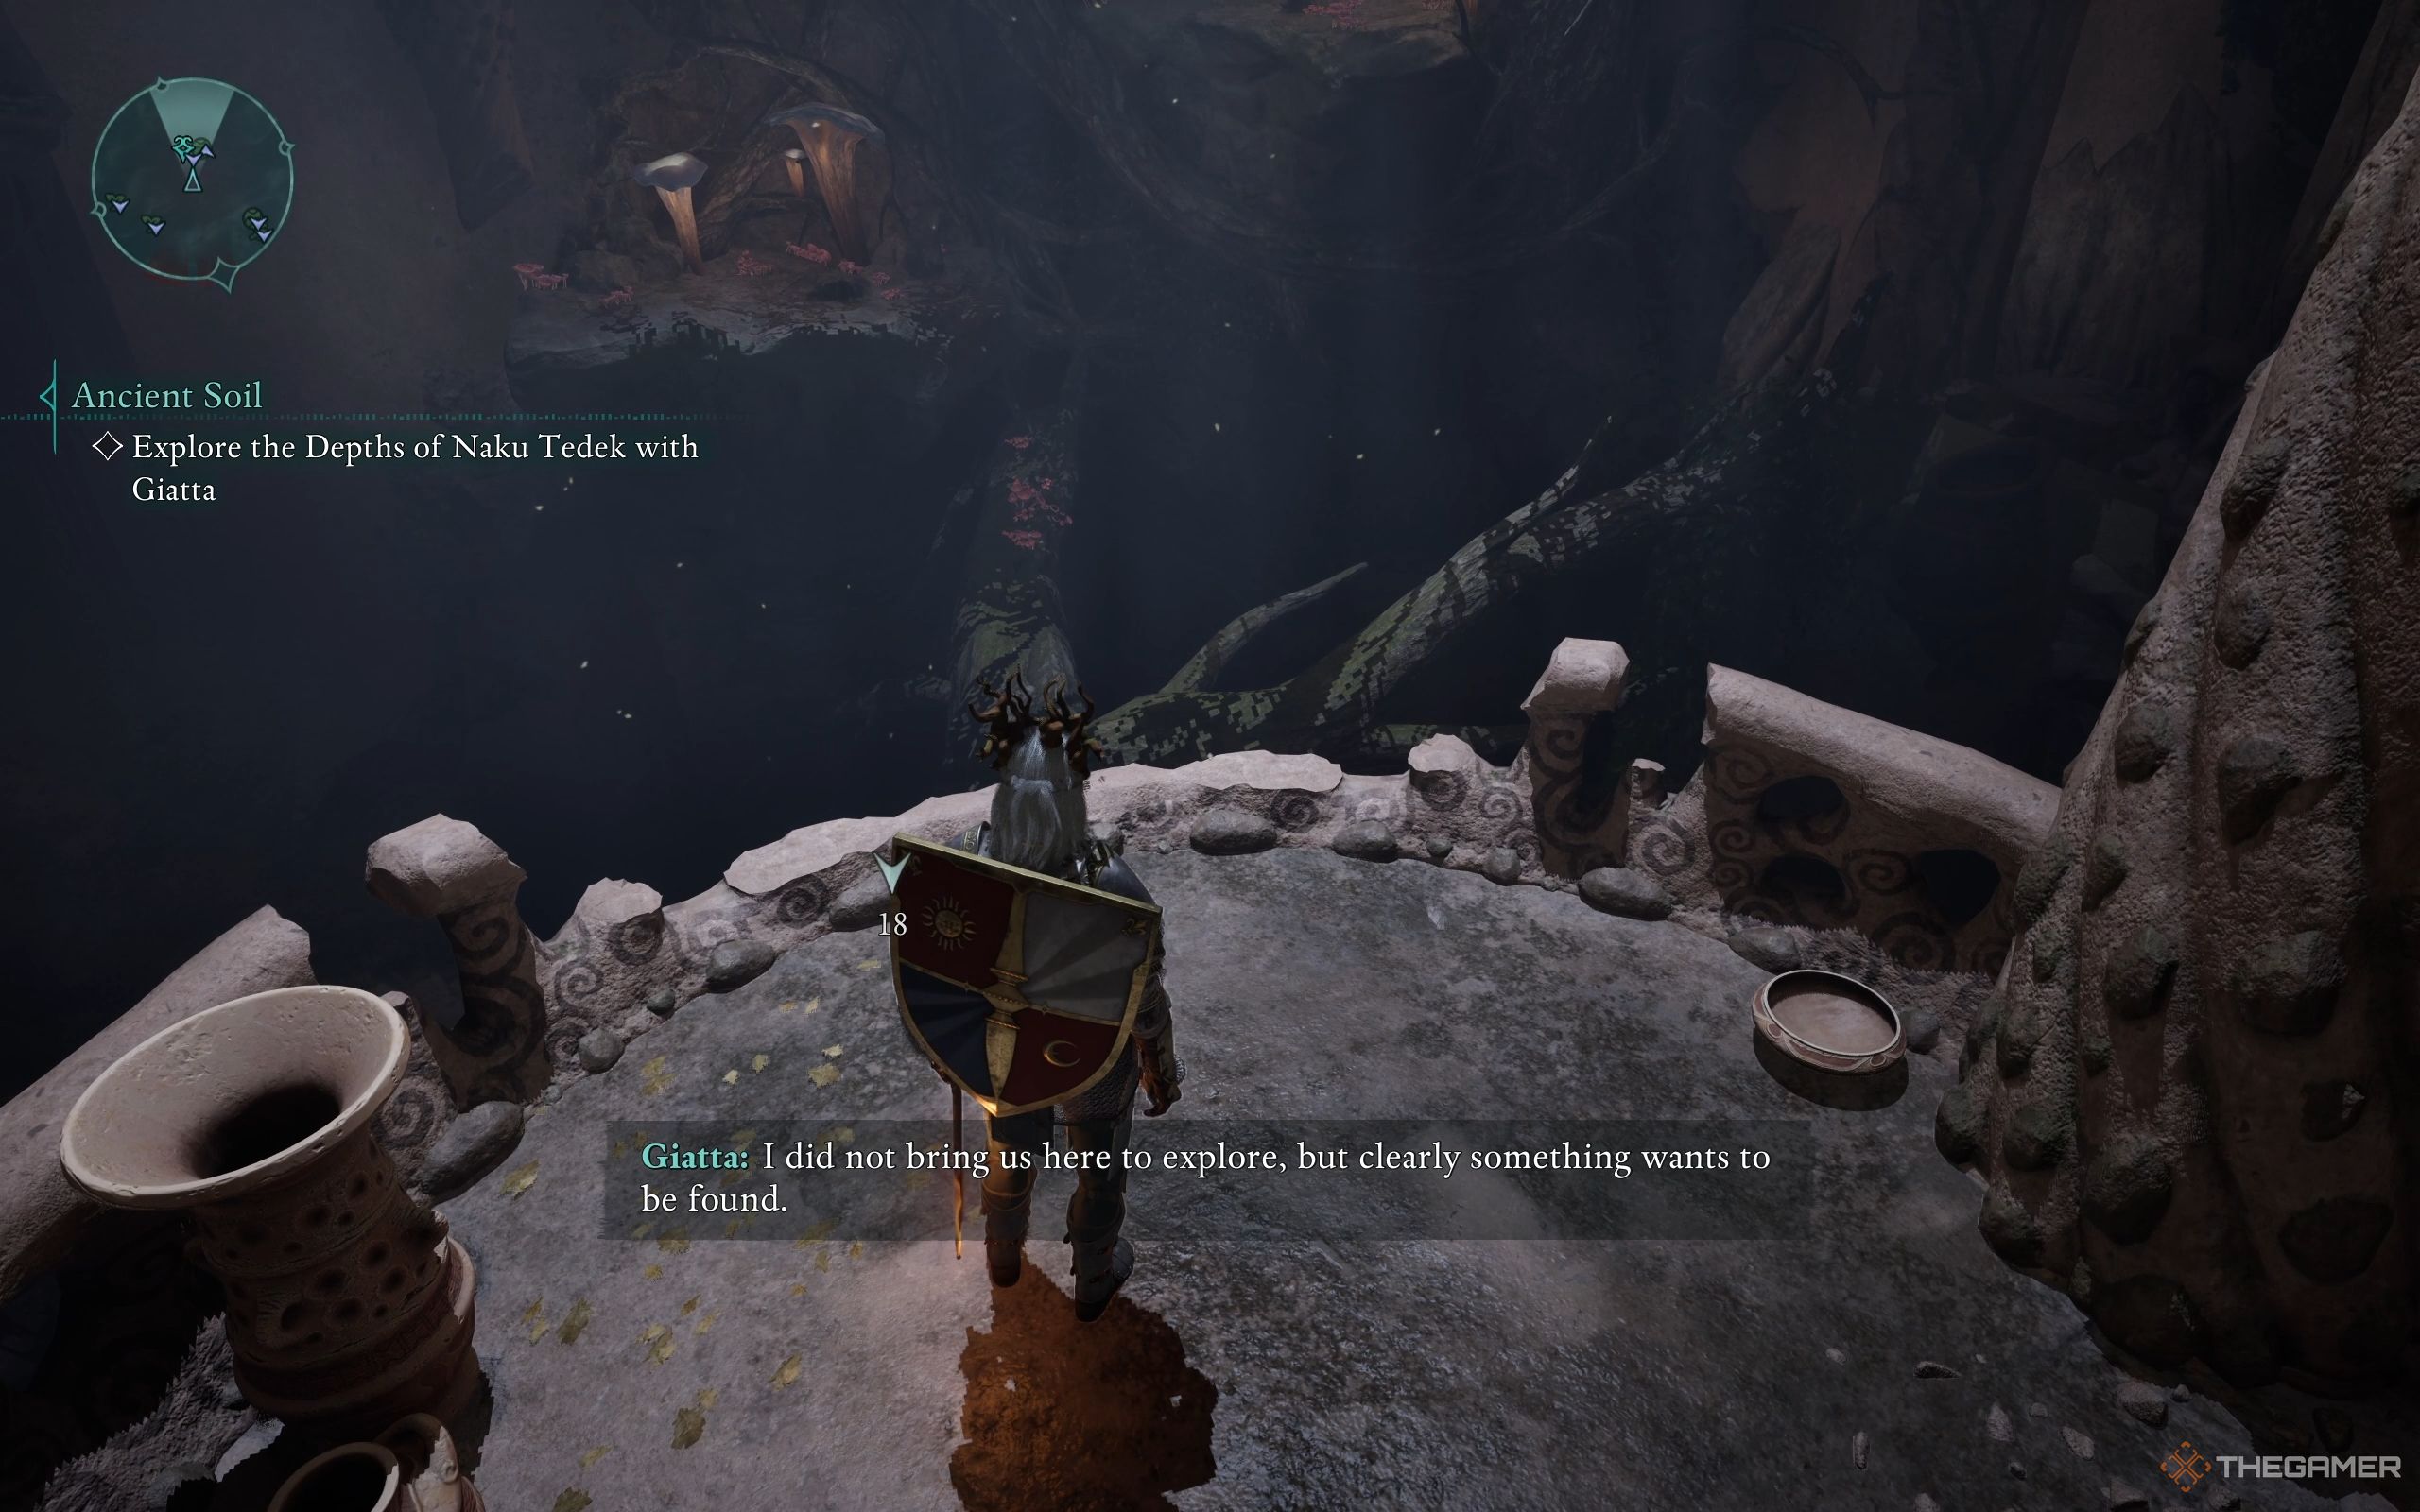
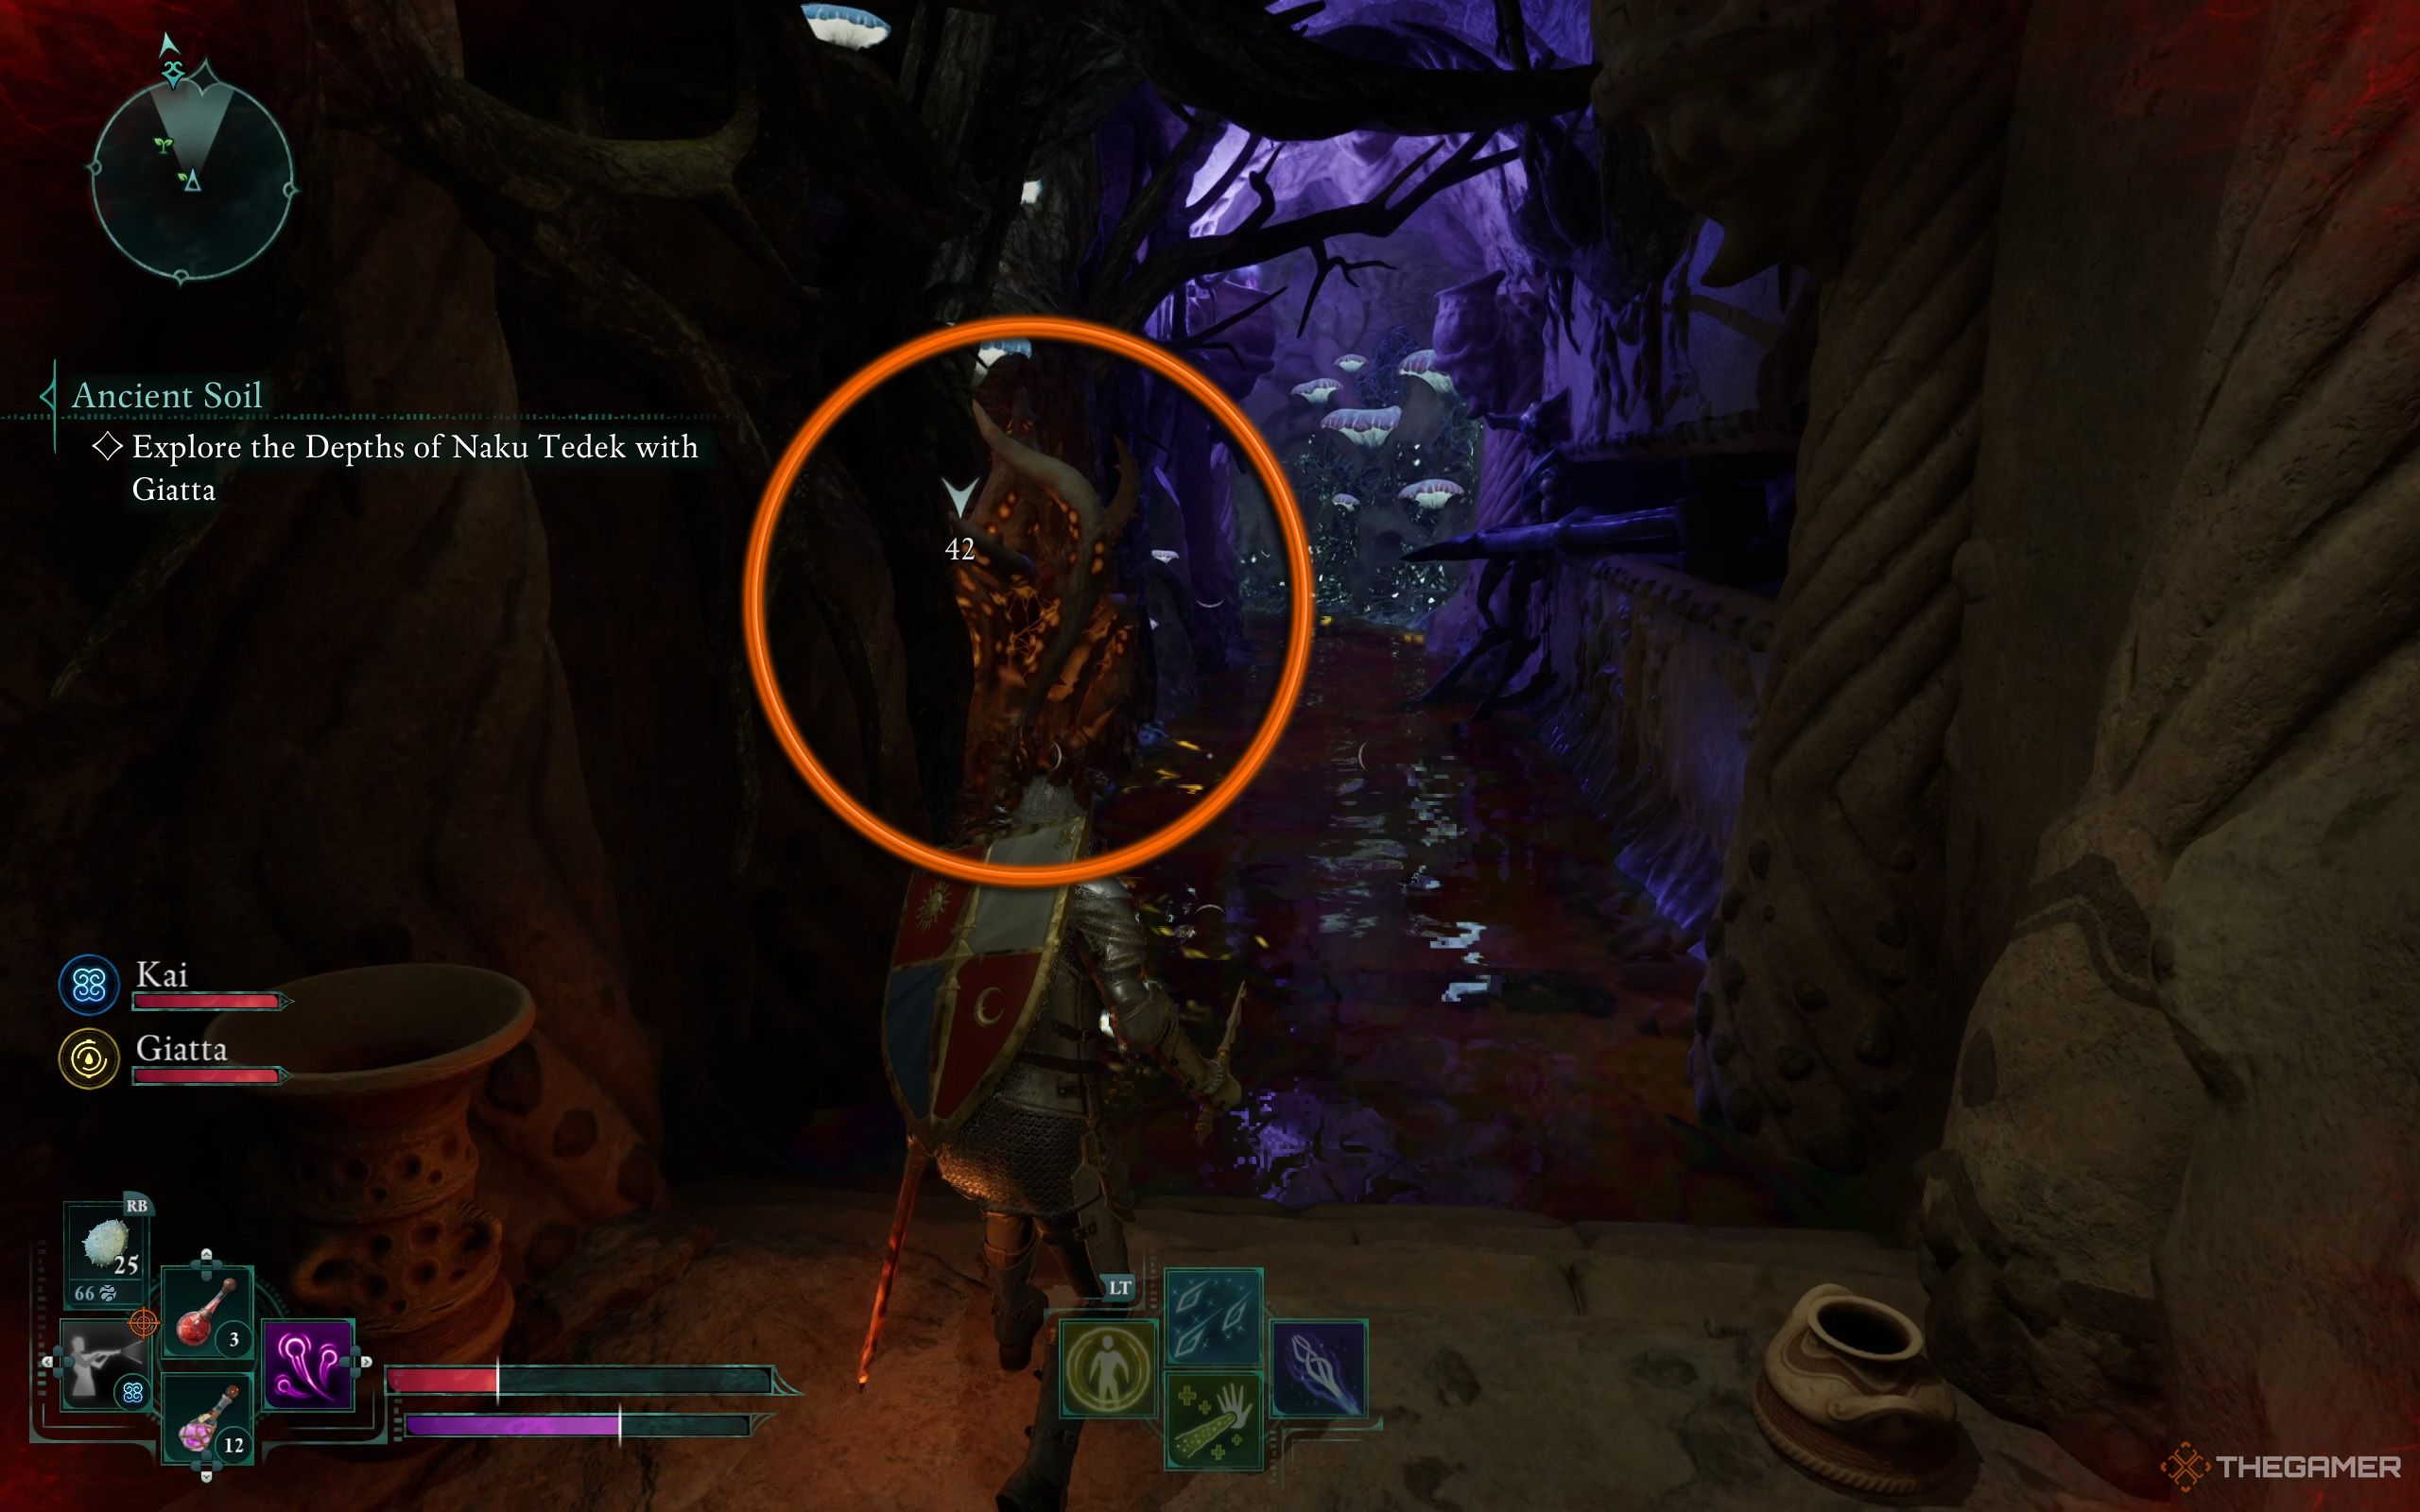
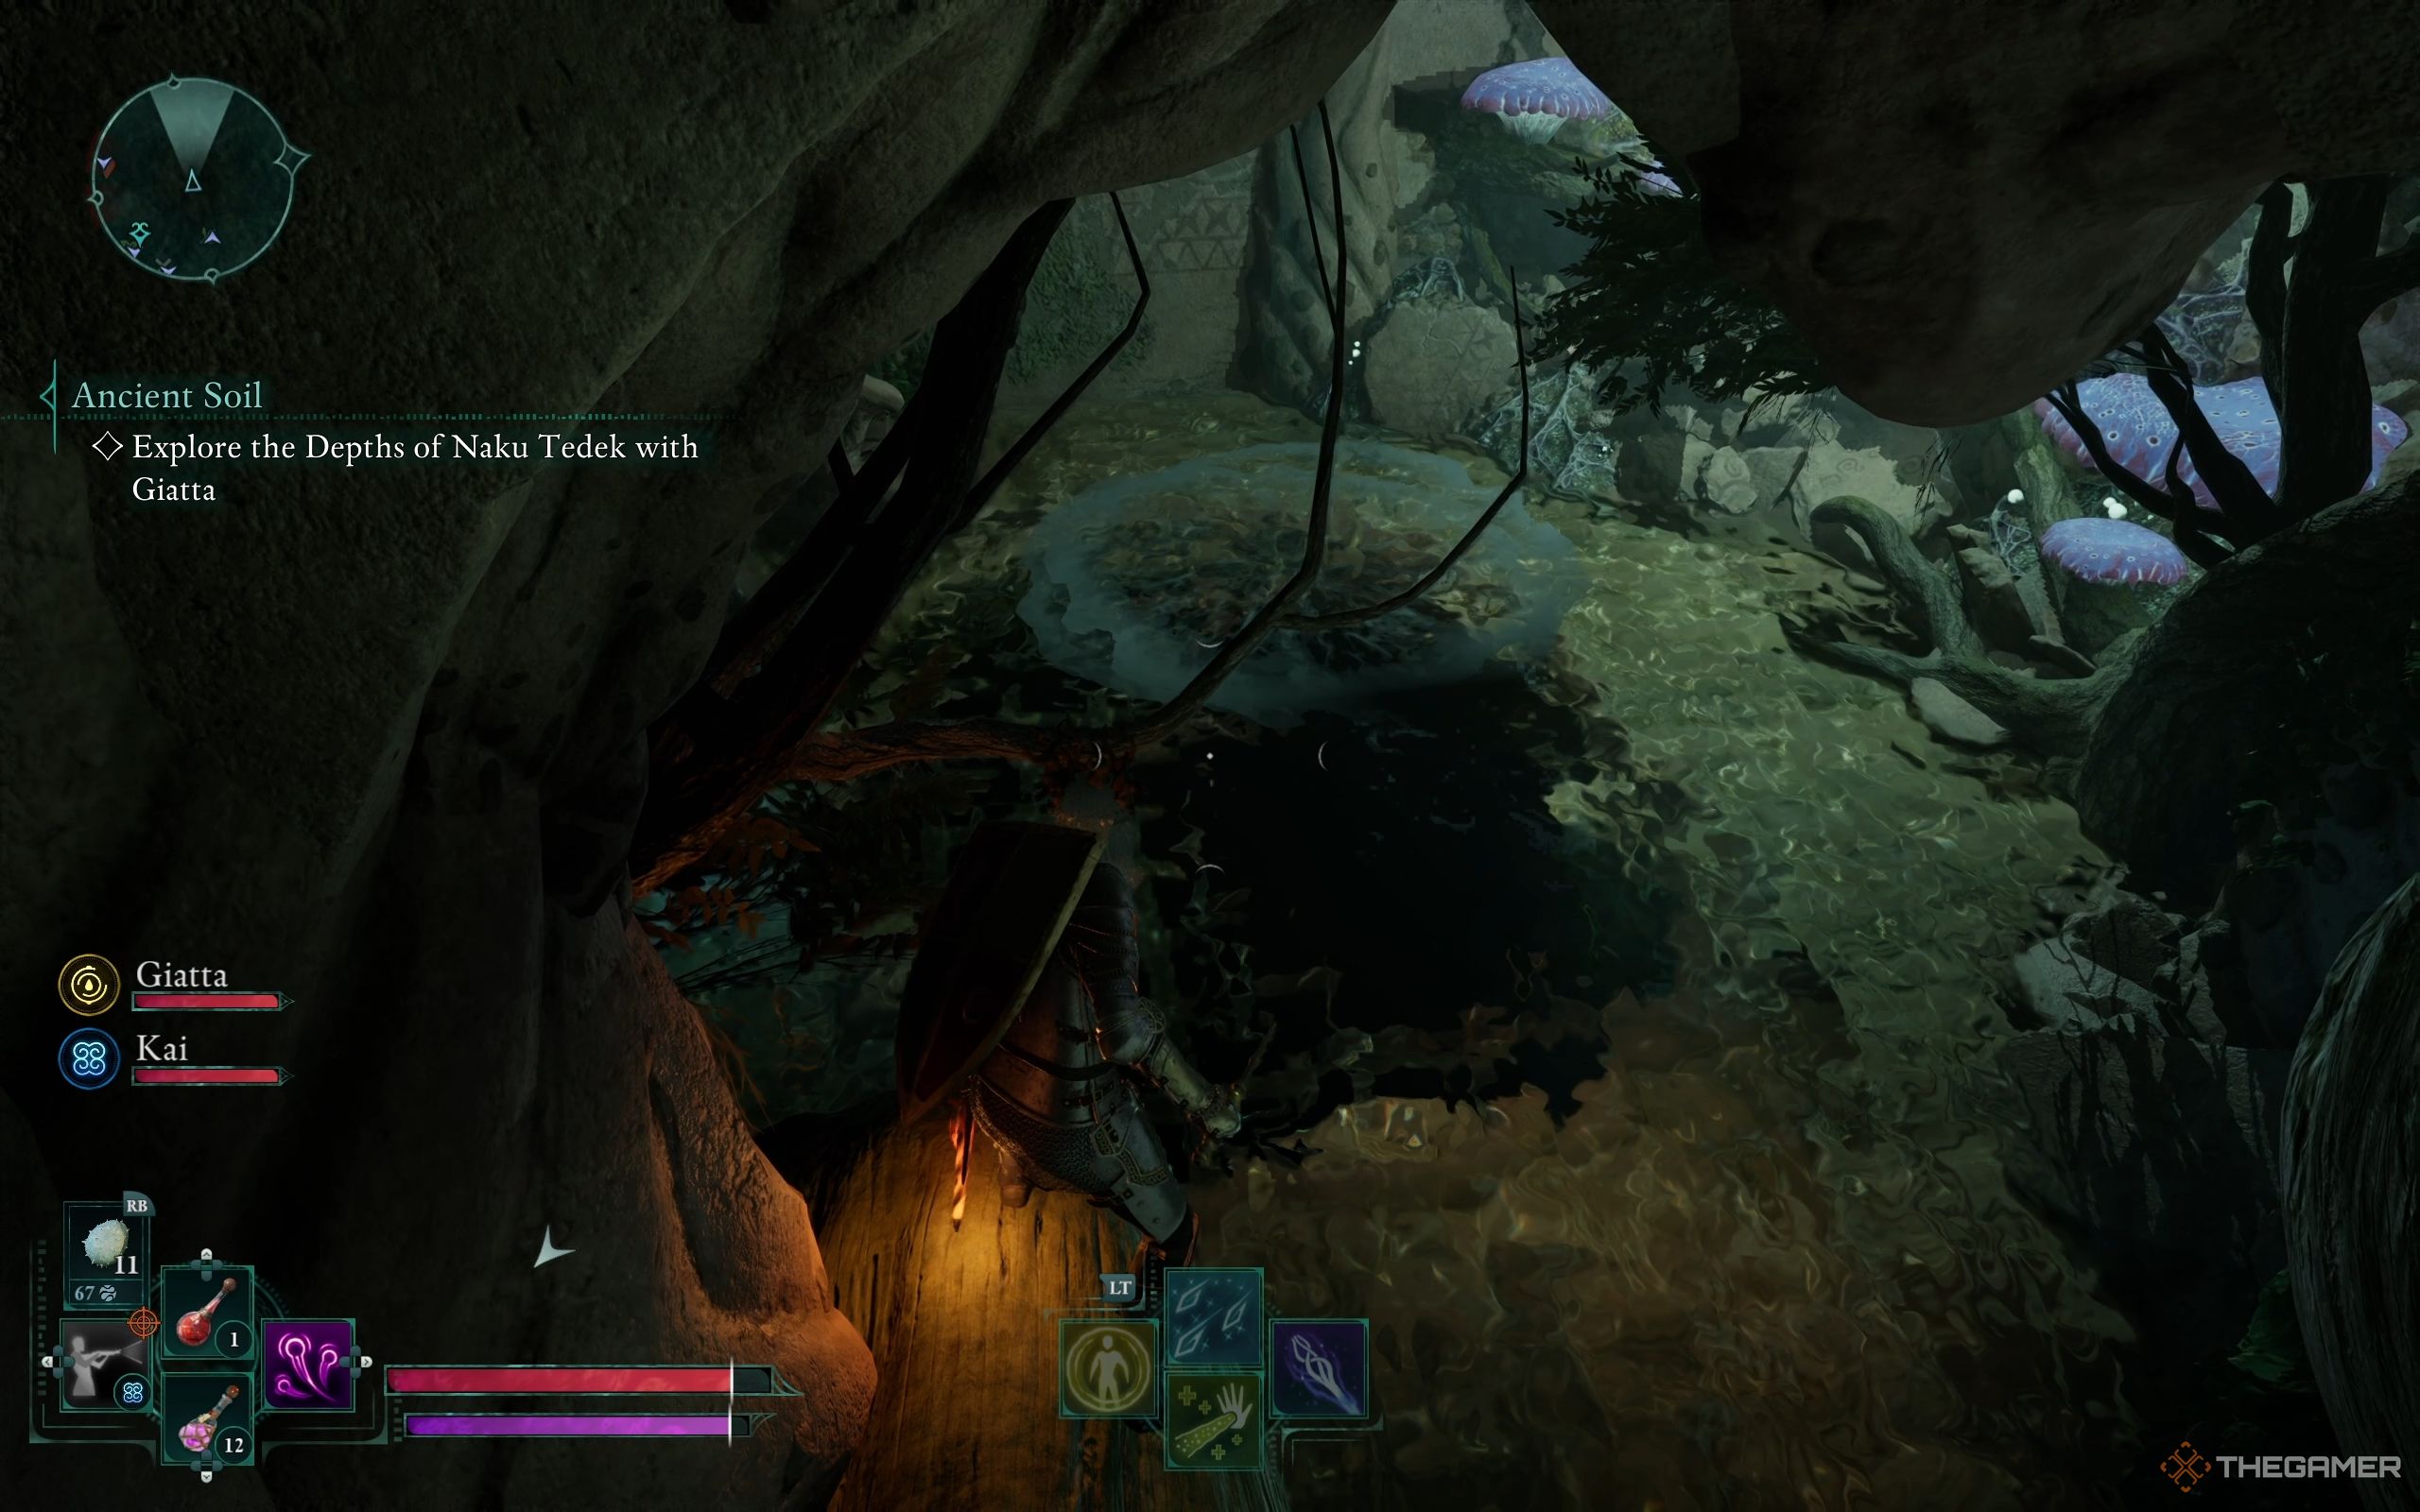
After that, engage with the animated gear close to Adra. Giatta will take care of the adjustments, which in turn will open a nearby door. Pass through this opening and you’ll discover a large tree branch sloping downward. For now, avoid rushing straight to the bottom.
Instead, look to the left for some ledges where you can pick up another Eye of Rymrgand.
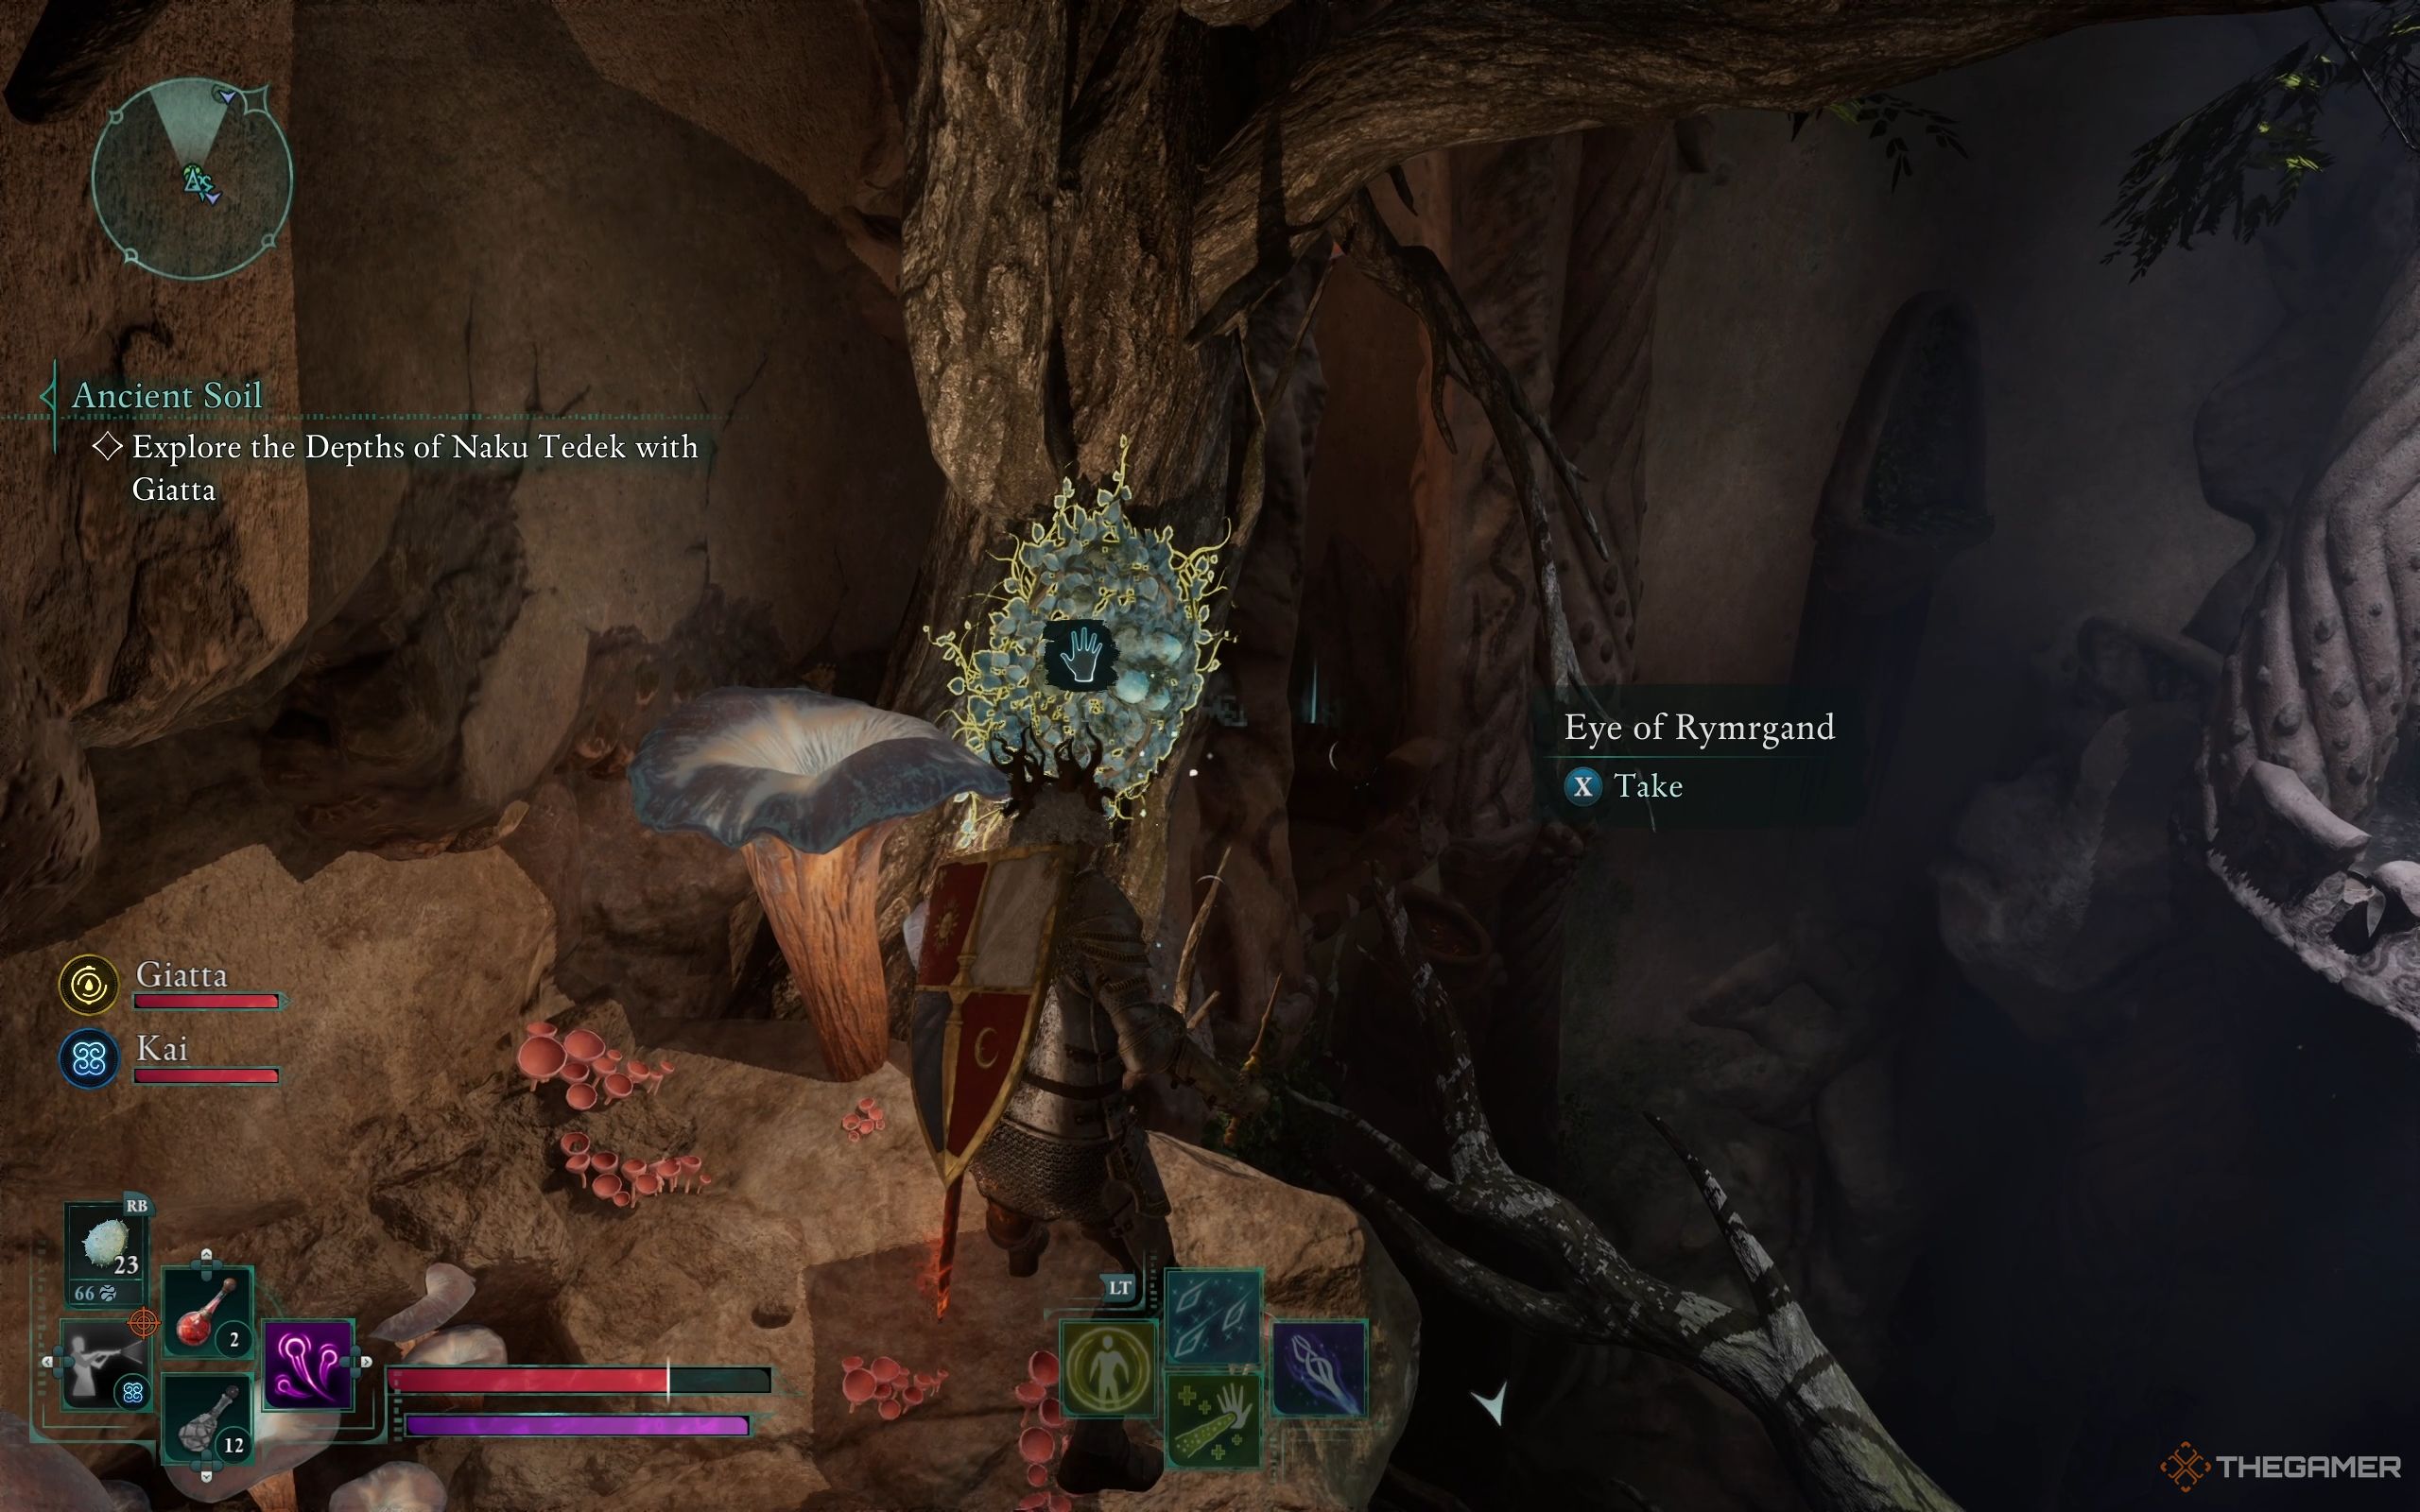
Then, return to the main branch and head right to find an alcove with a chest.
Once you’ve looted everything, drop to the lowest level to continue.
There’s no need to fret if you fail to reach the base by jumping; instead, you can descend to the lower level and then climb the helix-shaped stairs once more for another attempt.
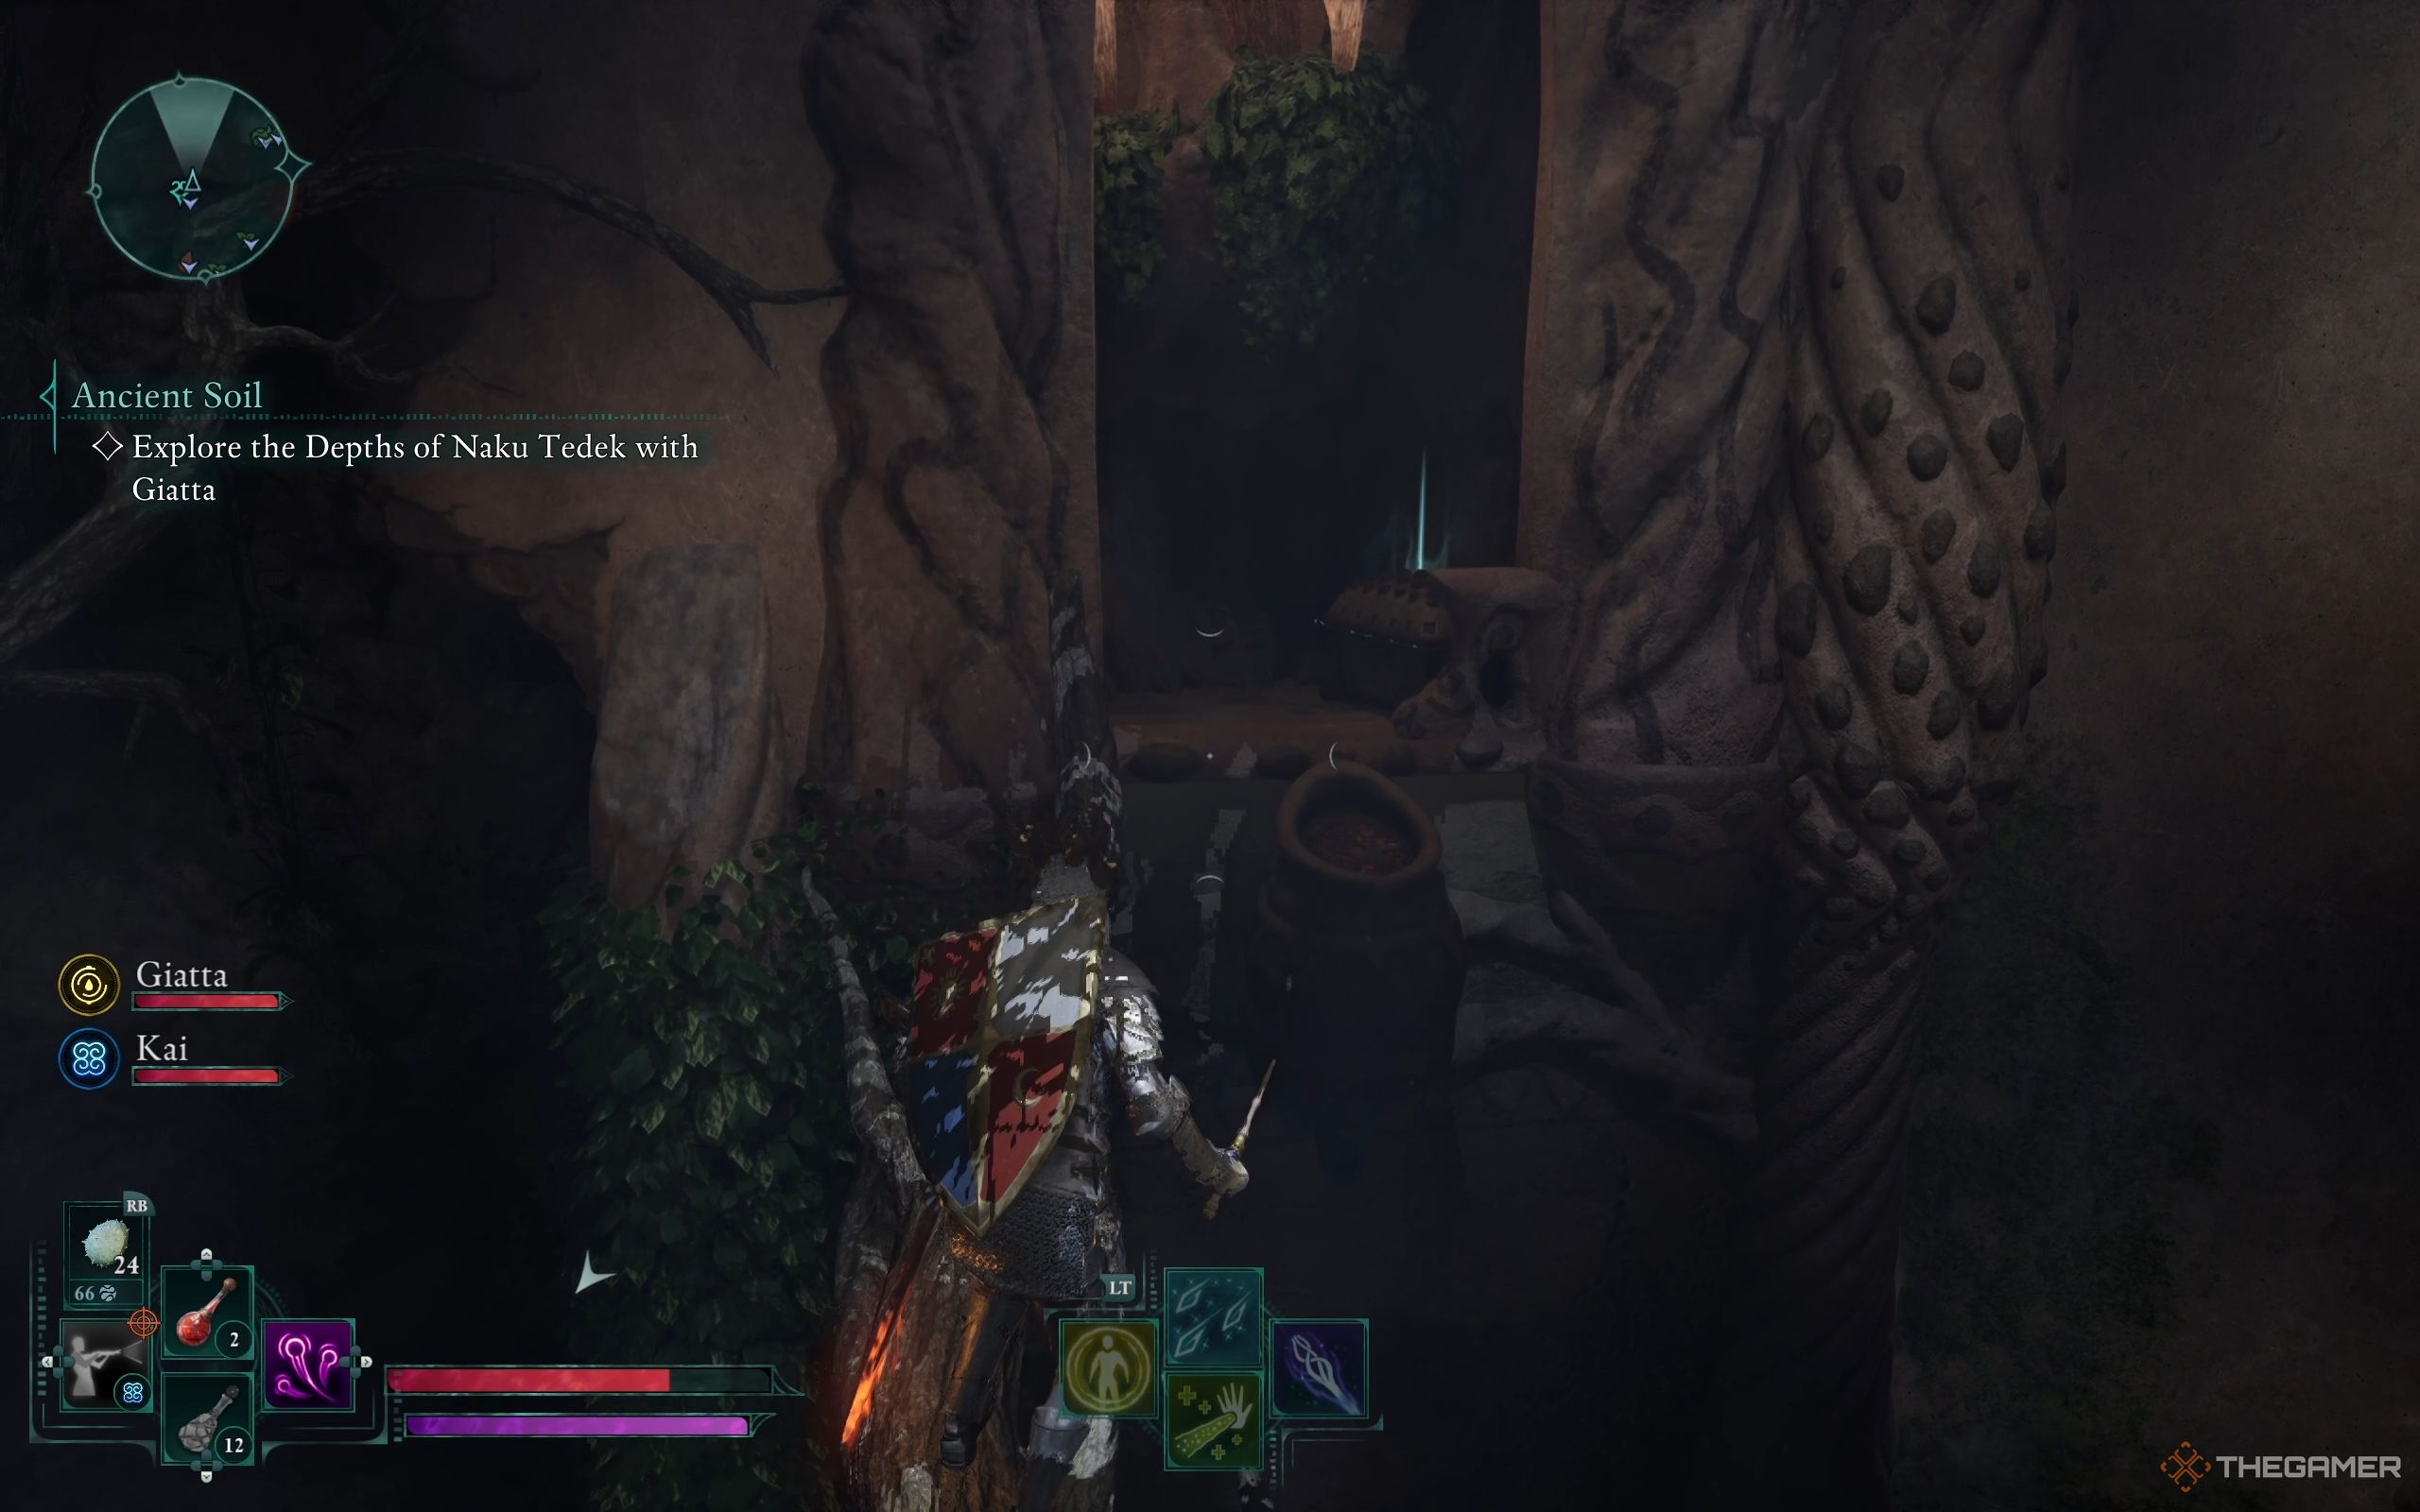
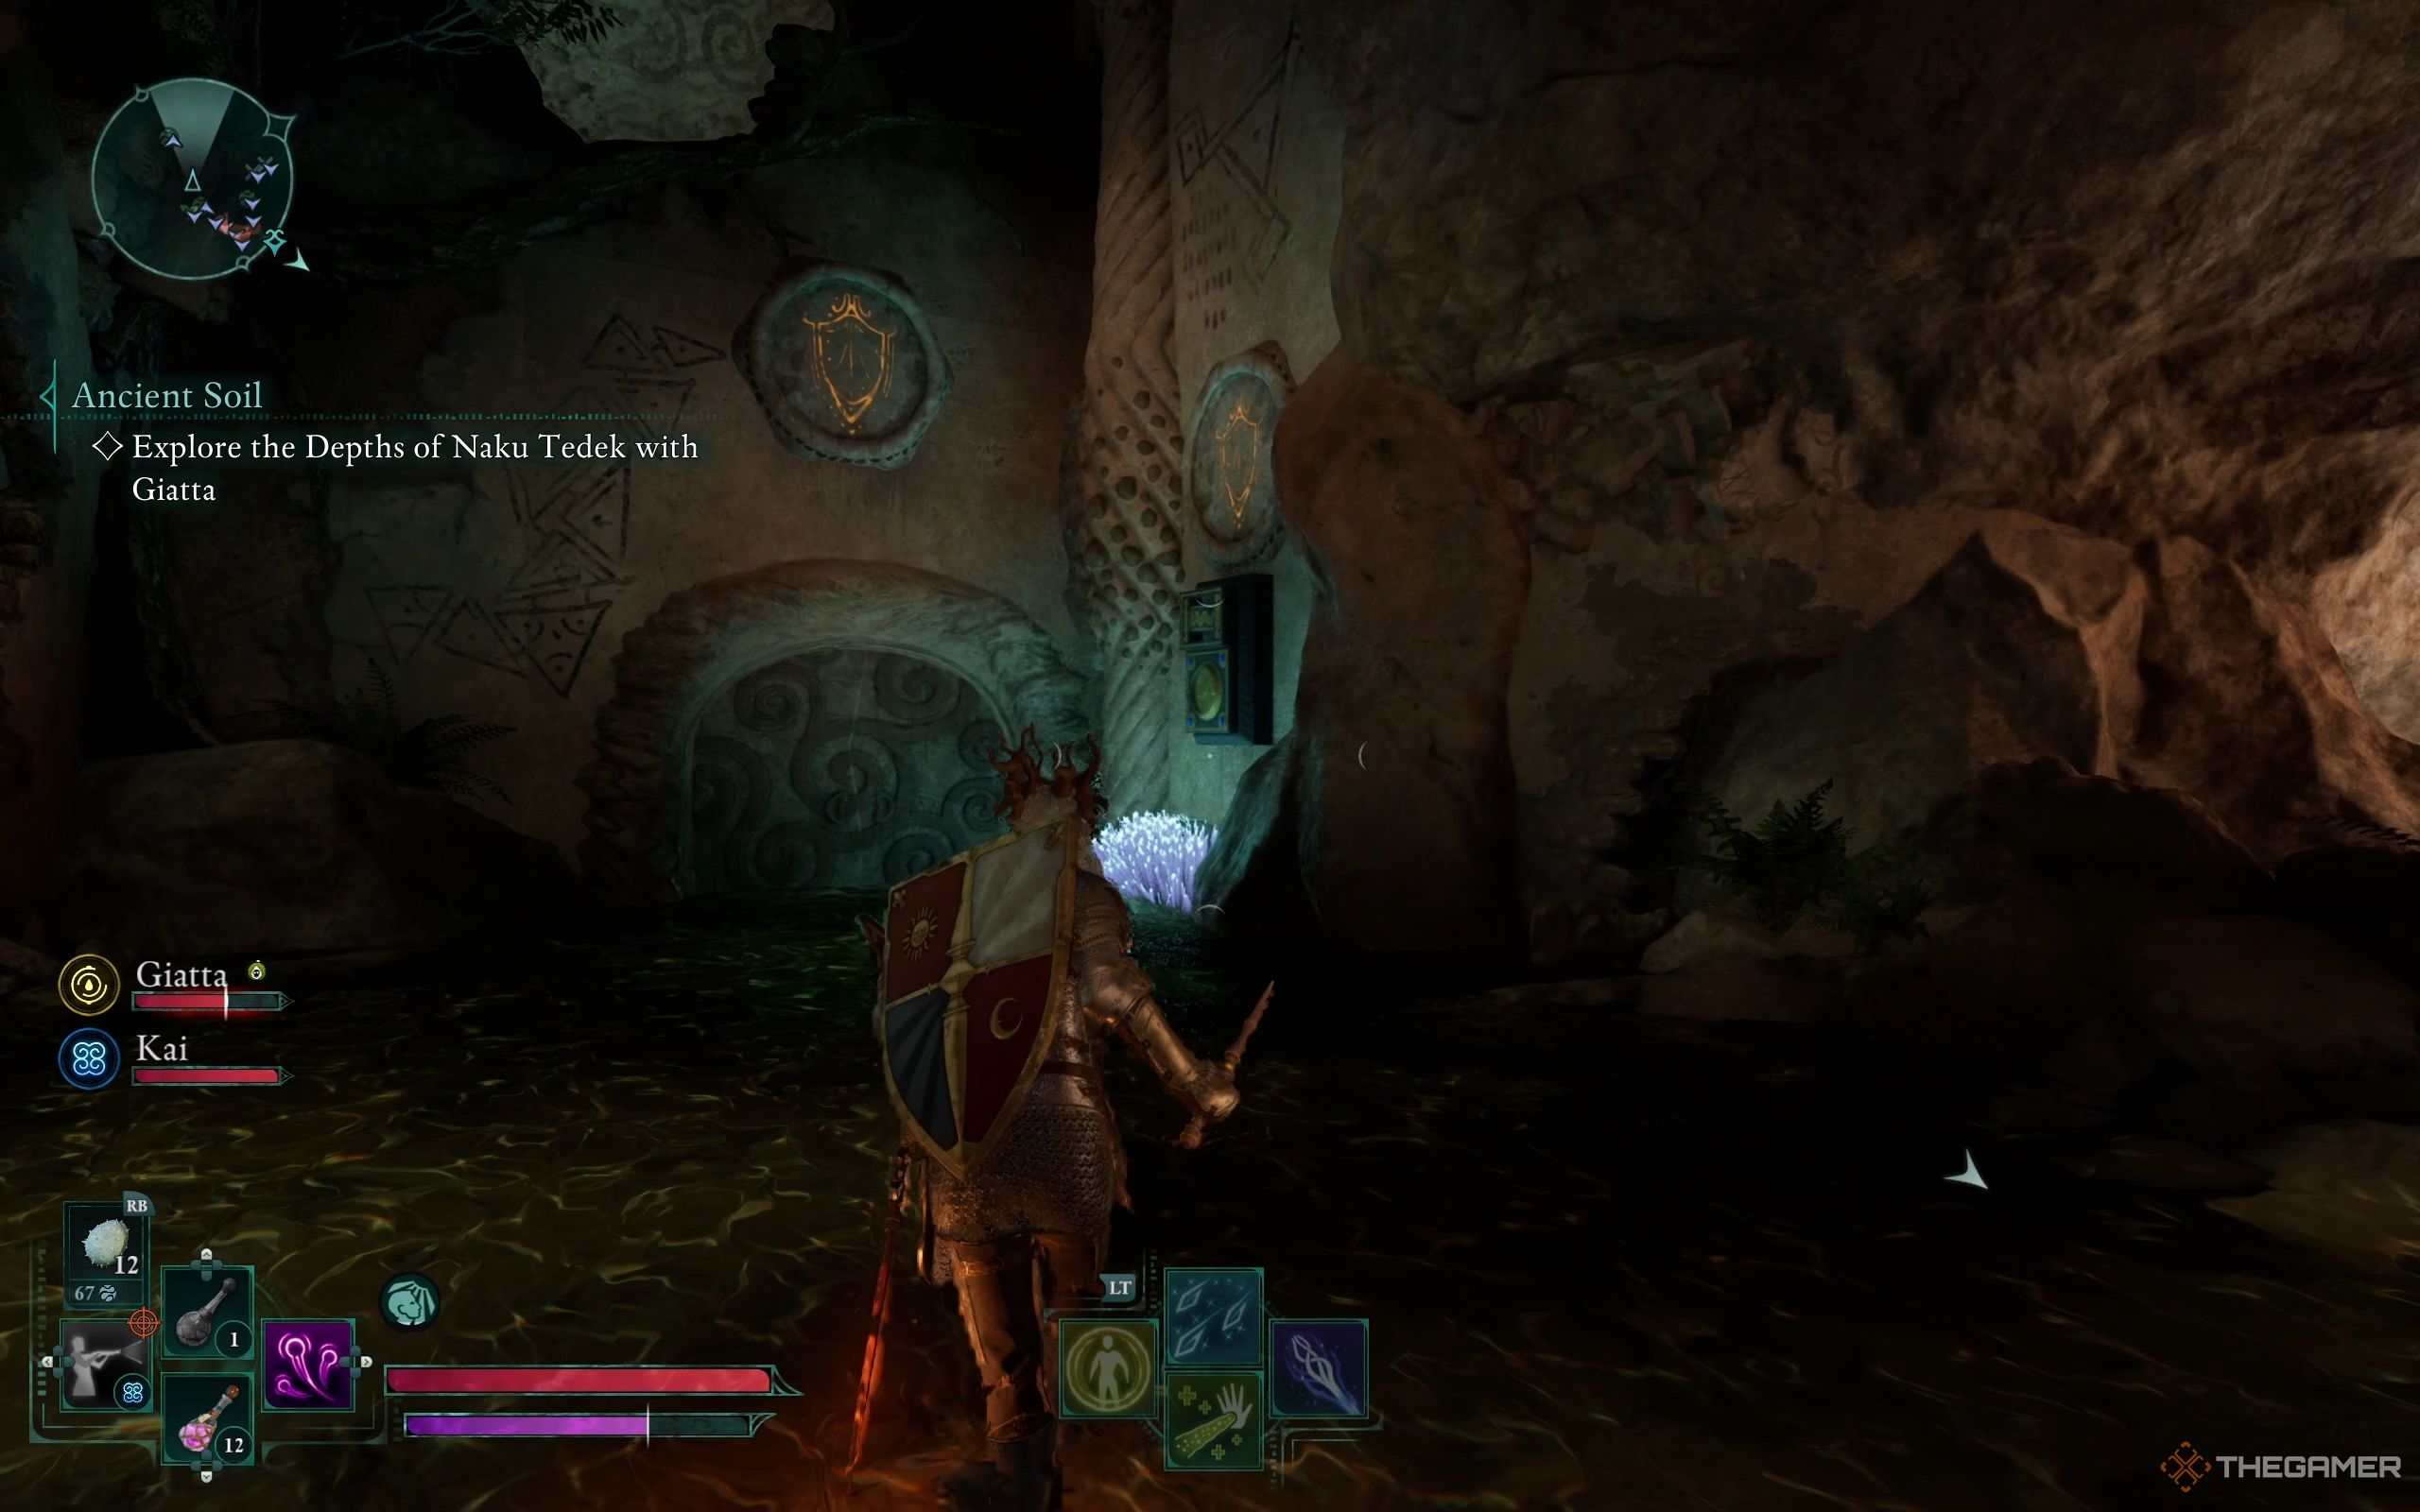
Upon reaching the base, you’ll notice two directions ahead. The one on your left takes you towards a colored region, while the right path leads to a locked chamber guarded by an orange shield. Let’s start with exploring the locked room first.
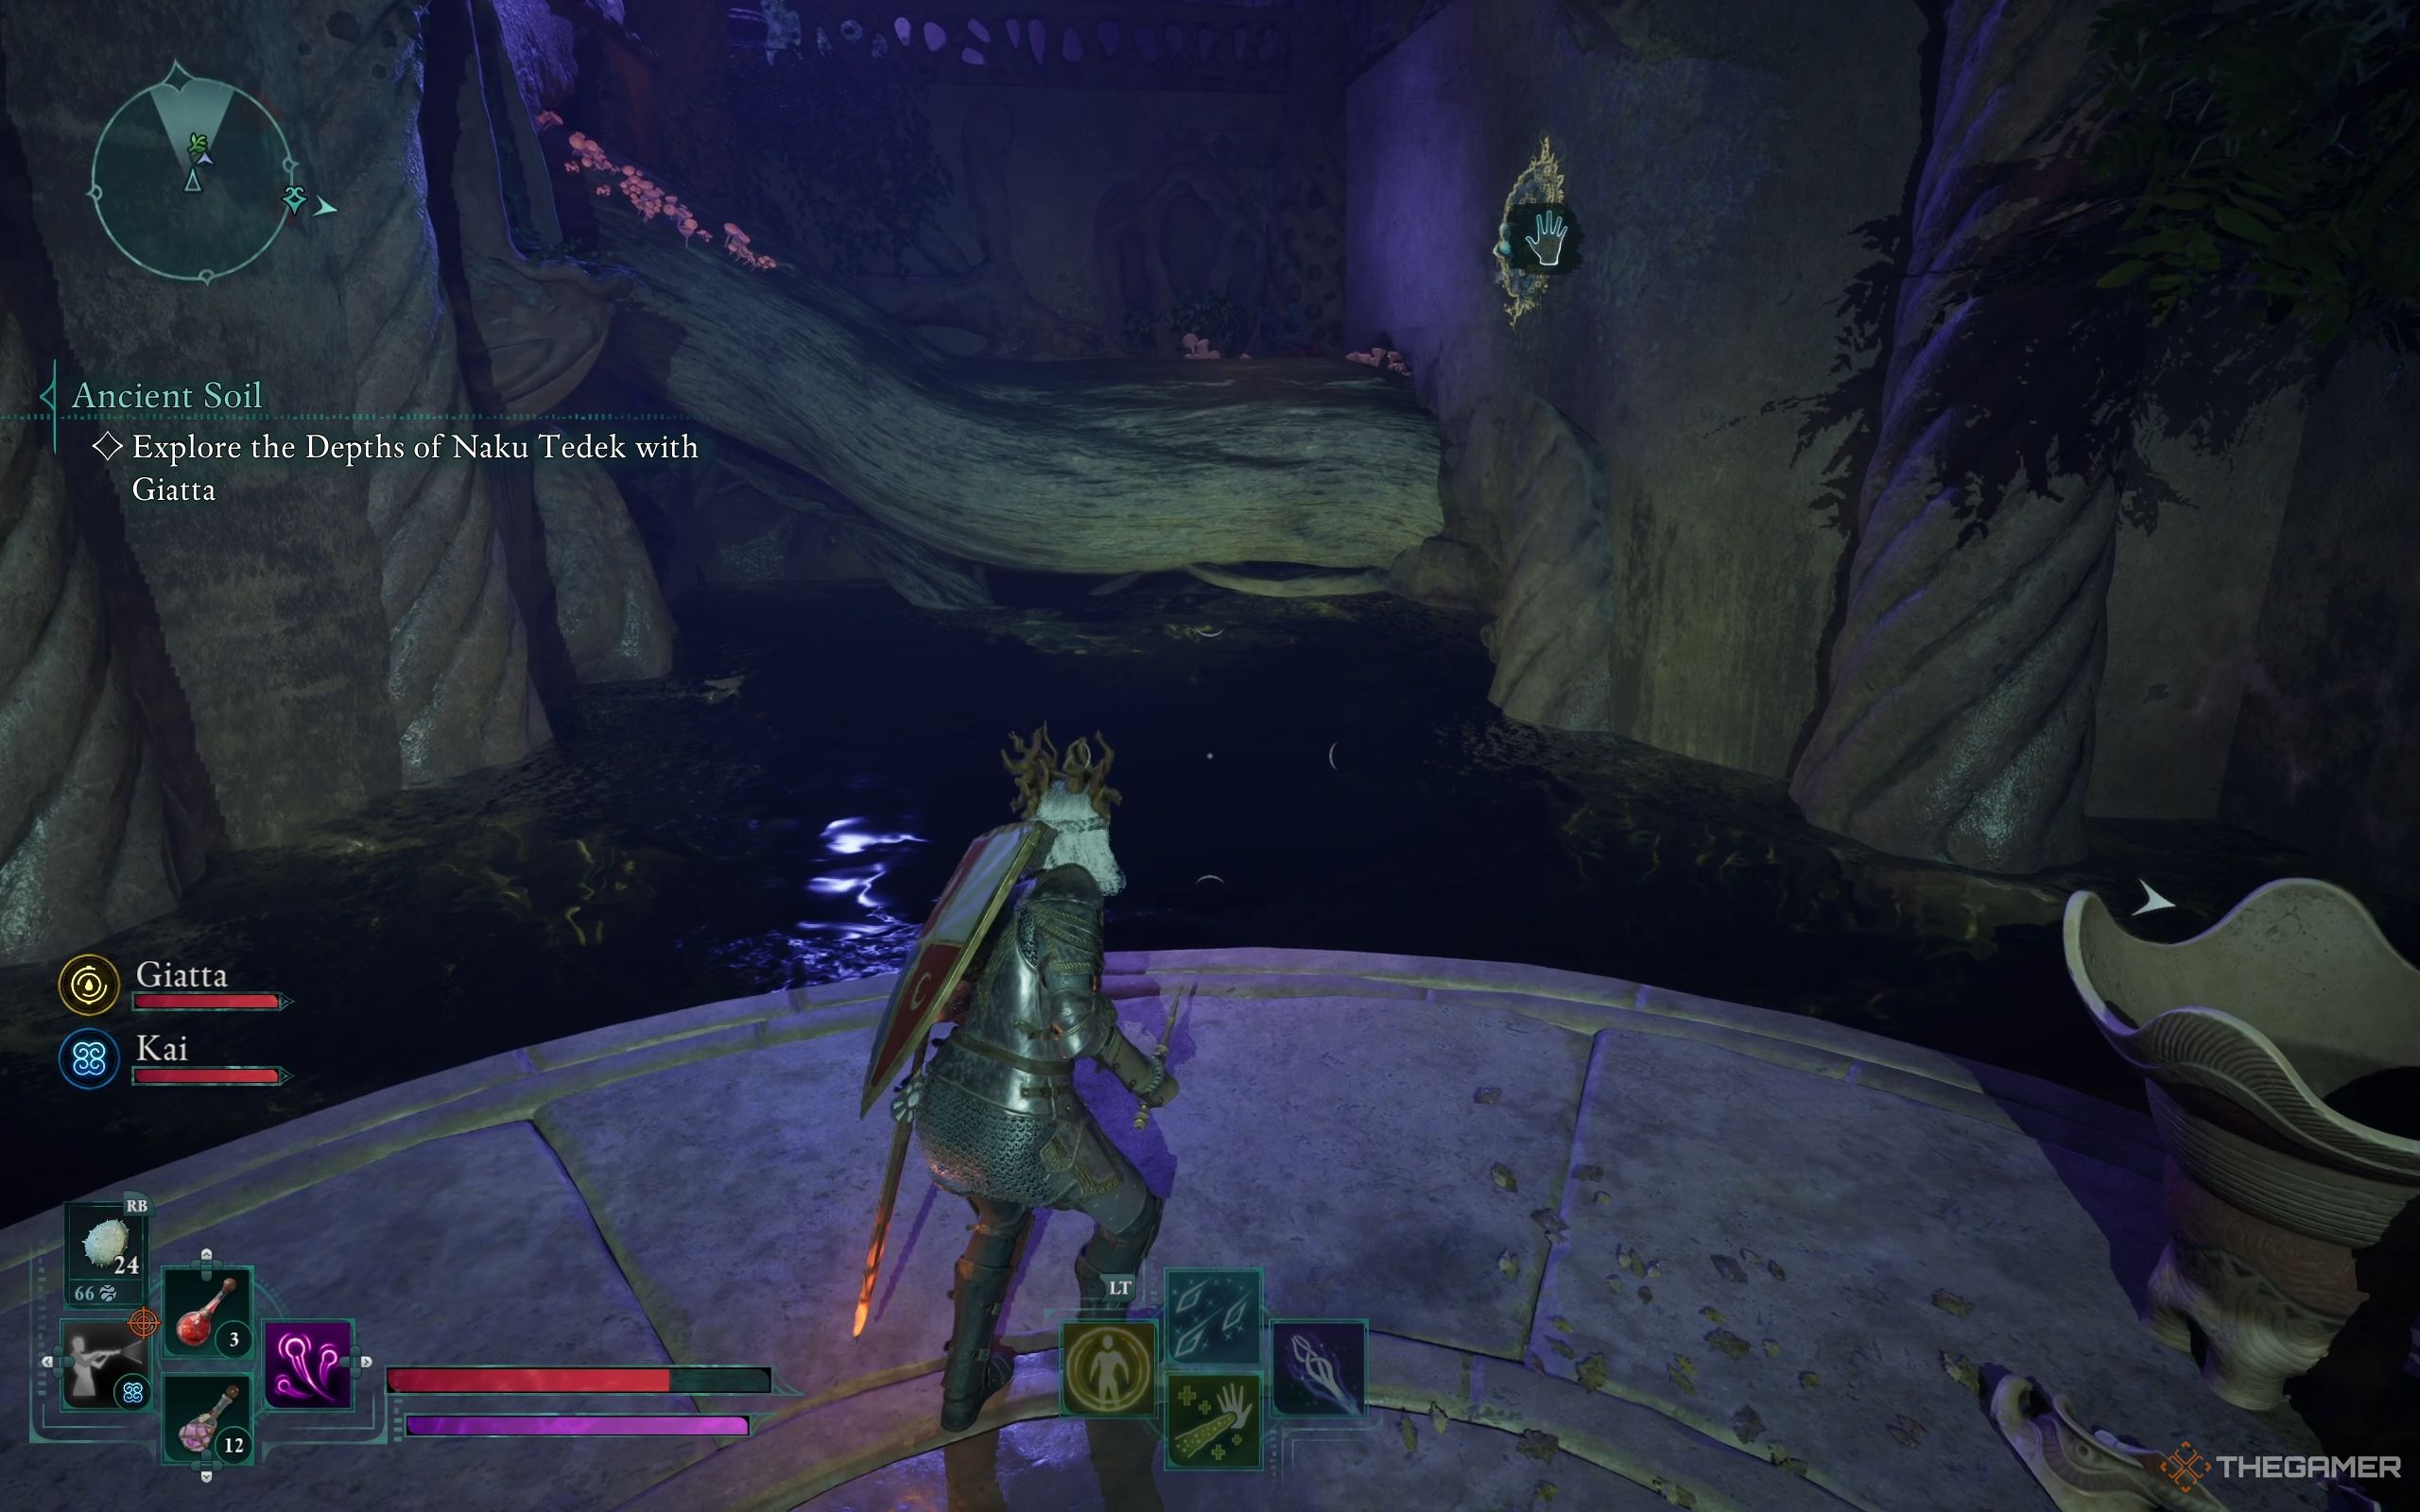
As I stand before the door, my gaze shifts to the left where another shield and generator are hidden. To advance, I must activate the generator, which will magically unlock the door, leading me into a room filled with water and an intriguing tree root. Over on the table to the left, there’s a Health Potion waiting for me. To reach that elusive tree branch in the distance, I have two options: I can employ my Frost spells or hurl an Eye of Rymrgand, freezing the water as it strikes. Once atop the branch, I leap towards the Eye of Rymrgand embedded in the wall to claim it as my own.
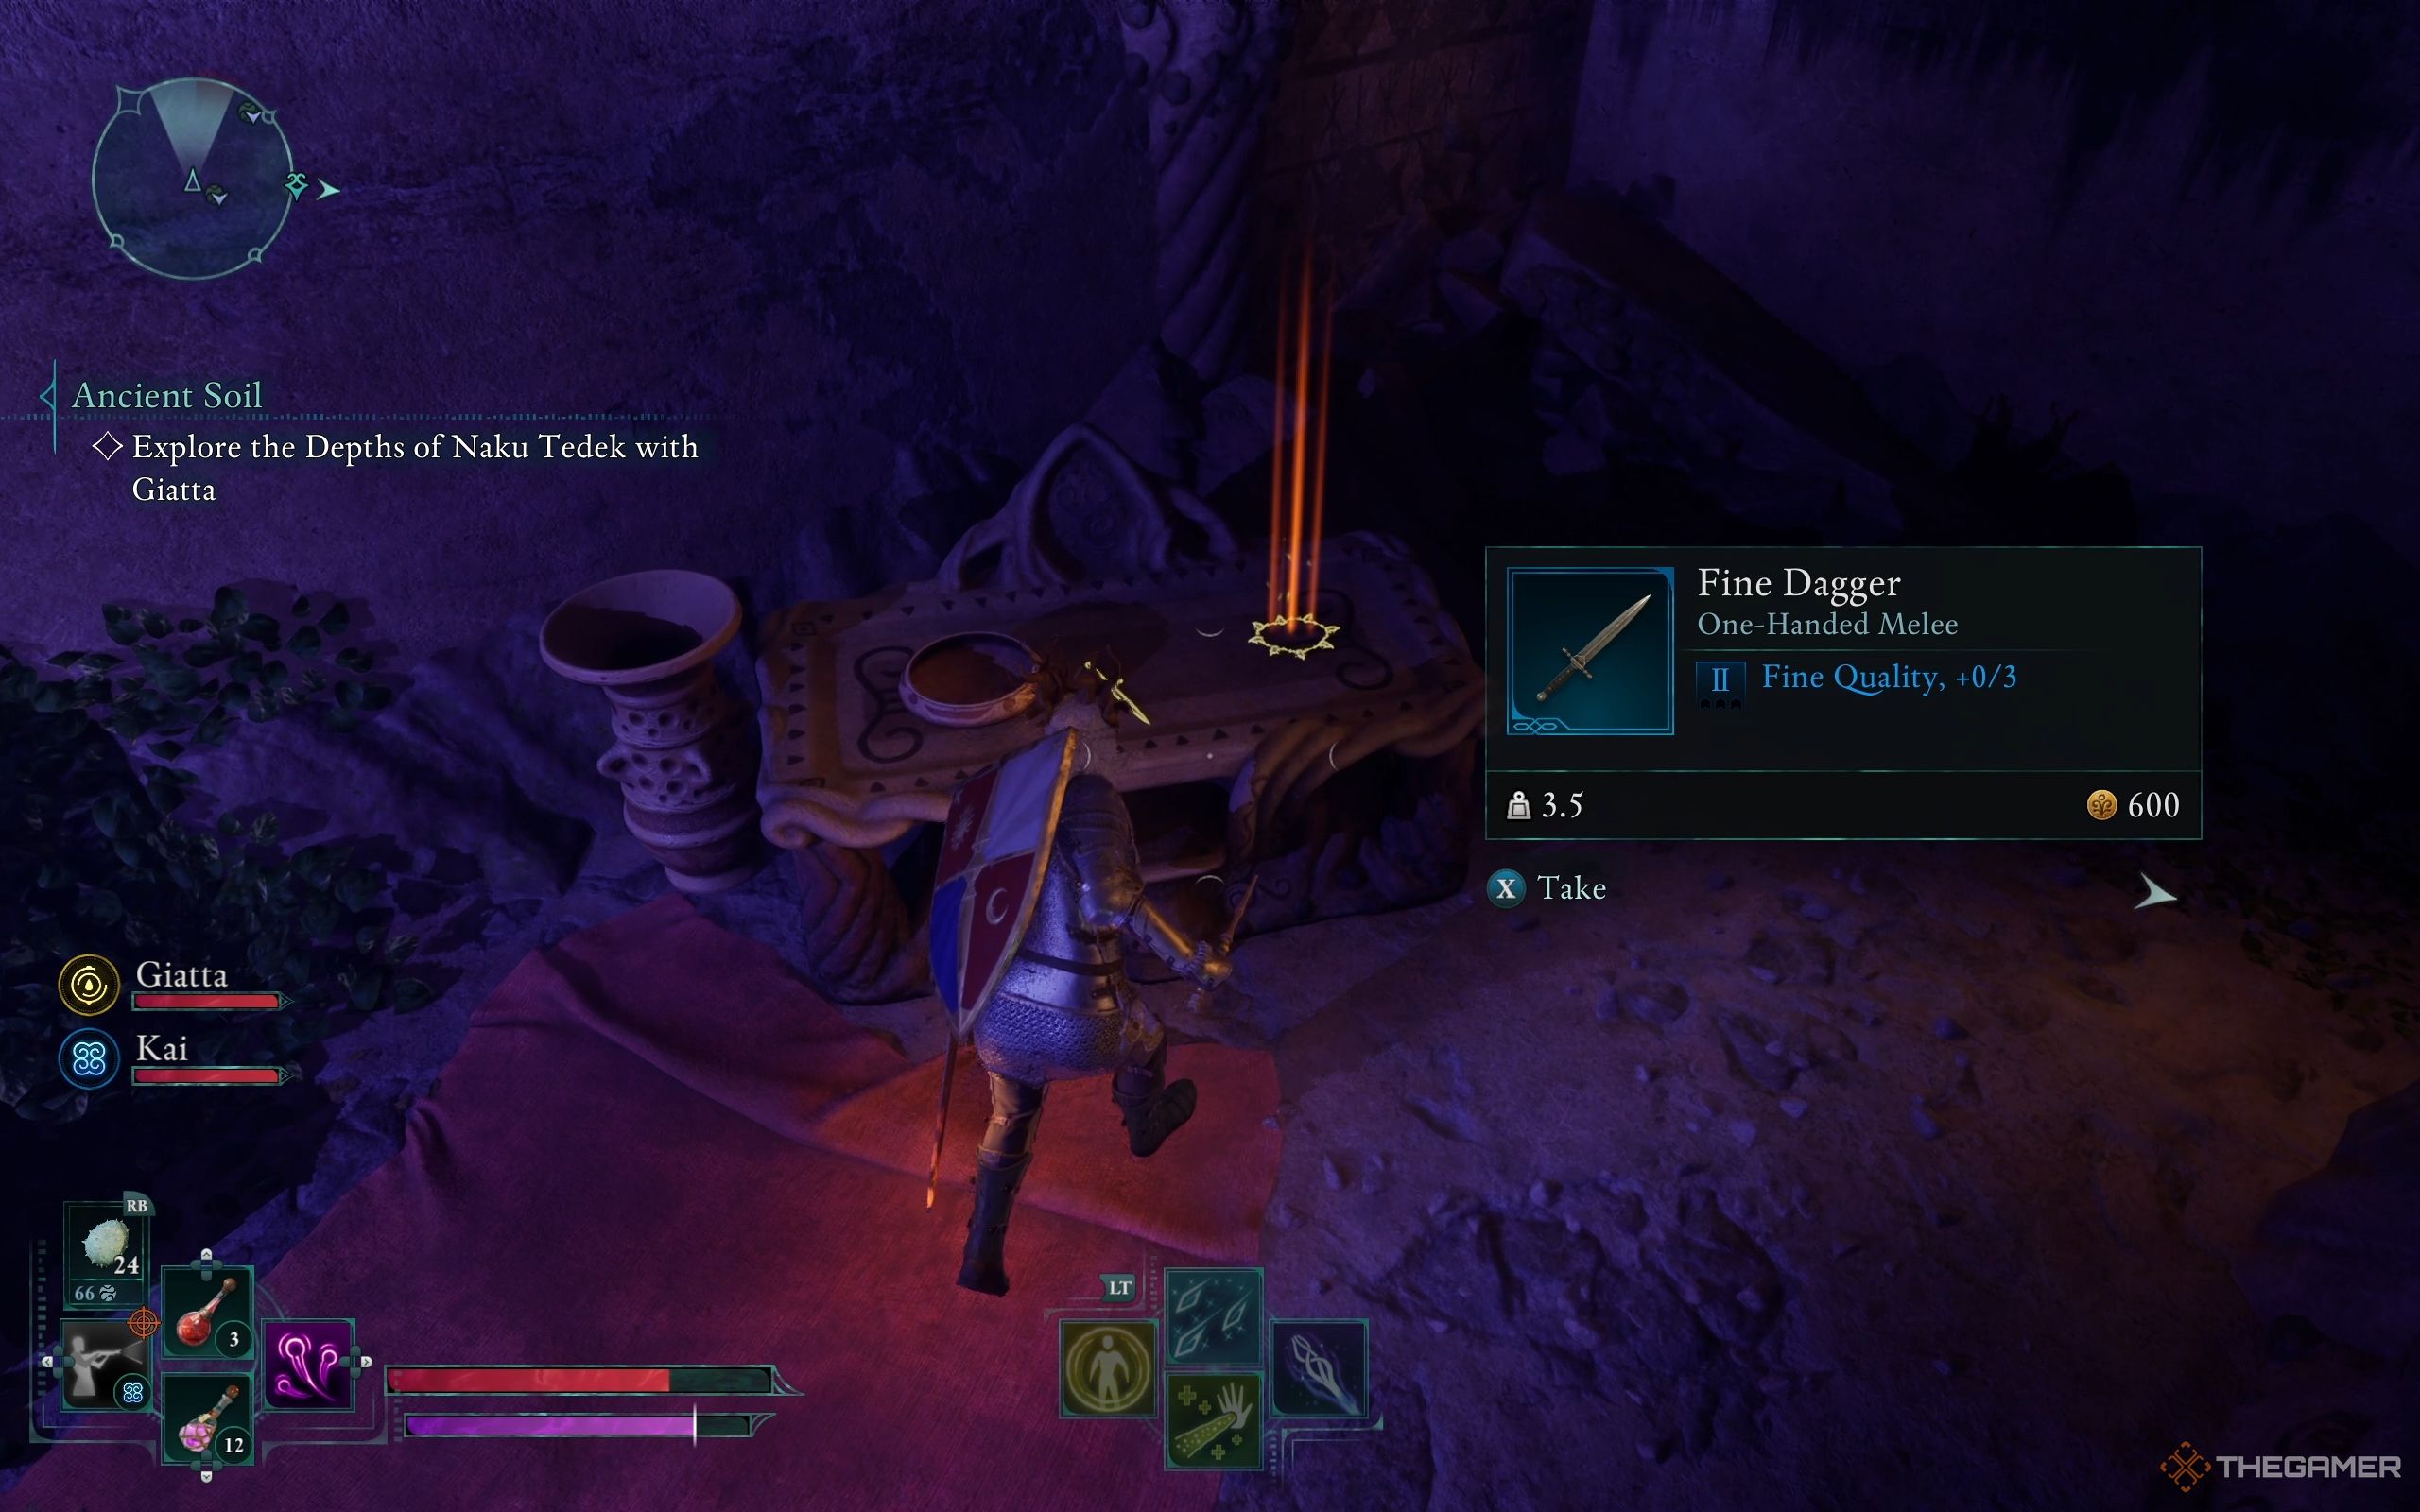
Head back to where you came from, then proceed upwards along the trail. You’ll discover a locked chest nearby which requires 3 Lockpicks to open. Close by, on a table, there’s a Fine Dagger and an Effigy Necklace—a Totem Fragment waiting to be found.
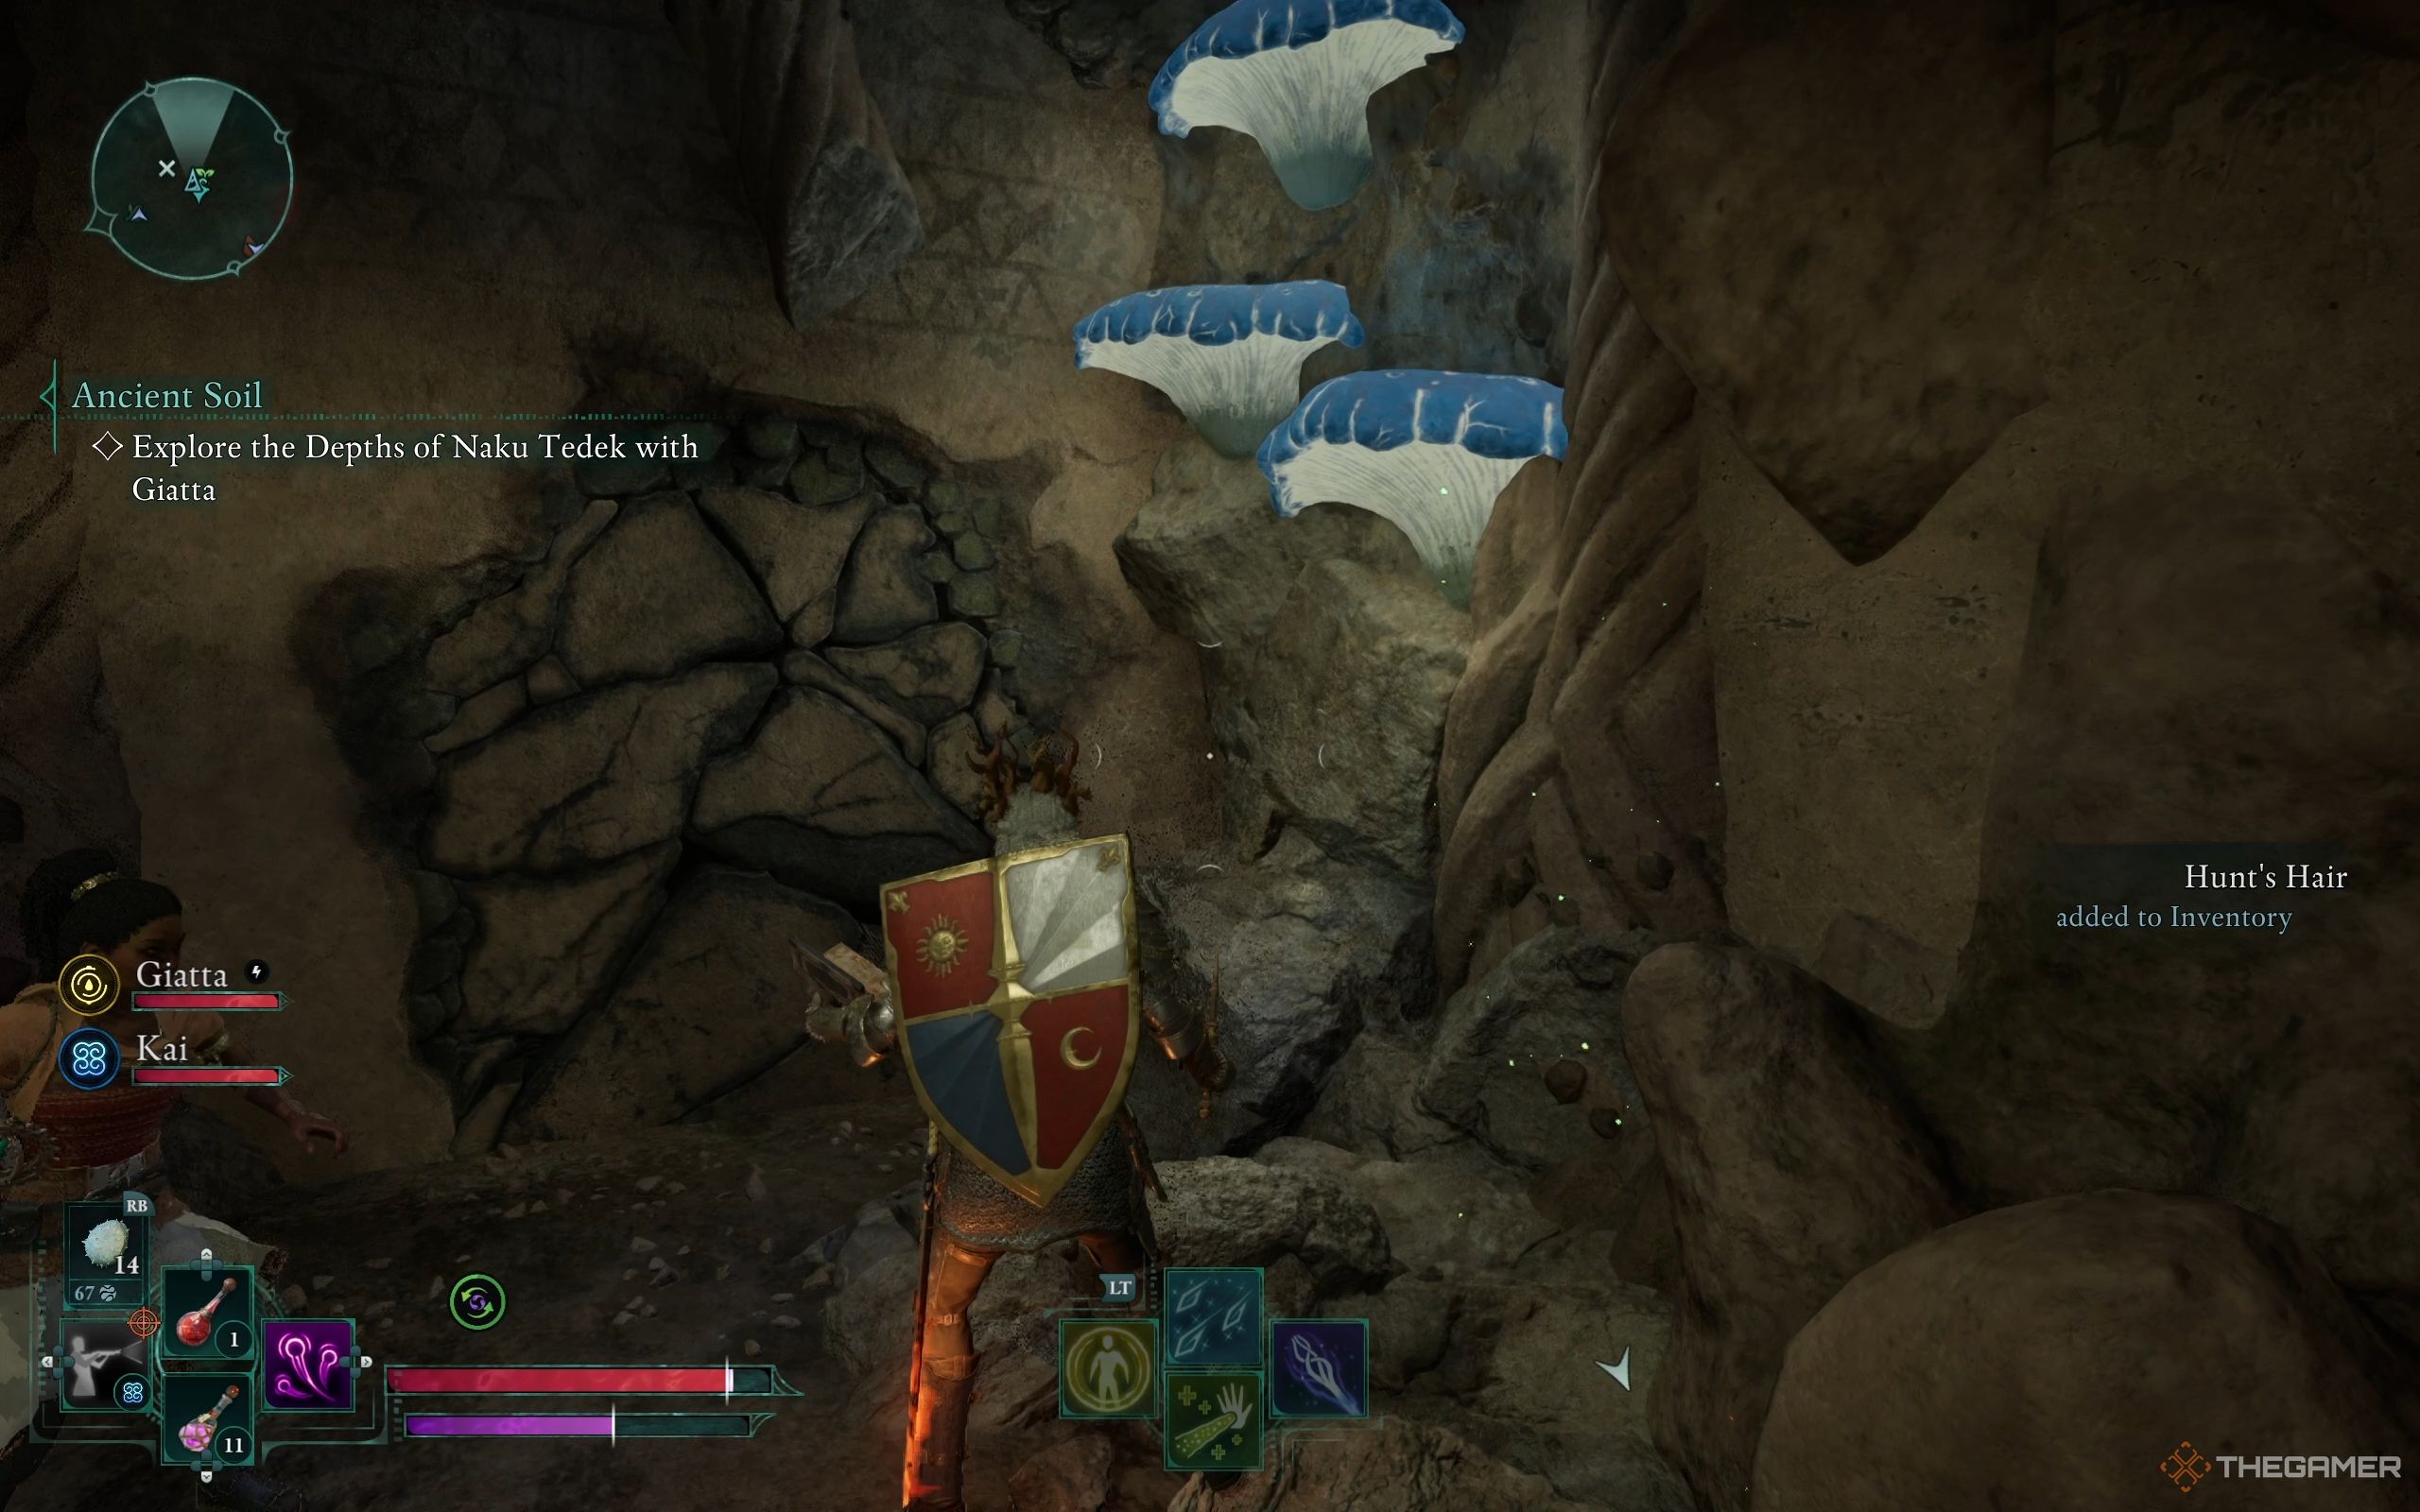
Firstly, go back to the room you were just in previously, then move towards the area that’s illuminated with a purplish glow. You will come across two shields of orange color, a generator, and a couple of enemies – a Sporeling Bruiser and a Sporeling Corruptor. Defeat these adversaries and search for any loot, particularly a Lockbox. Afterwards, use a shock on the generator to open the following door.
Currently, you’re in a corridor with red water that inflicts damage if you stay in it. Begin by picking up the Eye of Rymrgand from the wall on your left side. Afterward, char the thorny vines to your left for safety. Next, leap into the recess and collect the loot within the chest.
Currently, you can either utilize Frost spells or an Eye of Rymrgand to freeze the water so you can safely traverse it. If freezing the water isn’t an option for you, just run across as quickly and carefully as possible. Be aware that there are pressure plates near the end of the hall which, when triggered, set off lightning traps. Kai will alert you about this.
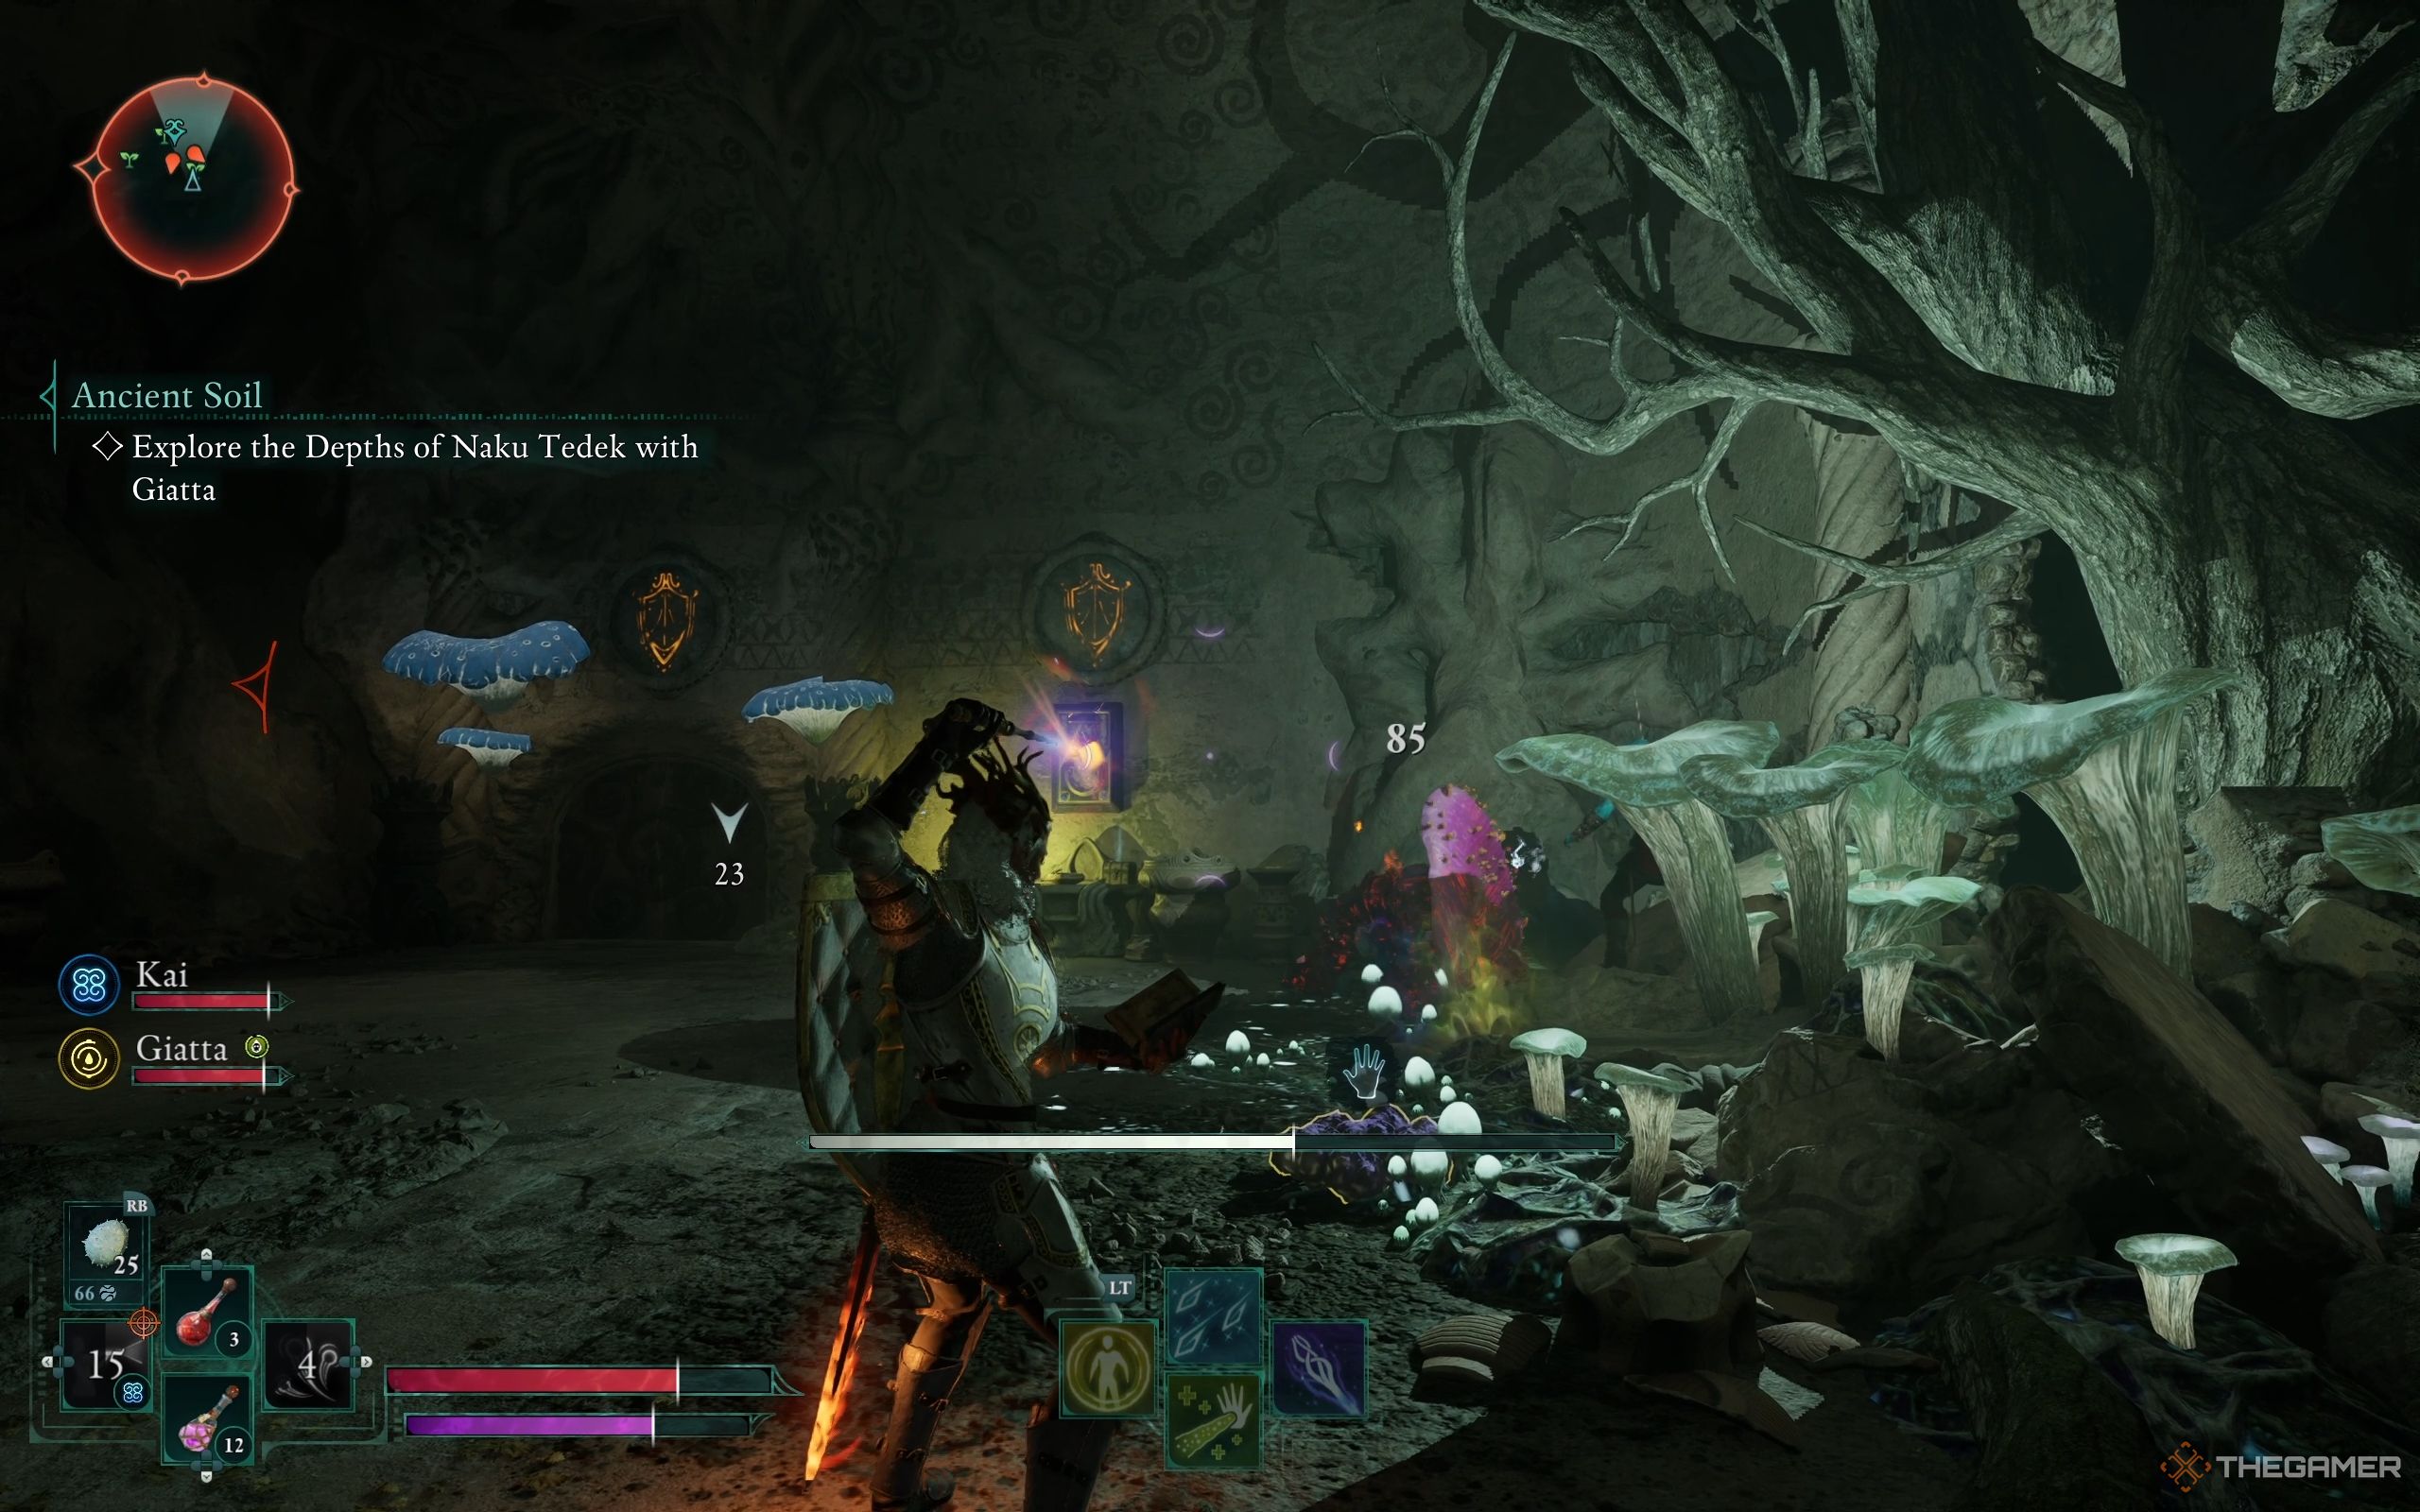
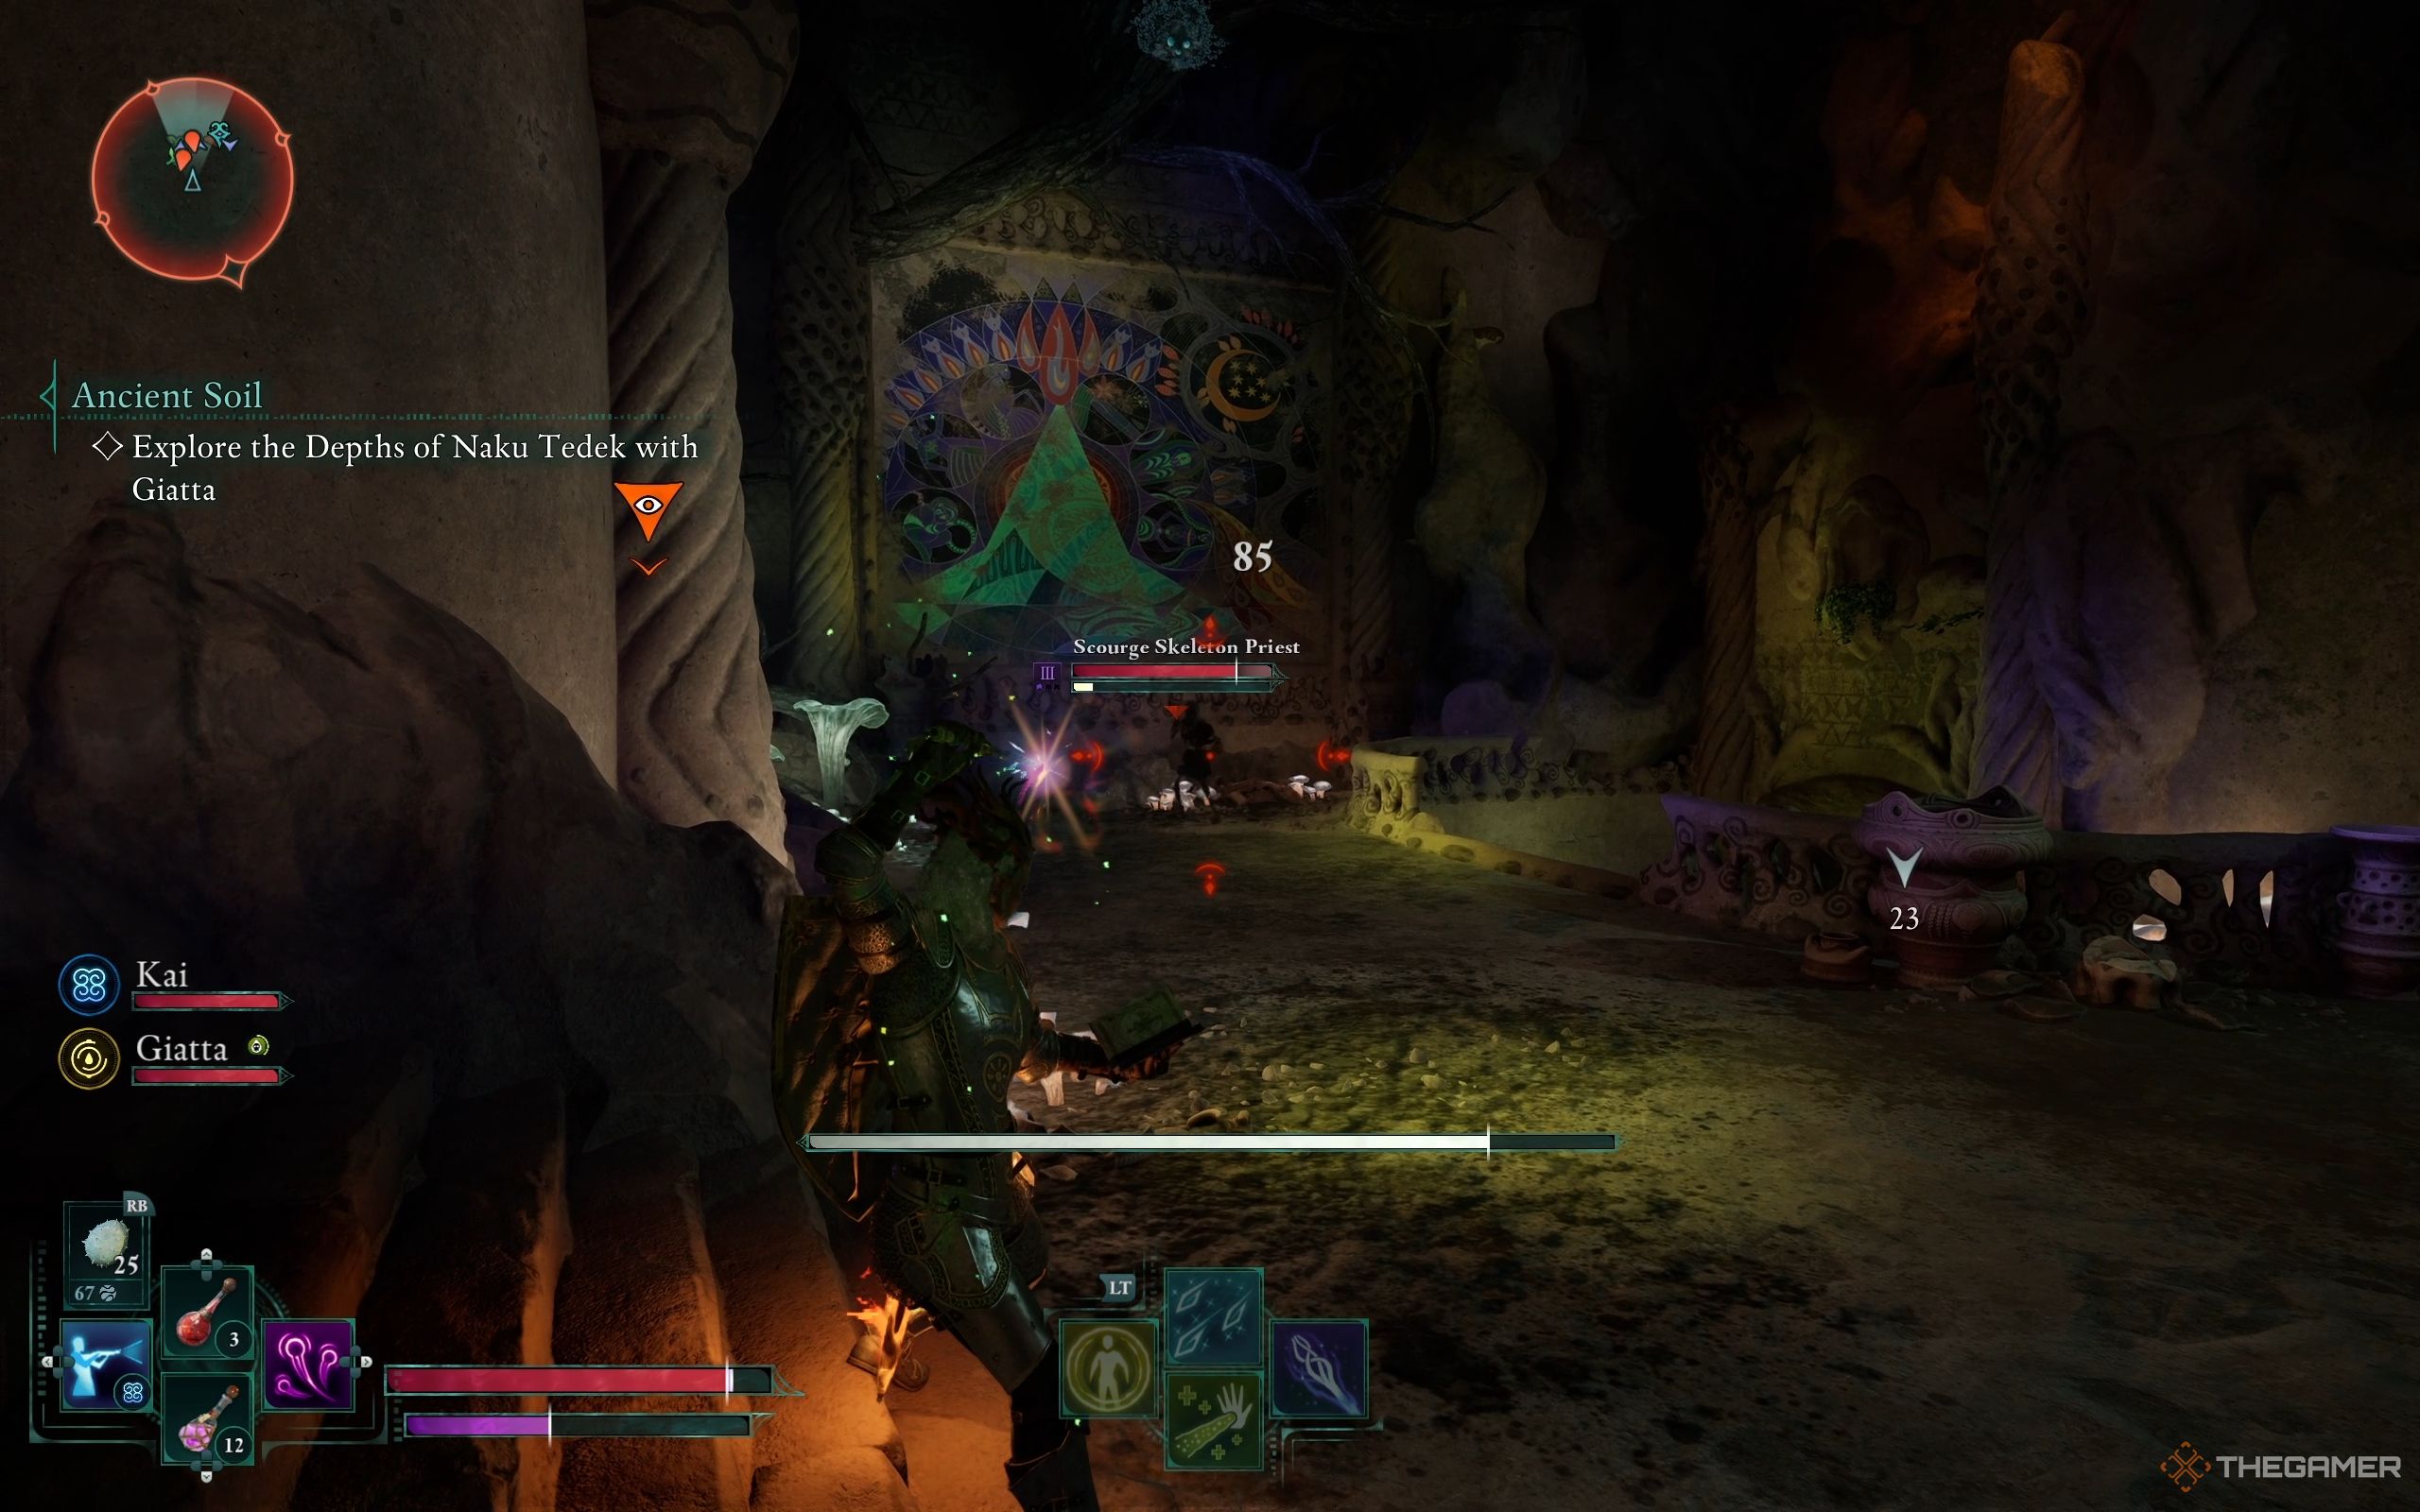
After successfully navigating the water, proceed through an open doorway into a room adorned with a grand mural. On the table within this space lies a Forgotten Soul Pod and a Common Dagger. As you cast your gaze around, you’ll observe Skeletons scuttling about. Gain an advantage by launching an assault on them from above using ranged weapons or skills.
Prioritize your attacks in the following order: first, target the Scourge Skeleton Priest, then the Enchanter, and subsequently engage the Barbarian and regular Skeleton Minions.
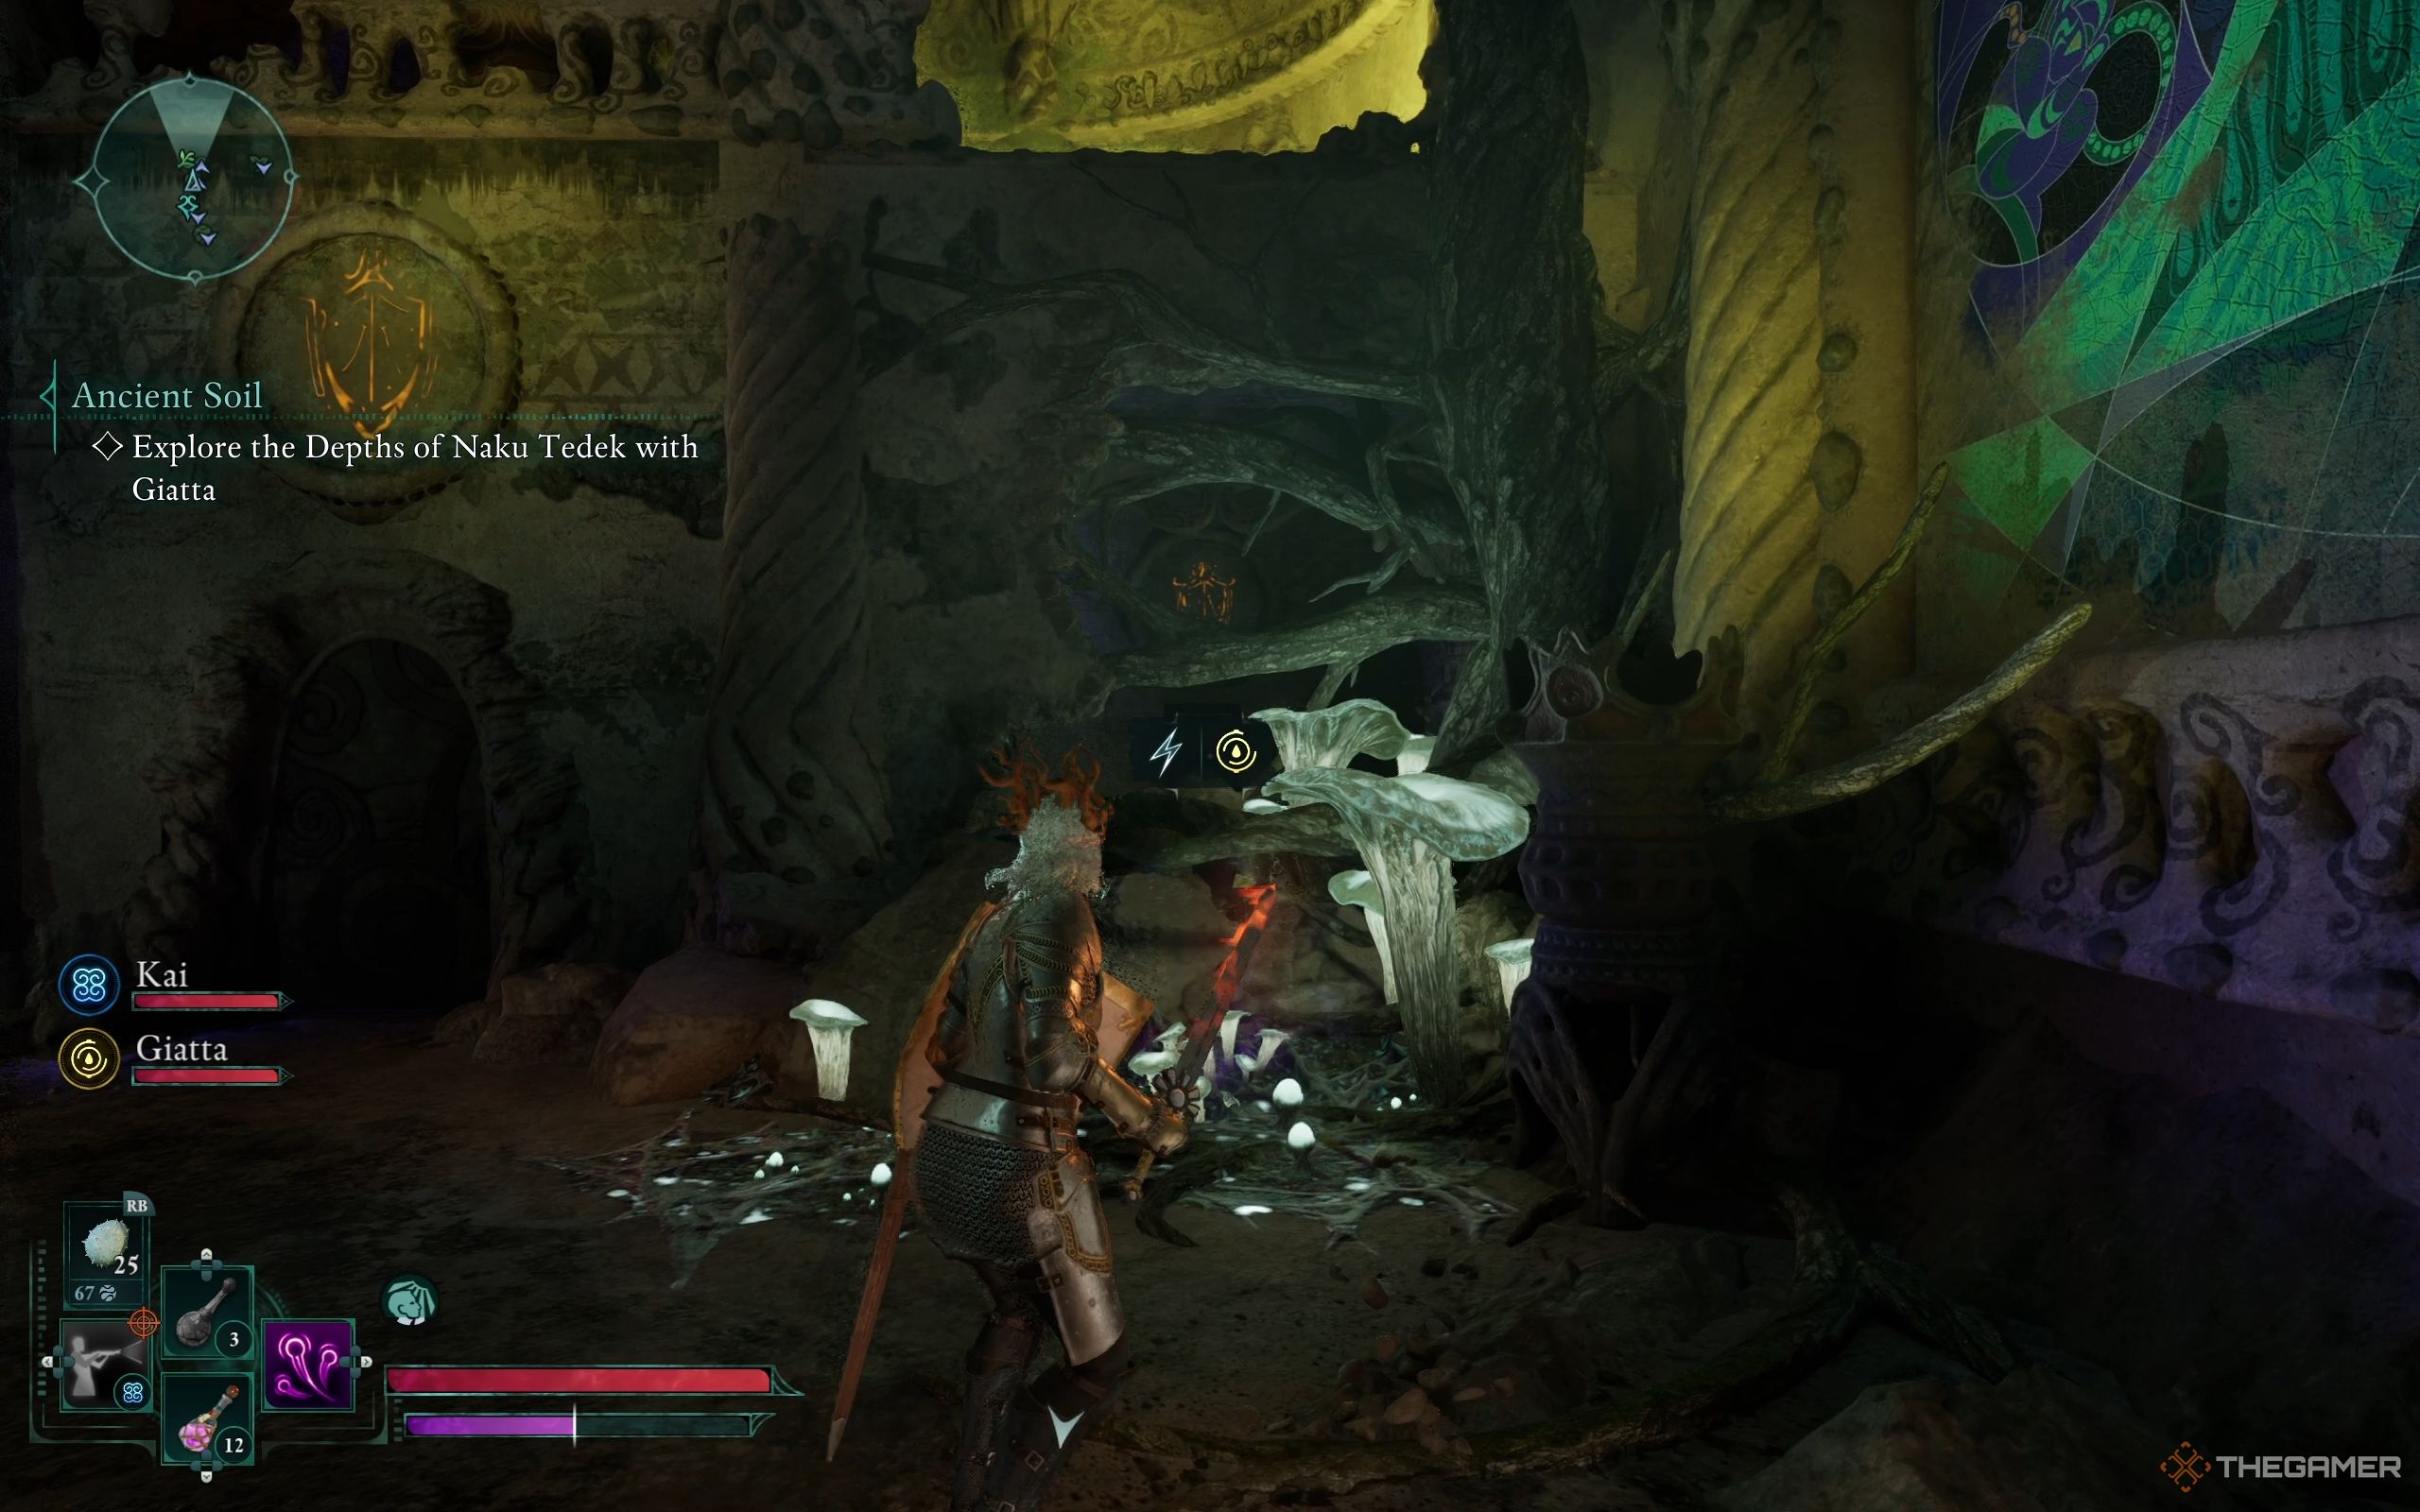
To the left of the painted wall, there’s a locked room with an orange barrier. Beyond this room and the mural, you’ll encounter a generator hidden behind a damaged section of the wall and some root systems. Give it a jolt to unlock the door. Inside, you’ll discover a Healing Potion, a chest, and Hylea’s Talons.
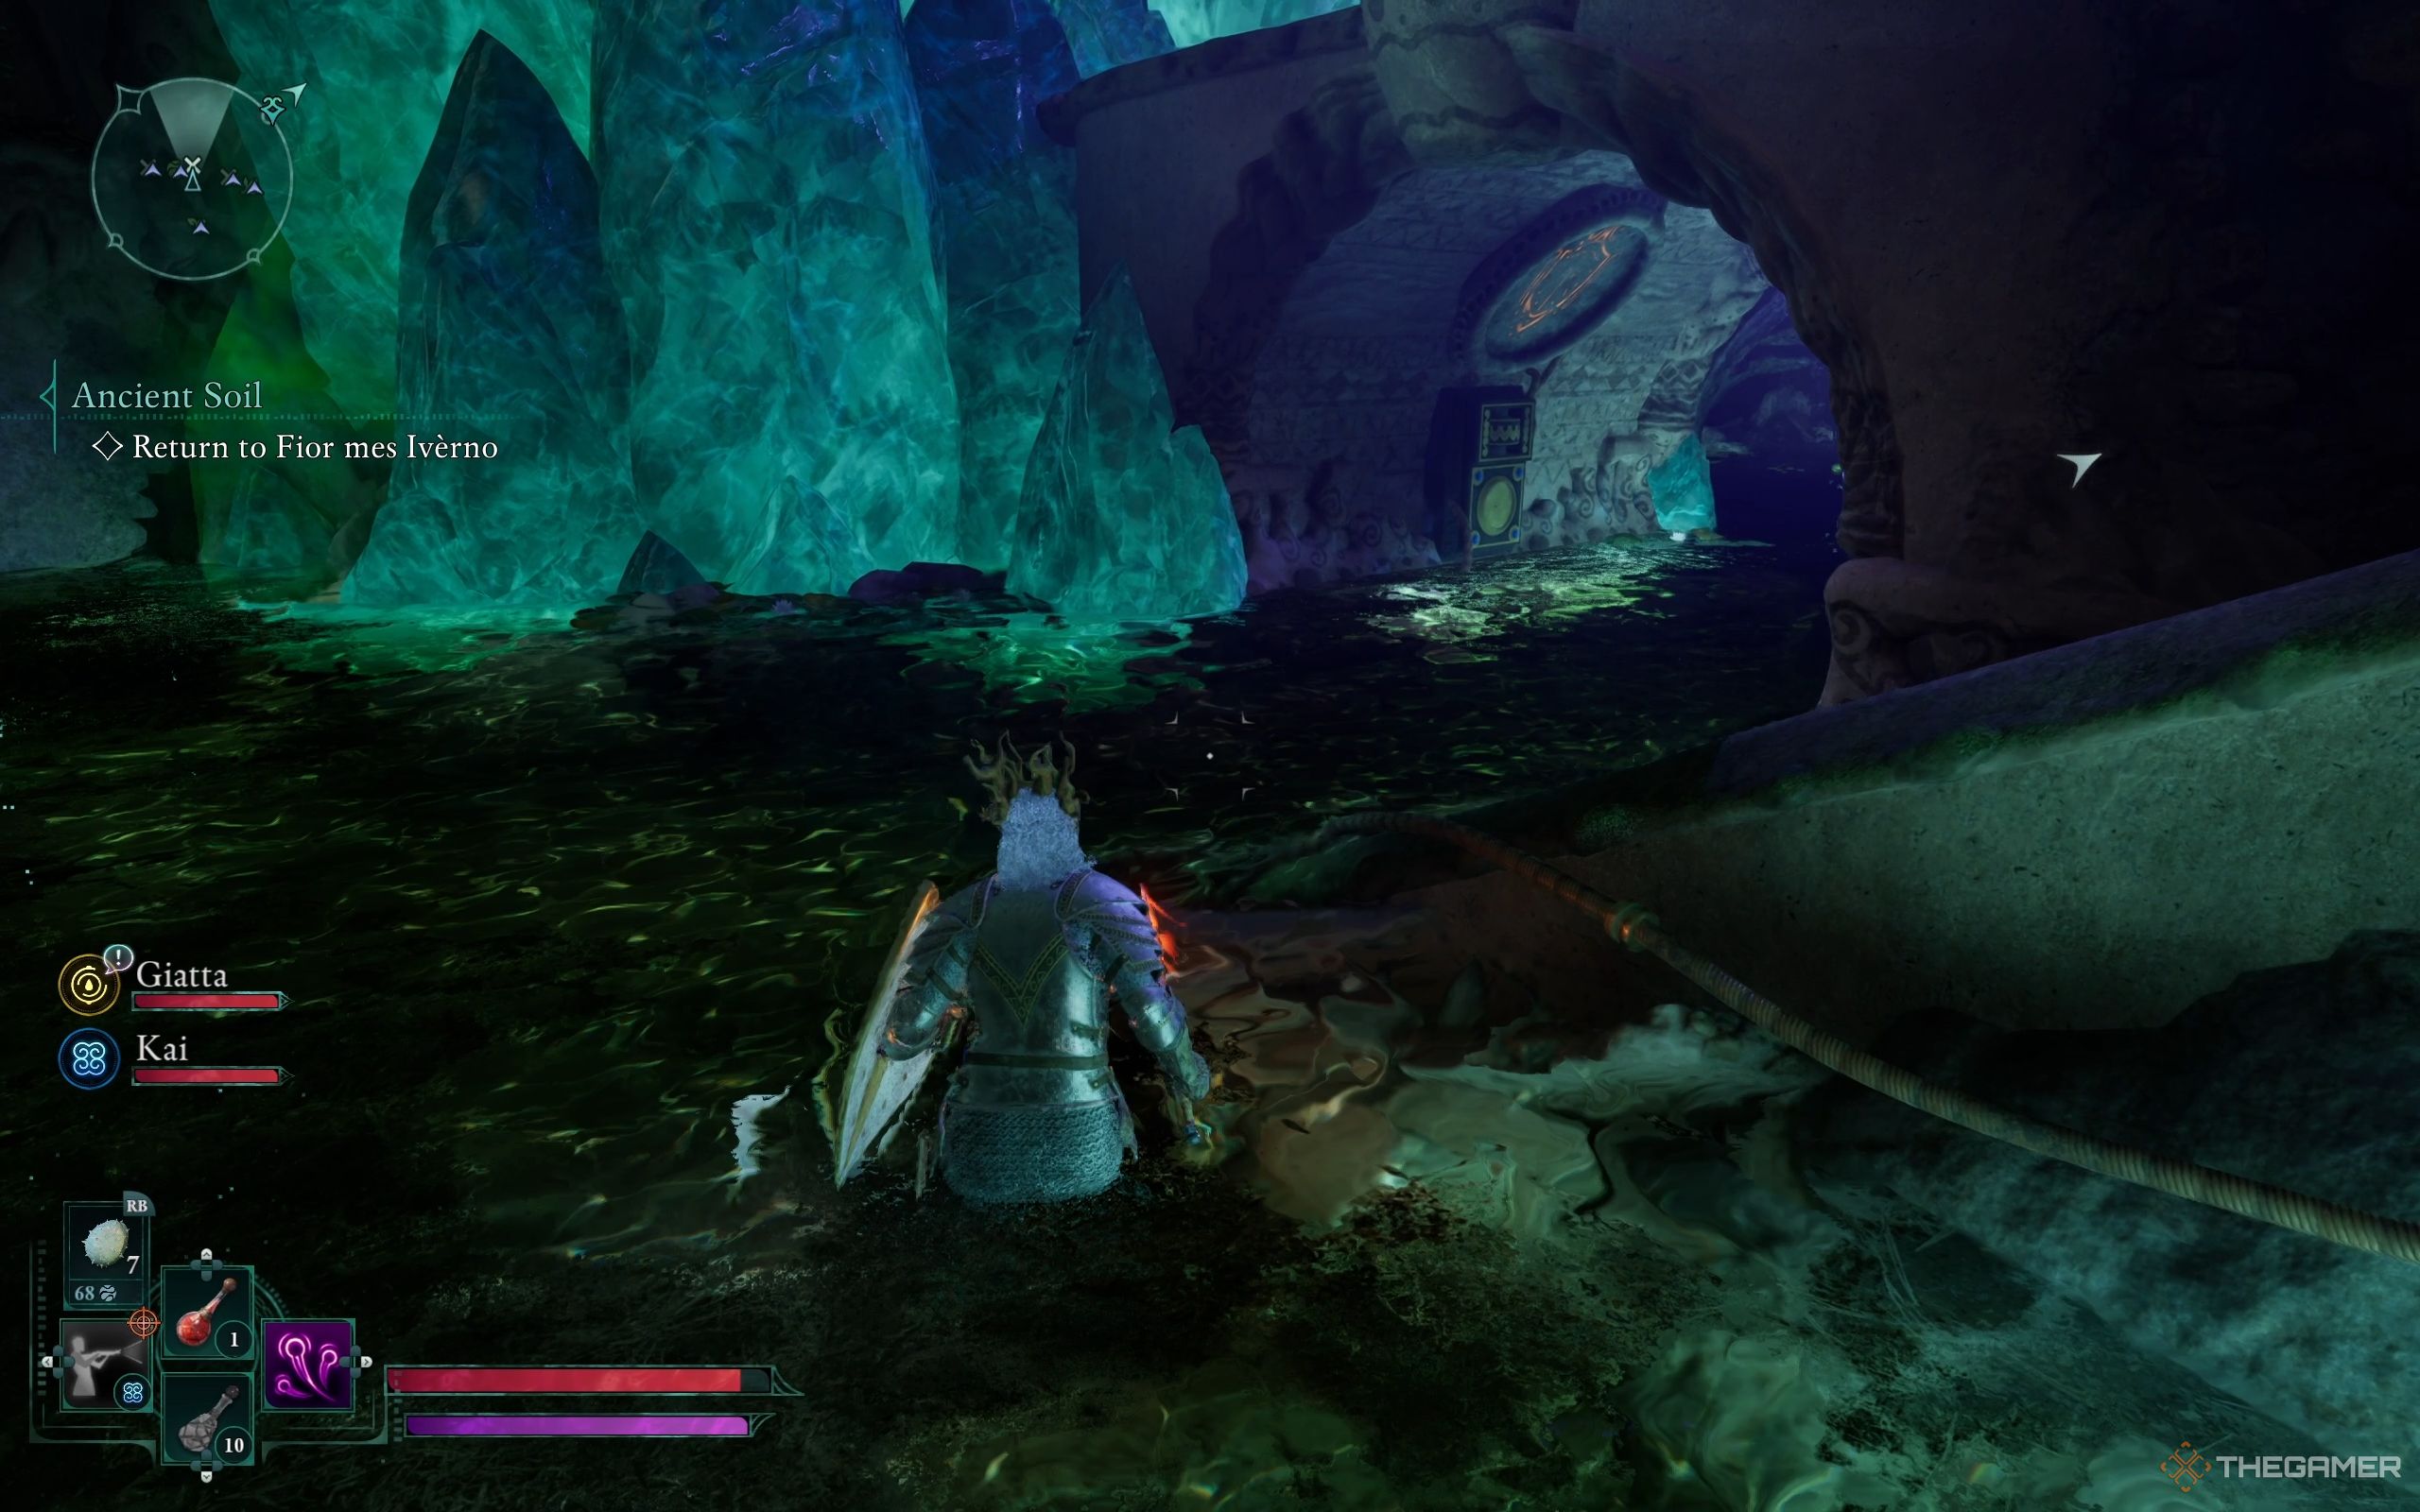
Go back to the room you were just in and make your way down the stairs. In the next room, you’ll find an electrified water-filled space. There’s a large hole in the center that seems inviting, but be cautious. Before diving in, utilize the ice platforms to navigate safely and prevent any electrical shocks.
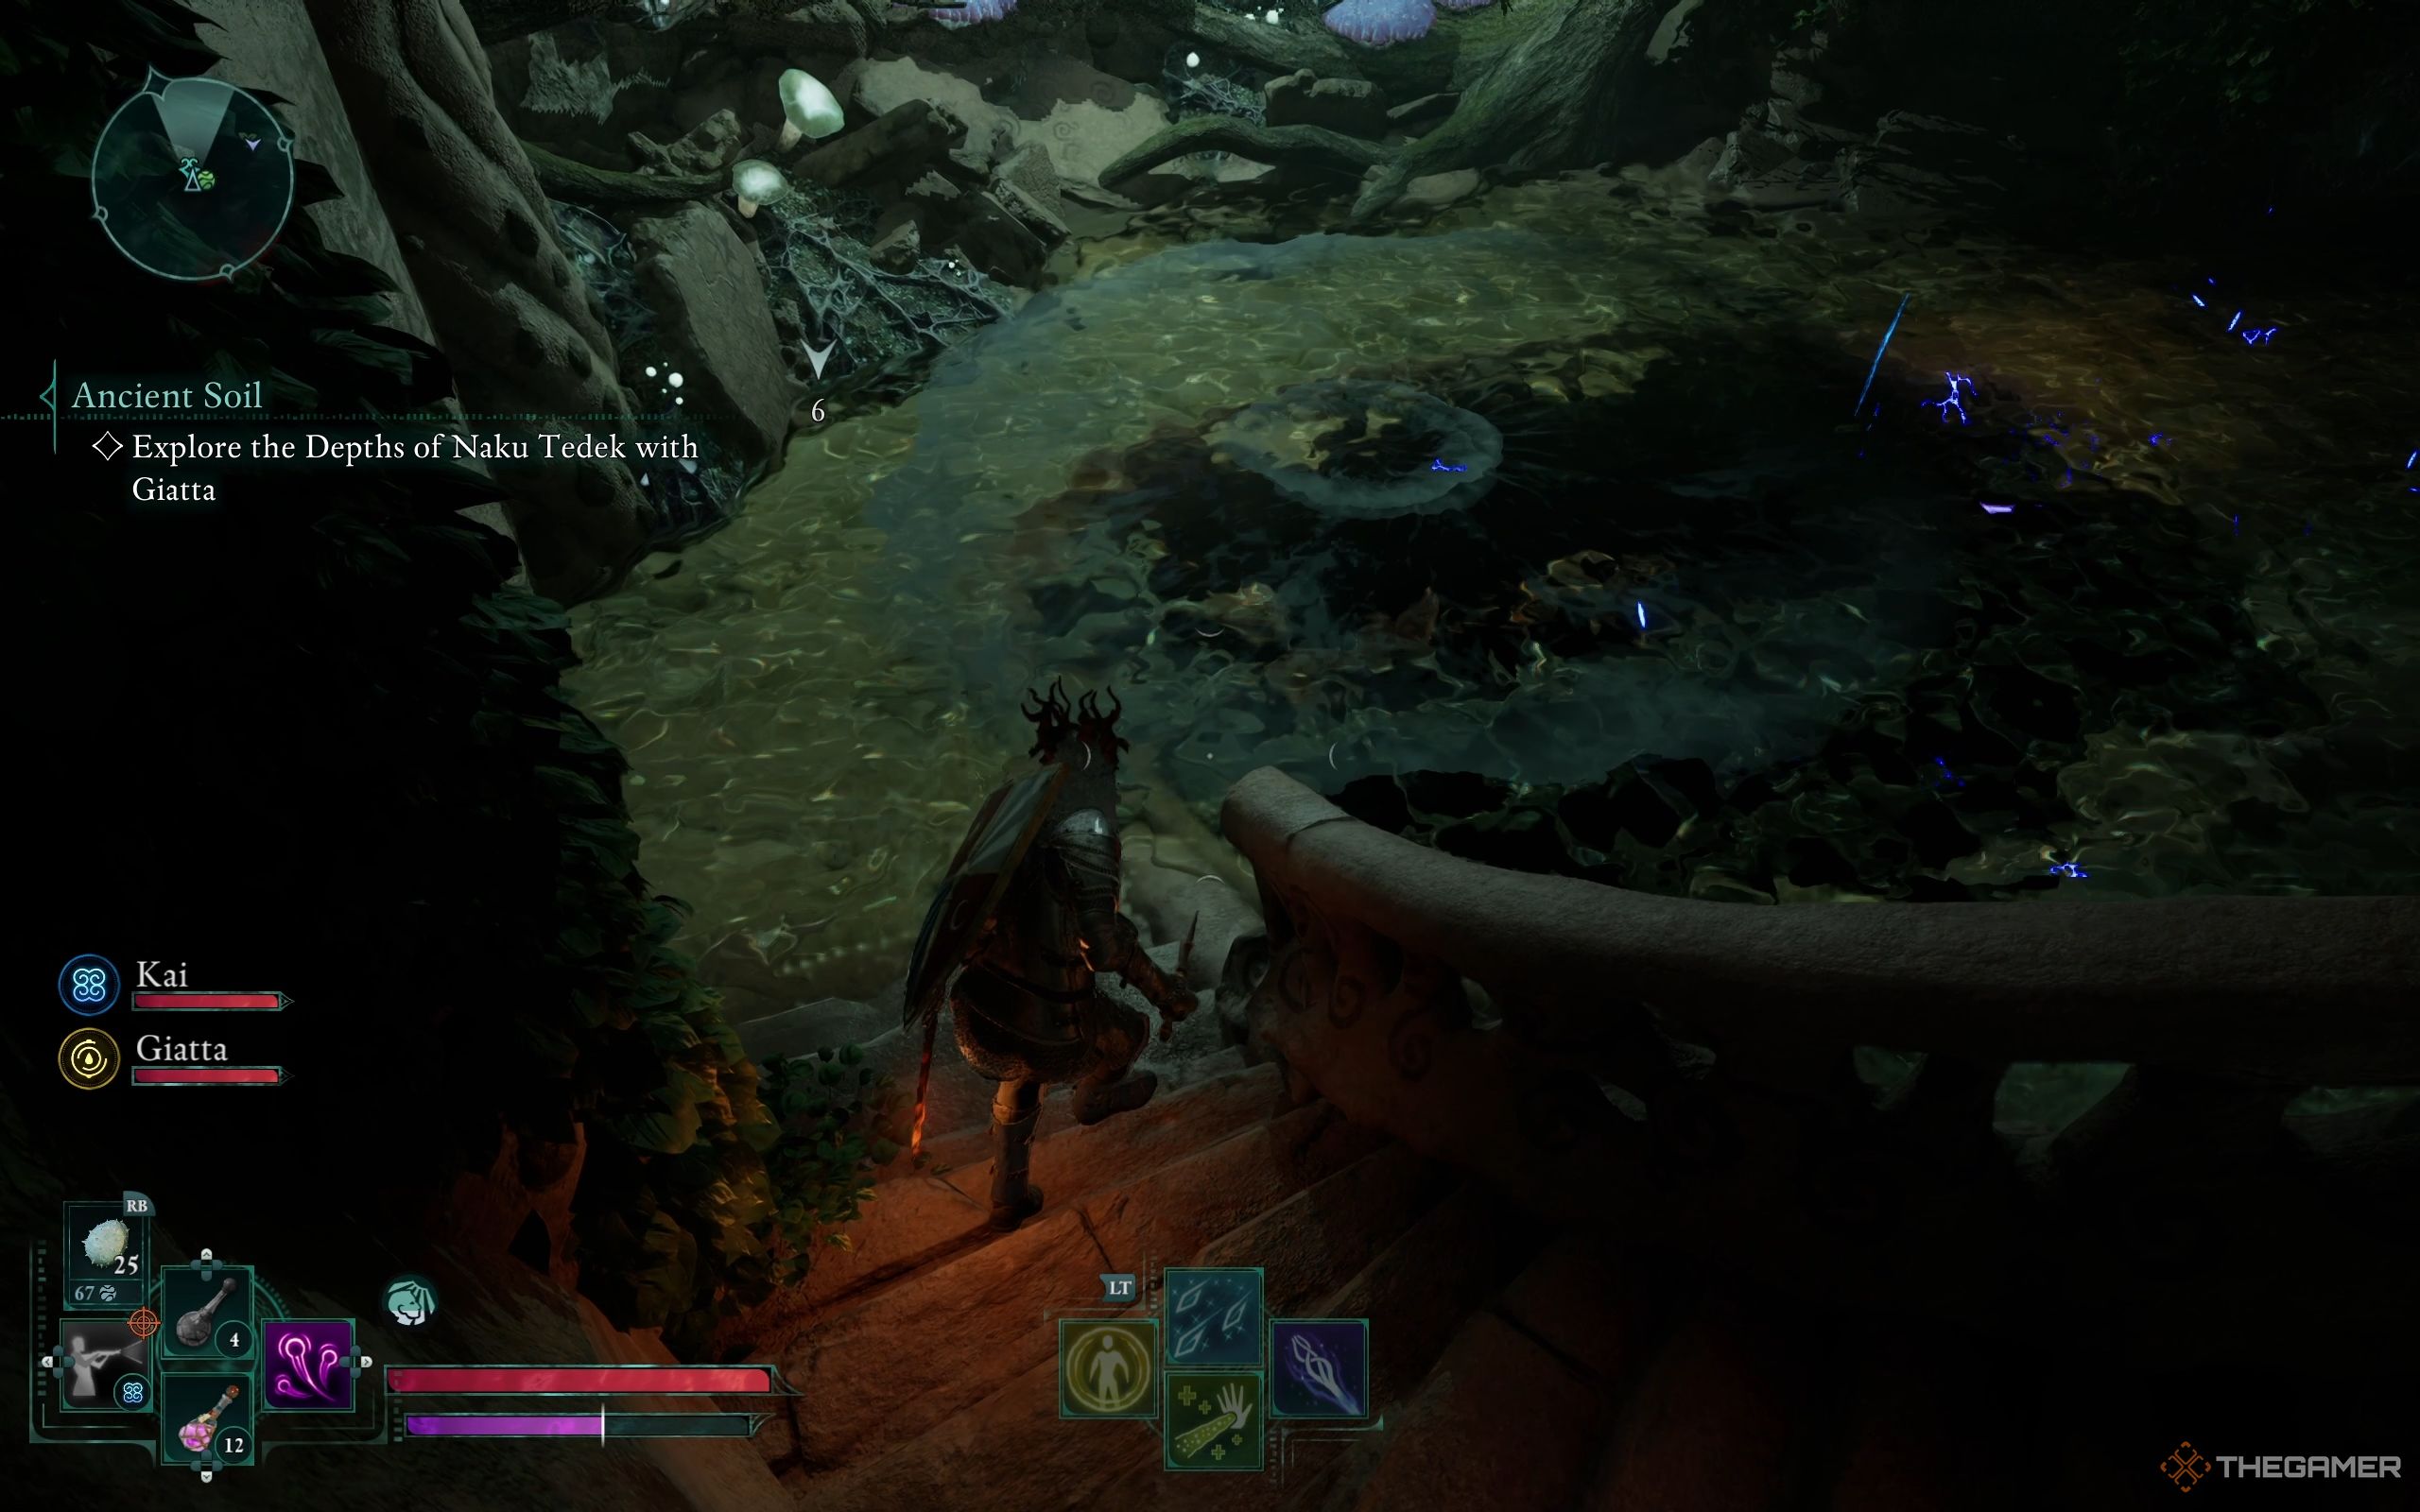
At the end of this long journey, I found the Eye of Rymrgand. To my right, there’s an orange-glowing shield and a generator. If you crane your neck upwards, you’ll notice another shield hanging over a trap that shoots electrical darts into the water. That’s why the water here is electrified. I had to shock the generator to halt those darts from falling and return the water to its usual tranquil state.
As you retrace your steps from the flooded room, you’ll eventually come across a skinny corridor lined with roots on both sides – this is where you should ascend to the right nook. In that recess, you’ll uncover a Sarcophagus of a deep purple hue. On the opposite side, there’s a Common Dagger and an Essence Potion waiting for you.
Now that the electricity is gone, you can safely dive into the hole with broken grates.
1. Take hold of the Krakenhorn located at its base.
2. Ascend to discover a fresh chamber filled with Sporelings.
3. Conquer the Sporelings that dwell within.
4. Strike the generator nearby, jolting it to unlock the sealed entrance.
5. Proceed to enter the room beyond, which lies beneath deep water.
Stand next to the doorway and construct icy walkways to cross over to the other side, gathering the Eye of Rymrgand as you go. Ascend the tree roots and find yourself in a room bathed in purple light, where there’s a golden-glowing Sarcophagus. Open it up to obtain , an exceptional ring that boosts your carrying capacity by +25 units.
Re-traverse the water tunnel for reaching the primary route once more, where you discovered the generator to deactivate the electric darts. Prior to passing through the following door, search for a damaged wall between two doors. Toss a grenade to shatter it open and gather the contents of the treasure chest within.
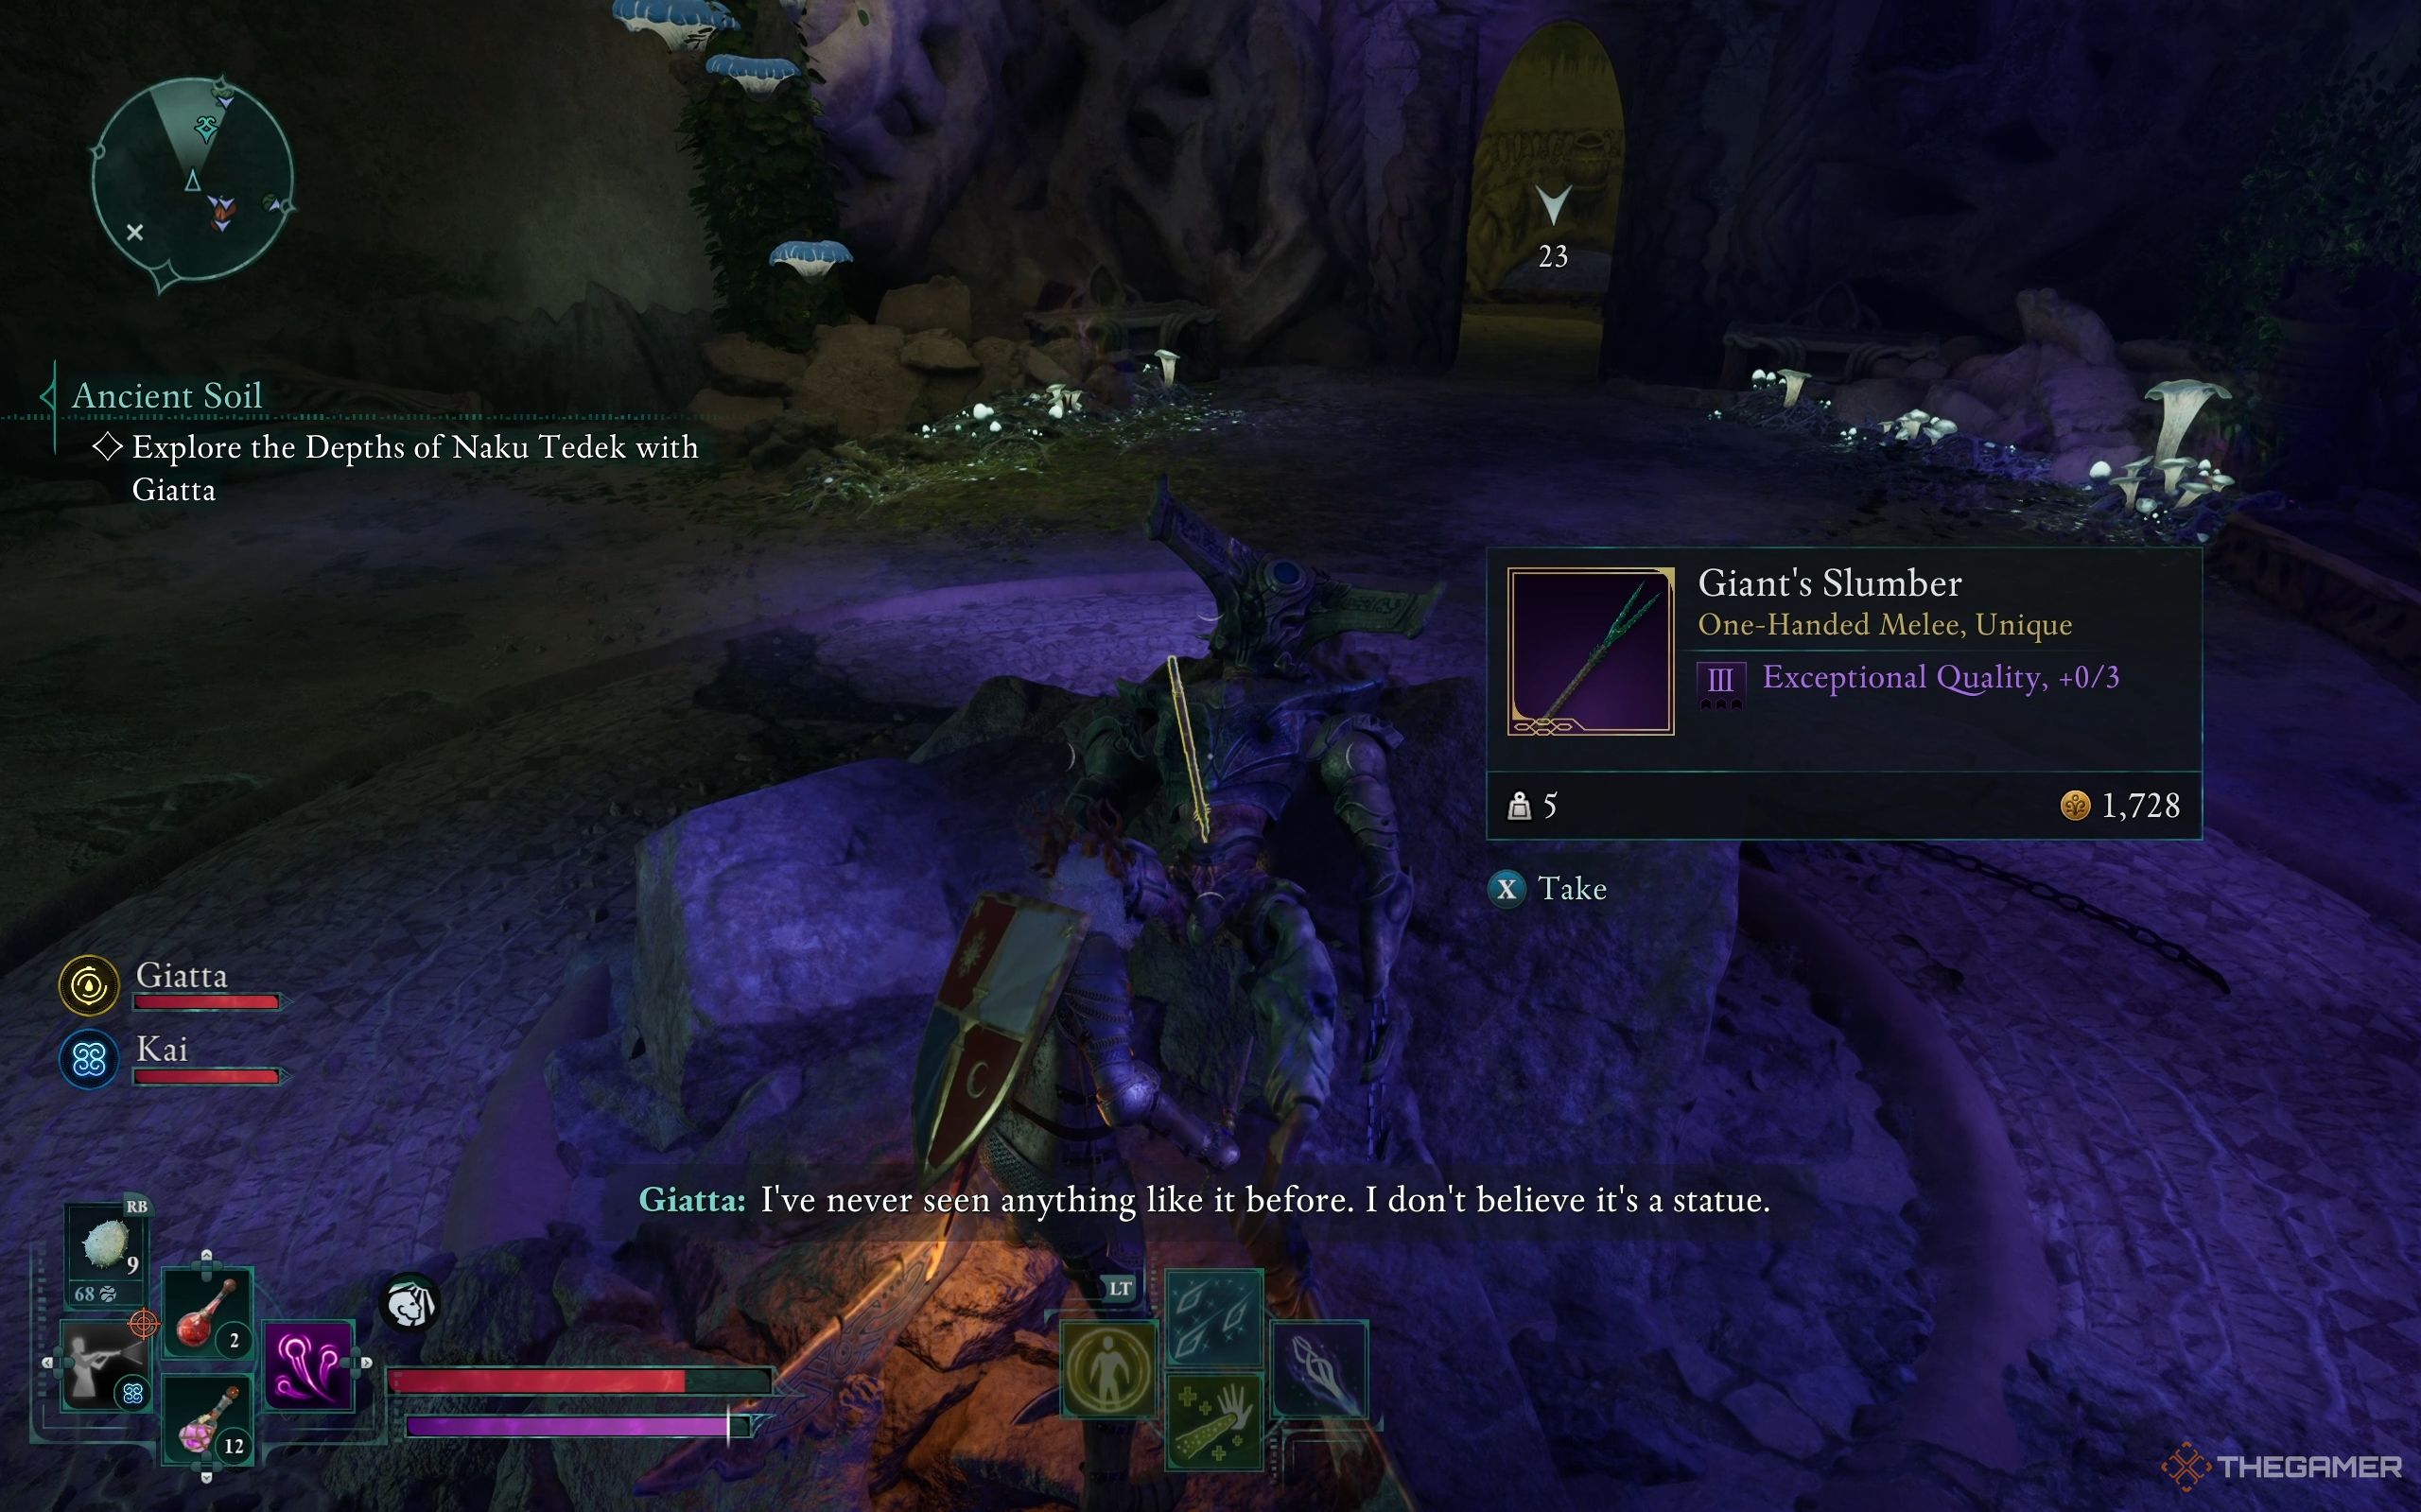
Walk through the next doorway and follow the path into a room with a monster pinned by the Giant’s Slumber spear in the middle. Make sure to search the room thoroughly before taking out the spear. Removing it will close the door and bring about two Spectres, a Greater Calamity Blight, and numerous Skeletons.
When Spectres disintegrate upon death, ensure you keep a safe distance to avoid their destructive blast. During combat, maintain your mobility since the adversaries move swiftly and you wouldn’t want them trapping you in a corner. Once you successfully vanquish all enemies, the previously sealed door will automatically open.
Cylia Boss Fight
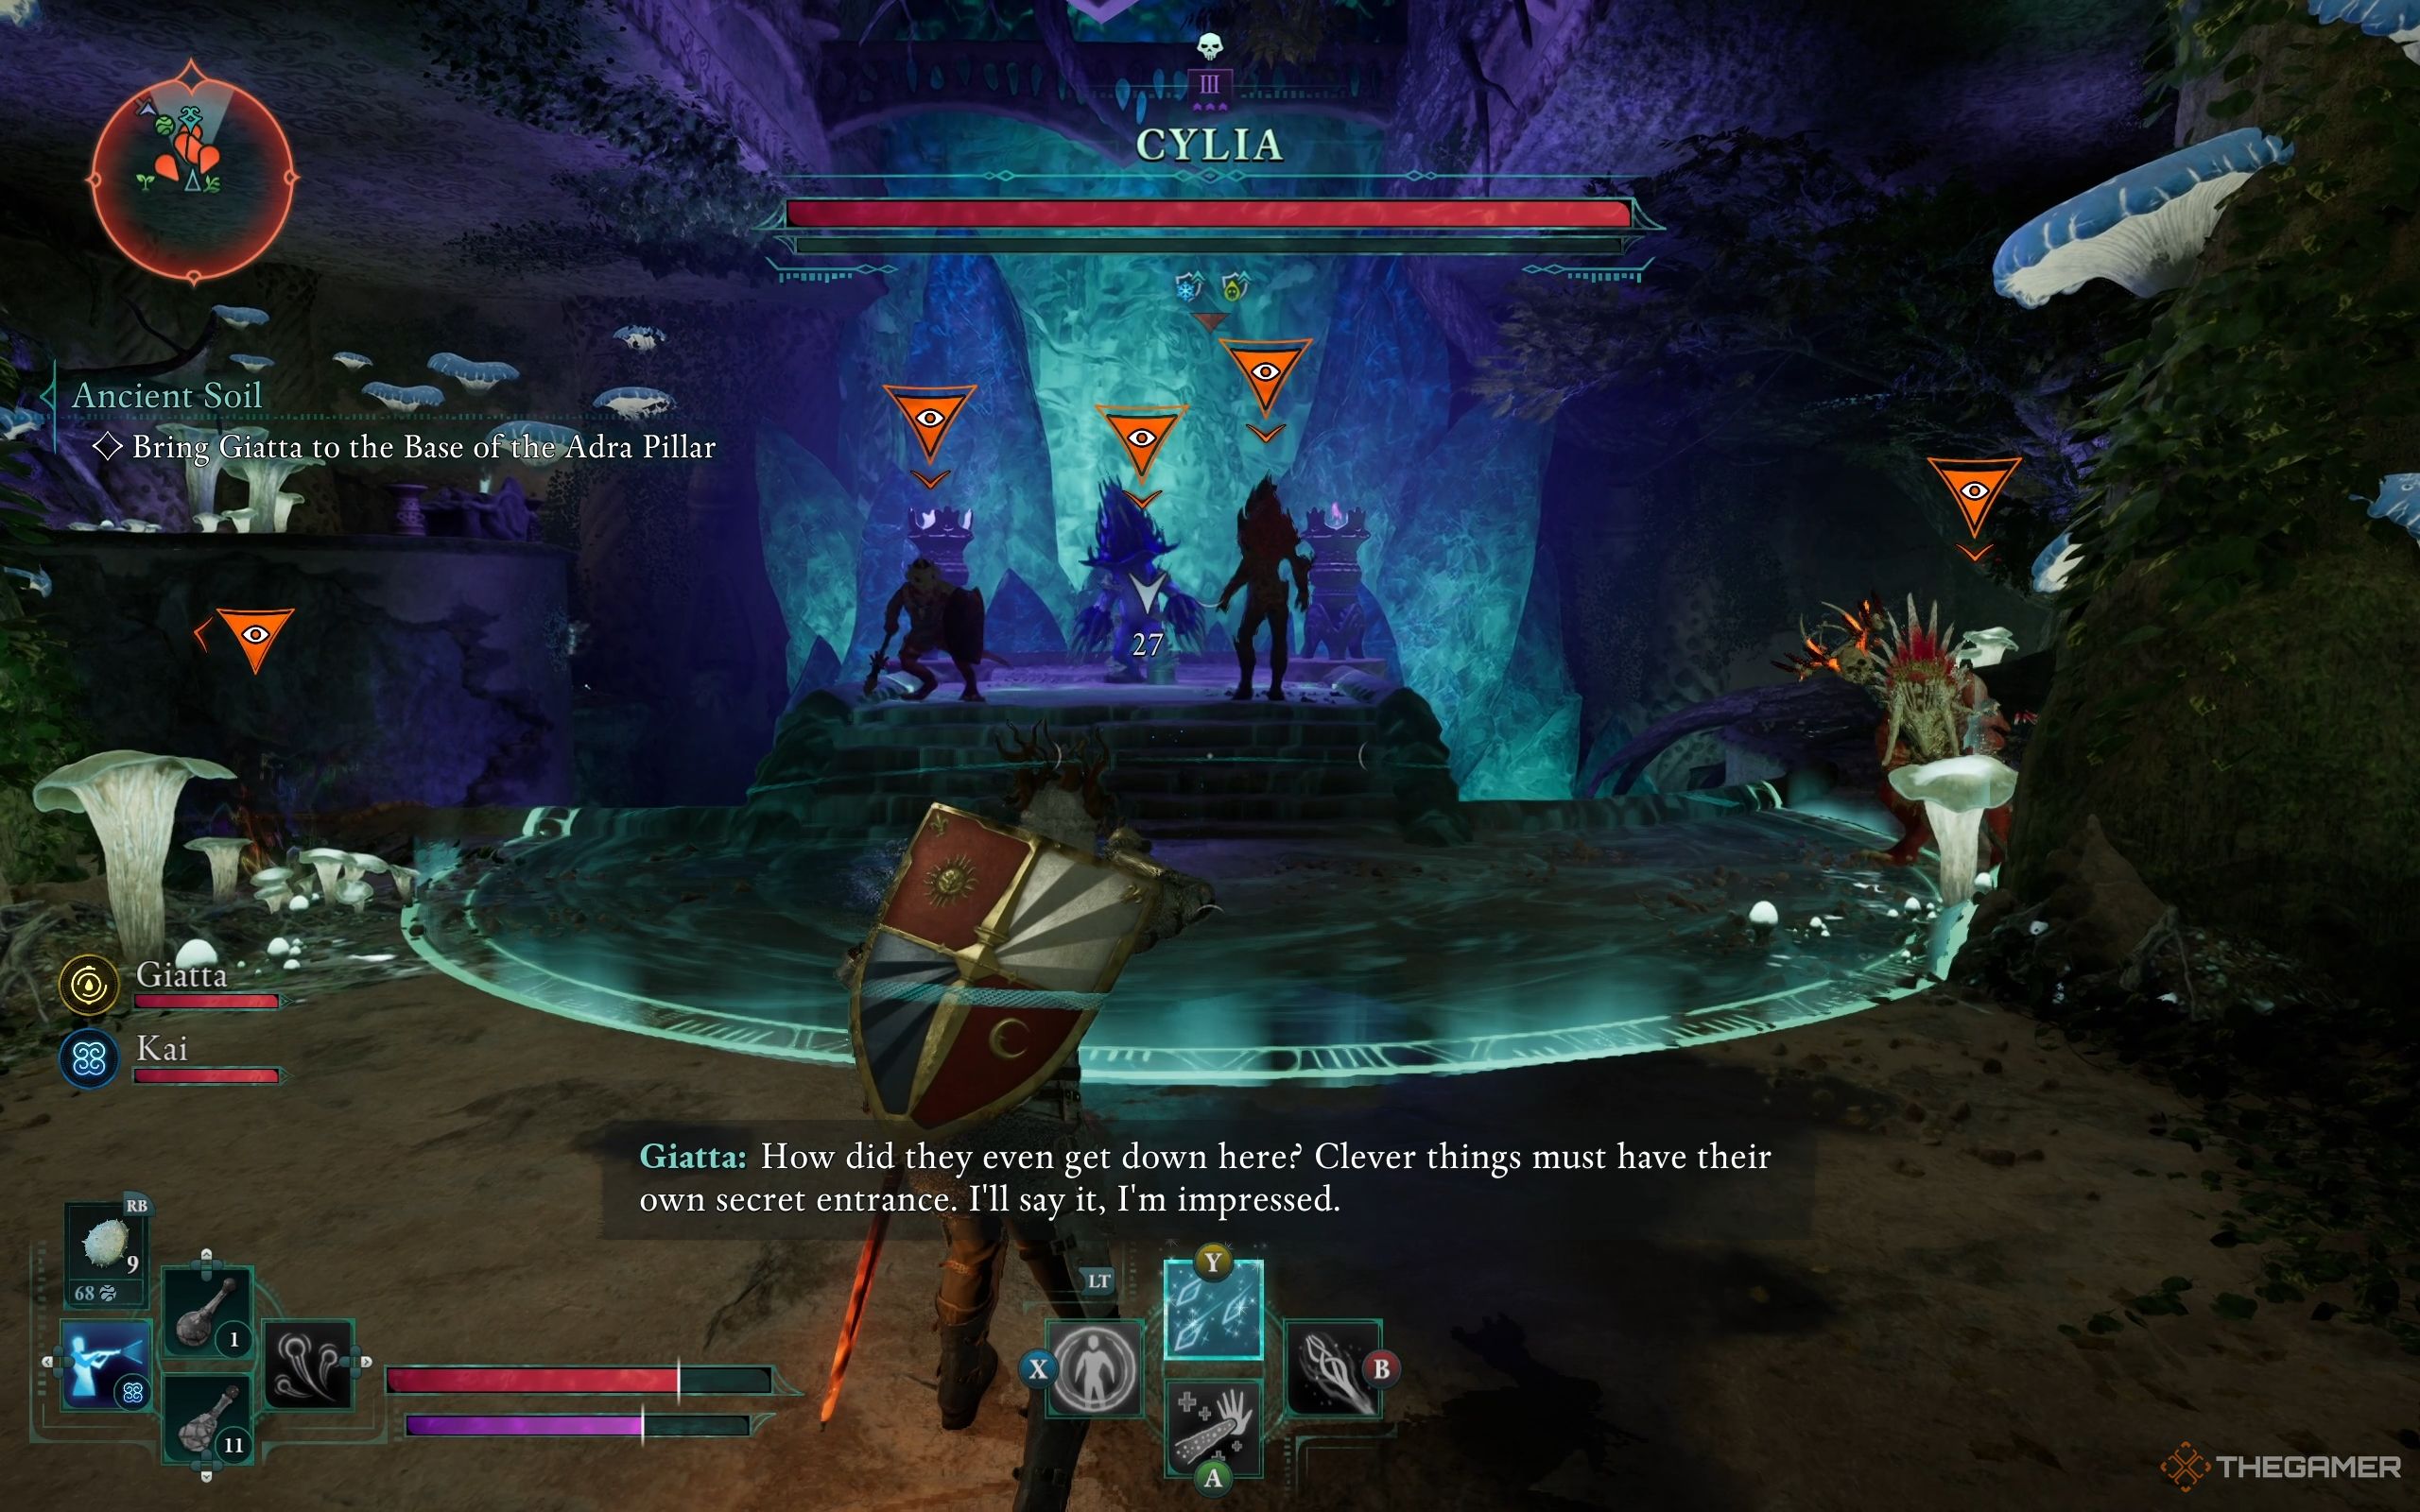
As you make your way down the stairs, you’ll spot an alcove slightly overhead that you can leap to. Inside, you’ll find a chest filled with assorted items and a Health Potion. Grab the Soul Sponge at the base of the stairs before continuing your descent until you encounter a large Sporeling named Cylia. She’s dancing in front of an Adra Pillar, accompanied by a Delemgan Scourge and a few Xaurips.
As a fan, I’d strategize like this: Among them, there’s a Xaurip Shaman. It’s wise to prioritize taking him down first. Once he’s dealt with, turn your attention to the remaining enemies. In the end, save Cylia for last. Though Cylia can boost allies with shields and healing, it takes time to do so. With superior gear, particularly of Exceptional quality, you should be able to manage the others without much hassle.
Cylia is resistant to Frost and Poison, but it has a low health pool, making it relatively simple to defeat. However, be cautious as it can retaliate with a wall collapse, small-scale explosions, and poisonous attacks.
Should You Accept Godlike Power In Naku Tedek?
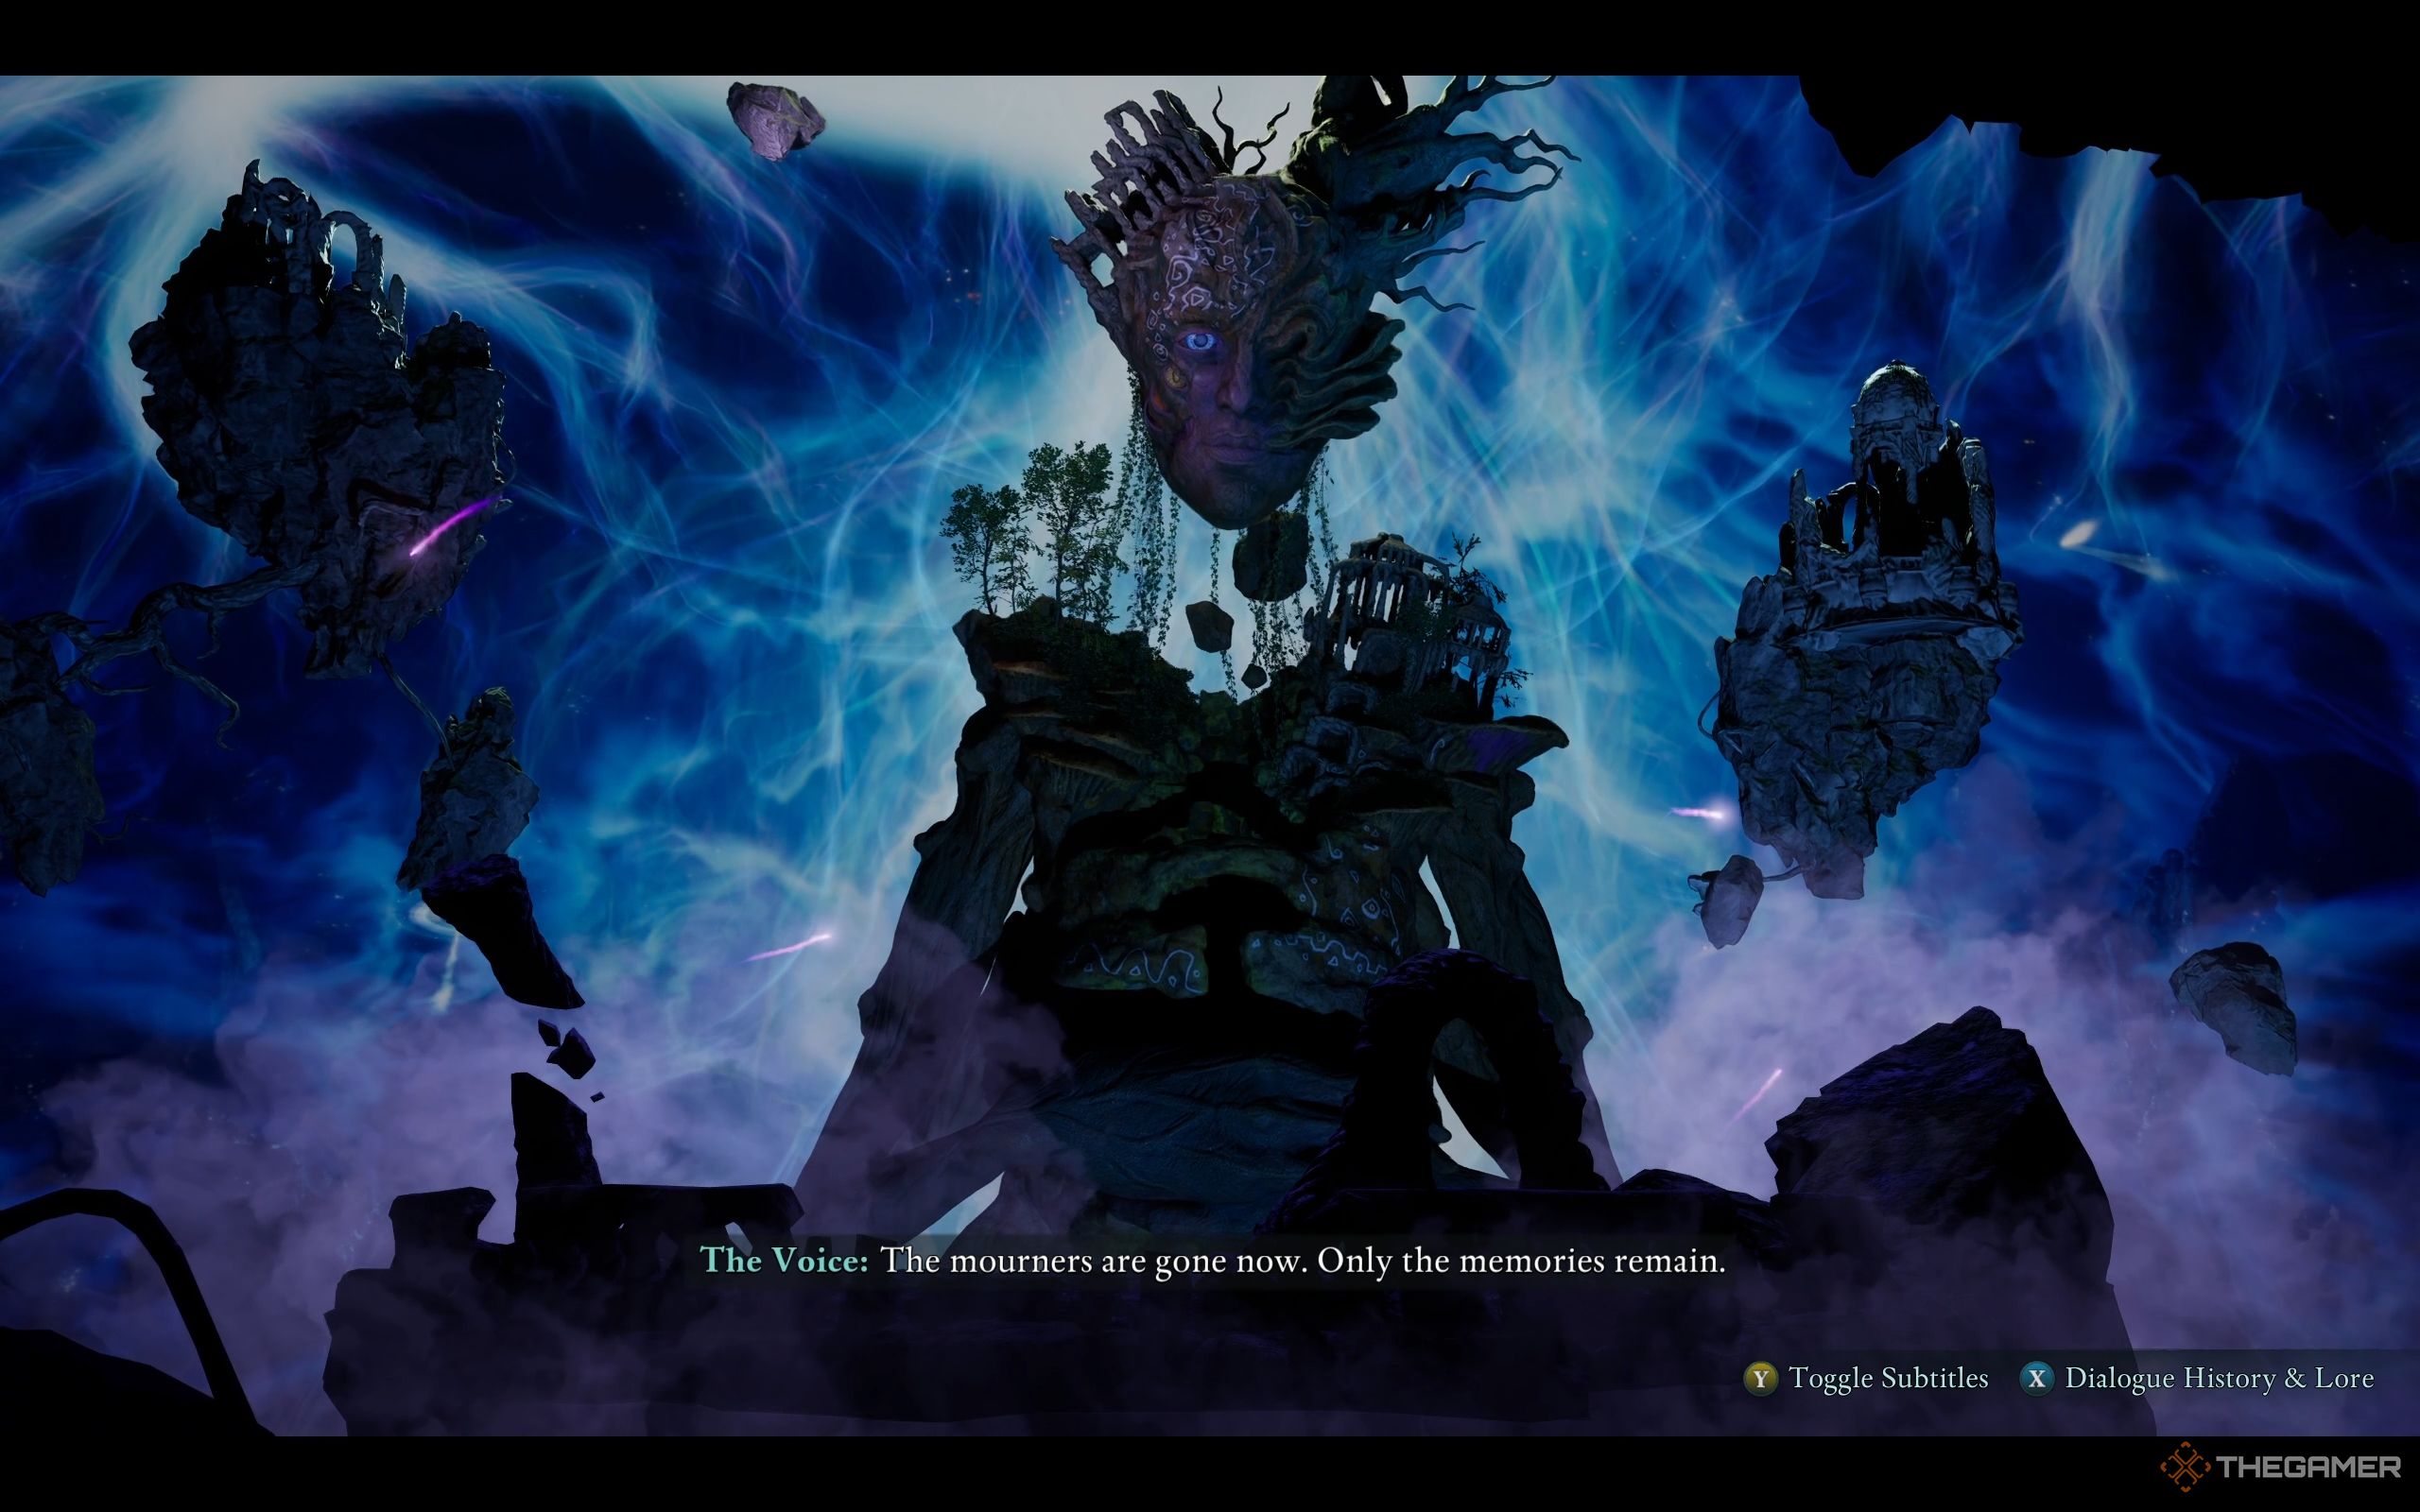
After vanquishing my foes, I approached the enigmatic Adra for the first time. To my surprise, there was Sapadal, the voice I’d been hearing, standing before me. I engaged in a conversation with Sapadal to uncover the mysterious bond it shares with me, the Godless, and the vibrant world known as The Living Land.
As a follower of Sapadal’s guidance, I find myself standing at the edge of a sea tainted with poison, gazing towards The Garden that lies beyond. For the moment, I must make a decision: either embrace the power that Sapadal offers me, or choose to resist it.
- Accepting the Godlike power grants you the Thorn of Sapadal, a godlike ability that fires a piercing energy thorn, damaging multiple enemies and briefly rooting them. Also, Sapadal will tell you to find it in the halls of the Tebaru Sanakis.
- Rejecting the Godlike power gives you +1 Attribute Point instead.
The decision you make won’t alter the final outcome of the tale, but it will influence the way you experience it. Therefore, feel free to pick whatever option suits you best.
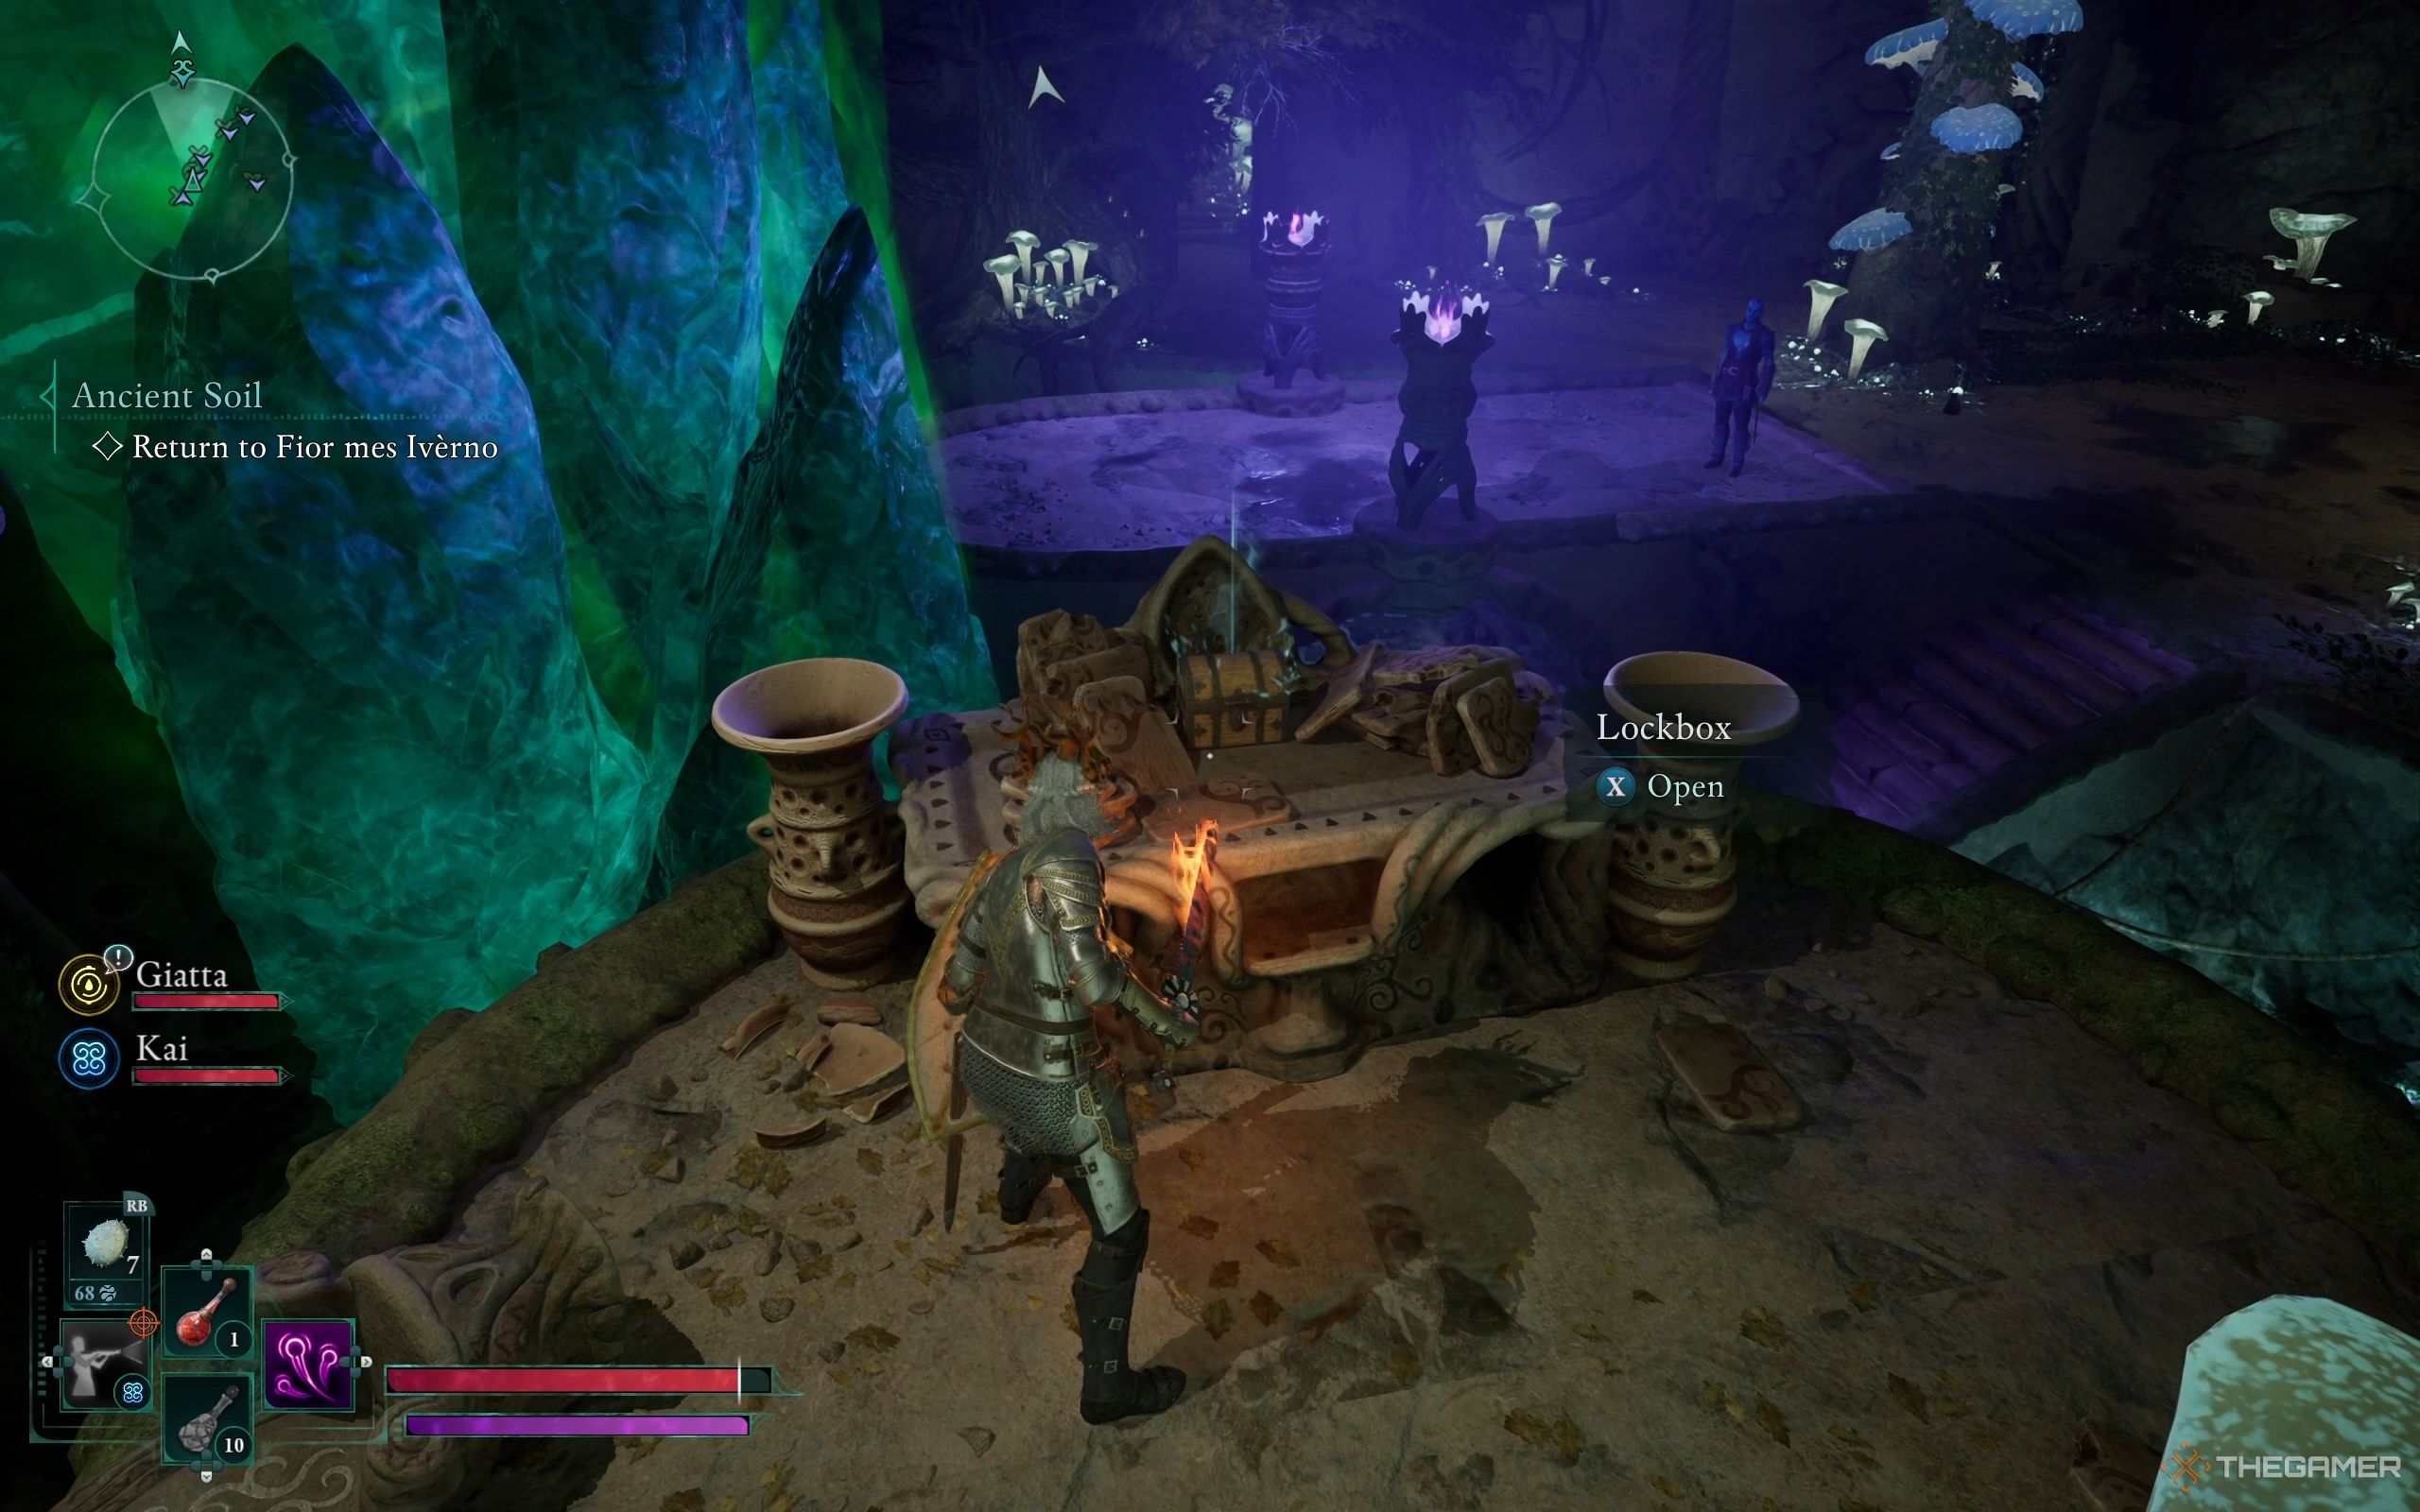
Return To Fior Mes Iverno
Upon returning to Fior, take some time to gather a few valuable items first. To your left, near the Adra pillar, there’s a body of water. Use ice magic to construct platforms that will help you reach the ledge above. Once you’ve reached that spot, ascend further and you’ll discover a Lockbox.
Now, let’s focus on the room featuring three radiant orangeshields. Your task is to activate three generators. The first one can be found to your right, immediately upon entering through the door.
The second is below the bridge leading to the Adra.
The third is behind a tunnel to the right of the door.
Once you’ve turned on each of them, the locked chamber will swing open, revealing an opportunity for you to grab a Margran’s Blessing and a treasure chest.
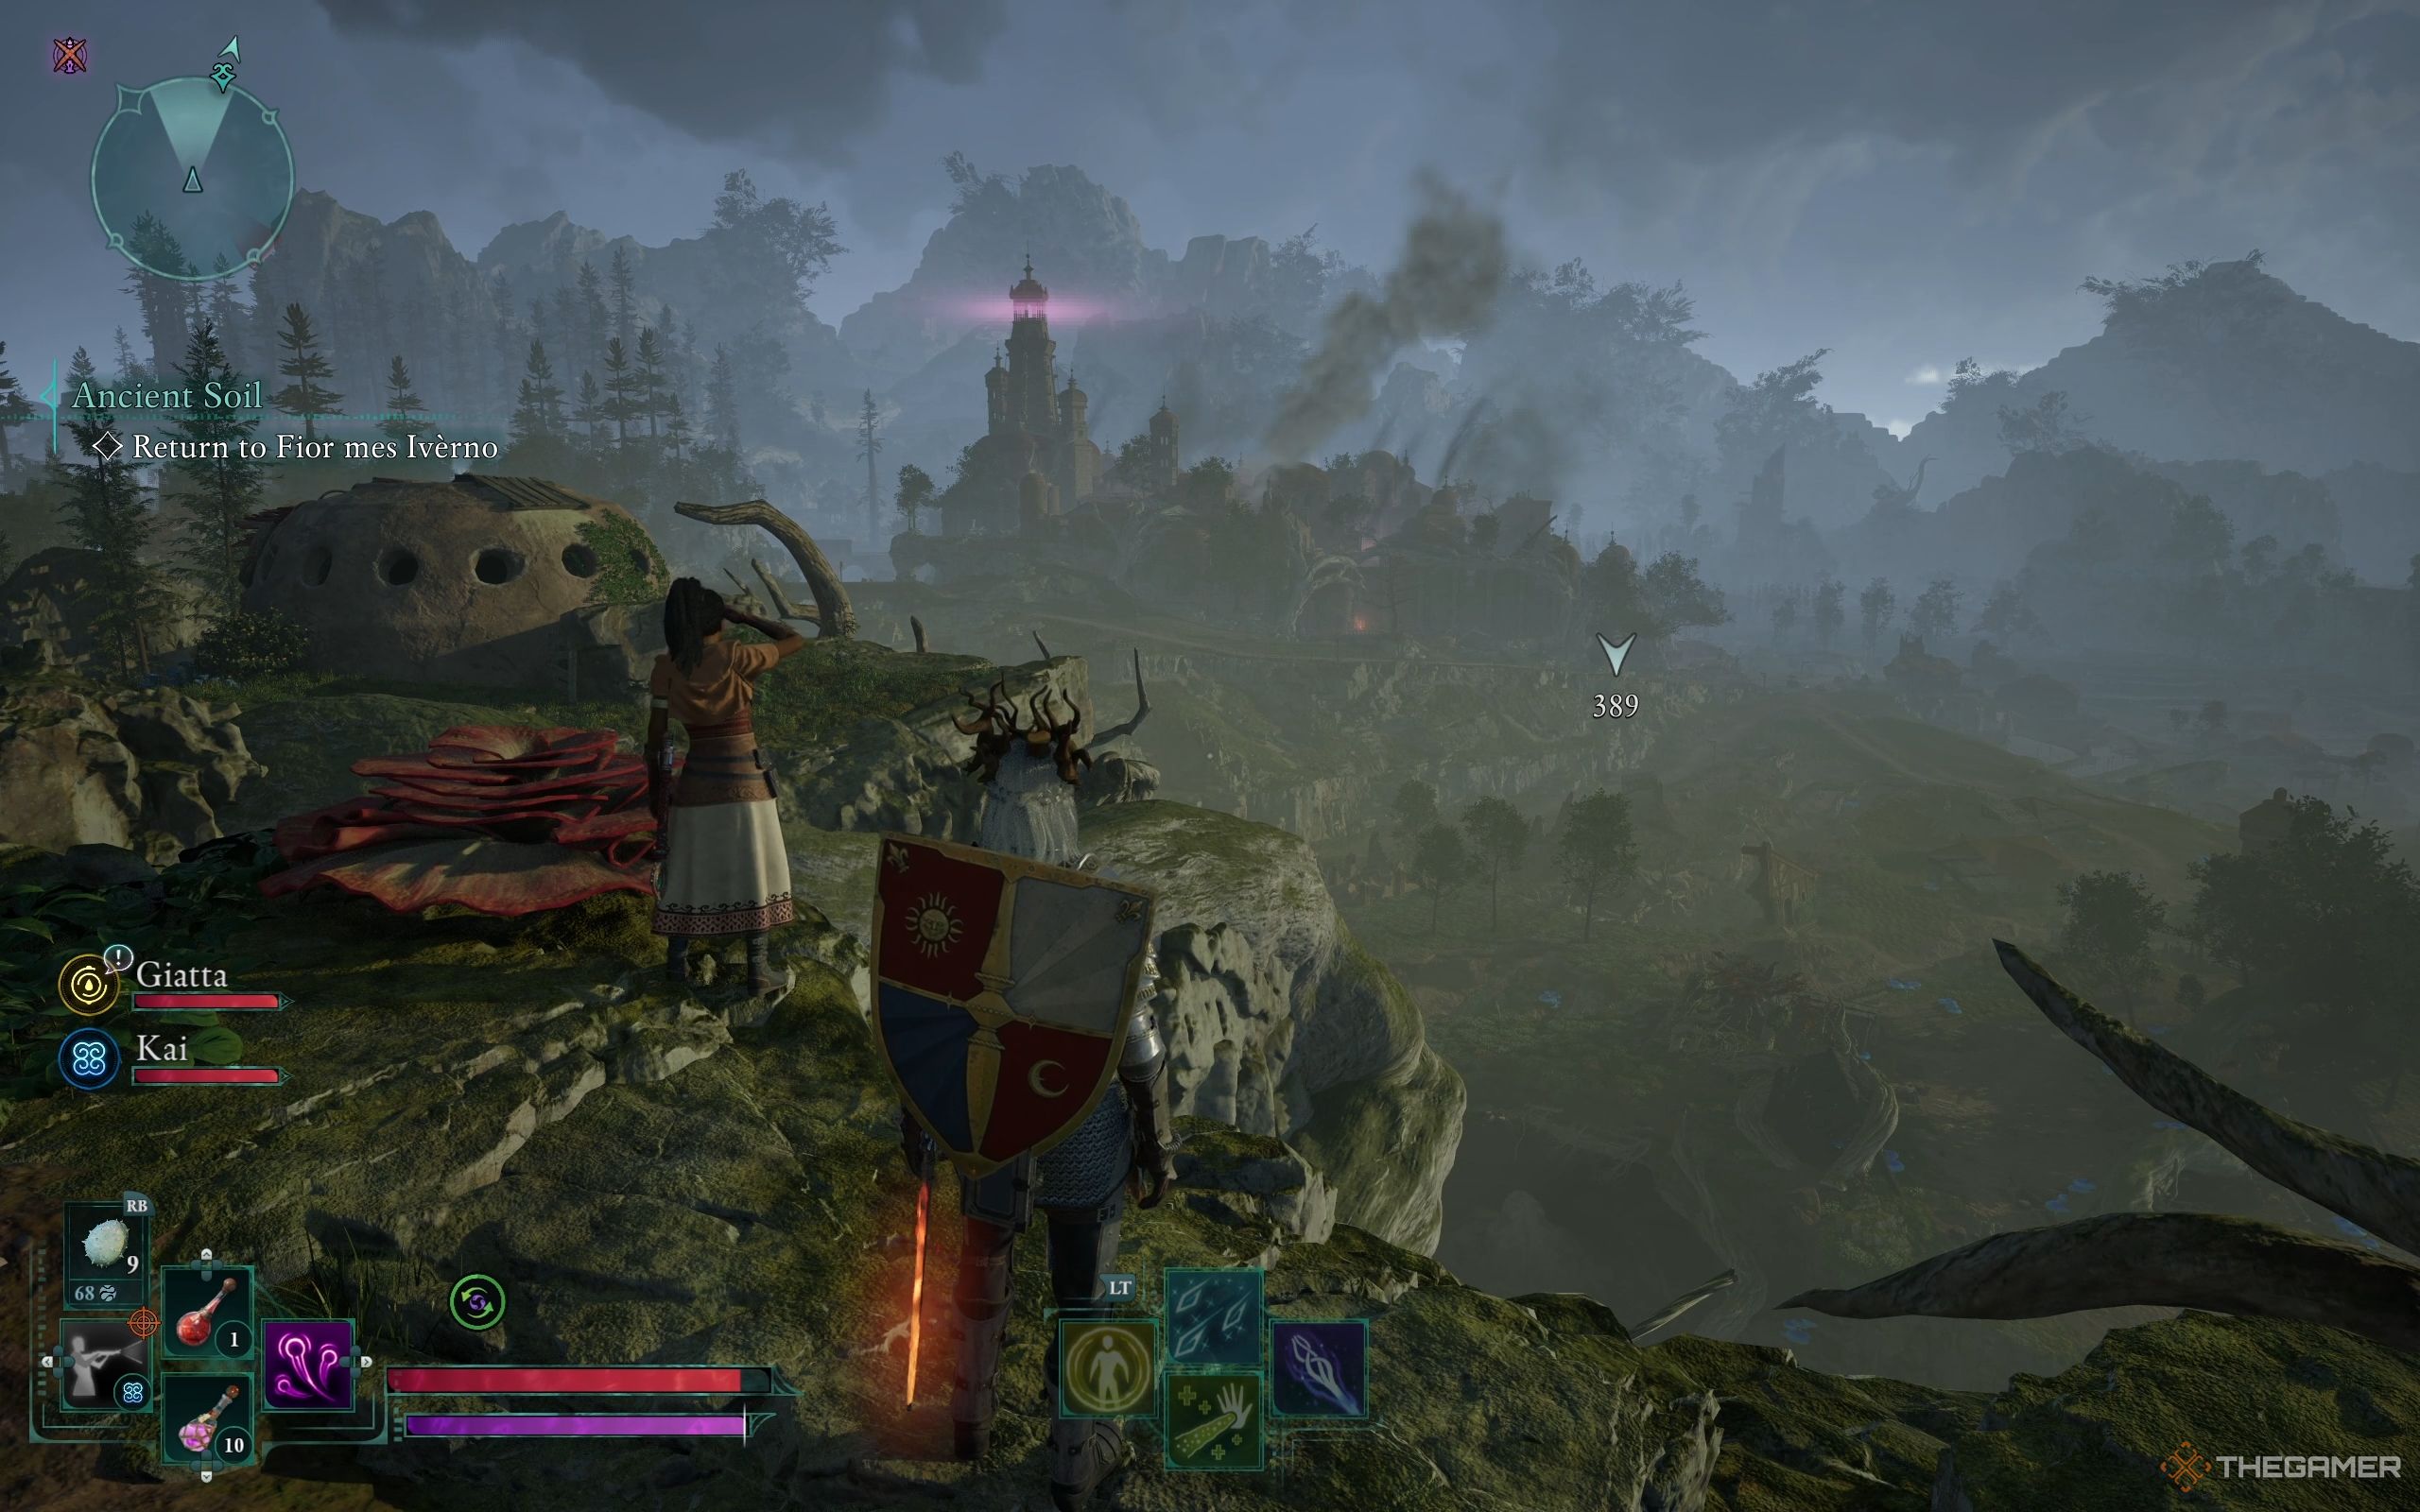
Once completed, you’ve wrapped up exploring Naku Tedek’s Depths. Upon exiting, you’ll find Fior ablaze. The appearance of this place could vary significantly based on your previous encounters at the Steel Garrote camp hidden behind the waterfall.
Fior Mes Iverno Burned
If you haven’t evacuated the Steel Garrote camp, it could lead to Fior Mes Iverno being destroyed. The next phase of your Ancient Soil mission is to locate any remaining survivors. During your journey, you will run into aggressive members from the Steel Garrote group.
The survivors have taken refuge at the Abandoned Farms. To determine your next course of action, speak with Vidarro, Quilicci, and Yatzli. While you’re there, don’t forget to initiate the Debt of Blood side quest by conversing with Vemas Rogera. This quest can only be acquired if Fior Mes Iverno has fallen to the Steel Garrote.
Should you find yourself in that situation, it means that Fior will no longer be accessible for the remainder of the game. Moreover, any side quests related to or near Fior will end automatically.
Fior Mes Iverno Saved
If you handled the Steel Garrote camp previously, re-entering Fior will be a breeze as you won’t encounter any hostile Steel Garrote soldiers because they’ve all been eliminated. You can freely search their remains and the fallen Fior Rangers for valuable loot.
As you draw nearer to the city, you’ll encounter Ranger Tezallo of Fior and Lieutenant Bodcg from the Steel Garrote. You’ll be presented with several conversation options, but essentially, it boils down to two major decisions: Either execute Lieutenant Bodcg or return him in shackles to the Embassy. Essentially, the question becomes, should you take Lieutenant Bodcg’s life?

It would be wiser to spare Lieutenant Bodcg instead of killing him, as doing so provides an opportunity for more in-depth questioning about the Steel Garrote and Lodwyn’s schemes. Moreover, your allies would appreciate this decision.
With that settled, it’s time to enter the city.
Thirdborn Or Paradis: Where To Send The Animancers?
As soon as you enter the city, you’ll encounter Vidarro, Quilicci, and Yatzli. Engage in conversation with them and explore all the available dialogue options until Vidarro and Quilicci begin deliberating over a crucial matter – the new location for the animancers. Each choice presents its own advantages and disadvantages, so pay close attention to determine the future you wish for the survivors.
Quilicci proposes relocating the survivors to Thirdborn, a locale that allows them to freely exercise their skills. Opting for Thirdborn means Fior’s survivors would journey there in pursuit of a new beginning.
If you allow Ryngrim to cut the Adra and siphon life force from haphazard individuals within Shadows of the Past, some unforeseen deaths among the Fior mes Iverno survivors will occur. This information will come to light when you converse with Quilicci in the Residential District.
Governor Vidarro suggests transferring the survivors to a place called Paradis, a location where they can blend inconspicuously among the inhabitants, avoiding detection by the Aedyrans. The animancers will no longer be able to practice their skills there. This move is considered safer as it’s unlikely that anyone would suspect the Fior people have settled there. If you decide to go back to Paradis, you’ll encounter Governor Vidarro at the city gates and he’ll reward you with 500 gold pieces upon your arrival.
If you opt to transfer the Fior mes Iverno folk to Paradis initially, then subsequently establish the Living Lands as an independent entity, events in The Siege of Paradis become turbulent, causing the governor to reveal that his people are hiding due to some going missing.
Among the Paradisians, there’s no room for animancers. However, the farming expertise of the Fior survivors garners them respect, which aids in improving relationships with both the Paradisians and Aedyrans. Regrettably, they are now barred from practicing Animancy.
Read More
- Gold Rate Forecast
- PI PREDICTION. PI cryptocurrency
- SteelSeries reveals new Arctis Nova 3 Wireless headset series for Xbox, PlayStation, Nintendo Switch, and PC
- Masters Toronto 2025: Everything You Need to Know
- WCT PREDICTION. WCT cryptocurrency
- Guide: 18 PS5, PS4 Games You Should Buy in PS Store’s Extended Play Sale
- LPT PREDICTION. LPT cryptocurrency
- Elden Ring Nightreign Recluse guide and abilities explained
- Solo Leveling Arise Tawata Kanae Guide
- Despite Bitcoin’s $64K surprise, some major concerns persist
2025-04-06 05:36