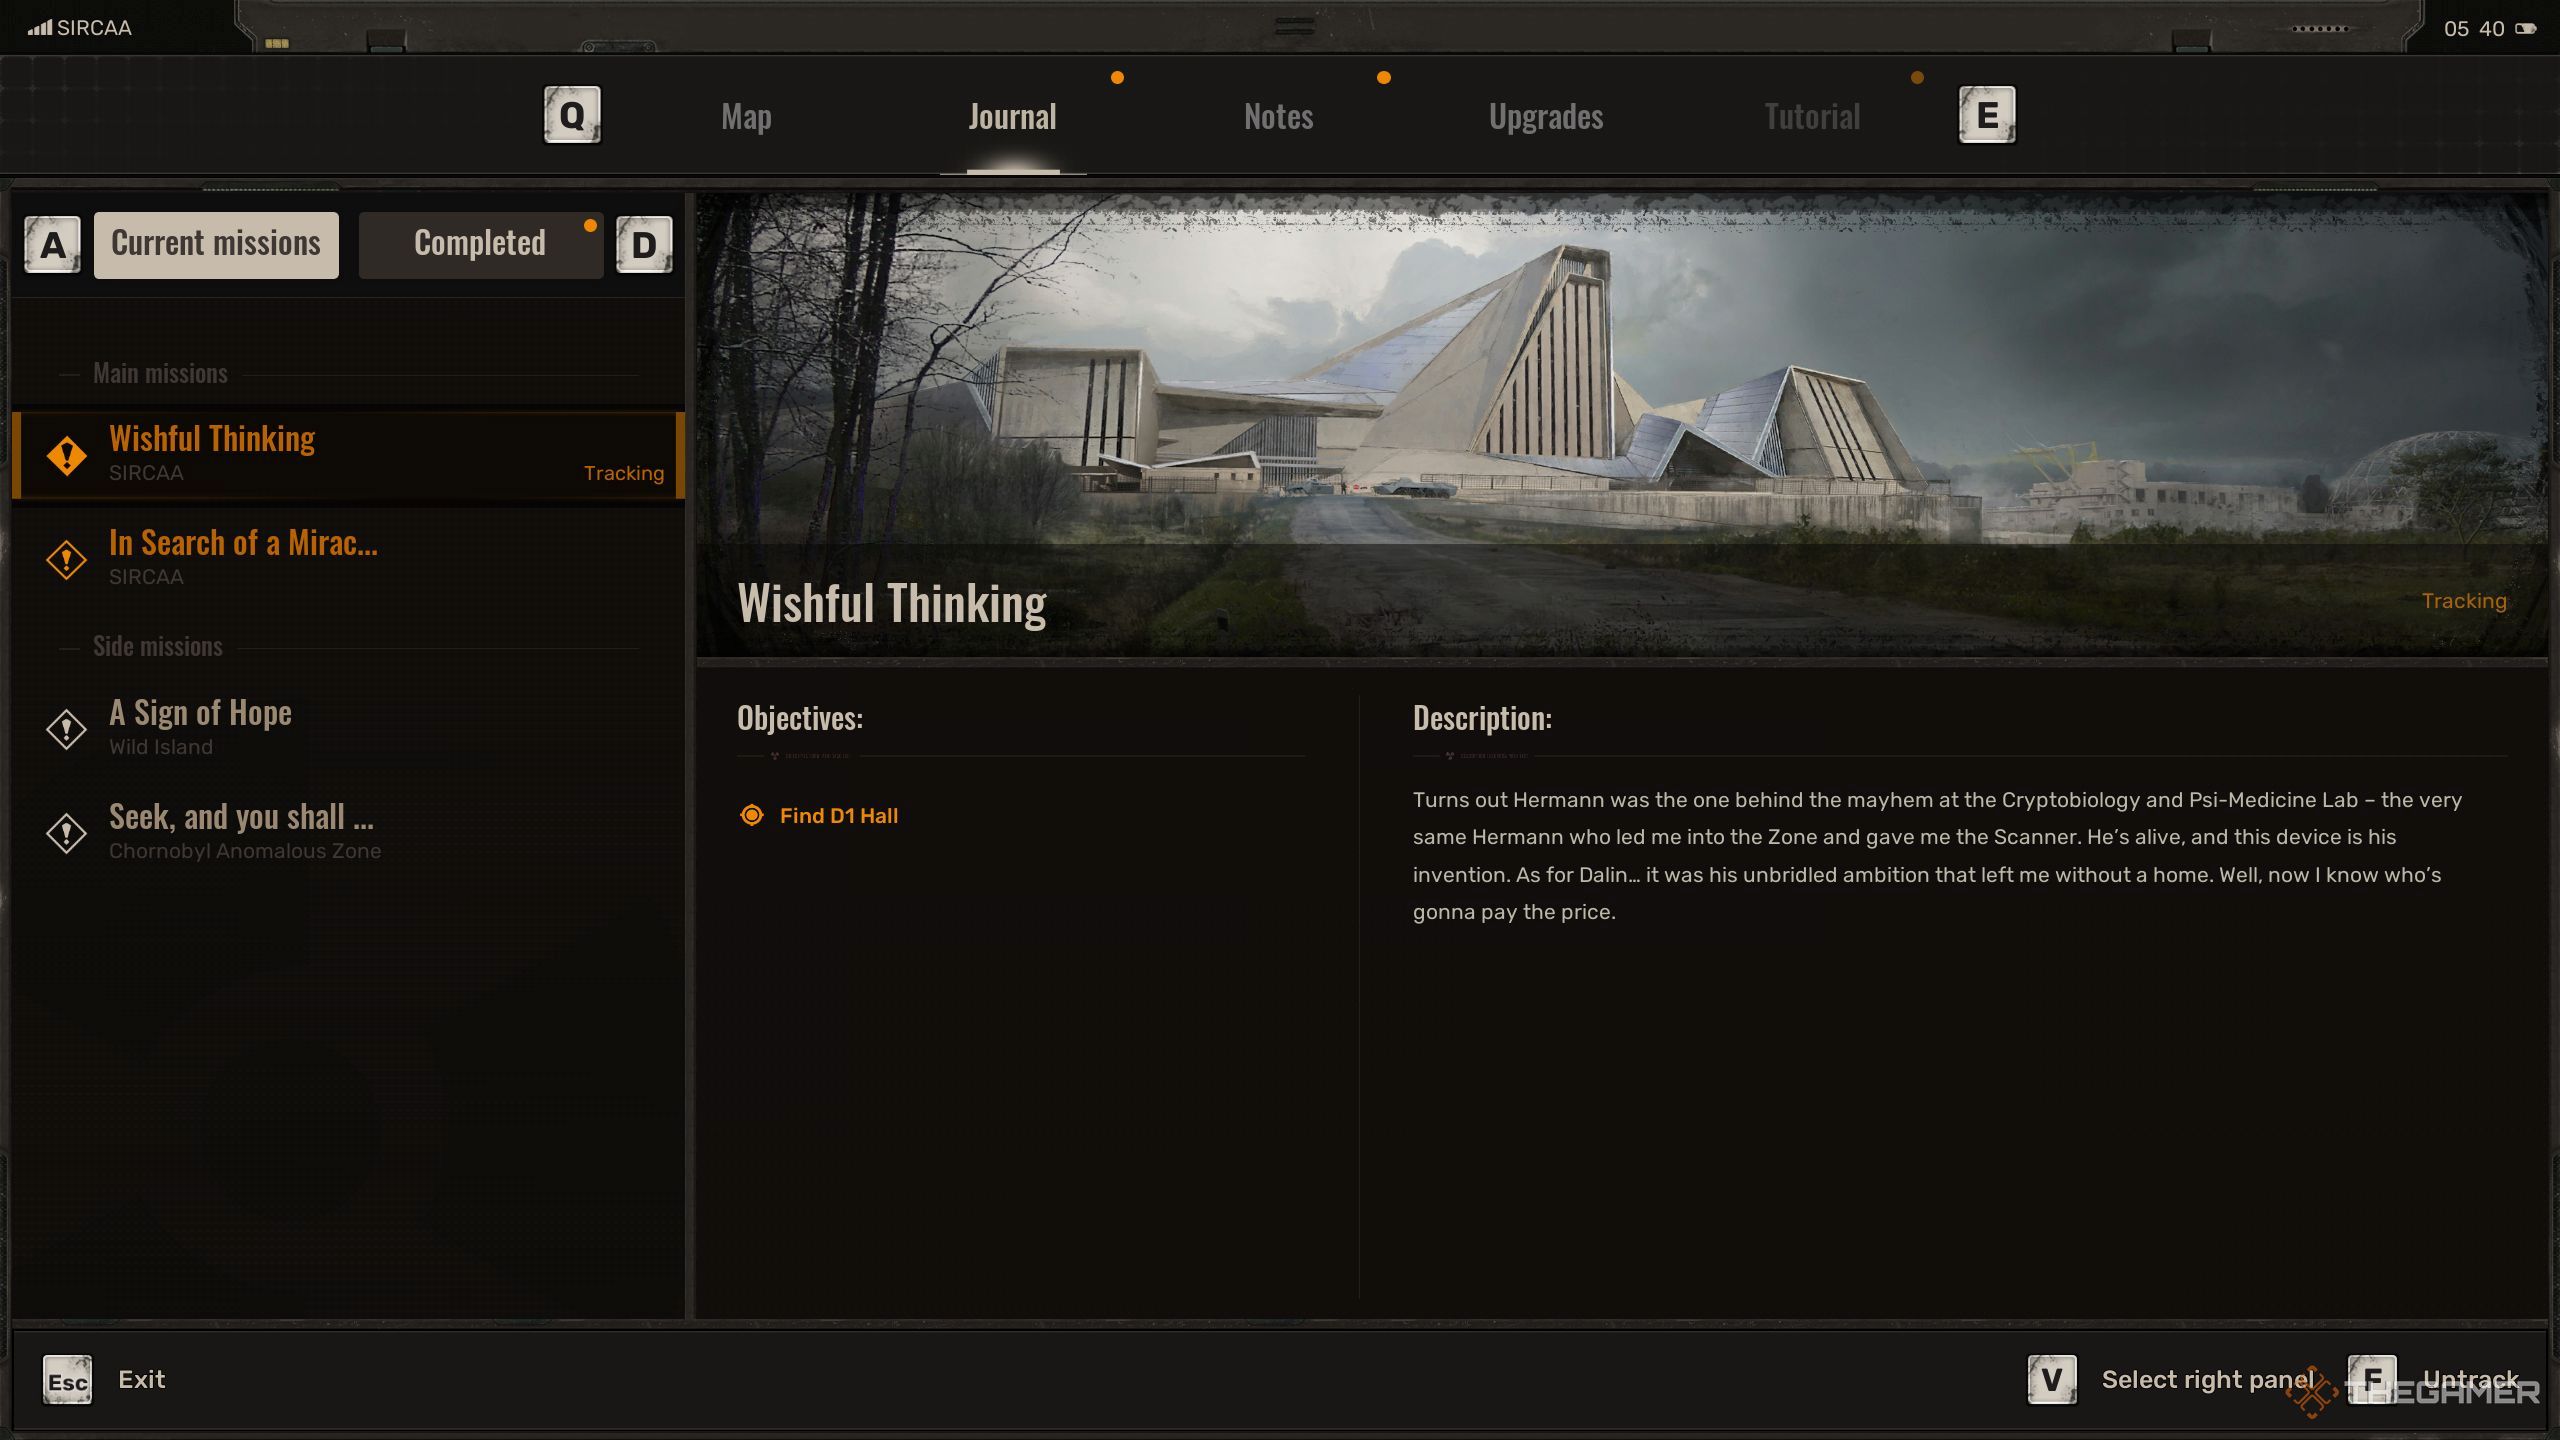
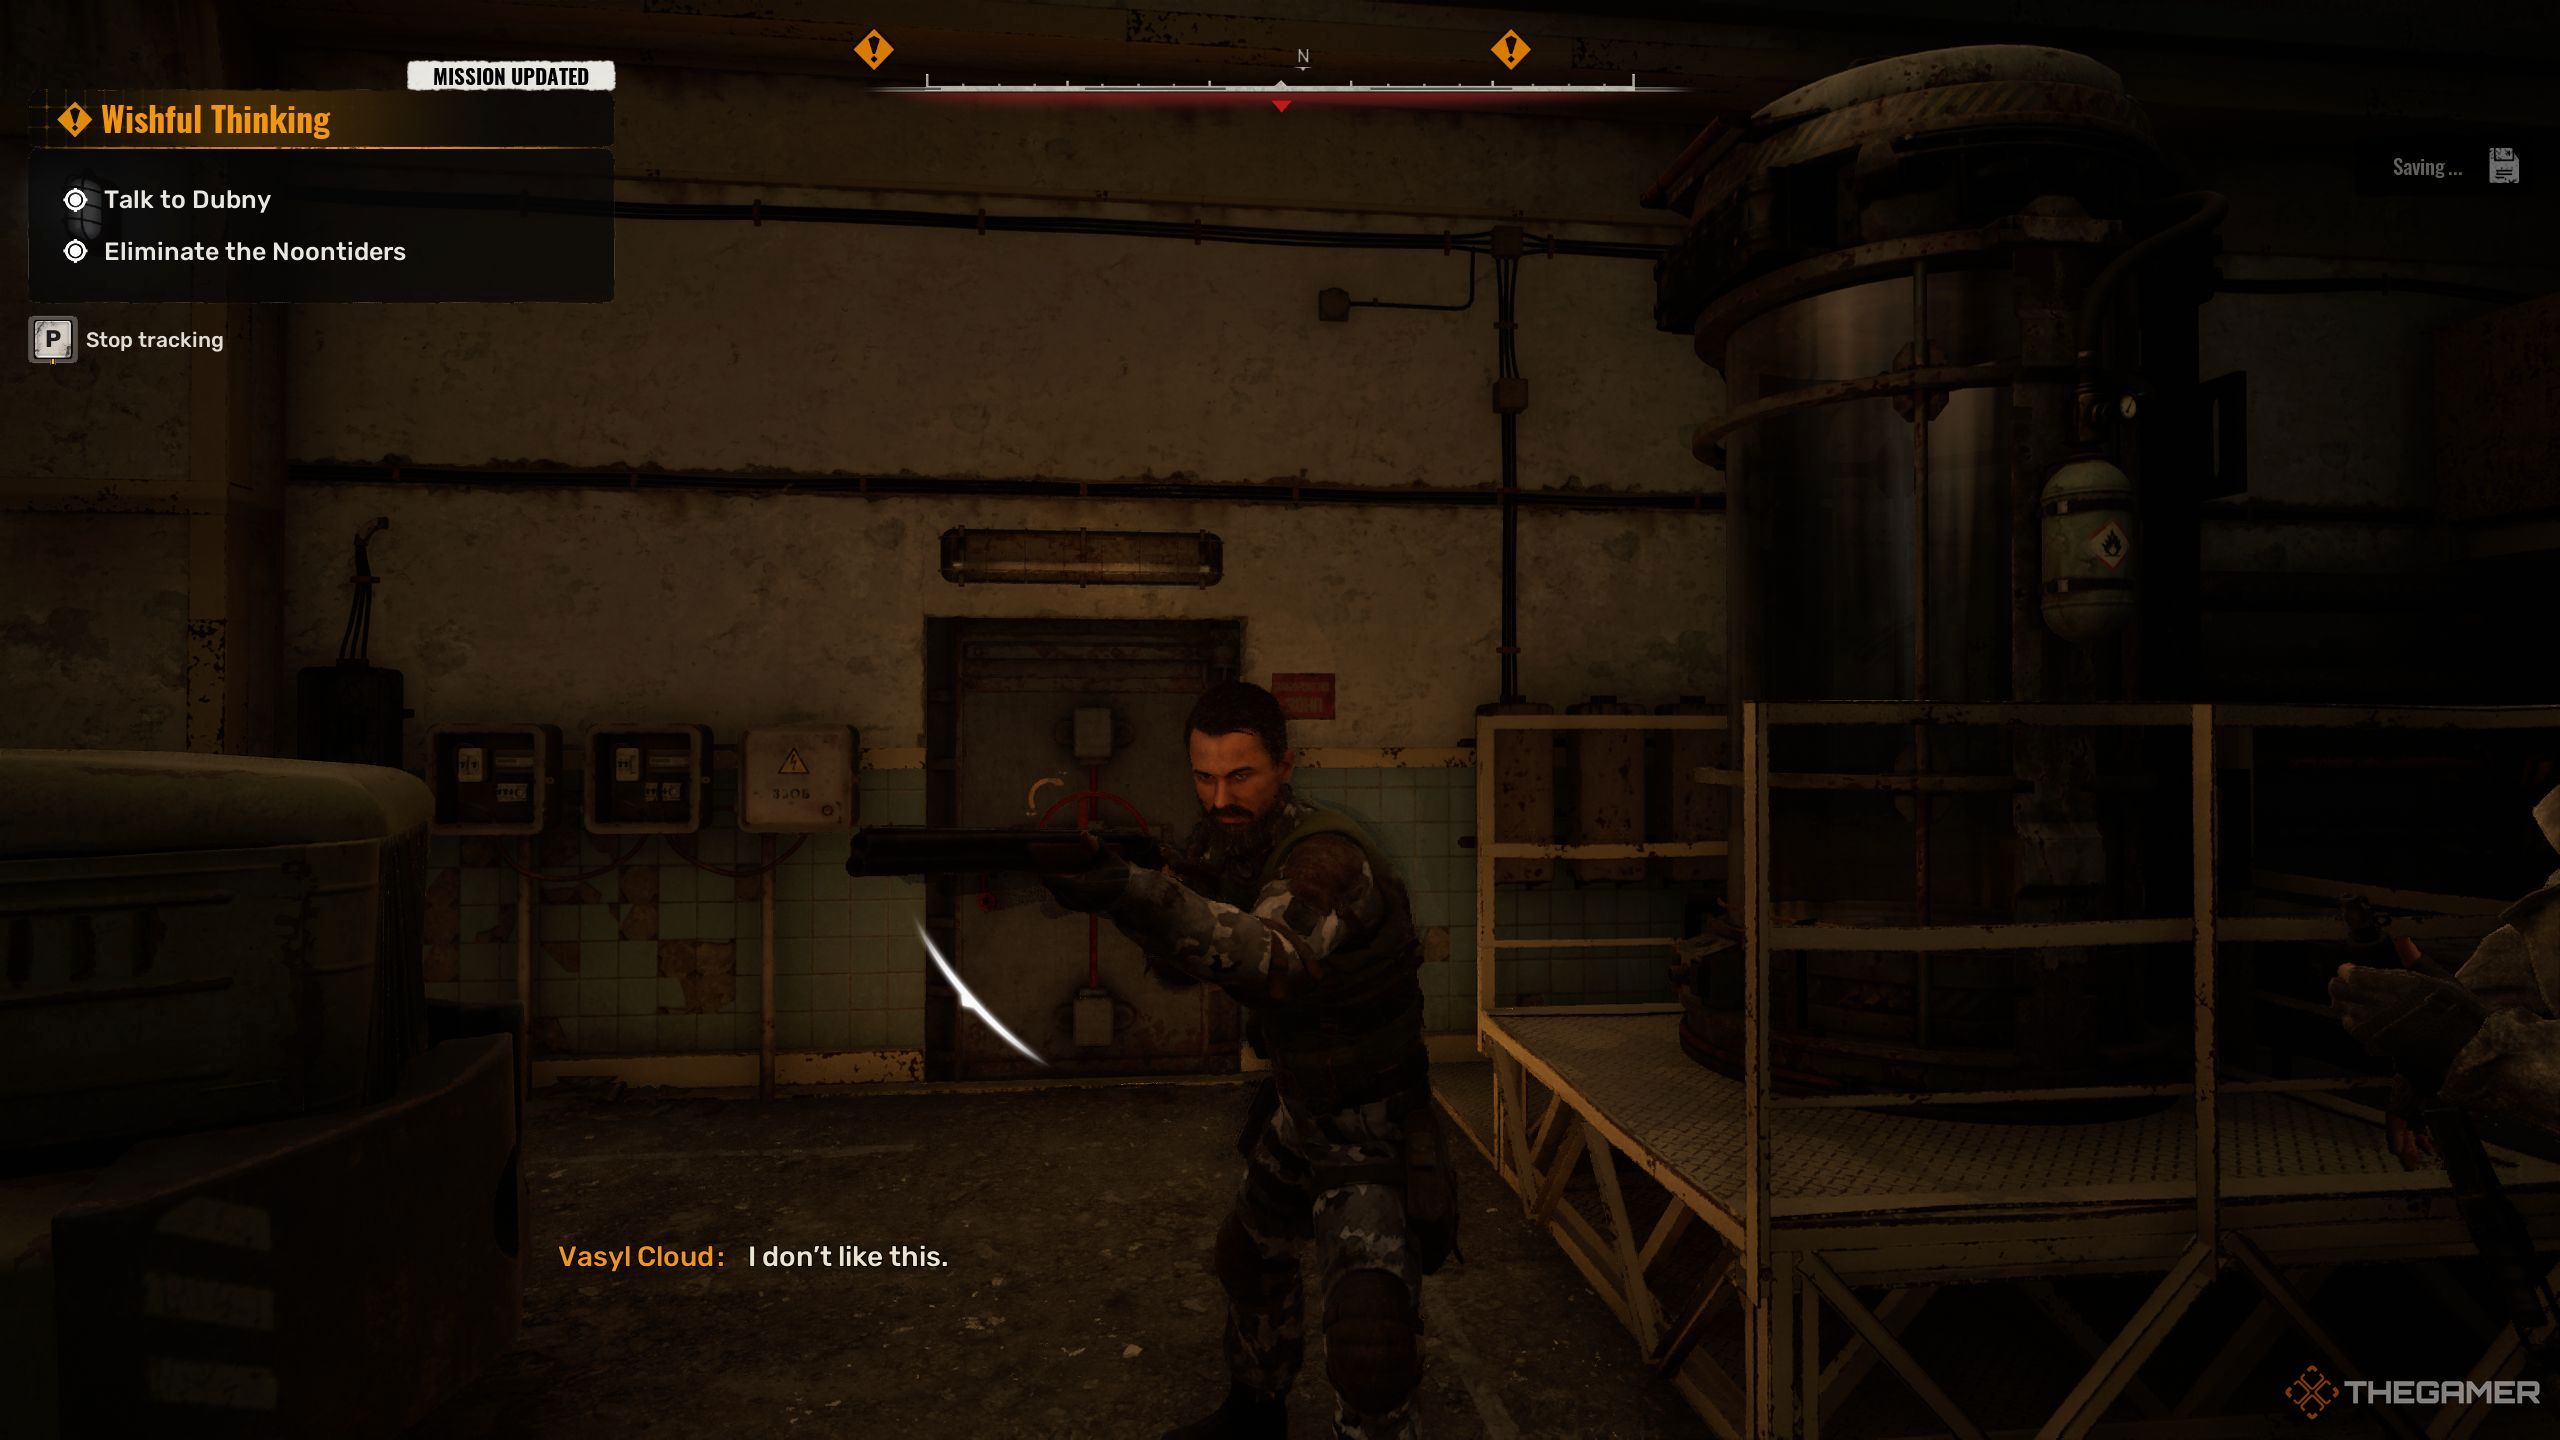
In the game Stalker 2: Heart of Chornobyl, numerous tough decisions await you as you advance. These decisions significantly impact your gaming experience. One particularly daunting decision you’ll face is during the main mission, titled “Wishful Thinking”.
On this journey, things aren’t overly intricate, but you’ll encounter a decision with multiple layers. When you get to this critical juncture, you might find yourself uncertain about which route to take. To help you make an informed choice, we’re going to explain the results and repercussions of each option so that you can choose the one that aligns best with your goals or personal taste.
Return To SIRCAA And Find D1 Hall
After finishing The Forge of Progress quest, make your way towards SIRCAA by ascending the nearby staircase. Then, using the given coordinates as your guide, proceed to the D1 hall, where you’ll find Dr. Dalin and Col. Korshunov engaged in a conversation.
In this upcoming sequence, Dalin will share with Korshunov that SIRCAA has control over the Wish Granter, known as the Monolith. Dr. Dalin will then request Skif to evaluate it on their behalf. Consequently, it’s time for you to decide upon a wish related to the Monolith.
Before going to the Monolith, feel free to chat with Korshunov first and inform him about the individuals who murdered his team. In response, Skif might share valuable information about Faust and Clear Sky with you, though this part is not crucial, so you can choose to omit it if you prefer.
To experience this, make your way to the locations indicated on your map. As you get close to the Monolith, it will communicate with you and you’ll spot some projections. Interacting with these projections will reveal a vision where Strelock requests the Monolith to fulfill his desire.
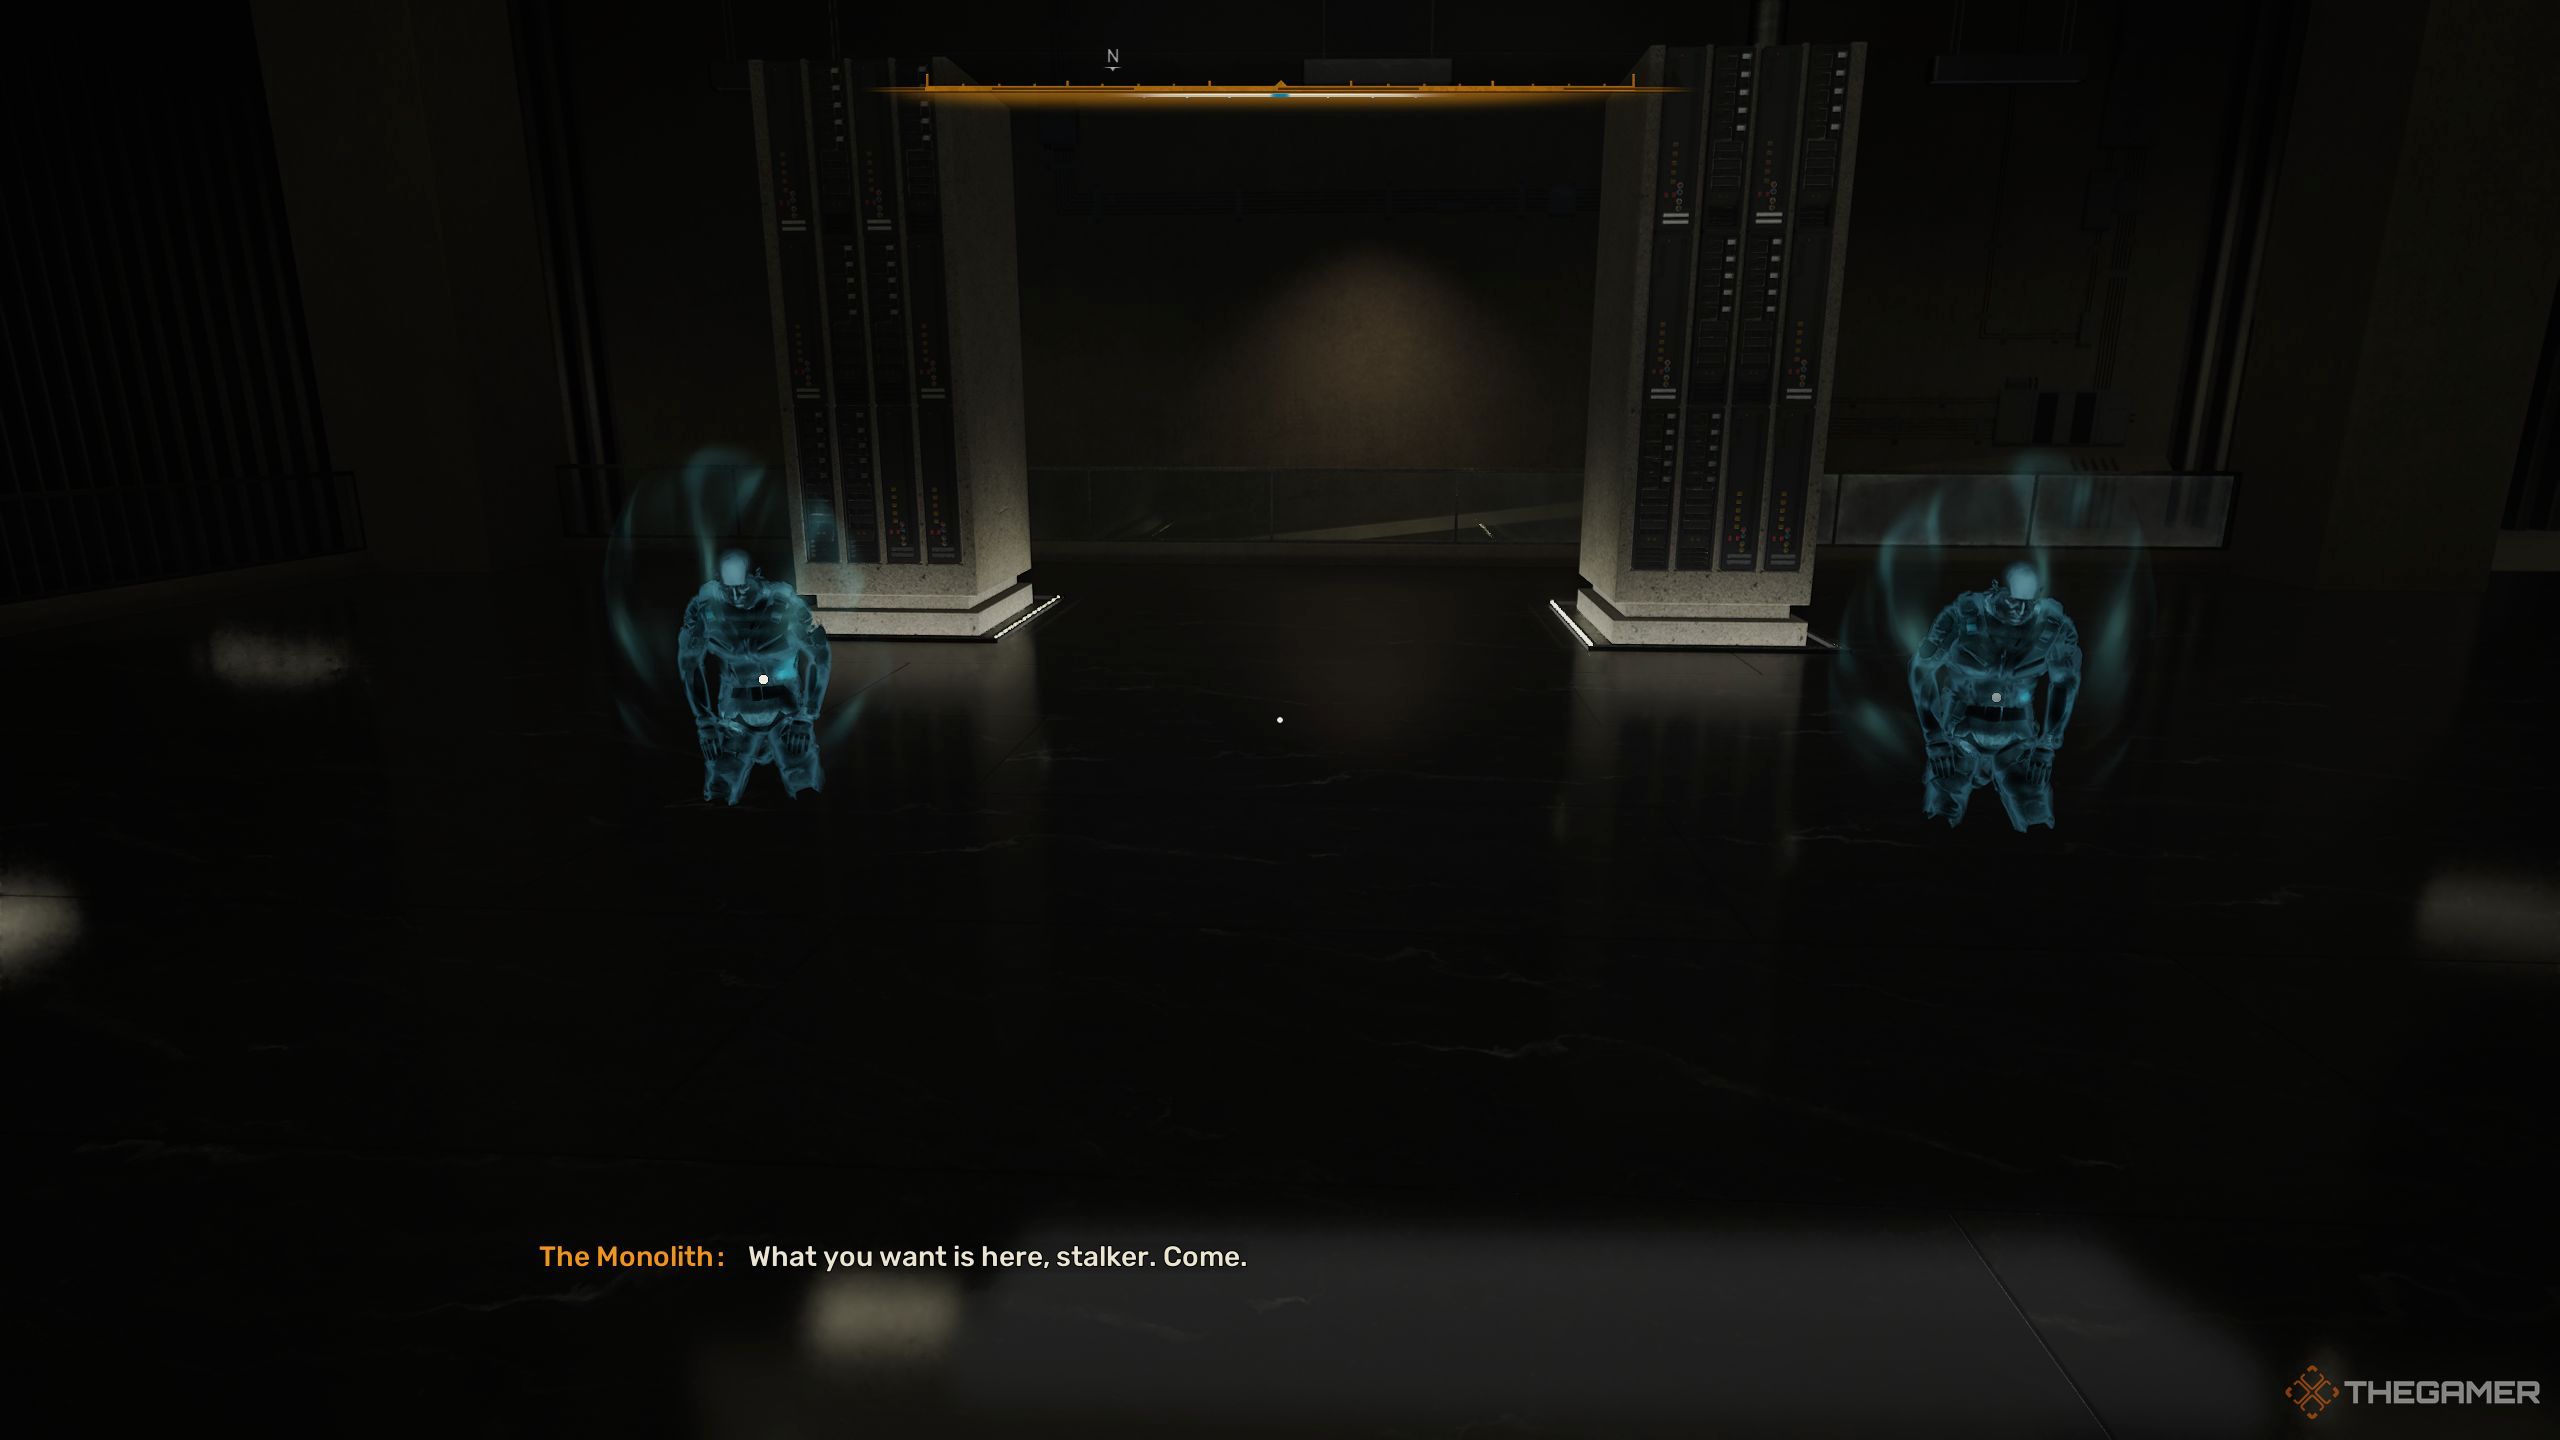
1. After you’ve engaged with both holograms, another one will emerge for you to engage with. Please proceed and interact with it.
2. Skif is about to make a wish, and then the Ward’s assault will start. You need to endure the attack until the illusion ends.
Prepare for an intense assault, as a large army is approaching. To increase your chances of survival, it’s wise to occasionally switch locations. You don’t necessarily need to eliminate each soldier; instead, focus on enduring the attack.
After these mysterious occurrences, I decided to pay a visit to Dr. Dalin to get some answers about what was going on. He informed me that the trial run had been a success and it was now time for the main event, but before we could proceed, he asked me to chat with Agatha first.
Speak To Agatha In The Projection Room
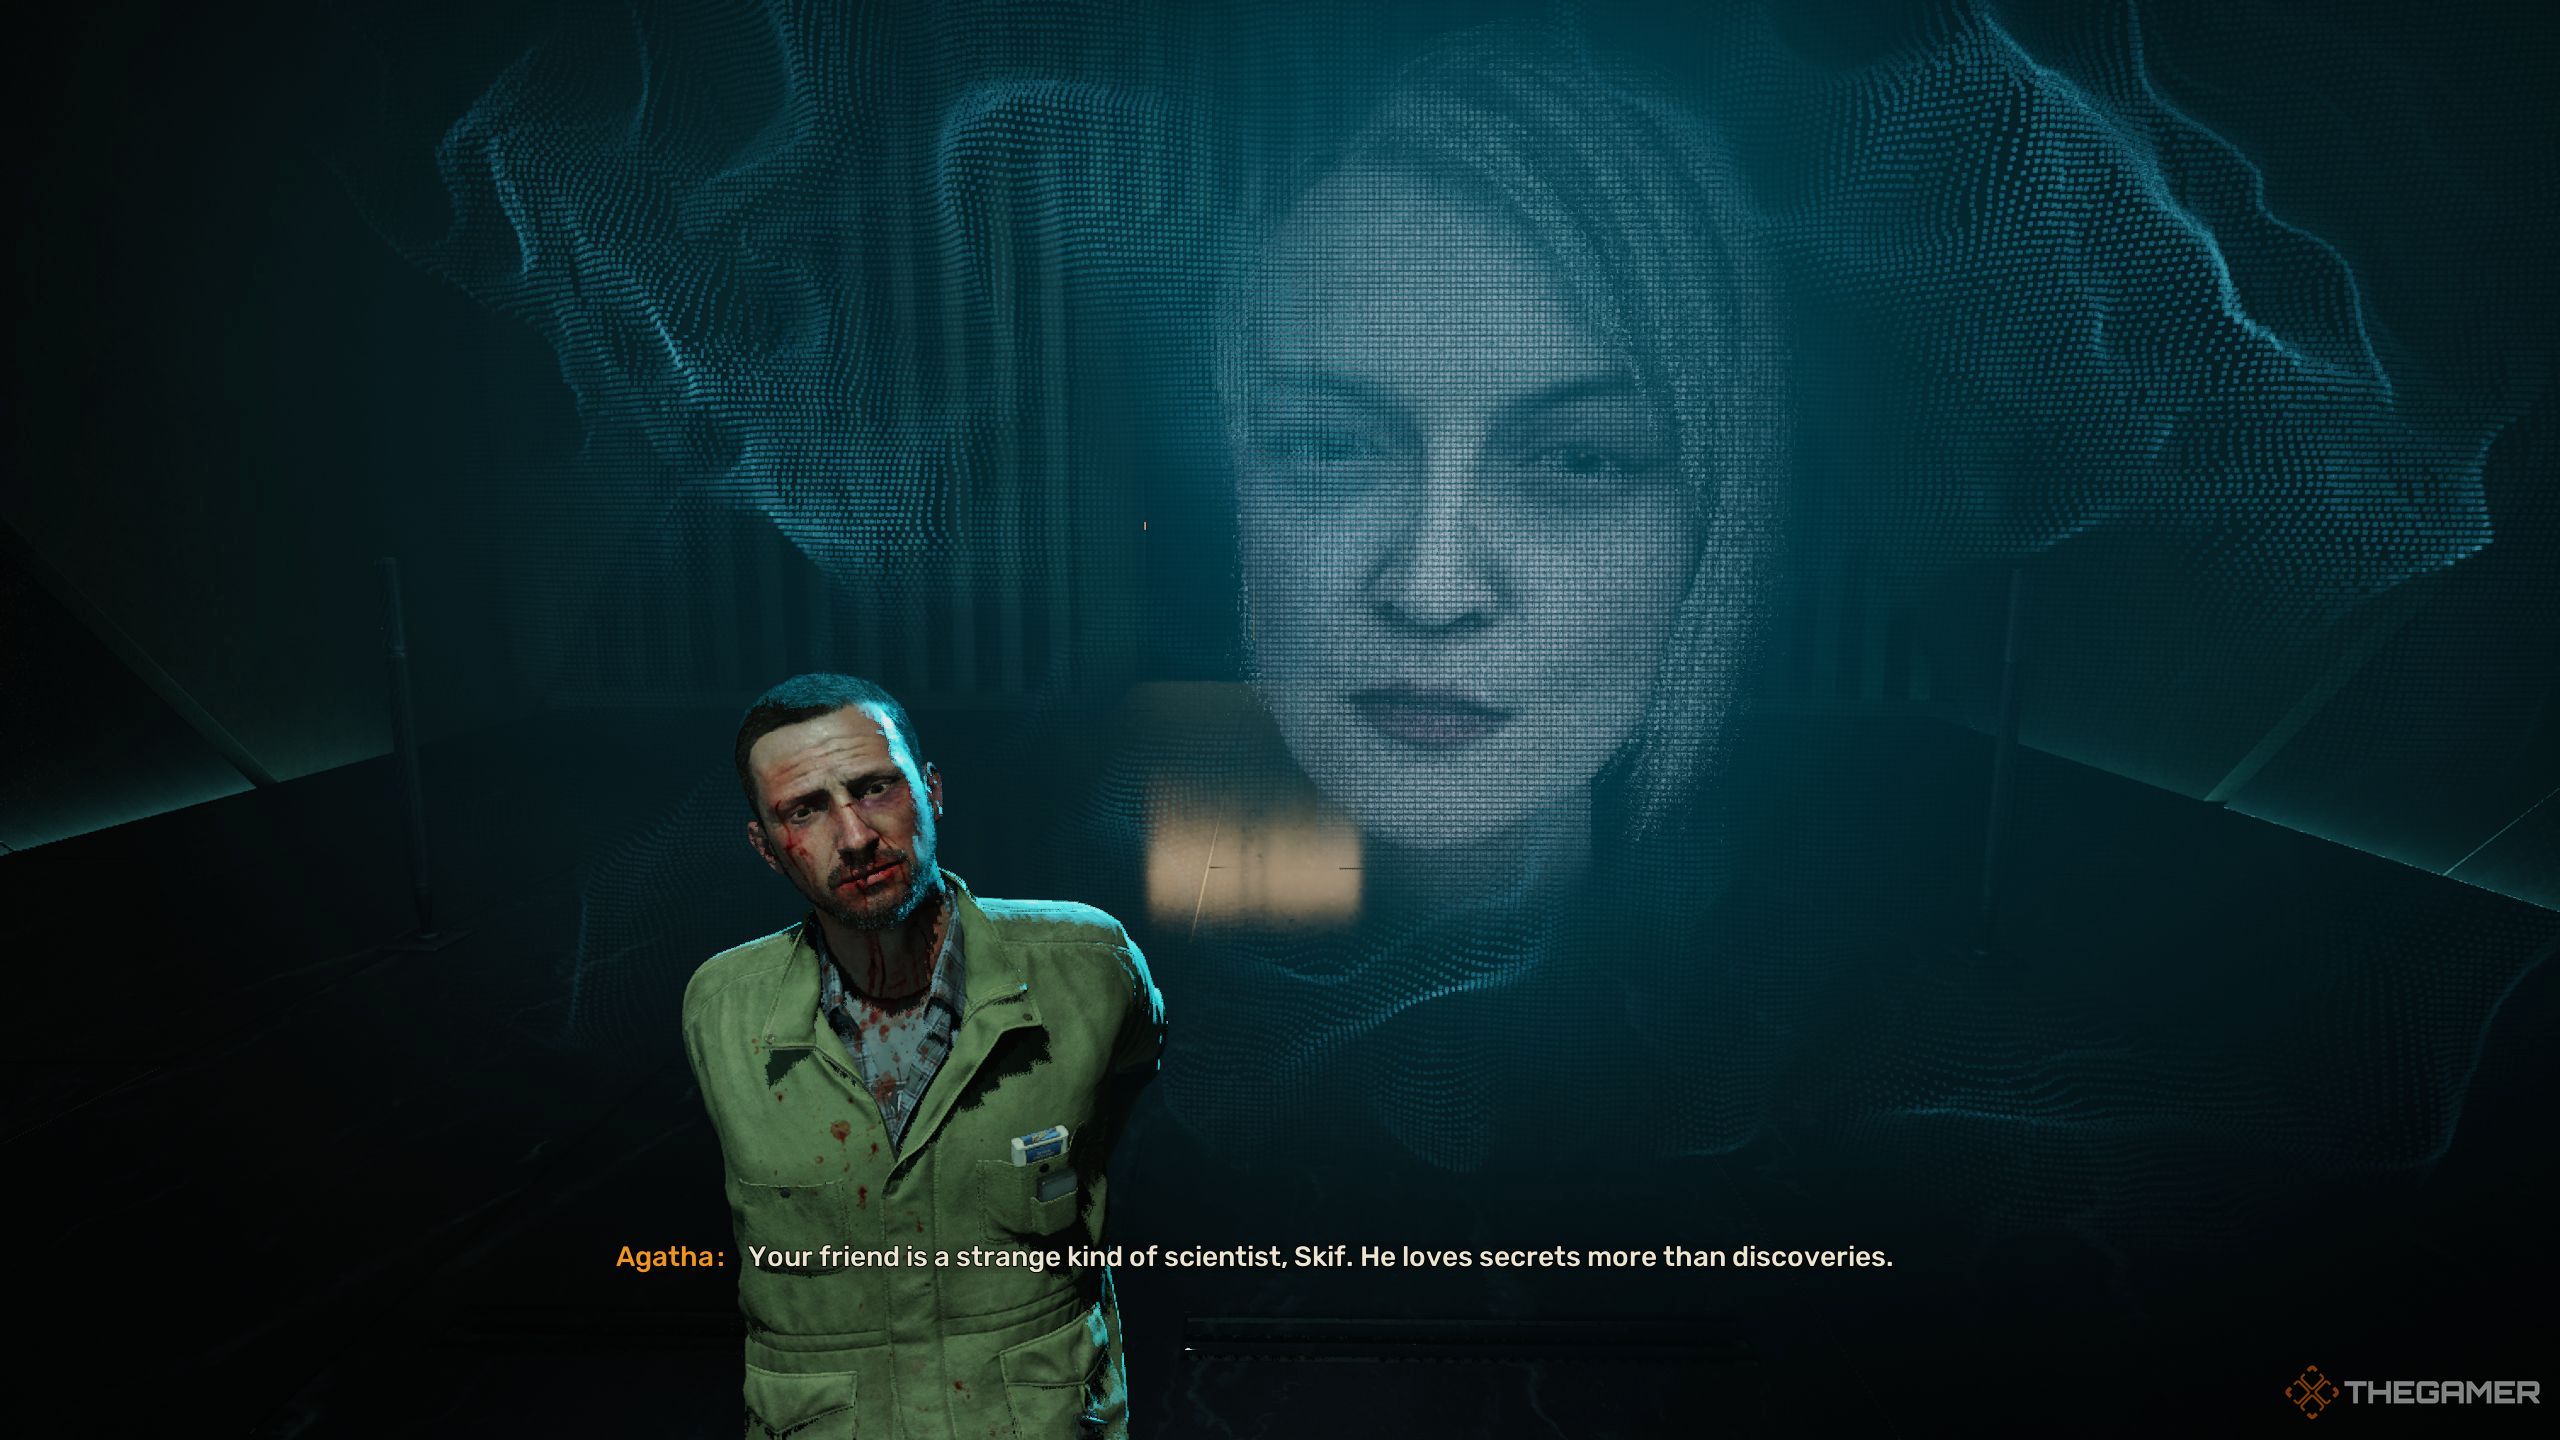
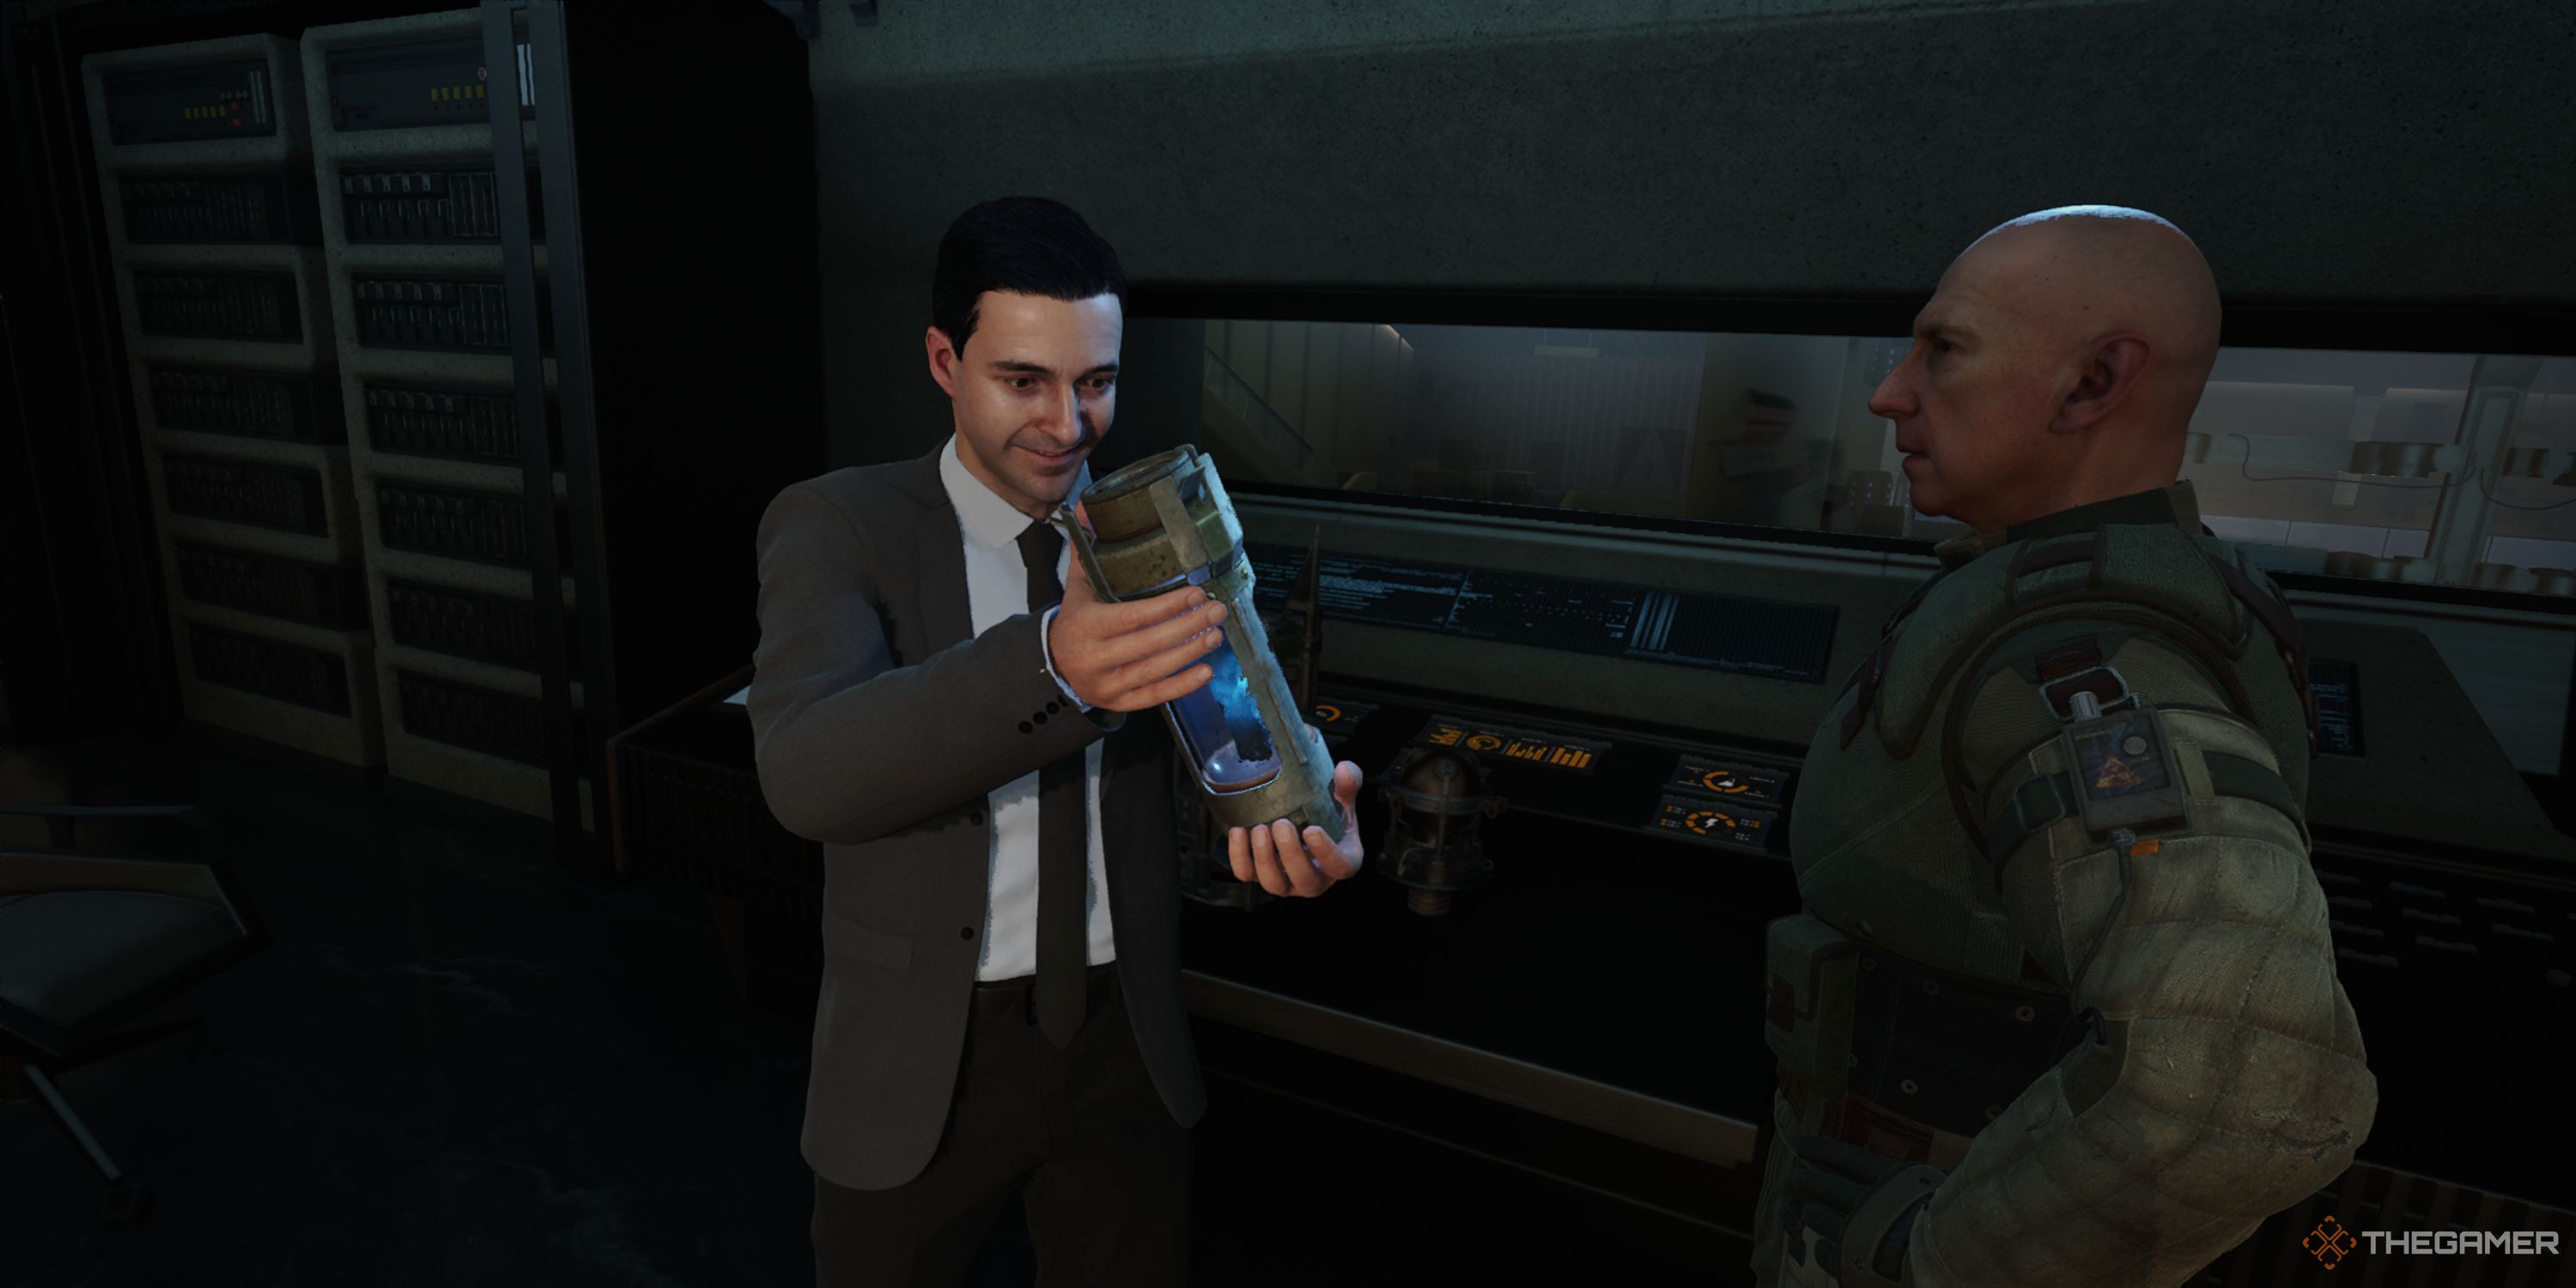
Make your way to the locations indicated on your map, and upon arrival, a scene will unfold. You’ll find Hermann bound in a chair, and then Agatha’s holographic image will materialize in the dimly lit room. After this, Agatha herself will appear physically, presenting you with two choices. The first option is to eliminate Hermann, while the second choice allows him to live freely.
If you choose to have Skif eliminate him, he’ll grab the gun from Agatha and fire at Herman. But choosing this option means you’ve failed a test. Conversely, if you allow Herman to leave unharmed, he’ll express gratitude towards Skif and depart the room.
If you choose not to harm Hermann and adhere to Ward’s guidance, you’ll have the opportunity to encounter him later on. In this meeting, Hermann will clarify that the options presented to Skif by Agatha were a test, one which Skif has successfully navigated. Therefore, it’s wiser to spare Hermann, despite his role in Skif’s hardships.
Soon enough, I’ll find myself in a situation where I can share Stider’s scheme with Agatha or choose to keep it a secret. If I opt for the former, she’ll just request a meeting and ask me to persuade him to give up his plans. However, if he refuses, I’m allowed to take matters into my own hands and eliminate him if needed.
If you decide to keep the information secret, Agatha plans to replay the conversation between Skif and Strider that took place in Dalin’s suite, and she’ll encourage you to make the correct decision. Regardless of your choice, the outcome will undeniably remain the same.
Strider Or The Ward – A Difficult Choice
It’s now crucial for you to take arguably the most significant decision in the game. This selection will significantly influence the storyline, so think carefully and deliberate before choosing a course of action. Prior to deciding, you must locate Strider’s followers.
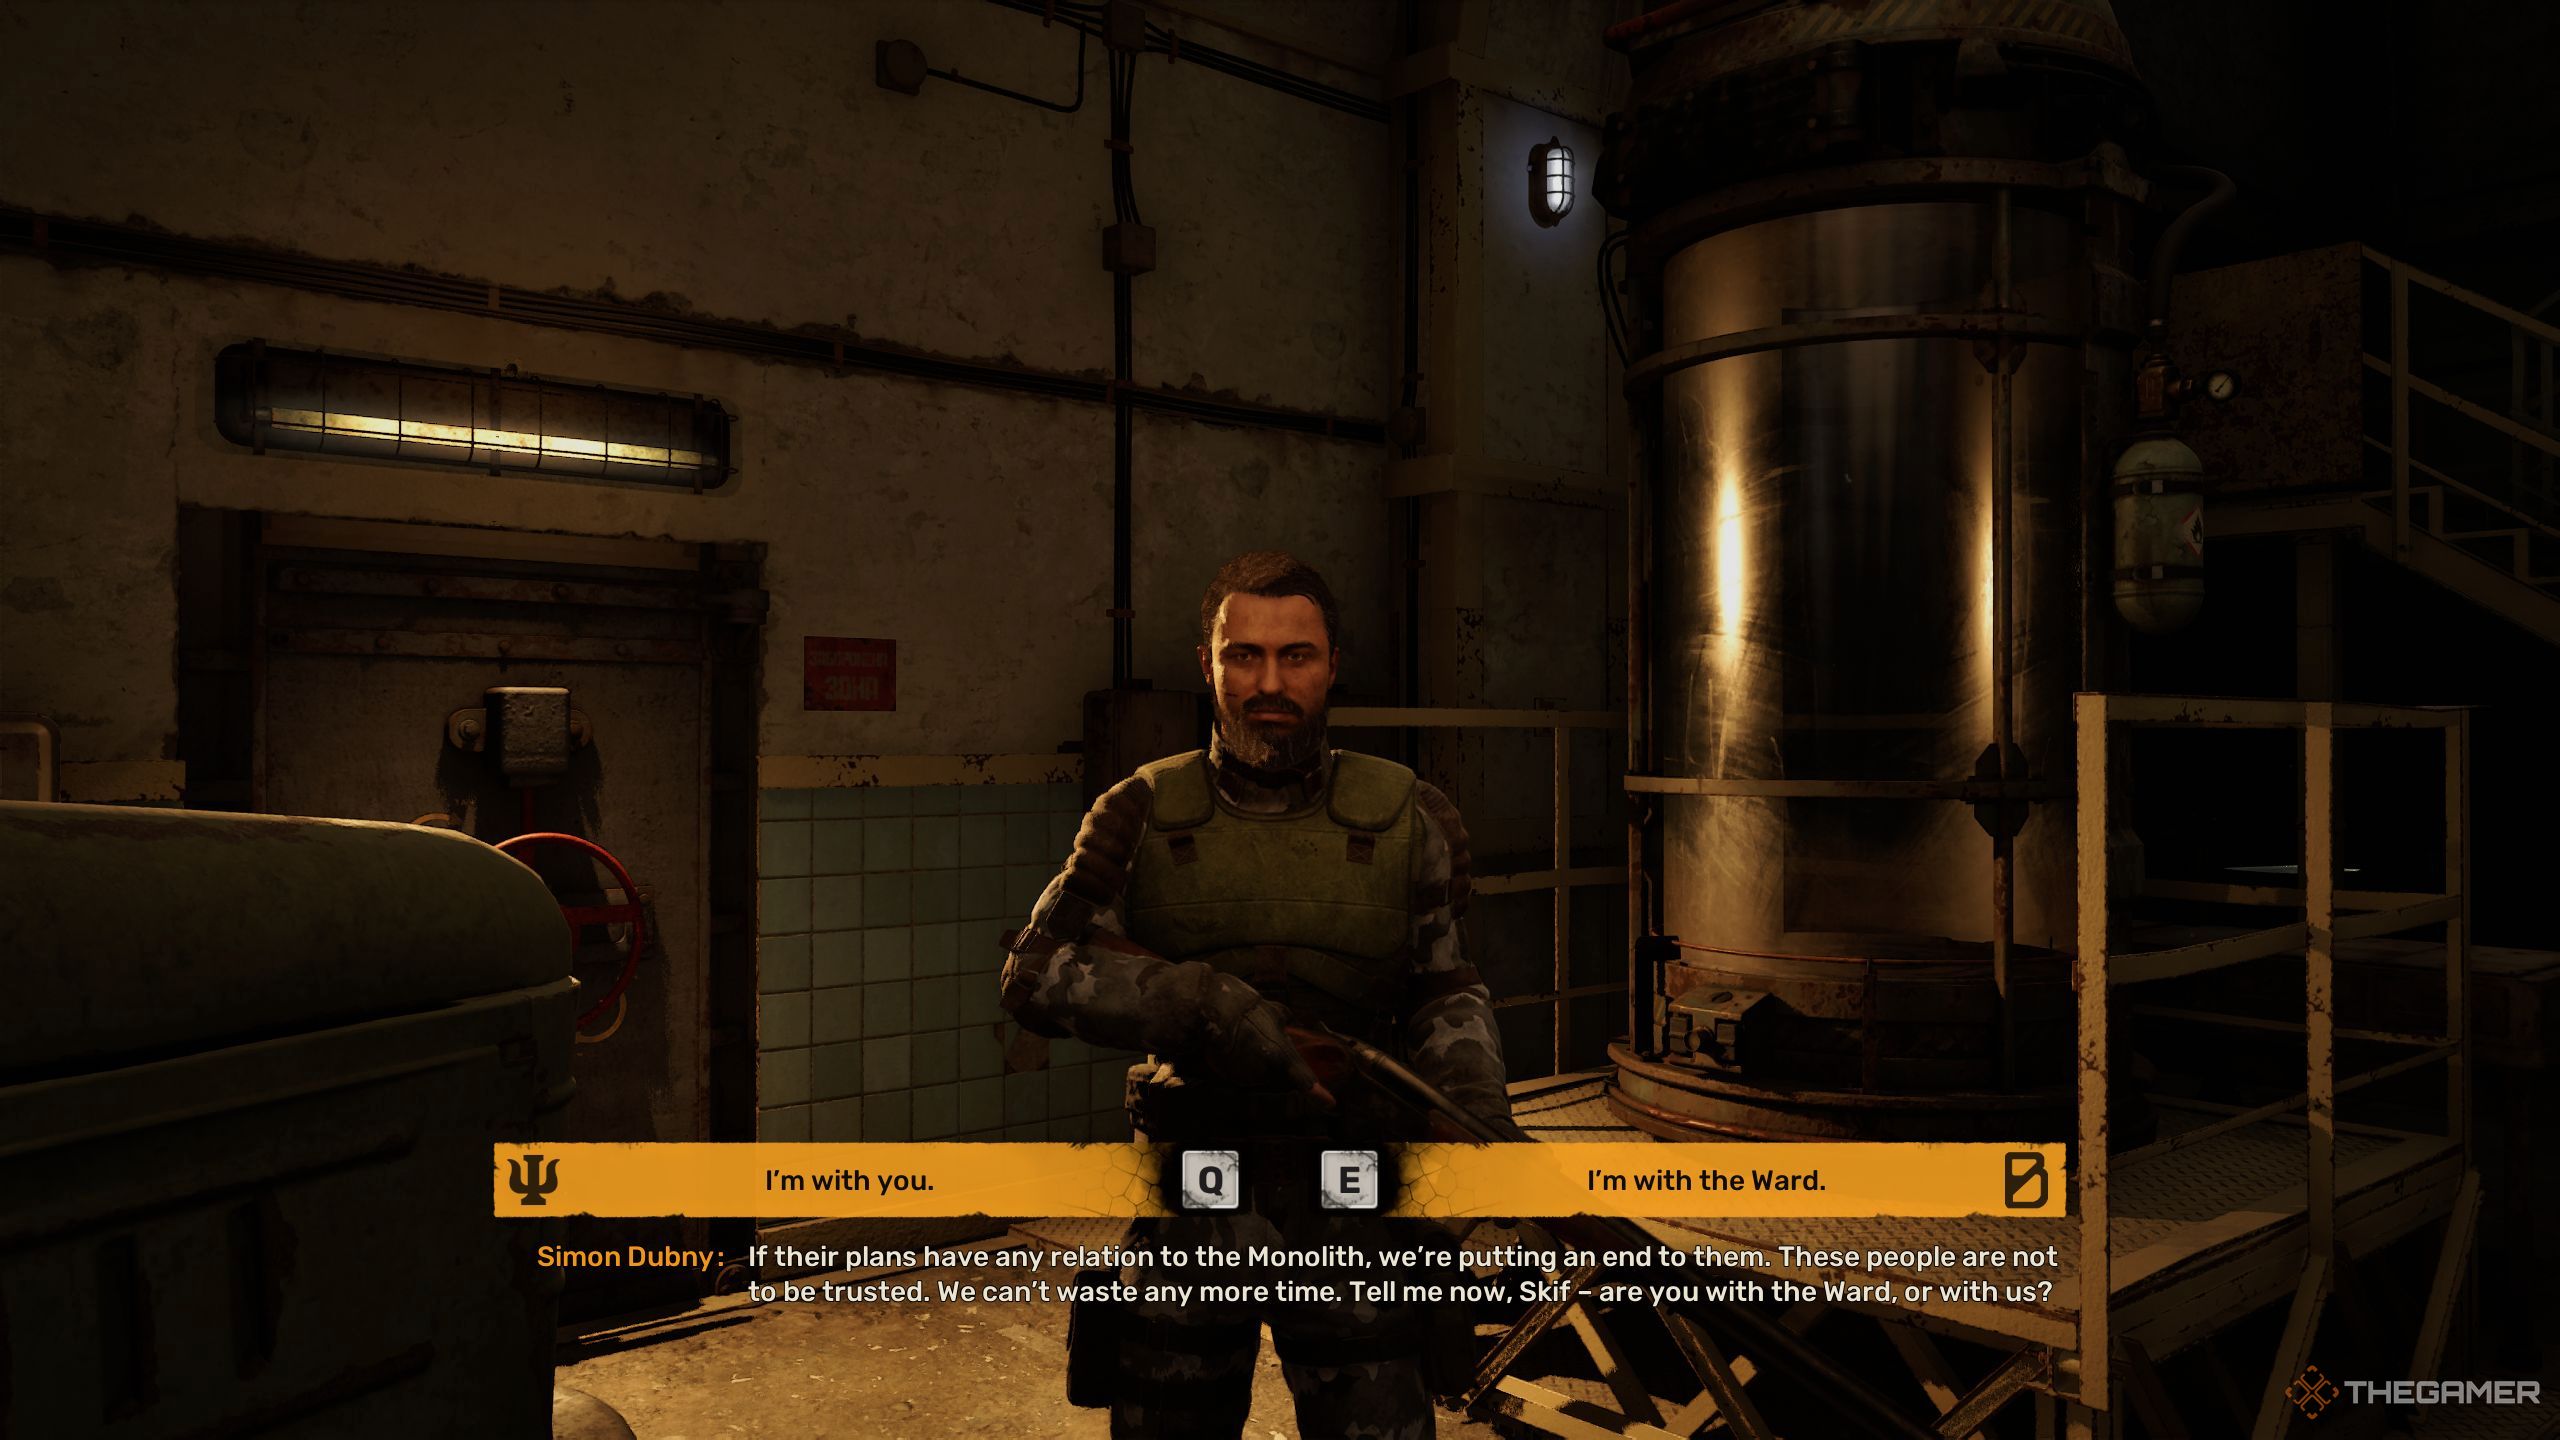
Instead, navigate using the coordinates on your map, and upon reaching that location, make your way towards Dubny. The Ward will already be there, focusing on Strider’s men. Speaking to Dubny will present you with two choices: either you can say “I’m with you” or “I’m siding with the Ward.
Opt for the one that seems most suitable to you, or alternatively, take a look at the entire guide first to understand the possible results before proceeding.
Siding With Strider
Should you decide to align with Strider, the door concealed behind Dubny will be unveiled. Make your way there, and in the corridor, you’ll encounter a pair of War soldiers. Overcome them and discover Strider. After an exchange of words, Strider will set off explosions, clearing the path to X11. Subsequently, you’ll proceed together towards the location where the experiment is underway.
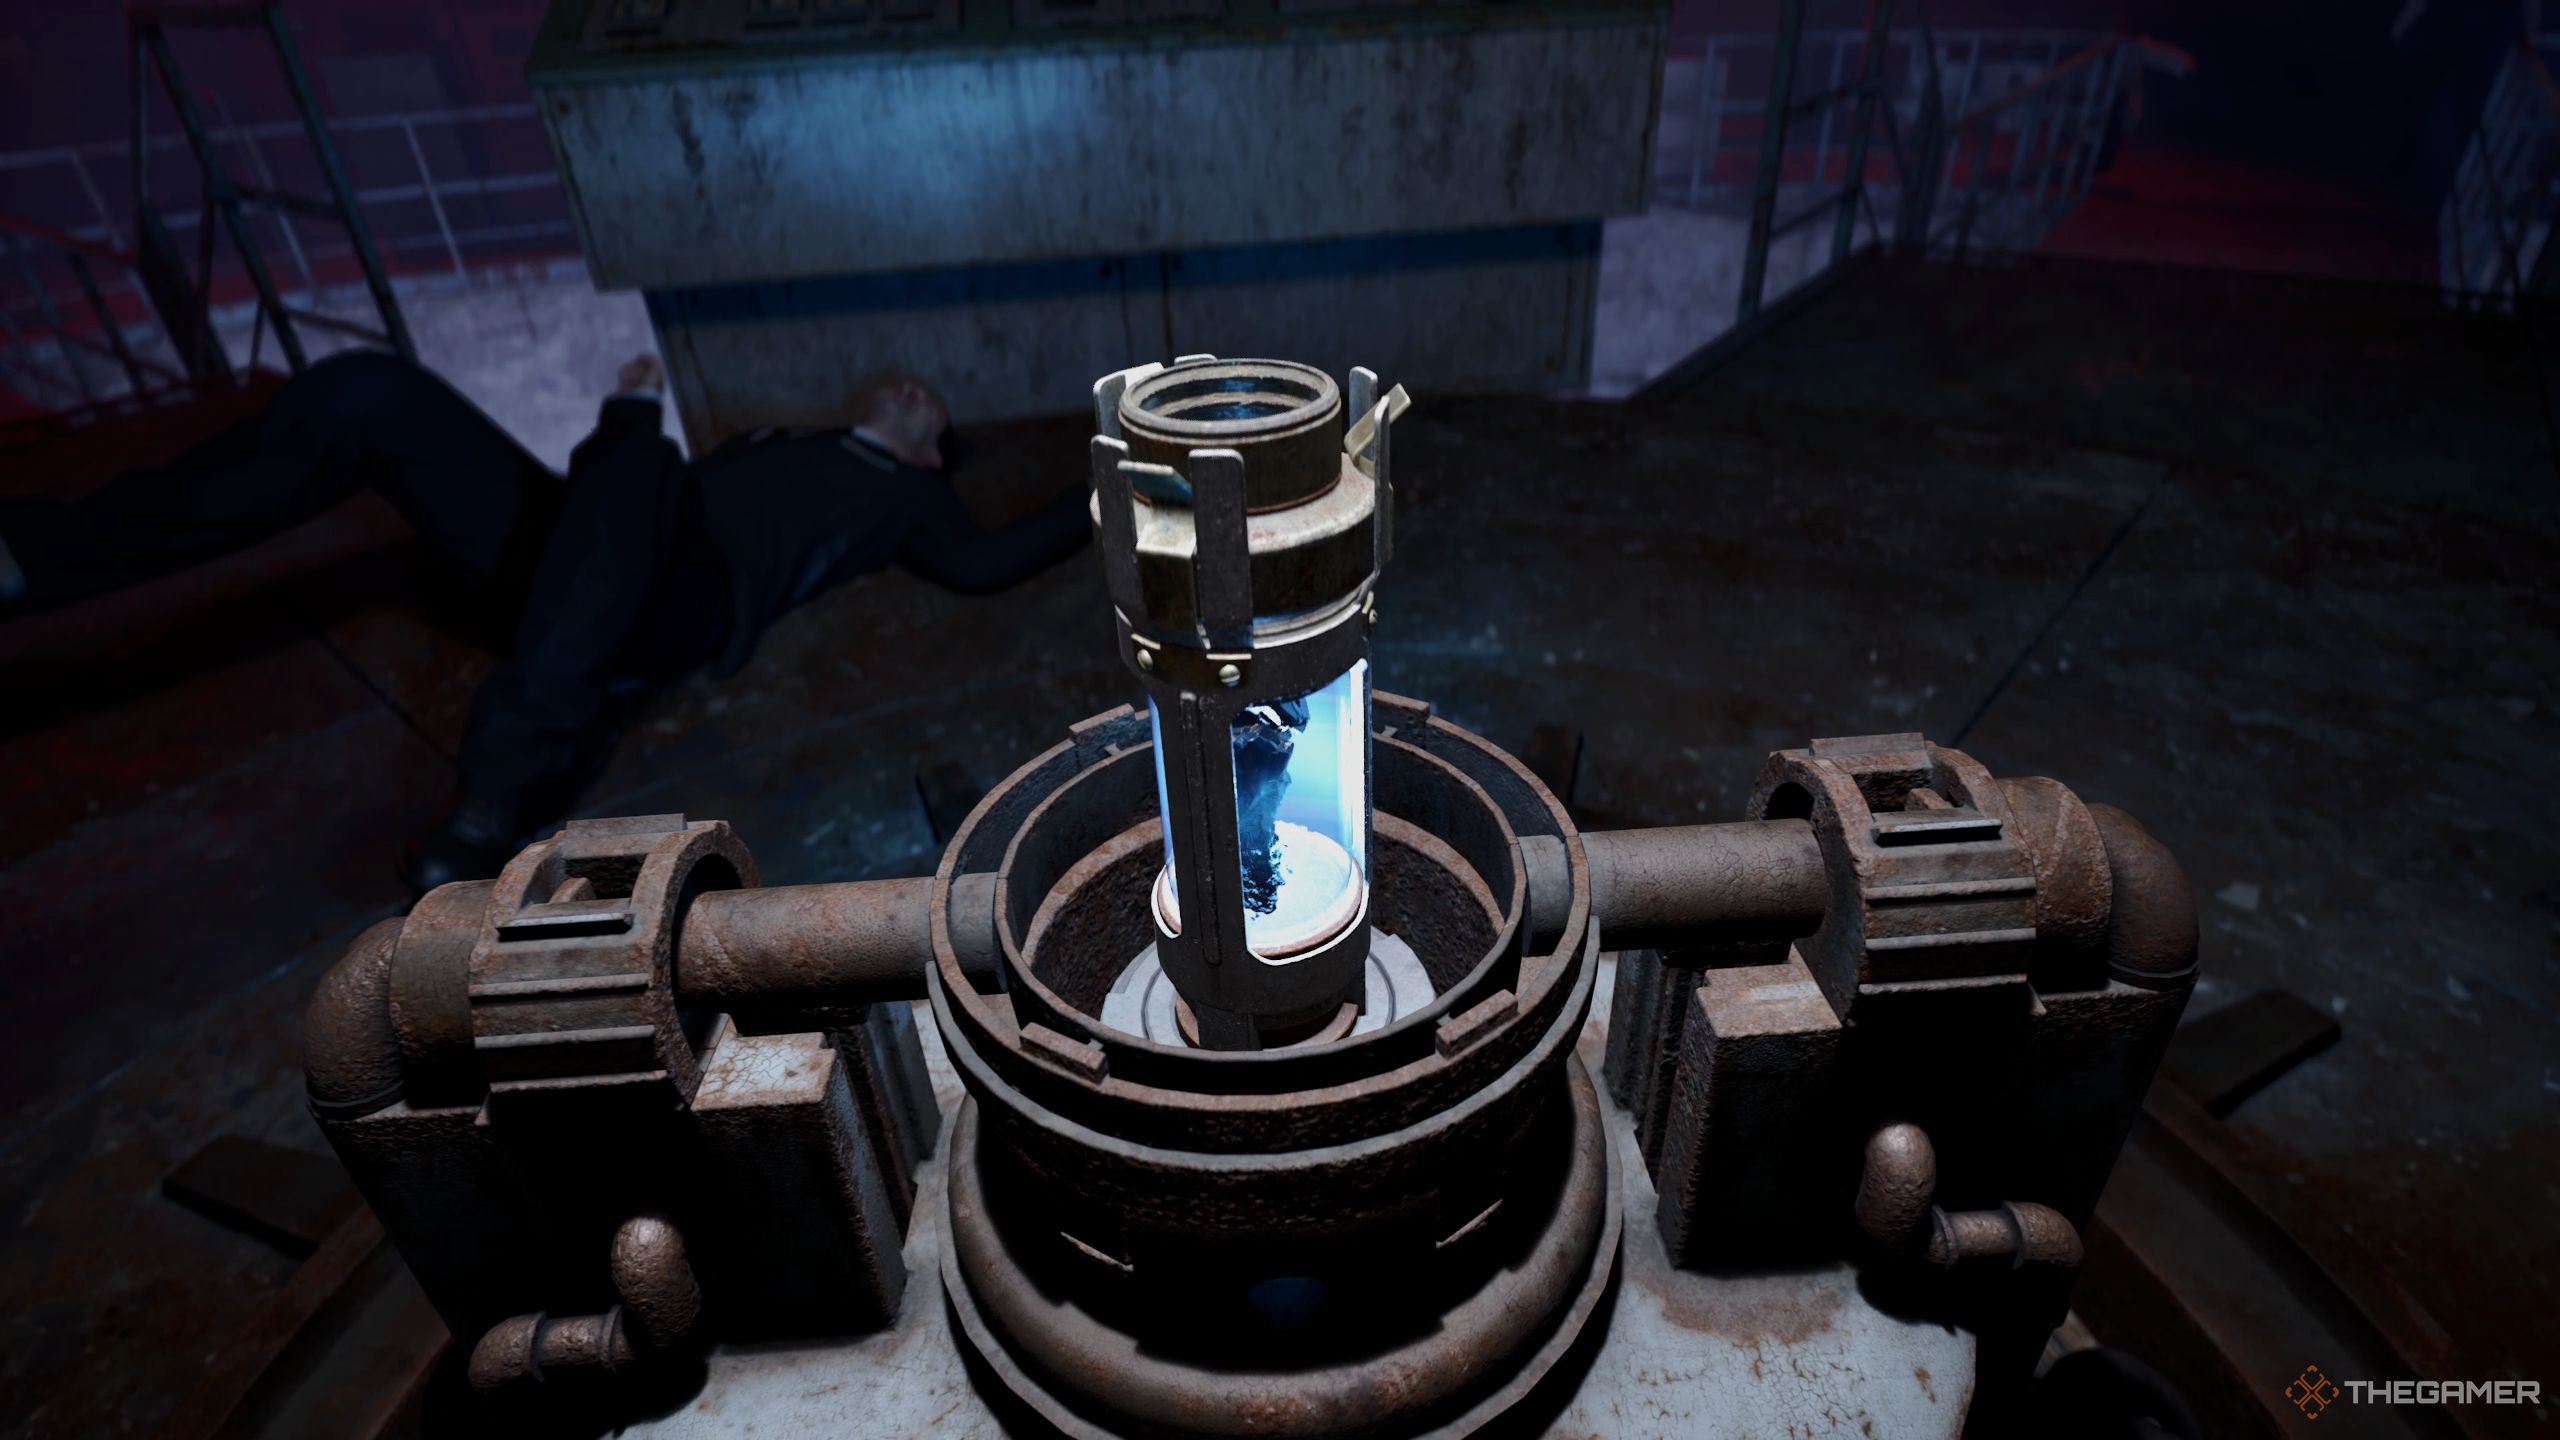
Despite the game suggesting that the artifact can no longer be prevented from activating, Strider intends to make every effort to destroy it. He’ll attempt to shoot it, but unfortunately, his efforts will prove fruitless. Then, all of a sudden, something peculiar transpires with the Monolith, causing chaos around everyone present.
It’s quite astonishing when Strider boldly steps forward and makes off with the Alpha Artifact. Following the conclusion of this scene, it’ll be your task to flee the sewer system, wrapping up the mission. As a token of success, you’ll collect a generous amount of coupons as your reward.
As a dedicated supporter, joining forces with Strider and successfully finishing the current mission sets the stage for embarking on an exciting new main quest, titled “To The Last Drop of Blood.
Siding With The Ward
Should you choose to backstab Strider and align with SIRCAA, prepare for his followers to swiftly become adversarial towards you. On the other hand, having the Ward as an ally will make the battle effortless, wrapping up in no time at all.
After you’ve conquered all opponents, make your way towards the X11 Lab, using the coordinates on your map as a guide and taking the elevator. Subsequently, a door behind where you stand will automatically open, inviting you to enter. Once inside, a fascinating scene unfolds.
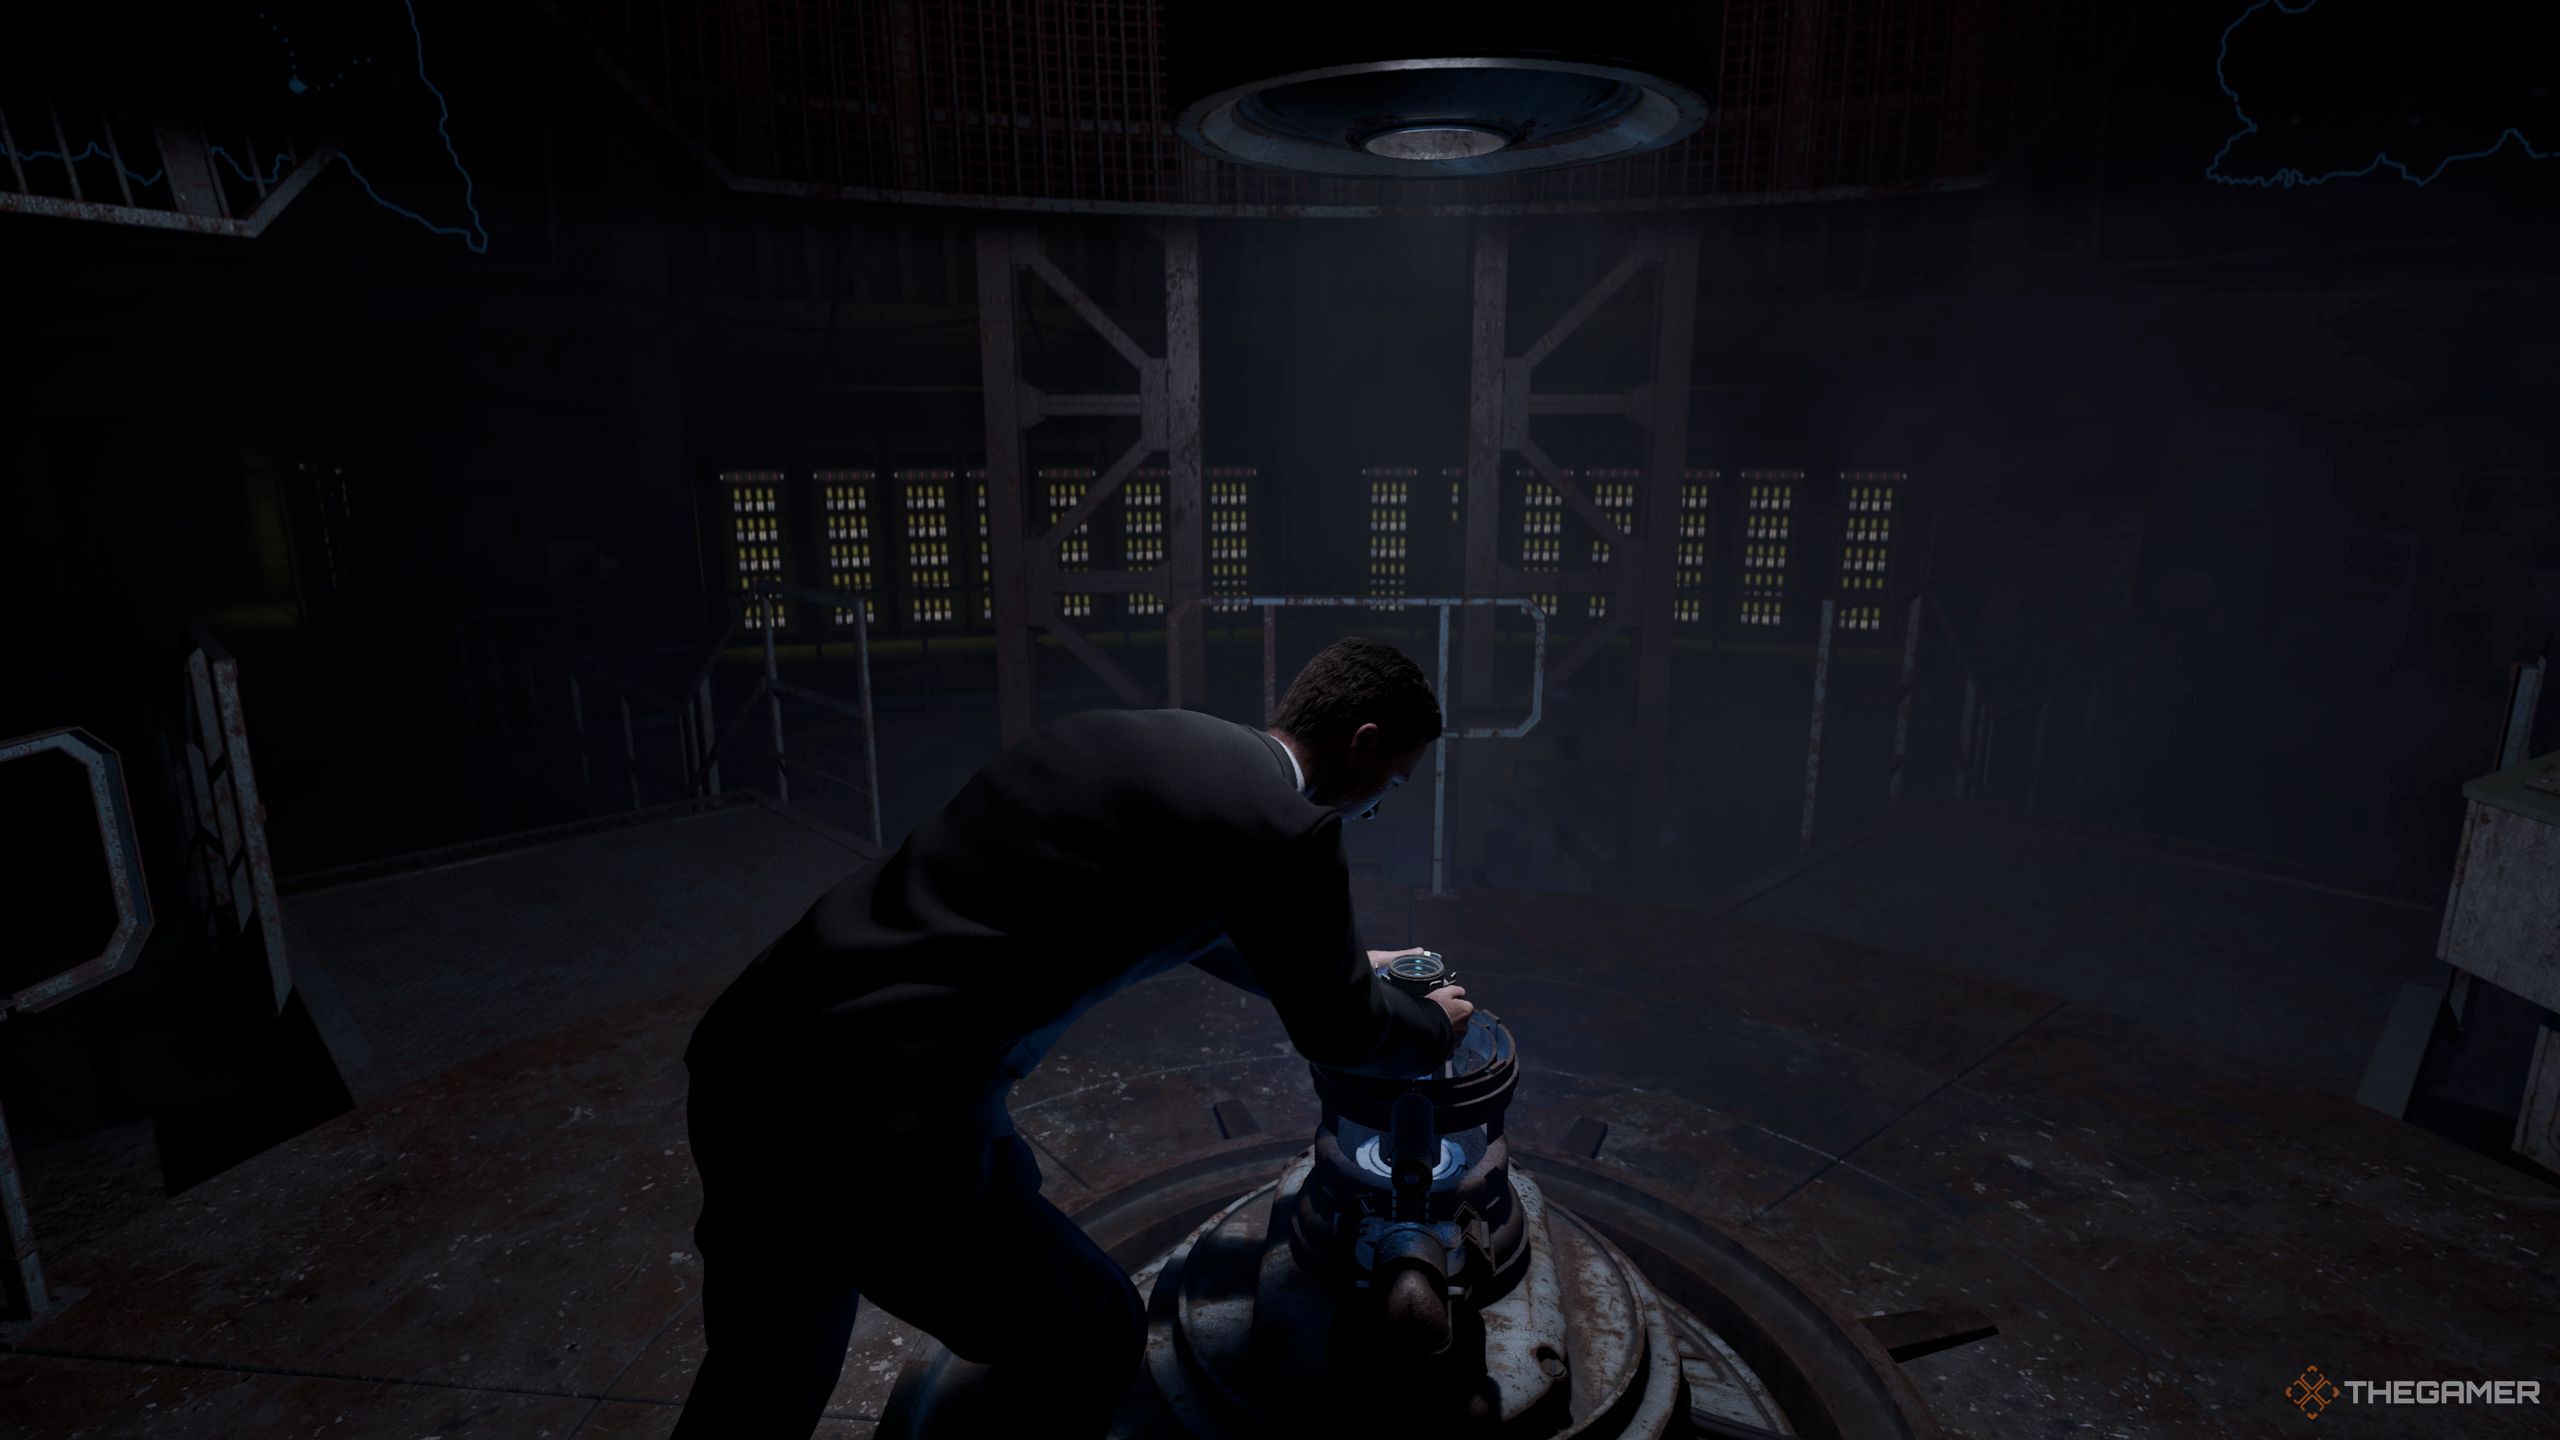
In the scene that unfolds, Skif is seen tagging along with Dr. Dalin during an experiment. Yet, a disruption occurs, leading Skif to pull out his firearm, an action met with resistance from Dalin. The turmoil can be traced back to none other than Strider who, having been captured by the soldiers, was brought directly to our location.
Once more, the Monolith’s resonating voice creates chaos, rendering most people, save for Strider, exposed and defenseless. This presents a perfect chance for him to launch an assault on the soldiers and seize the relic.
After that, the Monolith will initiate widespread destruction. Therefore, Skif escorts Dr. Dalin to a safe location. Once the scene concludes, the Wishful Thinking quest will come to an end, and Dalin will request you to complete an essential task.
Opting for Ward’s allegiance and finishing the Wishful Thinking mission leads to initiating a new major quest, Law and Order.
In this game, choosing the correct path for this crucial mission is vital since each choice leads to a distinctly unique journey.
Read More
- PI PREDICTION. PI cryptocurrency
- WCT PREDICTION. WCT cryptocurrency
- Gold Rate Forecast
- Guide: 18 PS5, PS4 Games You Should Buy in PS Store’s Extended Play Sale
- LPT PREDICTION. LPT cryptocurrency
- SOL PREDICTION. SOL cryptocurrency
- Playmates’ Power Rangers Toyline Teaser Reveals First Lineup of Figures
- FANTASY LIFE i: The Girl Who Steals Time digital pre-orders now available for PS5, PS4, Xbox Series, and PC
- Shrek Fans Have Mixed Feelings About New Shrek 5 Character Designs (And There’s A Good Reason)
- Solo Leveling Arise Tawata Kanae Guide
2025-02-08 05:35