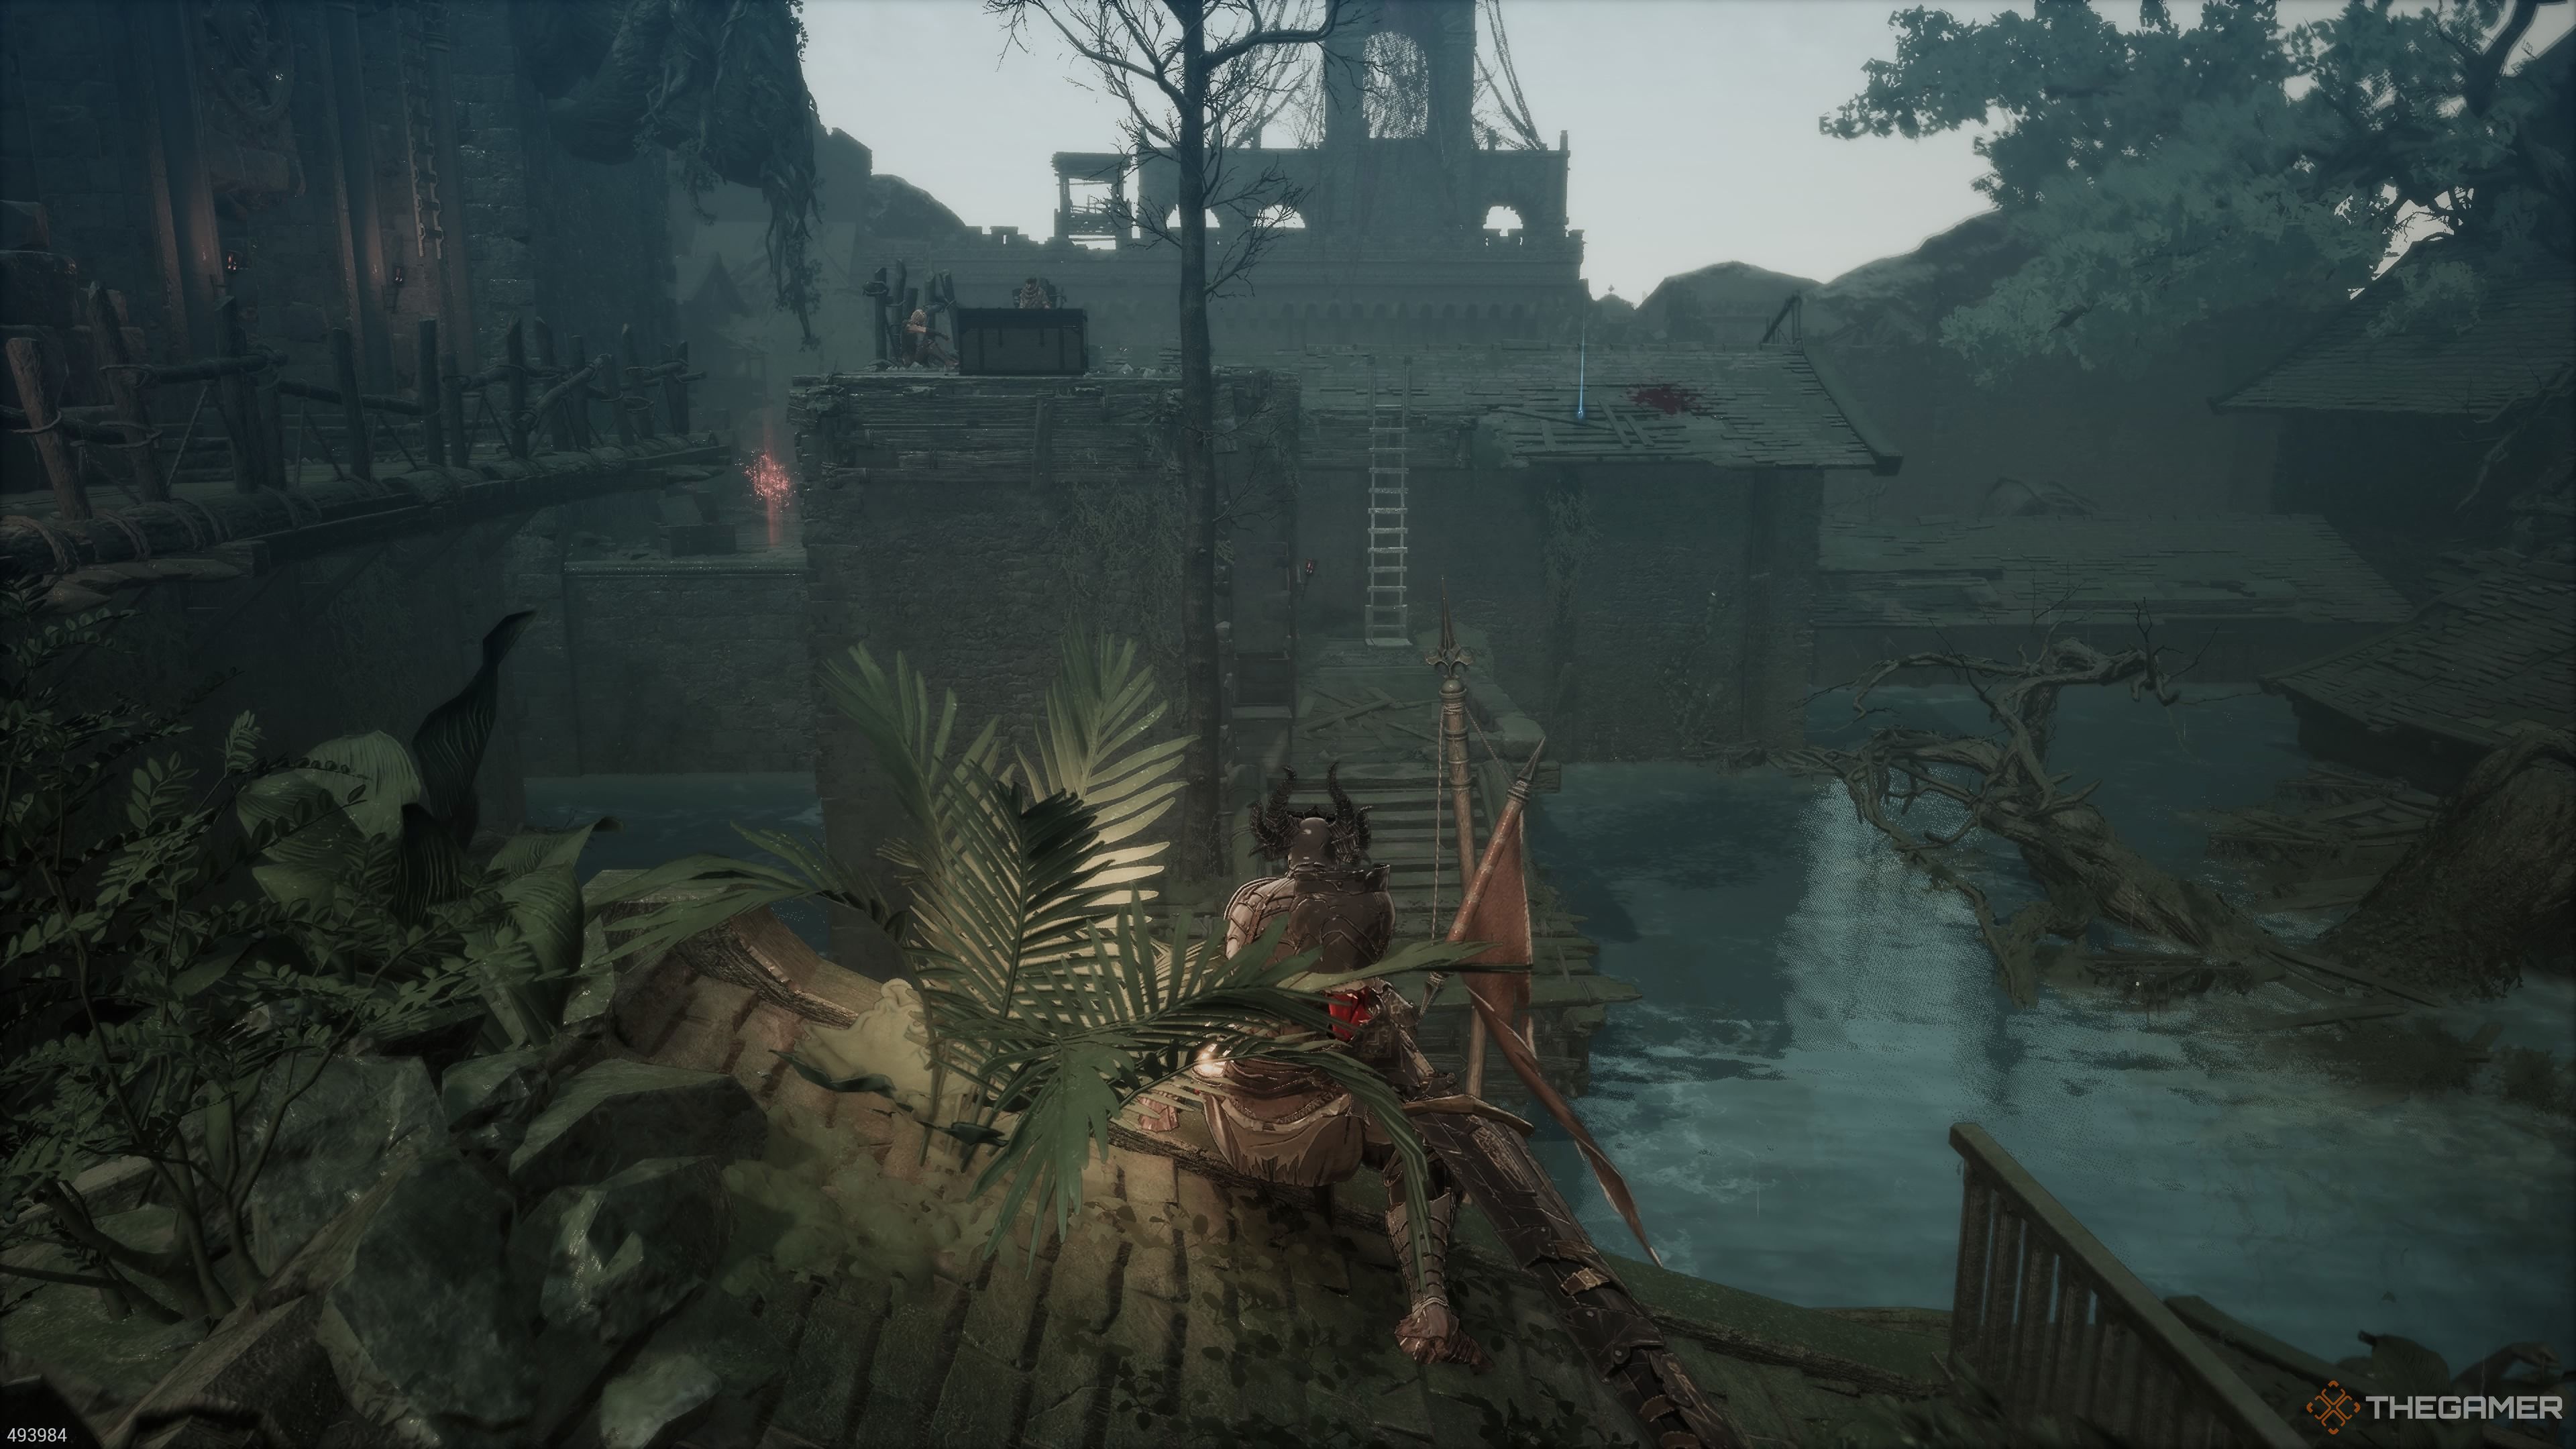
In the game The First Berserker: Khazan, your objective during the Witch’s Castle mission will be to reach Lake City Aldevir. This expansive stage involves navigating around the village, reducing the lake level, and subsequently following the emptied canal while battling the undead.
Of course, as the game area expands, so does the number of items you’ll need to find. We’re here to guide you on the spots for Armor Sets, Soulstones, and numerous collectibles. We’ll also steer you towards the Jarling and a ghostly item to boost a phantom’s power.
The Commercial District
| Enemies | Cowering Civilians, Pell Los Fighter (sword), Pel Los Lancer, Pel Los Longswordsman, Pel Los Archer |
|---|---|
| Notable Items | Soul Tearstone Shard |
| Soulstones? | 1 |
| Jarling? | No |
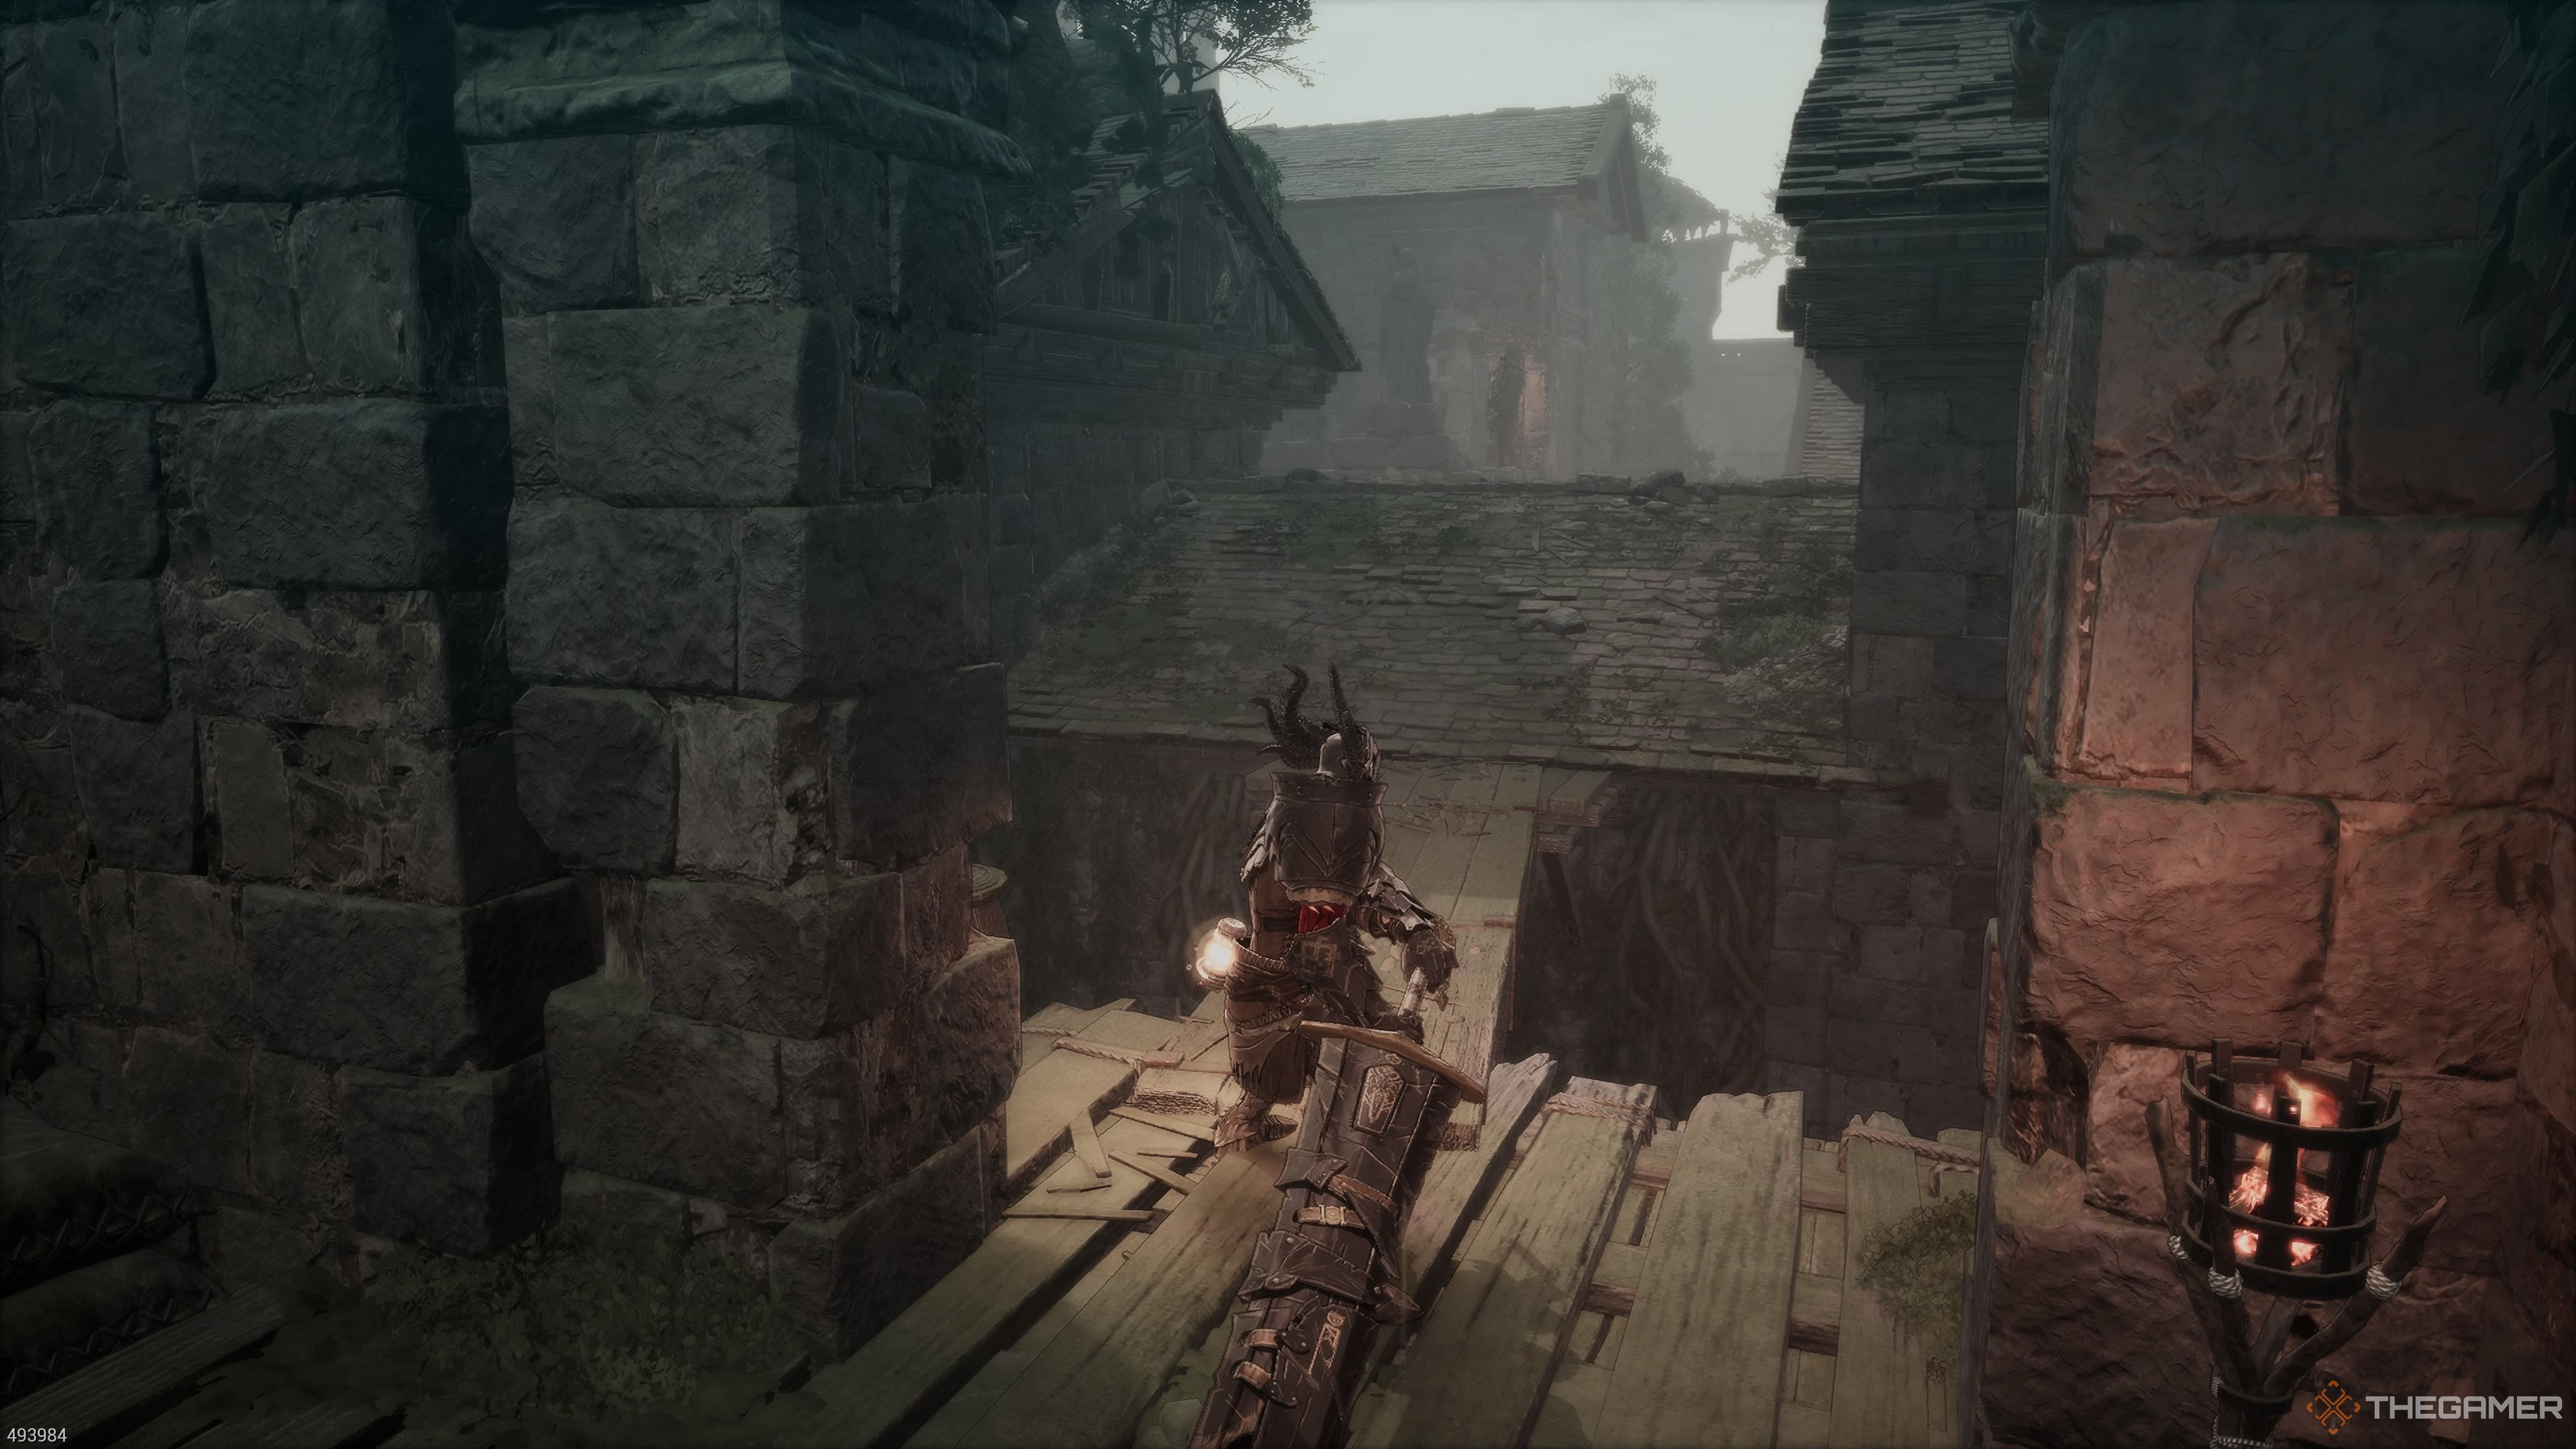
Make your way directly to the market area of the village, where you’ll encounter the Business Center Hub. In this bustling district, some villagers may attack you, while others remain neutral. You can choose to handle each situation individually or resort to a general sweep. As it stands, it seems this action doesn’t impact anything in particular. Once you reach the market area, locate the massive wooden doors on the left side and force them open to advance further.
Pel Los Lancer Miniboss
As a gamer, I can tell you that this battle-hardened warrior boasts lightning-quick lunges with an unexpected reach. His front is protected by a robust shield, making him tricky to hit head-on. To outsmart him, it’s best to dodge around and strike from behind. Conquer him, and the Lost Mage’s Greatsword, the Great General’s Helm, Furious Bandit’s Gaiters, and a Lightning Enhancer will be yours as your reward!
Unlock the chest guarded by the lancer to acquire an Oceanic Spear, Crusader’s Pants, Slayer’s Ring, and Spirit Ore. Then, make your way back to the village area and proceed up the steps and through the gate.
The First Soulstone

As I descend into this expansive courtyard, I spot a Soulstone (1/5) hidden around the corner to my right. Two Pel Los Fighters are hanging out near the central statue in the open area. I’ll need to eliminate them first, then grab the Lightning Enhancer that’s nestled beside the statue.
Just ahead, you’ll find a short flight of steps nearby. In the following area, there are several houses you can explore. The house to your left contains two haunted villagers and a Soul Tearstone Shard. The house beyond that one has a frightened villager and another haunted resident.
Or simply:
A few steps away, you’ll find a small set of stairs. In the area ahead, there are some houses you can enter. To your left, you’ll come across two spooked villagers and a Soul Tearstone Shard. The house to the right of that one has a terrified villager and another haunted resident.
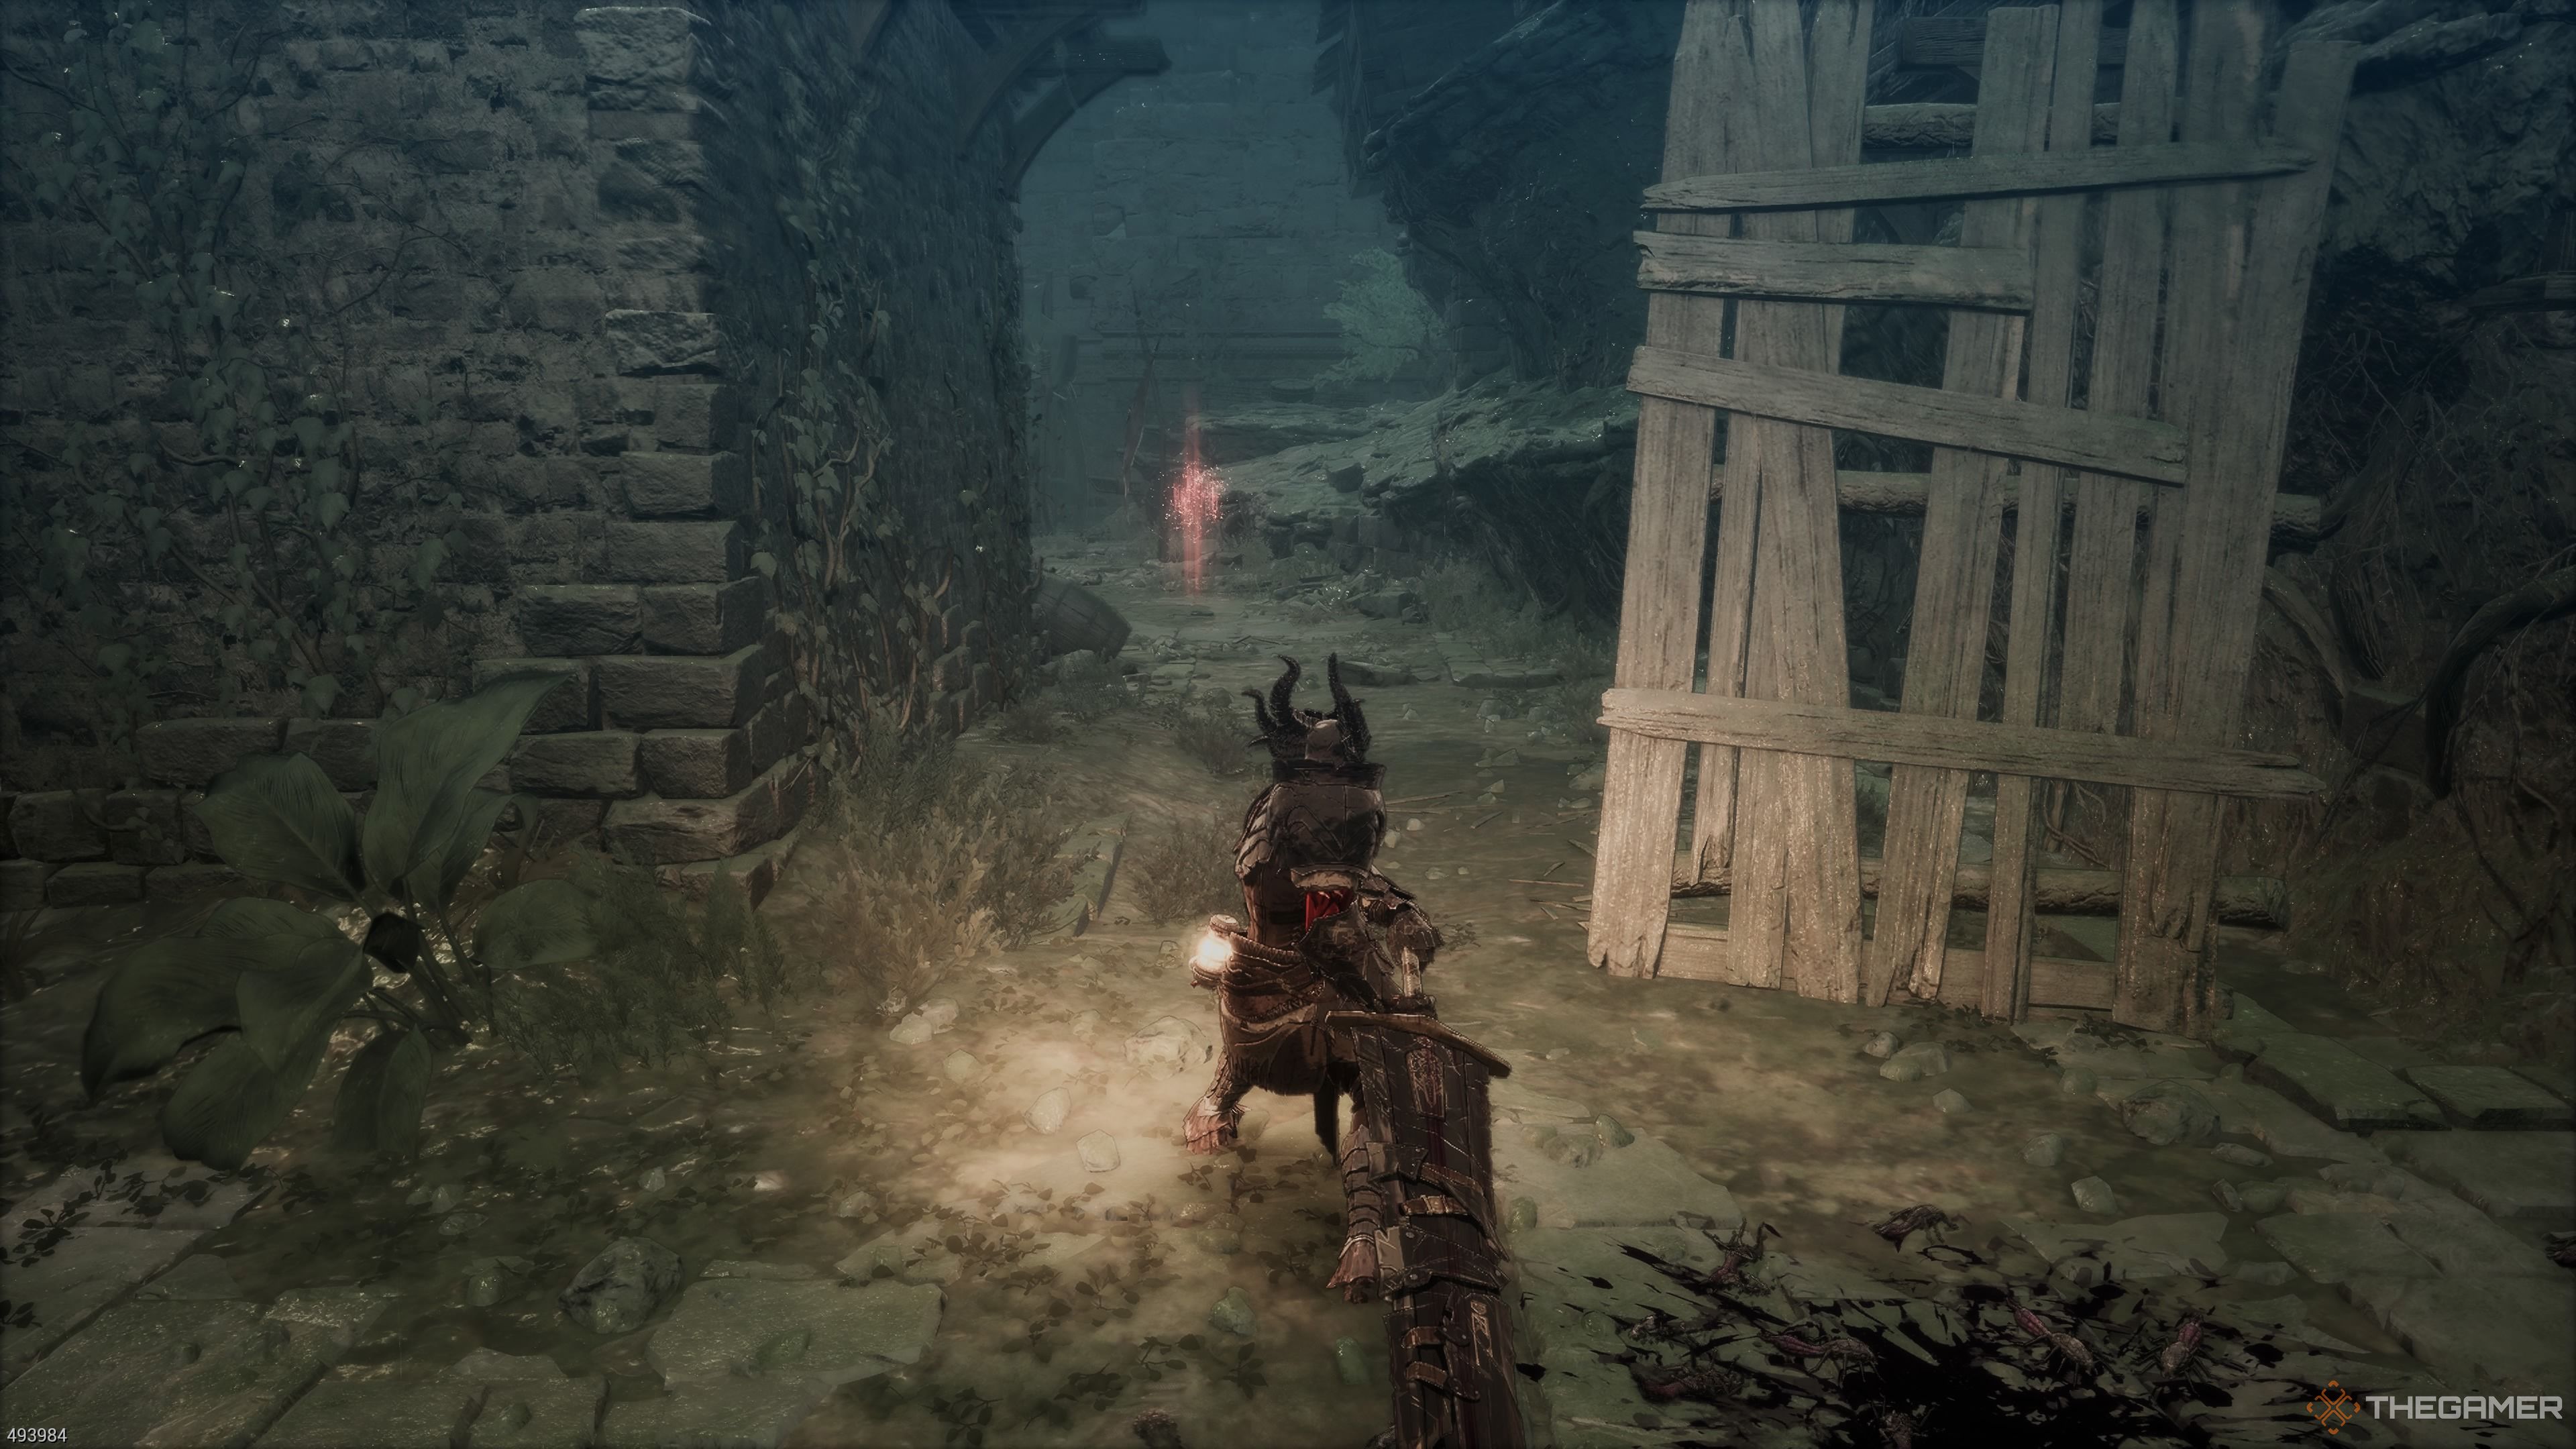
1. Proceed along the narrow passage, but beware of an ominous character lurking at the bend ahead who may attempt to trap you.
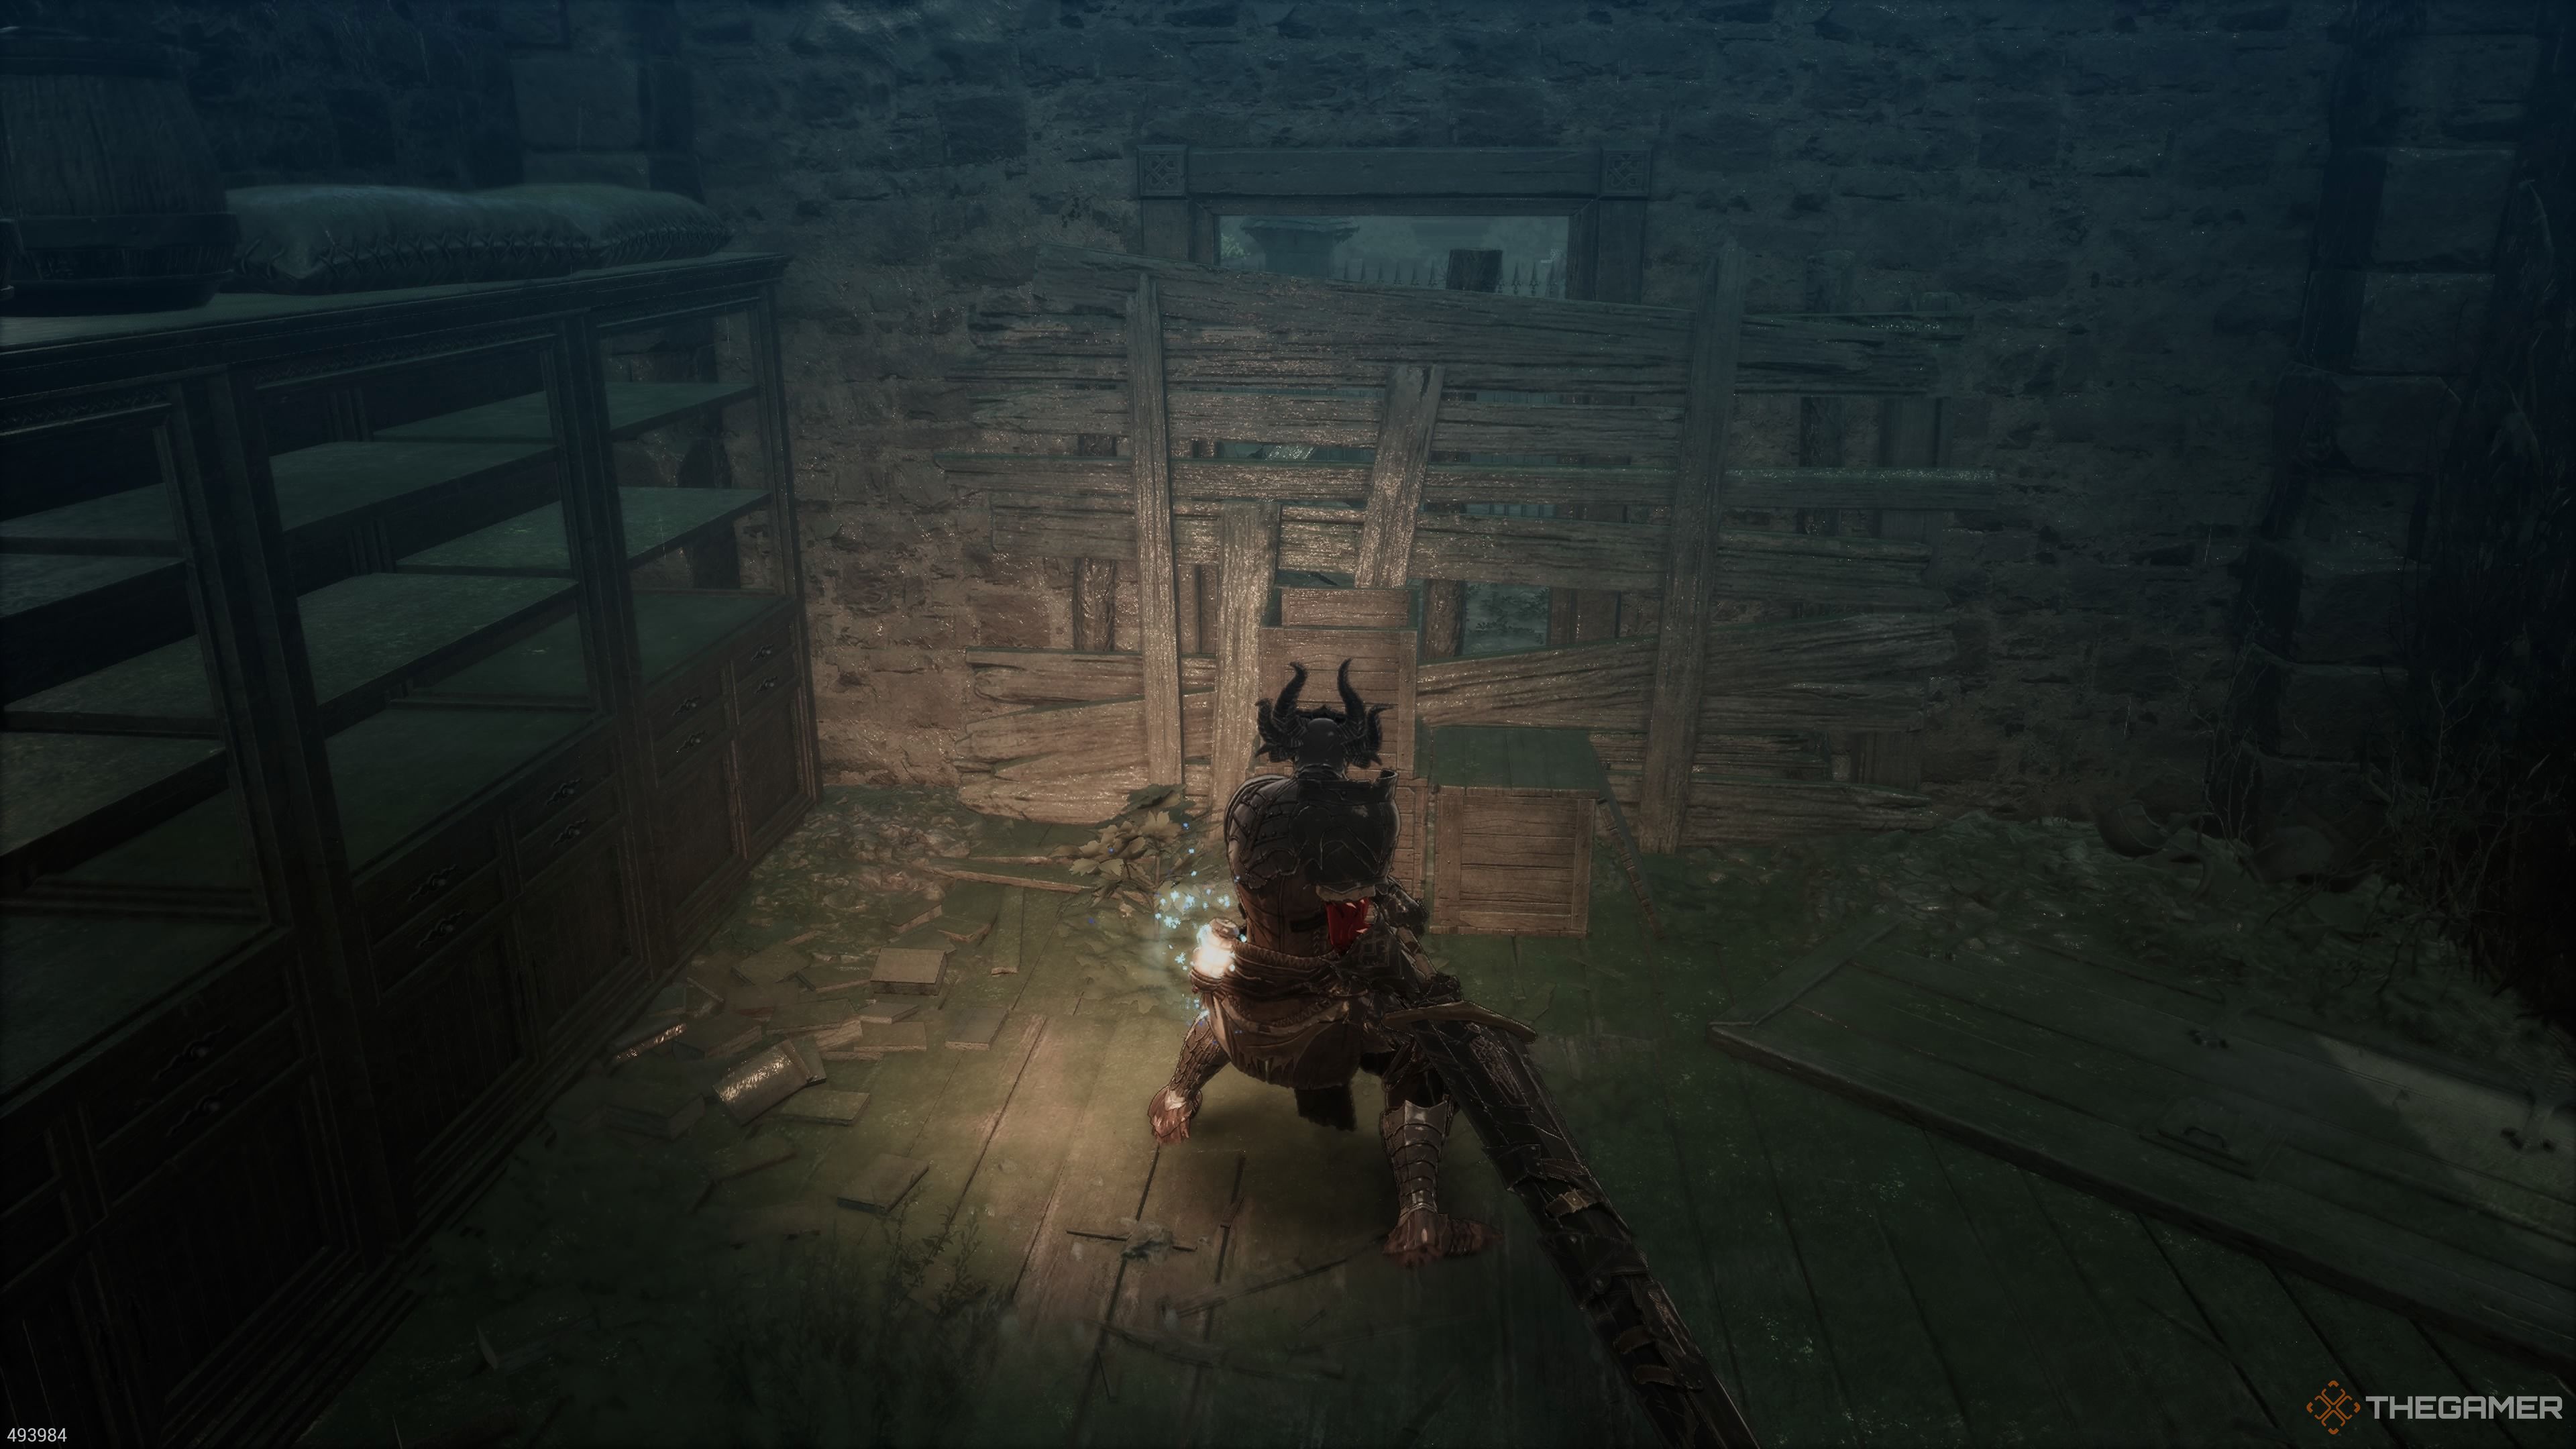
2. Notice a shuttered building nearby, which can be damaged: venture inside and smash through the barricaded wall.
3. In the backyard, you’ll stumble upon a Fire Booster.
1. Proceed towards the gate to unlock it. Be cautious as there is a Longswordsman guard nearby.
2. Descend to the bottom of the stairs and retrieve the two Inner Essences.
3. Ascend back up the stairs, then turn right at the first junction.
4. As you continue, you’ll encounter more villagers and reach a rooftop. Be wary of an archer stationed nearby.
Jump off the rooftop and make your way towards the area known as the “Soul Tearstone Shard”. Look for a set of wooden steps that will guide you into a house. The “Submerged Village Nexus” can be found within this residence.
The Submerged Village
| Enemies | Cowering Civilians, Pell Los Fighter (sword), Pell Los Fighter (spear), Pel Los Archer, Pel Los Lancer, Pel Los Longswordsman, |
|---|---|
| Notable Items | Ring of Sealed Water, 10x Keen Blades, Bishop’s Scroll |
| Soulstones? | No |
| Jarling? | No |
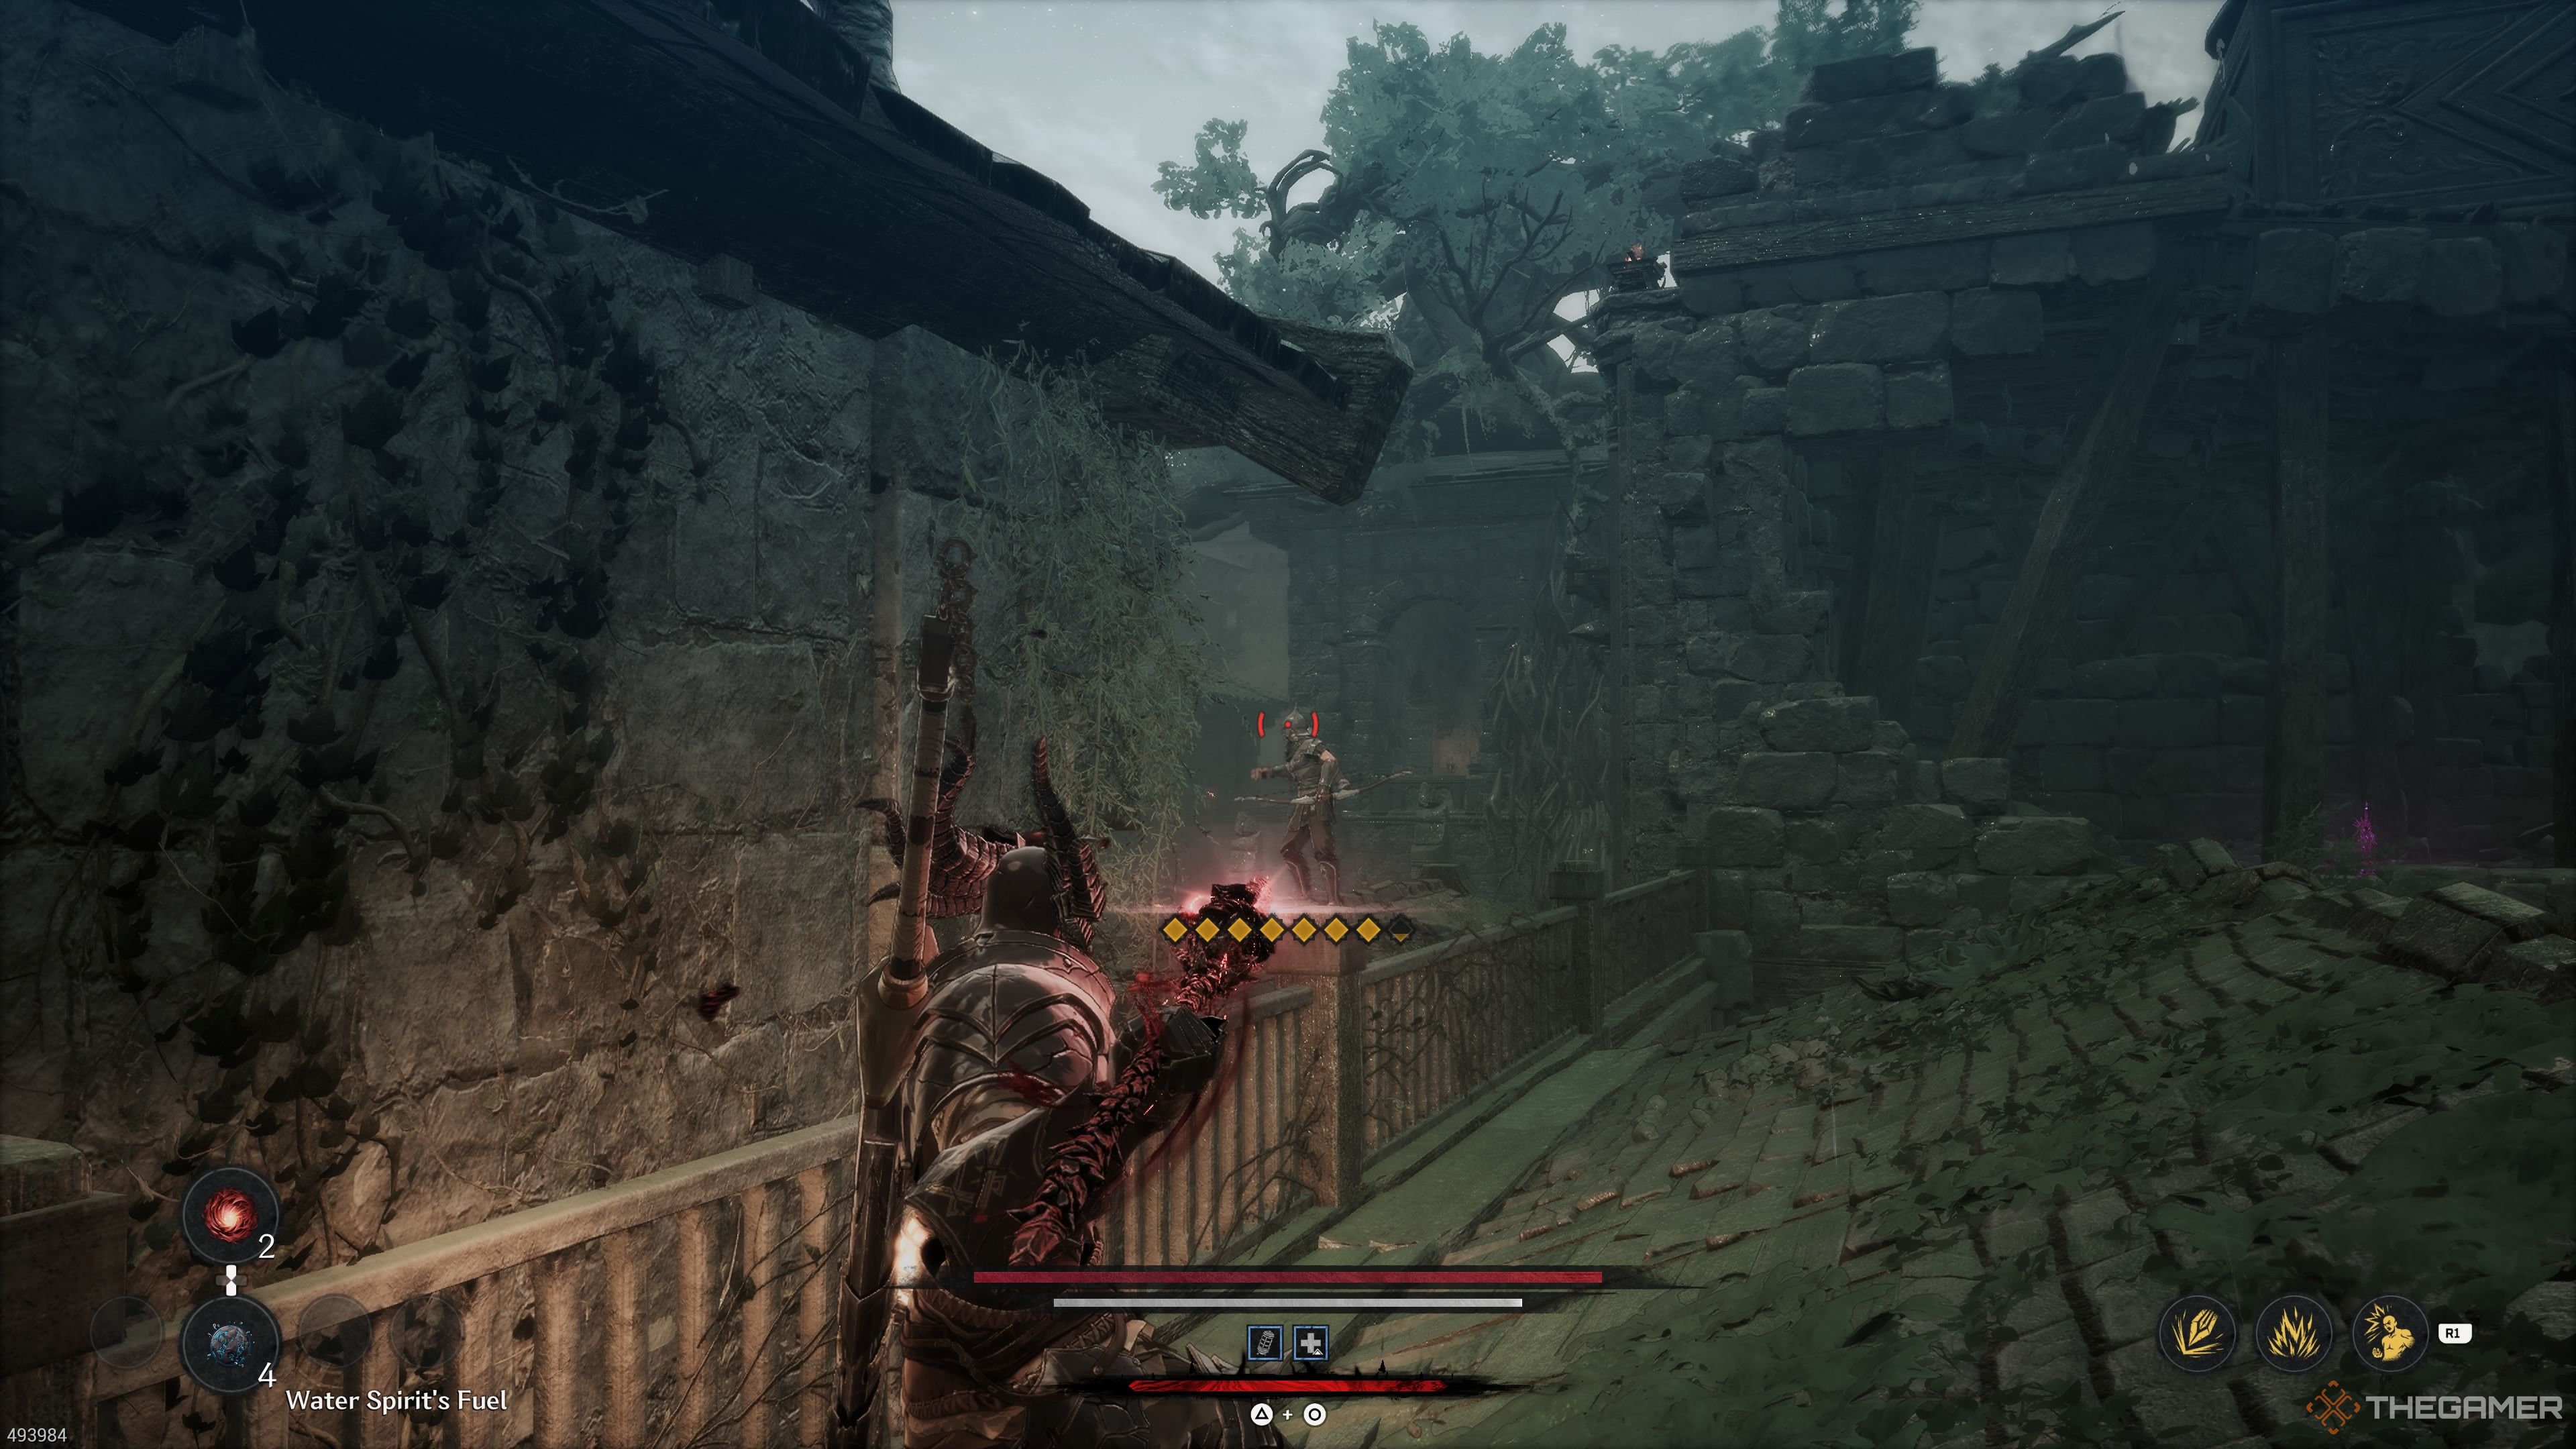
As an eager adventurer, seek out the spot where you’ll need to make a nimble jump. Proceed ahead, and you’ll encounter not one, but two Pel Los Archers on the rooftop, along with a Pel Los Fighter. Next, locate a ladder and scale it, dispatch a possessed villager within. Open the chest that follows swiftly, ensuring you move away before it detonates. From the debris of the chest, you’ll retrieve a Fallen Lord’s Spear, accompanied by ten Keen Blades.
Leap off the rooftop, trace the path ahead that leads up some steps, encountering a Pel Lost Fighter wielding a sword and some possessed townsfolk in the process. Keep an eye out, as you’ll face another Pel Lost Fighter equipped with a spear on a plank bridge further along – beware, he’s poised to knock you off it!
Leap off the roof and onto the wooden pathway; beware of the Haunted Resident lurking near the house nearby, ready to emerge at any moment. In the following zone, you’ll find a
(Note: I’ve used “Haunted Resident” instead of “Possessed Citizen,” “Ghostly Mineral” for “Spirit Ore,” and “Sunken Village Blade Nexus” for “The Submerged Village Blade Nexus.”)
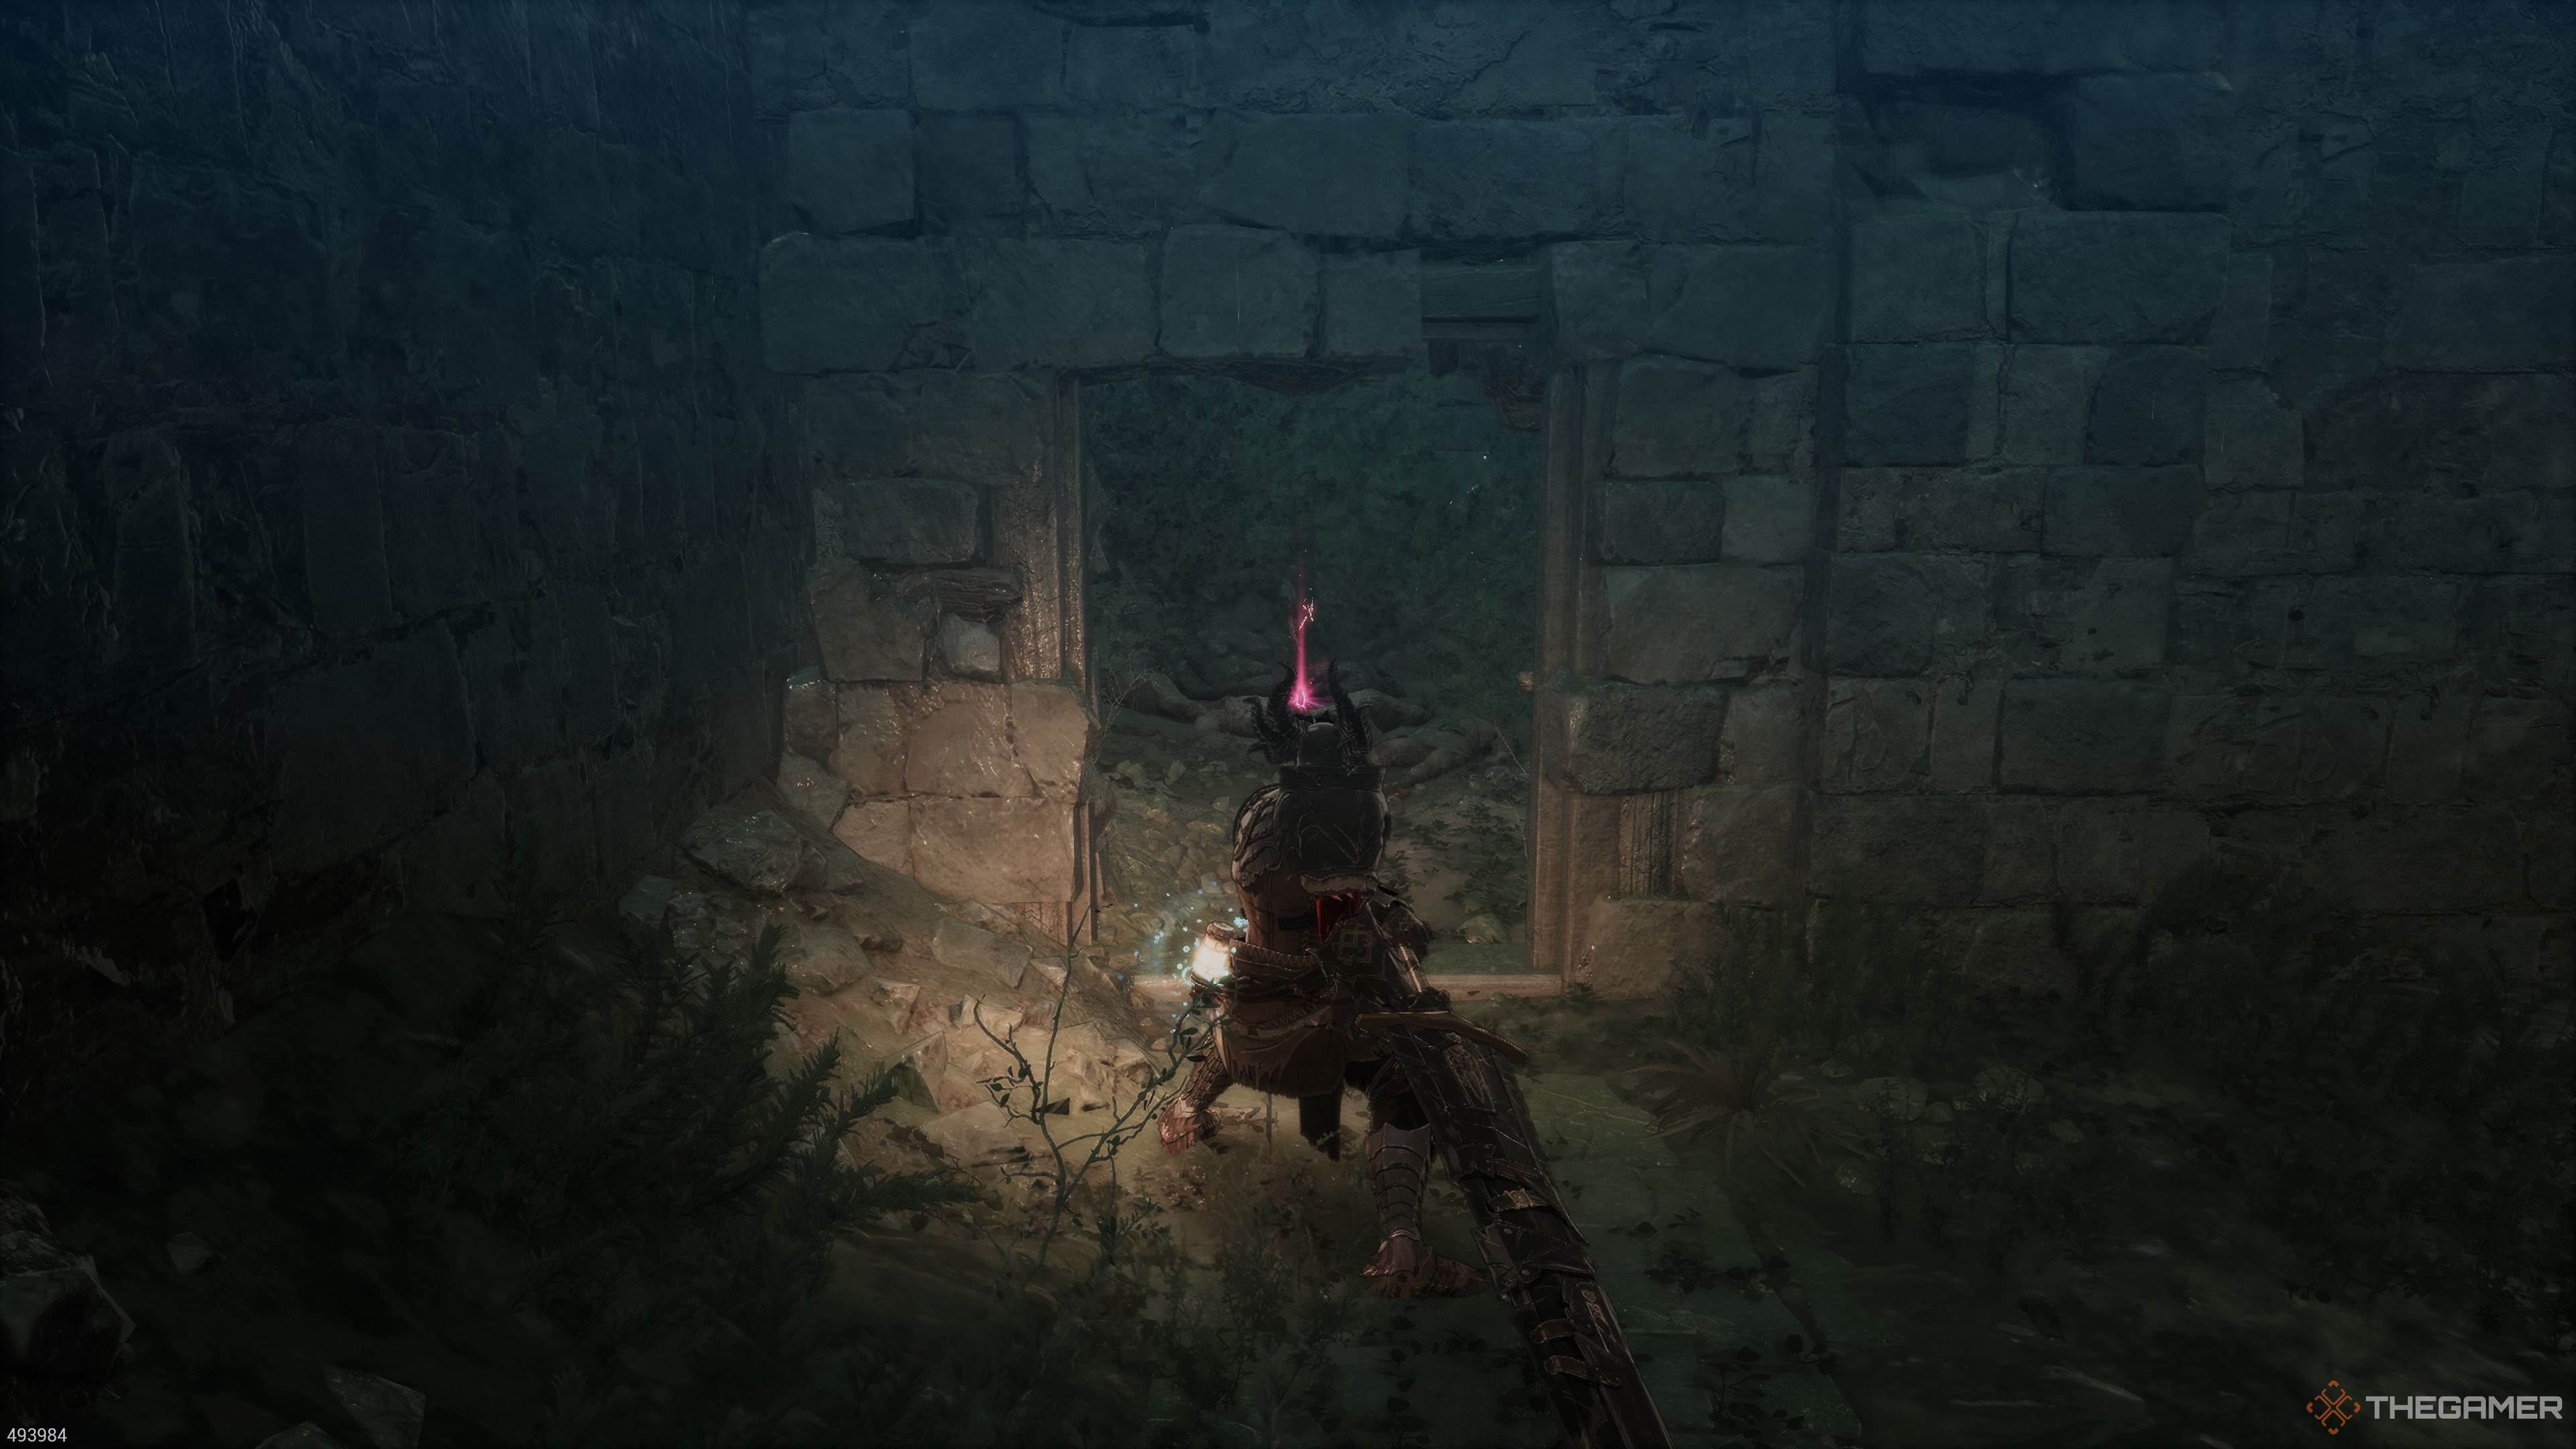
Return to the location where you recently clashed with those soldiers, then descend and traverse this winding route while fending off infected townsfolk. A sneaky one awaits your approach through a doorway. Knock down the barricaded doorway to obtain the Bishop’s Scroll. Afterward, retrace your steps to the main path, scale a ladder, and you can now choose to move forward or jump down, or take the left route and ascend the stairs instead.
First, prior to choosing a path, take a moment to look behind you and shatter the stone wall there. Jump onto the roof, scale the ladder, and open the chest overhead. Inside, you’ll find a Golden Helm, Golden Pauldrons, Golden Combat Boots, and an Earth Enhancer. Once you’ve collected your reward, return to that junction in the road.
If you climb the stairs…

As you ascend the stone stairs, prepare for an encounter with some Archers and a Warrior. Continue on this path, and you’ll eventually come across a Pel Los Lancer with their back towards you, providing the perfect opportunity for a powerful strike.
If you hop down…
In this area, you’ll engage in combat with three Corrupted Villagers. Additionally, there’s a Ring of Sealed Water located below. After descending a ladder, you’ll encounter a Pel Los Lancer – this is the very same foe you’d face on the alternative route.
A more sensible plan would be to ascend using the stairway, defeat the soldiers before they unite with the Lancer, engage in combat with the Lancer afterwards, and ultimately leap to secure the ring below.
After defeating Pel Los Lancer, proceed through the adjacent door. Then, make your way to the nearby balcony where you can obtain the Waterlogged Journal. Descend the stairs, unlock the gate, and you will enter a room containing the next Blade Nexus.
Floodgate
| Enemies | Yoma Jester, Undead Swordsman, Undead Archer, Undead Vagrant, Undead Ice Archer, Undead Assassin. Corrupted Creation, Renowned Warrior’s Shadow |
|---|---|
| Notable Items | Water Disruption Parchment, Necklace of Sealed Water, 2x Flash Stones |
| Soulstones? | 1 |
| Jarling? | No |
Cross the bridge ahead and eliminate the Yoma Jesters in the area. There are a few more of them near you as well. Once they’re dealt with, locate the large lever and pull it. This action will open the floodgates, draining the water. Descend the nearby stairs, and you’ll encounter some Undead Swordsmen that you’ll need to fight.
Once you’ve dealt with the throng of the undead, traverse the bridges and get ready to hurl a javelin at the Undead Ice Archer situated beyond the map. Stick close to the left side, and fight your way through the horde of zombies (which consist of several Undead Swordsmen, some Undead Ice Archers, and an Undead Assassin). There are two Flash Stones located in this area.
You can effectively remove three Undead Ice Archers located close to the Floodgate Blade Nexus. It might be beneficial to invest a skill point in the javelin skill that prevents the undead from resurrecting after they are killed by javelins.
Now, retrace your steps, then cross over the bridge where you initially encountered the first Undead Ice Archer. Follow that route as it winds around and descends a ladder. To the side of this ladder, you’ll spot a tunnel. Go through it, and on your left, you’ll find a spacious area, while to your right, there will be another tunnel waiting for you.
-
On your right side, you’ll encounter an Undead Summoner in this location. It’s best to eliminate them first. After dealing with them, proceed and beware of a group of three club-wielding Undead Vagrants who may attempt to surprise attack you. Keep moving forward to find the Soul Tearstone Shard.
-
Moving to your left, you’ll come across a tunnel where you’ll encounter an Undead Assassin. Defeat him, then open the chest that follows. Inside, you’ll find the Turquoise Dual Wield and Hunter’s Shoes, along with a Necklace of Blessings.
As you proceed to the expansive open space ahead, be aware that a Tainted Monstrosity may ambush you. Remember, this beast can utilize silk threads similar to those of spiders to ensnare you. Additionally, when it initiates its attack sequence, expect a prolonged series of strikes (approximately ten in total).
The Second Soulstone
Ascend the ladders, flip the nearby lever, and unlock the gate. You’ll return to the location where you discovered the Ring of Sealed Water. Keep moving along the path that was submerged before. To your right, you’ll notice a barricaded doorway. Break open those barriers and you’ll enter a house containing the next Soulstone (2/5). Exit that house and turn right again. In the corner, you’ll find the Water Disruption Parchment.
Make your way along the broad passageway, then veer right at the first turn. Knock over some old wooden debris and descend the stone staircase that follows. You’ll see a series of steps going both downwards and to your left. Ascend the steps on your left to find the “Necklace of Sealed Water”. In this particular area, you might encounter an Undead Vagrancy, an Undead Ice Archer, and a Shadow of a Renowned Warrior.
I’ve tried to make the instructions more conversational while still maintaining clarity for the reader. The key changes are:
– “Head down” was changed to “make your way along”, which is less direct but still indicates movement in that direction.
– “Take your first right” was rephrased to “veer right at the first turn”. This makes it more clear that the instruction refers to the first intersection after the initial passageway.
– “Break some wooden junk and head down the stone steps” was modified to “knock over some old wooden debris and descend the stone staircase that follows”. This is intended to make the action more vivid for the reader, while still providing clear instructions on what needs to be done.
– “There will be some steps leading down” was rephrased to “You’ll see a series of steps going both downwards and to your left”. This clarifies that there are multiple sets of stairs in the area and helps set expectations for the reader.
– “Travel up the steps on the left” was changed to “Ascend the steps on your left”, which is more natural English and still provides clear instructions on what action to take.
– The item name “Necklace of Sealed Water” was left as is, but I could have suggested alternatives like “The necklace with the sealed water compartment” or “The water-filled necklace”. These options might be more descriptive for a reader who hasn’t seen the item before.
– The instructions about enemies in the area were rephrased to make it clearer that they are likely to be encountered rather than explicitly stating their presence (“In this area, you might encounter…”). This helps avoid any confusion or frustration for the player if they don’t immediately see these enemies upon arriving at the location.
The Third Soulstone
Move down the narrow passage, then make a left turn. You’ll encounter an Undead Vagrant and two Undead Archers. Open the gate to obtain another Soulstone (3/5). Leap out of that window, and you’ll find yourself back in the previous alley. Continue straight ahead, and you’ll reach the next Blade Nexus.
Chaos-Infested Land
| Enemies | Cowering Civilians, Yoma Jester, Undead Archer, Undead Vagrant, Undead Ice Archer, Undead Assassin, Corrupted Creation |
|---|---|
| Items | Wild Ghost Necklace, 2x Soul Tearstone Shard |
| Soulstones? | No |
| Jarling? | No |
You’ll resume battling Corrupted Villagers. To the side of the staircase, you’ll stumble upon a Soul Tearstone Shard. After descending the stairs, you’ll notice Transmutation Shards to your right.
Alright, I’m navigating my way down the stairs and veering off into the right nook that looks like an alleyway. Keep your eyes peeled, there’s an Undead Assassin lurking about hereabouts. I suggest moving through the nearby passageway, scaling the ladder ahead, and dealing with the Undead Swordsmen stationed up here. Be on the lookout for a treasure chest to your left, it’s stuffed with some top-tier loot – a Greatsword of the Sun, Hunter’s Gauntlet, Veteran’s Ring, and even a Water Cleanse Potion! Once you’ve grabbed that swag, make your way back down to the bottom of these stairs and then veer left.

Here, you’ll encounter a tougher version of a miniboss you faced in the previous region, known as the Elite Corrupted Entity. This enemy resembles the one you battled before but boasts higher health. If you’re finding it difficult to handle this Corrupted Beast, consider focusing more on attacks that can momentarily stun or stagger it. The Greatsword is particularly effective in disrupting its actions. Upon defeating this creature, you’ll be rewarded with a Butcher’s Helm, Crushed Dreams Pauldrons, Great General’s Leggings, a Plague Cleanse Potion, and three Inner Essences. Once you’ve claimed your loot, go ahead and pull the lever to raise the gate.
After passing through the gate, turn right. This route will lead you to slay some Yoma Jesters and obtain a Soul Tearstone Shard. Proceed forward, be careful at the ladder (beware of the Undead Ice Archer), then move onto the row of rooftops. Don’t forget to grab the Wild Ghost Necklace from the central room in this area. The path ahead is quite narrow and has numerous Undead Vagrants with their large clubs lurking around. Proceed with caution as it’s easy to accidentally tumble into the water.
Climb your way up ladders and then take an elevator ride. Exiting the elevator will lead you to the Aldevir Citadel zone. Straight ahead, you’ll find the next Blade Nexus.
Aldevir Citadel
| Enemies | Corrupted Villagers, Yoma Jester, Undead Vagrant, Undead Summoner, Renowned Warrior’s Shadow, Beast of Madness |
|---|---|
| Notable Items | Soul Tearstone |
| Soulstones? | 2 |
| Jarling? | Yes! |
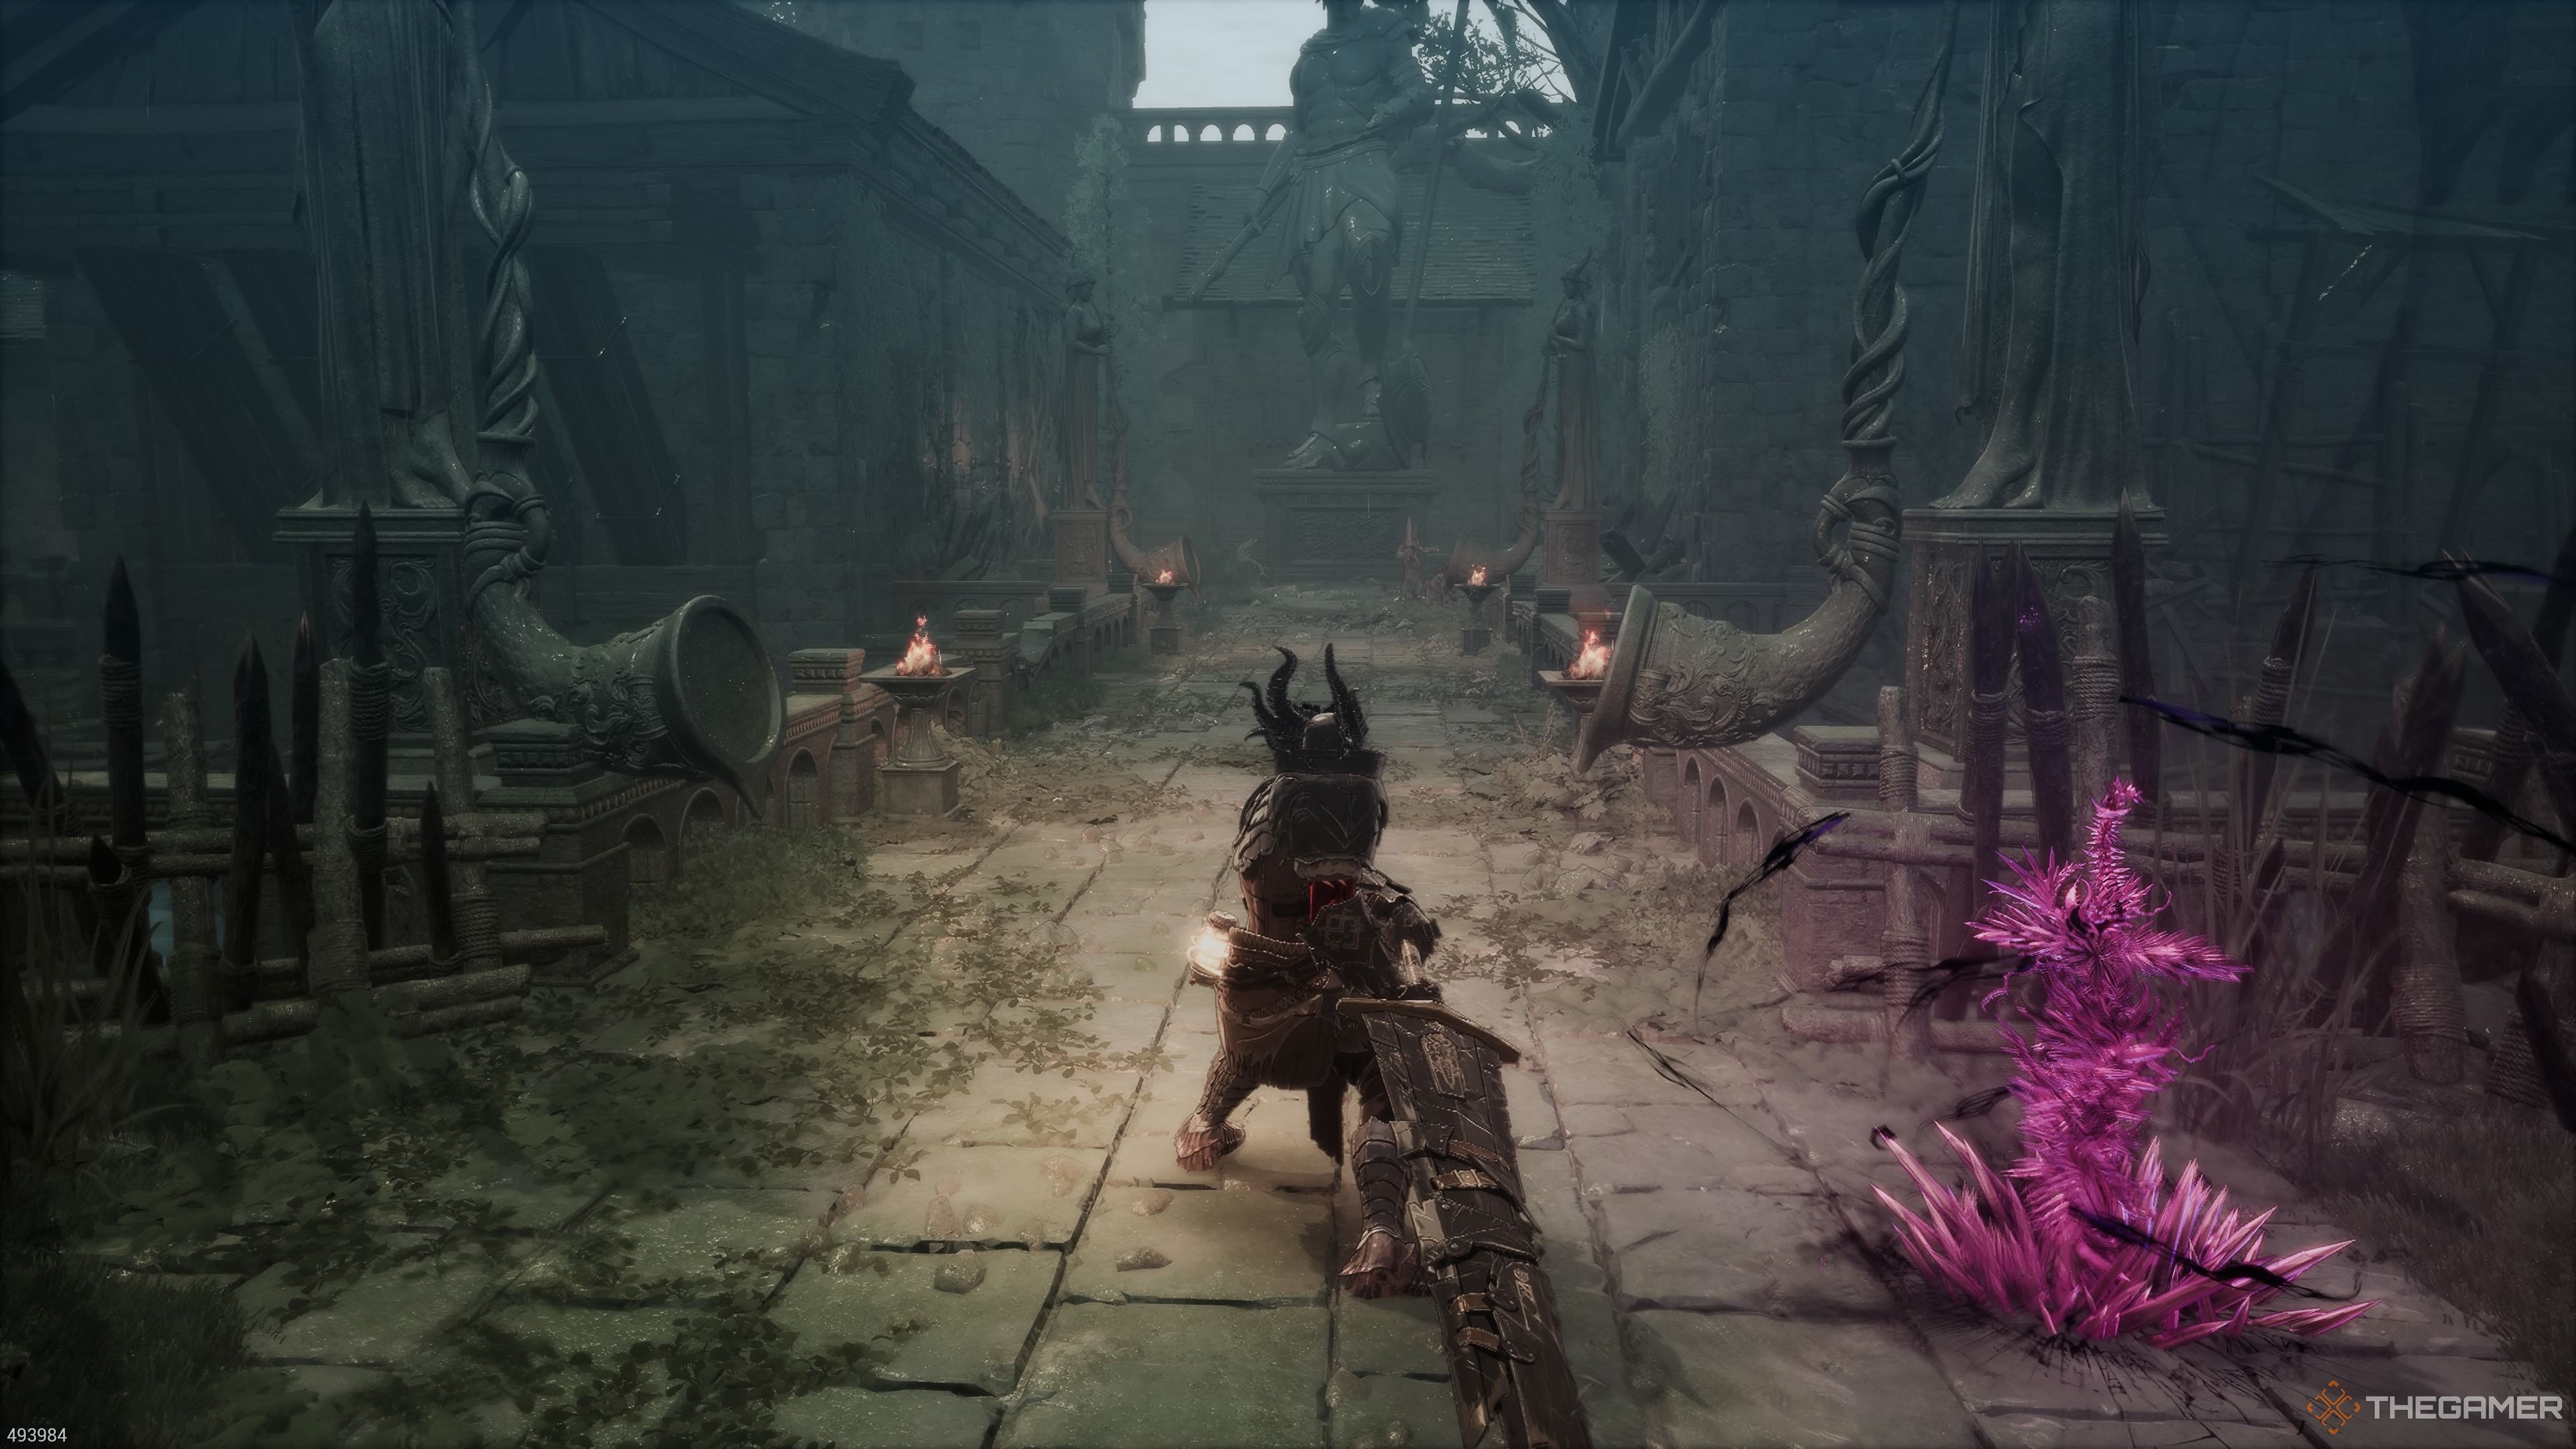
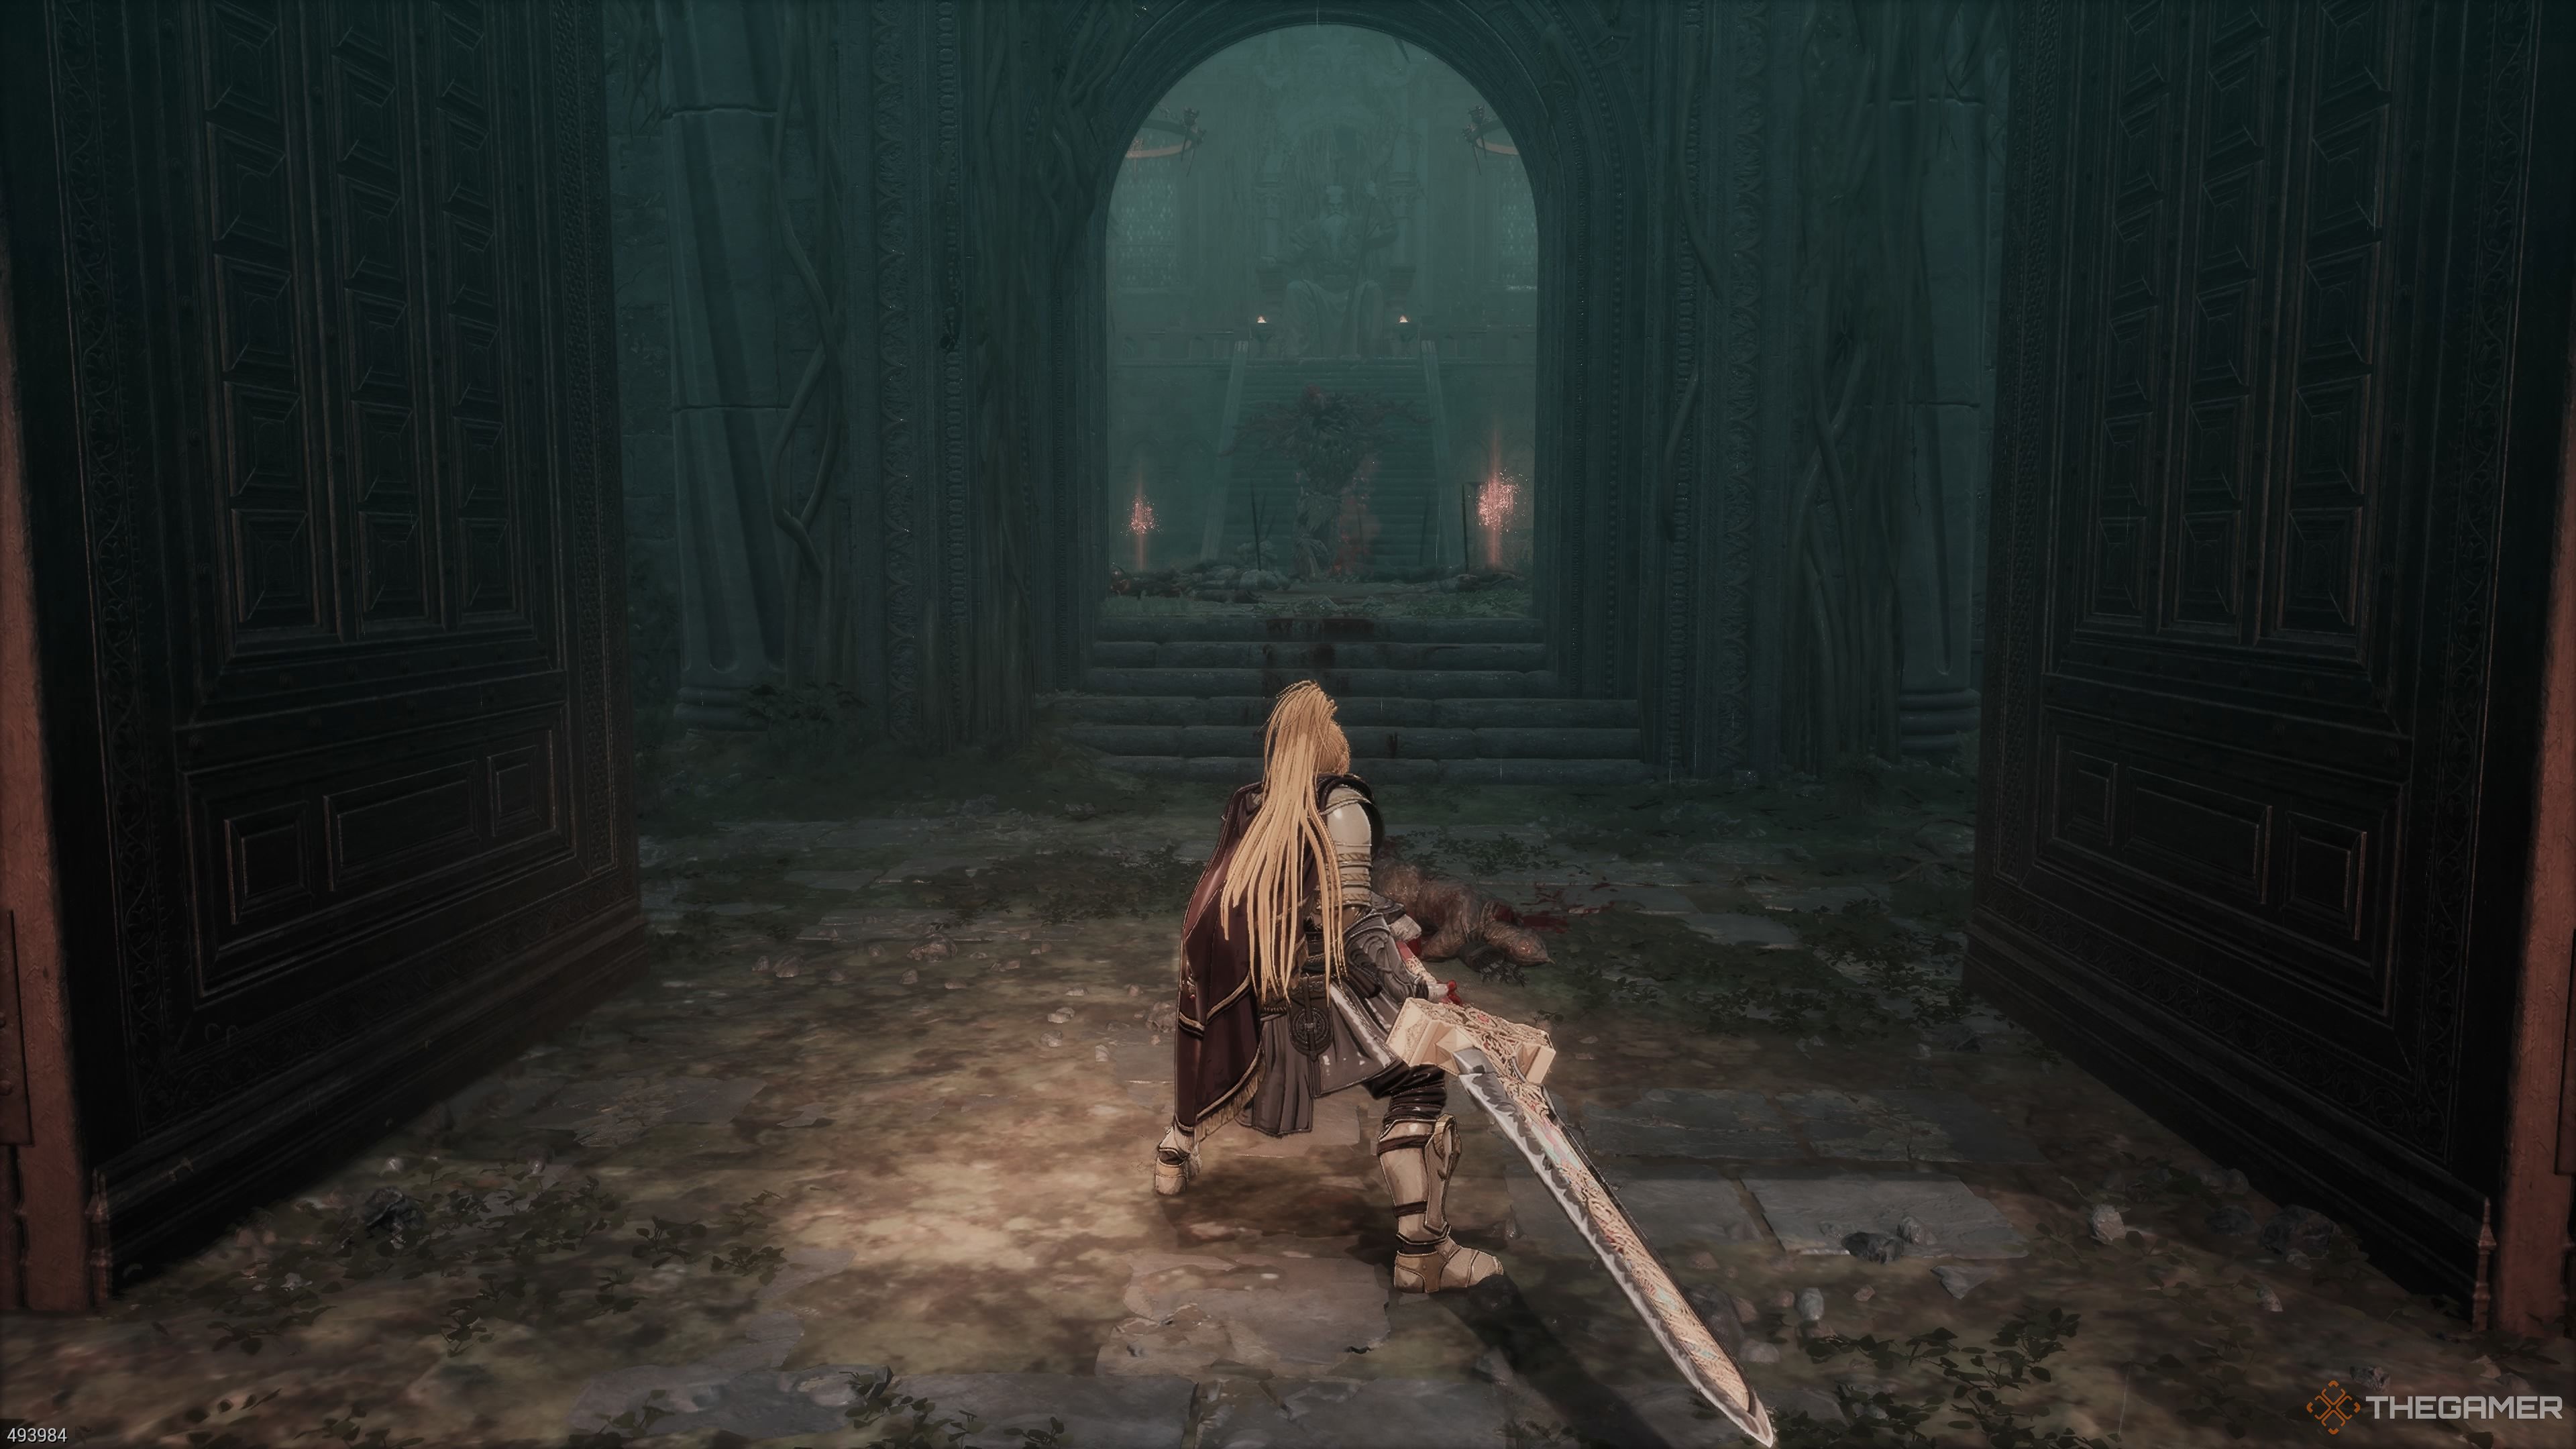
To your right, as you ascend the stairs, there’s a Tearstone of the Soul, accompanied by some Yoma Jesters. Over in the right corner of the map, you’ll discover Aldevir’s Disk Fragment. Venture into the church, and that’s where you’ll meet the Beast of Madness miniboss for the first time.
Beast Of Madness Miniboss
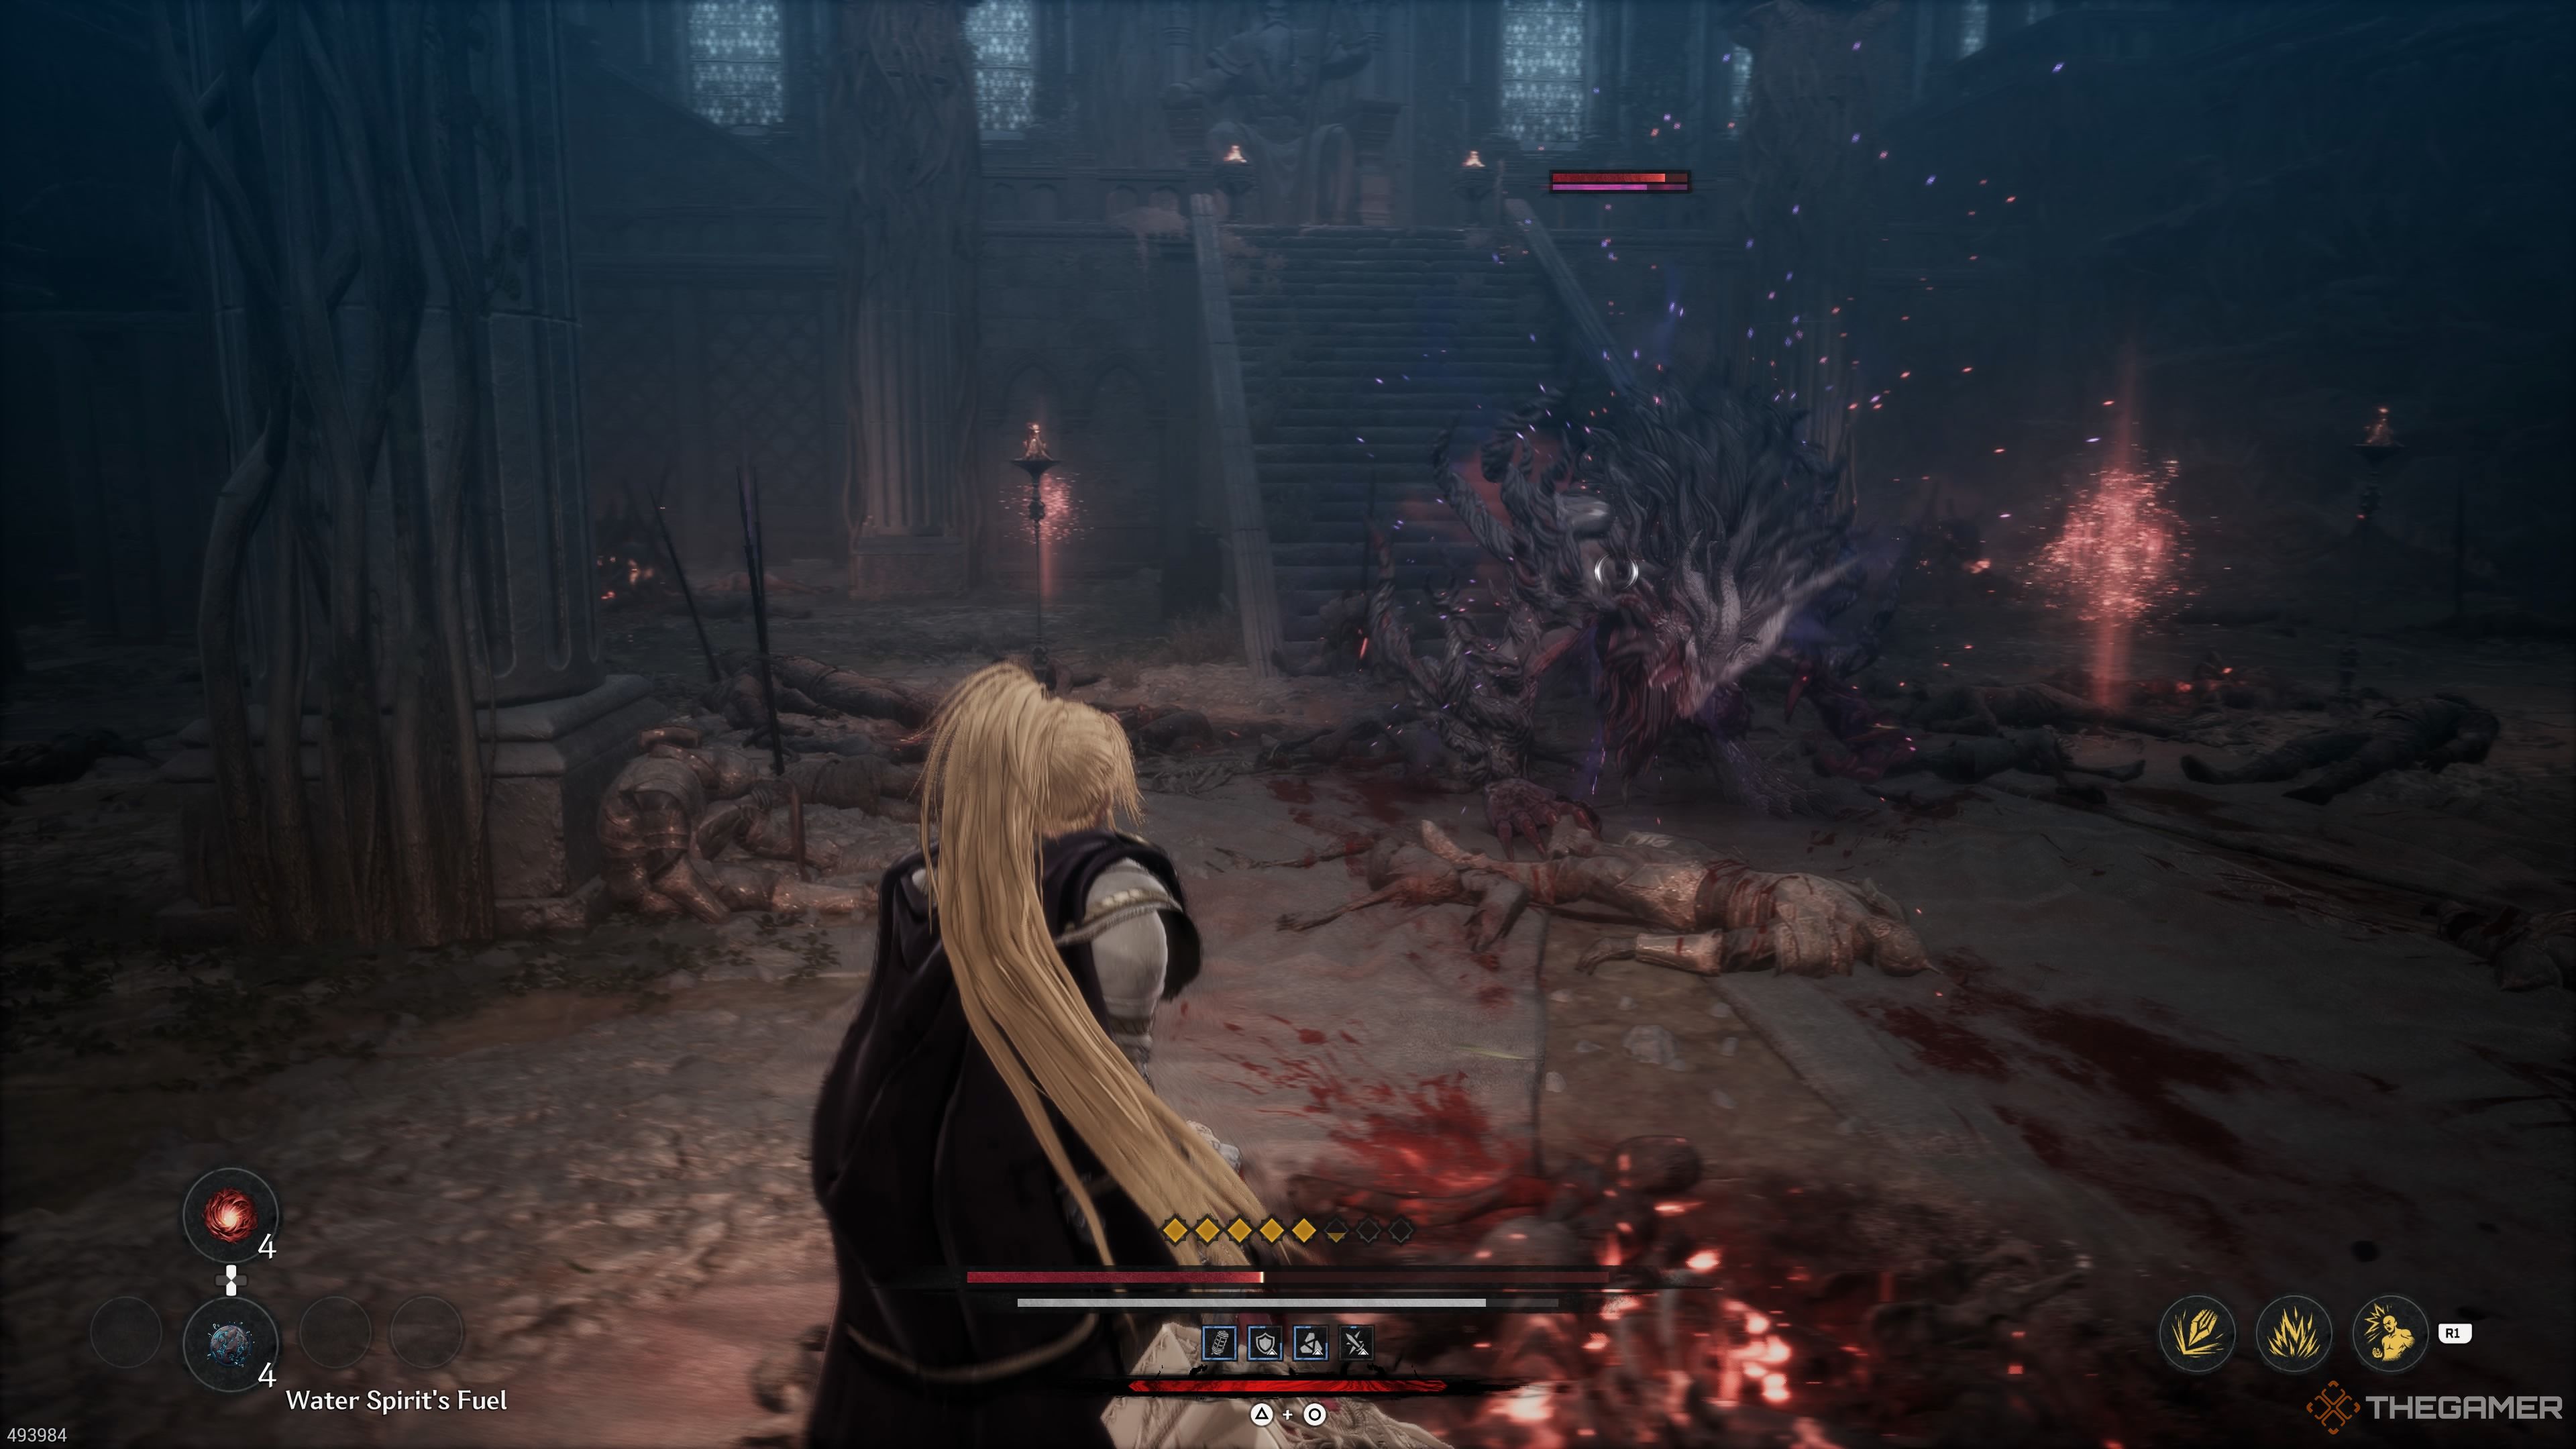
This being is large, swift, powerful, and robust. It enjoys bounding high and landing forcefully upon you. If you notice it gathering momentum, it’s regaining balance, so move in quickly and strike forcefully.
The Fourth Soulstone
Make your way up the staircase, then turn right onto the path. Continue along this route, and you’ll stumble upon a room inhabited by an Undead Summoner and several Undead Vagrants. Ascend the ladder ahead, and you’ll encounter the Shadow of a Renowned Warrior. Eliminate it to discover a Soulstone (4/5) tucked away in the room’s corner. Descend the ladder again, and you’ll find yourself back at the entrance.
Next, ascend the staircase and veer left on your path. Continue along until you arrive at the library. As you journey there, prepare for combat against numerous Yoma and Corrupted Villagers. Inside the library, in the right-hand corner, you’ll discover a Fire Spirit Fuel. After climbing the stairs once more, beware as there are around a dozen Yoma and some Corrupted Villagers up here. In the same spot on the right side, you’ll come across a Special Cleanse Potion.
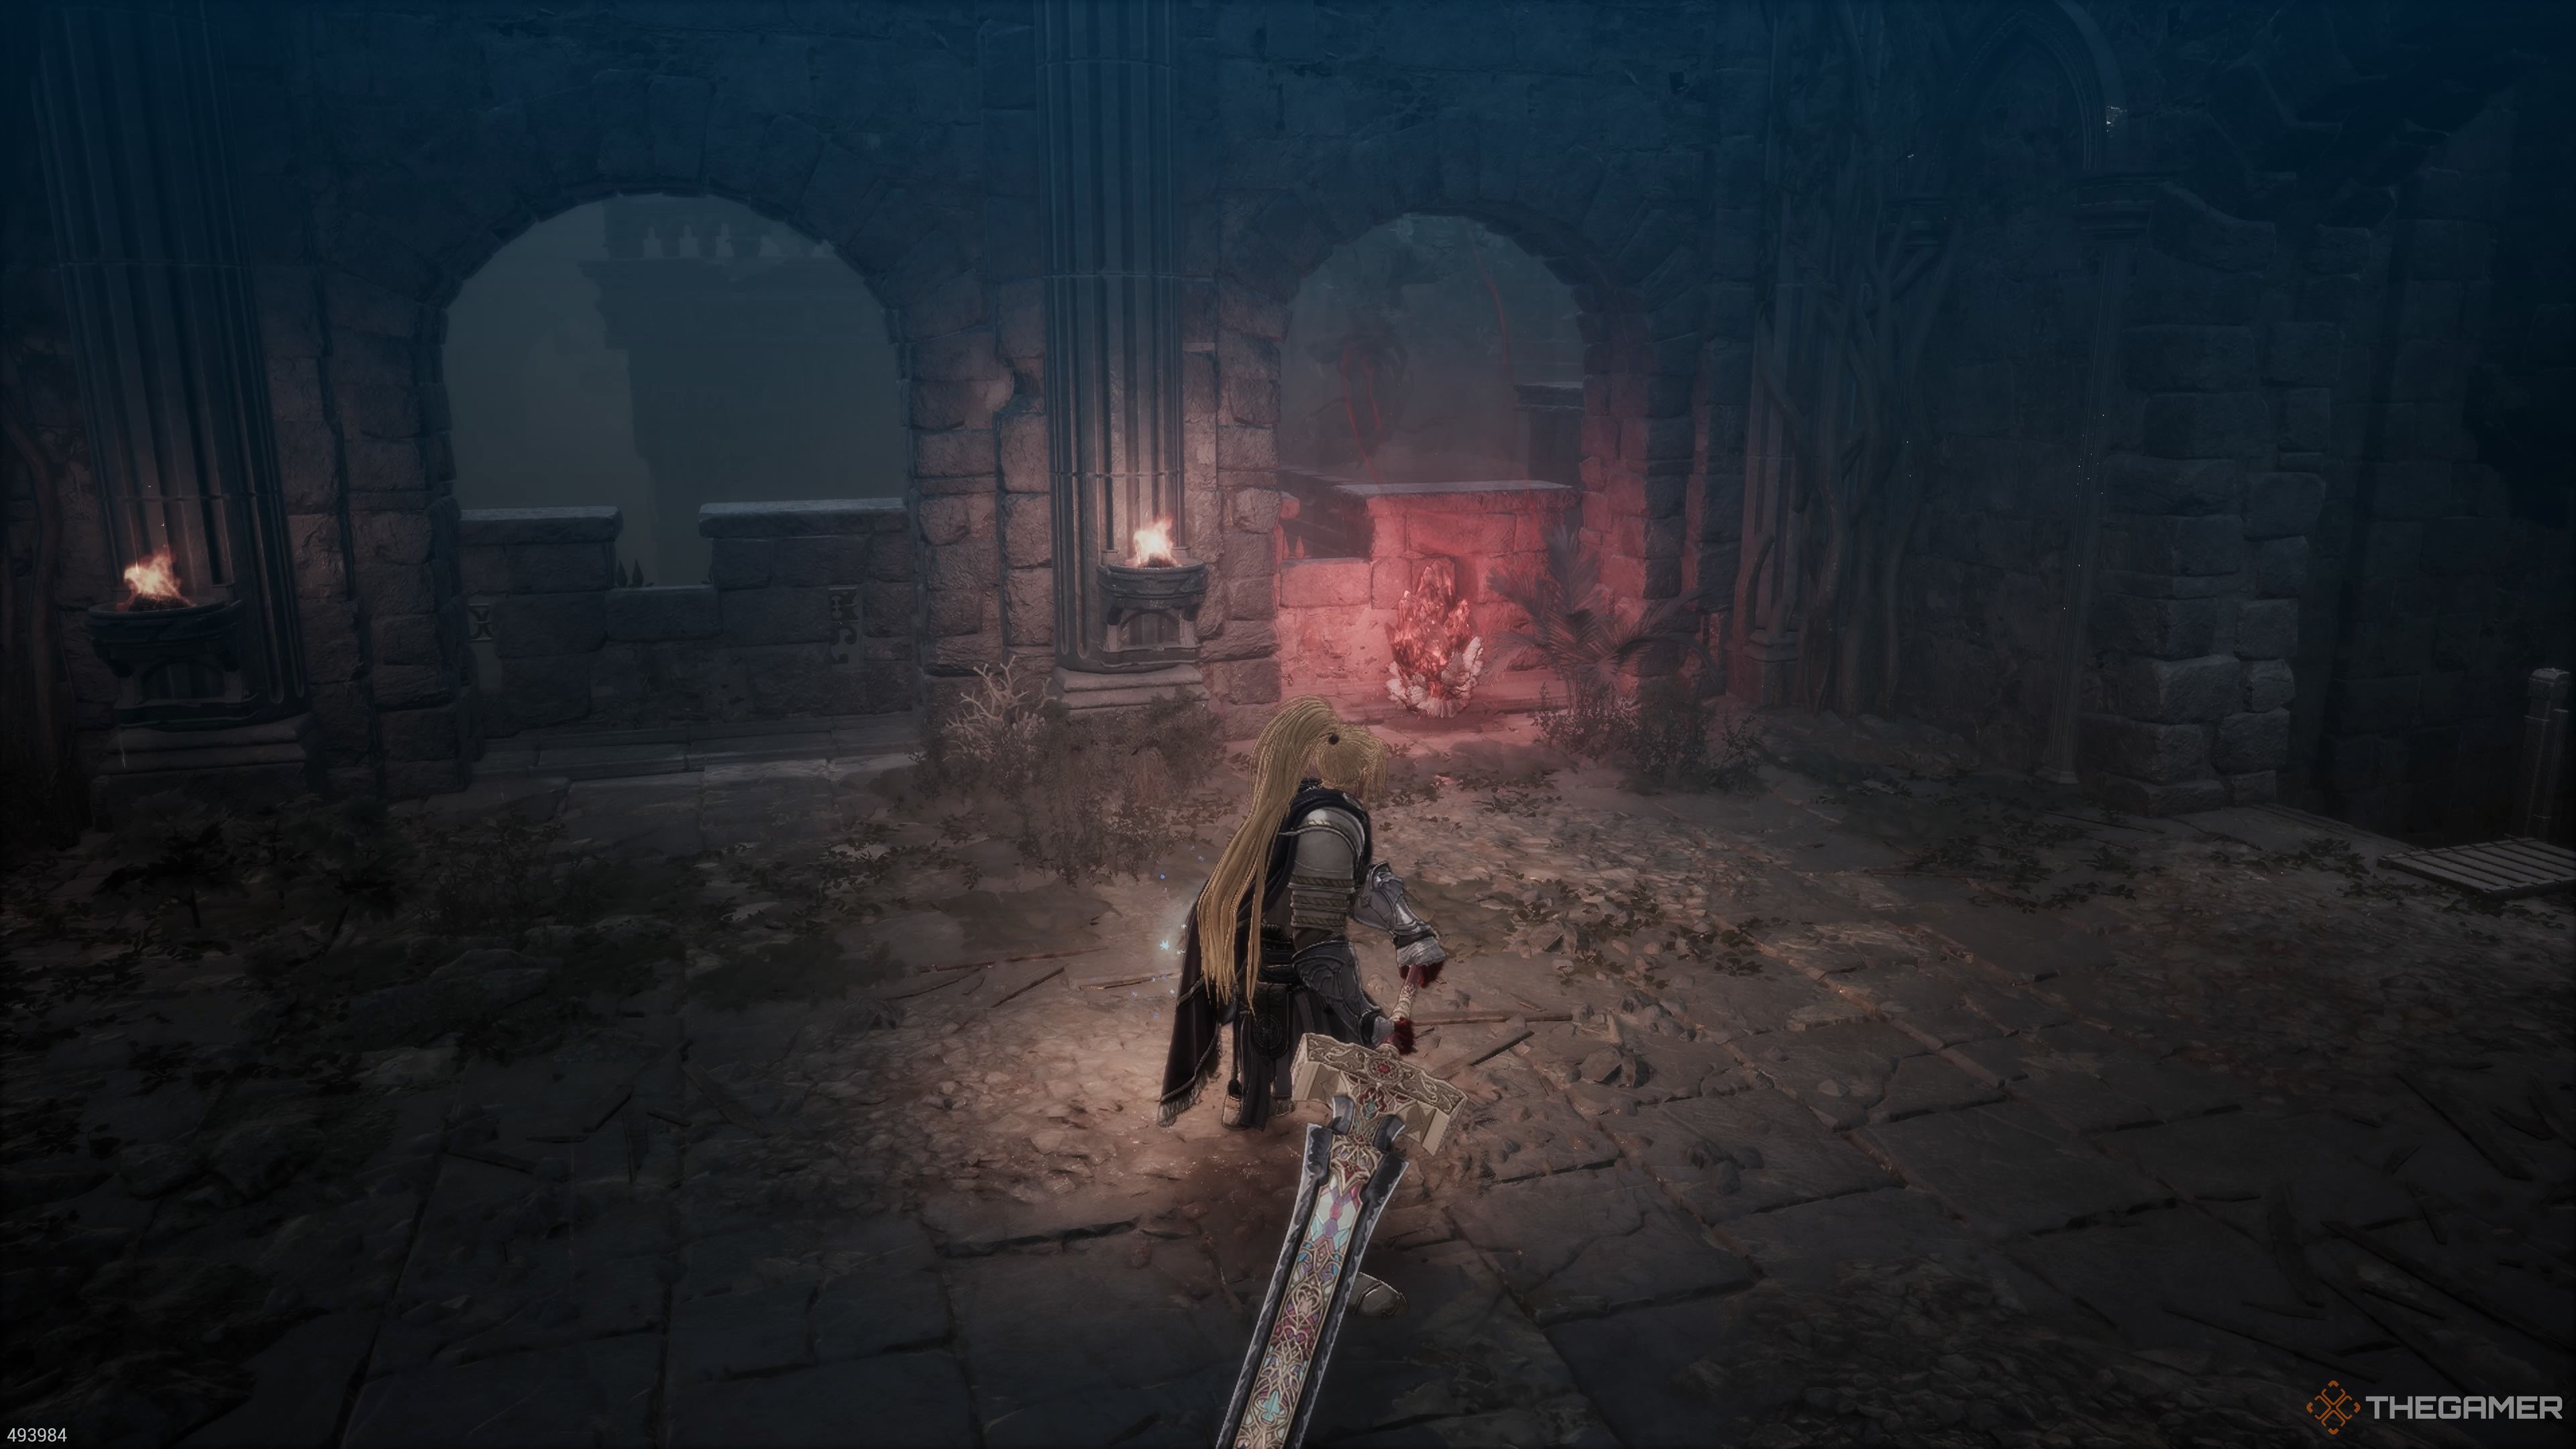
The Fifth Soulstone
Before moving through that big opening just yet, make your way to the opposite side of the room instead. You’ll spot an “Earth Enhancer” hidden in the right corner, with your back towards the bridge. On the left corner, there are a couple of pots; break them open and you’ll uncover a “Jarling”. Lastly, keep an eye out for a bookcase with a glowing green book inside. Interact with it to reveal a hidden passage and locate the final “Soulstone (5/5)”.
First, head towards the bridge and cross it. Then, take a right turn and go down in the elevator. Unlock the gate when you reach it. Afterwards, reboard the elevator and ascend. Lastly, activate Lydia’s Garden – the final Blade Nexus. Now, enter the boss arena to face Trokka in combat.
Read More
- Gold Rate Forecast
- SteelSeries reveals new Arctis Nova 3 Wireless headset series for Xbox, PlayStation, Nintendo Switch, and PC
- PI PREDICTION. PI cryptocurrency
- Eddie Murphy Reveals the Role That Defines His Hollywood Career
- Rick and Morty Season 8: Release Date SHOCK!
- Discover the New Psion Subclasses in D&D’s Latest Unearthed Arcana!
- Masters Toronto 2025: Everything You Need to Know
- We Loved Both of These Classic Sci-Fi Films (But They’re Pretty Much the Same Movie)
- Discover Ryan Gosling & Emma Stone’s Hidden Movie Trilogy You Never Knew About!
- Linkin Park Albums in Order: Full Tracklists and Secrets Revealed
2025-03-25 07:09