DISM is a powerful command-line tool included with Windows 10. It lets network administrators customize and fix system images used for things like recovery, setup, and the Windows PE environment. You can also use it to repair most problems with your own computer by working with the local recovery image.
If your computer isn’t starting up right, you’re experiencing errors, or things are running slowly, the System File Checker (SFC) is a great tool for replacing damaged or missing system files. However, SFC relies on a healthy recovery image. If the system files on your computer are already corrupted, SFC might not work. In that case, you can use a file called “install.wim” with the DISM tool to repair the recovery image, and *then* use SFC to fix the problems without needing to reinstall the entire operating system.
This guide explains how to use DISM and SFC to fix a broken computer and get it working again, without needing to reinstall everything – and this approach will continue to be effective in 2025 and beyond.
Heads up! These instructions won’t harm your system, but it’s always a good idea to back up everything first, just in case, since you’ll be making changes to how it’s set up.
How to use DISM to repair image of Windows 10
The DISM tool offers several ways to repair your system. It’s best to run its features in this order: CheckHealth, ScanHealth, and RestoreHealth. When using RestoreHealth, you can also specify different source files to fix issues with your locally stored system image, depending on the problem.
DISM command with CheckHealth option
The DISM tool’s “CheckHealth” option scans your Windows 10 installation for any corrupted files. It only identifies problems, though – it doesn’t fix them.
To check the image of Windows 10 for issues with DISM, use these steps:
- Open Start.
- Search for Command Prompt, right-click the top result, and select the Run as administrator option.
- Type the following command to perform a quick check and press Enter: DISM /Online /Cleanup-Image /CheckHealth
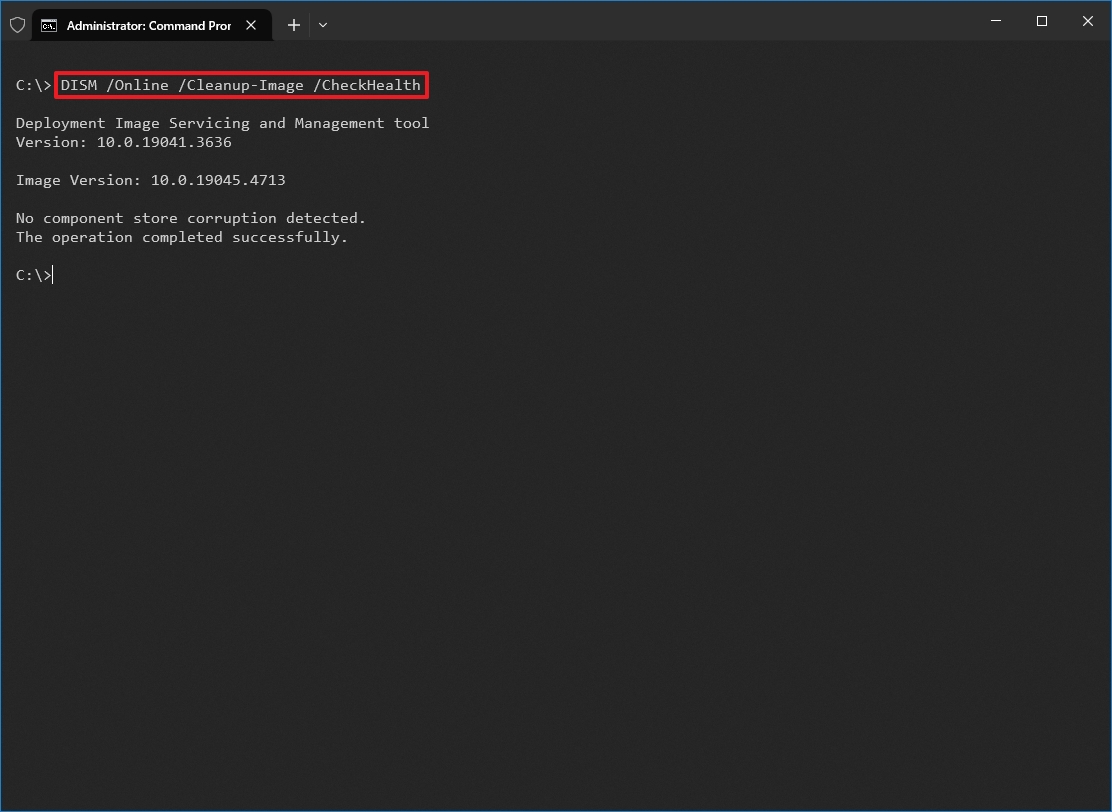
After you finish the steps, the DISM tool will check for any damaged files within your system and repair them if needed.
DISM command with ScanHealth option
The “ScanHealth” option performs a more advanced scan to find out whether the image has any issues.
To check image problems with the “ScanHealth” option, use these steps:
- Open Start.
- Search for Command Prompt, right-click the top result, and select the Run as administrator option.
- Type the following command to perform an advanced DISM scan and press Enter: DISM /Online /Cleanup-Image /ScanHealth

After completing the steps, the scan may take some time to check whether the image needs fixing.
DISM command with RestoreHealth option
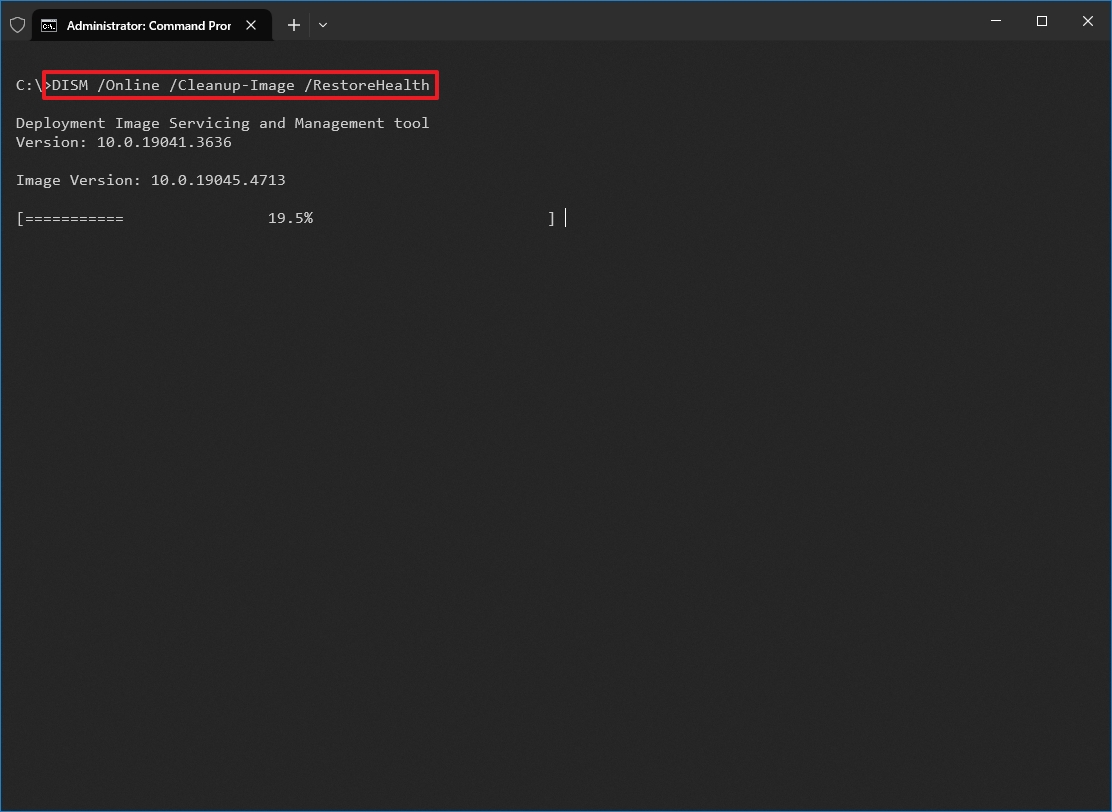
If there are problems with your system image, the “RestoreHealth” feature will automatically scan for and fix common errors.
To repair Windows 10 local image problems with DISM, use these steps:
- Open Start.
- Search for Command Prompt, right-click the top result, and select the Run as administrator option.
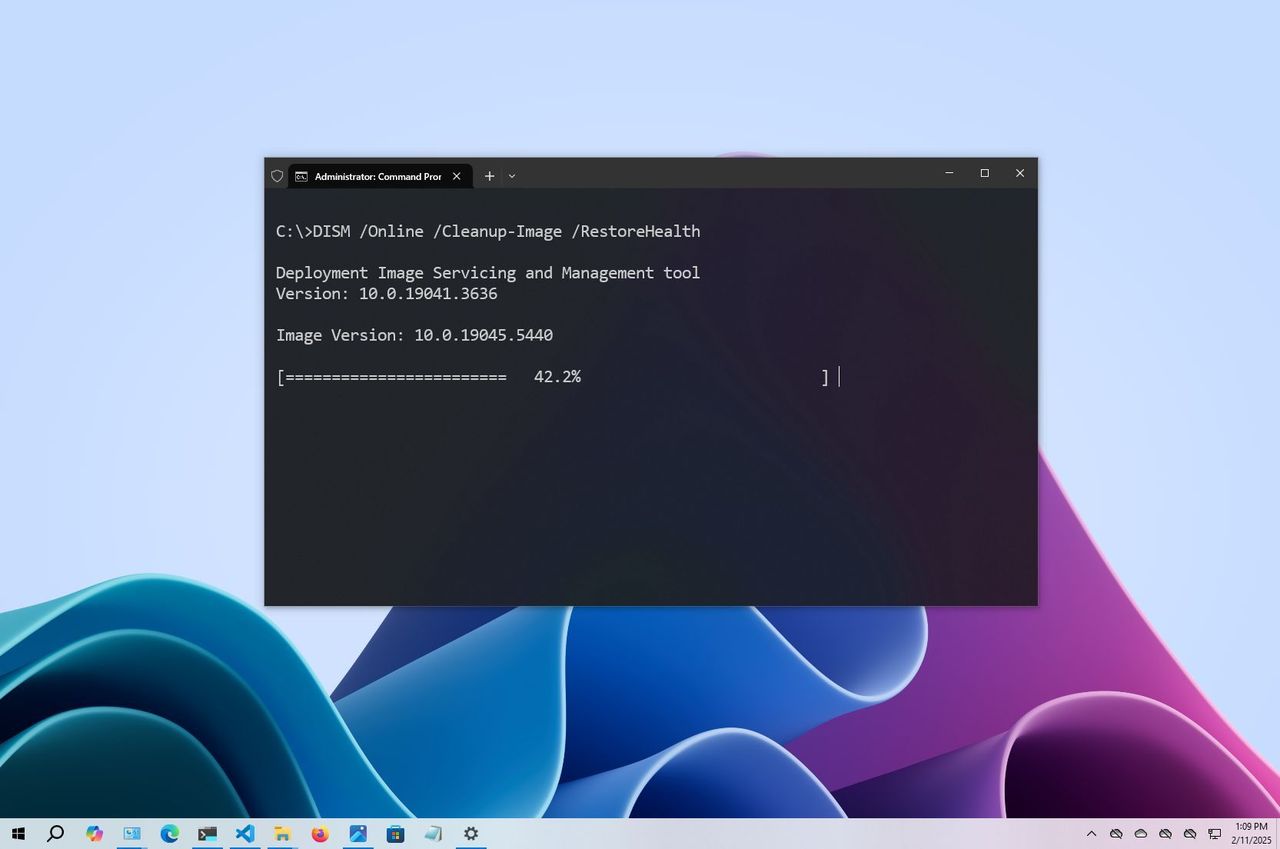
- Type the following command to repair the image and press Enter: DISM /Online /Cleanup-Image /RestoreHealth
- Quick note: It’s normal if the command appears stuck. After a few moments, the process will be completed successfully.
After finishing the steps, the tool will check with Windows Update to download and fix any corrupted files it finds.
Fix problems with DISM using install.wim image
DISM commands rarely cause problems, but if it can’t replace corrupted files or your computer isn’t connected to the internet, you can try using a different image file. You can use an “install.wim” or “install.esd” file from another computer, installation disc, or ISO file. Just make sure the file version, edition, and language match the Windows installation you’re trying to repair.
Download Windows 10 ISO file
If you require a new installation file, you can use the Media Creation Tool to download a new copy of Windows 10.
To download the ISO file of Windows 10, use these steps:
- Open this Microsoft support website.
- Click the Download Now button.
- Double-click the MediaCreationTool_xxxx.exe file to launch the setup.
- Click the Accept button to agree to the terms.
- Select the “Create installation media (USB flash drive, DVD, or ISO file) for another PC” option.
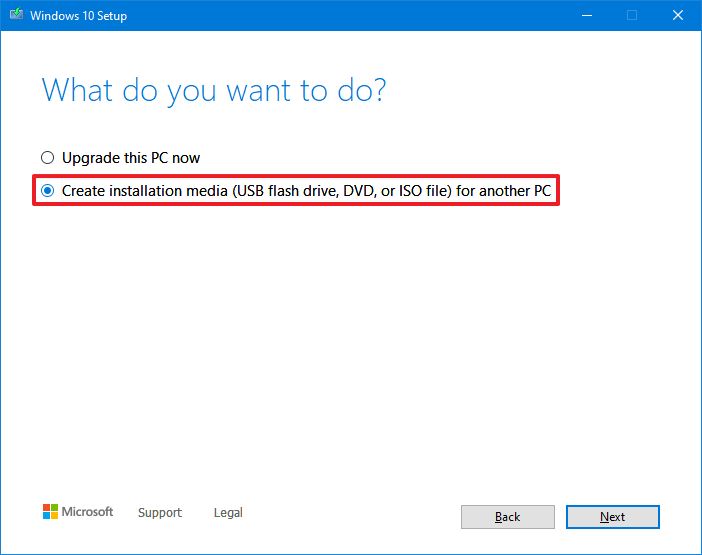
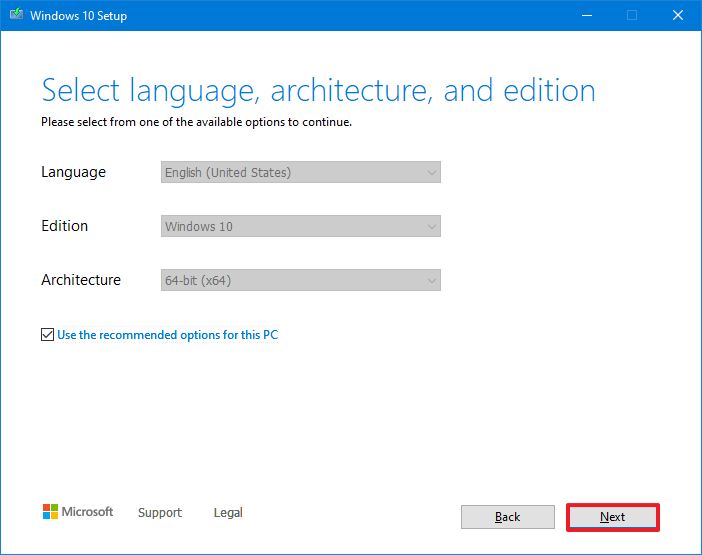
- Click the Next button.
- Click the Next button again.
- Select the ISO file option.
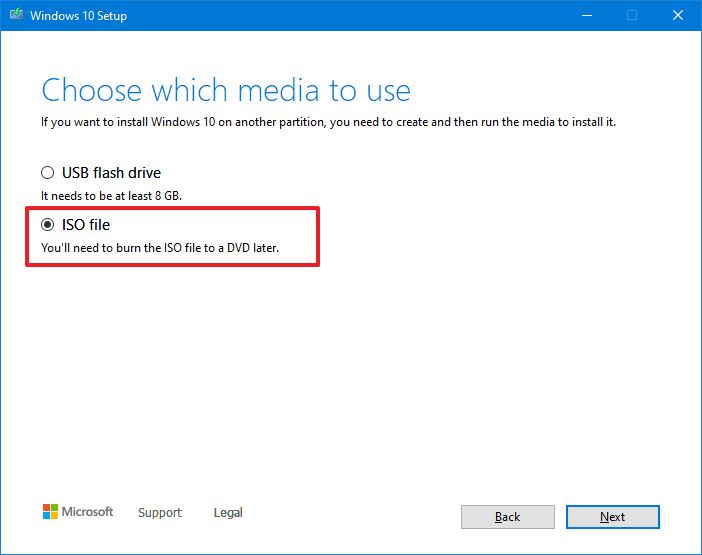
- Click the Next button.
- Select the destination to store the Windows 10 ISO file.
- Click the Save button.
- Click the link to open the file location on File Explorer.
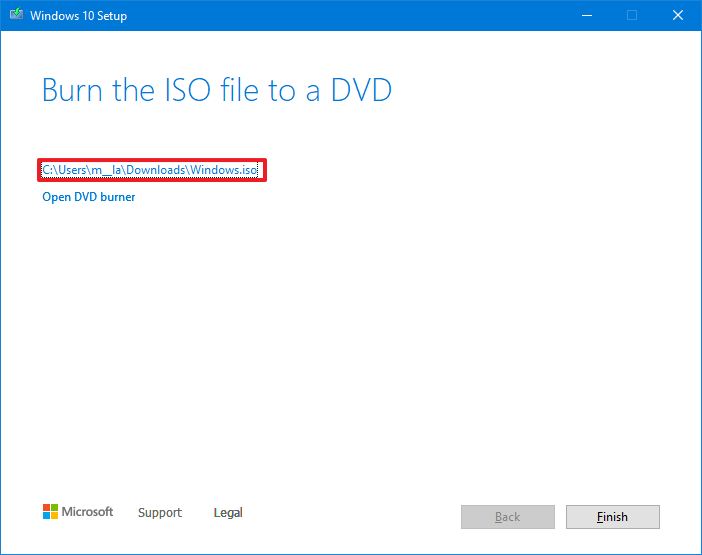
- Click the Finish button.
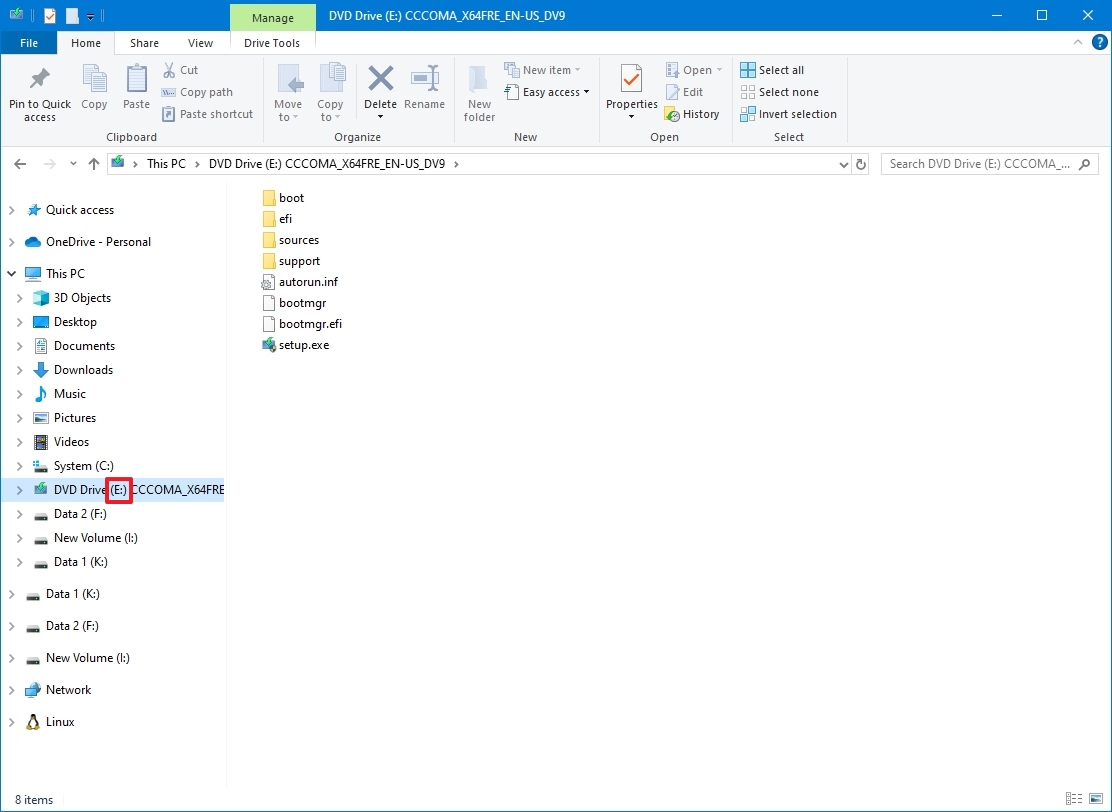
- Double-click the Windows.iso file to mount the image.
- Confirm the drive letter for the mount point of the ISO file under the “This PC” section.
Once you’ve finished the previous steps, use the DISM tool and select the “Source” option to fix the image using files already on your computer.
Fix Windows 10 recovery image
If you want to use a different install.wim image with the Deployment Image Servicing and Management tool, follow these instructions:
- Open Start.
- Search for Command Prompt, right-click the top result, and select the Run as administrator option.
In the command, replace “E” with the mount point drive letter on File Explorer.
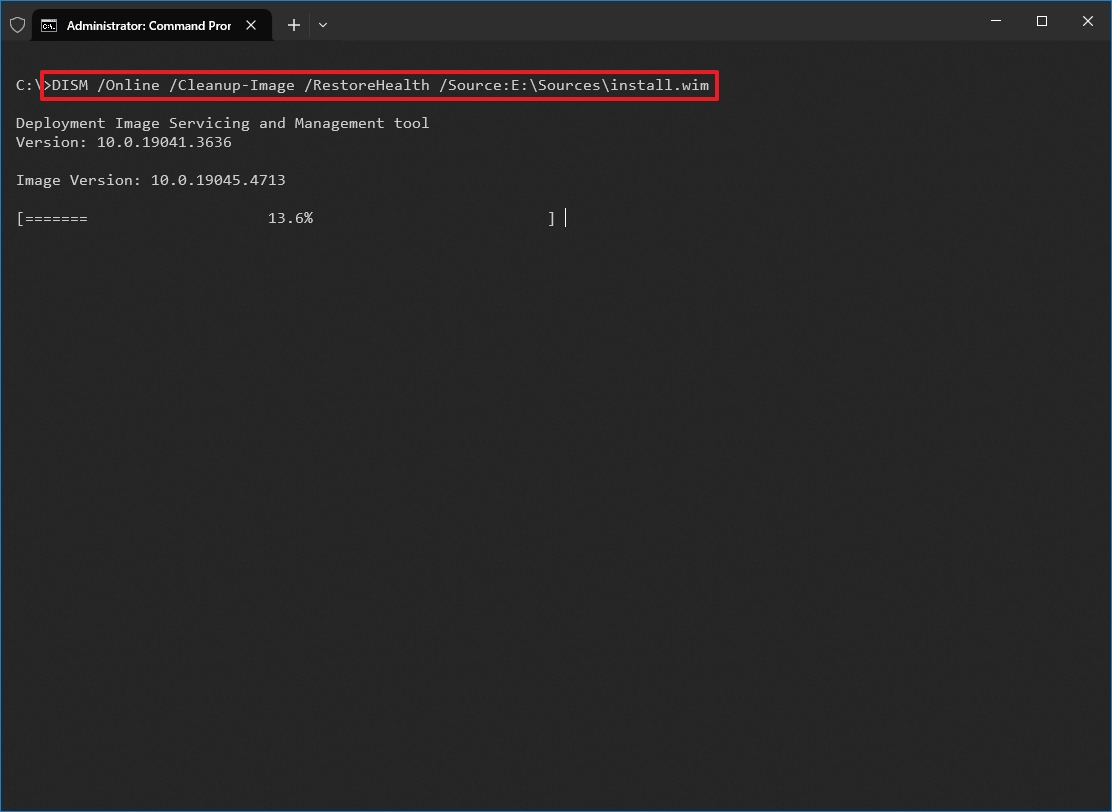
In the command, change “G:\Sources,” for the path to the “install.wim” file.
After finishing the steps, the command will check for and fix any issues, using the alternative source file you indicated – the “install.wim” file.
Fix problems with DISM using ESD image
If you have a protected “install.esd” file, you can use it to fix corrupted system files in Windows 10.
To use DISM with an “install.esd” image file as the source to repair Windows 10, use these steps:
- Open Start.
- Search for Command Prompt, right-click the top result, and select the Run as administrator option.
If your ESD file is located in a different folder, replace “C:\ESD\Windows\sources” with the correct path in the command.
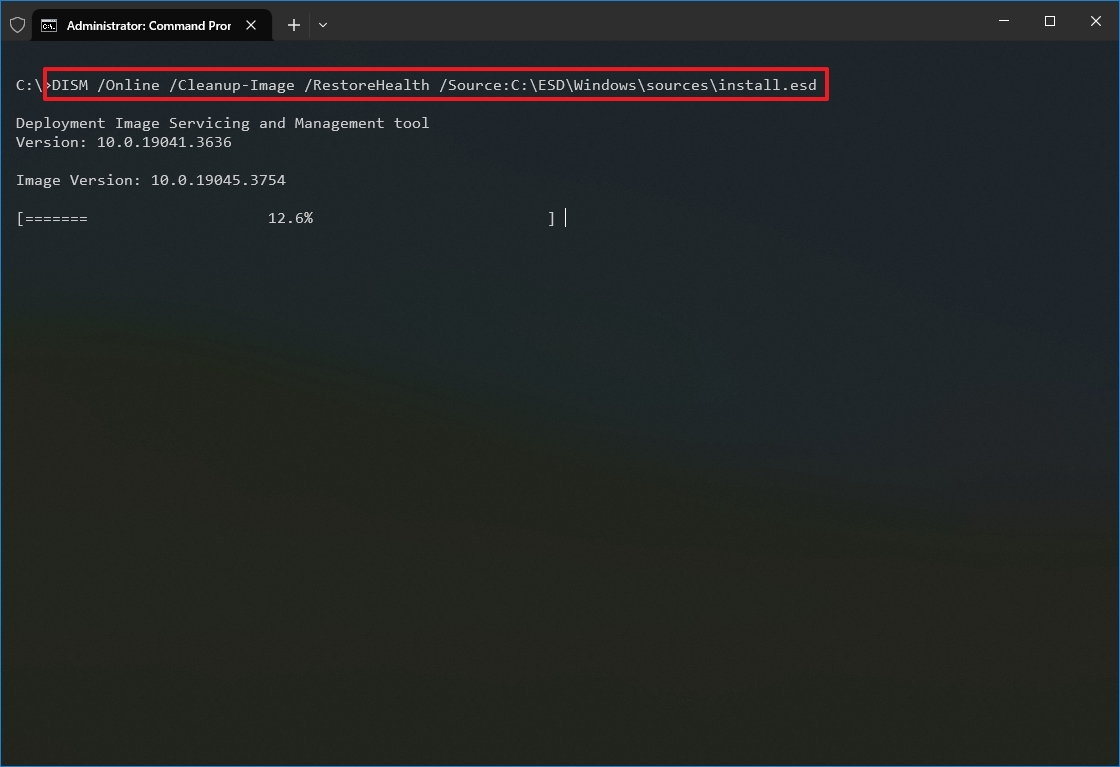
In the command, replace “E:\Sources” with the path to the location of the “install.esd” file.
Once the process is finished, the tool will fix any corrupted files by using data from the “install.esd” file.
Troubleshooting common errors
If the RestoreHealth command fails, depending on the error, you can try these fixes:
- Error 87: The parameter is incorrect – Check the command for typos and re-try it. Commands are case-insensitive, but spaces must be exact.
- DISM stuck at 20%, 40%, or 80% – Restart the computer and try again. It can also help run the chkdsk C: /f /r /x command to check for disk errors. However, before taking any actions, consider that sometimes, if the command appears stuck, it could also mean the tool is busy repairing the system.
- Error 0x800f0906: DISM fails to download files – This error indicates that the tool is having issues downloading files from Windows Update. In this case, ensure your internet connection is stable. Try using a local Windows installation source using the above steps.
For more detailed information about the issue, check the DISM log file at C:\WINDOWS\Logs\DISM\dism.log. This log can help pinpoint the exact cause of the problem.
If you’re having trouble with this DISM command or your computer is still experiencing issues, you might want to try resetting it to its original factory settings using the ‘Reset this PC’ feature, or reinstalling Windows 10 completely.
How to run SFC to repair problems on Windows 10
These steps fix problems with the core system files, not issues you might have during the Windows 10 installation process. Once the system files are repaired, you can use the System File Checker tool to fix any remaining problems with your current Windows 10 setup.
To use the SFC command tool to repair system problems, use these steps:
- Open Start.
- Search for Command Prompt, right-click the top result, and select the Run as administrator option.
- Type the following command to repair the installation and press Enter: SFC /scannow
- Quick tip: If errors are found, you may want to run the command around three times to ensure that everything was fixed correctly.
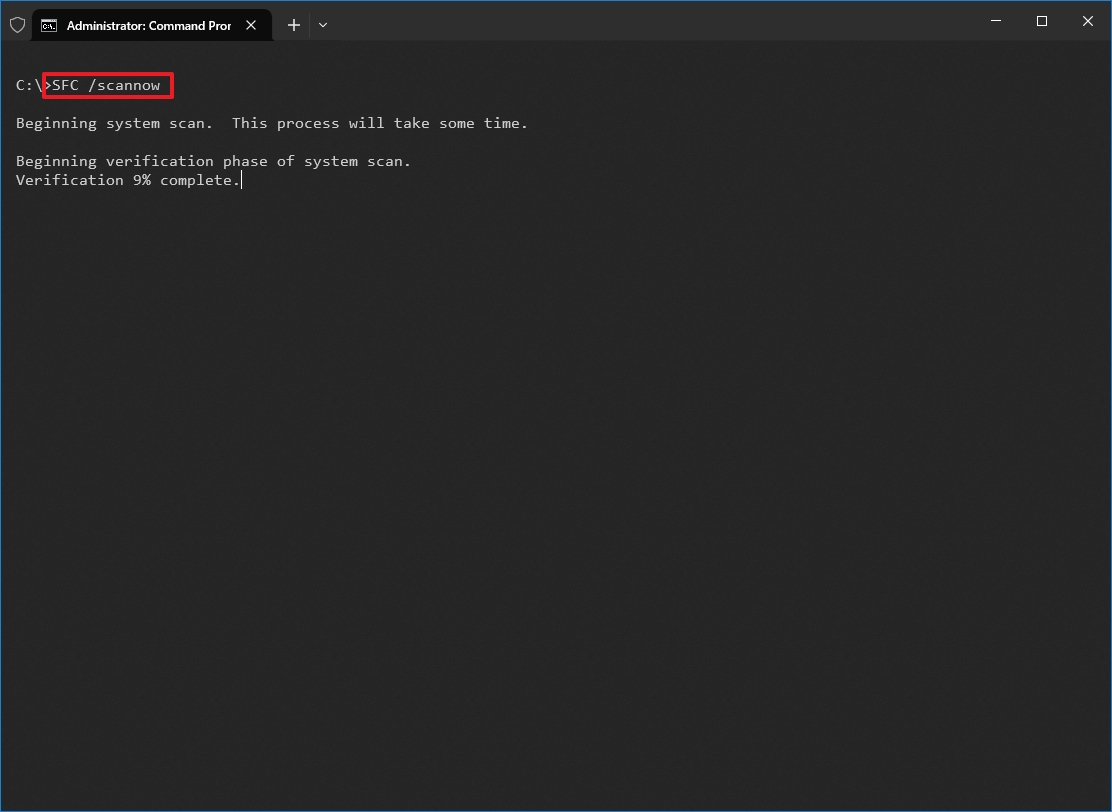
After finishing the steps, the System File Checker will automatically fix any corrupted system files using files on your computer. You can find detailed information about the repair process in the log files, located at %windir%/Logs/CBS/CBS.log and %windir%/Logs/DISM/dism.log.
These instructions will help you discover more ways to use the System File Checker tool to resolve issues in Windows 10.
FAQs
These are common questions when using DISM on Windows 10.
How do I access Safe Mode on Windows 10?
To start your computer in Safe Mode, first restart it while holding down the Shift key and select “Restart.” Next, go to Troubleshoot > Advanced options > Startup Settings, and then click “Restart” again. When a list of options appears, press the number 4 to enter Safe Mode, 5 for Safe Mode with Networking, or 6 for Safe Mode with Command Prompt.
How do I boot into Safe Mode on Windows 10?
To start your computer in Safe Mode, first go to your Settings, then Update & Security, and then Recovery. Click “Restart now” under “Advanced startup.” Next, choose Troubleshoot, then Advanced options, and finally Startup Settings. Click “Restart” again, and then select the Safe Mode option that works best for you.
What is DISM?
DISM is a Microsoft tool you can use from the command line to repair and maintain your system images. It’s often used to fix damaged system files.
What is the DISM Host Servicing Process?
The DISM Host Servicing Process, or DismHost.exe, is a program that runs in the background whenever you use the Deployment Image Servicing and Management tool – a Windows feature for managing system images.
Can I run DISM in Safe Mode on Windows 10?
You can use DISM in Safe Mode, but it won’t work as fully as it does in normal Windows or the Windows Recovery Environment. It’s generally best to run it in those other modes for full functionality.
Does DISM delete files?
DISM doesn’t remove your personal files. It simply verifies the integrity of your Windows system files and replaces any that are corrupted or missing.
How do I run DISM on Windows 10?
To fix issues with Windows 10, open the Start menu, search for “Command Prompt (admin)”, and run it. Then, type the following command and press Enter: `DISM /Online /Cleanup-Image /RestoreHealth`. This will scan for and repair any problems with your Windows installation.
How long does DISM RestoreHealth take?
The time this takes can vary quite a bit – from a few minutes to over an hour – based on how fast your computer is and how badly damaged the files are. It’s crucial to allow the process to complete fully.
How do I run DISM from the recovery console?
To use the Deployment Image Servicing and Management tool within the Windows Recovery Environment, open Command Prompt. You can find it under Troubleshoot, then Advanced options.
While in Command Prompt, run the DISM /Image:C:\ /Cleanup-Image /RestoreHealth command.
When using the command, be sure to substitute C with the correct drive letter for your installation. You can determine this letter by using the List Volume command within DiskPart.
More resources
Read More
- What Song Is In The New Supergirl Trailer (& What It Means For The DC Movie)
- TV legend Carol Kirkwood reveals the reasons why she decided to retire after 28 years with BBC
- Dune 3 Gets the Huge Update Fans Have Been Waiting For
- Highly Anticipated Strategy RPG Finally Sets Release Date (And It’s Soon)
- The Super Mario Galaxy Movie: 50 Easter Eggs, References & Major Cameos Explained
- Why is Tech Jacket gender-swapped in Invincible season 4 and who voices her?
- Welcome to Demon School! Iruma-kun season 4 release schedule: When are new episodes on Crunchyroll?
- Sydney Sweeney’s The Housemaid 2 Sets Streaming Release Date
- Who Wants to Be a Millionaire? confirms contestant wins full £1 million prize pot on Jeremy Clarkson quiz
- The OG Resident Evil 1, 2 and 3 Are Now Available on Steam With a Heavy Discount (and DRM)
2025-09-17 02:43