
It’s that time of year when many parents are giving their children laptops for Christmas. I’m one of those parents – my son is getting his first one to help him prepare for a new school level starting in 2026.
Okay, so as a huge gamer, let me tell you – if you’re getting tech for Christmas, *please* set it up beforehand! Trust me, you don’t want to be fiddling with cables and updates on Christmas morning. If it’s an Xbox, I’ve even found a handy guide to get everything ready before the big day, which is a lifesaver!
Setting up a laptop takes more time and effort, so it’s really important to do it now to avoid disappointed kids on Christmas morning. Here’s a quick guide to help parents get everything ready.
1. Basic setup of Windows 11
Setting up Windows 11 from scratch takes a significant amount of time. My coworker, Ben Wilson, recently detailed the entire process, and it’s quite involved.
Before you can start using a new laptop, there’s some initial setup required, and it takes a little while. This includes connecting to a network, installing operating system updates, and completing other basic configurations you might not find exciting.
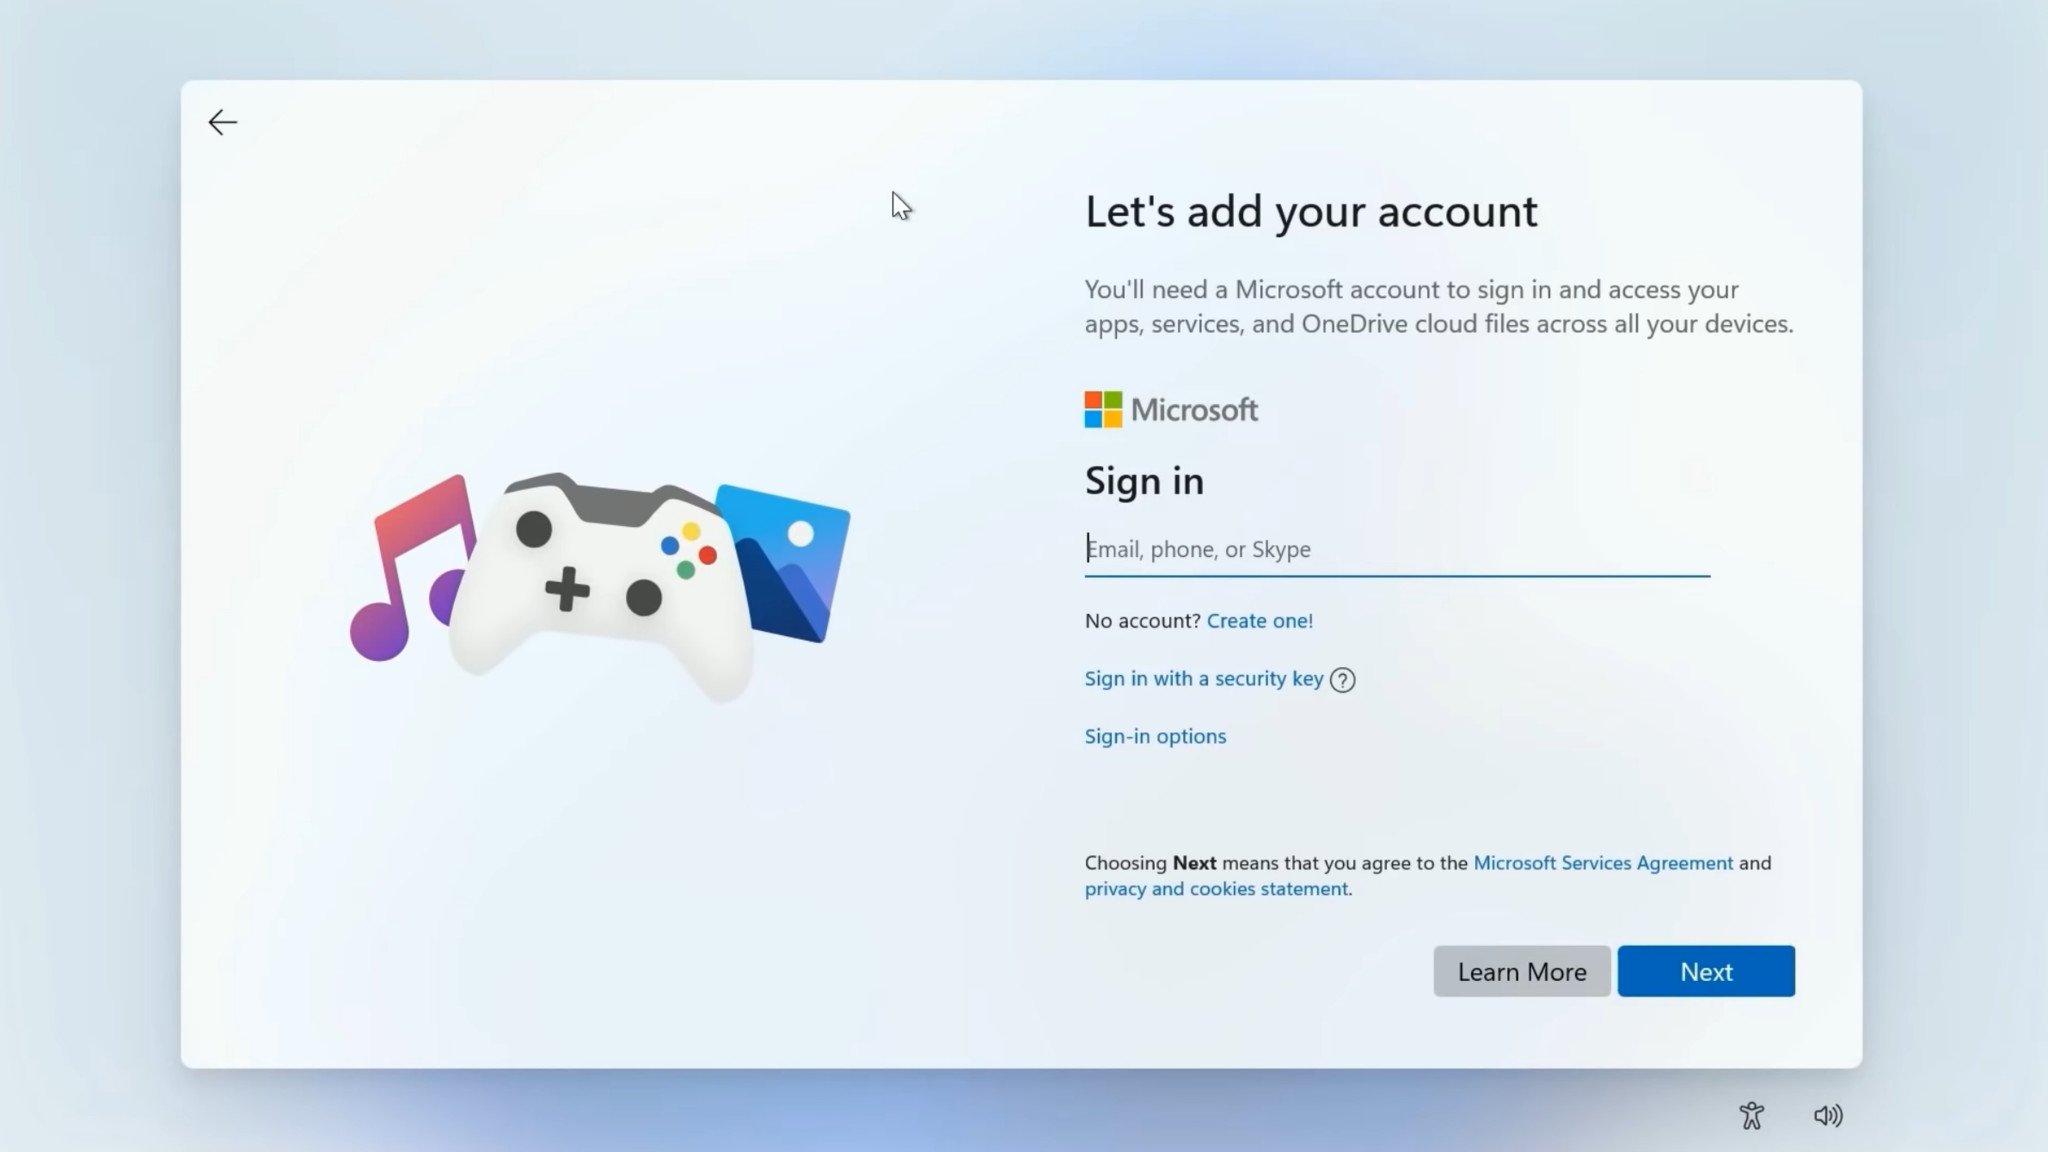
Okay, so if you’re setting this up for a kid, you can choose which Microsoft account to use – either yours or theirs. Honestly, I think it’s best to start with your own account. It just makes things simpler, and we’ll get into why – it has to do with parental controls – a little later on.
When you’re first setting up a new Copilot+ PC, you’ll be asked about Windows Recall. You can choose whether or not to use it, but if you don’t want your child to access this AI feature, make sure to turn it off during the setup process, before you start using the computer.
The links below have more information if you need a helping hand.
2. Run Windows Update and check for updates in the Microsoft Store
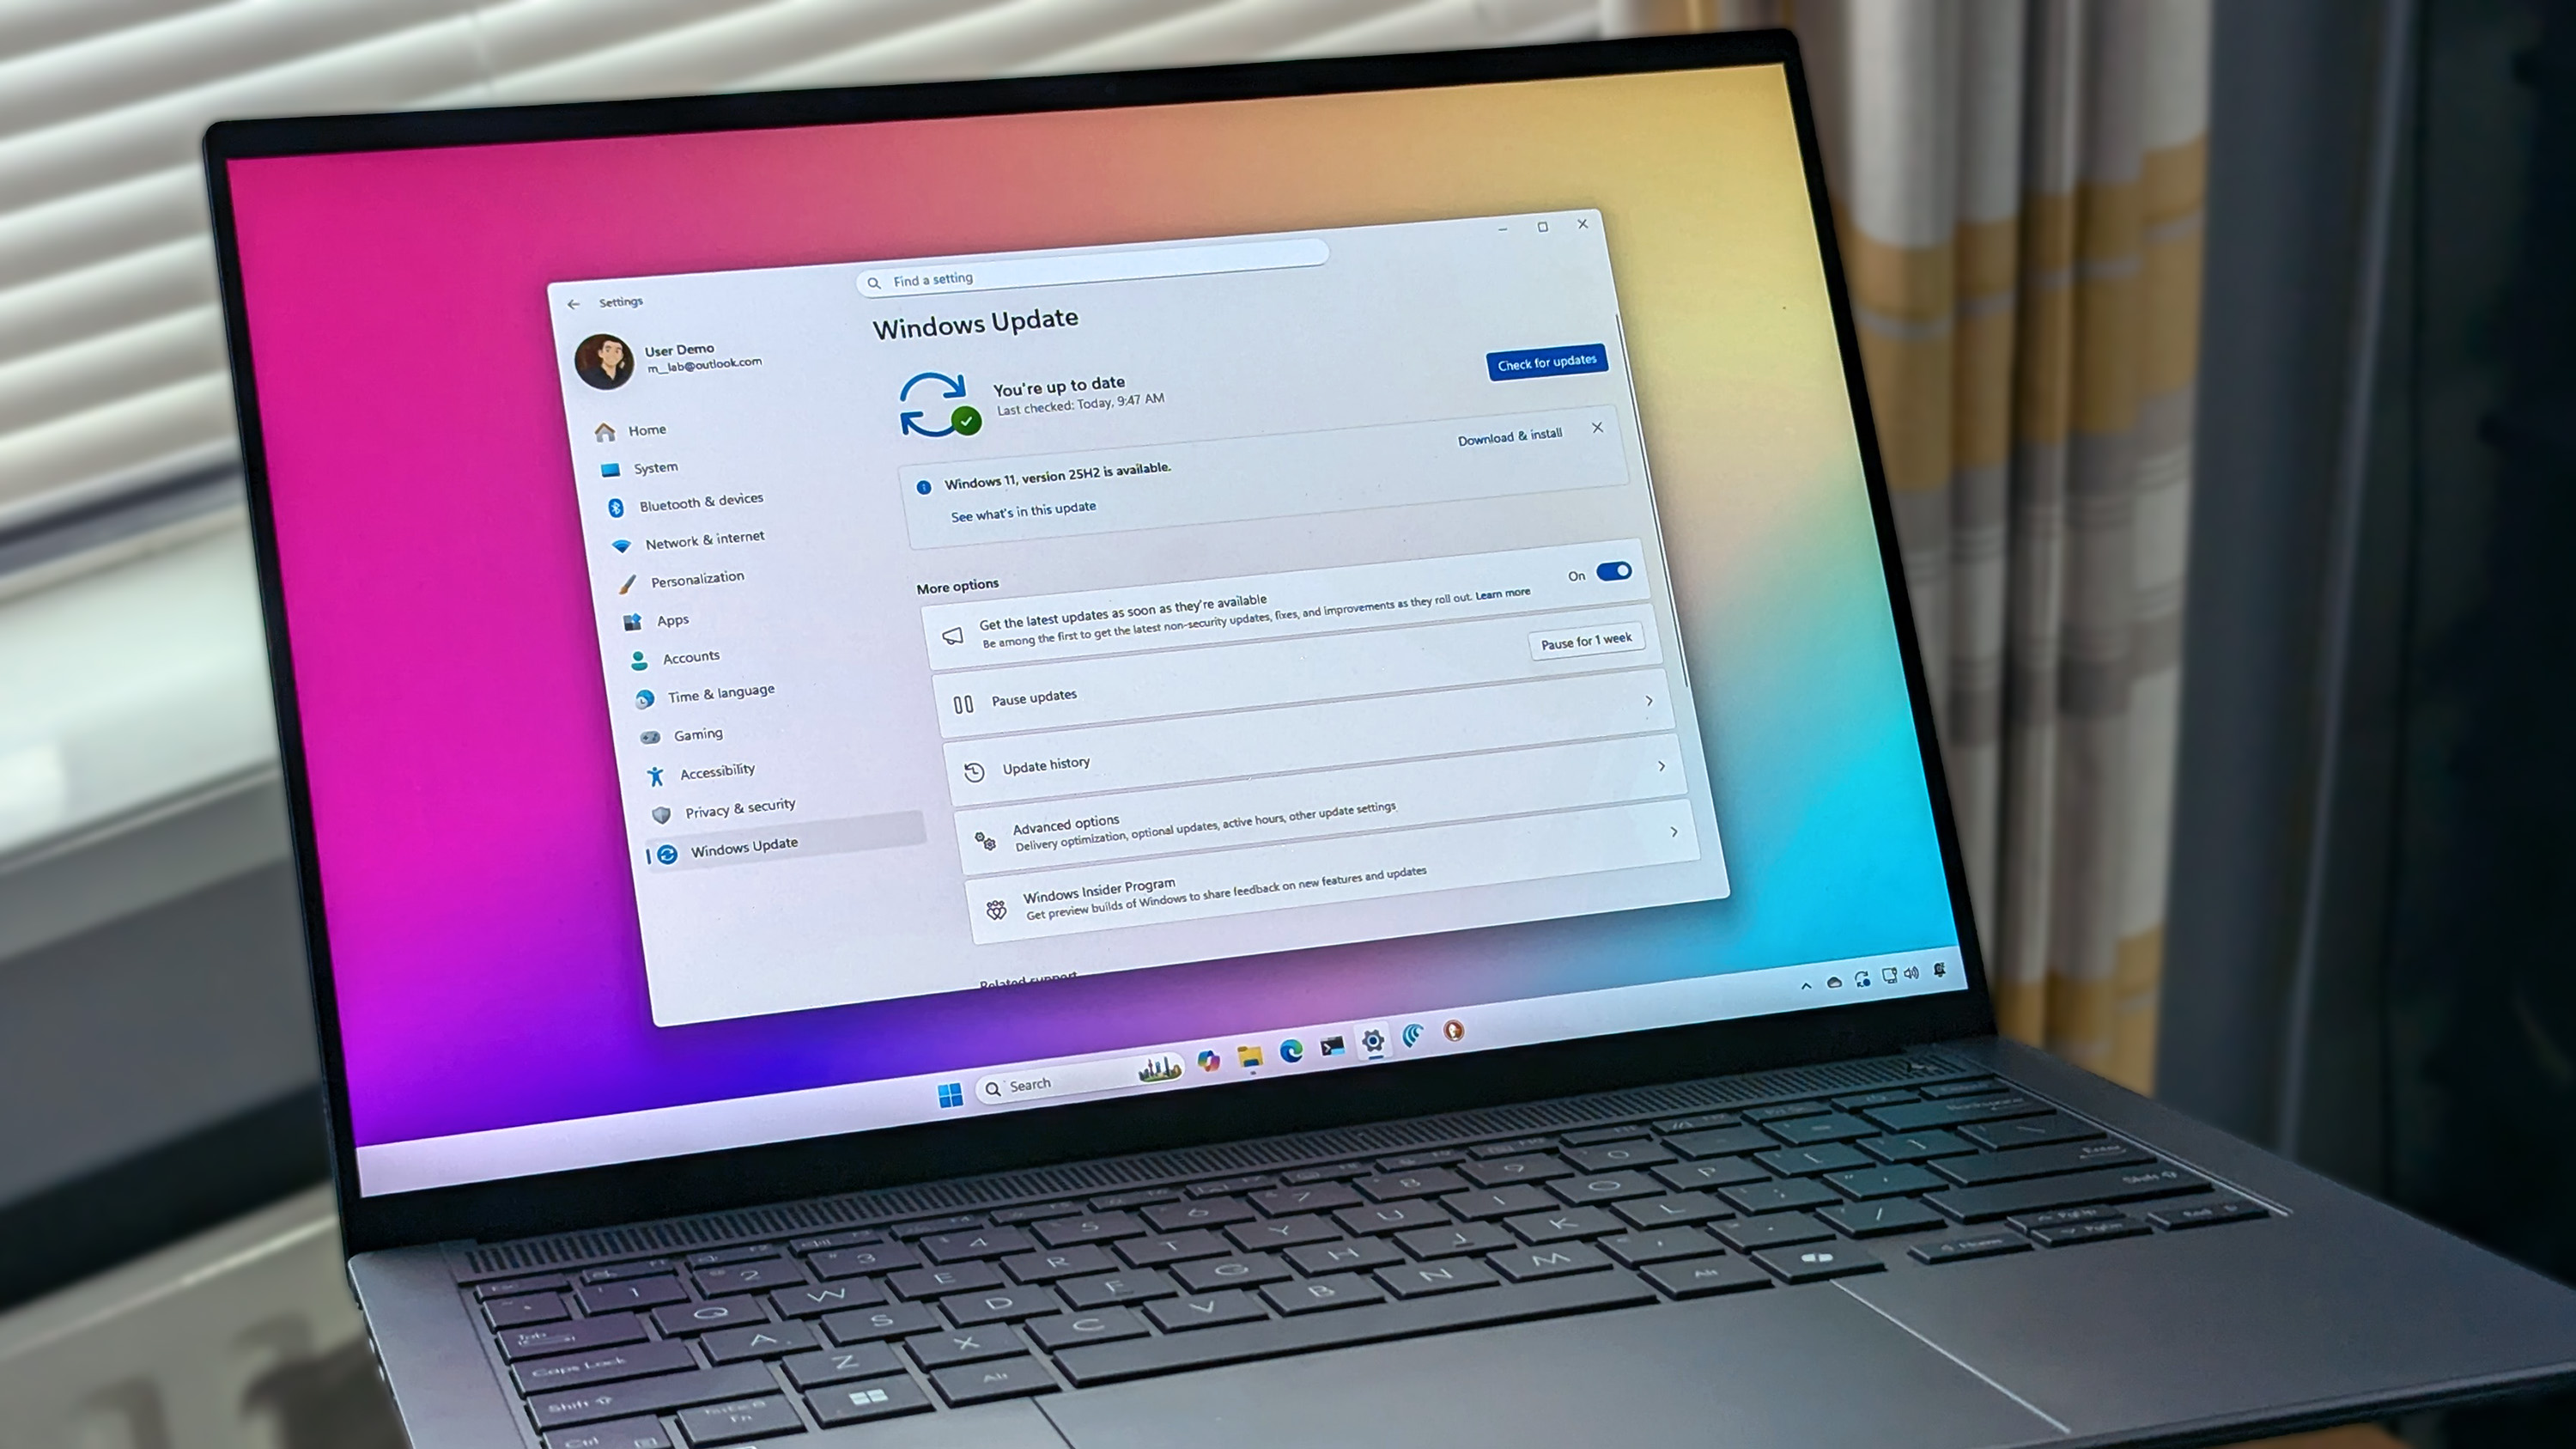
You might assume the updates that downloaded when you first set up your computer were all you needed, but that’s not the case. Now, you should run Windows Update to make sure everything is current.
Okay, so if you want to make sure your PC is running smoothly and securely, the first thing I usually do is head into the Settings app. From there, I click on Windows Update and then hit Check for Updates. It’s awesome because it doesn’t *just* get the latest Windows versions – it also grabs important drivers and security fixes, including updates for Windows Defender. Basically, it keeps everything running optimally!
As a new user, I was happy to see that all the apps that came with my device probably need updating, and it’s super easy to do! I just opened the Microsoft Store, clicked on ‘Downloads’, and then ‘Check for Updates’ – it’s a really straightforward process.
3. Set up Microsoft Family Safety parental controls
It’s crucial for parents to monitor their child’s laptop activity and ensure they’re staying safe online. Unexpected charges, like a large bill from in-app purchases, are something everyone wants to avoid.
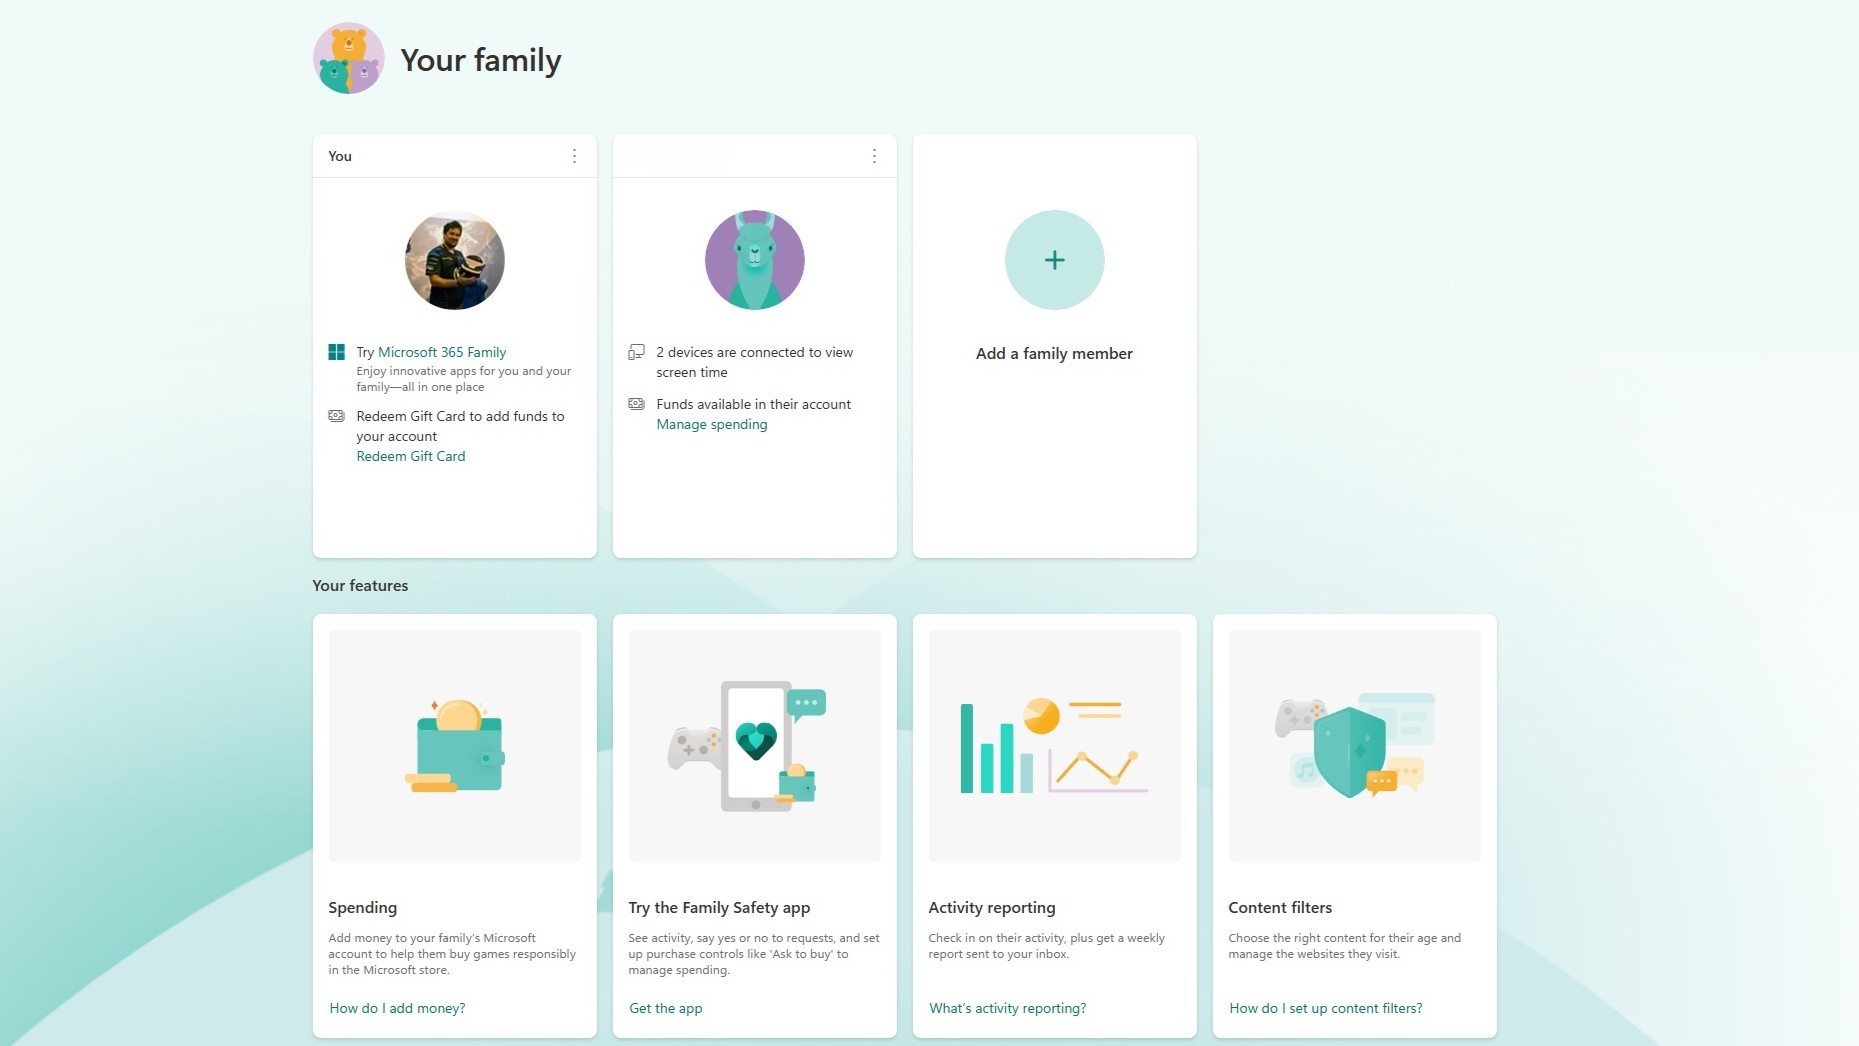
If you’re looking to set up parental controls, Microsoft’s Family Safety guide is a helpful starting point. It explains how to create a family group and an account for your child. Family Safety offers a lot of features, including the ability to set time limits, monitor online activity, manage spending, and filter content based on age.
After creating your family group, you can easily add your child’s account to the laptop through the Settings menu. Navigate to Accounts, then select Family. You’ll find their account listed below yours. This will give your child their own login, allowing them to use the laptop separately, while still being protected by the parental controls you’ve established.
I suggest setting it up this way to keep your main account as the administrator on the laptop, while limiting the child account’s access unless you specifically grant it more permissions.
The guide linked below contains a full explainer on Windows 11 user account settings.
4. Remove junk (including Microsoft Teams!)
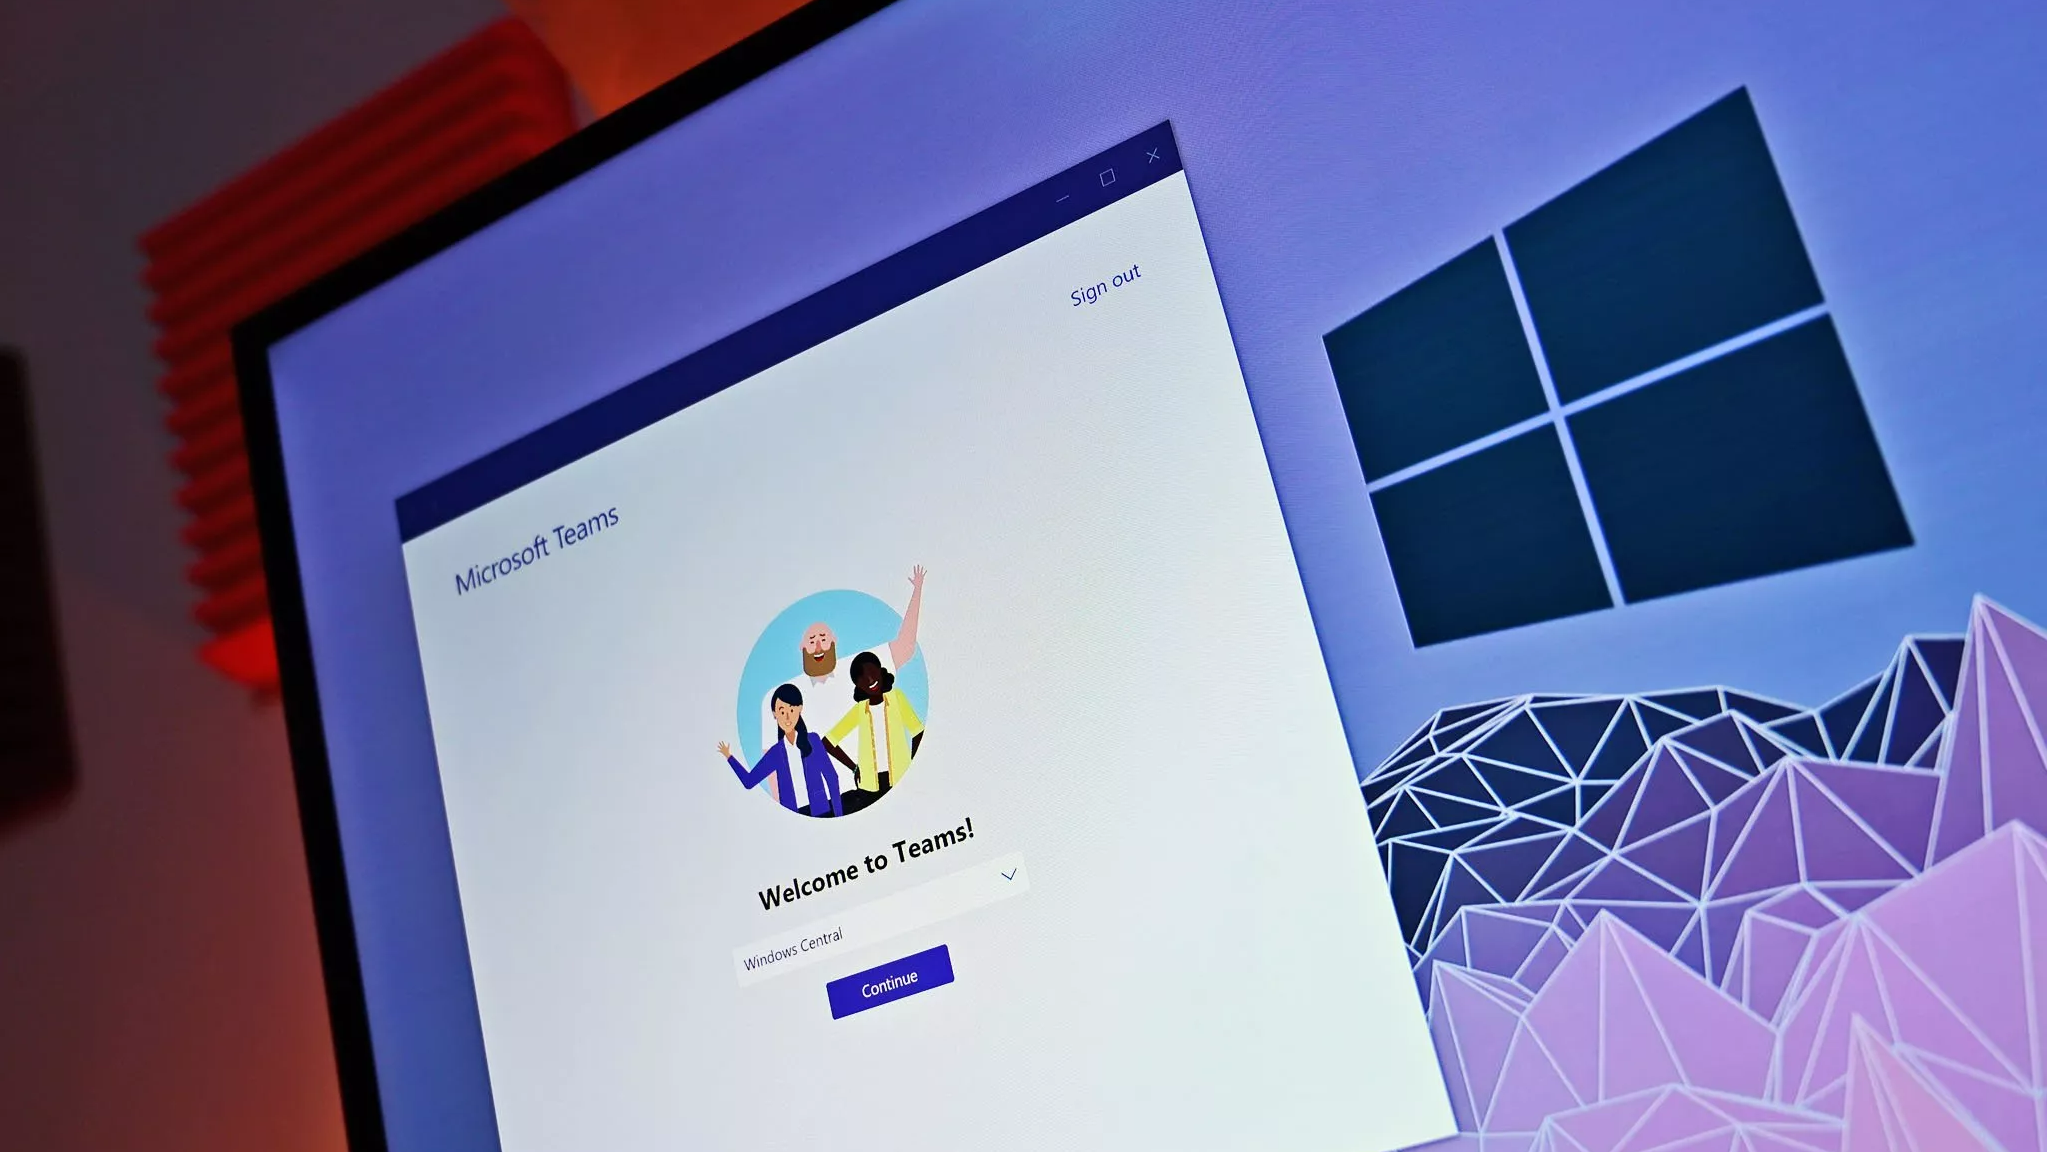
Get rid of any apps or programs you and your child don’t need, including Microsoft Teams. Only keep Teams if it’s required for schoolwork or other activities.
Laptops often come with pre-installed apps that many people don’t need. Luckily, these can be uninstalled to free up storage space. What apps you remove will depend on your needs, but for example, I removed McAfee, Microsoft Teams, and OneDrive from my son’s laptop because he didn’t use them.
Simply review the pre-installed content and choose what you want to keep. It’s important to do this while logged in as your child, because if you do it from your own account, some of the content might come back.
5. Install the latest graphics drivers
Make sure your graphics drivers are up to date, no matter what kind of graphics card you have – whether it’s a dedicated NVIDIA or AMD card, or built-in graphics from Intel or Qualcomm.
As a parent, I know my kid will definitely want to play games on this, so it’s super important to me that the drivers are always updated. It just makes everything run smoother and keeps them happy!
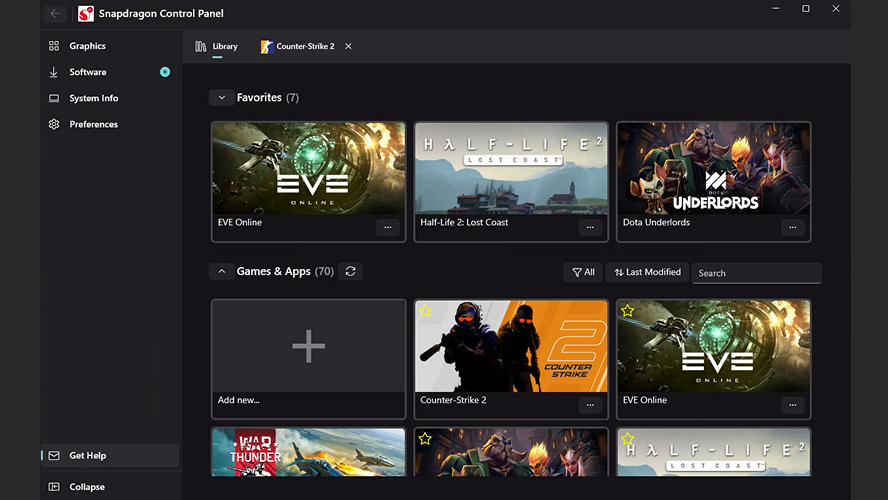
I’ve noticed something important about laptops using the Snapdragon X chip. The drivers that come pre-installed with them tend to be quite outdated compared to the newest releases, so it’s something to be aware of.
If your computer has an NVIDIA graphics card, you likely already have the NVIDIA app installed. If not, you can download the drivers from the link provided. AMD users probably have the Adrenalin app already, but if not, you can find it via the link below. For Qualcomm’s new Snapdragon graphics, you’ll need to download the Snapdragon Control Panel from the link provided, as it doesn’t come pre-installed.
6. Preinstall essential apps and games

If you anticipate your child wanting to play Minecraft right away, it’s best to install the game beforehand to save them the wait.
Okay, so I’ve been trying to get Game Pass sharing working on PC, and honestly, it’s still super buggy. I keep running into issues where it complains about accounts not matching up, and it just doesn’t seem to want to cooperate. It’s definitely not a smooth experience right now.
I was able to install the apps and games I needed by signing into the Microsoft Store with my own account, and then switch to my son’s Xbox account within the Xbox app.
Signing out of the Microsoft Store and then back in using my son’s account removes the warning message and currently allows full access.
Sure would be easier if we had a Game Pass family plan, though, wouldn’t it.
7. Charge it up!
Nobody wants to be sat glued to a charger on Christmas morning!
After you finish setting everything up, simply plug it in and let it fully charge before you pack it away.
Read More
- Marvel Officially Confirms Deadpool’s Most Brutal Redesign
- Nintendo Switch 2 Reportedly Getting Remake of One of the Best PS3 and Xbox 360 Games
- Welcome to Demon School! Iruma-kun season 4 release schedule: When are new episodes on Crunchyroll?
- Crunchyroll Confirms New Isekai Anime Releases for 2026 and Beyond (With Major Returns)
- Michael Jackson Biopic’s Record-Breaking Debut Unseats 2026’s Biggest Box Office Hit On U.S. Chart
- The Boys Season 5, Episode 2’s Soldier Boy Ending Twist Changes Everything for Homelander & Butcher
- The Fairly OddParents’ Creator Reveals Who Timmy Ended Up With
- Gold Rate Forecast
- 5 Best Open-World Games You Can Beat In A Weekend
- All 61 Episodes 90s Cult Classic Sci-Fi TV Show That Was Famously Canceled Twice Were Just Added to Tubi
2025-12-23 22:11