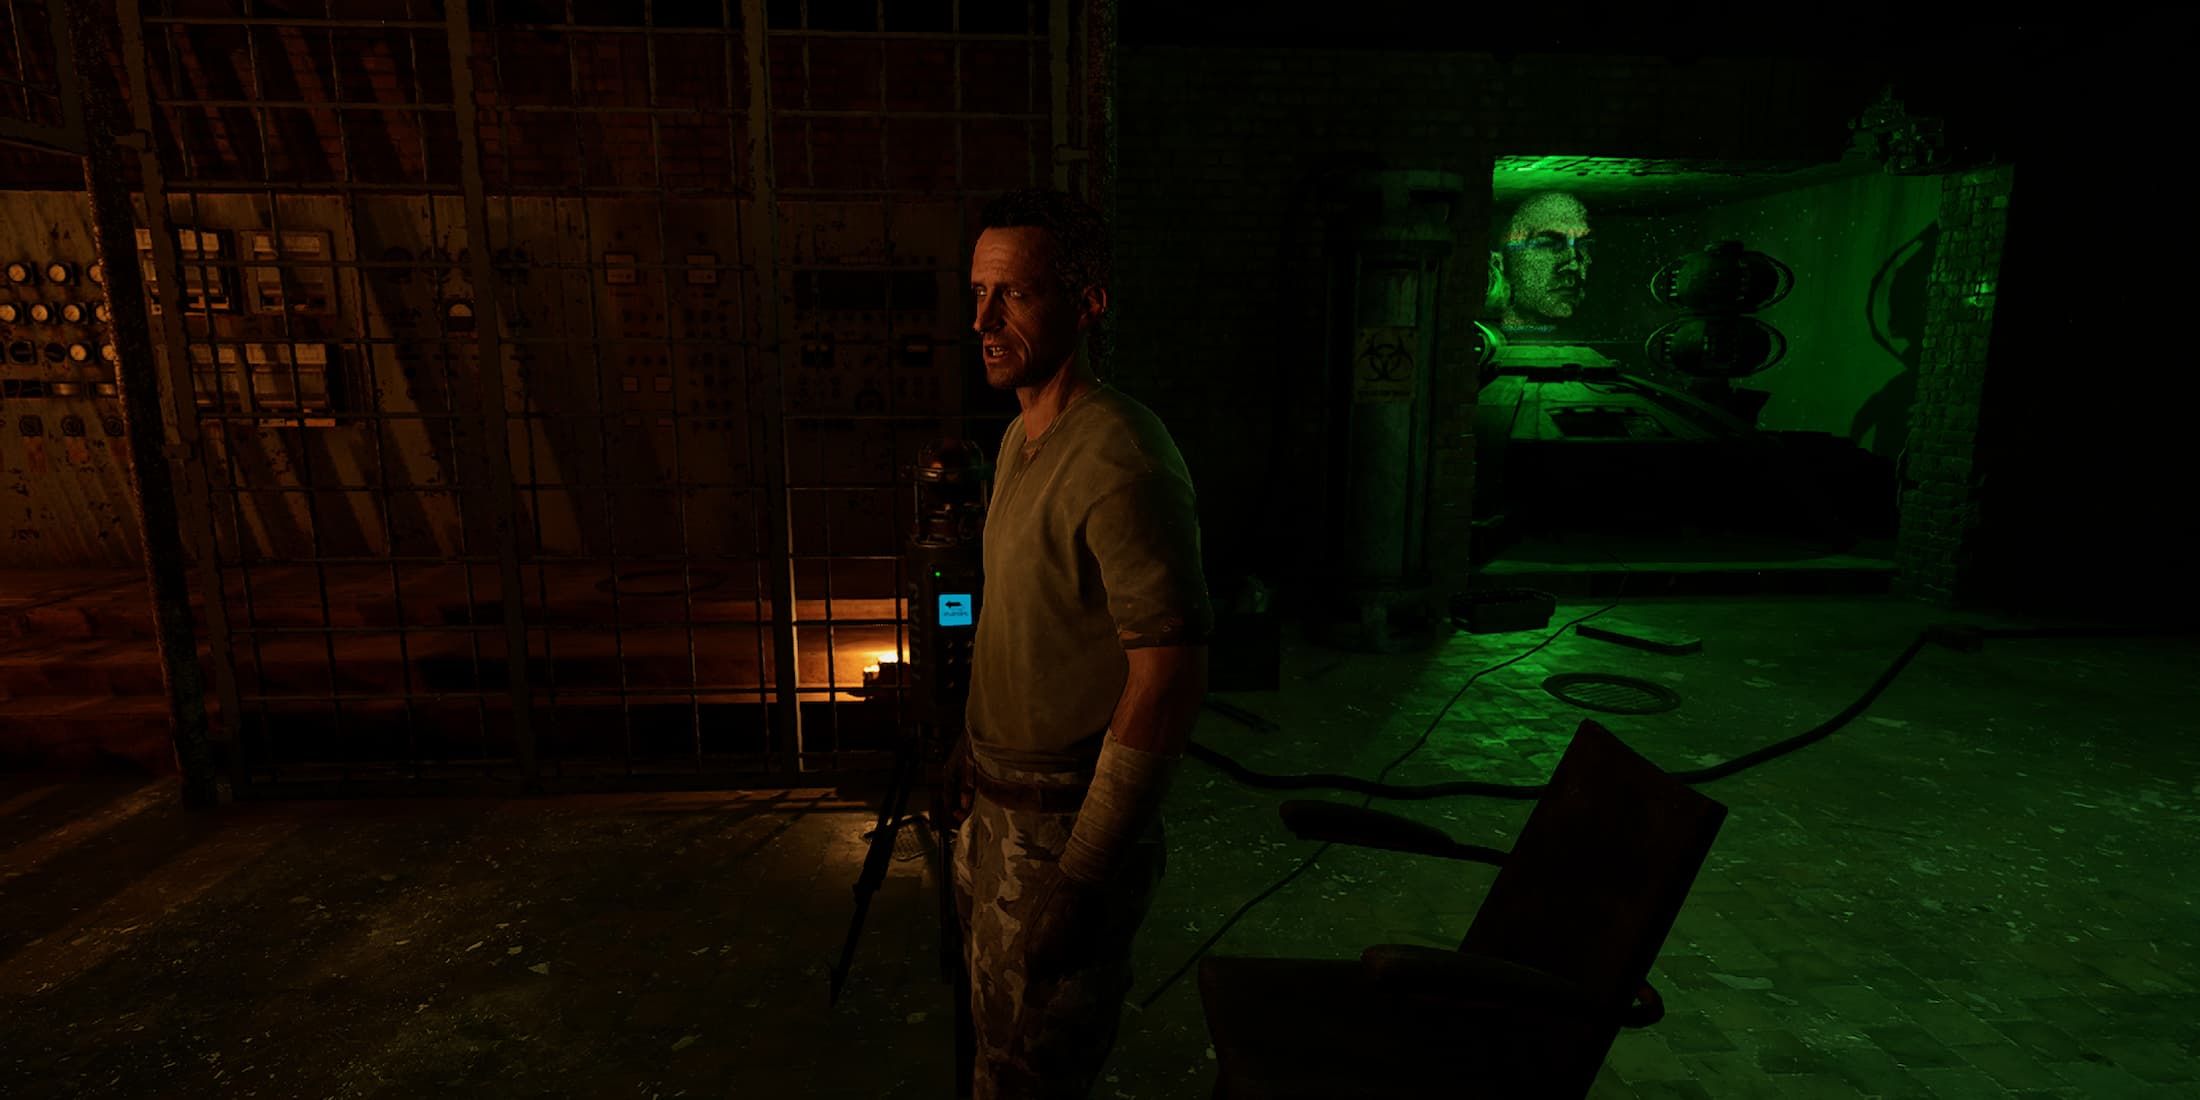
Well, dear adventurer, if you’re reading this guide, I must say you’ve got guts! The Heart of Chornobyl quest is as treacherous as the zone itself. With my years of experience traversing these radioactive wastes, I can confidently say that this mission requires not just skill but also a good dose of patience and wit.
In the narrative of Stalker 2, players will find themselves revisiting some famous locations from the initial series, such as the ancient Clear Sky base nestled in the Great Swamps. However, reaching this location won’t be simple, as the area has grown increasingly perilous over time.
In a previous mission for Stalker 2, players encountered Nimble. Subsequently, they will be asked to locate Faust within the marshlands. Finding him isn’t straightforward, but if you’re having difficulties locating the exact spot, here’s an easy-to-follow guide to help you out.
Where to Get Armor with Psi Protection
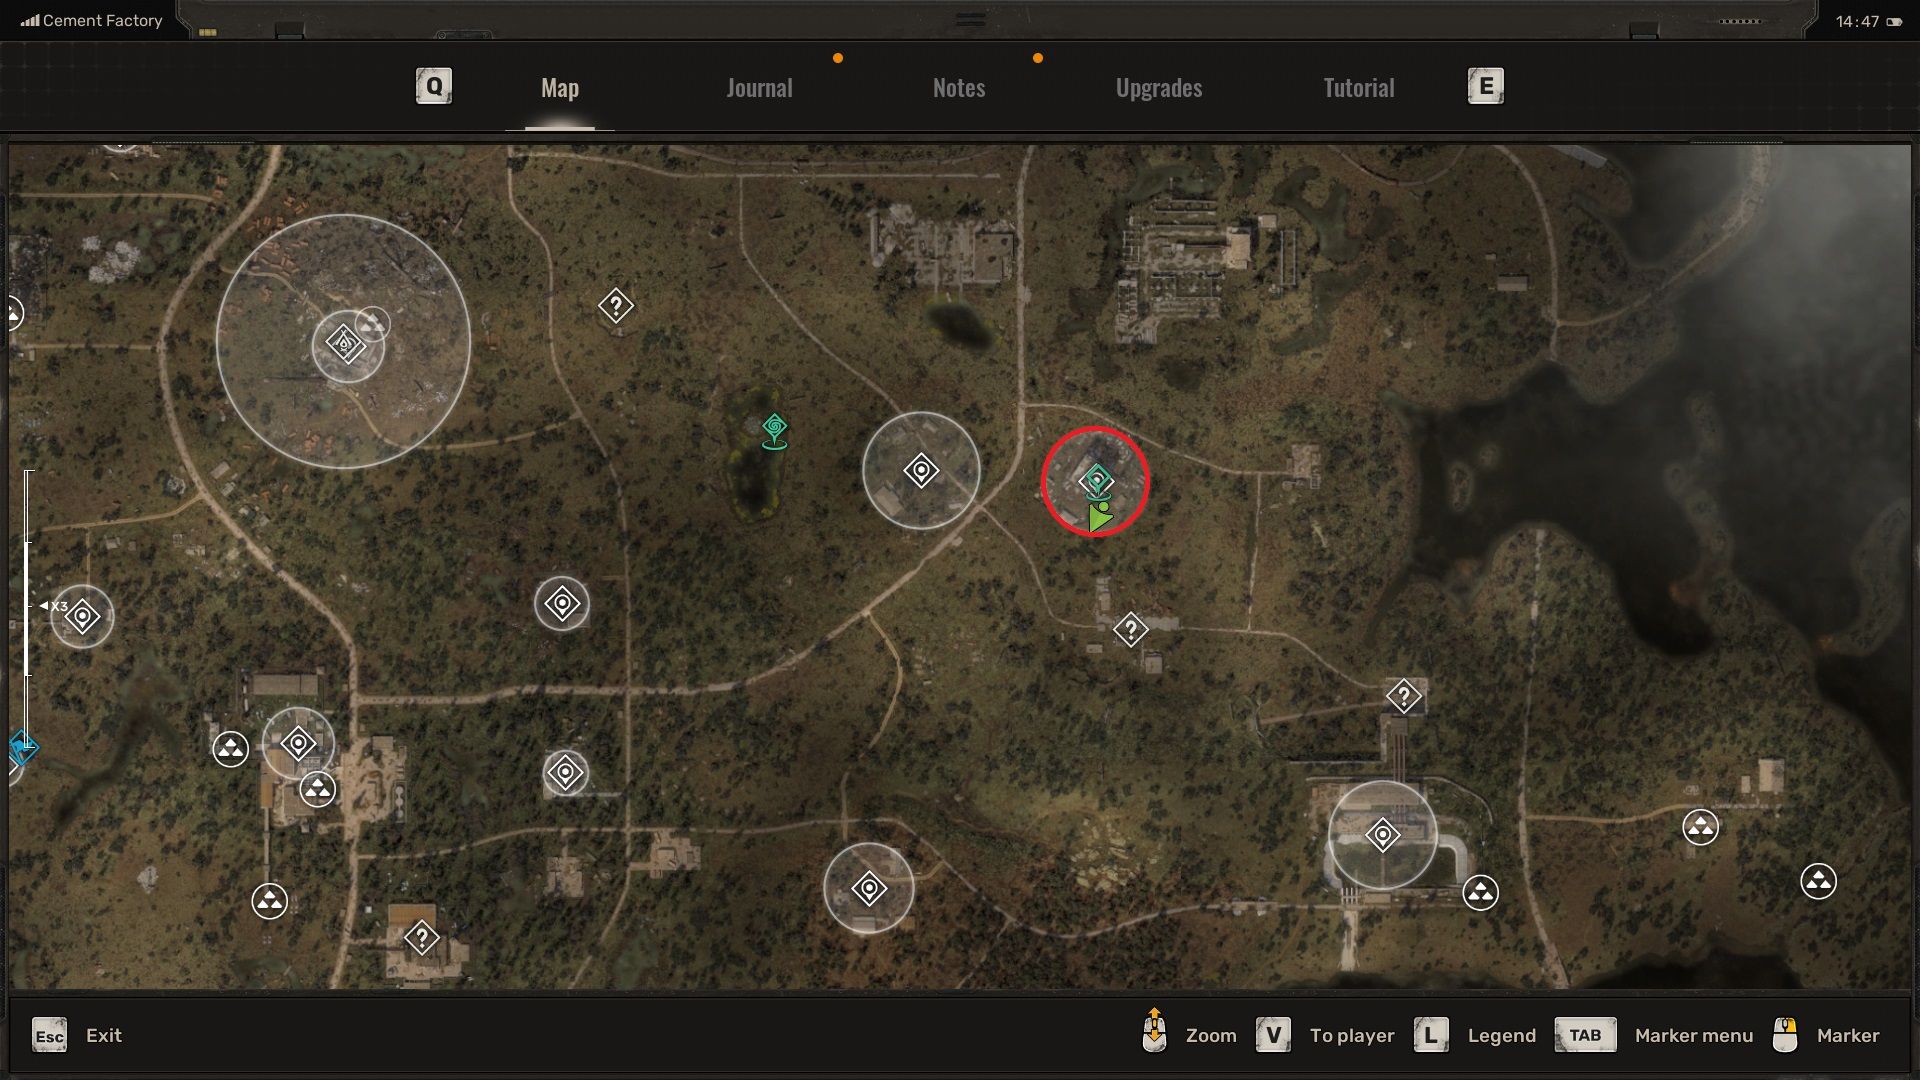
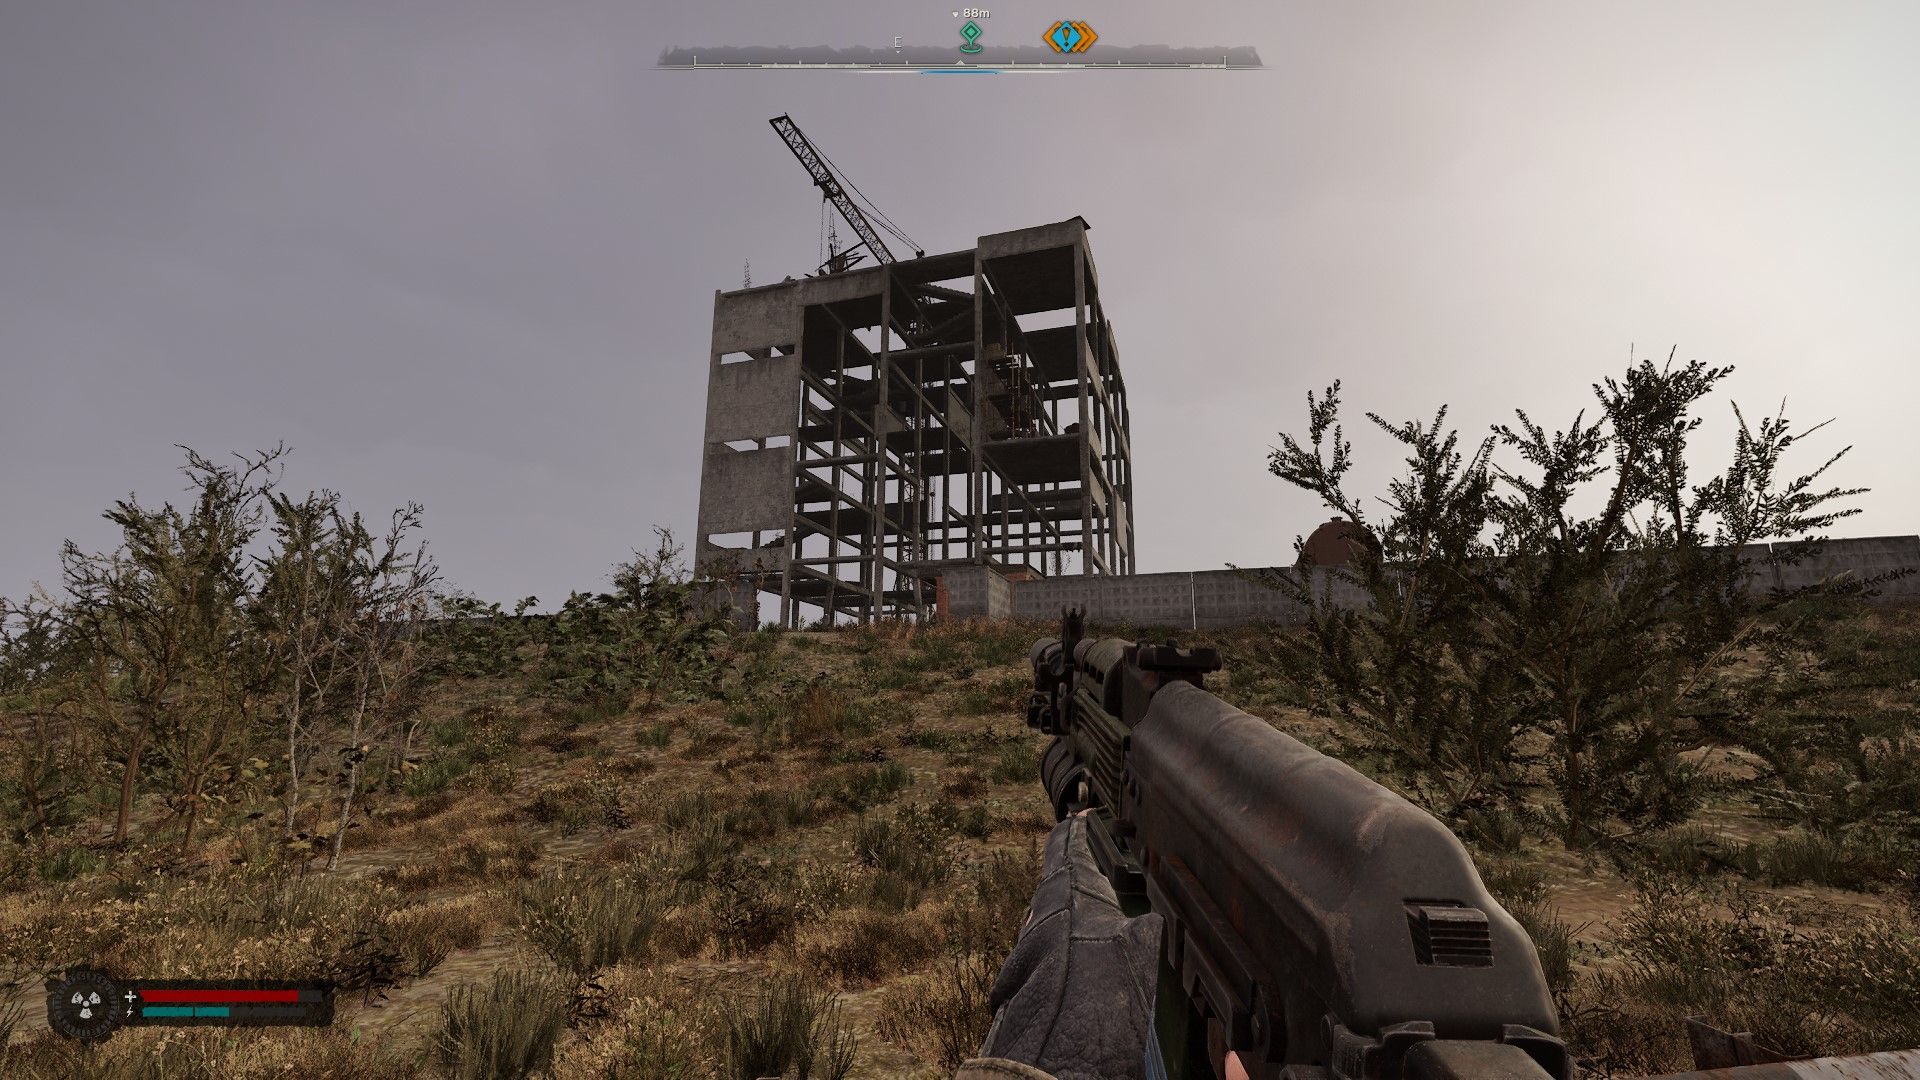
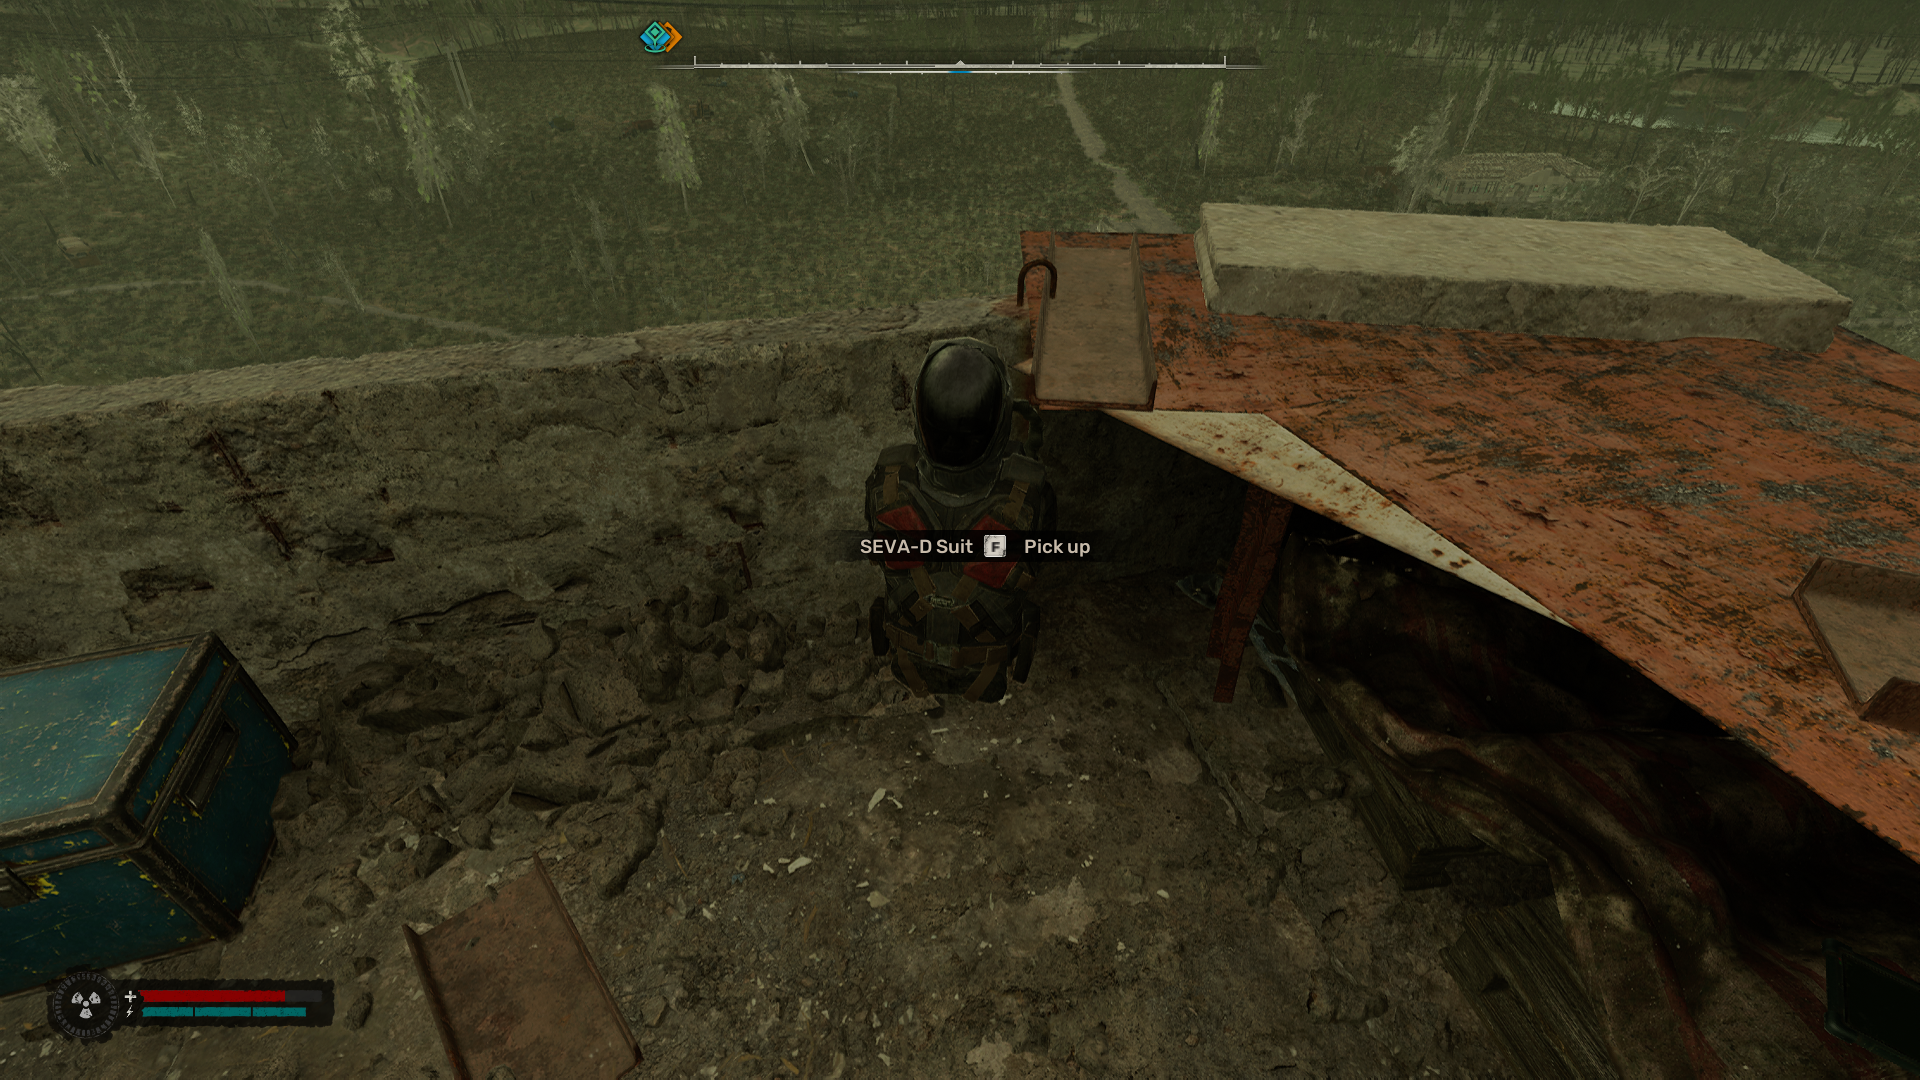
To maximize your chances of acquiring a suit with strong Psychic Protection at this stage of the game, venture into the incomplete structure known as the Cage, located within the Cement Factory district. Be aware that the Cage is currently under the influence of a Psi anomaly, which means you may sustain damage and experience temporary visual distortions while you’re there.
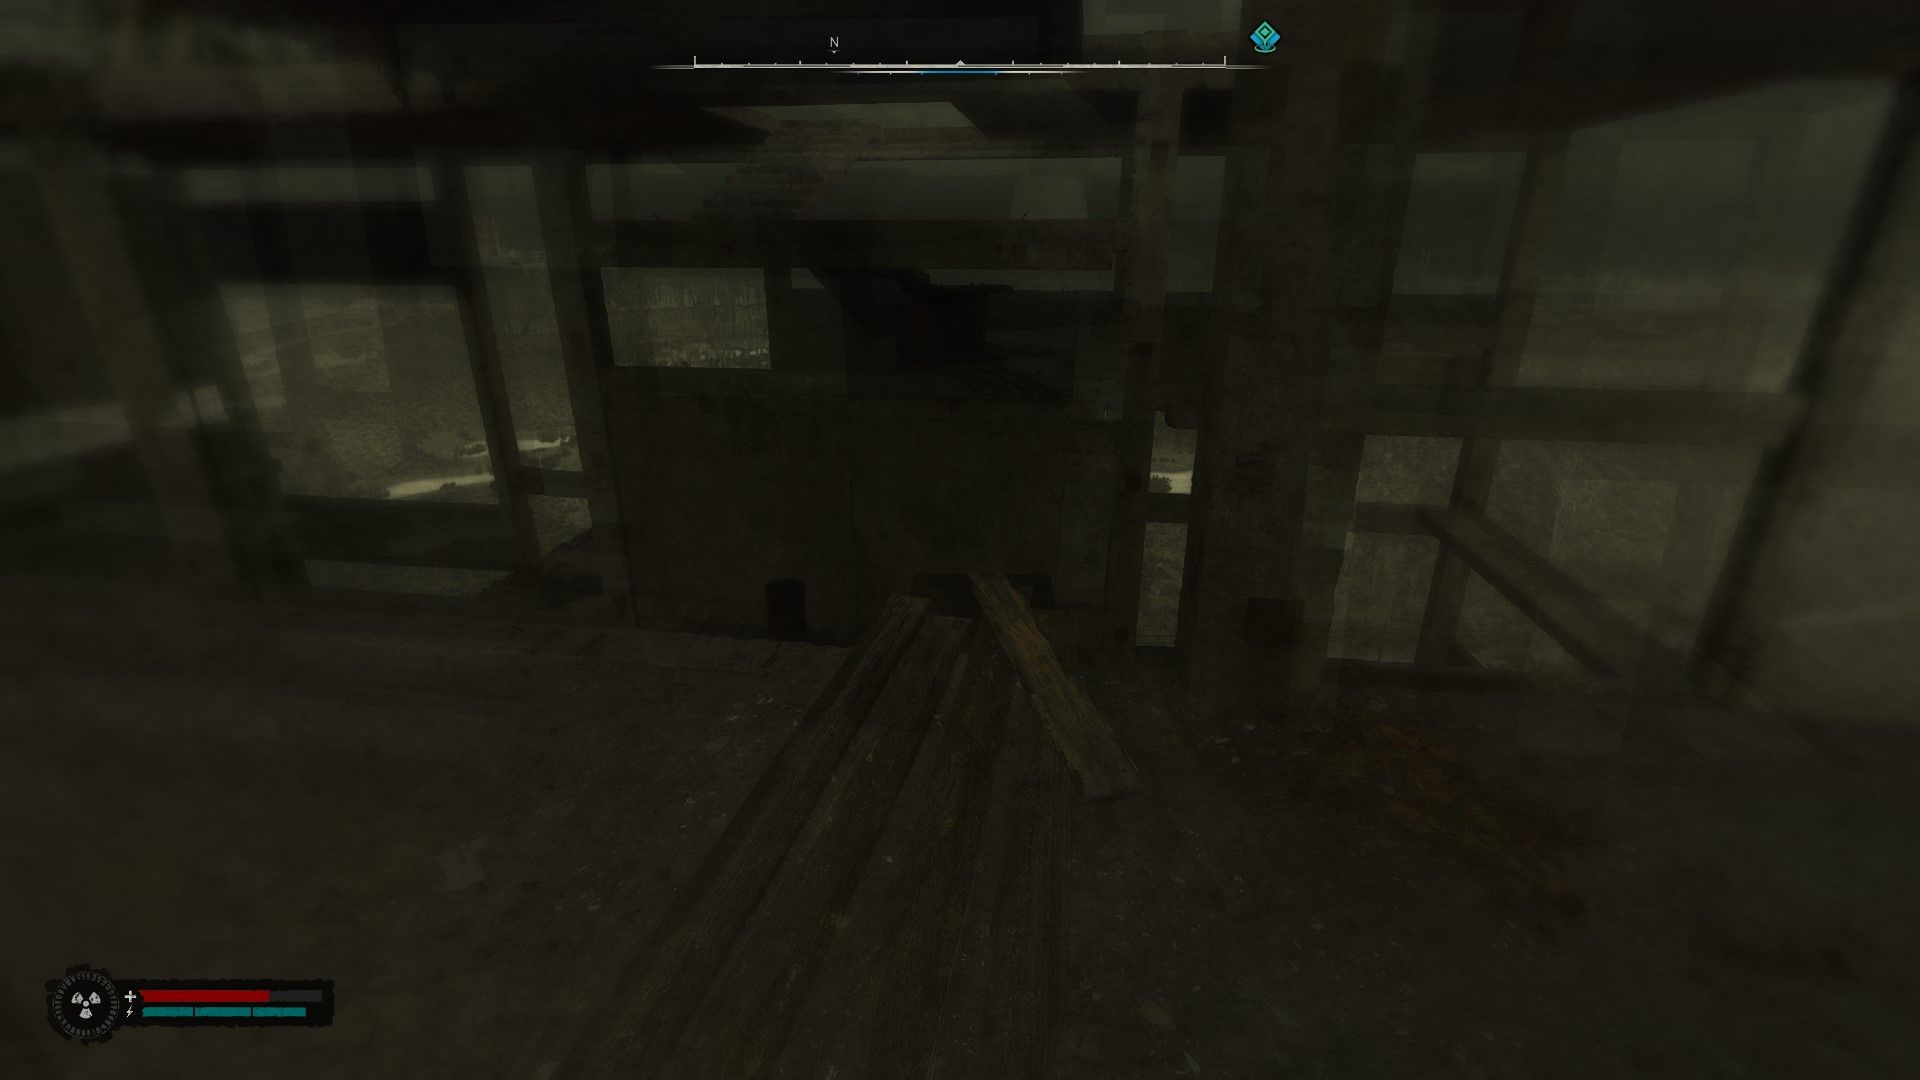
To get to the SEVA-D located on the cage’s rooftop, first ascend the stairs and navigate through the structure by carefully crossing its internal support beams while being mindful of falling hazards and mysterious substances that might be deteriorating your brain. At the peak, there will be a gap you’ll need to jump over to reach the other side of the cage. After doing so, make your way up to the rooftop and seize the SEVA-D resting against a concrete barrier. The SEVA-D boasts slightly superior attributes compared to the Sunrise Suit in Stalker 2, but it renders gas masks unusable.
The gap near the top floor is marked by a wooden plank with yellow paint on the floor.
Disable the Psi Beacons
From now on, your task is to deactivate Psi Beacons that are scattered throughout the marshy area. In all, there are four of these beacons, and keep in mind that you may encounter opposition either close by or at their specific sites.
Burnt Farmstead Beacon
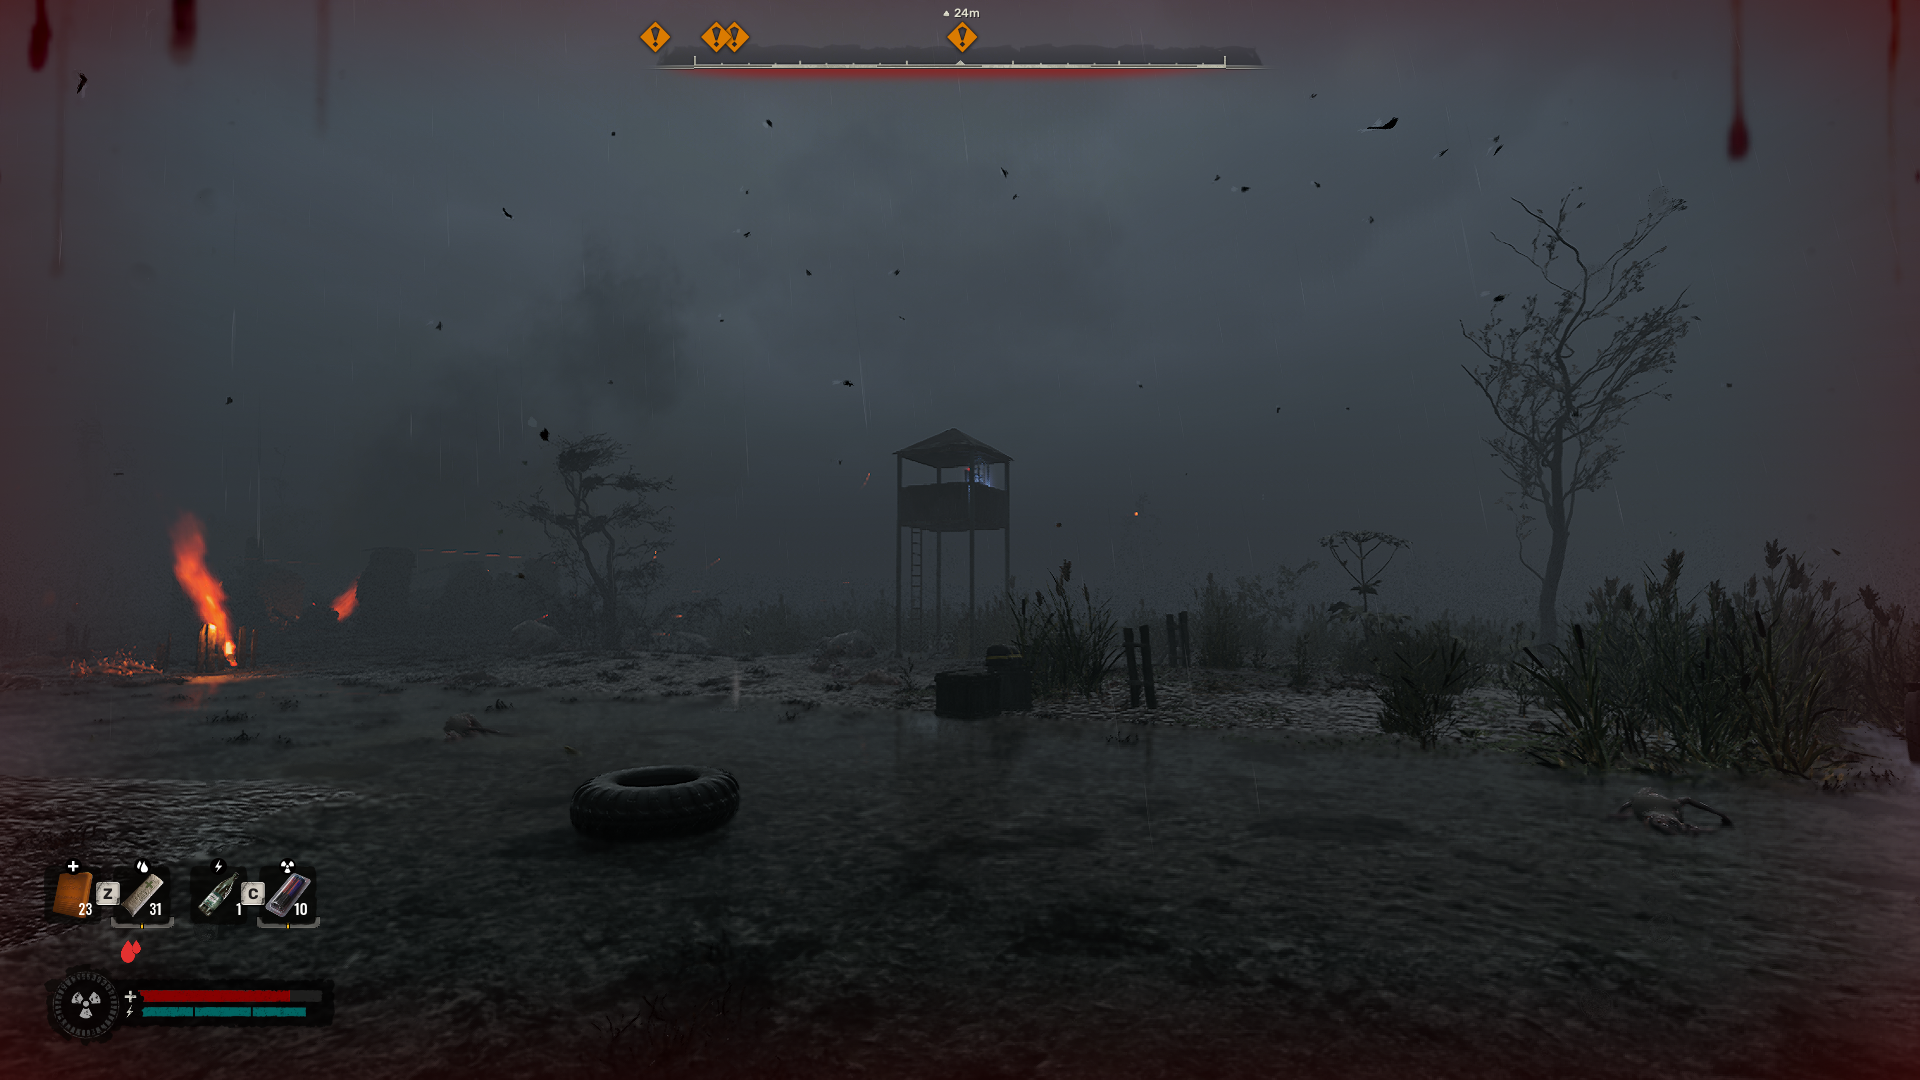
At the charred farmstead, you’ll find the beacon perched on a wooden watchtower. Climb up using the tower ladder, but stay cautious as there are mutants and strange occurrences nearby. If you’re not wearing Psi-resistant armor when near a beacon, it will seem like phantom attackers will suddenly appear and harm you.
The Old Church Beacon
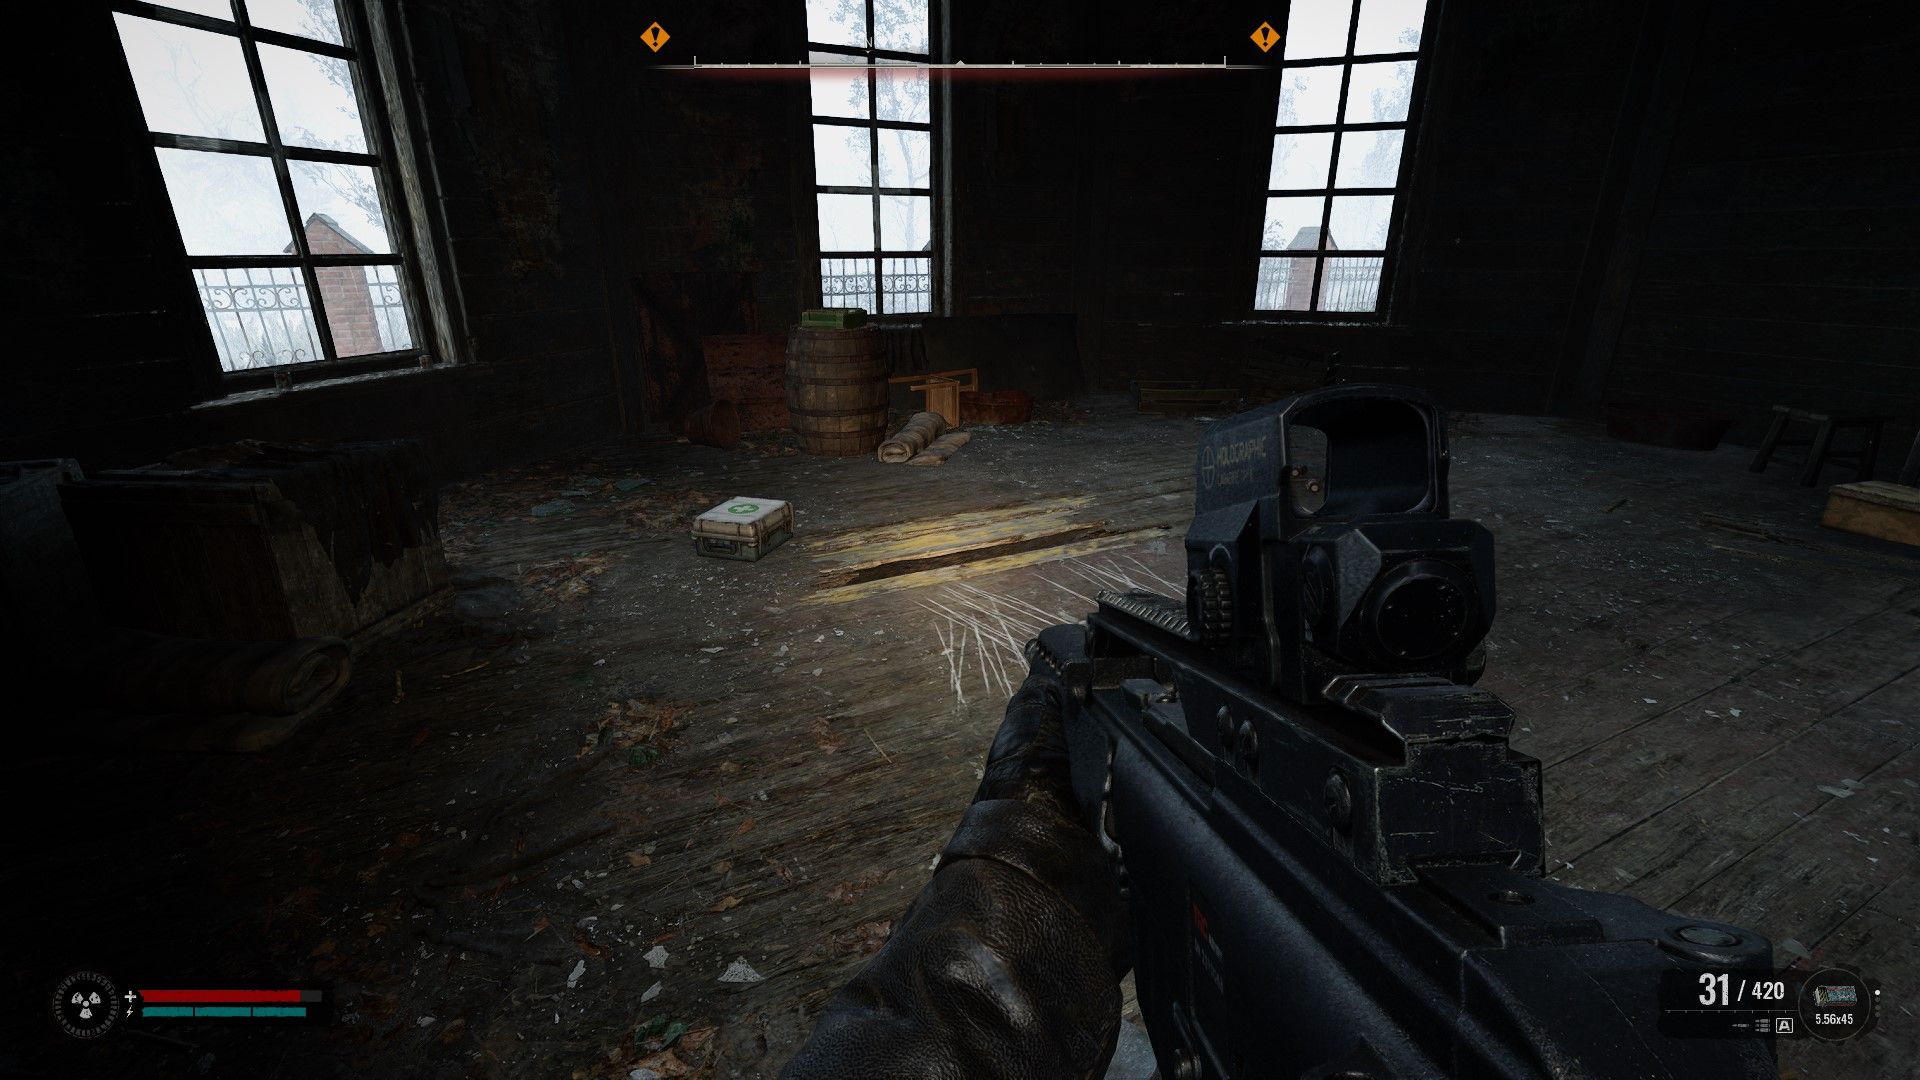
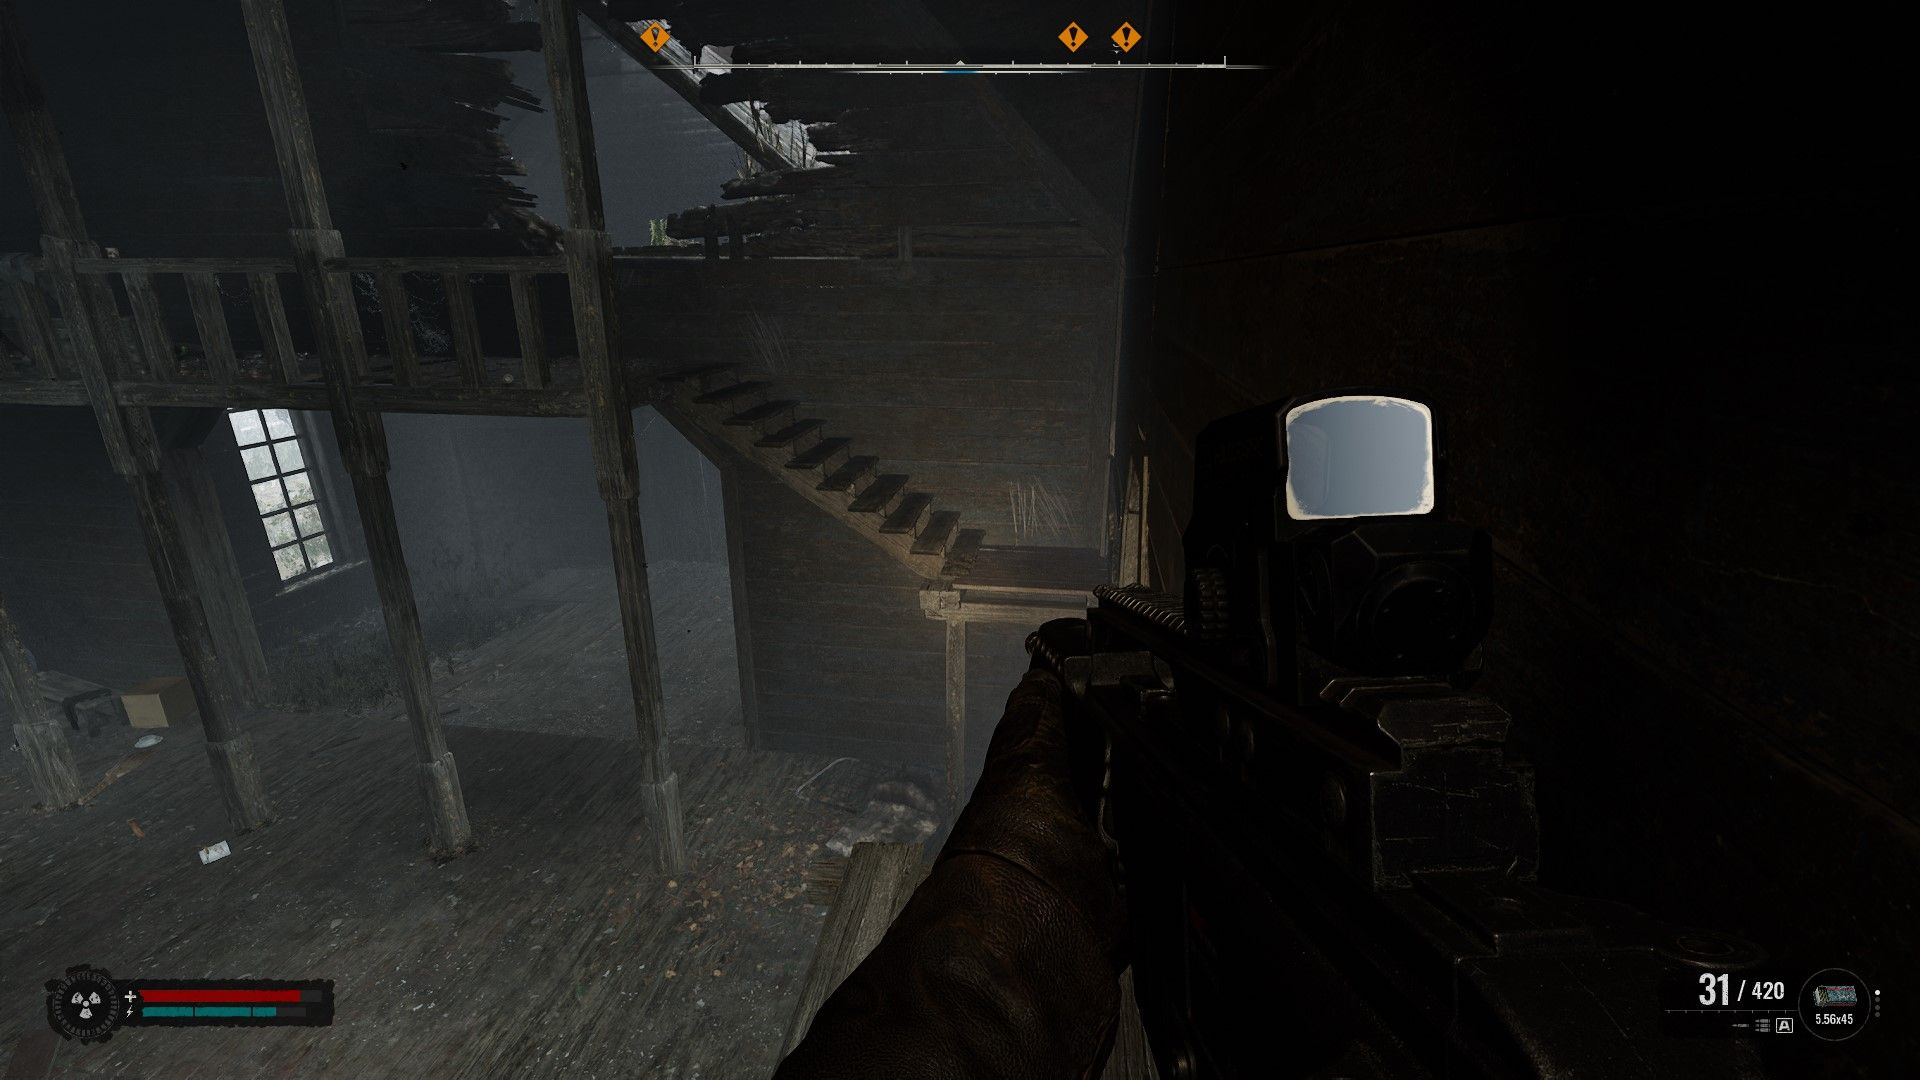
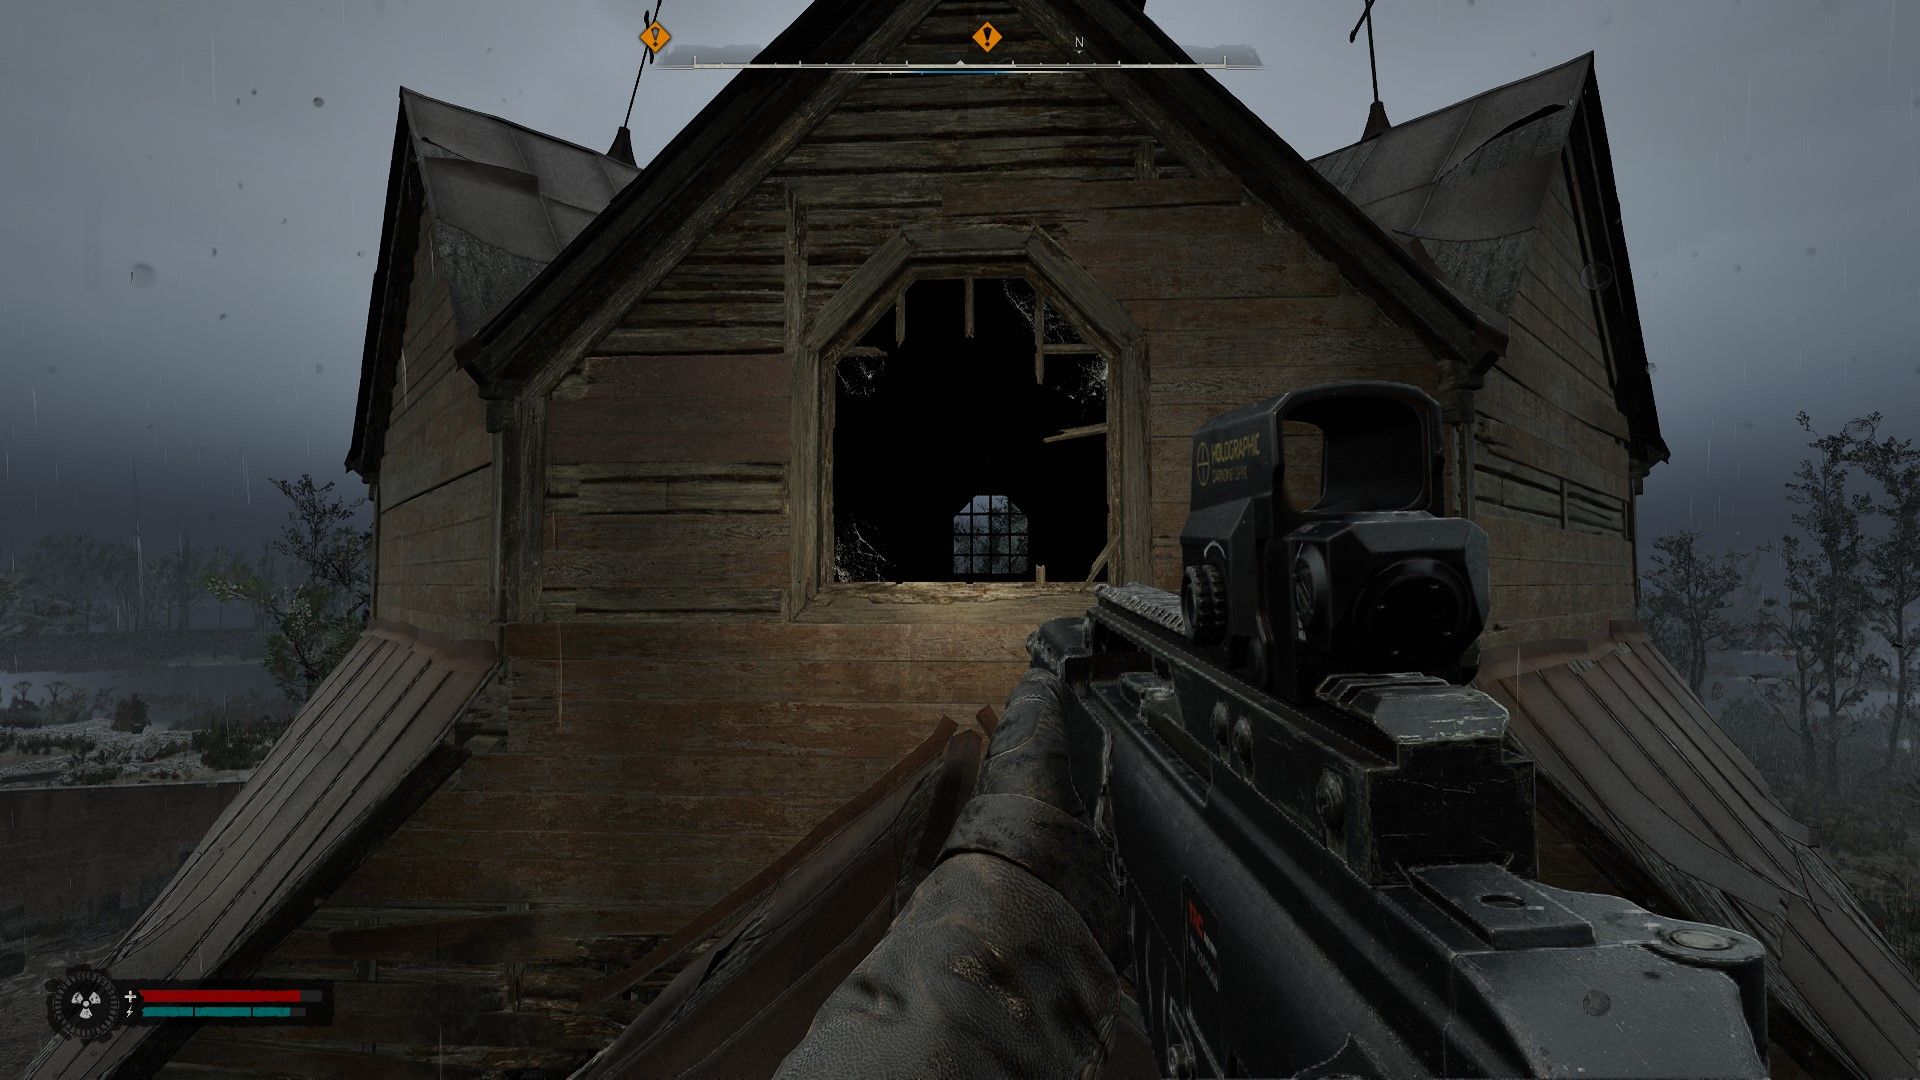
To access the second beacon, you’ll find a hidden route from the church rooftop. Look for a section of floorboards marked with yellow paint near the church. Break through these boards, carefully drop down, and follow the path that appears. Upon reaching the rooftop, jump through a broken window to gain entry into the highest room of the church. The beacon you’re seeking should be in this room, but watch out for holes in the floor.
The Pumping Station Beacon
The Pumping Station beacon is on top of the tower. Getting to it should be much simpler — just use the ladder at the house on the back, jump to the neighboring roof, and cross the wooden planks to reach the beacon.
There could be some zombies and a Controller at the Pumping Station. Since engaging them out in the open might not be wise, if possible, think about using the Lynx sniper rifle from one of your previous Noontide quests. If you don’t have it on hand, an SVD-M can be found in the watch tower located south of the Old Church.
The Second Vanguard Beacon
Similar to the one at the Pumping Station, this beacon stands tall atop a towering structure situated to the south of the marshy area. You can ascend the ladder located beside the damaged oil tank to get there, with the beacon positioned to your left upon arrival.
Pass Through The Warren Shack
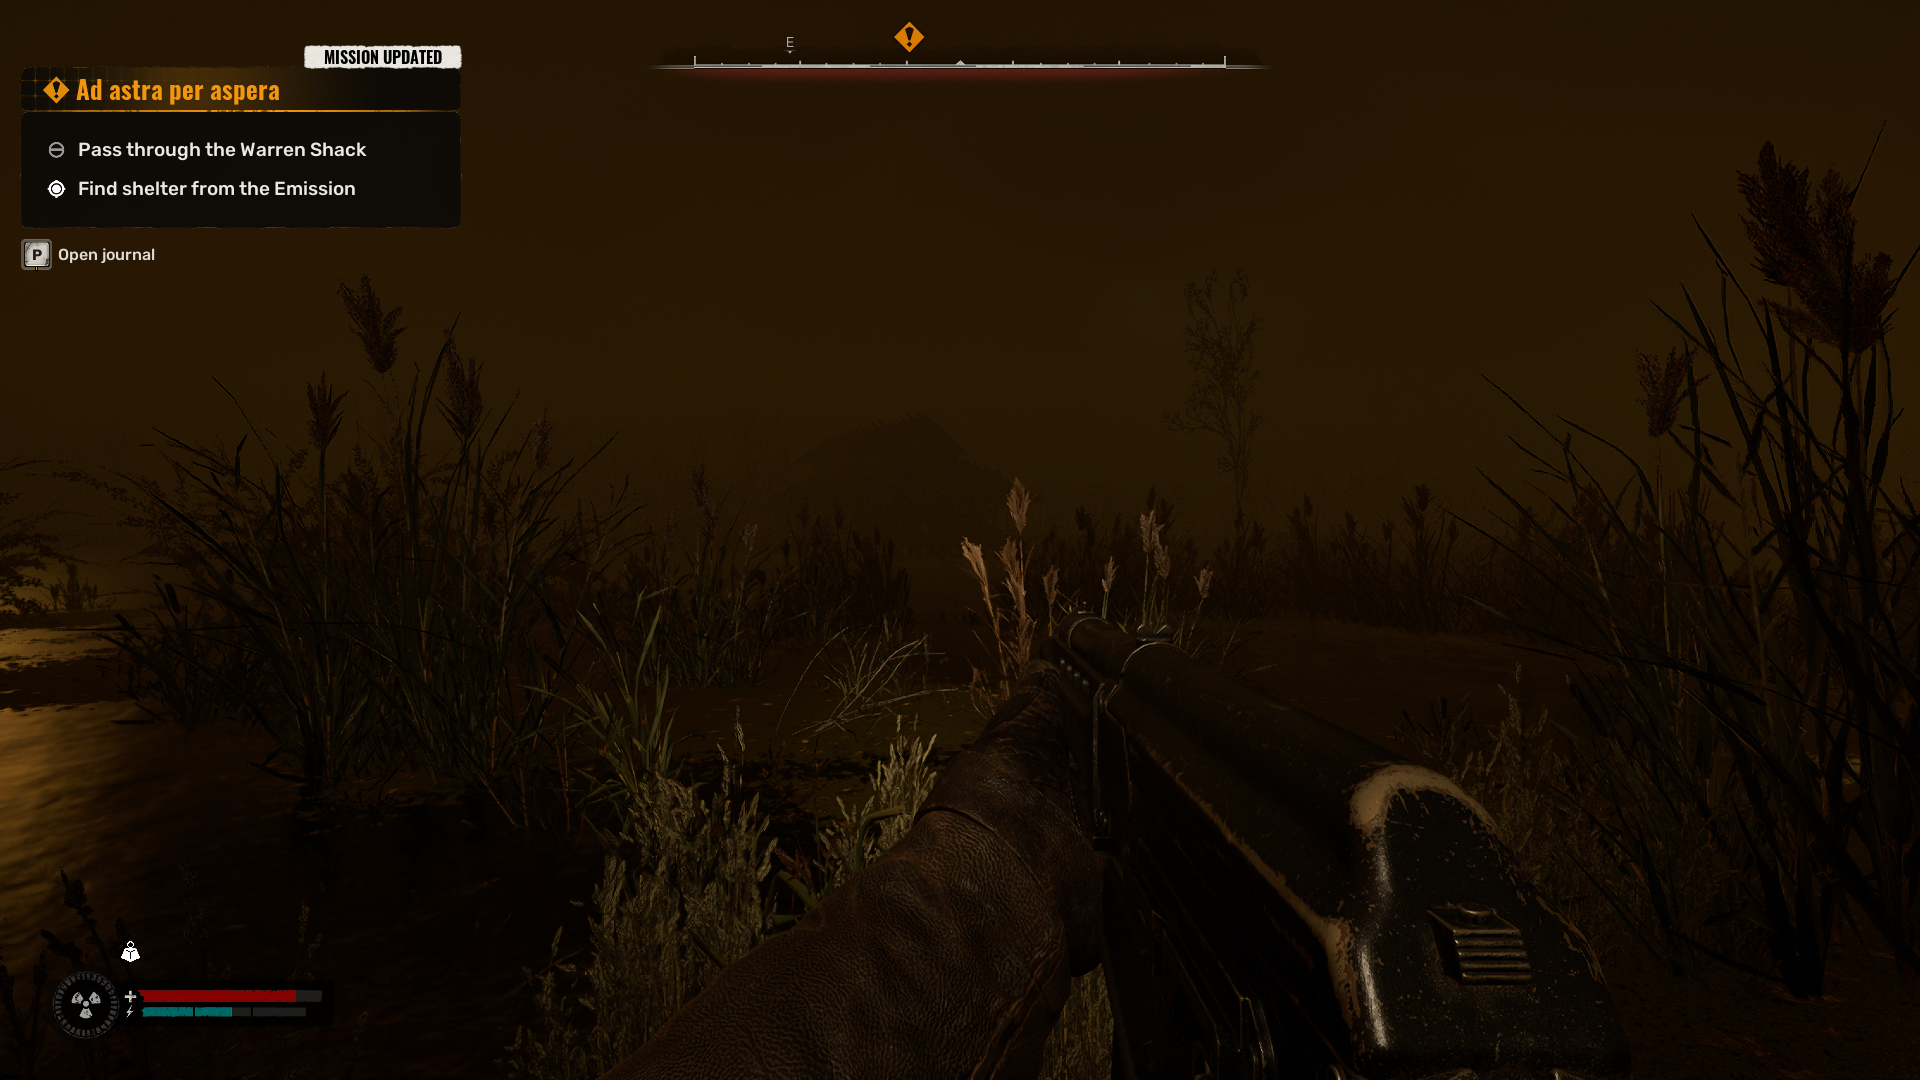
Once you deactivate all beacons, your mission marker will guide you to the Warren Shack. While the shack is visible, watch out for the Chimera that hangs around nearby. This mutant is particularly strong; it boasts a high health pool and moves swiftly. When you sense an attack, dodge by running sideways, and remember to have Water or Energy Drinks on hand for quick recovery.
Don’t bother killing the Chimera. It is extremely durable, and you won’t get anything out of it.
Reach the Clear Sky Base
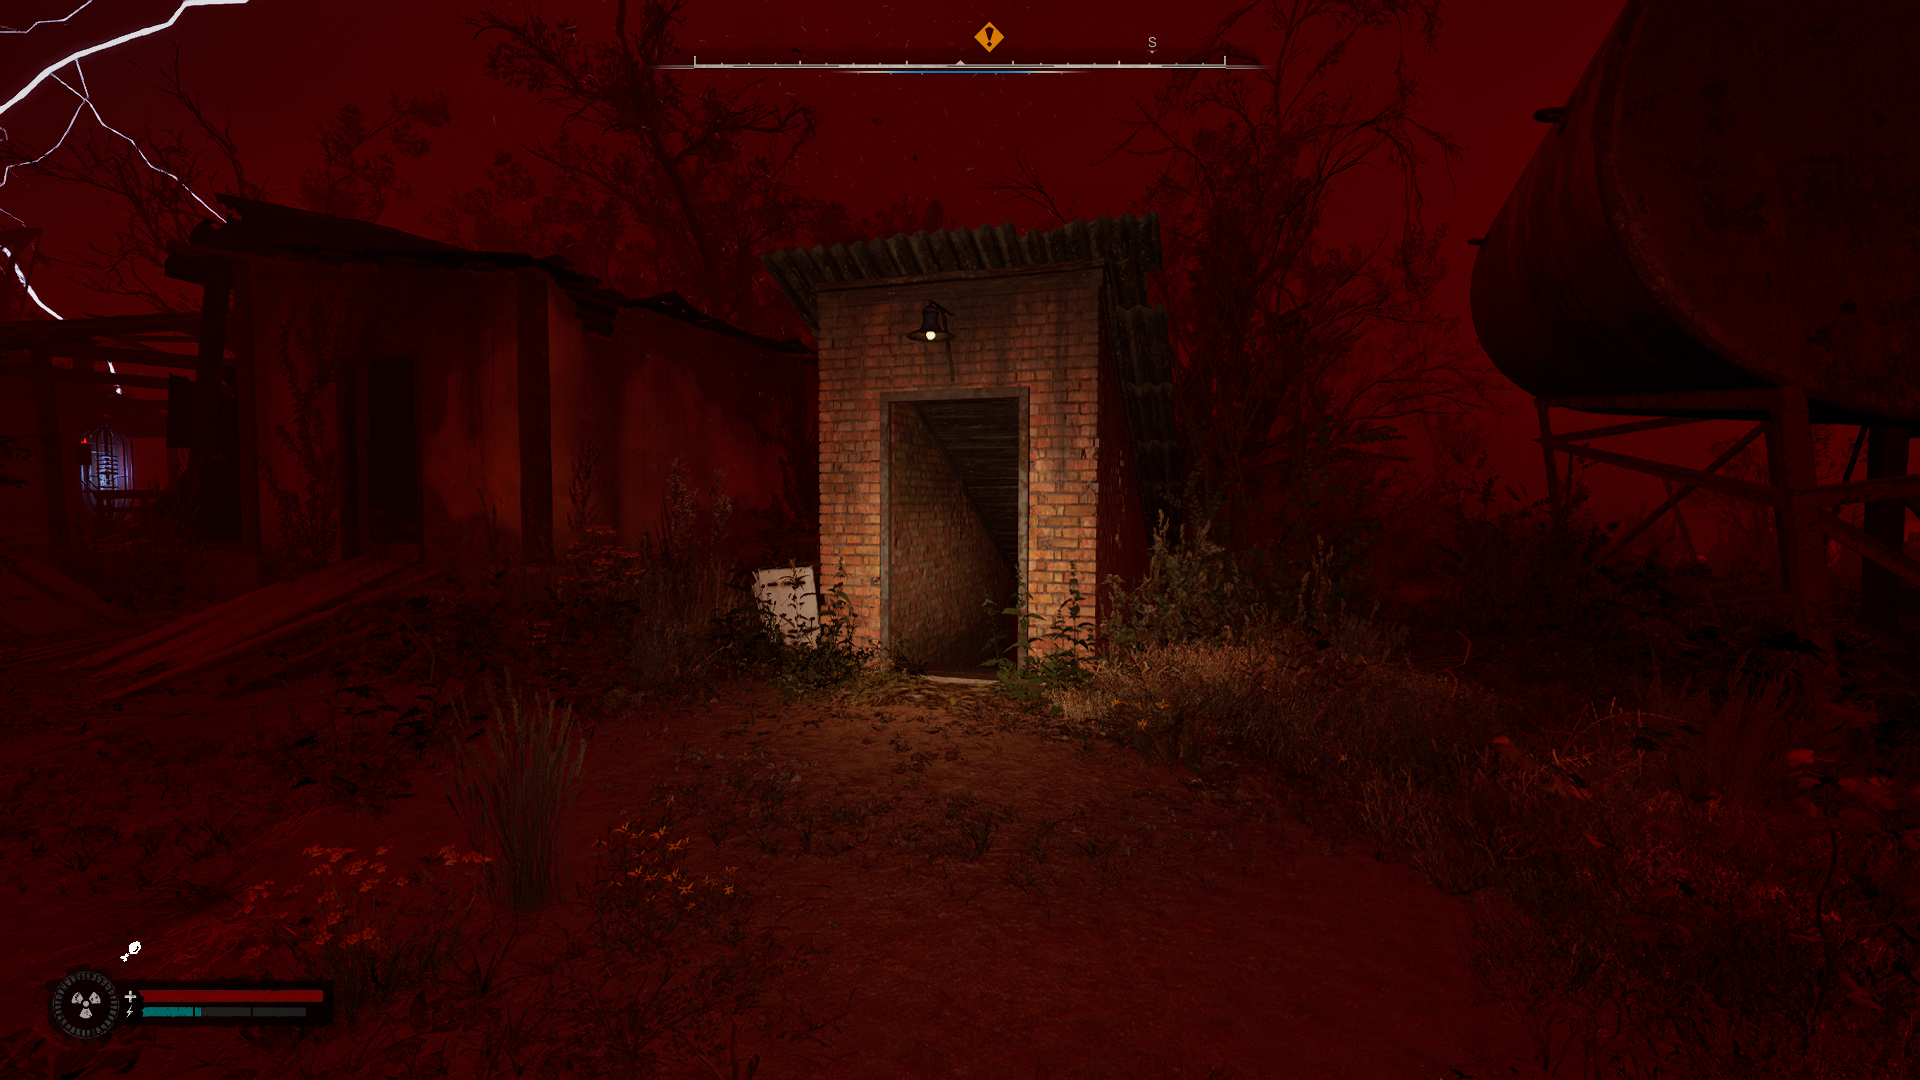
As soon as you reach the Warren Shack, an Emission starts. Hurry past the Chimera and continue moving towards your goal marker. Remember not to linger in the Warren Shack because it won’t protect you from the Emission. Instead, search for a hidden shelter entrance and dive inside. Follow the underground passages, and a cutscene featuring Faust will play, concluding the quest.
At the culmination of the cutscene, you’ll be given back the scanner you misplaced during the There and Back Again mission in Stalker 2, along with a distinctive UDP pistol known as Deadeye. This weapon arrives fully accessorized with a muzzle break and collimator sight already attached.
Read More
- Best Race Tier List In Elder Scrolls Oblivion
- Elder Scrolls Oblivion: Best Pilgrim Build
- Becky G Shares Game-Changing Tips for Tyla’s Coachella Debut!
- Meet Tayme Thapthimthong: The Rising Star of The White Lotus!
- Gold Rate Forecast
- Elder Scrolls Oblivion: Best Thief Build
- Yvette Nicole Brown Confirms She’s Returning For the Community Movie
- Silver Rate Forecast
- Elder Scrolls Oblivion: Best Sorcerer Build
- Rachel Zegler Claps Back at Critics While Ignoring Snow White Controversies!
2024-12-04 05:06