
Well, now, cryptocurrencies ain’t just for the birds, and MetaMask, why, that’s a trusty ol’ wallet for many a user. But does it play nice with Solana, that speed demon of a blockchain? Stick around, and I’ll spin you a yarn about mixin’ these two together.
This here guide will walk you through the hoops of addin’ Solana (SOL) to your MetaMask. Git ready to broaden your crypto horizons and take a leisurely stroll through the Solana ecosystem.
Is Solana a Fine Fit for MetaMask?
MetaMask, she’s built for Ethereum and her EVM-compatible kin, like Binance Smart Chain, Avalanche, and Polygon. They all dance to the Solidity tune, letting MetaMask waltz right in.
Solana, though, she’s a different kettle of fish. With her Proof of History (PoH) and Proof of Stake (PoS) consensus, and built with Rust, she don’t speak the same language as the Ethereum Virtual Machine. So, MetaMask can’t cozy up to the Solana network or her tokens without a bit of trickery.
But don’t lose hope! There are ways to get MetaMask and Solana to shake hands. You can’t just add Solana’s RPC info to MetaMask, but you can use third-party gadgets like MetaMask Snaps for a limited friendship. For a smoother ride, consider a Solana-specific wallet like Phantom or Solflare.
How to Add Solana to MetaMask via Phantom Wallet
Step 1: Download and Install Phantom

Step 2: Set Up Your Wallet
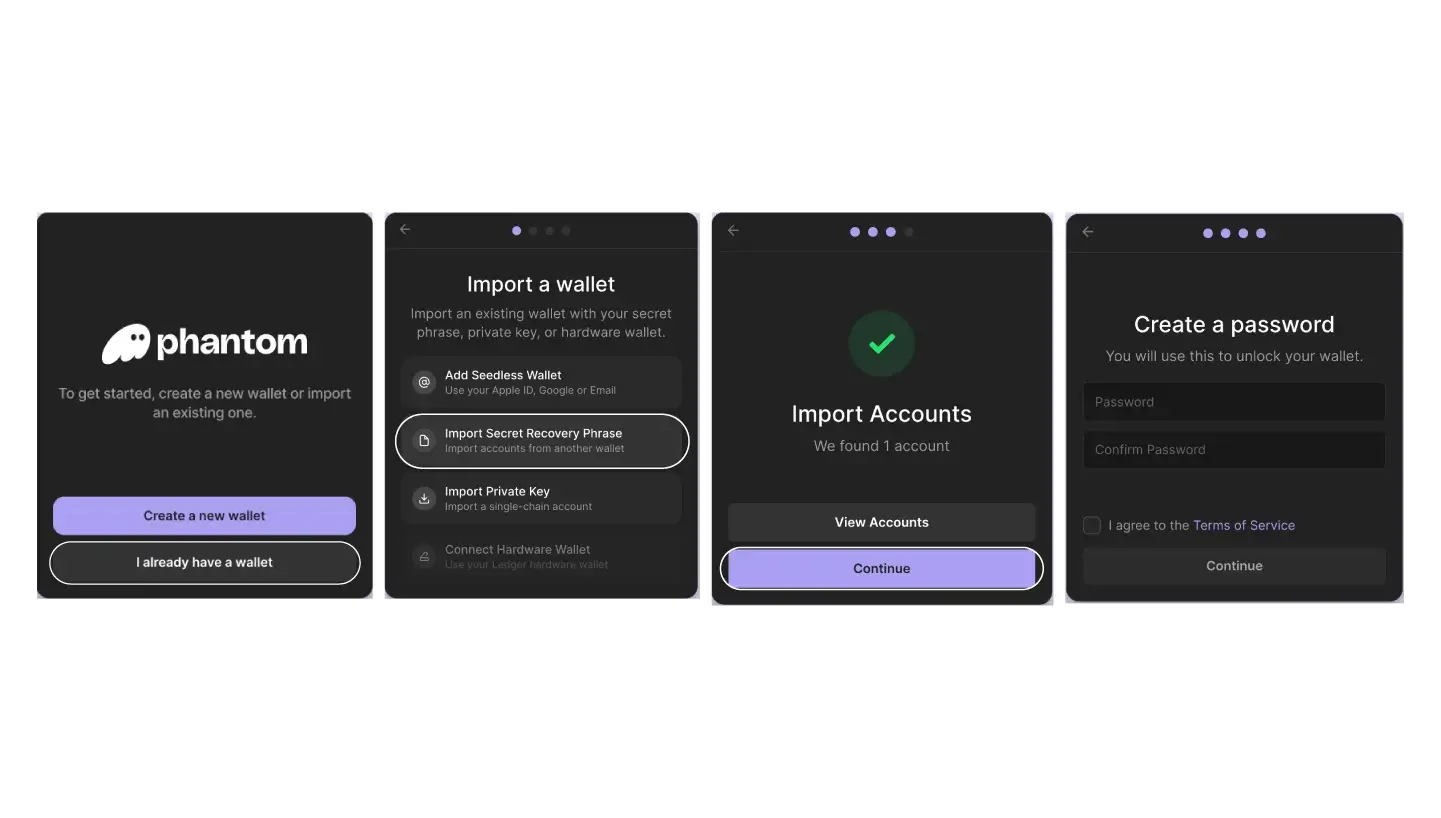
To get your MetaMask wallet and Phantom acquainted, click the Phantom icon in your browser, import your wallet, and pick the import secret recovery phrase.
Step 3: Add SOL to Your Wallet

Mosey on over to a crypto exchange (like Binance or Coinbase), copy your Phantom Solana wallet address, and move some SOL over.
Step 4: Connect to Wormhole Bridge
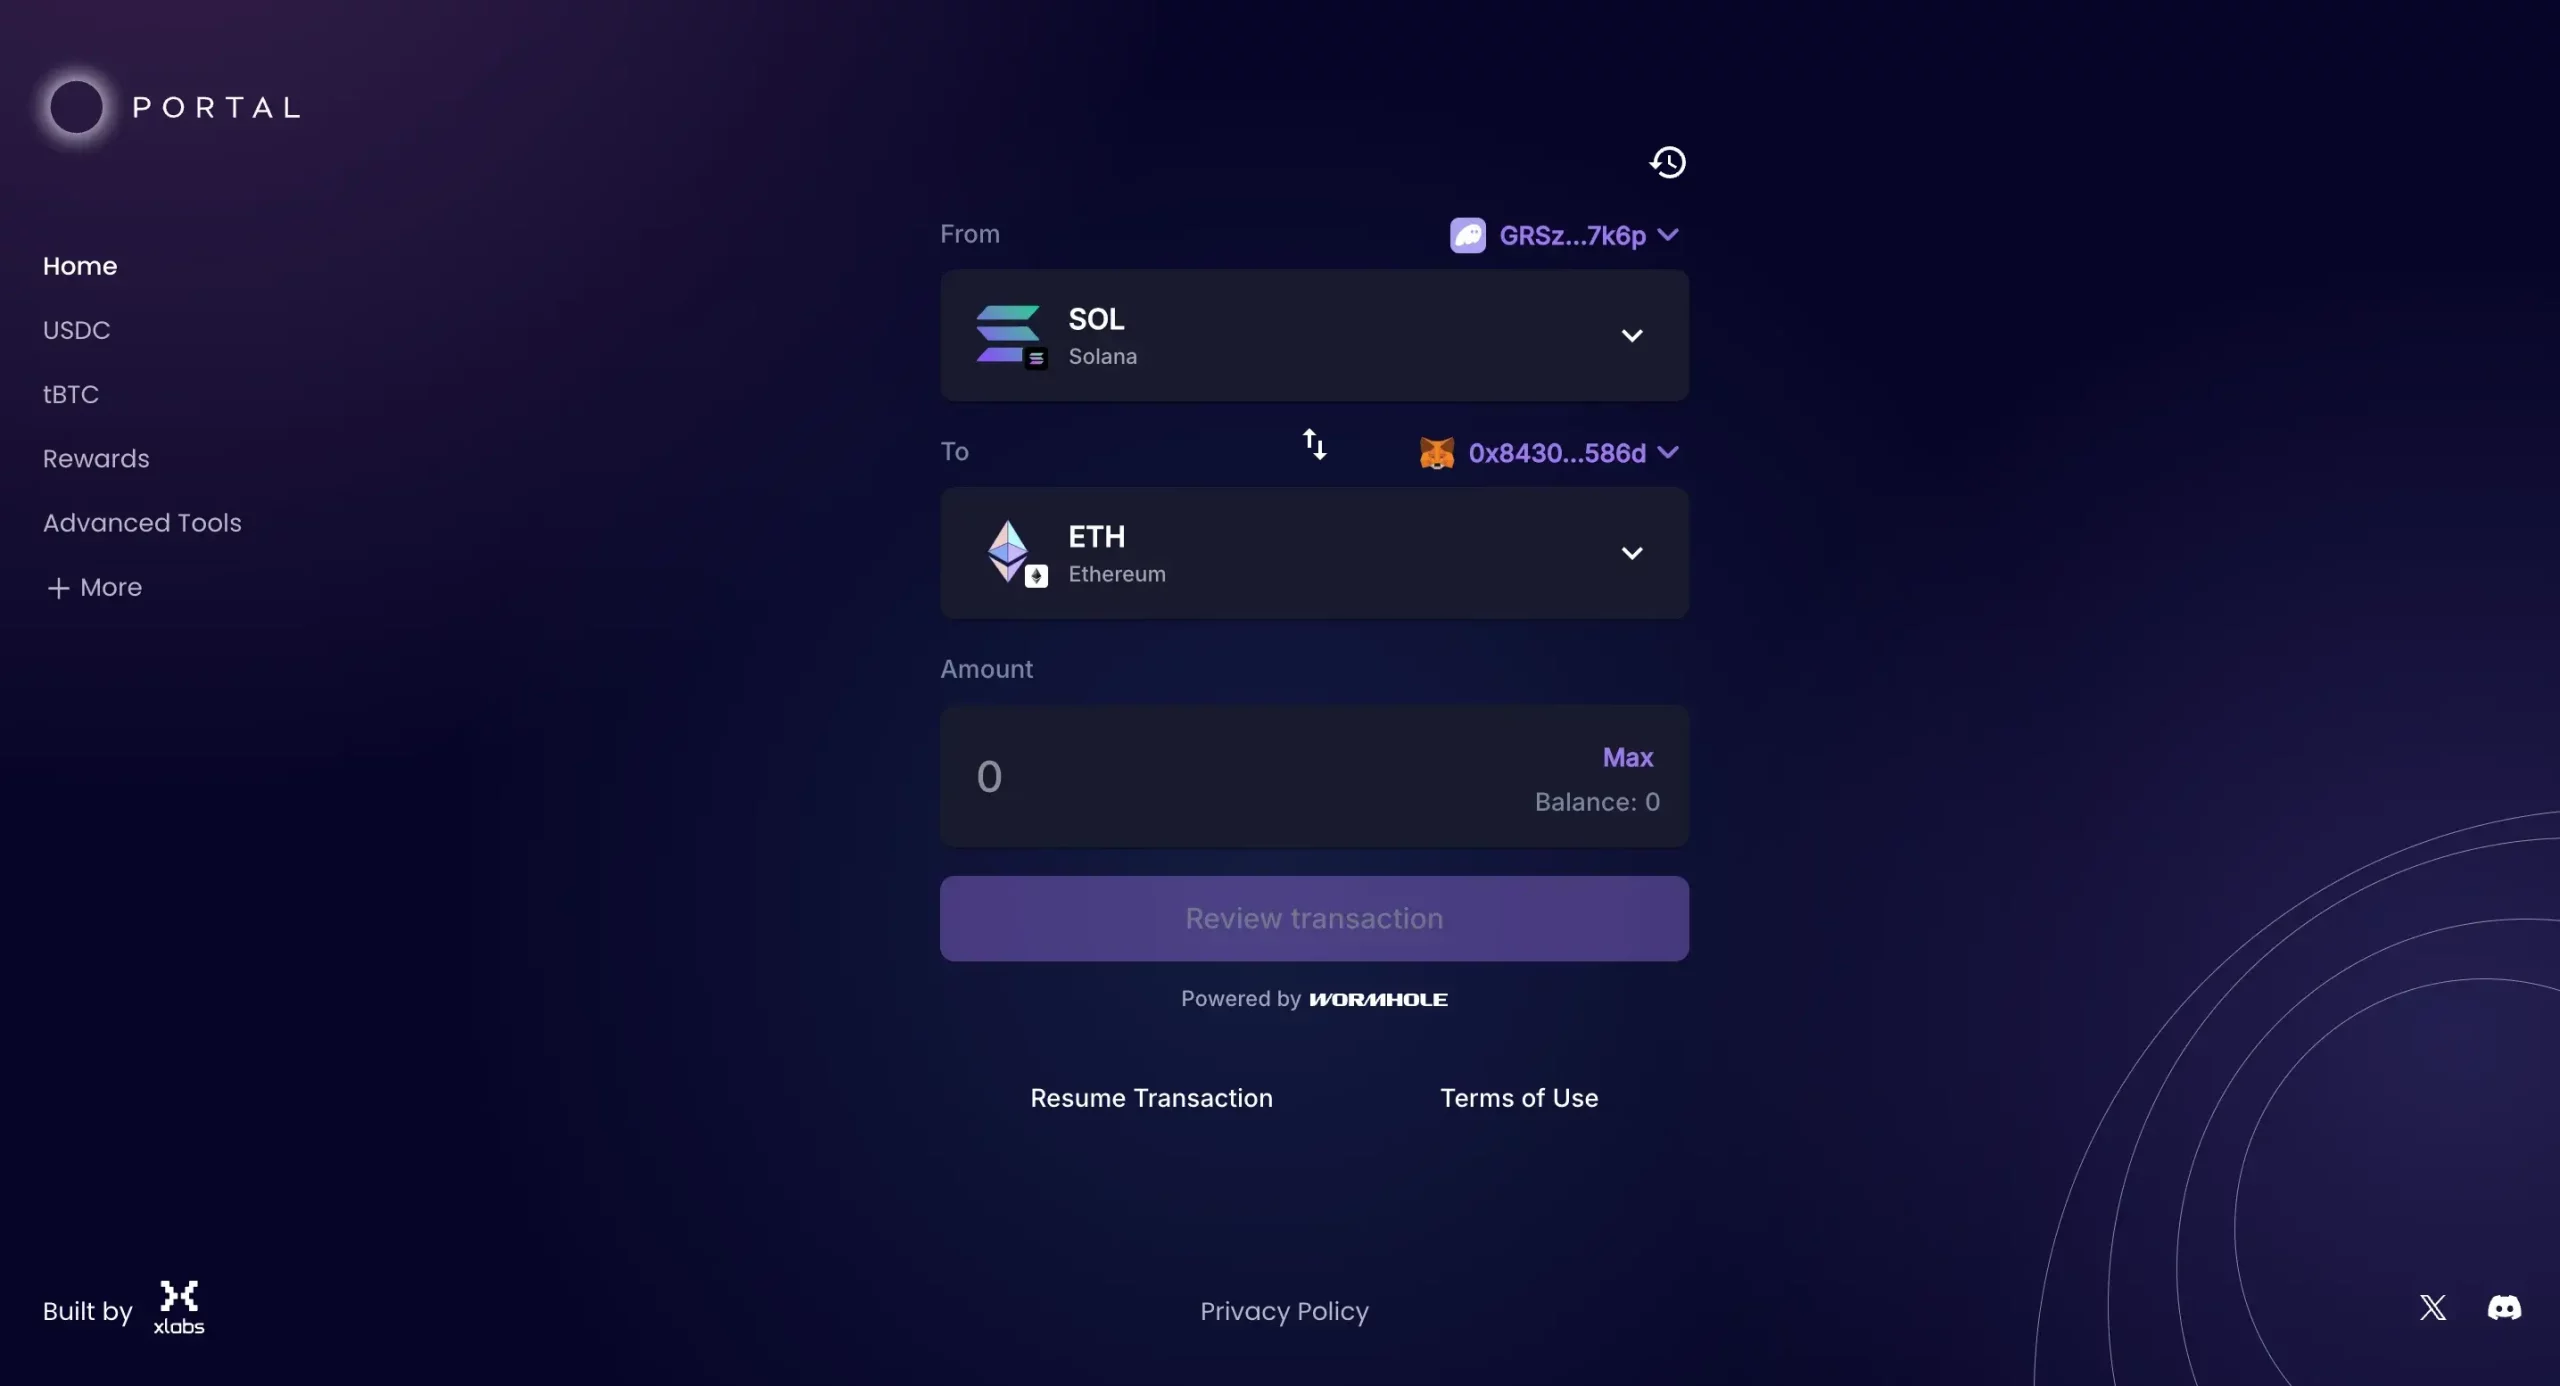
Head to Wormhole Bridge and connect your Phantom Wallet by clickin’ Connect Wallet. Choose SOL, pick your destination chain (like Ethereum), and you’re off to the races!
How to Add SOL to MetaMask via Solflare Wallet
Step 1: Download and Install Solflare Wallet
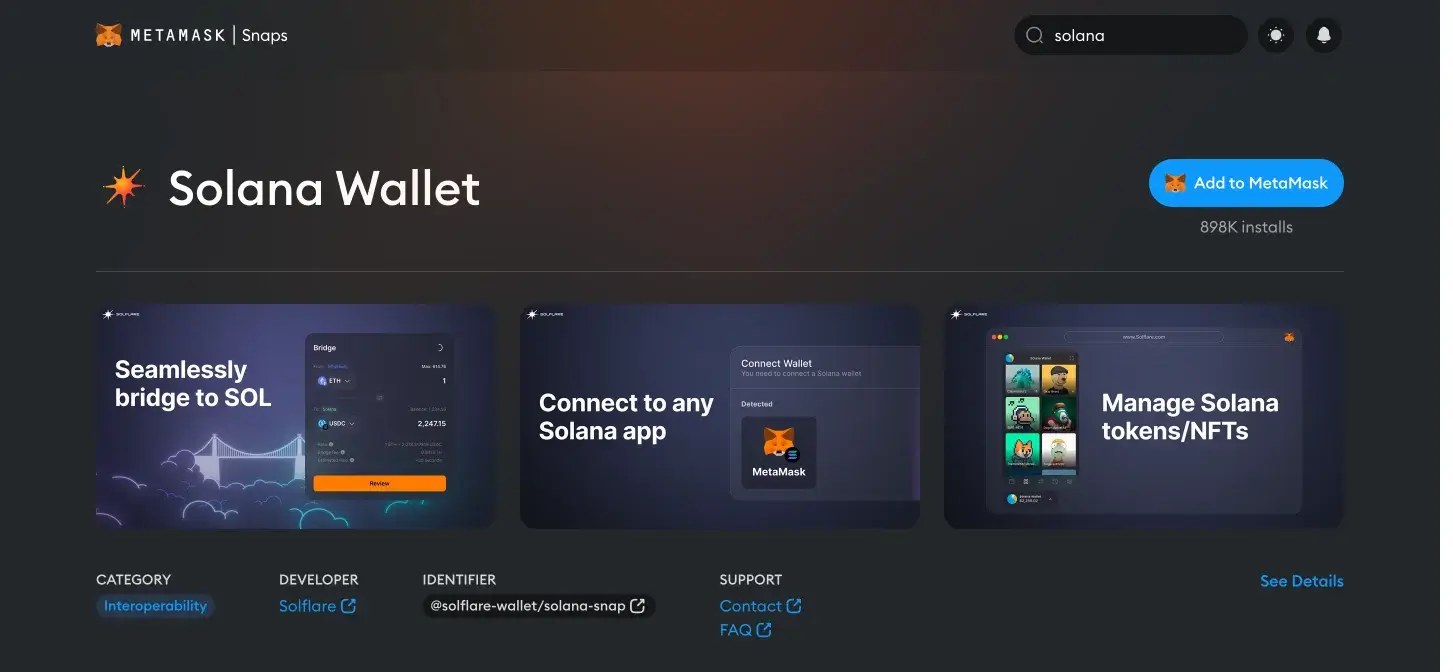
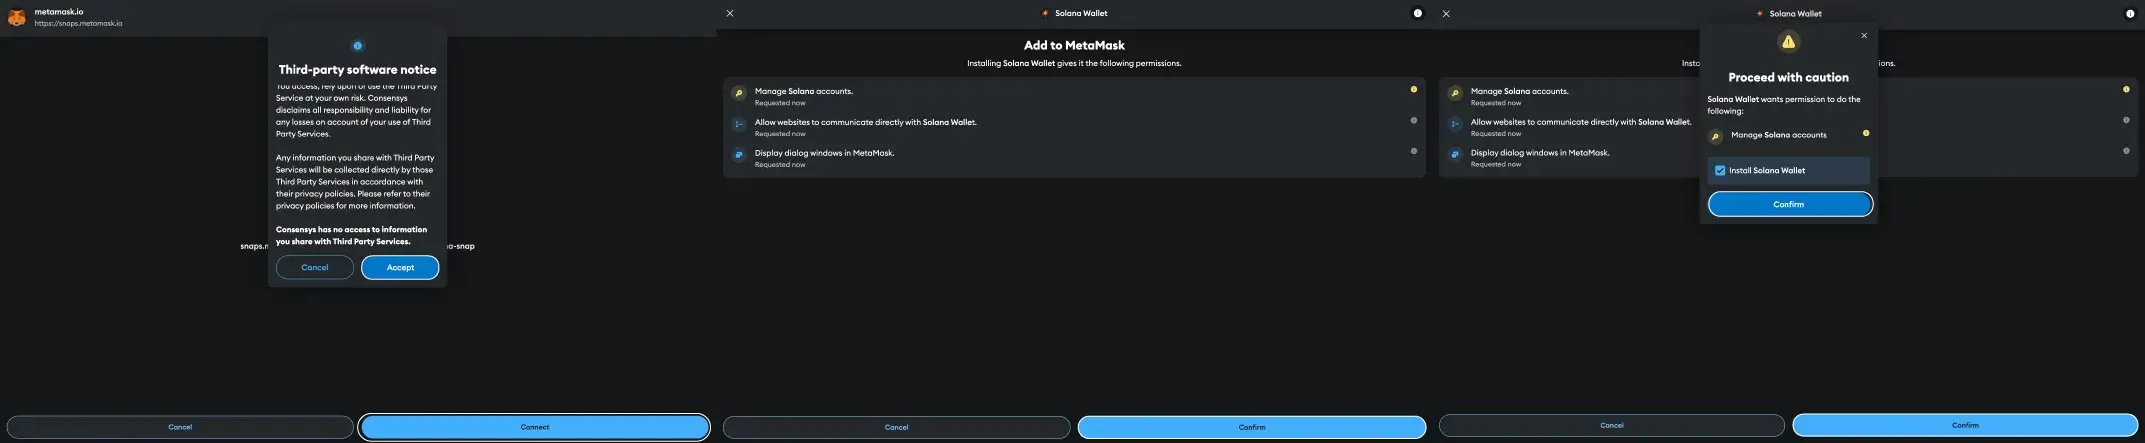
Fire up MetaMask, log in, head to the Snaps directory, hunt for Solflare, and click Add to MetaMask. Review the permissions, hit Connect, and follow the prompts to get the Snap installed.
Step 2: Set Up Solflare Snap
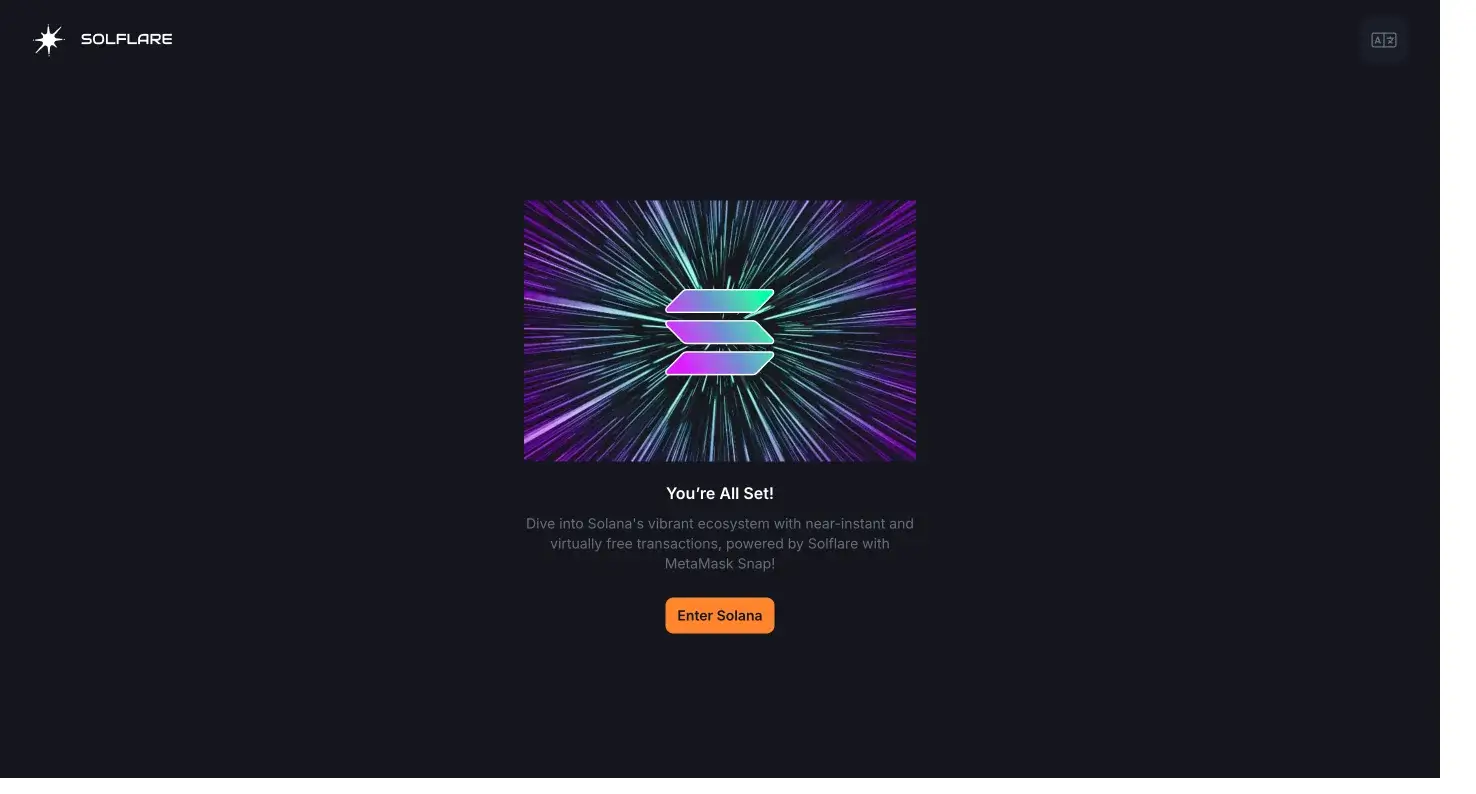
Visit the Solflare Snap platform, click Get Started, and follow the prompts. Click Enter Solana to wake up the wallet, and once you’re done, your Solflare Solana Wallet will be rarin’ to go!
Step 3: You’re All Set-Up!
Your Solflare Solana
Read More
- The Lowdown on Labubu: What to Know About the Viral Toy
- Street Fighter 6 Game-Key Card on Switch 2 is Considered to be a Digital Copy by Capcom
- We Loved Both of These Classic Sci-Fi Films (But They’re Pretty Much the Same Movie)
- Masters Toronto 2025: Everything You Need to Know
- Mario Kart World Sold More Than 780,000 Physical Copies in Japan in First Three Days
- ‘The budget card to beat right now’ — Radeon RX 9060 XT reviews are in, and it looks like a win for AMD
- Valorant Champions 2025: Paris Set to Host Esports’ Premier Event Across Two Iconic Venues
- Karate Kid: Legends Hits Important Global Box Office Milestone, Showing Promise Despite 59% RT Score
- Microsoft Has Essentially Cancelled Development of its Own Xbox Handheld – Rumour
- There is no Forza Horizon 6 this year, but Phil Spencer did tease it for the Xbox 25th anniversary in 2026
2025-01-31 18:17