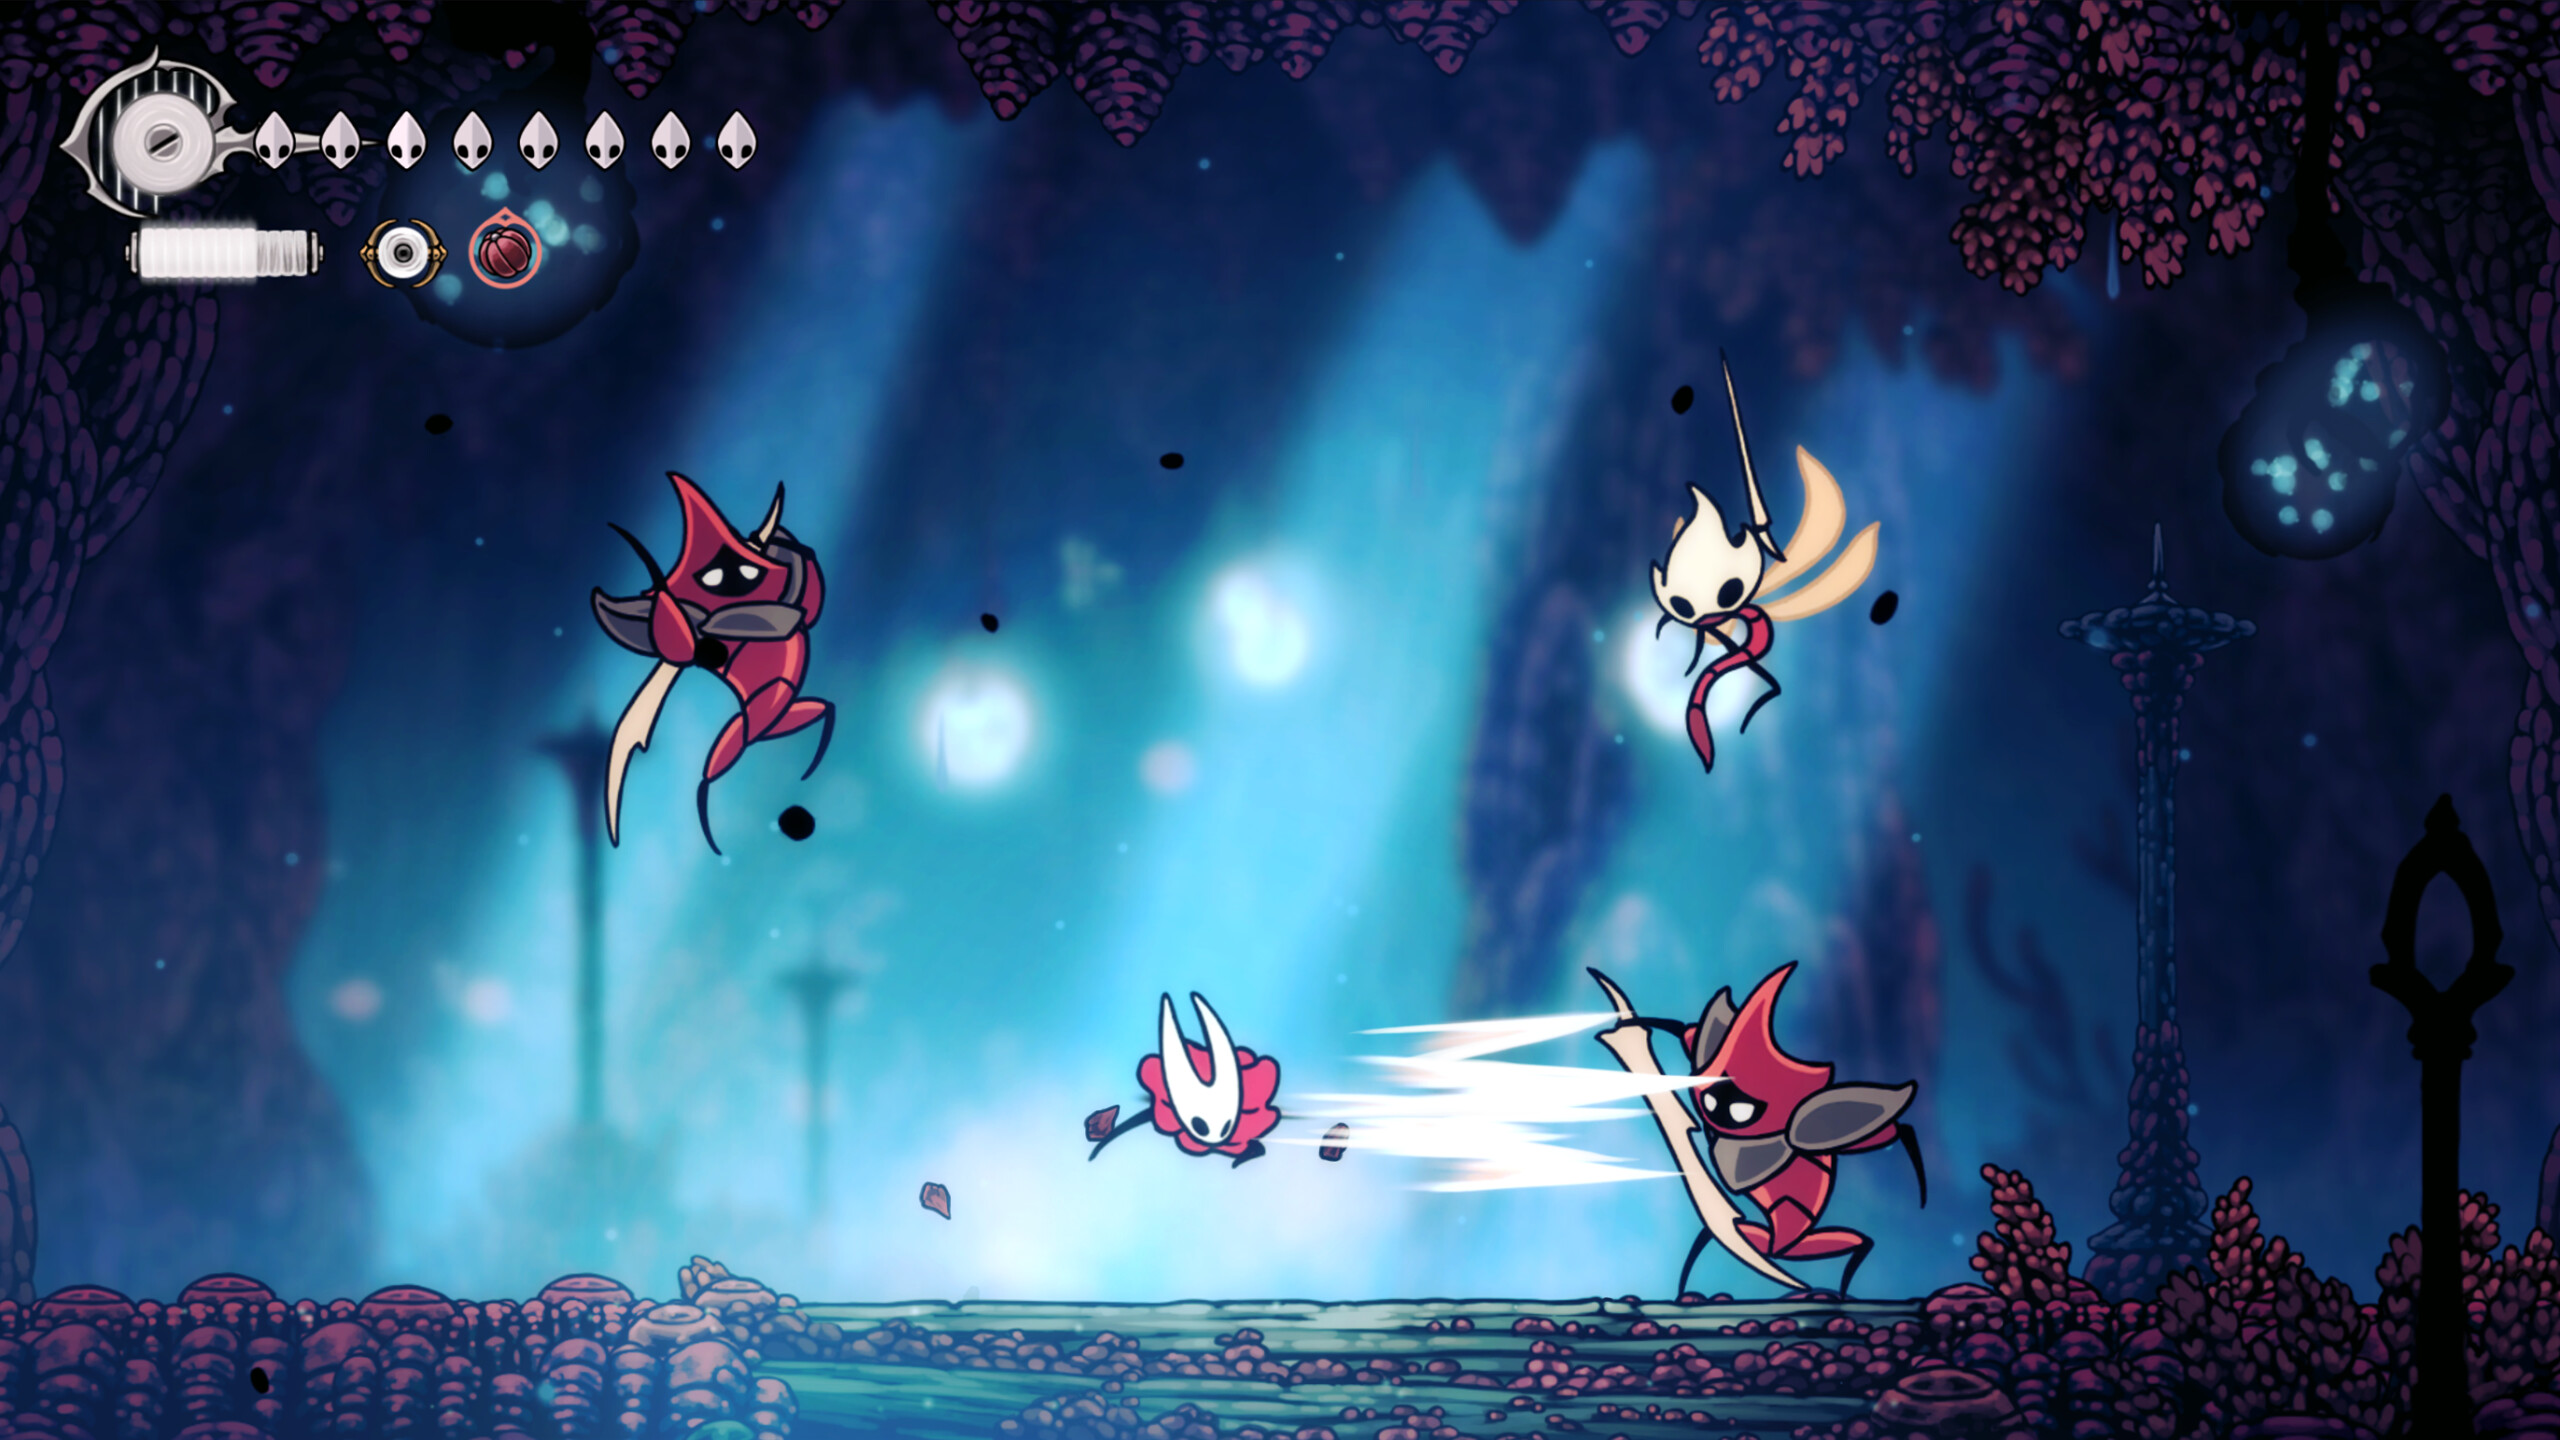
Hollow Knight: Silksong” Has Arrived, and Amazingly, It’s More Difficult Than Its Predecessor! The enchanting landscapes of Pharloom may be visually stunning, but they are filled with perils, such as formidable adversaries and environmental pitfalls. Even the straightforward task of exploration can be tough without the right equipment. Luckily, there are multiple strategies to conquer these obstacles and make the journey to the Citadel smoother.
Buy Everything From Shakra
In the captivating world of Silksong, one of the first notable Non-Player Characters you’ll encounter is Shakra, a versatile warrior and cartographer. Equipped with mapping tools for your adventure, she refrains from accepting Shards as currency. Instead, venture to the left, battle enemies, and accumulate an alternative currency to purchase every item she offers. From Compasses to Quills, Pins, and everything else – it’s all worth having! Maps are just as crucial in Silksong as they were in Hollow Knight, and knowing your exact location, as well as key points of interest, is indispensable for a successful journey.
Reaction vs. Action
In Pharloom, it can be advantageous to surprise enemies with an initial attack before they are aware and respond, but this tactic isn’t always successful due to the enemies’ ability to retaliate forcefully, causing damage. Particularly early in the game, a single enemy can deplete two points of your health, leaving you vulnerable if multiple enemies are present. Always assess the situation, examine your surroundings, and consider their moves, but ensure you stay nimble and maintain distance, especially as abilities like Swift Step and Wall Climbing come into play to increase mobility.
When in Doubt, Silk Skill it Out
In certain scenarios, I tend to stockpile Silk, saving it for potential healing needs. A battle against Sister Splinter is one instance where this strategy might prove useful, but there are times when it’s wiser to gamble and employ it for the Silkspear ability instead. This tactic swiftly dispatches smaller groups of enemies, and at the same time, increases the damage on bosses, causing them to become stunned more rapidly. It seems that going on the offensive can indeed be a form of defense, or at least provide some crucial moments of respite.
Get Thread Storm ASAP
Certainly, you’ll be keen on acquiring an enhanced Silk Skill quickly, given the obstacles that lie ahead. In such a scenario, Thread Storm would be your top choice due to its damaging capabilities. You can find it in Greymoor, but there’s a catch: you need to discover a Weaver’s tomb. This process involves quite a bit of platforming, so if you’re not yet proficient with Hornet’s dive, it might be wise to locate one of the two Crests first before embarking on this quest.
Don’t Fear the Reaper
The rumors about the demise of endless pogo-ing have been significantly overstated. Found within a unique structure known as Greymoor, the Reaper’s Crest bestows a more conventional slash akin to the style found in Hollow Knight. This move is not only effective in combat but also enables Hornet to temporarily harm enemies and produce extra Silk, resulting in an abundance of Silk Skills and increased damage. These abilities materialize as small orbs that vanish after some time, so be cautious not to overemphasize them during boss battles.
All Those Who Wander
The Crest of the Vagabond serves as another reliable choice for both exploration and combat encounters. To obtain it, first, buy the Basic Key from Pebb in Bone Bottom, then traverse through The Marrow to unlock the door and dodge the Craggler (Swift Step can be helpful). Continue moving towards the west, and you’ll eventually retrace your steps back to the starting area where a tomb lies. Proceed to its end, and the Crest of the Vagabond will be yours. If you find the Reaper’s Crest too sluggish, this alternative offers faster slashing attacks similar to those in Hollow Knight, making it easier to bounce off enemies. However, its short reach isn’t optimal during boss fights, but having two sockets for Yellow Tools is a nice bonus.
Crest’s Changing Movesets
Based on the type of crest equipped, Hornet’s move set can vary. This alteration doesn’t affect the normal attack or downward slash, but it does impact the Charged Slash. For instance, when using the Crest of Wanderer, Charged Attacks result in a rapid, multi-hit thrust. On the other hand, with the Reaper’s Crest, it transforms into a powerful single swing with good knockback. Try out different crests to discover which one aligns best with your playstyle.
Craft Better Tools

Although Straight Pins and Longpins are powerful tools, you might prefer more offensive options. Travel to the Deep Docks and seek out the Forge Daughter who can construct new tools such as Sting Shards. These shards make effective traps. Additionally, she offers a Crafting Kit which increases your tool’s damage. Initially, it may seem expensive, but investing in its upkeep will ensure that your tools stay sharp and effective over time.
When to Bind (and When Not to)
Unlike the Knight, Hornet boasts a unique ability called Binding that not only heals multiple health points but can also be initiated mid-flight. However, this ability drains the entire Silk gauge, regardless of how much health you need to restore. Interruptions during the Binding animation by enemies can result in no healing and the loss of your entire Silk supply. It’s advisable to maintain a safe distance from adversaries before initiating healing, and be mindful of their ranged attacks and attack patterns to avoid such interruptions.
Memory Locket Limitations
It’s surprising that some players are making this error, but here’s a helpful reminder: Memory Lockets can only activate sockets on one specific Crest, not all the Crests you have in your inventory. As you advance, you’ll find more of them, and vendors sell them too. If you’re unsure about which Crest to focus on, it might be best to accumulate a good amount first before making a decision.
All Tied Up
Using tied, non-Shard currency has sparked varying views among players. Although this bound currency doesn’t get lost upon death, the binding process demands spending an equal amount of currency upfront. So, for instance, if you spend 80, you’ll end up with a string containing 60, losing 20 in the process. However, this can be advantageous if you have extra funds, particularly in less popular and hazardous regions. Additionally, you may stumble upon free floating tied currency, so it’s wise to keep some on hand for emergencies instead of binding your own.
Us Against the World

When venturing through game worlds like The Marrow, it’s enticing to face off against every formidable boss character, even if it means persisting until victory. However, not all battles are essential. Take Skarrgard, the colossal red ant wielding a club – he’s optional and becomes more manageable once you’ve mastered skills such as Swift Step. Though I managed to conquer him without this skill, it isn’t always needed.
Always keep in mind to collect map pins from Shakra; these helpful markers will show you the whereabouts of tough opponents, allowing for strategic revisits when you’re better prepared.
Explore, Explore, Explore
Hanging around Hornet’s current location can sometimes be advantageous before aiming for the Citadel. Delve deeper into the environment, striking walls wherever you roam in search of hidden nooks and hidden pathways. Don’t forget to inspect side paths, retrace your steps to areas that might lead to the Needolin, and move at a leisurely pace. Keep an eye out for a wealth of resources, such as items boosting maximum health and Silk, which could ease your adventure.
It’s usually smart not to rush up to the Citadel right away; instead, explore nearby locations. Look for secret passages by hitting walls, revisit certain spots to open new paths leading to the Needolin, and take your time discovering useful items that might help you along the way.
Regularly Check Wish Boards
When referring to returning visits, don’t forget to re-explore each town you’ve found and review their Wish Boards. These boards often present new tasks that may involve previously visited areas, granting various rewards such as Memory Locket and currency. The boards are updated frequently, so remember to drop by when it’s necessary for fresh opportunities!
Before Entering the Citadel
In due time, you’ll meet all requirements to gain access to the Citadel. Great job! But remember, there’s still much work ahead. One important task is enhancing your weapon, which can be done for free at Bellhart. There, you might also receive a request for an oil that will further boost its power. Given that enemies now have increased durability, this upgrade is crucial. However, until you complete the Underworks, you won’t be able to come back. If you’d prefer an easier journey through the Underworks, make sure to get that free damage enhancement first.
Read More
- What Song Is In The New Supergirl Trailer (& What It Means For The DC Movie)
- Highly Anticipated Strategy RPG Finally Sets Release Date (And It’s Soon)
- Dune 3 Gets the Huge Update Fans Have Been Waiting For
- TV legend Carol Kirkwood reveals the reasons why she decided to retire after 28 years with BBC
- Why is Tech Jacket gender-swapped in Invincible season 4 and who voices her?
- The Quantum Observer: How Reality Takes Shape
- Palworld! More Than Just Pals ‘Special Video’, characters detailed
- The OG Resident Evil 1, 2 and 3 Are Now Available on Steam With a Heavy Discount (and DRM)
- The Monsterverse’s Shocking New Time Travel Story – Monarch: Legacy Of Monsters Season 2, Episode 6 Explained
- Tainted Grail: The Fall of Avalon – Merlin’s Tomb DLC Adds a New End-Game Dungeon for Free
2025-09-08 16:51