In the game “Metal Gear Solid Delta: Snake Eater,” the nine boss battles offer one-of-a-kind experiences, each featuring diverse strategies to overcome several of them. Instead of always opting for stealthy non-lethal takedowns, there are also swift and simple methods available for your use.
This manual focuses on the quickest strategies to defeat every one of the nine main antagonists in Metal Gear Solid Delta: Snake Eater.
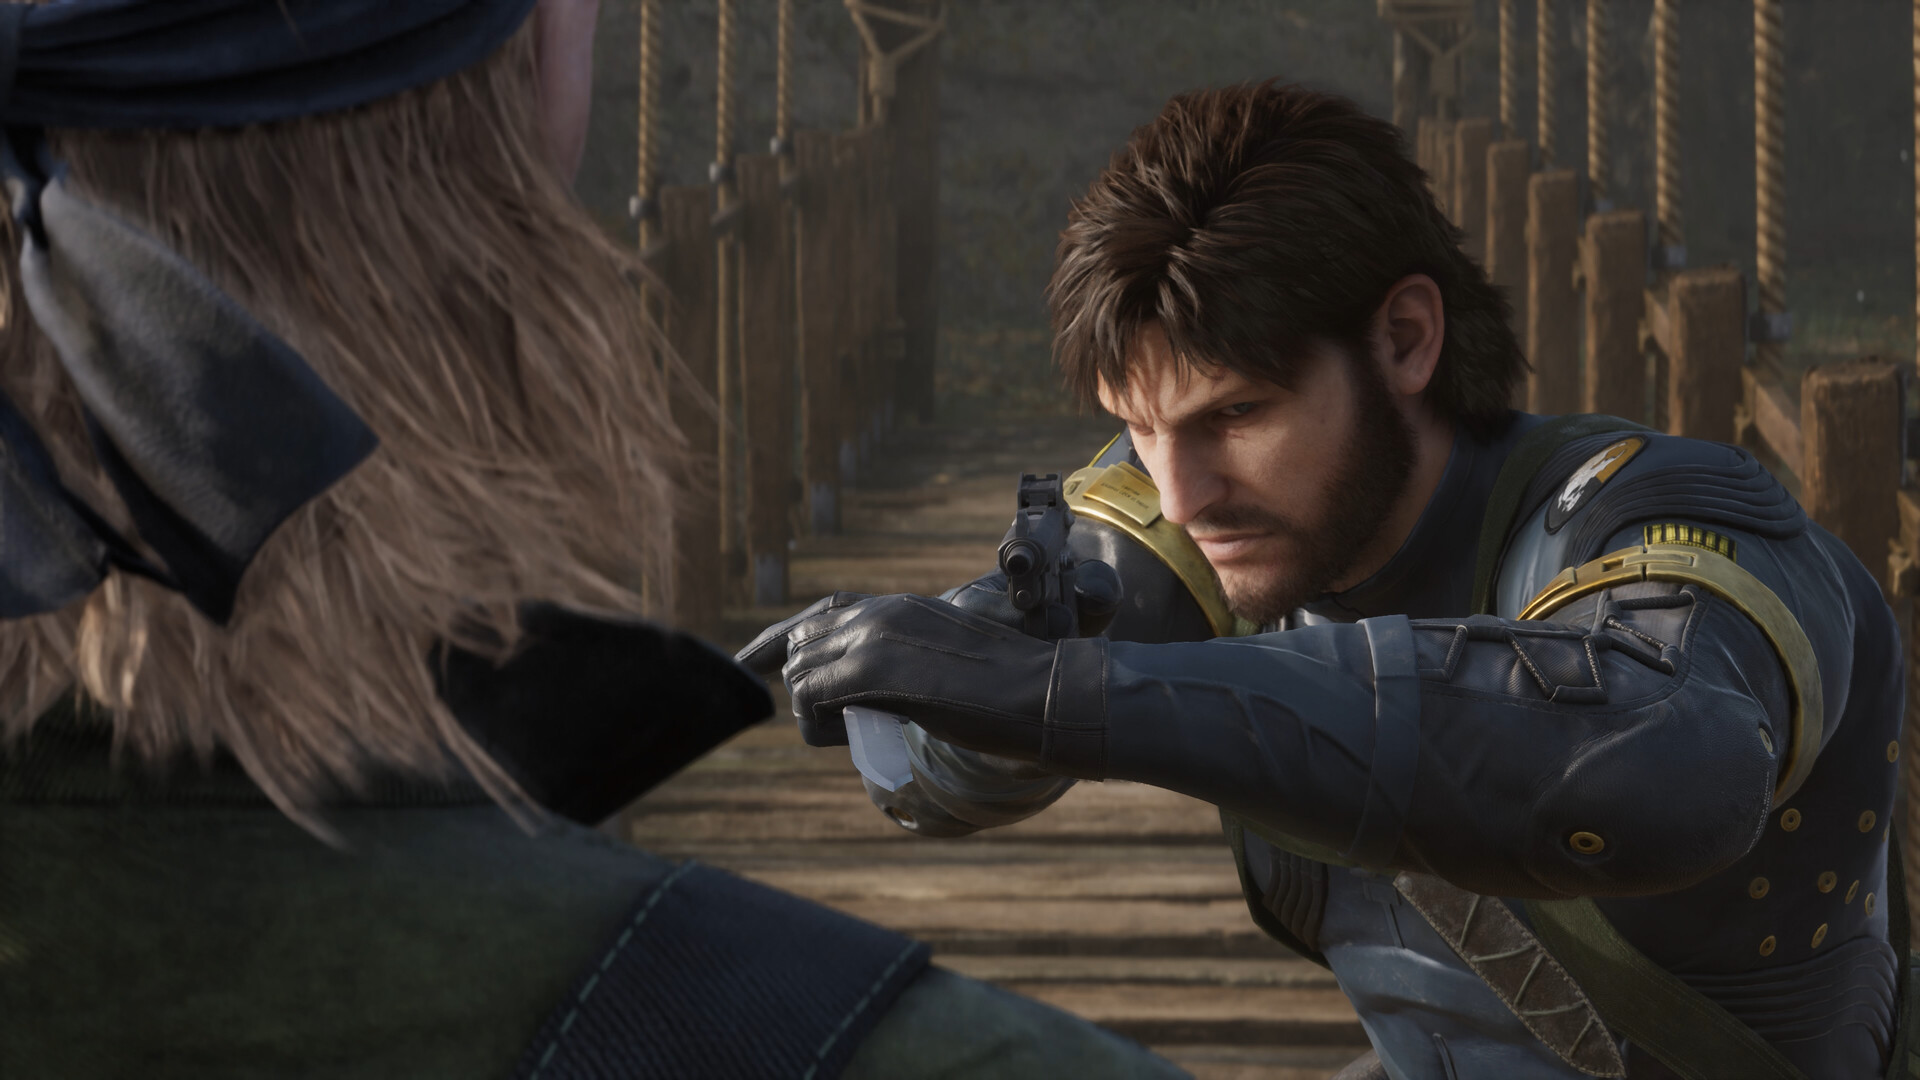
Ocelot
Leveraging the environment to your advantage is crucial for success in this battle. Given that we’re dealing with a heavily cover-focused situation, consider aiming at the beehives or hurling grenades straight at Ocelot, depending on his location. This tactic will provide you with plenty of chances to retaliate once he’s out in the open. To maximize damage, make an effort to push him out of cover when he’s nearly out of ammo, thus creating multiple chances for you to hit him as he is forced to exit cover to reload.
Prepare yourself to carry Bee Repellent (replacing “Bug Juice”) during our impending battle, to avoid provoking a counter-attack from beehives. Also, gather as many grenades as possible, although you’ll likely find more on your side of the gap.
The Pain
To complete this task effectively, it’s essential to have both Bug Juice and Smoke Grenades at your disposal. Since The Pain carries his own bees, you’ll want to utilize water and the small rock islands as protective barriers, and use Bug Juice when necessary. Listen closely for dialogue indicators so you can submerge long enough for him to lose sight, then make your way back onto land to return fire, preferably with the wide dispersal of a shotgun to disperse his bee shield. If you manage to knock him down, immediately throw a Smoke Grenade to keep his bee swarm scattered, and focus your attacks on The Pain himself.
Frag Grenades are not an option as they may be tossed right back at you.
The Fear
At last, all that spoiled or hazardous food you’ve been accumulating can be utilized effectively in this battle. Scatter the rotten or toxic items across the area, and eventually, The Fear will descend from his tree perches to collect them when he’s tired enough. Consuming your spoiled food will drain his energy further, providing you with ample opportunity to deal damage to his head.
For now, continue to watch over him as well as be vigilant for any traps on the ground. Take aim whenever a suitable shooting opportunity arises.
In the interim, make sure you’re keeping tabs on him while also being mindful of potential traps on the ground. Seize every chance to fire if it presents itself.
Instead of using the Fake Death Pill to trick him into revealing himself, followed by utilizing the Revival Pill when he’s unaware to catch him off guard could be an effective approach as well.
The End
One approach to rapidly conclude the game prematurely involves an unexpected technique that somewhat resembles an Easter egg. Instead of engaging The End during the intended boss battle within the storyline’s timeline, you can terminate him early, right before a scheduled event where a guard moves him out of sight after defeating The Pain. This short window gives you the chance to eliminate him with a snipe, effectively bypassing one of the lengthiest and somewhat tiresome boss fights in the game. This method grants the “The Early End” trophy/achievement, but you’ll miss out on acquiring his camo and weapon through regular combat. However, you can always reload an earlier save if you want to collect them afterward, just make sure to save your progress before attempting this assassination to avoid any unfortunate accidents.
As a gamer, here’s how I would put it: “When you reach the battle with The End, keep a backup of your game at this point. You’ll know you’re on the right path when Snake exchanges some special dialogue with Para-Medic. Then, for a short while, adjust your system clock to seven days ahead. Get back into the game, reload that saved point, and an unexpected cutscene should pop up without revealing the secrets.
An alternative approach is to adjust your system clock so it’s fewer than seven days ahead, although this doesn’t impact the boss fight in any way. This could also happen spontaneously if you choose to save and exit before concluding the battle within one actual game day.
As a passionate enthusiast, I’d like to warn you: When you opt for a head-on confrontation, always remember to account for the possibility of your energy depleting, for if you exhaust all your strength and lose completely, you’ll find yourself swiftly escorted back to confinement.
The Fury
Overpowering The Fury within the cramped quarters of his arena is undeniably challenging. Firstly, move stealthily towards him, aiming to get as close as you can before launching attacks with your knife against his armor. This will lessen his ability to withstand further harm. Secondly, stay vigilant about your surroundings, taking note of any escape routes in case a hasty retreat is necessary. Seize chances to fire at the explosive barrels when The Fury approaches them, but limit sustained gunfire on his backpack tanks for brief intervals, so as not to reveal your position and risk being cornered.
Whenever feasible, aim to burst water pipes to maintain flames under control, and swiftly move over any small flames to prevent continuous damage from them.
The Sorrow
In a unique yet straightforward manner, this boss battle can be described. Essentially, it’s not your typical encounter. Instead of new foes, you fight against all enemies you’ve previously defeated. For those who prefer non-lethal approaches, the battle will be brief. However, as a natural-born killer, your main task would be to avoid the vengeful spirits while navigating downstream in search of The Sorrow.
Submerge in order to avoid The Sorrow’s own attack.
The quickest method to complete this boss fight is by allowing Snake to drown initially, then using a Revival Pill to resurrect and continue playing. However, this approach means you won’t receive the usual rewards for defeating The Sorrow by waiting until the end to use the Revival Pill after touching The Sorrow’s corpse.
Volgin
In a time-constrained, confined fight situation, this battle will assess your agility in timing and skill in close-combat engagements. To extend the duration of the encounter slightly, you can don the Mask Face Paint inspired by Raikov. This deception might momentarily fool Volgin, giving Snake a chance to approach him stealthily from behind for a surprise takedown – potentially even using explosives for an early and swift victory. However, this ruse will only be effective once.
Subsequently, engage in close-quarters combat (CQC) with Volgin and shoot at him whenever you get the opportunity. It is futile to fire at him when he’s protected by his electrical feed. Yet, there’s one instance where you should aim your shots at Volgin: when he runs out of power for his electric-infused abilities and has to recharge at the circuit box.
To ensure safety and prevent unfortunate incidents, I always make sure to secure my weapon when not in use. This helps me prevent accidental discharge of ammo and also reduces the risk of unwanted lightning strikes.
Positioning a solitary Russian Glowcap within the arena can divert lightning attacks from you not once, but twice for each mushroom, providing you with the time necessary to advance towards it directly. In case you do find yourself ensnared in any electrical ambushes, merely lie down (prone) to dodge most of them.
Shagohod
During this interaction’s progression phase, things become clear. Once you reach the combat arena, defeating Shagohod becomes a matter of common sense in anti-tank warfare. Aim and fire rockets at its spiral tracks to halt it, then target its electric blue energy source to temporarily disable it. You can quickly reload your RPG by simply un-equipping and re-equipping it.
Ultimately, after Volgin exits his vehicle, let’s maintain our previous approach: hitting the treads to make Shagohod stationary, followed by aiming and shooting directly at Volgin, who functions like a moving energy source, upon its halt.
In simpler terms, using Chaff Grenades can help deflect approaching missiles, as their trajectories are often predictable due to clear indicators in Volgin’s conversation.
The Boss
As a cunning gamer, I’d advise you to steer clear of The Boss when she starts chattering-she’ll snatch your weapon and dismantle it, leaving you scrambling to find it again before you can fight back. In such a tight spot, make sure to swiftly discard your equipment to dodge a melee face-off. When playing cat and mouse, stealth is the key. Stay at bay until she stops her pursuit of you, then spring up and let loose with as many shots as possible to knock her off balance. Regroup, repeat the process.
Appropriate camo can be a game changer in this fight.
Using Claymores effectively against The Boss can be quite productive, but luring her towards them may require patience and a fair amount of fortune. Positioning the Claymores strategically close to trees, as those are areas where she’s likely to seek cover, will increase your chances of success.
Here are a few speedy methods for taking down all nine bosses in Metal Gear Solid: The Phantom Pain (Snake Eater).
These are some fast approaches to defeat each of the nine bosses found in Metal Gear Solid V: Snake Eater.
Read More
- What Song Is In The New Supergirl Trailer (& What It Means For The DC Movie)
- Dune 3 Gets the Huge Update Fans Have Been Waiting For
- Highly Anticipated Strategy RPG Finally Sets Release Date (And It’s Soon)
- Why is Tech Jacket gender-swapped in Invincible season 4 and who voices her?
- TV legend Carol Kirkwood reveals the reasons why she decided to retire after 28 years with BBC
- Eurogamer Gives ARC Raiders 2/5 Over AI Voices, Dropping Metacritic Score from 94 to 84
- After 13 Years, Someone Earned One of the Hardest Achievement Trophies in Gaming
- Dragon Ball: Sparking! Zero Is Still Stupidly Popular, Reels in 1 Million Monthly Players
- Designing Magnetism with Molecular Architecture
- Robert Pattinson’s The Batman 2 Suit ‘Evolution’ Gets an Answer From Designers
2025-09-05 17:15