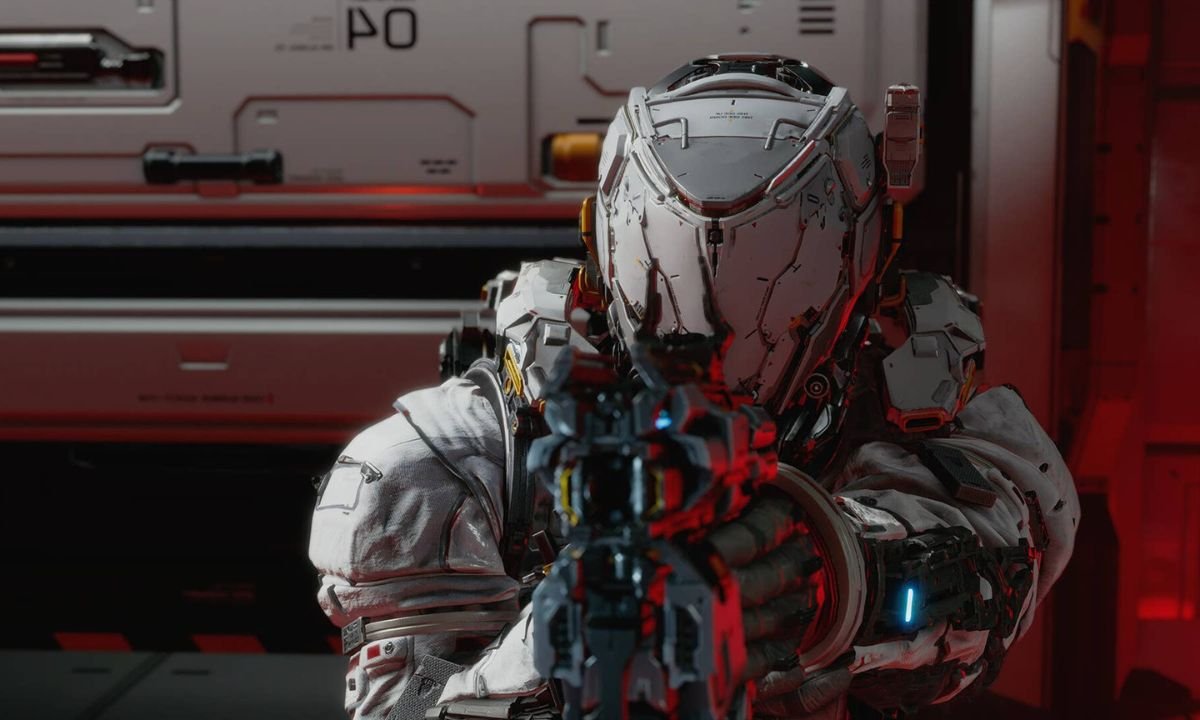
The best weapon setup in Pragmata depends on the fight ahead. The game offers 15 weapons divided into four categories, but they work differently. Your main weapons automatically reload ammo and are always available. All other weapons – those for attacking, tactical maneuvers, or defense – are one-time use and disappear once you’ve used them all up.
This shifts how you approach choosing your gear. It’s less about finding one perfect weapon to use all the time, and more about creating a versatile setup that handles various challenges, and being smart about when to use specialized weapons even if they’re limited.
This guide breaks down:
- a dependable all-purpose loadout for most of the campaign,
- better picks for bosses and crowded rooms,
- stronger options for late-game Red Zones,
- and a full list of all 15 weapons with their unlock locations.
How loadouts work
Your loadout is divided into four categories:
| Slot | What it does |
|---|---|
| Primary | Permanent weapon with self-recharging ammo |
| Attack | Limited-use damage weapon |
| Tactical | Limited-use control/support weapon |
| Defense | Limited-use protection/distraction tool |
When you begin the game, you can choose one weapon for each equipment slot. As you progress, you’ll be able to carry two different attack weapons and two tactical weapons simultaneously, letting you adapt to various situations more easily.
Okay, so before I head into each new area, I get to pick my gear at the Shelter. And the cool thing is, when I’m actually in a mission, enemies will sometimes drop new weapons, even if I’ve already used up all my old ones. It’s a good way to keep going!
Best general-use loadout

This is a reliable and adaptable way to play the game normally. While other builds are possible, this one performs consistently throughout the campaign without needing items unlocked after completing the game.
| Slot | Recommended pick |
|---|---|
| Primary | Grip Gun early, then Pulse Carbine once unlocked |
| Attack | Shockwave Gun |
| Tactical | Stasis Net early, Sticky Bombs later |
| Defense | Decoy Generator |
Primary slot: Grip Gun early, Pulse Carbine later
The Grip Gun is your initial weapon and will be your go-to throughout the game since it’s always equipped. Because of this, it’s a good idea to spend some of your first upgrades on it. However, you’ll also want to consider upgrading your suit and hacking abilities, depending on how you like to play.
The biggest drawback is overheating. If you fire it continuously for too long, it gets hot and needs a short time to cool down. The easiest way to avoid this is to shoot until it starts to overheat, quickly switch to another weapon, and then switch back once it’s cooled off.
As you progress to Sector 3, you’ll unlock the Pulse Carbine, giving you a second choice for your main weapon. Unlike other options, this one excels at continuous firing, making it ideal for fights later in the game. It does have a noticeable recoil that pulls to the left, which can be tricky to control, especially while using Diana’s hacking abilities. However, many players find it a more comfortable weapon to use in the later stages once they’ve learned to compensate for the recoil.
Attack slot: Shockwave Gun for consistency
The Shockwave Gun is a great, reliable weapon for most players. It deals significant damage, consistently stuns enemies, and is easy to use – just get close and time your shots effectively.
While it has a slow firing rate, this isn’t a major issue because you can switch to another weapon while it reloads. It’s most effective when you need to deal quick damage, particularly after an enemy has been revealed by Diana.
Focus on using this weapon strategically, as it doesn’t have a lot of ammunition. It’s most effective as a final blow, not something to rely on in desperate situations.
Tactical slot: Stasis Net first, Sticky Bombs later
Early in the game, the Stasis Net is a really helpful tactical tool because it quickly deals with the biggest challenge: being overwhelmed. By briefly freezing an enemy, you can create breathing room to hack, shoot, or move to a better position, making tough fights much more manageable. With a few upgrades, it also works consistently on enemies that are moving.
Okay, so once you hit Sector 3, things change! You unlock Sticky Bombs, and honestly, they quickly became my go-to. They don’t do a ton of damage on their own, but that’s not what I use them for. What’s amazing is how they clean up the enemy hacking grids. They get rid of a lot of the mess and seriously cut down on how long I’m vulnerable while hacking. They just make everything so much easier!
As the game gets more challenging, Sticky Bombs become more effective, especially during chaotic hacking sequences. However, they don’t completely replace the Stasis Net. If you’ve unlocked both tactical slots, it’s usually best to carry both types of bombs.
Defense slot: Decoy Generator
The Decoy Generator is straightforward to use, and that’s its strength. It projects a holographic distraction, pulling enemy focus and giving you precious time to catch your breath, move to a better location, or complete an important task without being overwhelmed.
This is particularly helpful in challenging areas where you’re facing lots of enemies, fast movement requirements, and hacking challenges all at once. Plus, it works well even without a lot of upgrades, which is great if you need to save resources for other things.
Best alternatives by situation
Best weapons for bosses
Battles with bosses are different – you have less opportunity to attack safely, and using your ammunition carelessly can be costly.
Charge Piercer
The Charge Piercer is a great weapon for fighting bosses because it deals a lot of damage quickly when you have a small window of opportunity. While it takes a bit longer to charge up than some other weapons, especially when you first get it, upgrades make it much faster. It’s particularly effective if you’re learning a boss’s attack patterns and only have short moments to strike.
Sticky Bombs
Sticky Bombs are still very effective against bosses because they allow for quick and efficient hacking. This is especially important when the boss continues to attack while you’re trying to complete the hacking process.
Homing Missiles
If your opponent is very mobile or frequently flies, Homing Missiles can be a helpful weapon. They aren’t always the best choice, but their lock-on ability can make fights much easier when it’s hard to aim directly at the target.
Best picks for crowd control
When the room fills up, your problem is no longer single-target damage. It is space management.
Stasis Net
Throughout much of the game, Stasis Net remains the most straightforward solution. It lets you temporarily freeze one enemy, giving you time to focus on another without needing to use up your Attack slot.
Riot Blaster
After you unlock your second Tactical slot, the Riot Blaster can be really useful in rooms with lots of enemies close together. It’s not as consistently helpful as Stasis Net or Sticky Bombs, but it’s a good option when dealing with enemies one by one takes too long.
Best late-game and Red Zone tools
Red Zones present the biggest challenges in the game, demanding the most effective gear. By now, most players will have unlocked additional slots for attachments, letting them customize their loadout for specific strategies.
Code Generator
The Code Generator is a powerful late-game tool, but it requires some effort to unlock through the Specialist Stamp Board. While it doesn’t directly attack enemies, it significantly boosts hacking damage, removes problematic nodes, and creates openings that extend an enemy’s vulnerability. In challenging late-game situations, this support can be more valuable than simply dealing high damage.
Photon Laser
The Photon Laser is a solid option for attacking from a distance. While it’s not as versatile as the Shockwave Gun or Charge Piercer for most situations, it’s helpful when you need a quick burst of damage and those other weapons aren’t ideal.
Full weapon list and unlock locations
| Weapon | Slot | First available |
|---|---|---|
| Grip Gun | Primary | Starting weapon |
| Pulse Carbine | Primary | Sector 3: Terra Dome, Plant Factory |
| Shockwave Gun | Attack | Sector 1: Solar Panel Plants, Power Distribution Center |
| Charge Piercer | Attack | Sector 2: Mass Production Array, Side Alley |
| Photon Laser | Attack | Sector 3: Terra Dome, Soil Research |
| Homing Missiles | Attack | Sector 4: Lunum Mines, Mine Entrance |
| Jackhammer | Attack | Complete the game |
| Stasis Net | Tactical | Sector 1: Solar Panel Plants, Power Distribution Center |
| Riot Blaster | Tactical | Sector 2: Mass Production Array, Shopping District |
| Sticky Bombs | Tactical | Sector 3: Terra Dome, Eco Modeling Lab |
| Code Generator | Tactical | Specialist Stamp Board, triple bingo |
| Hacking Mines | Tactical | Director’s Stamp Board, triple bingo |
| Decoy Generator | Defense | Sector 2: Mass Production Array, Lim Recycling Facility |
| Impact Barrier | Defense | Sector 4: Lunum Mines, Crane Operation Yard |
| Drone Hive | Defense | Associate Stamp Board, triple bingo |
Some of the most powerful weapons aren’t found through normal gameplay. The Jackhammer is unlocked after you finish the game, so you don’t need to worry about it on your first playthrough. To get the Code Generator, Hacking Mines, and Drone Hive, you’ll need to check the Stamp Boards in the Cabin between sectors – they aren’t available as regular item pickups.
For a simple starting point, equip the Grip Gun, Shockwave Gun, Stasis Net, and Decoy Generator. As you progress, add the Pulse Carbine and Sticky Bombs. After that, customize your gear based on the challenges you’re facing.
Read More
- 10 Most Powerful Versions of Superman, Ranked
- Gold Rate Forecast
- GBP CNY PREDICTION
- 10 Best Free Games on Steam in 2026, Ranked
- 007 First Light: Release Date, Story, Gameplay, Cast, Editions, and Platforms
- Superman’s 7 Best Power-Ups, Ranked
- Forza Horizon 6 Car List So Far: Confirmed Highlights, Cover Cars, DLC, and Rewards
- 10 Greatest Manga Endings of All Time
- DOGE PREDICTION. DOGE cryptocurrency
- The Boys Officially Sets Up 4 Supes for Jensen Ackles’ Soldier Boy Spinoff
2026-04-18 20:34