Ball x Pit combines fast-paced, arcade-style brick-breaking with city-building. After the city of Ballbylon is destroyed, you’re responsible for rebuilding it as New Ballbylon. This involves constructing homes for new characters, buildings that give helpful bonuses, and areas to collect resources.
Because the management in Ball x Pit is so flexible, there isn’t one perfect way to build your New Ballbylon village. While some things become automated over time, even late in the game I’m still frequently adjusting my layout. Here are some important tips to help you design an effective base in Ball x Pit.
Create A Designated Harvesting Area
Surround Resources With Buildings
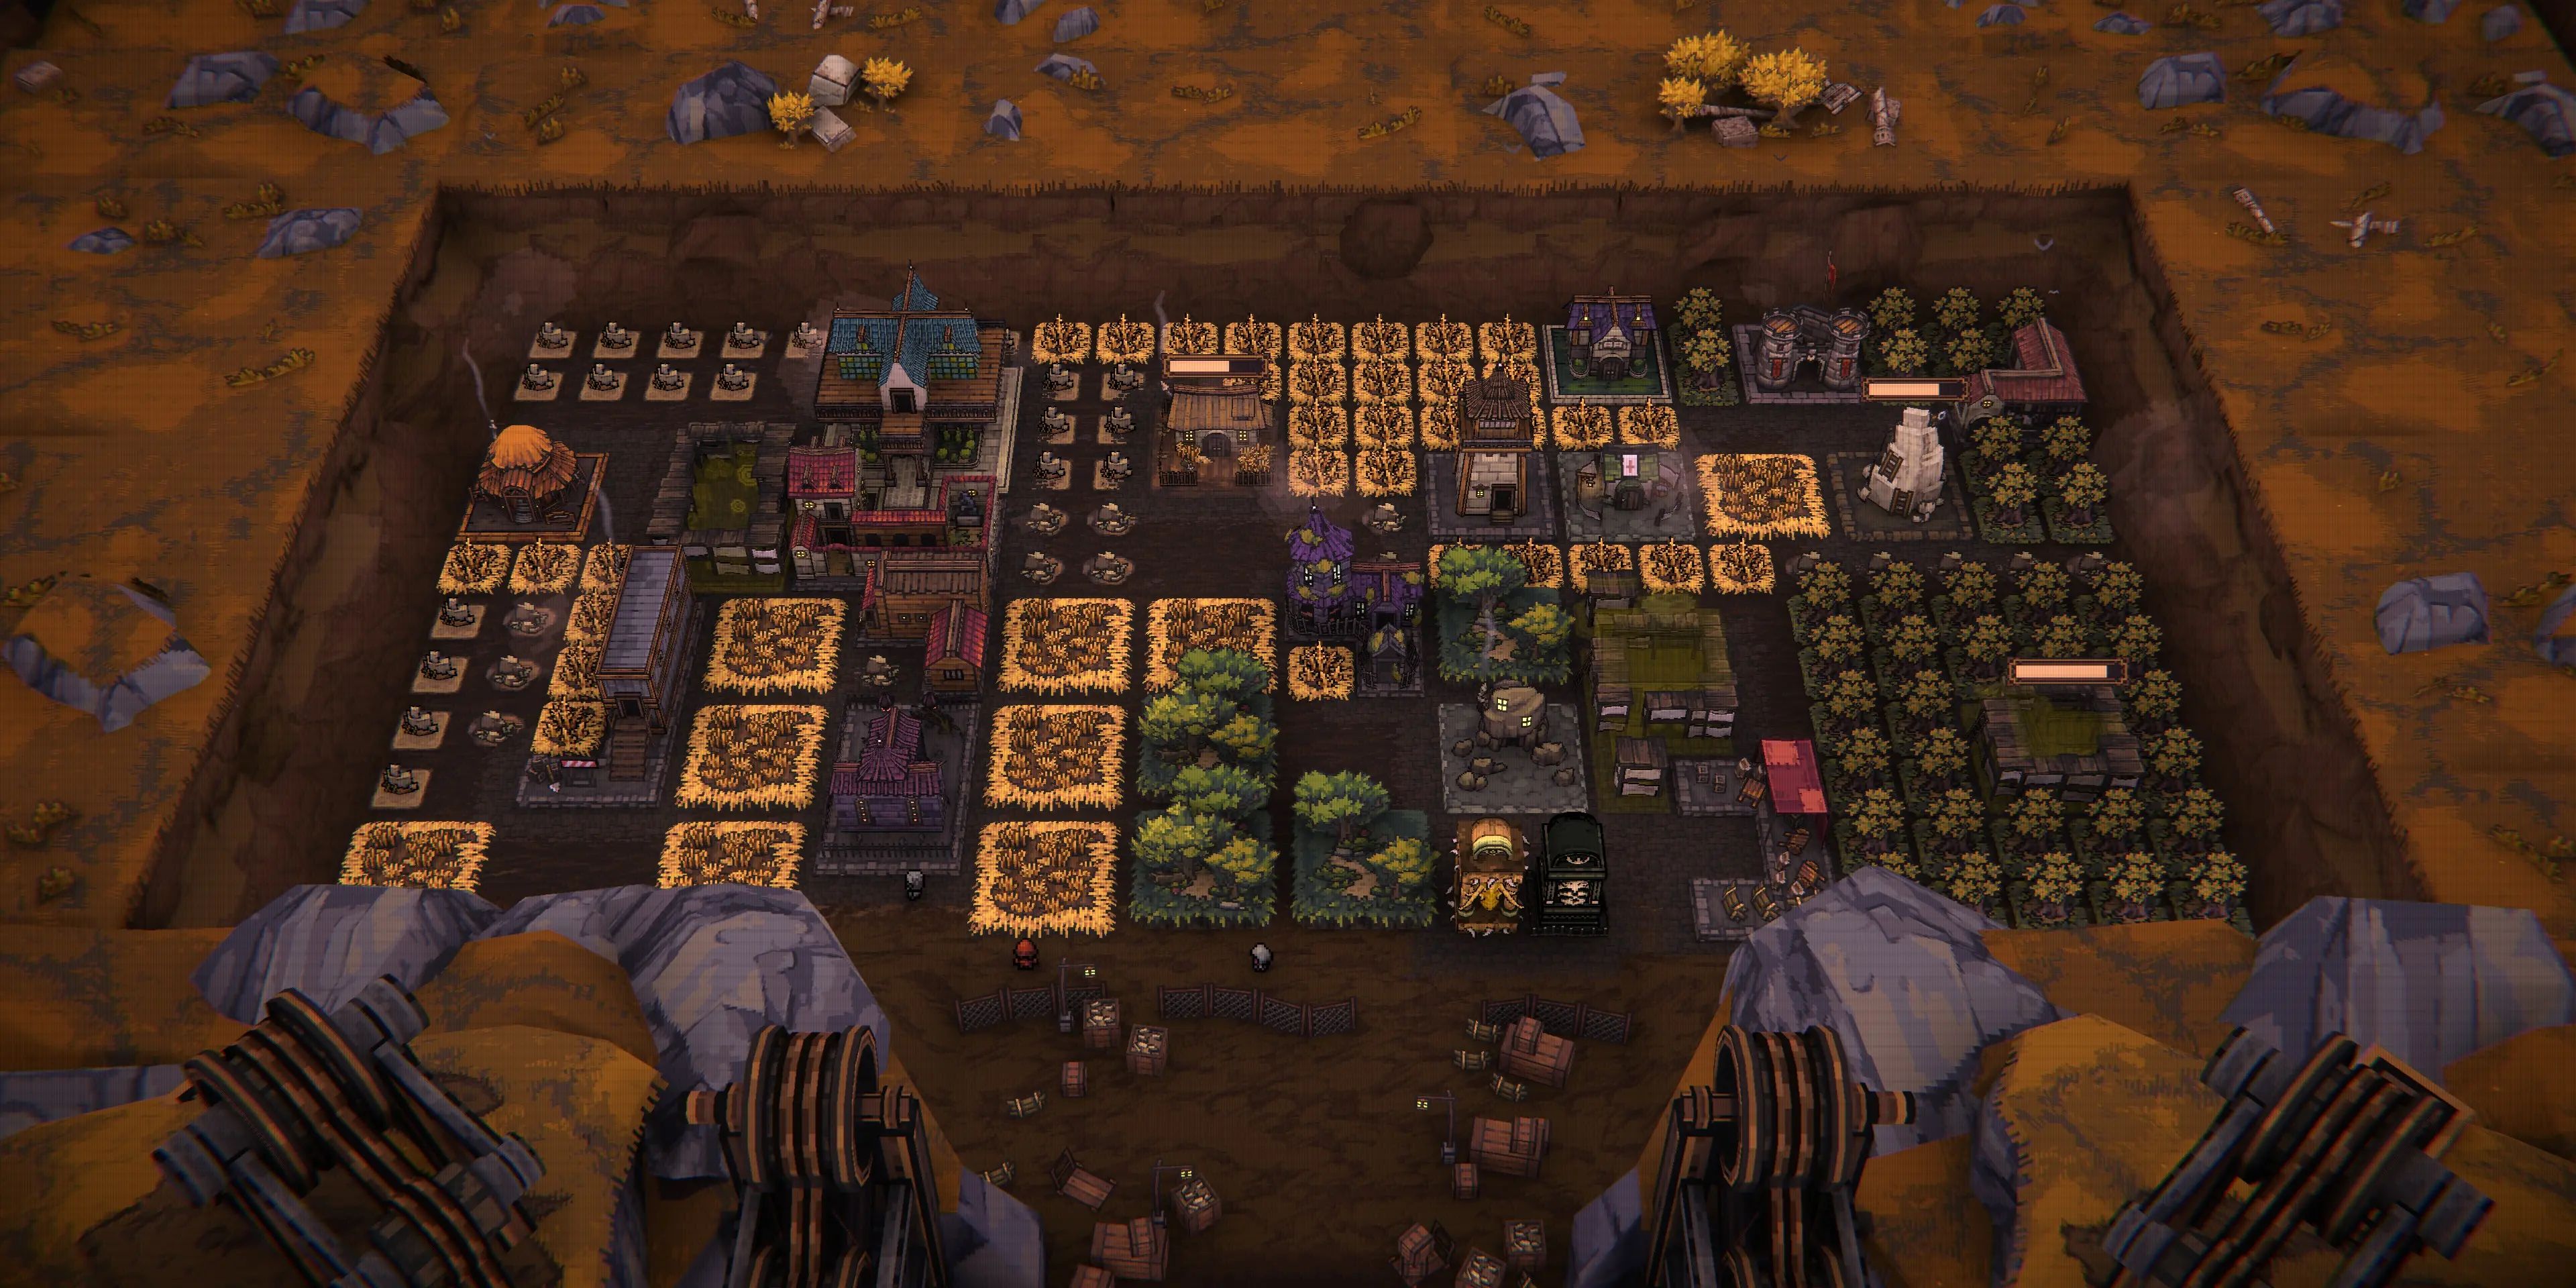
After each harvesting cycle, you’ll automatically return to the starting point with a free round to collect resources. You’ll soon find your storage filling up, requiring you to expand New Ballbylon, which will create some unused areas. Remember, harvesting always begins in a specific zone right in front of the lift, so it’s essential to keep your resource-producing tiles organized in that area.
Workers will move through wheat fields to harvest them, but they’ll be stopped by forests and boulders until those areas are cleared. They can’t walk through buildings, so it’s best to build around the areas you want them to focus on to prevent them from wandering into unproductive spaces. Regularly replace existing buildings with those still being built – this applies to both new structures and upgrades.
As you can see in the image, building a few Gold Mines within your harvesting area is helpful. Just be sure to leave enough space for your workers to move around. These mines will give your characters more surfaces to interact with, and help you gather gold at a rate consistent with your other resources.
Once you unlock the Gatherer’s Hut, you can create additional harvesting areas separate from your first one. The hut assigns a character to collect resources along a specific route automatically. The same principles for setting up your initial area apply to these new ones – surround them with buildings to maintain some control. However, make these areas significantly smaller because they’re only serviced by a single worker.
You’ll soon unlock Farms, Lumberyards, and Stone Mines that gather resources for you automatically. These are really helpful additions to your regular resource collection, though you probably won’t be able to rely on them completely until much later in the game. Pay attention to which resources you use up fastest – building a Farm, Lumberyard, or Stone Mine can help keep your supplies steady.
Organize Around Important Buildings
Veteran’s Hut & Mansion Are Key
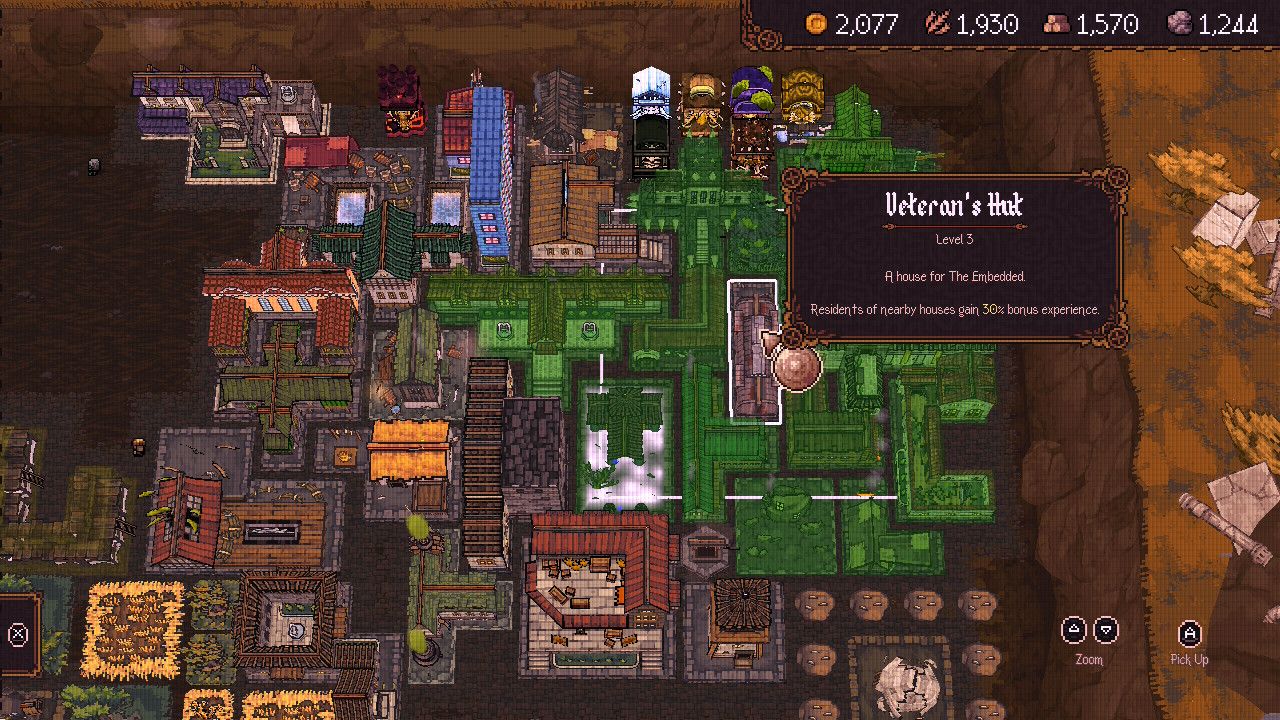
When planning where to build your Warfare and Housing structures, pay attention to the Veteran’s Hut and the Mansion. You’ll find the Veteran’s Hut blueprint fairly early in the game, and building it unlocks a special character. However, its real value lies in the experience boost it provides to characters living in nearby Housing. Simply hover your mouse over the Veteran’s Hut to see the area where this bonus applies.
By arranging your houses well, you can ensure they all benefit from the zone’s effects, and upgrading the Veteran’s Hut will quickly boost your characters’ stats. I suggest building the Theater, the Juggler’s house, in a separate location. Stone is the most difficult resource to get enough of, and the tiles that produce it are expensive, so using the Theater to collect Stone automatically until you have a better setup is a good idea.
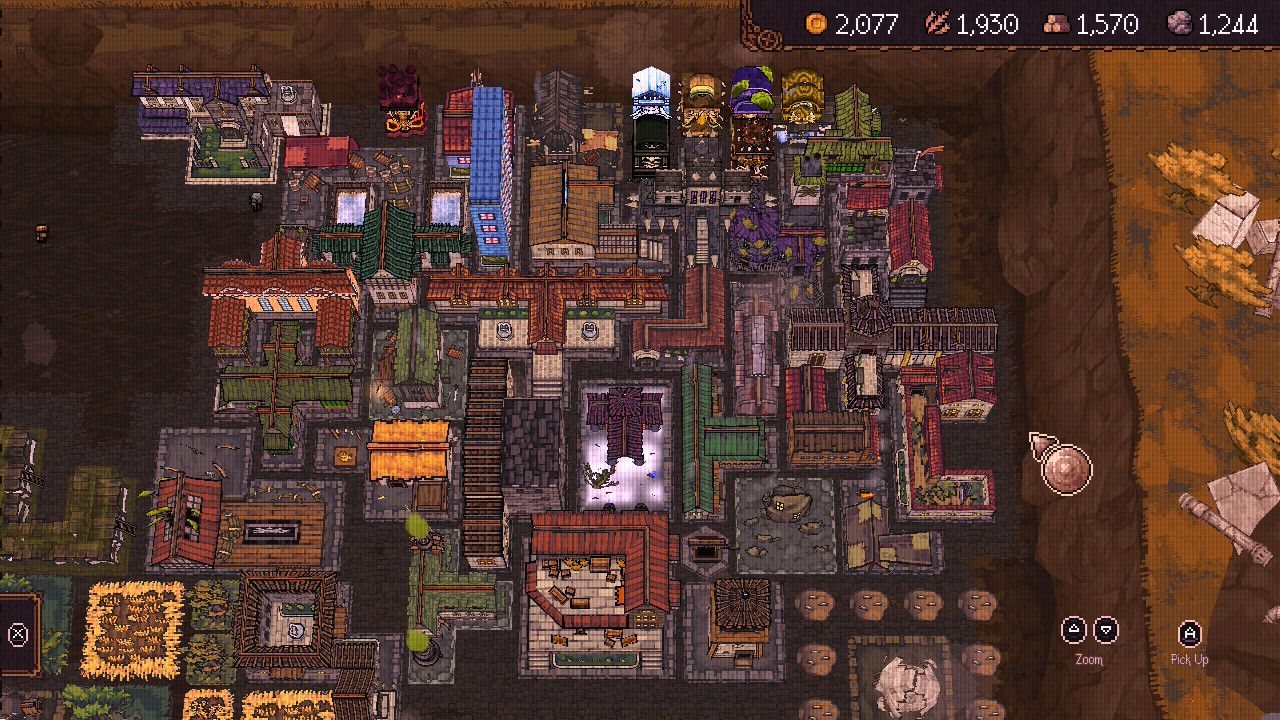
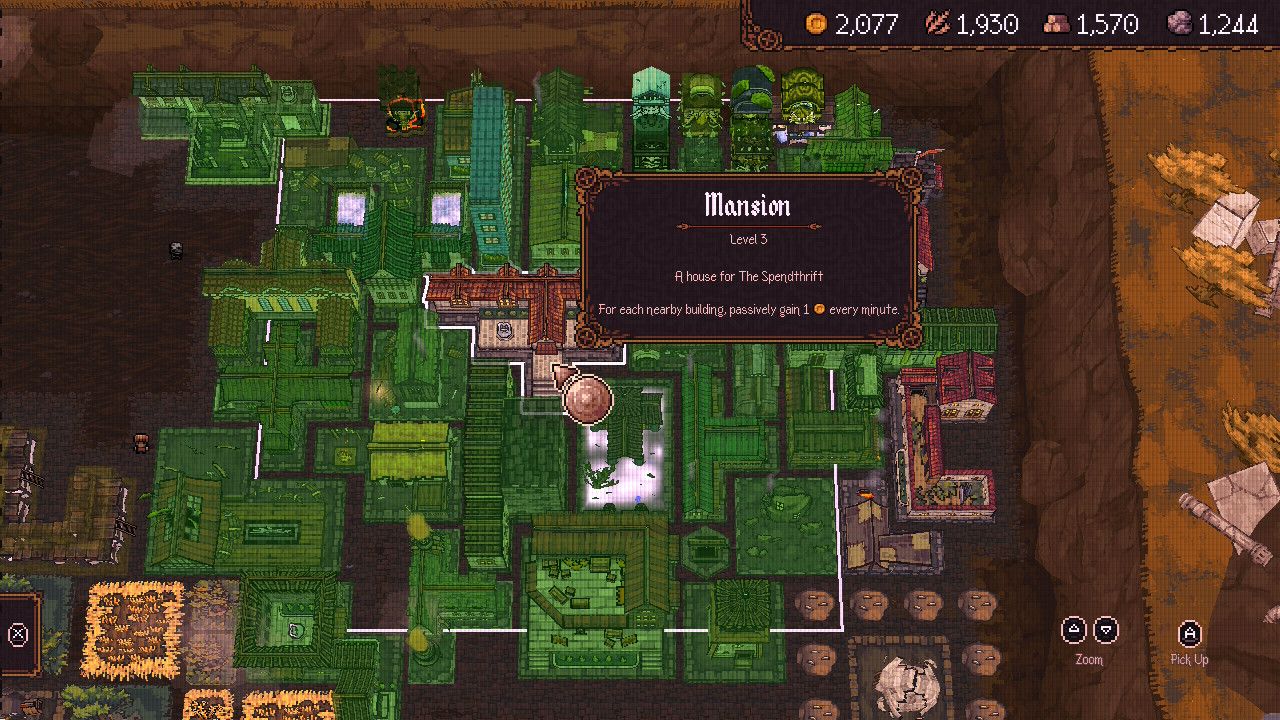
Place the Mansion – which belongs to the Spendthrift – close to the Veteran’s Hut, but without blocking too much of the hut’s space. Maximize the number of buildings you fit within the Mansion’s area of influence (refer to the third image in the gallery). This will significantly boost your automatic gold income. Ideally, position one side of your farming area right at the edge of the Mansion’s range, allowing some of the buildings used for farming to also benefit the Mansion.
Here are a few more building features to be aware of, though they aren’t as crucial as the Veteran’s Hut or the Mansion. Don’t worry too much about placing these perfectly.
- Haunted House (Repentant’s house): Workers that bounce against it during harvest gain movement speed.
- Very helpful early on, but becomes negligible as you unlock new characters.
- Captain’s Quarters (Tactician’s house): Nearby buildings with stat bonuses provide an additional bonus point.
- Useful if you can organize stat buildings around it, but you unlock the Tactician pretty late, by which point you should be able to upgrade stat buildings to be effective on their own. Special ball evolutions are generally more important in a run than your character’s stats.
- Iron Fortress (Shieldbearer’s house): Workers bouncing into it apply bonus construction points to nearby scaffolds.
- Try to place this near your harvest area, where you’ll do all your construction, but the harvest area’s layout is more important to facilitating quick construction.
- Monastery (Flagellant’s house): Bouncing off of it increases the harvest clock.
- Helpful early on, but becomes negligible once you have more workers and a tightly designed harvest area.
Don’t Be Afraid To Change Your Layout Often
Rearranging Tiles Is Free
Feel free to rearrange your buildings and resource tiles whenever you like – it doesn’t cost anything! Always position scaffolding along the edge of where you’re collecting resources so workers can use it, but move finished buildings to a better location if you find one.
It’s generally best to avoid expanding your space until absolutely necessary, as it can be costly. However, having extra empty space can be really helpful. It gives you room to rearrange buildings and temporarily move them aside while you’re organizing. Don’t stress about perfectly placing buildings right away – you can always adjust them later, and no single building bonus is critical for success in every game.
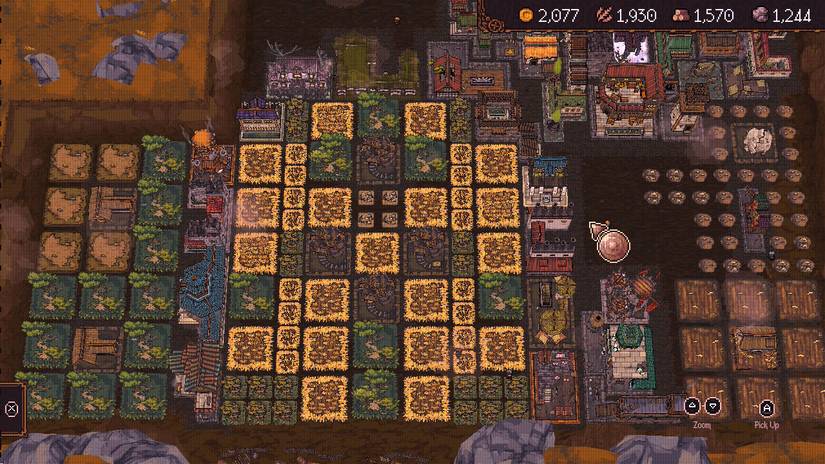
I generally divide my base into three sections: where I actively collect resources, areas for automatic resource gathering, and everything else. These automatic areas – farms, lumberyards, and stone mines, plus their surrounding resource tiles – are always arranged in 9×9 squares. I move these squares around to best fit the layout of my other buildings, which provide stats, bonuses, and housing, and are positioned next to the resource areas.
Always Build & Upgrade Before Harvesting
Construction Requires Workers

You’ll make consistent progress in Ball x Pit by playing levels and collecting rewards. To play efficiently, though, always buy new buildings and upgrades immediately before you use your free harvest. While upgrades can become expensive as you gain more buildings, they’re crucial for improving your team’s overall stats and skills.
When you get back from the pit, don’t rush to collect resources. First, check what new buildings and upgrades you can purchase. Then, buy everything you can and place your collection platforms around your resource area. If you’re focused on finishing a building, like the Spa, it’s worth spending a little extra gold on another collection run specifically to get the materials needed for the platforms.
It’s easy to overlook building upgrades, but a few are very important for late-game scaling:
- Jeweler: Increases the level of your starter ball.
- Matchmaker: Lets you bring a second character into the pit; upgrading increases the second character’s starter ball level.
- Gem Smith: Choose an extra ball at the start of a run (third ball if Matchmaker is already constructed); upgrading increases the extra ball’s level.
Setting up your base well in New Ballbylon can really help in Ball x Pit, but the game isn’t overly difficult. You’ll probably improve consistently at first, and as you gain bonuses, unlock new characters, and get better balls, your progress will speed up dramatically. Winning runs will soon become much more frequent than losing ones. While a good base design is useful, there’s no single perfect layout for New Ballbylon in Ball x Pit.
Read More
- Everything You Need To Know About Nikki Baxter In Stranger Things’ Animated Spinoff
- Welcome to Demon School! Iruma-kun season 4 release schedule: When are new episodes on Crunchyroll?
- ‘The Bride!’ Review: Jessie Buckley Breathes Life into a Monstrous Mess
- The Boys Season 5, Episode 5 Ending Explained: Why Homelander Does THAT
- Miranda Kerr Shares “Quick” Procedure She Got Before Met Gala 2026
- Taylor Sheridan’s Gritty 5-Part Crime Show Reveals New Final Season Villain
- USD JPY PREDICTION
- Jujutsu Kaisen Creator Confirms the Story is Over: “It Won’t Continue!”
- Mark Zuckerberg & Wife Priscilla Chan Make Surprise Debut at Met Gala
- After 11 Years, Black Clover Officially Ends With Final Release (& Crowns a New Wizard King)
2025-10-23 22:52